Home>Ideas and Tips>How To Choose And Install The Right Bathroom Wall-Mounted Floating Vanity

Ideas and Tips
How To Choose And Install The Right Bathroom Wall-Mounted Floating Vanity
Modified: October 27, 2024
Learn how to choose and install the perfect bathroom wall-mounted floating vanity with our comprehensive guide, ensuring style and functionality.
(Many of the links in this article redirect to a specific reviewed product. Your purchase of these products through affiliate links helps to generate commission for Storables.com, at no extra cost. Learn more)
Introduction
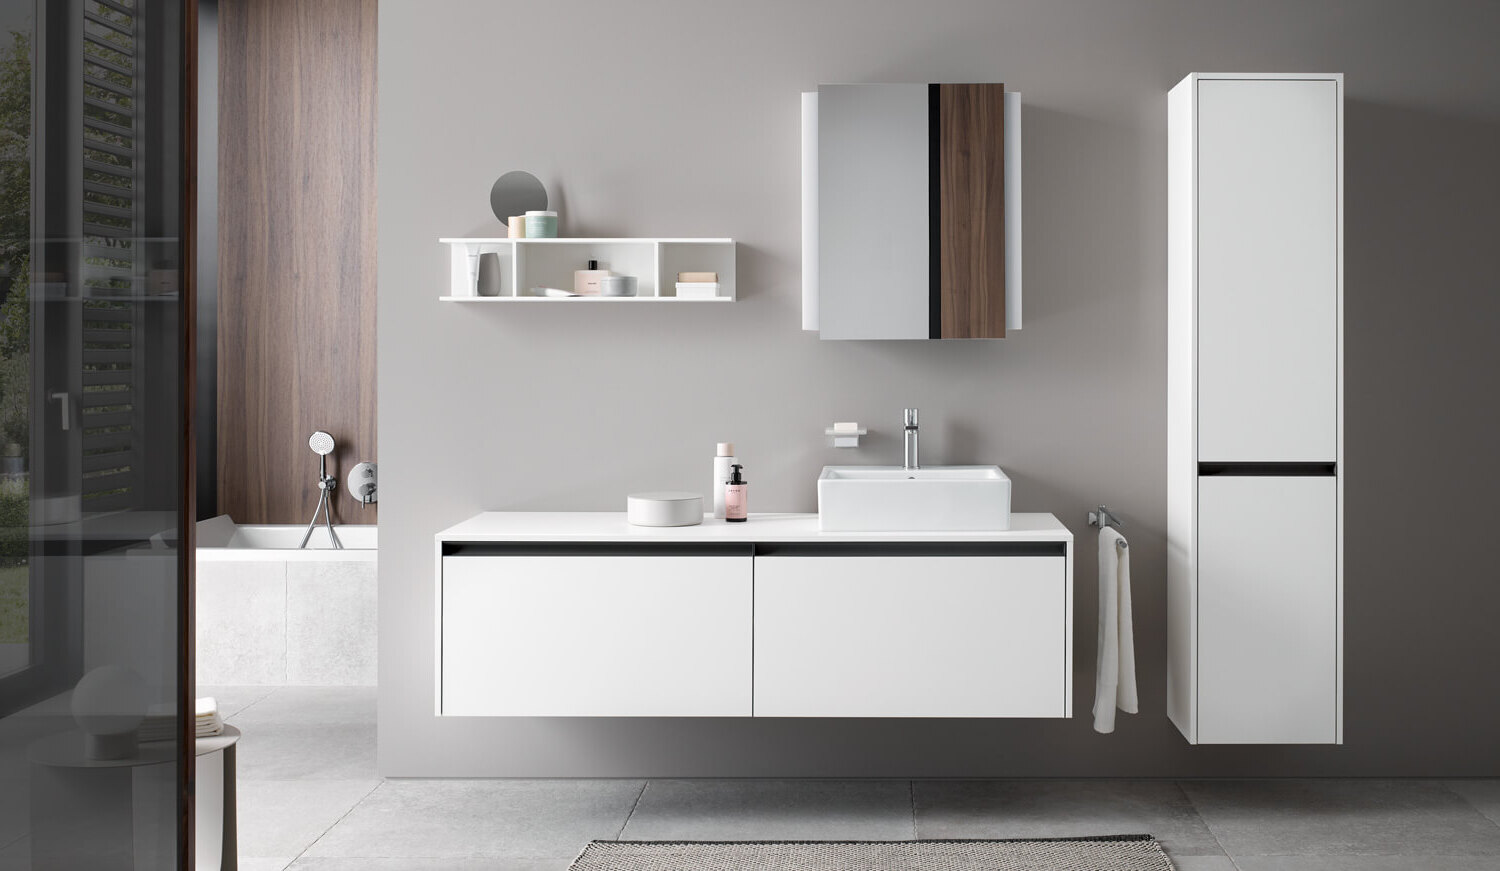
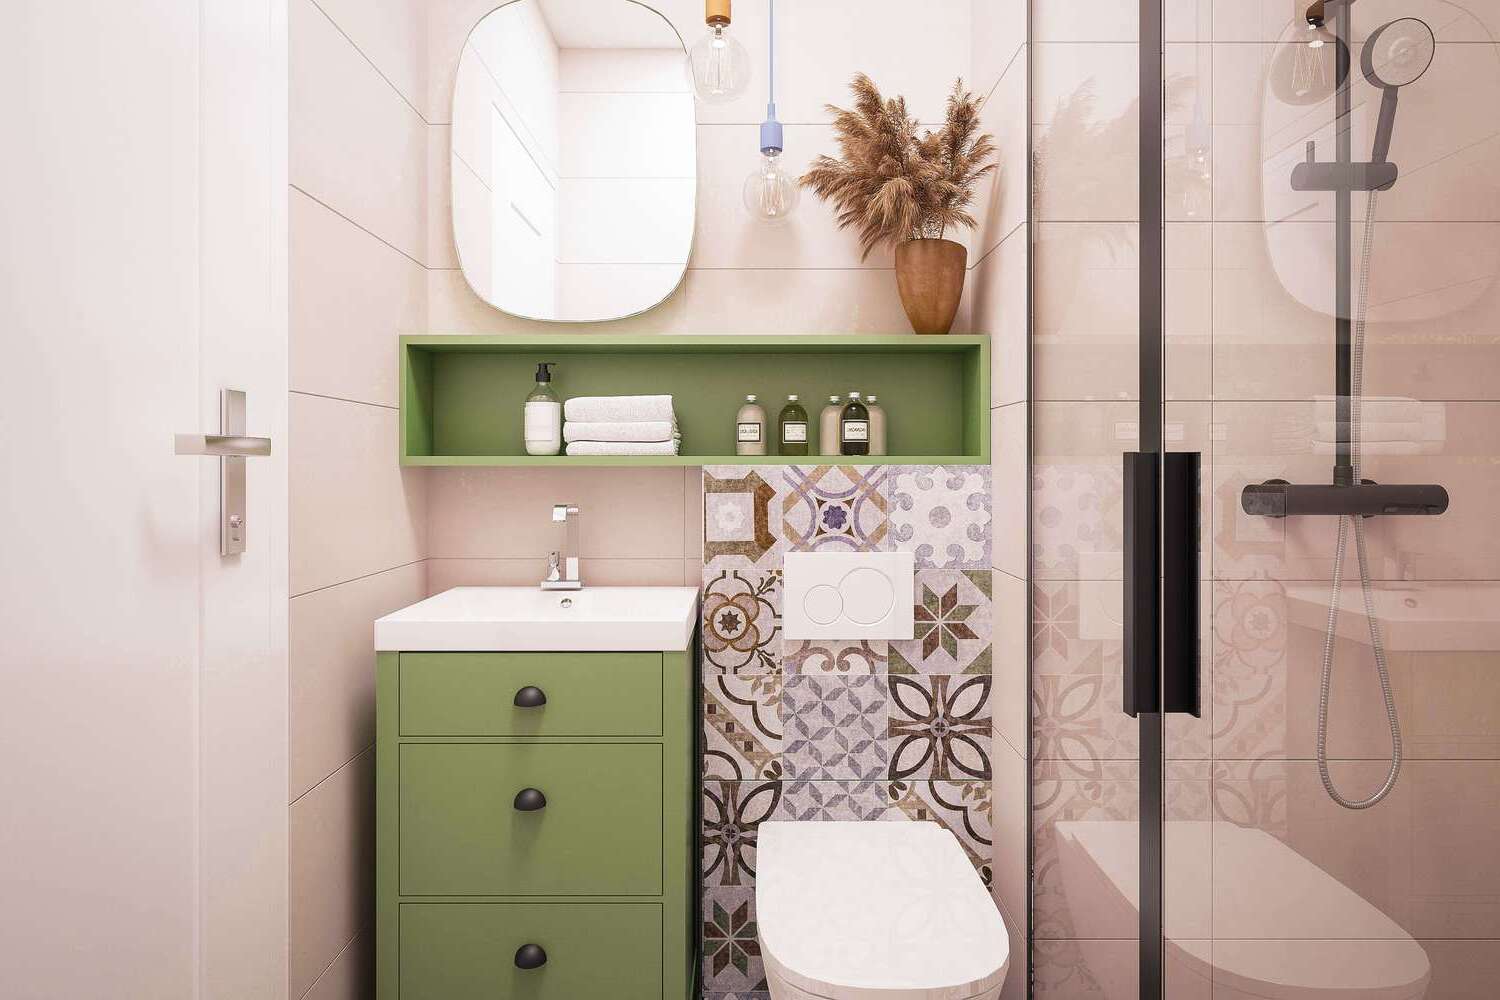
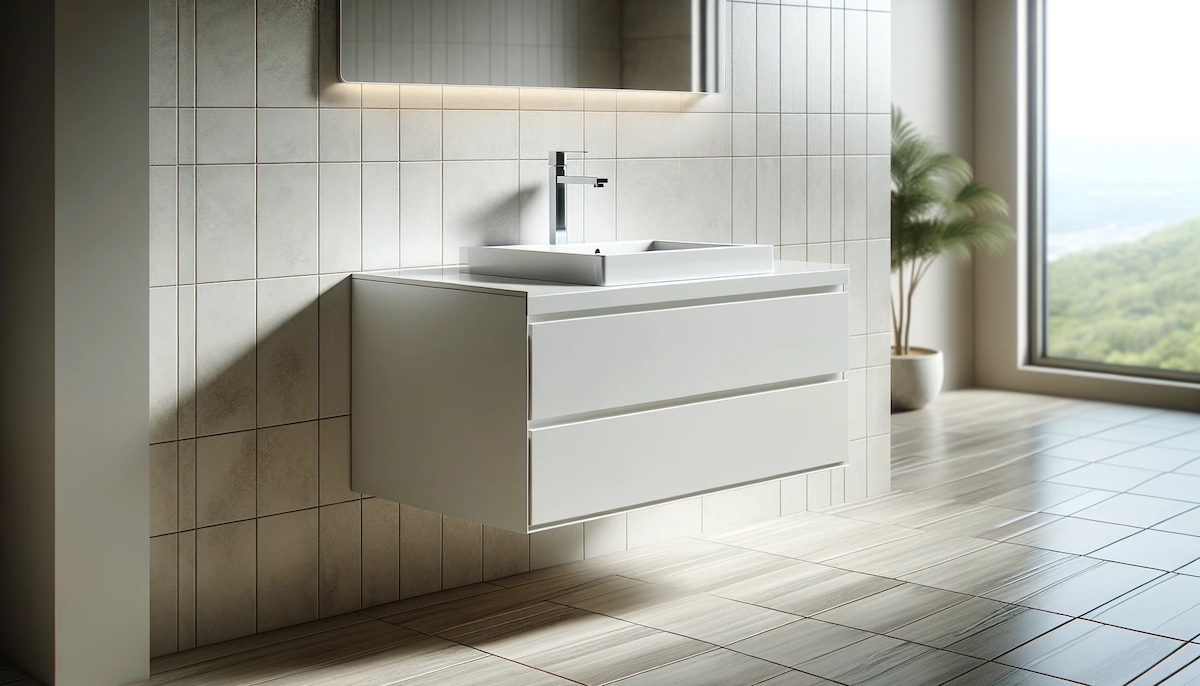
Bathroom renovations often involve choosing the right fixtures to enhance both functionality and aesthetics. One of the most popular and stylish options for bathroom vanities is the wall-mounted floating vanity. These vanities offer a sleek, modern look while maximizing floor space, making them ideal for small bathrooms. However, choosing and installing a floating vanity can be a bit more complex than traditional vanities due to the need for proper support and installation techniques. In this article, we will guide you through the process of selecting the right floating bathroom vanity and provide a detailed step-by-step guide on how to install it.
Benefits of Floating Vanities
Floating vanities have become increasingly popular in modern bathrooms due to their unique design and functional benefits. Here are some of the key advantages:
- Space Efficiency: Floating vanities are mounted directly to the wall, which opens up the floor space. This is particularly beneficial in small bathrooms where every inch counts.
- Modern Design: They add a sleek, contemporary look to the bathroom, making it more appealing and modern.
- Durability: Floating vanities are designed to be sturdy and durable, ensuring they can withstand the moisture and humidity of a bathroom environment.
- Easy Maintenance: Since the vanity is not attached to the floor, there is less risk of water damage or rotting wood.
Choosing the Right Floating Vanity
When selecting a floating vanity, there are several factors to consider:
-
Height Options:
- Floating vanities typically come in three standard height options: 21, 24, and 27 inches. The height you choose will depend on the plumbing height in your bathroom. For example, if you have standard plumbing at 34 inches above the floor and choose a 24-inch vanity, it will be installed 10 inches off the floor.
-
Material Selection:
- The material of your vanity can significantly impact its durability and maintenance requirements. Common materials include wood, concrete, and marble.
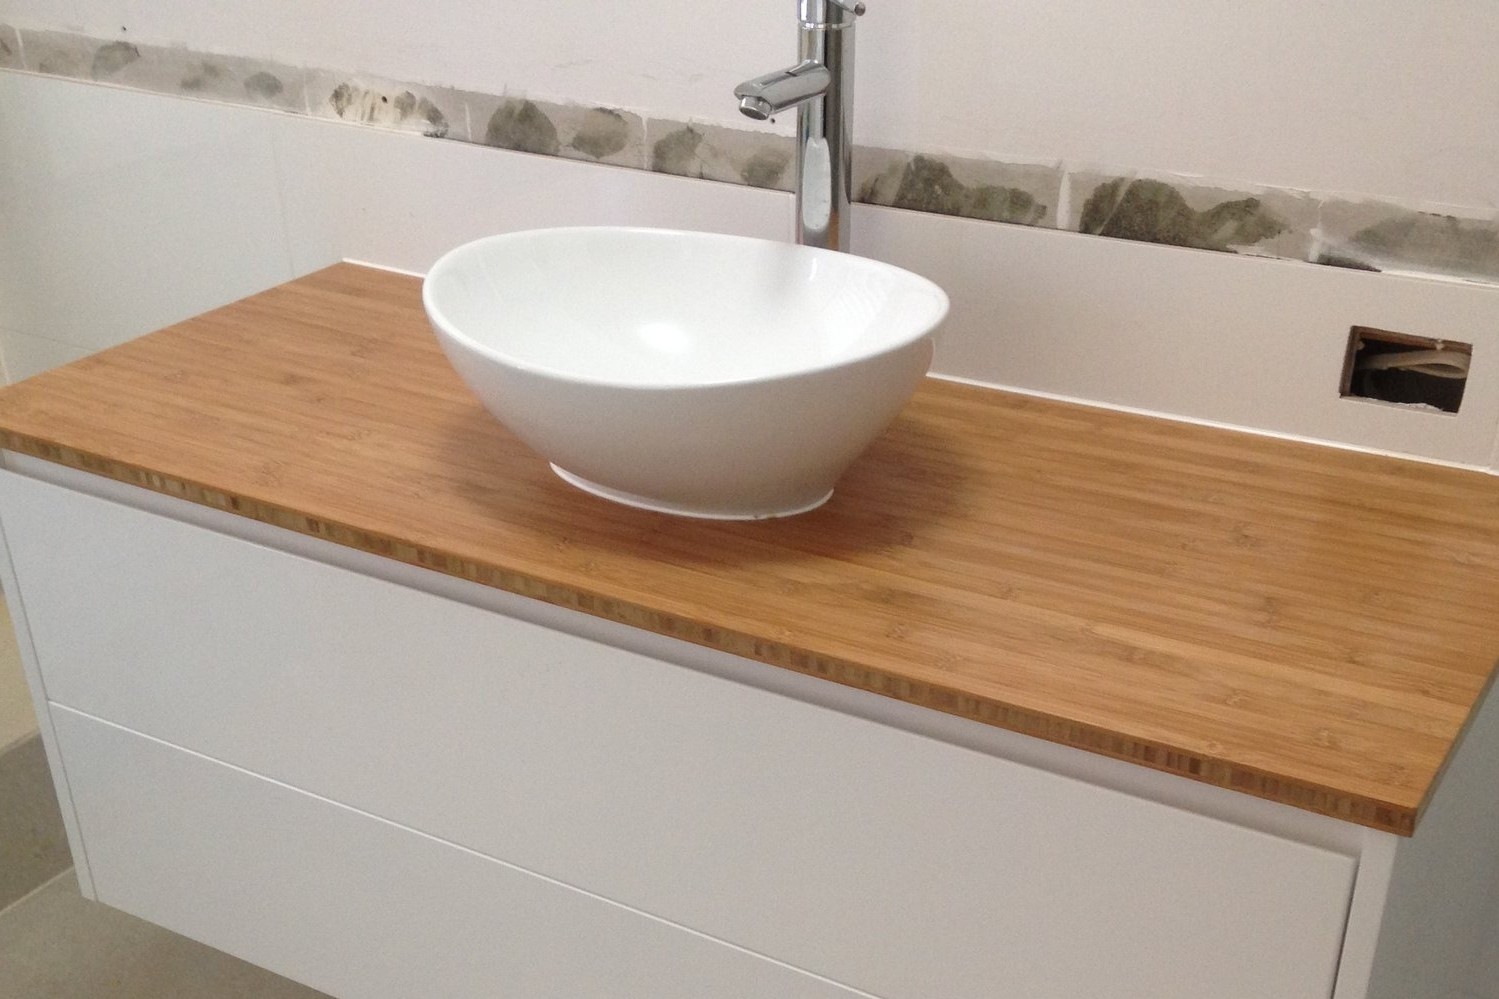
- Wood: Offers a natural look but requires regular upkeep to prevent moisture damage.
- Concrete: Durable and customizable but heavy, requiring extra support.
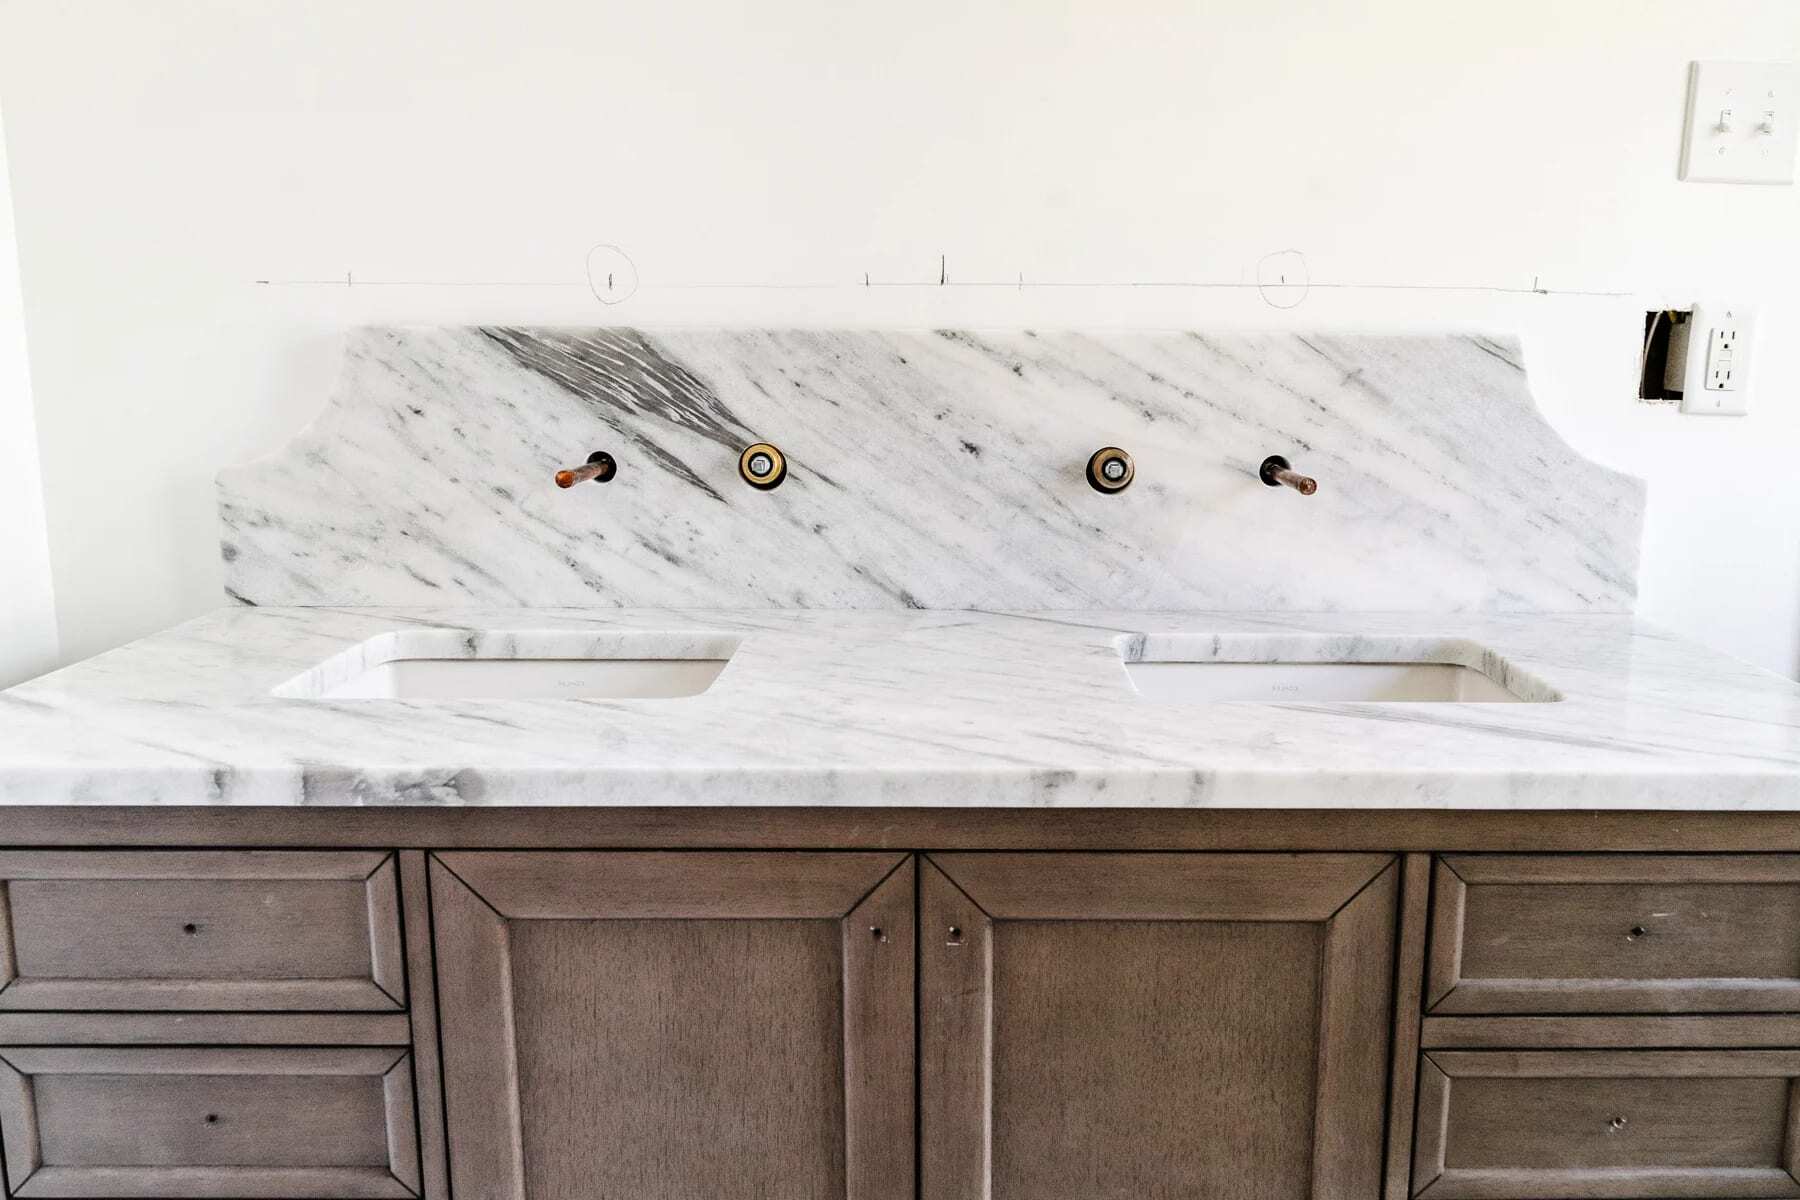
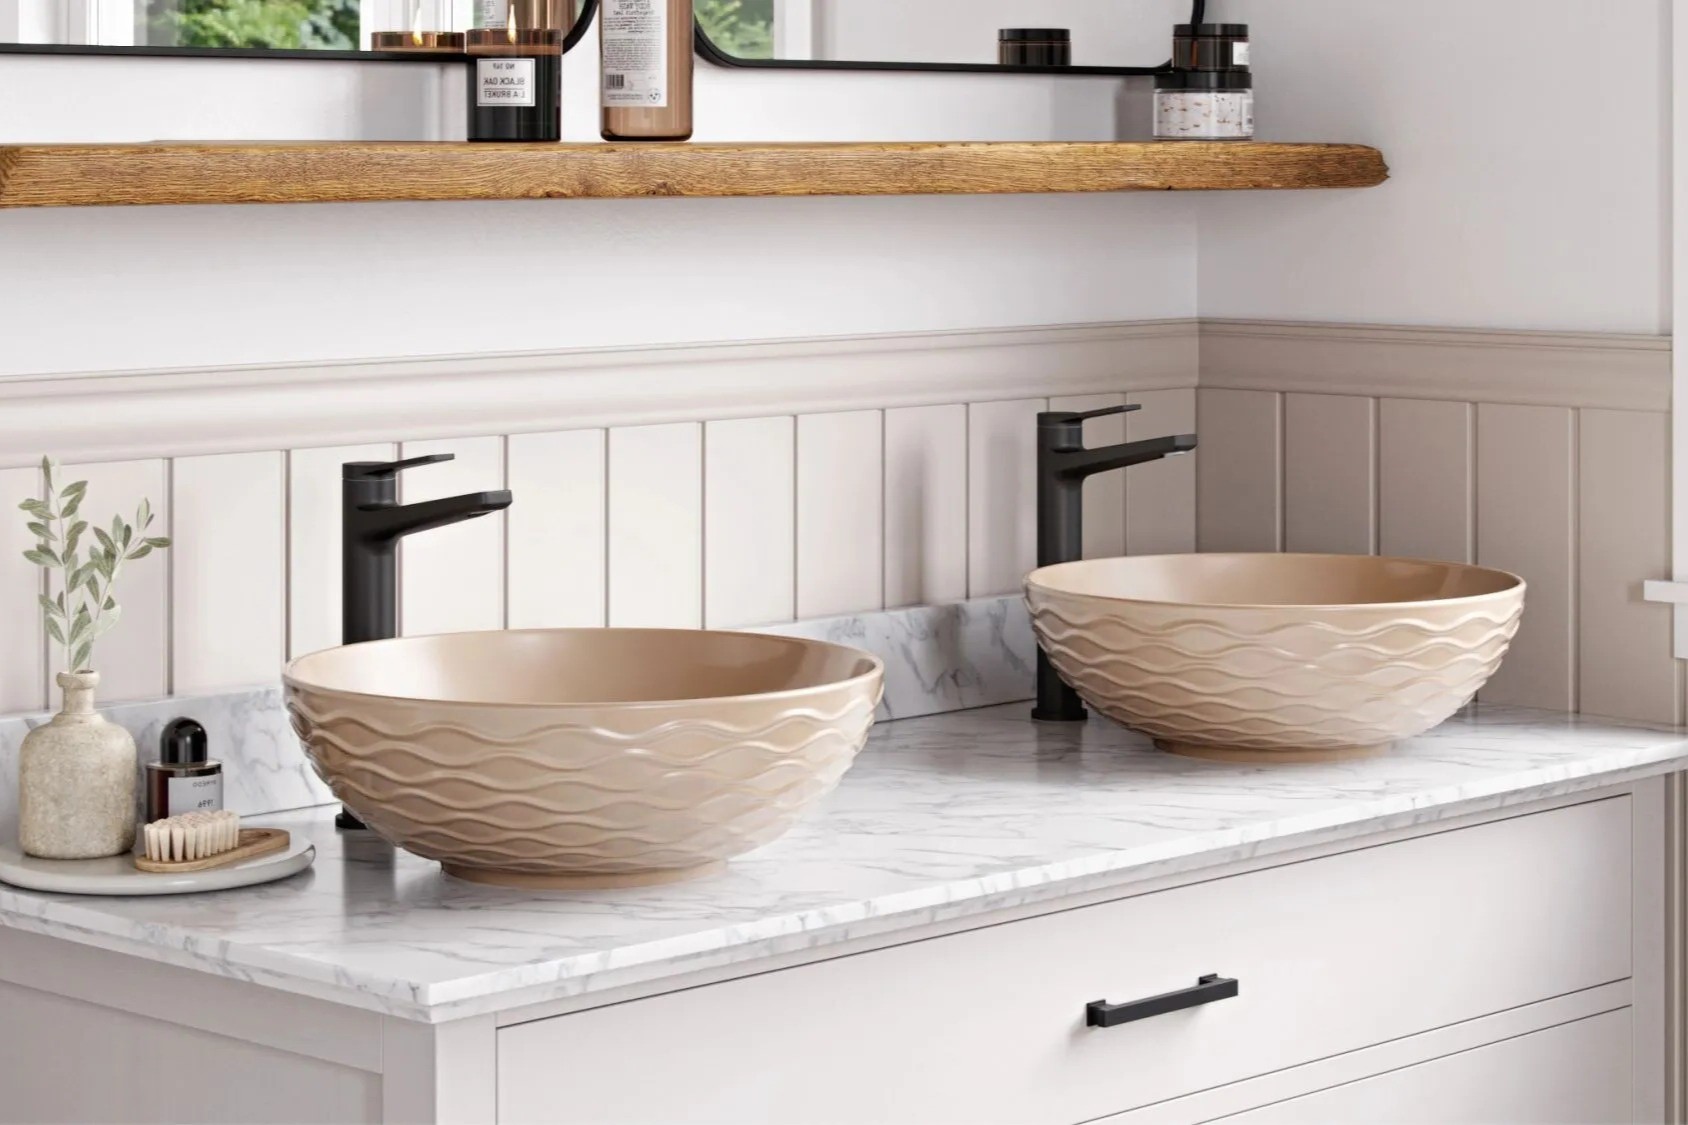
- Marble: Elegant with unique patterns but porous, requiring regular maintenance to prevent stains.
-
Style Adaptation:
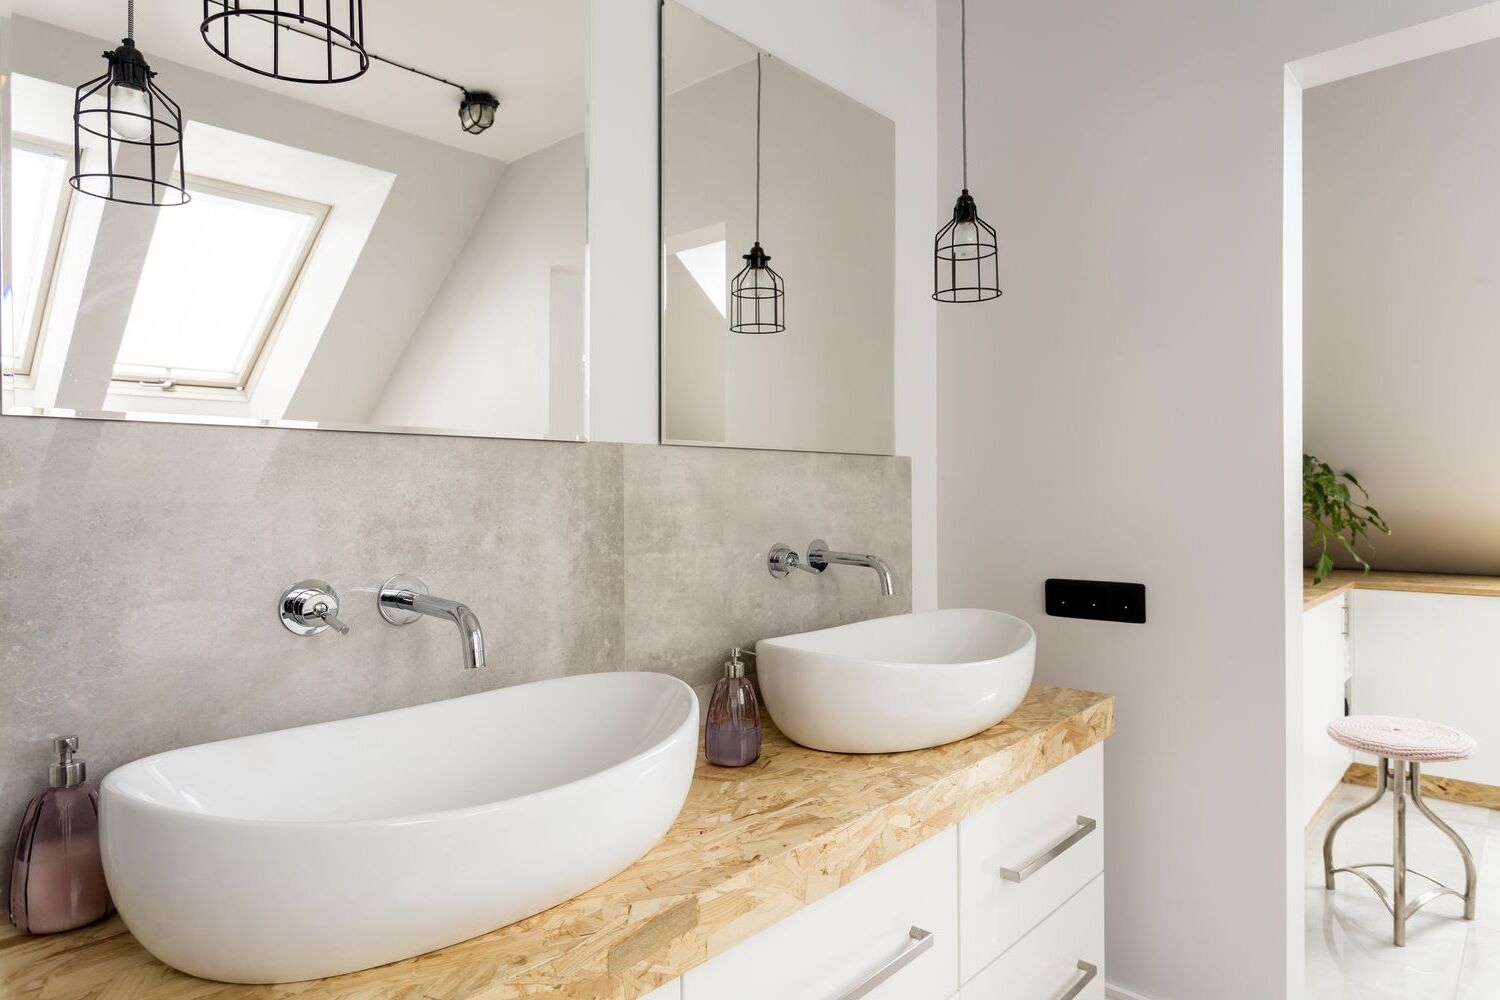
- Consider how well the vanity fits into your bathroom's design scheme. For example, wood vanities can adapt to most bathroom styles, while marble is better suited for classic and luxurious bathrooms.
-
Budget Constraints:
- Define your budget early in the selection process to narrow down your options effectively. Materials vary significantly in price, so it's essential to balance style with affordability.
-
Storage Needs:
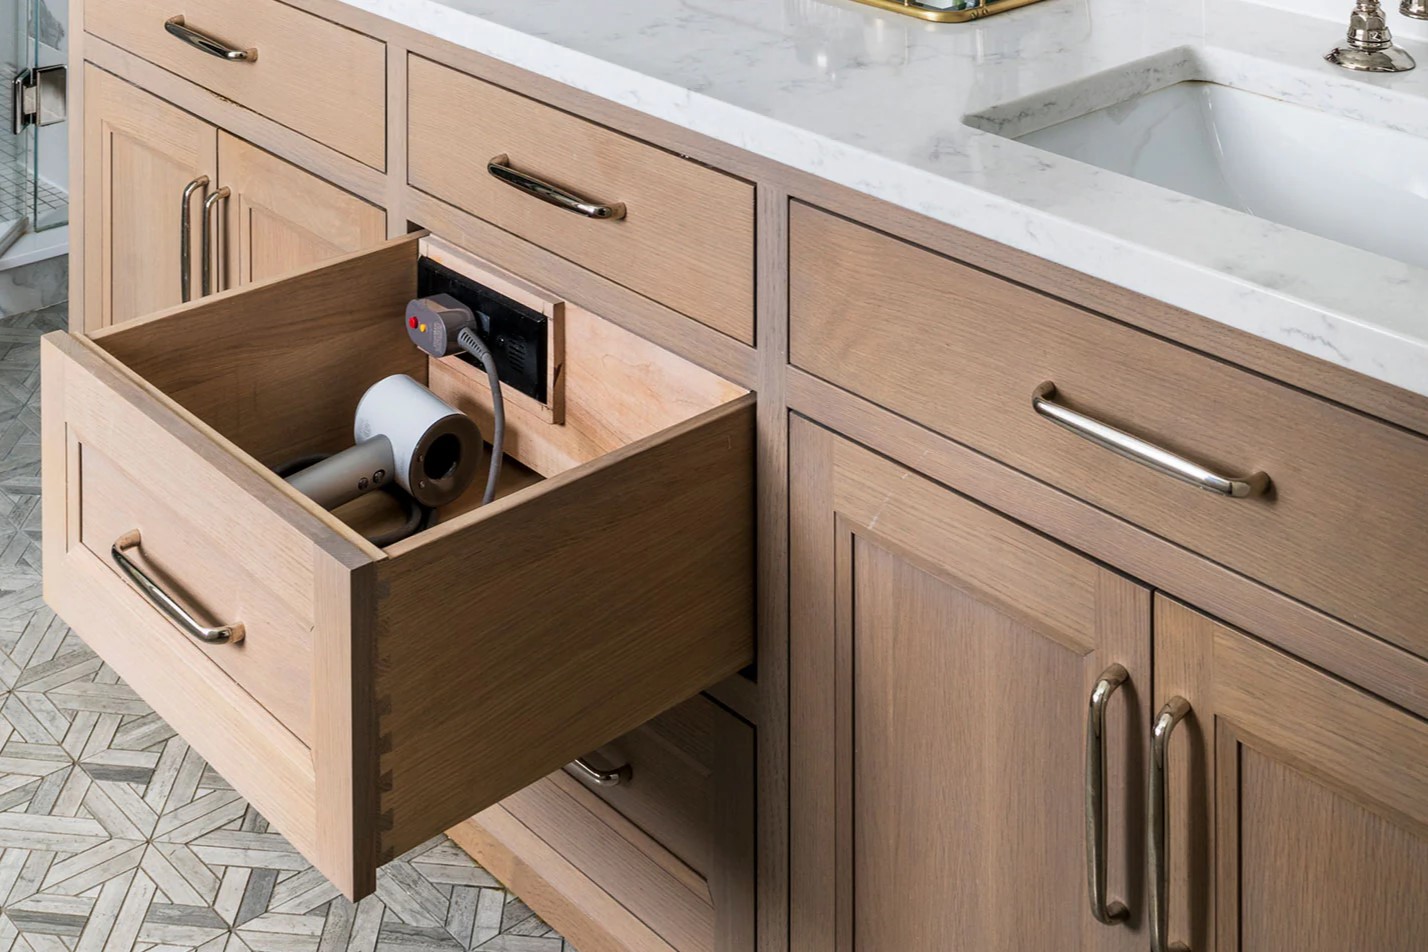
- Assess whether you need ample storage space or if a minimalist design will suffice. Some floating vanities come with drawers or cabinets for added functionality.
-
Countertop Selection:
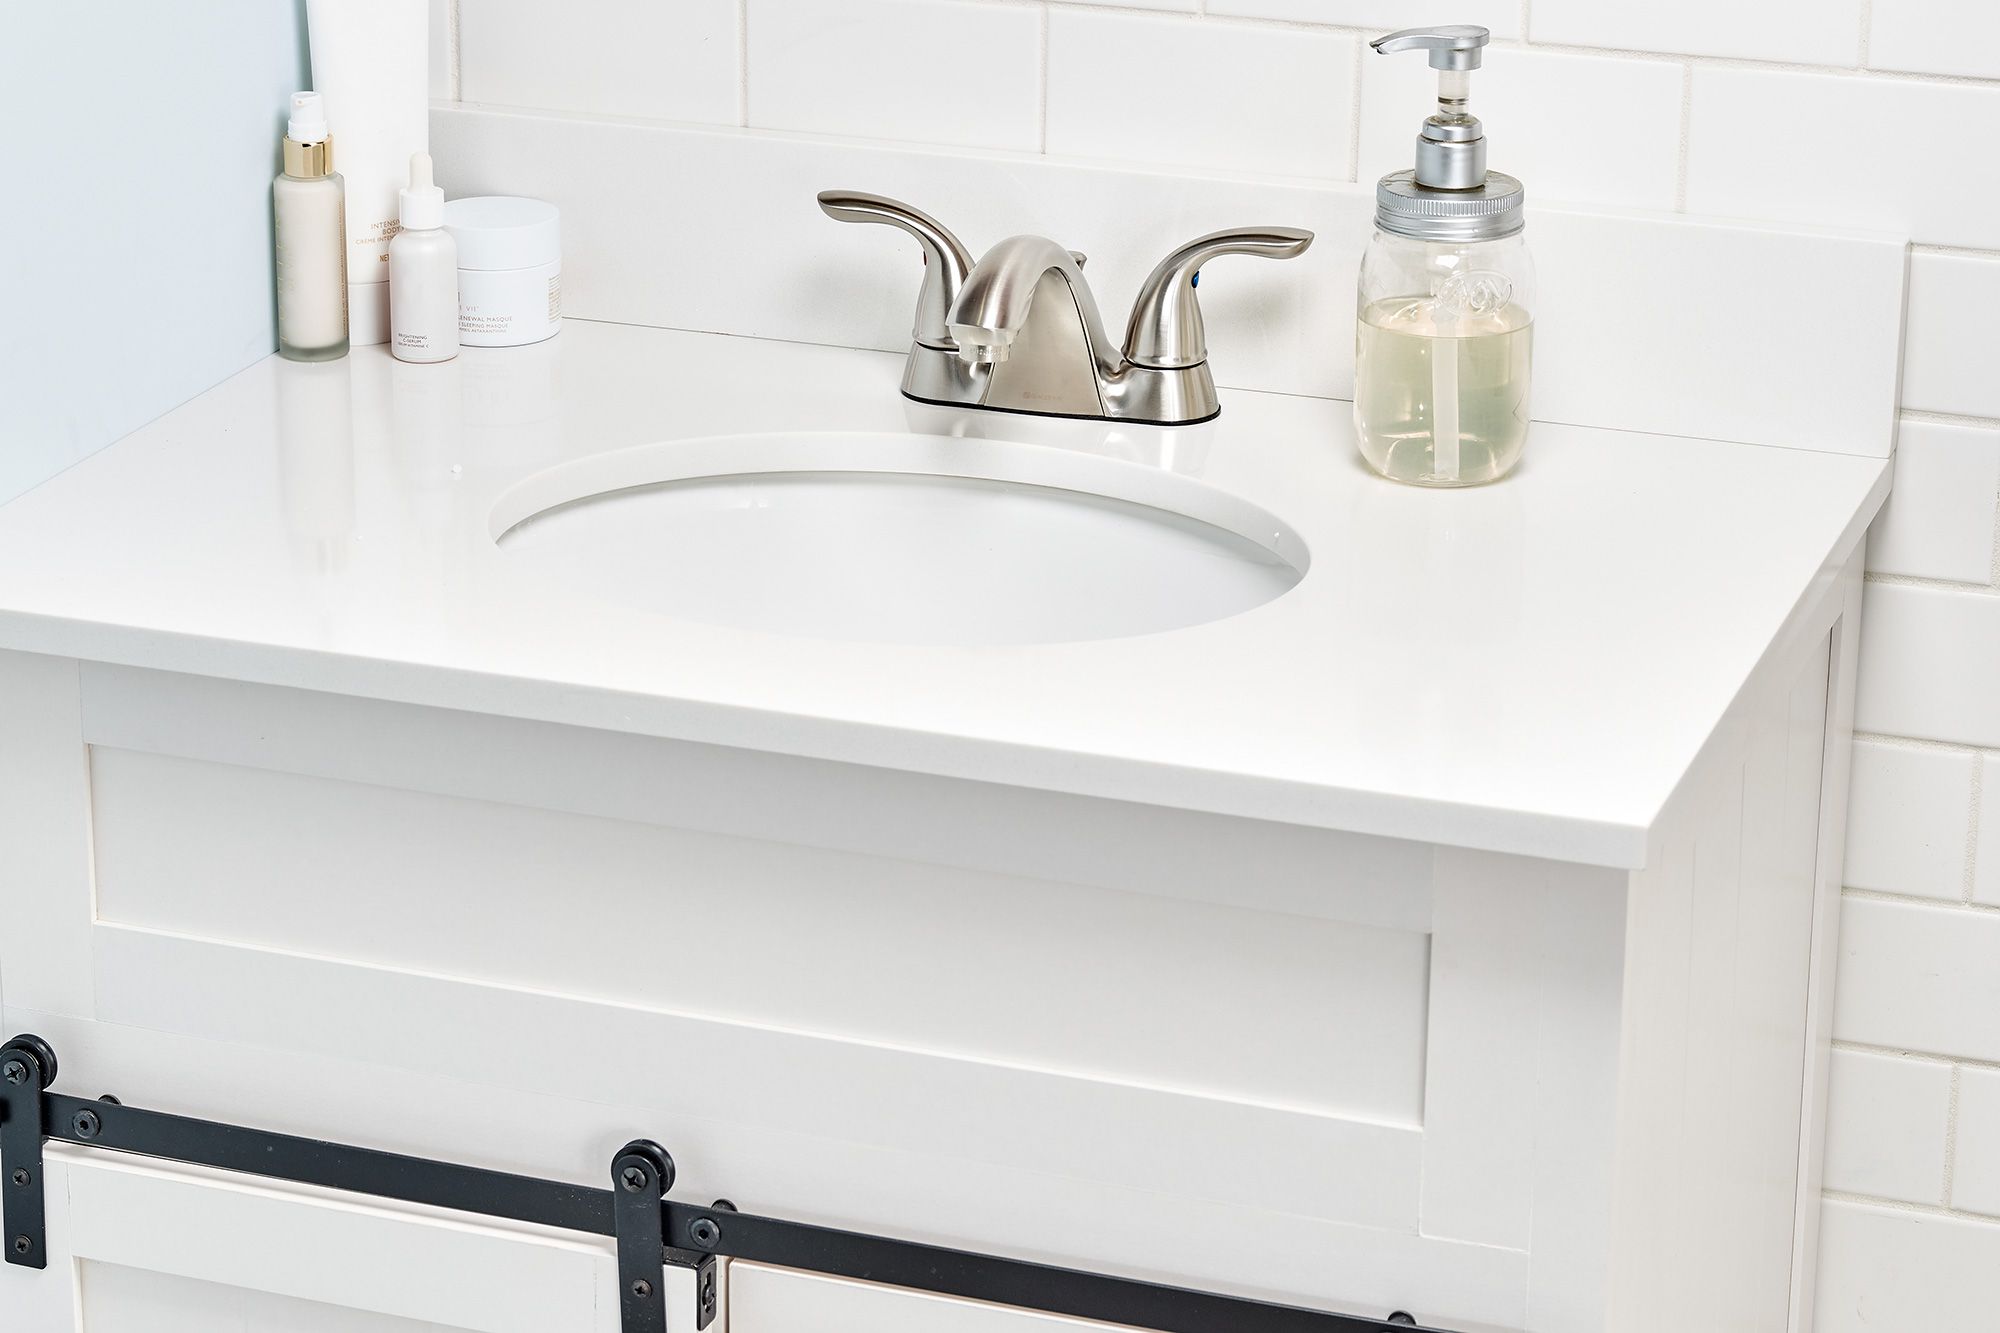
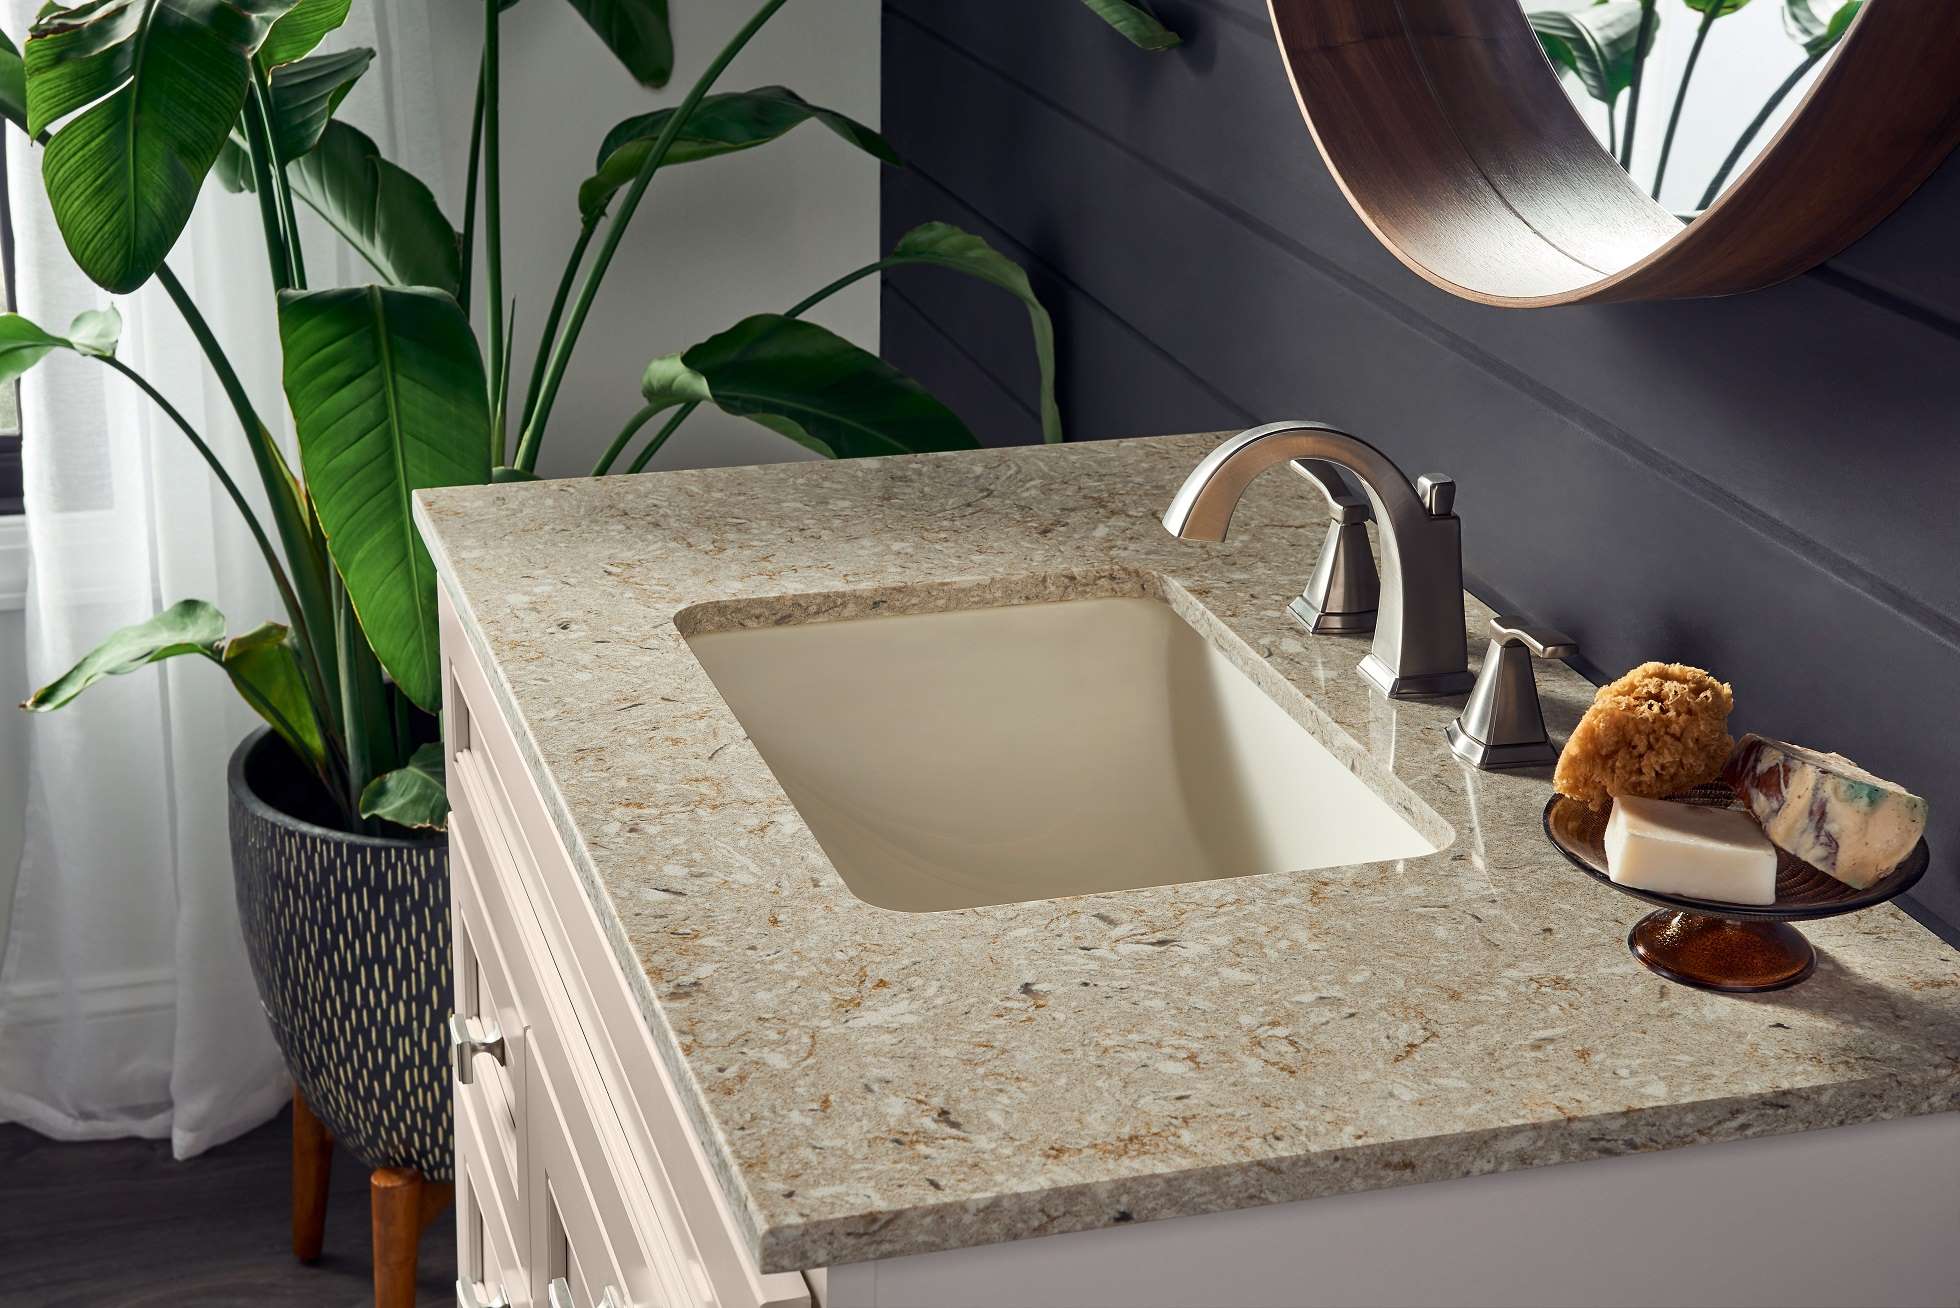
- Choose a countertop material that complements your vanity's style and meets your maintenance requirements. Popular options include granite, quartz, and solid surface countertops.
Preparing for Installation
Before you start installing your floating vanity, it's crucial to prepare the area properly:
-
Mark the Wall:
- Determine the finished height of your vanity by subtracting the thickness of the countertop (usually 3/4 inch) from the desired height.
-
Notch the Studs:
- Create proper support by notching your wall studs so that they can accommodate a sturdy brace. Mark the vanity’s width above the rough plumbing and use a level to extend this mark across the installation area.
-
Install Bracing:
- Use a circular saw to cut 1 1/2 inches deep notches in the studs where the brace will be placed. Remove any wood slivers and clean up the notch.
-
Add Blocking (If Necessary):
- If you're using a heavy countertop like marble or concrete, consider adding blocking behind the vanity for extra support. This will help distribute the weight evenly and prevent damage to the wall.
Installing the Floating Vanity
Installing a floating vanity requires careful planning and execution to ensure it is securely attached to the wall:
-
Attach Bracing:
- Use structural screws or lag bolts to attach the bracing to the notched studs. This will provide the necessary support for the vanity.
-
Mount the Vanity:
- Rest the vanity on a 5-gallon bucket topped with plywood to ensure it is level. With a helper, lift the vanity into place and secure it to the bracing using screws or brackets provided with the vanity.
-
Secure the Back Piece:
- To add extra safety and stability, attach the very back piece of the vanity into the plywood and wall using screws. This ensures that the vanity won't shift or fall off the wall.
-
Install Countertop:
- Apply clear silicone along any area where the countertop will sit against the vanity. This will help create a solid bond between the countertop and the vanity. Carefully place the countertop on top of the silicone, ensuring it is level and secure.
-
Add Plumbing Fixtures:
- Install sinks and faucets according to the manufacturer's instructions. Make sure all plumbing connections are secure and functional before finishing the installation.
Hiding Pipes Under the Vanity
One of the challenges with floating vanities is hiding pipes under them without compromising their structural integrity:
-
Use Pipe Covers:
- Use decorative pipe covers or concealment kits specifically designed for bathroom vanities. These kits usually include metal or plastic covers that can be attached to the pipes before installing the vanity.
-
Route Pipes Strategically:
- Plan the routing of pipes carefully so that they are hidden from view but still accessible for maintenance purposes. This might involve running pipes behind the wall or using flexible hoses that can be easily concealed.
Safety Considerations
While floating vanities offer many benefits, there are some safety considerations to keep in mind:
-
Weight Limits:
- Be aware of the weight limits of your floating vanity. Overloading it with too much weight can compromise its stability and safety.
-
Child Safety:
- Floating vanities are not ideal in homes with small children as they can pose a climbing hazard. Ensure that any floating vanity you install is securely anchored to the wall to prevent accidents.
-
Professional Installation:
- While it's possible to install a floating vanity yourself, it's highly recommended to hire a professional contractor who has experience with such installations. Proper installation ensures safety and proper function.
Final Touches
Once your floating vanity is installed, there are several final touches you can add to enhance its appearance and functionality:
-
Hardware Upgrades:
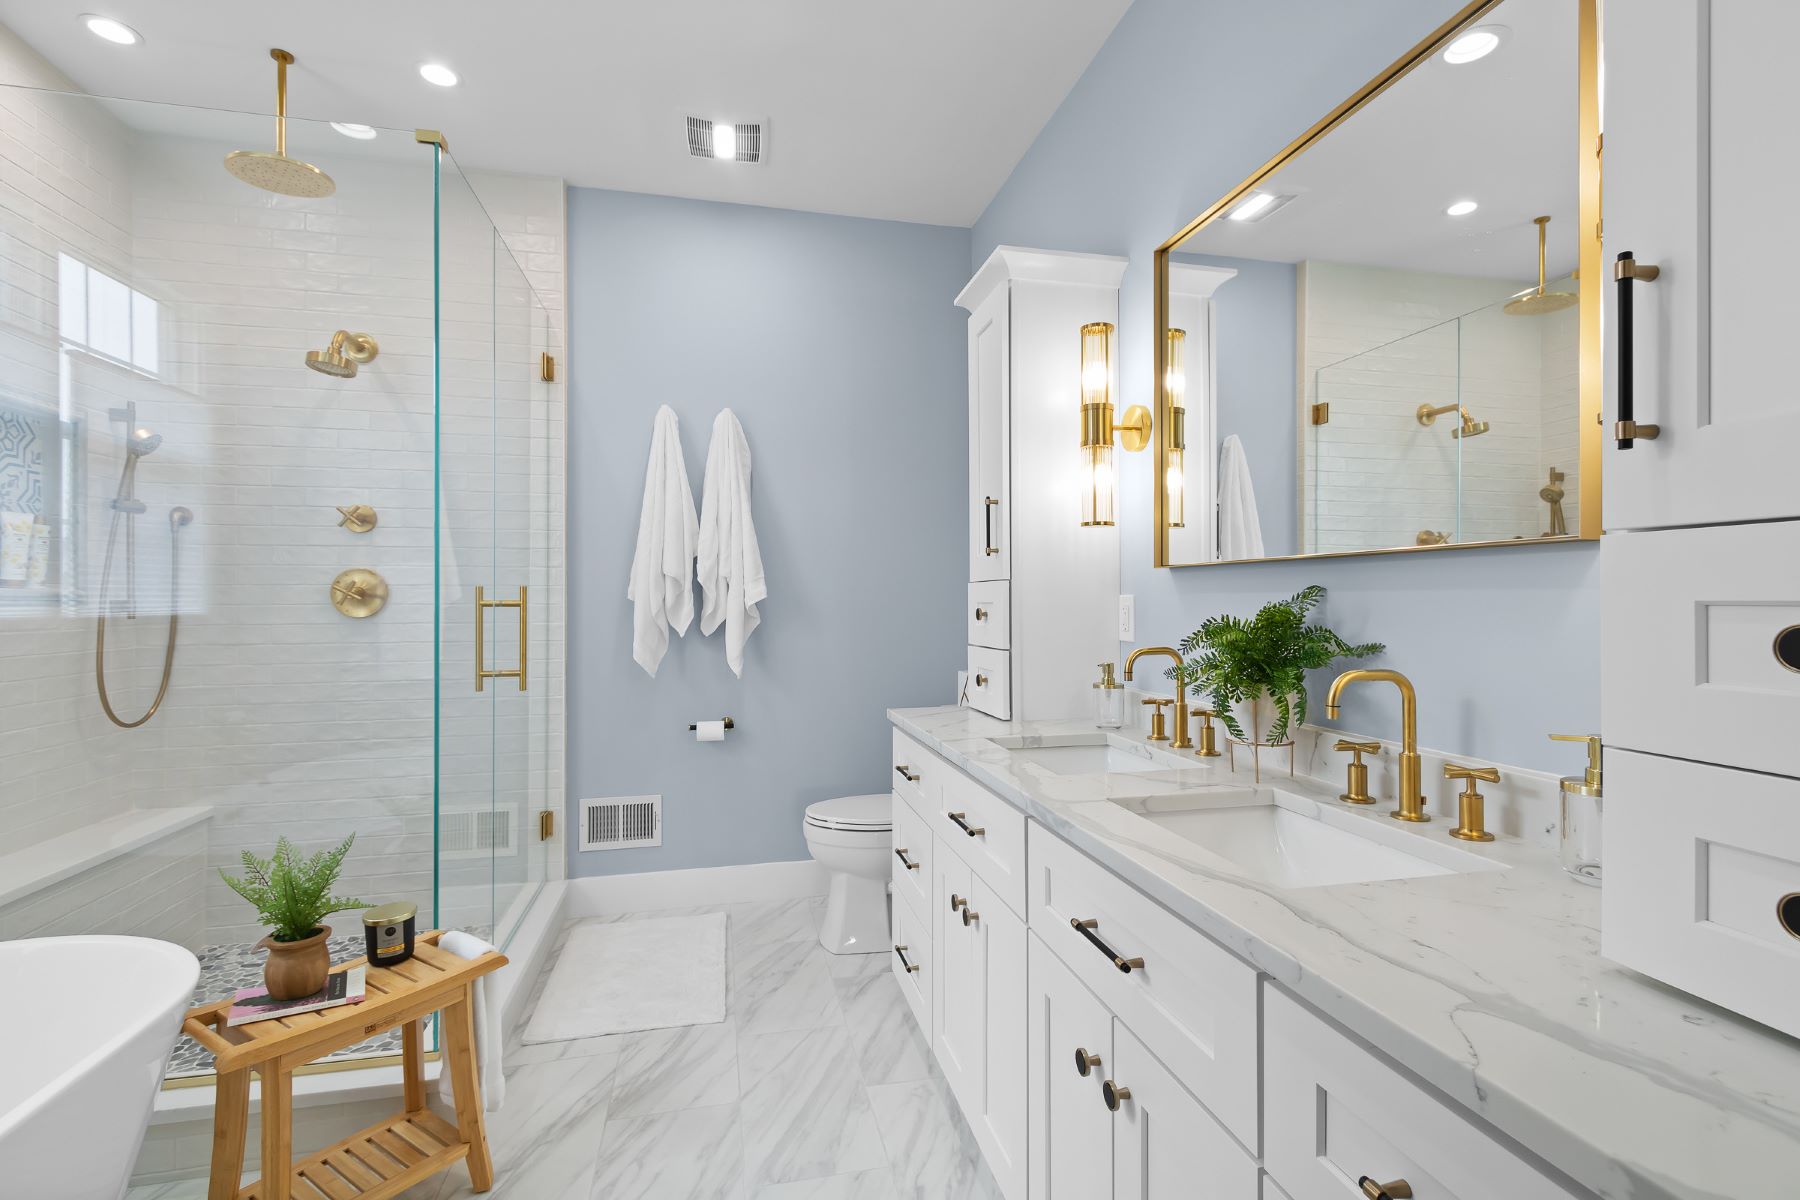
- Replace original hardware with brass or other finishes that complement your bathroom's style. This adds a touch of elegance and sophistication to the overall design.
-
Lighting and Accessories:
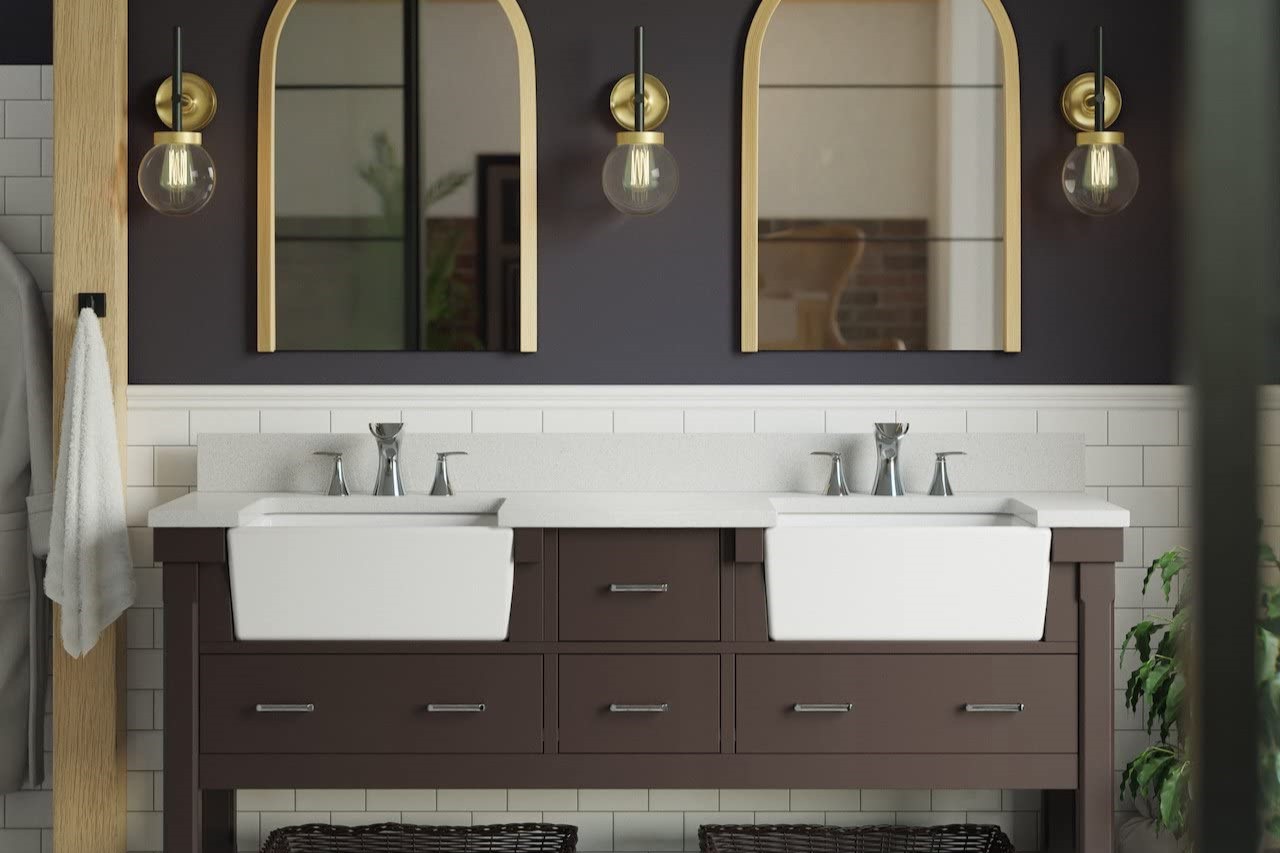
- Add sconce lighting, mirrors, and other accessories that fit your bathroom's theme. These elements can make or break the overall aesthetic appeal of your newly renovated bathroom.
-
Maintenance Tips:
- Regularly clean and maintain your floating vanity to ensure it remains in good condition. This includes wiping down surfaces, checking for water damage, and performing routine upkeep tasks based on the material used.
In conclusion, choosing and installing the right bathroom wall-mounted floating vanity requires careful consideration of several factors including height options, material selection, style adaptation, budget constraints, storage needs, countertop selection, preparation for installation, safety considerations, and final touches. By following these steps meticulously, you can achieve a stylish yet functional bathroom that enhances both your living space and personal comfort.
Additional Resources
For more detailed information on specific aspects of floating vanity installation or maintenance:
- Unique Vanities: Offers comprehensive guides on various aspects of floating vanities including benefits, cons, height options, and more.
- The Wood Grain Cottage: Provides a step-by-step guide on how to install a floating vanity with detailed tips on securing it properly to the wall.
- YouTube Tutorials: Offers video tutorials on installing floating vanities including how to properly support them and add backing to your wall for extra support.
- Metropolitan Cabinets: Provides a comprehensive guide on selecting ideal materials and styles for your bathroom vanity while emphasizing the importance of proper installation techniques.
- This Old House: Offers a detailed guide on how to install wall-mount vanities and sinks with specific instructions on preparing the wall and securing the vanity in place.
Was this page helpful?
At Storables.com, we guarantee accurate and reliable information. Our content, validated by Expert Board Contributors, is crafted following stringent Editorial Policies. We're committed to providing you with well-researched, expert-backed insights for all your informational needs.




0 thoughts on “How To Choose And Install The Right Bathroom Wall-Mounted Floating Vanity”