Home>Ideas and Tips>Indoor Herb Drying Rack DIY: Preserve Your Garden Harvest
Ideas and Tips
Indoor Herb Drying Rack DIY: Preserve Your Garden Harvest
Published: September 2, 2024
Create a DIY indoor herb drying rack to preserve your garden harvest year-round. Simple steps and tips for flavorful, space-efficient herb storage.
(Many of the links in this article redirect to a specific reviewed product. Your purchase of these products through affiliate links helps to generate commission for Storables.com, at no extra cost. Learn more)
Preserving your garden harvest is a fantastic way to enjoy fresh herbs all year round. But why dry herbs? Drying herbs is essential because it extends their shelf life, allowing you to savor their flavors long after the growing season ends. Fresh herbs are wonderful, but they spoil quickly. Drying them ensures you have a steady supply for cooking, teas, and even natural remedies. Plus, dried herbs take up less space and can be stored easily in airtight containers. So, let's dive into creating your very own indoor herb drying rack.
Why Dry Herbs?
Drying herbs is a game-changer. Fresh herbs are great, but they don't last long. Drying them means you can use them all year. Here are some reasons why drying herbs is a smart move:
- Year-Round Use: Dried herbs can be stored in airtight containers and used in various recipes, from soups to baked goods.
- Space Efficiency: Unlike fresh herbs, dried herbs take up minimal space, making them ideal for small kitchens or pantries.
- Flavor Preservation: Drying helps preserve the flavor and aroma of herbs, which can be lost when they are stored fresh.
- Versatility: Dried herbs can be used in teas, potpourri, and even as a natural remedy for various health issues.
Materials Needed
To make your own indoor herb drying rack, you'll need a few materials:
- Wooden Boards: Use 1×2 or 1×4 inch wooden boards. Pine or cedar wood are good choices.
- Screening Mesh: A plastic or nylon mesh screen allows air to circulate around the herbs.
- Screws and Staples: For assembling the rack, you'll need screws and a staple gun.
- Measuring Tape and Level: These tools help ensure your rack is square and level.
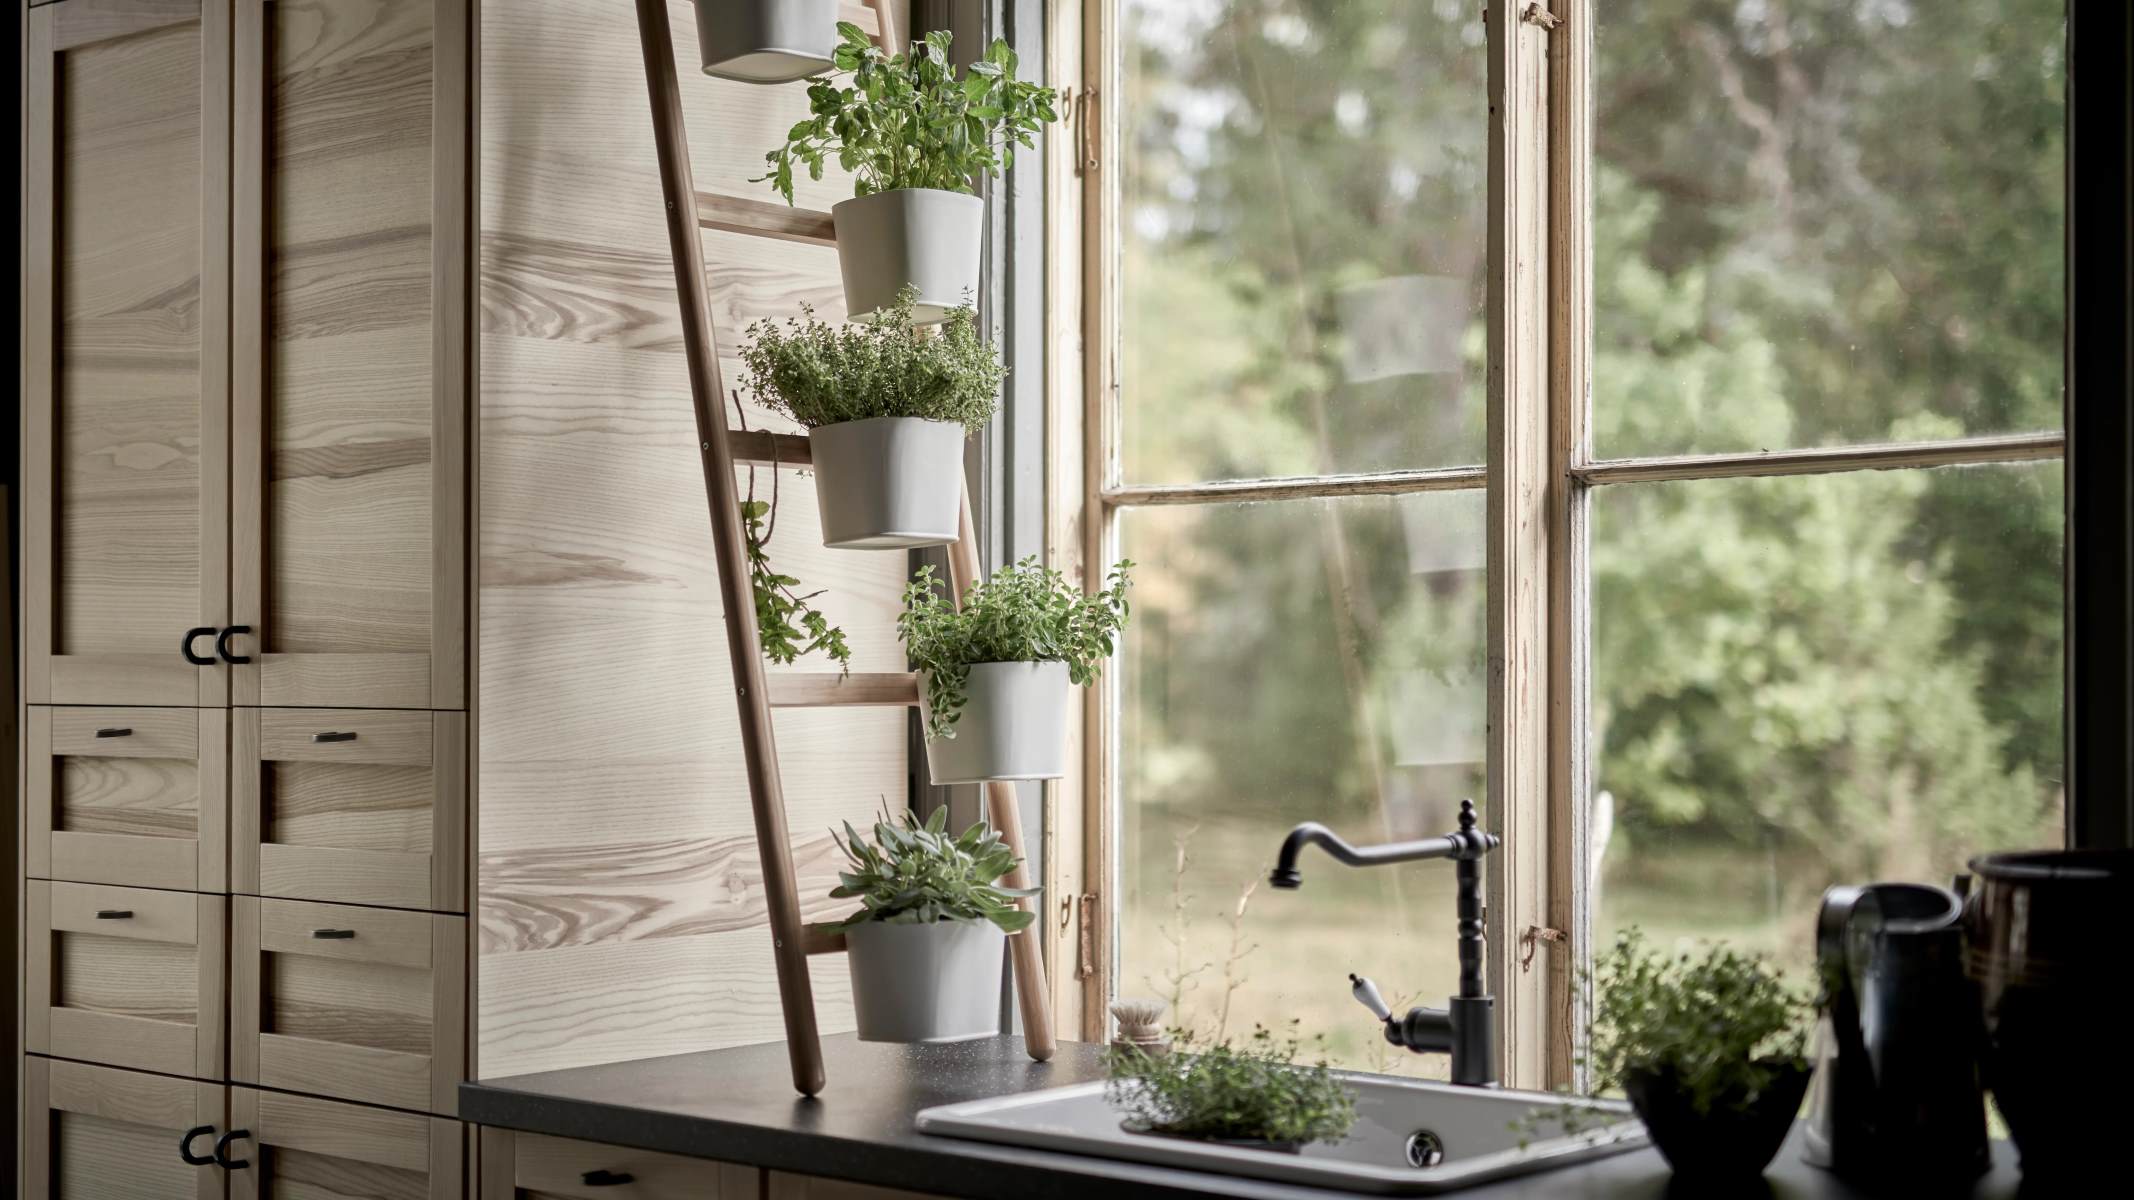
- Optional: Decorative Elements: Hooks, dowels, or old window frames can add a decorative touch.
Step-by-Step Instructions
Step 1: Plan Your Rack
Decide on the size and shape of your rack. A square or rectangular shape is ideal. You can also make multiple smaller racks if space is limited.
Step 2: Cut the Wooden Boards
Cut four wooden boards to the desired length. For example, if you're making a square rack with sides of 24 inches and 21 inches, cut two boards to 24 inches and two boards to 21 inches.
Step 3: Assemble the Frame
Lay out your boards in a square shape and use screws to hold them together. Pre-drill holes to avoid splitting the wood when you insert the screws. Use 3-inch screws for added strength.
Step 4: Attach the Screening Mesh
Measure out your screening mesh to ensure it extends at least 4 inches beyond each side of your wooden frame. Use a heavy-duty staple gun to staple the mesh to the wood. Start by attaching one edge of the mesh and then pull it tight before stapling the other edges. Flip the rack over and staple the mesh on the other side for added strength.
Step 5: Add Decorative Elements (Optional)
If you want to add a decorative touch, you can use hooks or dowels to hang your rack on the wall. This not only saves space but also makes it easier to hang multiple racks if needed.
Tips for Using Your DIY Herb Drying Rack
Once you've assembled your rack, here are some tips for using it effectively:
- Harvest Fresh Herbs: Harvest your herbs in the early morning after the dew has dried off but before the heat of the afternoon sun. This helps preserve their flavor and aroma.
- Wash and Trim Herbs: Wash your herbs gently and trim them to remove any excess leaves or stems. This helps prevent moisture from accumulating on the rack.
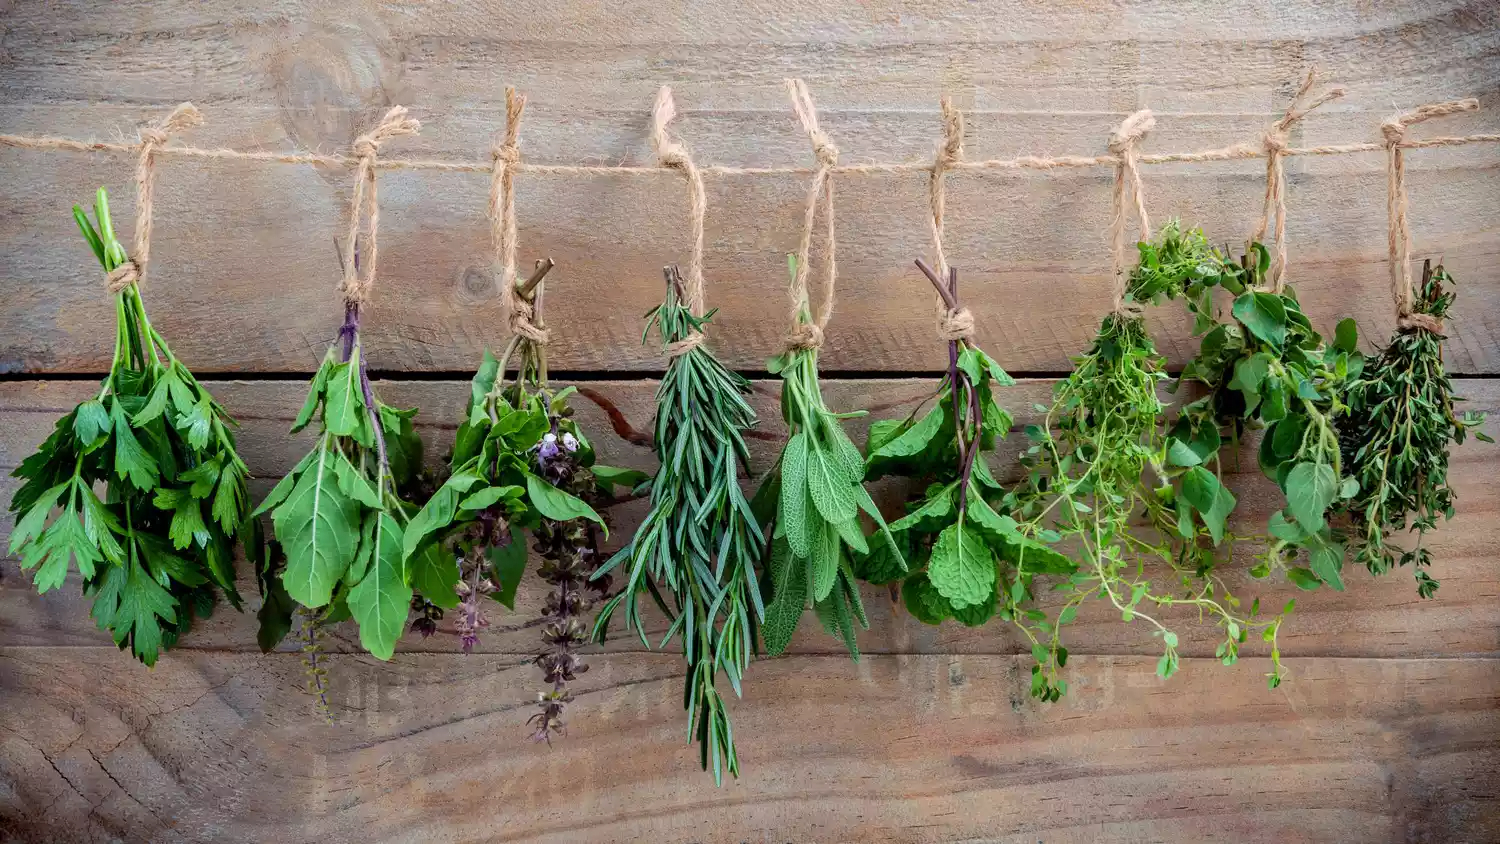
- Arrange Herbs: Arrange your herbs in a single layer on the rack, making sure not to overcrowd it. This allows for good air circulation around each herb.
- Dry in Sunlight: Place your rack in a sunny spot, ideally with good air circulation. The sun's UV rays help dry out the herbs naturally.
- Switch Racks: If you have multiple racks, switch them periodically to ensure even drying. This prevents some herbs from drying faster than others.
- Store Dried Herbs: Once your herbs are completely dry, remove them from the rack and store them in airtight containers. Label each container with the herb's name and date for easy identification.
Variations and Alternatives
While the basic DIY herb drying rack is straightforward, there are several variations and alternatives you can consider:
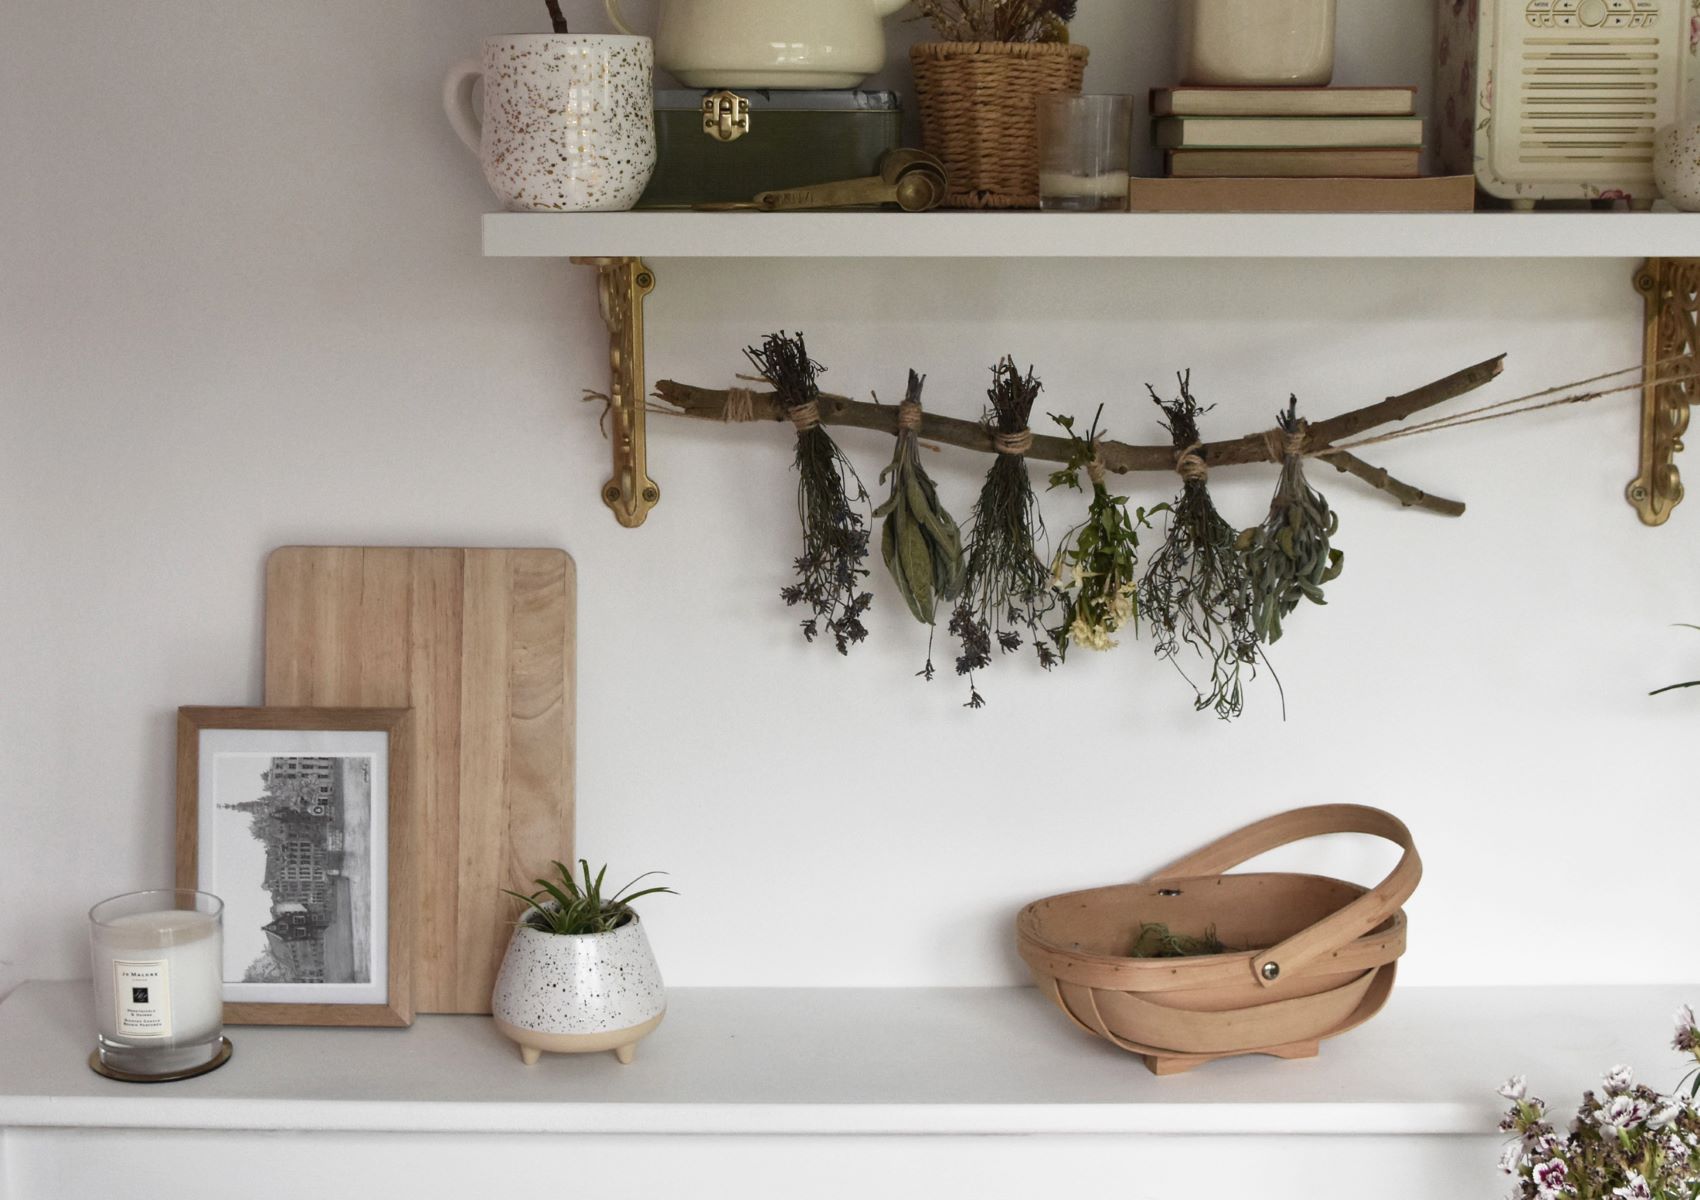
- High Hanging Rack: Create a high hanging rack using sticks tied together with jute or string. This maximizes vertical space and keeps animals away from your herbs.
- Wall-Mounted Rack: Use hooks or dowels to hang your rack on the wall, making it easier to access and adding a decorative element to your kitchen.
- Repurposed Materials: Use repurposed shadow boxes or old window frames as an alternative to traditional wooden boards. This adds a unique touch while still preserving your herbs effectively.
- Stackable Racks: Build stackable racks using multiple frames with mesh screening. This allows you to dry more herbs at once without taking up too much space.
Additional Tips for Harvesting and Drying Herbs
Here are some additional tips for harvesting and drying herbs effectively:
- Harvest Before Flowering: Most herbs should be harvested before they go to flower to preserve their best flavor.
- Avoid Over-Harvesting: Never cut more than a third of a plant to avoid weakening and killing it.
- Dry Immediately: Try not to wash herbs before drying them as excess moisture can lead to mold or spoilage.
- Monitor Potency: Even well-kept herbs lose much of their potency after about six months. Use them before that if possible, but they'll still be useful afterwards.
Creating an indoor herb drying rack is a simple yet rewarding DIY project that allows you to preserve your garden's bounty for year-round use. With these steps and tips, you can create a functional and decorative piece that enhances your kitchen or pantry while keeping your herbs fresh and flavorful. Whether you're a seasoned gardener or just starting out, this project is perfect for anyone looking to make the most of their herb harvest.
By following these instructions and tips, you'll be able to enjoy your homegrown herbs throughout the year, adding flavor and aroma to your cooking without the need for expensive store-bought alternatives. So why not give it a try? With a little creativity and some basic materials, you can create an indoor herb drying rack that will become one of your favorite features in the kitchen.
Was this page helpful?
At Storables.com, we guarantee accurate and reliable information. Our content, validated by Expert Board Contributors, is crafted following stringent Editorial Policies. We're committed to providing you with well-researched, expert-backed insights for all your informational needs.


0 thoughts on “Indoor Herb Drying Rack DIY: Preserve Your Garden Harvest”