Home>Garden Essentials>How To Grow Herbs From Seeds Indoors
Garden Essentials
How To Grow Herbs From Seeds Indoors
Modified: October 20, 2024
Learn how to grow a beautiful herb garden indoors from seeds. Discover expert tips and tricks for cultivating herbs in your home garden and enjoy fresh, aromatic flavors all year round.
(Many of the links in this article redirect to a specific reviewed product. Your purchase of these products through affiliate links helps to generate commission for Storables.com, at no extra cost. Learn more)
Introduction
Welcome to the world of indoor gardening! Growing herbs from seeds indoors is a rewarding and enjoyable experience that allows you to have fresh herbs at your fingertips year-round. Not only does it provide you with a convenient source of culinary delights, but it also beautifies your living space and nurtures your green thumb. Whether you have a spacious garden or a small apartment, you can create your own little herb oasis right inside your home.
Indoor herb gardens are a popular choice for many reasons. They offer the advantage of having readily available herbs for cooking, crafting herbal remedies, or simply enjoying the aroma and beauty they bring to your surroundings. Furthermore, cultivating herbs indoors allows you to control the growing environment, ensuring optimal conditions, and extends the growing season beyond what is possible outdoors.
In this guide, we will walk you through the process of growing herbs from seeds indoors. We will cover everything from choosing the right seeds to harvesting and enjoying the fruits of your labor. So, roll up your sleeves, grab your gardening gloves, and let’s get started on this exciting journey!
Key Takeaways:
- Choose the right seeds, gather supplies, and provide a nurturing environment to grow a successful indoor herb garden from seeds. Enjoy the satisfaction of harvesting and using fresh, homegrown herbs in culinary creations and crafts.
- Monitor growth, troubleshoot common issues, and embrace the joy of harvesting and enjoying your indoor herb garden. With care and attention, your herbs will thrive, providing continuous harvests and a rewarding gardening experience.
Read more: How Long To Grow Herbs From Seed
Choosing the Right Seeds
When it comes to choosing seeds for your indoor herb garden, there are a few key factors to consider. Firstly, think about the specific herbs you want to grow. Are you interested in culinary herbs like basil, thyme, and parsley? Or perhaps you have a penchant for herbal teas and want to grow chamomile, peppermint, or lemon balm.
Next, take into account the space you have available for your indoor garden. If you have limited space, opt for compact varieties that won’t take up too much room. Look for dwarf or bushy varieties of herbs, as they tend to have a more manageable size and can thrive in small containers or windowsill herb gardens.
Another important factor to consider is the level of experience you have in gardening. If you are a beginner, it is best to choose herbs that are relatively easy to grow and maintain. Some beginner-friendly options include basil, chives, mint, and oregano.
Additionally, you may want to think about the purpose of your herbs. Are you planning to use them for cooking, medicinal purposes, or both? This will help determine the types of herbs that are most suitable for your needs.
Once you have a clear idea of the herbs you want to grow, it’s time to source your seeds. You can find a wide variety of herb seeds at local nurseries, garden centers, or online seed retailers. Look for reputable sources that offer organic and non-GMO seeds to ensure the quality and authenticity of your plants.
Reading customer reviews and ratings can also be helpful in determining the reliability of the seed supplier. Additionally, consider the germination rate of the seeds, as higher germination rates ensure a greater chance of success in growing your herbs.
Remember to check the recommended growing conditions for each herb before purchasing the seeds. Each plant has unique requirements for sunlight, temperature, and humidity, so make sure they align with your indoor gardening setup.
By taking the time to carefully choose the right seeds, you are laying the foundation for a successful indoor herb garden. Now, let’s gather the necessary supplies to get started!
Gather the Necessary Supplies
Before you begin planting your indoor herb garden, it’s important to gather all the necessary supplies. Having the right tools and equipment on hand will make the process easier and more efficient. Here are the essential supplies you will need:
1. Containers or Pots: Choose containers that have drainage holes to prevent waterlogging. You can opt for individual pots or use a larger tray with multiple compartments.
2. Seed Starting Mix: This is a light and nutrient-rich growing medium specifically designed for starting seeds. Avoid using regular garden soil, as it may be too heavy and can hinder seed germination.
3. Seeds: Make sure you have the specific herb seeds you want to grow. It’s a good idea to label the containers with the names of the herbs to avoid confusion later on.
4. Watering Can or Spray Bottle: Depending on the size of your indoor garden, choose a watering can or spray bottle for gentle and precise watering.
5. Grow Lights: If you don’t have access to natural sunlight, consider investing in grow lights. They provide the necessary light spectrum for healthy plant growth.
6. Plant Labels: These are useful for identifying different herbs, especially if you’re growing multiple varieties. You can use popsicle sticks, plastic markers, or any other label you prefer.
7. Fertilizer: Select a balanced organic fertilizer or a specific herb fertilizer for optimal growth and flavor development.
8. Pruning Shears: These will come in handy for trimming and shaping your herbs as they grow.
9. Waterproof Tray: This will help protect your windowsills or tabletop surfaces from any potential water damage.
10. Thermometer and Humidity Monitor: Monitoring the temperature and humidity levels in your indoor garden ensures the ideal growing conditions for your herbs.
11. Optional Extras: Consider adding a small fan for air circulation, a timer for controlling grow lights, and a misting bottle for humidifying the environment if needed.
By gathering all these supplies in advance, you’ll have everything you need to begin your indoor herb garden journey. Once your supplies are ready, it’s time to prepare the soil and start planting your seeds. Let’s dig in!
Preparing the Soil
Preparing the soil is a crucial step in successfully growing herbs from seeds indoors. While you may not be using traditional garden soil, proper soil preparation is still necessary to create a nutrient-rich and well-draining environment for your herbs. Here’s how to prepare the soil:
1. Choose the Right Seed Starting Mix: Select a high-quality seed starting mix that is specifically formulated for starting seeds. These mixes are usually sterile, lightweight, and well-draining, providing the ideal conditions for germination and early growth.
2. Moisten the Soil: Before filling your containers with the seed starting mix, moisten it slightly to provide the right level of moisture for seed germination. Add water gradually and mix until the soil feels moist but not overly saturated.
3. Fill the Containers: Fill your chosen containers with the moistened seed starting mix, leaving around 1 inch of space at the top for watering.
4. Level and Firm the Soil: Use your fingers or a small garden tool to gently level and firm the soil in the containers. This will provide a stable base for the seeds and help prevent them from shifting or settling too deeply.
5. Sieve the Soil (Optional): If you want a finer seed starting mix, you can sieve it through a mesh screen to remove any large particles or clumps. This will create a smoother surface for planting the seeds.
6. Pre-Water the Soil: Before planting the seeds, give the soil a thorough watering to ensure it is evenly moist. Allow any excess water to drain out through the drainage holes.
7. Check Soil Temperature: For optimal germination, the soil temperature should be within the recommended range for the specific herbs you are planting. Most herbs prefer a soil temperature between 60°F and 70°F (15°C and 21°C). Consider using a soil thermometer to monitor the temperature.
Remember, proper soil preparation sets the stage for healthy seed germination and vigorous plant growth. Once the soil is prepared, it’s time to move on to the exciting part – planting the seeds! Stay tuned for the next section, where we will guide you through the process of planting your herb seeds and getting them on the path to becoming flourishing indoor plants.
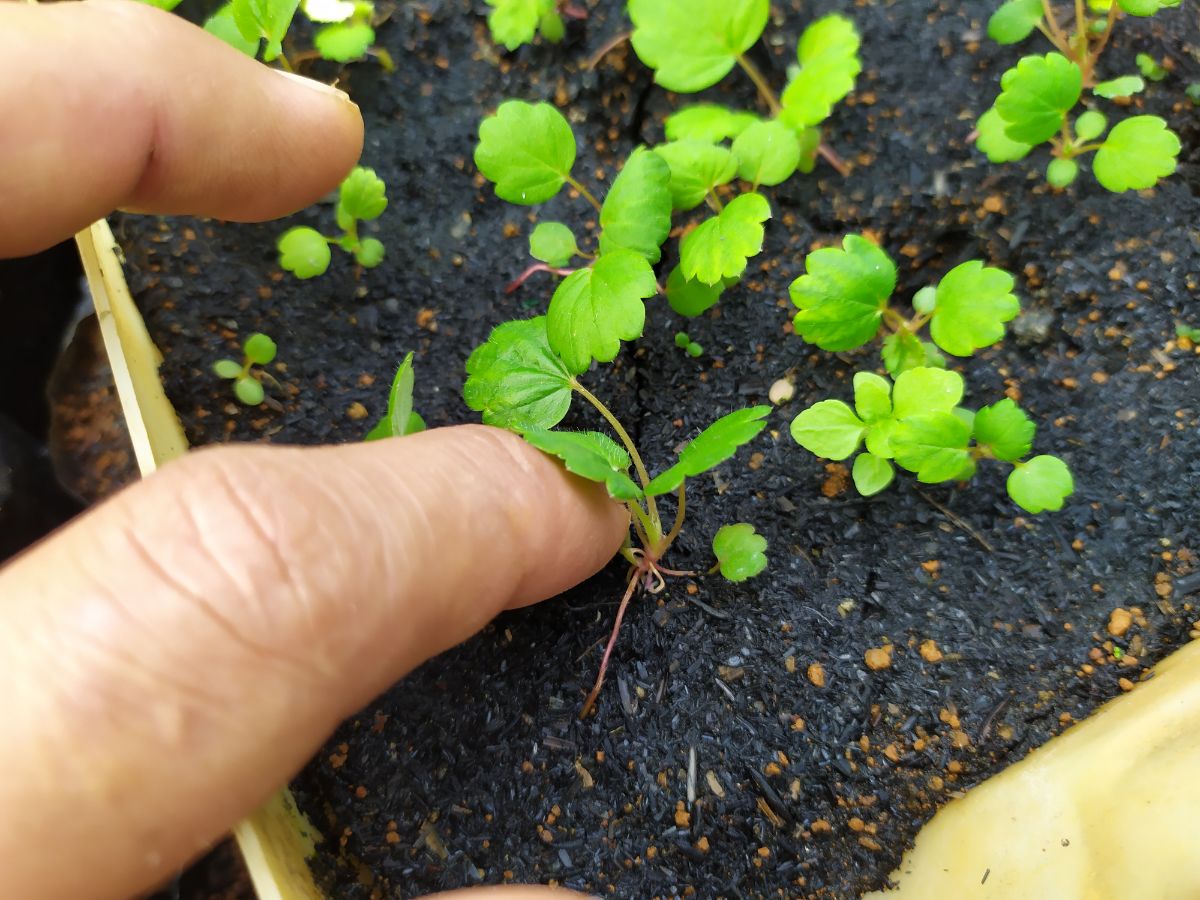
Planting the Seeds
Now that you have prepared the soil, it’s time to plant your herb seeds and set them on the path to germination and growth. Follow these steps to ensure successful seed planting:
1. Select the Planting Depth: Check the instructions on your seed packets to determine the recommended planting depth for each herb. As a general rule, plant seeds at a depth that is roughly two to three times their diameter. Smaller seeds need to be planted shallowly, while larger seeds can be planted deeper.
2. Create Planting Holes: Use your finger or a small tool to make planting holes in the soil. The size and spacing of the holes will depend on the specific herb you are planting. Follow the guidelines provided on the seed packet for optimum spacing.
3. Place Seeds in the Holes: Carefully place the seeds into the planting holes. If the seeds are very tiny, you can use tweezers or the tip of a toothpick for more precise placement.
4. Cover and Firm: Gently cover the seeds with a thin layer of soil, ensuring they are adequately covered but not buried too deeply. Lightly press down on the soil to ensure good seed-to-soil contact.
5. Label and Water: Label each container with the name of the herb and the date of planting. Then, give the newly planted seeds a thorough watering, making sure the soil is evenly moist but not soggy. Avoid overwatering, as excessive moisture can lead to fungal diseases and rot.
6. Provide the Right Conditions: Place your containers in a warm location with indirect light or under grow lights. Most herbs need a temperature range of 60°F to 70°F (15°C to 21°C) to germinate, so ensure your setup meets this requirement. You can cover the containers with plastic wrap or a clear dome to create a mini greenhouse effect, retaining humidity and promoting germination.
7. Monitor and Maintain: Check your containers daily for any signs of germination. Once the seedlings emerge, remove any coverings and ensure they receive adequate light. Make sure to maintain consistent moisture levels by watering as needed, keeping the soil slightly moist but not waterlogged.
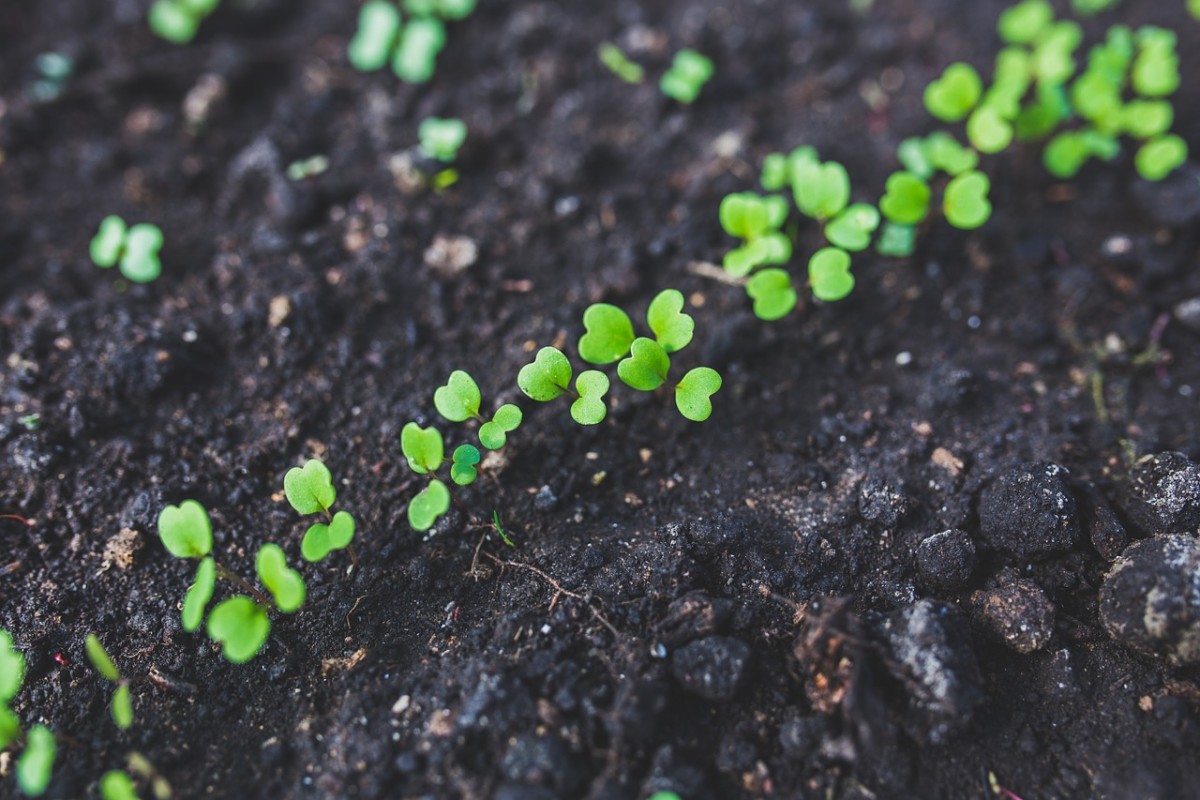
8. Thin Out Seedlings: If multiple seedlings emerge in one container, it’s important to thin them out to prevent overcrowding. Remove the weakest seedlings, leaving only the strongest and healthiest ones. This allows the remaining plants to have enough space and resources to grow.
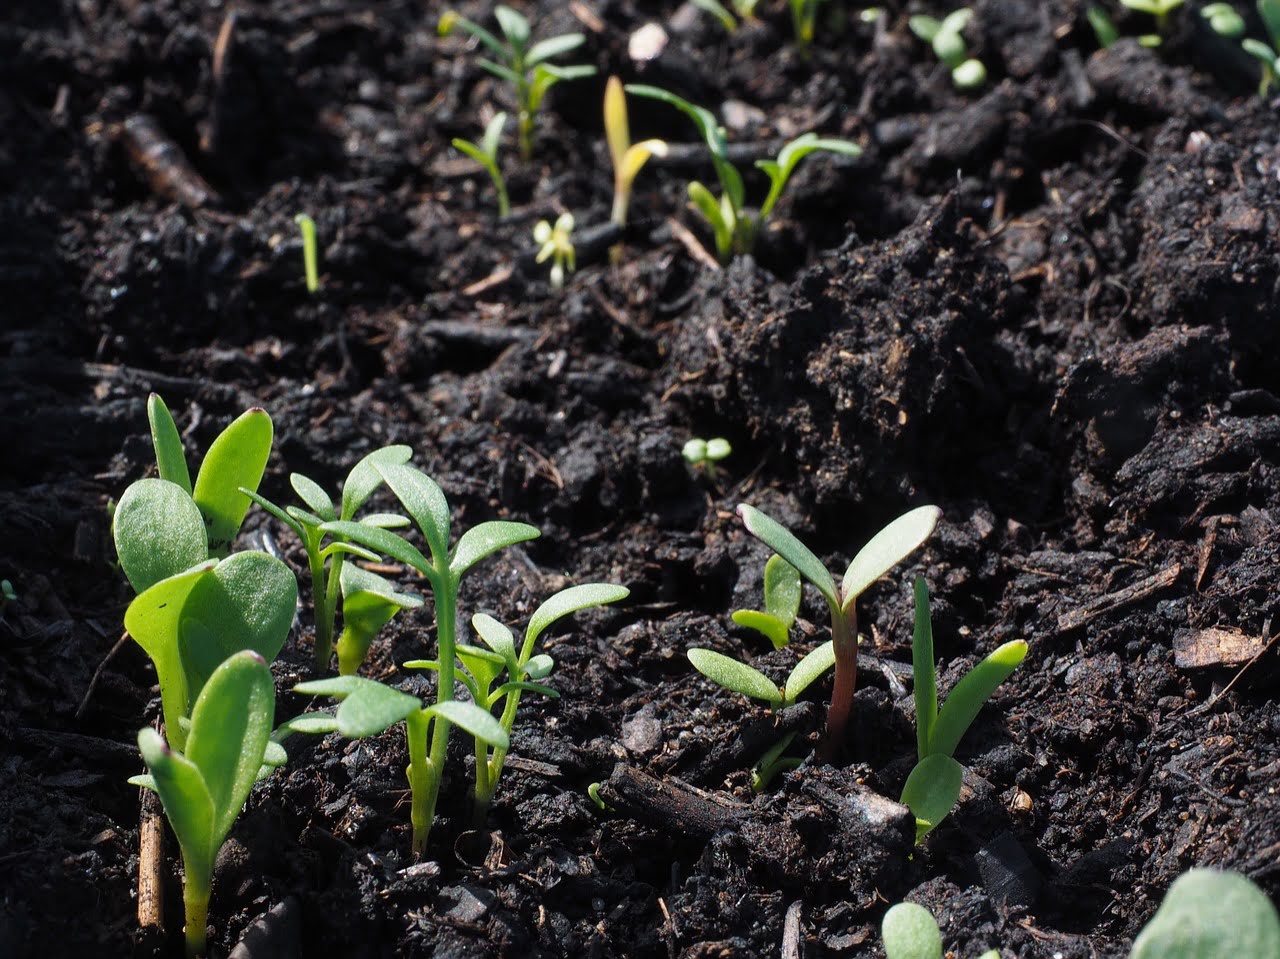
Remember to be patient, as germination times can vary depending on the herb and environmental conditions. Within a few weeks, you should start to see tiny green sprouts emerging from the soil, bringing your indoor herb garden to life. With proper care and attention, these seedlings will grow into thriving herbs that you can enjoy for months to come. Next, let’s explore how to provide the right environment to support their growth and development.
Read more: How To Grow Herbs From Seeds In Pots
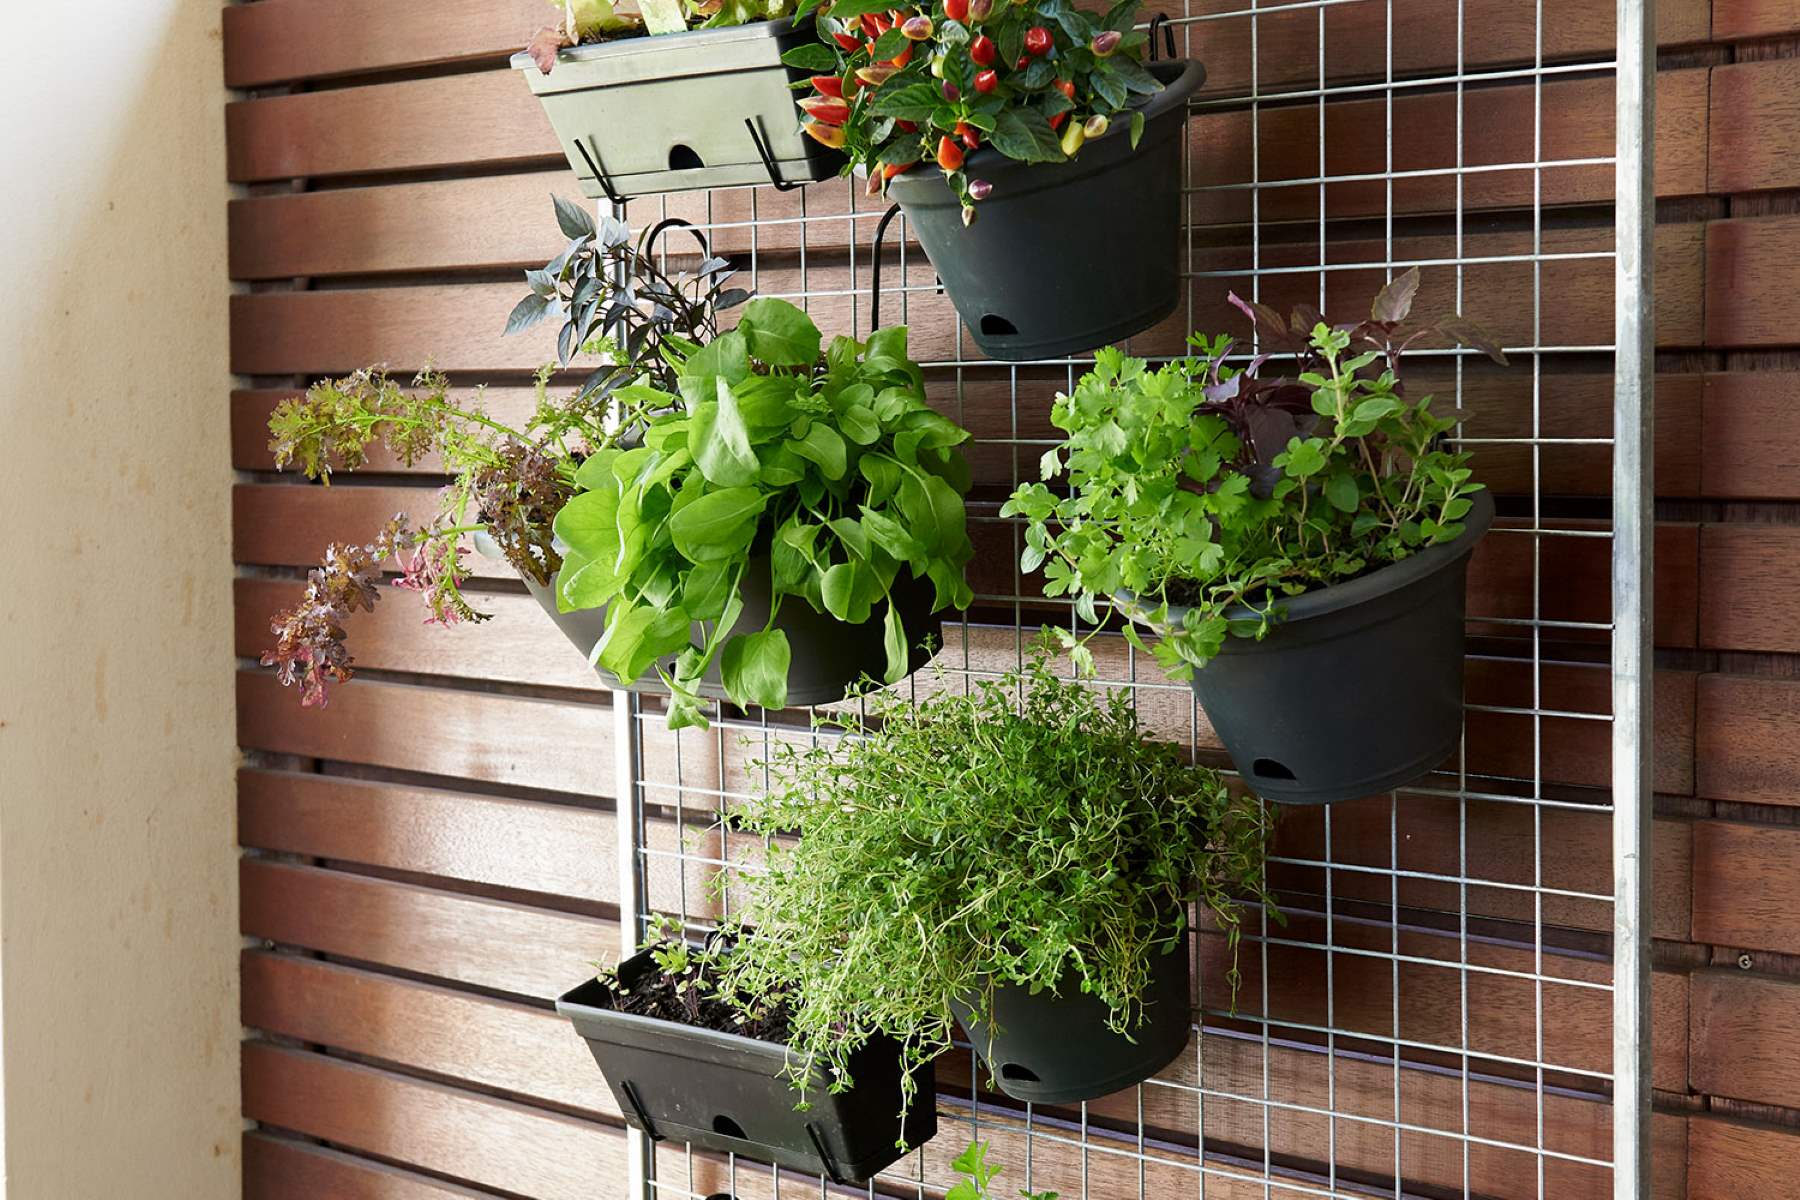
Providing the Right Environment
Creating the ideal environment for your indoor herb garden is crucial for the healthy growth and development of your plants. While herbs are generally adaptable, providing them with the right conditions will ensure optimal productivity and vitality. Here are some key factors to consider:
1. Light: Herbs require a good amount of light to thrive. Place your containers near a south-facing window where they can receive at least 6-8 hours of direct sunlight each day. If natural light is limited, supplement with grow lights. Position the lights 6-12 inches above the plants and keep them on for 14-16 hours a day.
2. Temperature: Most herbs prefer temperatures between 60°F and 70°F (15°C and 21°C) during the day and slightly cooler at night. Avoid exposing them to extreme temperature fluctuations or drafts, as this can stress the plants. It’s important to find a location in your home where the temperature remains relatively stable.
3. Humidity: Herbs generally prefer moderate to high humidity levels. To increase humidity, you can place a tray of water near the plants or use a humidifier. Misting the leaves of the herbs occasionally can also help raise humidity levels. However, avoid misting herbs with fuzzy or hairy leaves, as it can lead to fungal diseases.
4. Air Circulation: Good air circulation helps prevent the growth of mold and ensures the exchange of carbon dioxide and oxygen for healthy respiration. If your indoor garden area lacks natural air movement, consider using a small fan set on low speed to gently circulate the air around the plants.
5. Rotate the Plants: To ensure even growth, rotate your herb containers every few days to expose all sides of the plants to light. This prevents the herbs from reaching towards the light source in one direction, promoting balanced growth.
6. Avoid Overcrowding: As your herbs grow, they may require additional space. If the plants become crowded or start competing for light and resources, consider transplanting them into larger containers to allow for proper root development and expansion.
7. Pest Control: Indoor plants are not immune to pests. Keep an eye out for common pests such as aphids, mealybugs, and spider mites. Regularly inspect your plants for any signs of infestation and take appropriate measures, such as using organic pest control methods or introducing beneficial insects to keep pests at bay.
By paying attention to these environmental factors and providing your herbs with the right conditions, you will set them up for success. Continue to monitor their growth and make adjustments as needed. With a little care and nurturing, your indoor herb garden will flourish and reward you with a bountiful harvest. Next, let’s explore the important aspects of watering and fertilizing your herbs.
Use a seed starting mix for best results when growing herbs from seeds indoors. This type of soil is specifically designed to provide the right nutrients and drainage for young seedlings to thrive.
Watering and Fertilizing
Proper watering and fertilizing are essential for the health and vitality of your indoor herb garden. Finding the right balance between providing enough moisture and nutrients without overdoing it is key. Here are some guidelines to follow:
Watering:
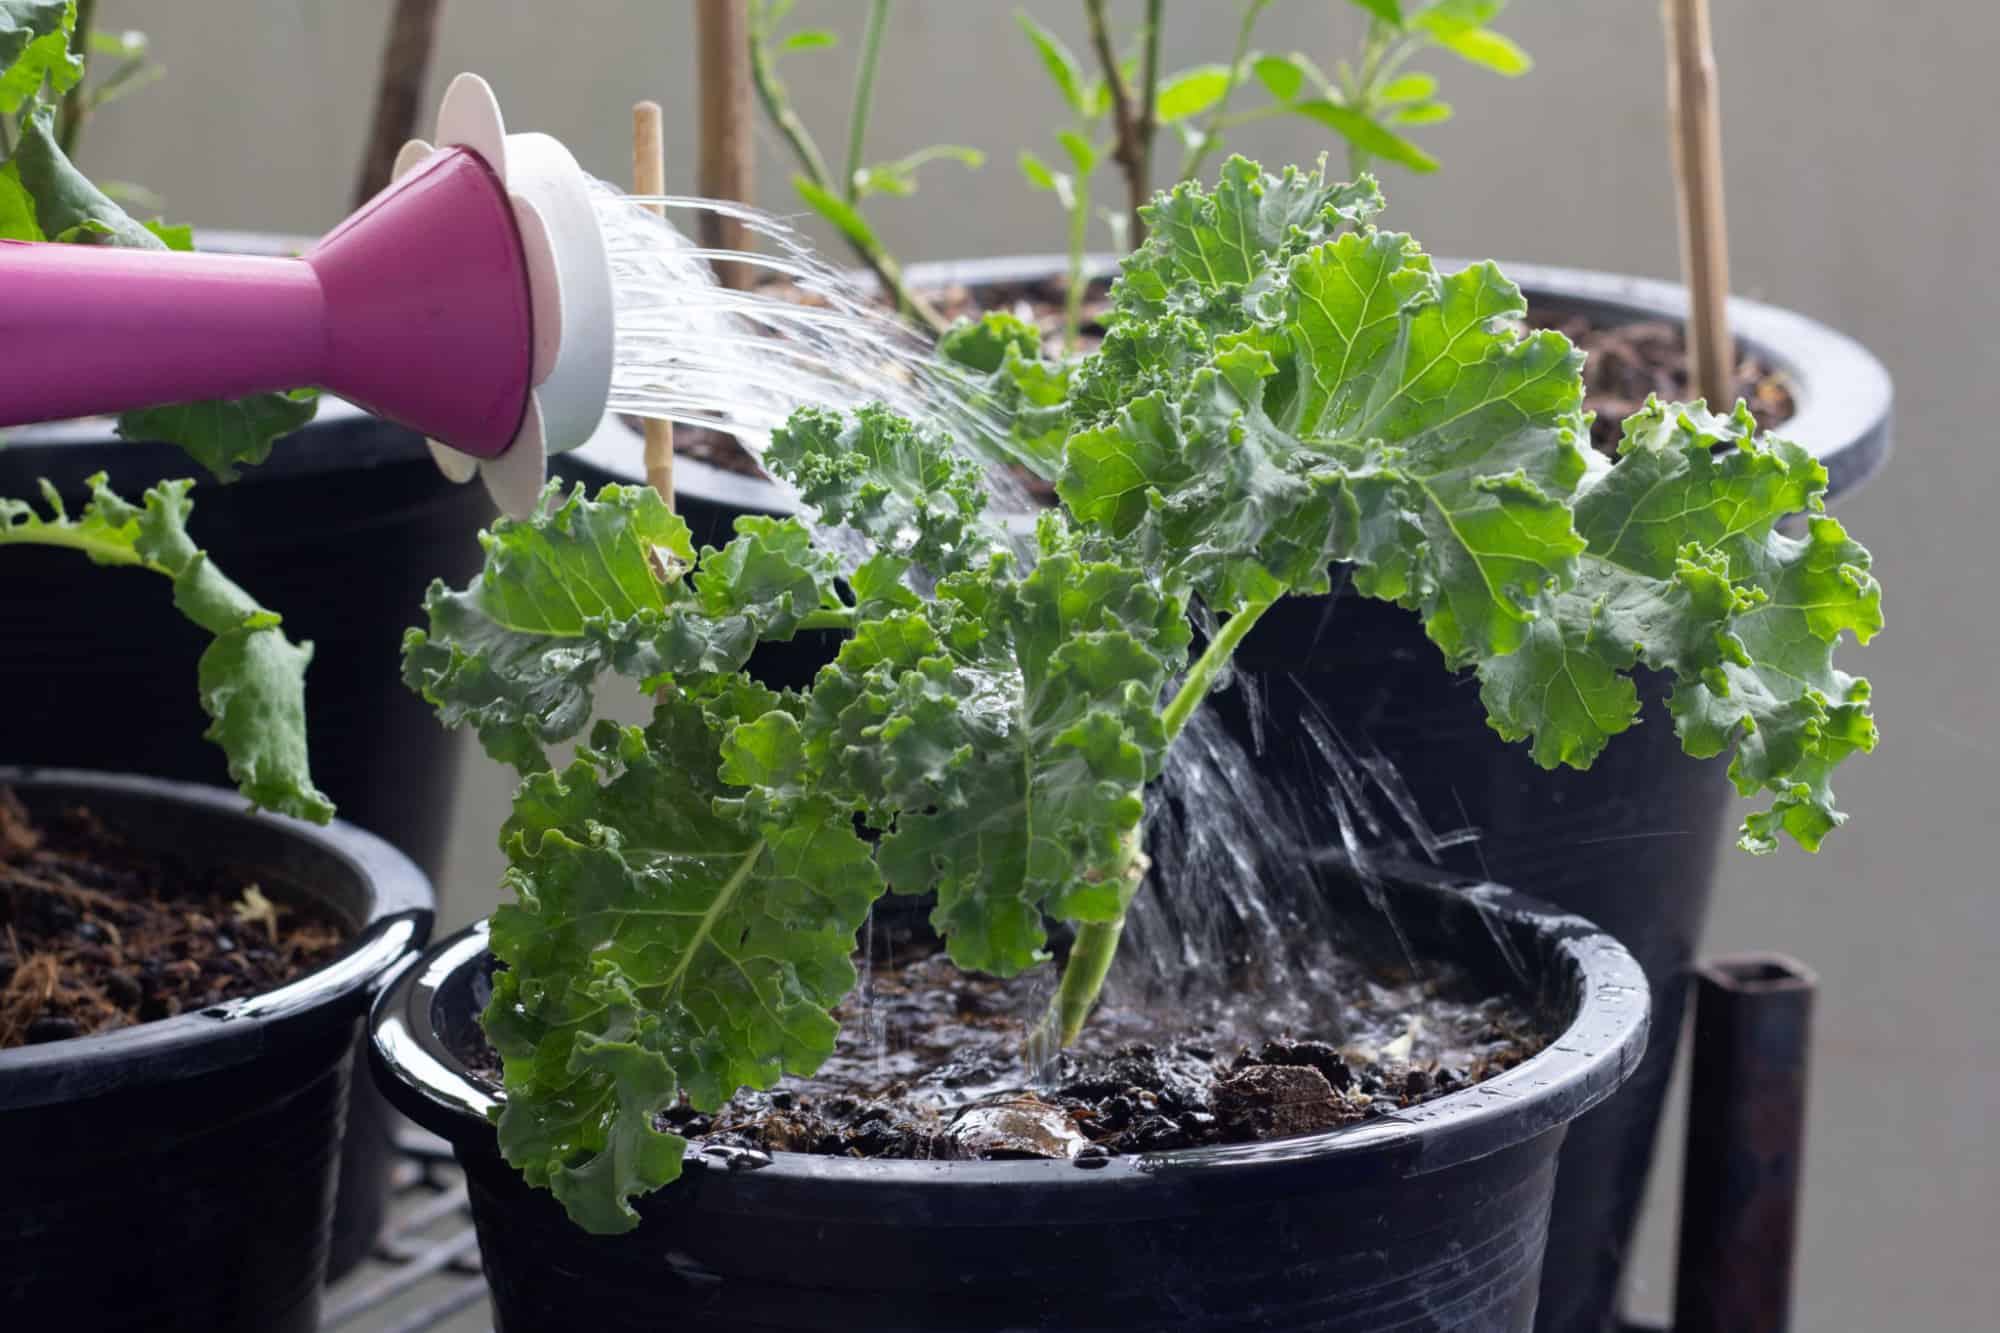
– Before watering your herbs, always check the moisture level of the soil. Stick your finger about an inch into the soil; if it feels dry, it’s time to water.
– Water your herbs thoroughly but avoid overwatering. Ensure that the water penetrates the entire root ball and drains out of the container’s drainage holes.
– Allow the soil to partially dry out between waterings to prevent waterlogged conditions that can lead to root rot.
– Remember that different herbs have different water requirements. Some, like basil and mint, prefer slightly moister soil, while others, like rosemary and thyme, prefer drier conditions.
– Avoid watering the leaves of the herbs, as this can promote the growth of fungal diseases. Instead, direct the water towards the base of the plants.
Fertilizing:
– Herbs generally don’t require heavy fertilization. Start by using a balanced organic fertilizer diluted to half strength or follow the instructions on the package.
– Begin fertilizing about a month after planting once the seedlings have established themselves. Fertilize your herbs every 4-6 weeks during the growing season.
– Avoid over-fertilizing, as it can lead to excessive leaf growth and reduced flavor in the herbs.
– You can also use organic compost or compost tea as a natural alternative to commercial fertilizers. These help provide essential nutrients while improving soil fertility.
– Pay attention to any signs of nutrient deficiencies, such as yellowing leaves or stunted growth. Adjust your fertilization routine accordingly to meet the specific nutritional needs of your herbs.
Remember, watering and fertilizing needs may vary depending on factors such as the size of your containers, the specific herbs you’re growing, and the environmental conditions. Regularly observe your herbs and adjust your watering and fertilizing practices as necessary to ensure their well-being.
Next, we will discuss how to monitor the growth and development of your herbs and address any potential issues that may arise.
Monitoring Growth and Development
Monitoring the growth and development of your indoor herb garden is essential for ensuring the health and success of your plants. By paying attention to their progress, you can identify any issues early on and take proactive measures to address them. Here are some key aspects to monitor:
Growth Rate:
– Observe how quickly your herbs are growing. Healthy herbs should exhibit steady growth, producing new leaves and stems over time.
– If you notice that your herbs are growing slowly or not at all, it may indicate a lack of sufficient light, nutrients, or an incorrect planting depth. Adjust the growing conditions accordingly.
Leaf Color and Appearance:
– Monitor the color and appearance of the leaves. Vibrant green leaves indicate healthy growth, while yellowing or browning leaves could be a sign of nutrient deficiencies, overwatering, or pests.
– Inspect your plants for any signs of pests, such as tiny holes, webs, or insect activity. If detected, promptly take action to control the pests and minimize any potential damage.
Pruning and Harvesting:
– Regularly trim your herbs to promote bushier growth and prevent them from becoming leggy. Pinch off the top growth to encourage branching and a fuller appearance.
– Harvest your herbs as needed, using sharp pruning shears or scissors to avoid damaging the plants. Regular harvesting encourages continuous growth and ensures you have fresh herbs readily available.
Plant Size and Space:
– Keep an eye on the size of your herbs in relation to their containers. If they start to outgrow their current space, consider transplanting them into larger containers to allow for continued growth and root development.
Environmental Conditions:
– Continuously assess the environmental conditions in your indoor herb garden. Ensure that the temperature, humidity, and airflow are within the preferred ranges for the herbs you are growing.
– Regularly check the moisture level of the soil and adjust your watering schedule as needed to maintain the right level of moisture for healthy plant growth.
By actively monitoring the growth and development of your herbs, you can address any issues promptly and optimize their growing conditions. With proper care, your indoor herb garden will continue to thrive, providing you with an abundant supply of fresh and flavorful herbs. Next, we will discuss the process of transplanting your herbs when they outgrow their initial containers.
Transplanting
Transplanting is a necessary step in the life cycle of your indoor herbs. As they grow, their roots require more space and nutrients to support their continued development. Transplanting allows for healthier root growth and ensures that your herbs have ample room to flourish. Here’s a step-by-step guide on how to transplant your herbs:
Timing:
– The best time to transplant your herbs is when they have outgrown their current containers or when the roots start to become root-bound. Signs of being root-bound include roots visibly circling around the edges of the pot or emerging from the drainage holes.
Choose the Right Container:
– Select a new container that is slightly larger than the current one, allowing room for the herb to grow. The container should have drainage holes to prevent waterlogging.
Prepare the New Container:
– Fill the new container with fresh potting mix, leaving enough space to accommodate the herb’s root ball. Moisten the potting mix before transplanting.
Gently Remove the Herb from its Current Container:
– Carefully slide the herb out of its current pot by gently loosening the soil around the edges. Hold the plant at the base, being mindful not to pull or tug on the stem.
Massage and Loosen the Root Ball:
– Gently massage the root ball to loosen it, allowing the roots to extend into the new soil. If the roots are tightly wound, use your fingers to carefully tease them apart.
Place the Herb in the New Container:
– Position the herb in the center of the new container, ensuring that it sits at the same depth as it was in the previous container. Add more potting mix around the root ball, gently firming it to provide support.
Water and Settle the Soil:
– Give the transplanted herb a thorough watering to settle the soil and encourage root establishment. Monitor the moisture levels in the following days and adjust your watering regimen as needed.
Provide Adequate Light and Care:
– Place the transplanted herb in its designated growing location, ensuring it receives the appropriate amount of light as before. Continue to monitor its growth, watering, and fertilizing needs.
Transplant shock is common after the process, but with proper care and attention, your herbs will quickly recover and resume healthy growth. Remember to gradually acclimate them to any changes in lighting or other environmental conditions to minimize stress.
Transplanting is an opportunity to refresh your herbs’ growing environment, providing them with the space they need to thrive. By following these steps, you will foster strong root development and ensure the long-term success of your indoor herb garden. Next, we will discuss common issues that you may encounter in your indoor herb garden and how to troubleshoot them.
Read more: How To Grow Sage Indoors From Seed
Troubleshooting Common Issues
While growing herbs from seeds indoors can be a rewarding experience, it’s not uncommon to encounter some challenges along the way. Fortunately, many common issues have simple solutions. Here are some troubleshooting tips for common problems you may encounter in your indoor herb garden:
Poor Germination:
– If your seeds fail to germinate, it may be due to factors such as low temperature, incorrect planting depth, or poor seed quality. Ensure that you are providing the optimal temperature and proper planting depth as specified on the seed packet. Check the expiration date on the seed packet and consider sourcing fresh seeds if necessary.
Yellowing Leaves:
– Yellowing leaves can be a sign of overwatering, nutrient deficiency, or inadequate light. Adjust your watering schedule to allow the soil to partially dry out between waterings. Ensure that your herbs are receiving enough light, whether natural sunlight or grow lights. Consider fertilizing your herbs with a balanced organic fertilizer to provide essential nutrients.
Pests:
– Common pests in indoor herb gardens include aphids, mealybugs, and spider mites. Monitor your plants regularly and inspect the leaves and stems for any signs of pest activity. If pests are detected, treat the affected plants with organic pest control methods such as insecticidal soap or neem oil. Isolating infested plants can help prevent the pests’ spread to healthy herbs.
Fungal Diseases:
– Fungal diseases can occur due to high humidity, poor air circulation, or overwatering. To prevent fungal issues, ensure proper air circulation by using a fan or opening windows periodically. Avoid overhead watering and water the soil directly. Allow the top layer of soil to dry out slightly before watering again. If fungal diseases persist, consider using a fungicide labeled for use on herbs.
Leggy Growth:
– If your herbs are growing tall and leggy with weak stems, it’s a sign of insufficient light. Increase the amount of light the plants receive, either by moving them to a sunnier location or providing supplemental grow lights. Prune the leggy growth to encourage bushier growth and strengthen the plants.
Herbs Bolting:
– Bolting occurs when herbs suddenly produce flowers and go to seed. This can happen due to high temperatures or a change in the environment. To prevent bolting, keep the temperature within the appropriate range for each herb and ensure consistent conditions.
Leaf Browning or Crisping:
– Browning or crisping of leaves can be caused by low humidity levels or direct exposure to hot air or drafts. Increase humidity levels by misting the leaves or placing a tray of water near the herbs. Ensure that the herbs are not placed near heating vents or in direct drafts.
Improper Harvesting:
– Harvesting herbs incorrectly can lead to stunted growth or damage to the plant. When harvesting, pinch or cut the leaves above a set of healthy leaves or nodes to encourage new growth. Avoid harvesting more than one-third of the plant at a time to allow the herbs to continue growing and remain healthy.
By identifying and addressing these common issues early on, you can help your indoor herb garden thrive. Remember to observe your plants regularly, adjust their growing conditions as necessary, and provide them with the care they need for optimum health and productivity.
Harvesting and Enjoying your Indoor Herb Garden
Congratulations! You’ve successfully nurtured your indoor herb garden from seeds to healthy, vibrant plants. Now it’s time to harvest and savor the fruits of your labor. Here’s a guide to harvesting and enjoying your indoor herbs:
Timing:
– Harvesting your herbs at the right time ensures maximum flavor and potency. Most herbs are best harvested in the morning, after the dew has dried but before the sun is too intense. This is when the essential oils that give herbs their aroma and flavor are at their peak.
Harvesting Techniques:
– Use sharp scissors or pruning shears to harvest your herbs. Snip the stems just above a set of leaves or nodes to encourage new growth. Avoid cutting more than one-third of the plant at a time, as this allows the herbs to continue growing and stay healthy.
– For herbs with delicate foliage, such as basil or parsley, pluck the individual leaves instead of removing entire stems. This promotes continuous growth and allows you to harvest as needed.
Preservation Methods:
– Freshly harvested herbs can be used immediately, but if you have an abundance, consider preserving them for future use.
– Drying: Hang small bunches of herbs upside down in a cool, well-ventilated area away from direct sunlight. Once the herbs are dry and brittle, remove the leaves from the stems and store them in airtight containers.
– Freezing: Wash and dry the herbs, then chop or mince them. Place the herbs in ice cube trays, cover with water or olive oil, and freeze. Once frozen, transfer the herb cubes to a freezer-safe bag or container.
– Infusing: Create herb-infused oils or vinegars by steeping clean, dry herbs in a bottle of oil or vinegar for a couple of weeks. Strain the herbs before using or storing.
Culinary Uses:
– Freshly harvested herbs add an incredible burst of flavor to your culinary creations. Use them in salads, soups, stir-fries, marinades, sauces, and dressings. Experiment with different combinations of herbs to enhance the taste and aroma of your dishes.
– Herbal Teas: Many herbs, such as chamomile, mint, and lemon balm, are perfect for making soothing and aromatic herbal teas. Harvest the leaves, brew them with hot water, and let steep for a few minutes before enjoying.
Herbal Remedies and Crafts:
– Some herbs have medicinal properties or can be used in homemade remedies like herbal salves, tinctures, or natural beauty products. Explore herbalism and unleash your creativity by incorporating your homegrown herbs into various crafts and DIY projects.
Continuous Harvesting:
– The beauty of an indoor herb garden is its continuous growth and harvest potential. Regularly harvest your herbs to encourage new growth and prolong the lifespan of your plants. As long as your herbs are provided with the right care and conditions, they will continue to provide you with bountiful harvests for months to come.
Enjoy the satisfaction of knowing that the herbs you harvest are fresh, pesticide-free, and grown with your own nurturing hands. Experiment with different flavors, get creative in the kitchen, and savor the delightful essence that comes from incorporating homegrown herbs into your favorite dishes and crafts.
With each harvest, your indoor herb garden becomes more than just a source of flavor and aroma – it becomes a testament to your green thumb and the joy of gardening. So, embrace the rewarding journey of growing and enjoying your indoor herbs to the fullest!
Conclusion
Congratulations on successfully embarking on the journey of growing herbs from seeds indoors! Through careful selection, preparation, and nurturing, you have created a thriving indoor herb garden that brings not only fresh flavors and fragrances but also a sense of fulfillment and pride. As you conclude your gardening project, here are a few key takeaways:
First and foremost, choosing the right seeds is essential. Consider the herbs you want to grow, the space you have available, and your level of gardening experience. Opt for reputable seed sources and ensure they align with your desired purpose, whether it’s cultivating culinary herbs or crafting herbal remedies.
Gathering the necessary supplies, including containers, seed starting mix, and other tools, sets you up for success. Pay attention to the quality of the materials and make sure they meet the specific needs of your herbs.
Preparing the soil and planting the seeds, following proper instructions on planting depth and watering techniques, helps create a favorable environment for germination and healthy growth. Consistency in monitoring and adjusting the watering and fertilizing routines ensures your herbs receive the appropriate care.
Providing the right environment, such as ample light, appropriate temperature, and humidity levels, enables your herbs to flourish. Keep an eye on their growth and make necessary adjustments to optimize their growing conditions.
When the time comes, transplanting your herbs into larger containers or providing them with more space allows them to continue their growth and development. Take care during the transplant process to minimize stress for your plants.
Troubleshooting common issues, such as poor germination, pests, or nutrient deficiencies, is a normal part of gardening. Be vigilant, recognize the signs, and address the problems promptly to ensure the health and productivity of your herbs.
Finally, the joy of harvesting and enjoying the fruits of your indoor herb garden is incredibly satisfying. Whether it’s using fresh herbs in your culinary creations, preserving them for future use, or exploring their medicinal properties and crafting possibilities, your herbs bring a whole new level of flavor and creativity to your life.
Remember, gardening is a continuous learning process. With each harvest and new growing season, you’ll gain more knowledge and experience, fine-tuning your skills as a gardener. Embrace the journey, experiment with different herbs and techniques, and most importantly, enjoy the process of connecting with nature and nurturing your indoor herb garden.
Now, go forth and let your indoor herb garden be a source of inspiration, culinary delight, and a beautiful reminder of your green thumb. Happy gardening!
Frequently Asked Questions about How To Grow Herbs From Seeds Indoors
Was this page helpful?
At Storables.com, we guarantee accurate and reliable information. Our content, validated by Expert Board Contributors, is crafted following stringent Editorial Policies. We're committed to providing you with well-researched, expert-backed insights for all your informational needs.


0 thoughts on “How To Grow Herbs From Seeds Indoors”