Home>Ideas and Tips>Indoor Orchid Reblooming Tips: Encourage Multiple Blooms


Ideas and Tips
Indoor Orchid Reblooming Tips: Encourage Multiple Blooms
Published: September 24, 2024
Discover essential tips to encourage your indoor orchids to rebloom multiple times, ensuring vibrant and continuous blooms in your home.
(Many of the links in this article redirect to a specific reviewed product. Your purchase of these products through affiliate links helps to generate commission for Storables.com, at no extra cost. Learn more)
Orchids are one of the most popular and versatile houseplants, known for their stunning blooms and relatively low maintenance care. However, many orchid enthusiasts face the challenge of getting their plants to rebloom, especially after the initial flowering period. Reblooming an orchid requires a combination of proper care, patience, and understanding of the plant's natural growth cycle. In this article, we will delve into the detailed steps and tips to encourage your indoor orchids to rebloom multiple times.
Understanding Orchid Dormancy
Before we dive into the reblooming process, it's essential to understand the concept of dormancy in orchids. Orchids, particularly Phalaenopsis (moth orchids), go through a period of dormancy after blooming. This dormancy phase can last anywhere from six to nine months, during which the plant stores nutrients in its leaves and roots. This stored energy is crucial for the plant to produce new flower spikes and blooms.
Step 1: Wait for the Old Flowers to Fall Away
The first step in encouraging your orchid to rebloom is to wait until all the old flowers have fallen away. This process can take several weeks, but it's crucial for the plant to prepare for new growth. Once the final flowers have dropped off, you will be left with a flower spike, which is where new flowers will likely grow again after dormancy.
Trimming the Flower Spike
After the flowers have faded, you can trim the flower spike to encourage new growth. If your orchid has a green spike, you can trim it down to the first node (the joint where the spike meets the stem). This will help stimulate growth and encourage new flowers. However, if your spike has turned a papery brown color, it's best to cut it off at the base. This will allow the plant to develop a new flower spike stronger than the last.
Step 2: Provide the Right Environment
Orchids require specific environmental conditions to rebloom. Here are some key factors to consider:
Light
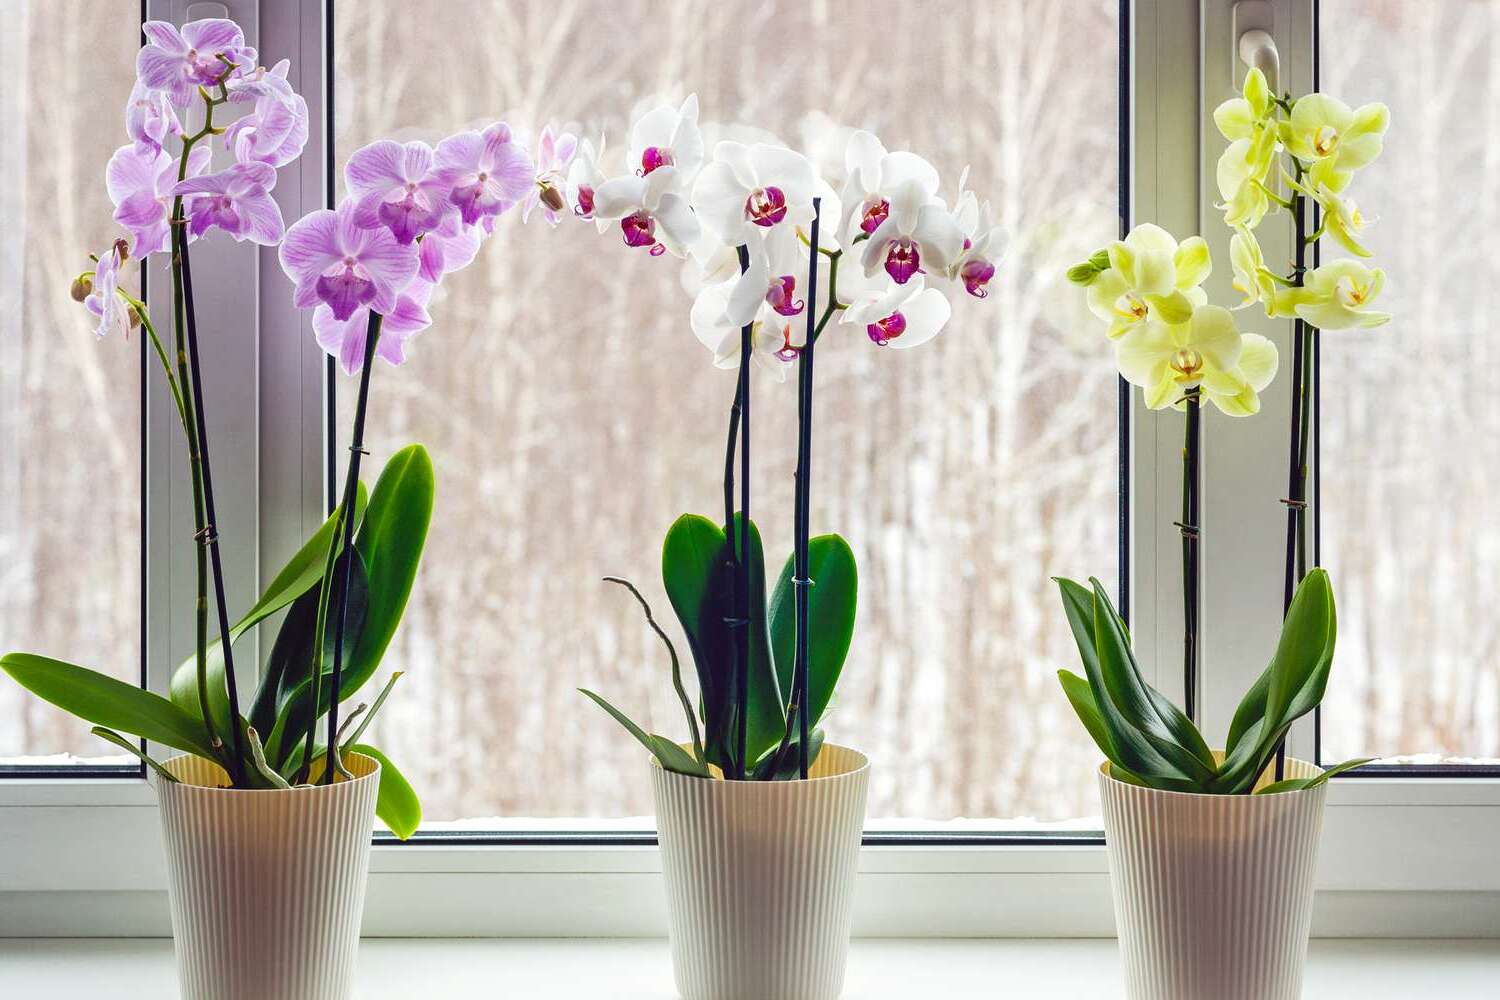
Orchids need bright, indirect light to bloom. Placing your orchid near an east or west window is ideal, as these windows provide gentle, consistent light. If your orchid is not receiving enough natural light, you can supplement with artificial LED or fluorescent lights. However, be cautious not to overexpose your orchid to direct sunlight, as this can cause leaf burn.
Temperature
Most orchids prefer cooler temperatures during the night to induce blooming. Phalaenopsis orchids, for example, thrive in temperatures between 55°F and 65°F (13°C and 18°C) at night. During the day, they can tolerate slightly warmer temperatures, but it's essential to maintain a consistent temperature range.
Watering
Consistent watering is crucial for happy orchids. Overwatering is a common mistake that can lead to root rot and kill your plant. Watering with ice cubes is a popular method that provides slow-release watering and minimizes the risk of overwatering. Simply place two regular-sized ice cubes on either side of the plant, and let them melt slowly into the soil.
Step 3: Fertilize Regularly
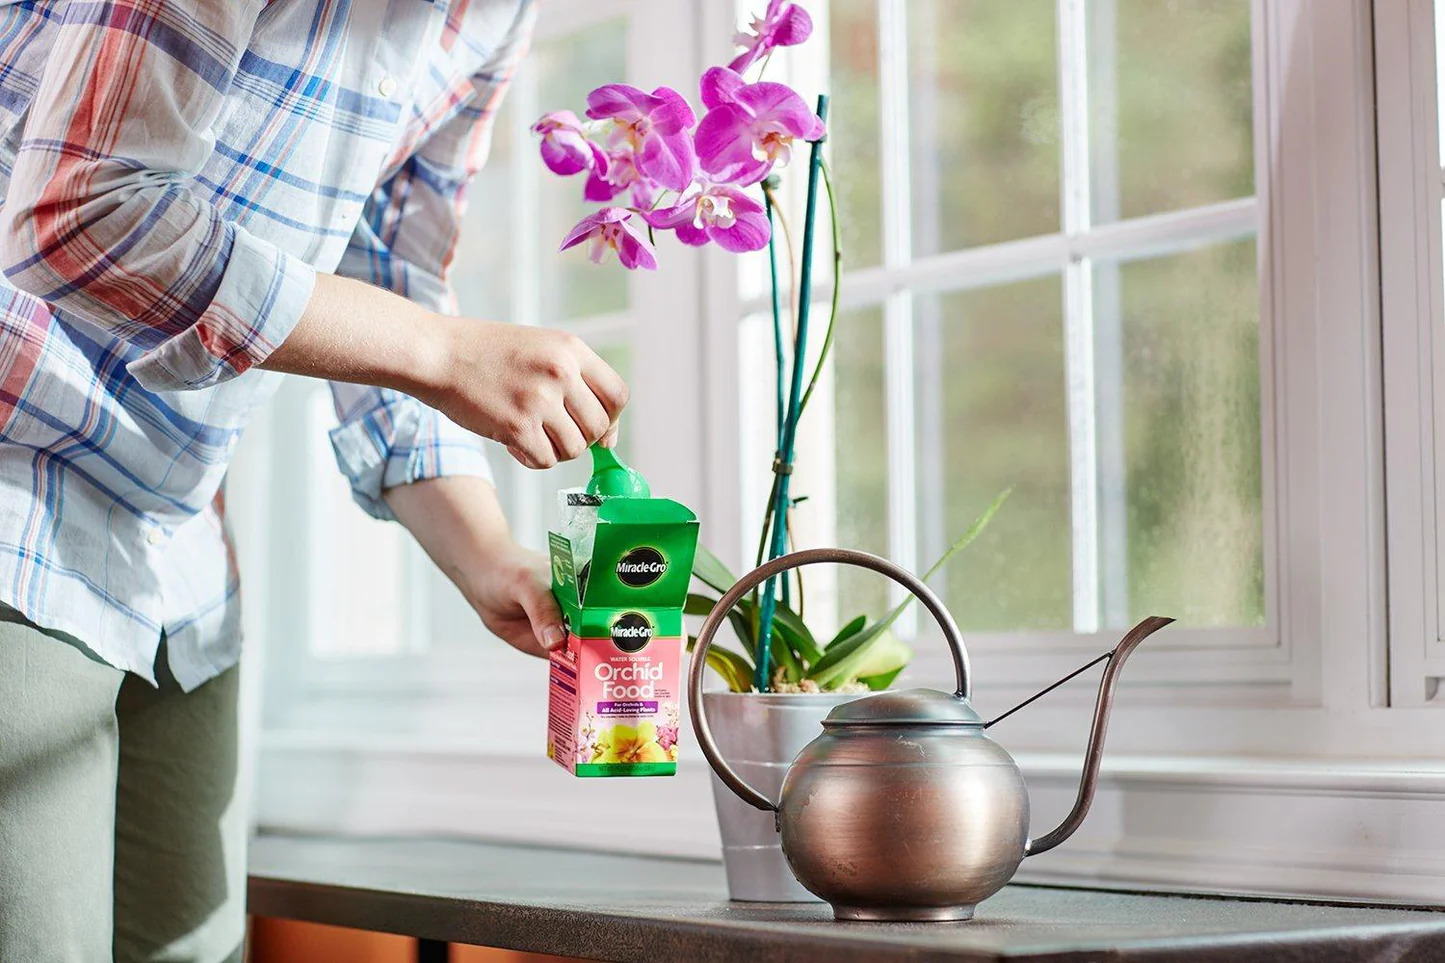
Fertilizing your orchid regularly can help promote blooming. Use an all-balanced fertilizer or one specifically designed for orchids, and dilute it to half strength before applying it to the soil. You can also use foliar fertilizers, which are applied directly to the leaves. Fertilize your orchid every other week during its active growth period, which typically begins in spring.
Frequency of Fertilization
While some gardeners recommend fertilizing their orchids year-round, it's generally best to fertilize more frequently during the active growth period. This means fertilizing every week or two during spring and summer, and reducing the frequency to every other week during fall and winter.
Step 4: Repotting
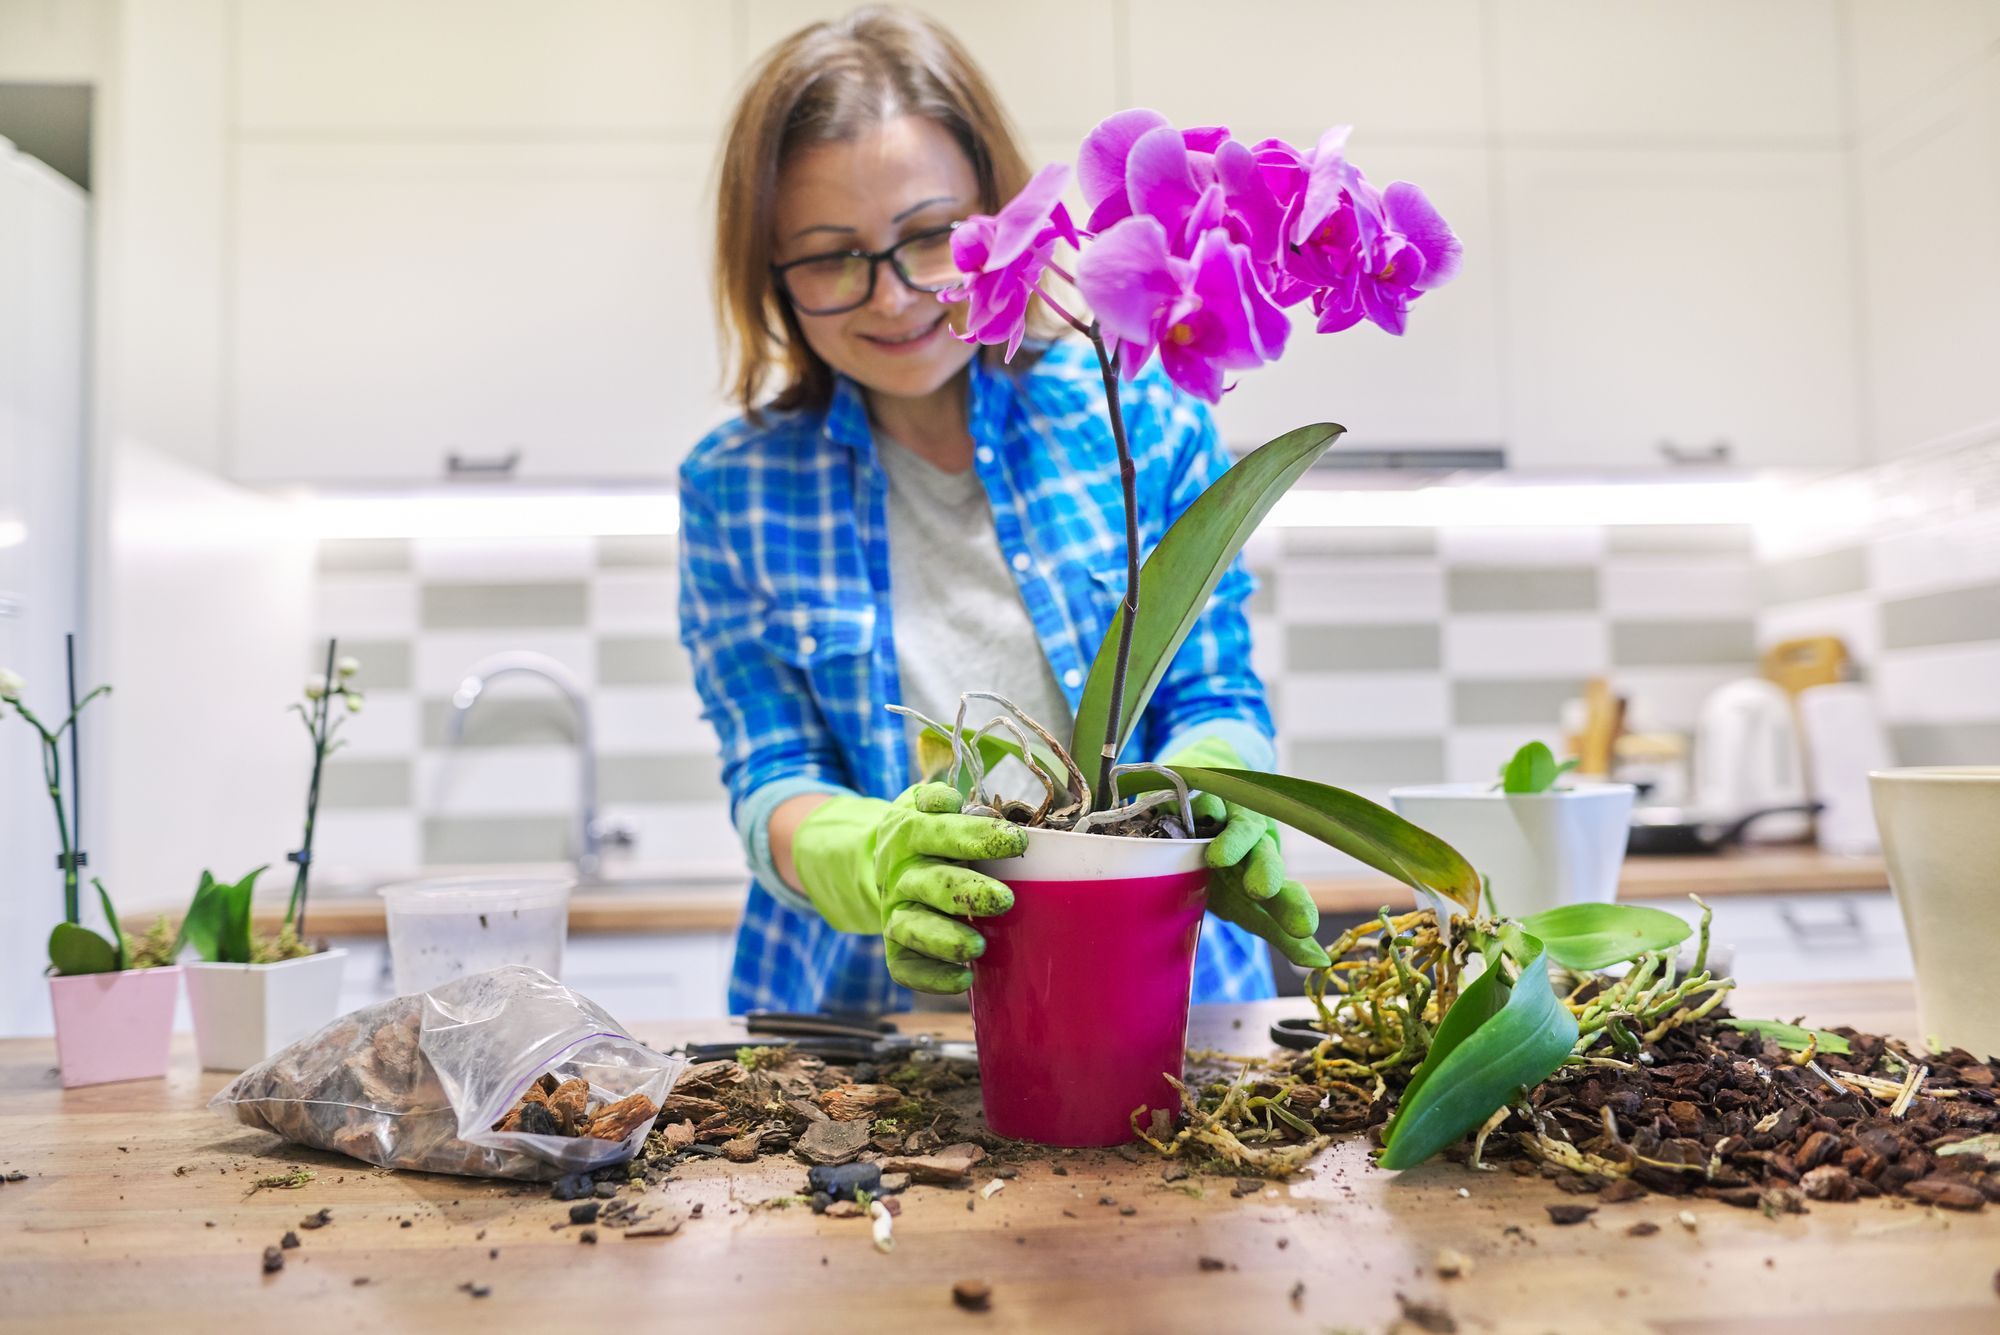
Repotting your orchid can help refresh the potting mix and provide a larger pot if necessary. Orchids prefer to be contained in small pots with good air circulation. Check the roots of your orchid regularly; if they are circling or growing out of the pot, it's time to repot. Use an orchid pot with holes and fill it with orchid bark or another well-draining potting mix.
Signs of Repotting
Some signs that your orchid needs repotting include:
- The roots are circling or growing out of the pot.
- The plant is practically climbing out of the pot.
- The roots have turned brown and are creeping from the pot.
Step 5: Patience is Key
Reblooming an orchid takes time and patience. It can take anywhere from six to nine months for a new flower spike to emerge after the old one has faded. During this period, your orchid may look dormant, but it's still actively storing energy for future blooms.
Common Mistakes
Avoid common mistakes that can prevent your orchid from reblooming:
- Overwatering: This can lead to root rot and kill your plant.
- Underwatering: While less common, underwatering can also cause stress to the plant.
- Lack of Light: Orchids need bright, indirect light to bloom.
- Incorrect Temperature: Most orchids prefer cooler temperatures at night to induce blooming.
Additional Tips for Reblooming Orchids
Here are some additional tips to help encourage your orchid to rebloom:
Increase Light Levels
If your orchid is placed farther from a window, increasing light levels can help facilitate blooming. Supplement natural light with artificial LED or fluorescent lights if necessary. However, be cautious not to overexpose your orchid to direct sunlight.
Move to a Cooler Spot
During the dormancy period, move your orchid to a cooler spot that reaches between 55°F and 65°F (13°C and 18°C). This temperature swing will help trigger new growth and encourage blooming.
Monitor Leaf Color
Leaf color is an excellent indicator of sufficient light. Dark green leaves imply not enough light, while medium to light green leaves point to sufficient light. If your orchid's leaves are turning yellow or brown, it may be a sign of overwatering or underwatering.
Read more: How To Germinate Orchids
Prune Dead Roots
Regularly check the roots of your orchid and prune any dead or damaged roots. This will help maintain the health of your plant and encourage new growth.
Conclusion
Reblooming an orchid requires a combination of proper care, patience, and understanding of the plant's natural growth cycle. By following these steps and tips, you can encourage your indoor orchids to rebloom multiple times. Remember to wait for the old flowers to fall away, provide the right environment with bright indirect light and cooler temperatures, fertilize regularly, repot when necessary, and be patient during the dormancy period. With these tips, you'll be well on your way to enjoying multiple blooms from your beloved orchid.
References:
- Reddit – How to get an orchid to rebloom? (2024-05-04)
- Grace Grits and Gardening – My Orchid Rebloom Tips (2020-07-23)
- Homes & Gardens – How to get an orchid to rebloom – expert tips for bountiful blooms (2023-01-08)
- The Sill – How To Make Your Orchid Rebloom (n.d.)
- Orchid Bliss – Learn How to ReBloom Orchids Step-by-Step (n.d.)
By following these detailed steps and tips, you'll be able to encourage your indoor orchids to rebloom multiple times, ensuring a continuous display of beautiful blooms in your home.
Was this page helpful?
At Storables.com, we guarantee accurate and reliable information. Our content, validated by Expert Board Contributors, is crafted following stringent Editorial Policies. We're committed to providing you with well-researched, expert-backed insights for all your informational needs.


0 thoughts on “Indoor Orchid Reblooming Tips: Encourage Multiple Blooms”