Home>Ideas and Tips>Music Room Soundproofing Tips: Create a Home Studio


Ideas and Tips
Music Room Soundproofing Tips: Create a Home Studio
Published: August 29, 2024
Learn essential tips for soundproofing your music room and creating a professional home studio. Achieve top-notch sound quality without disturbing others.
(Many of the links in this article redirect to a specific reviewed product. Your purchase of these products through affiliate links helps to generate commission for Storables.com, at no extra cost. Learn more)
Creating a home recording studio is a dream for many musicians and music enthusiasts. However, one of the biggest challenges in setting up such a space is soundproofing. Soundproofing is crucial to ensure that the sound produced in the studio remains within the room and does not leak out into the surrounding environment, causing disturbance to neighbors and family members. In this article, we will delve into the world of soundproofing and provide you with detailed tips on how to create an effective home recording studio.
Understanding Soundproofing vs. Acoustic Treatment
Before we dive into the specifics of soundproofing, it's essential to understand the difference between soundproofing and acoustic treatment. Soundproofing is the process of preventing sound from entering or leaving a room by using specific construction techniques. This includes sealing gaps, using mass, and decoupling surfaces to minimize sound transmission. On the other hand, acoustic treatment involves using materials like acoustic panels to absorb sound reflections within the room, making it easier to listen and record.
Soundproofing Basics
Soundproofing is not just about using soundproofing materials; it's about creating a barrier that prevents sound from passing through. Here are the three pillars of soundproofing:
- Mass: The most critical component of soundproofing is mass. Thicker walls and ceilings provide better sound insulation because they offer more resistance to sound waves.
- Air: Air gaps can significantly compromise soundproofing efforts. Sealing all gaps and cracks is essential to prevent sound from escaping or entering the room.
- Decoupling: Decoupling involves separating surfaces from each other to prevent vibrations from transferring through them. This can be achieved by using resilient channels or acoustic caulk.
Steps to Soundproof Your Music Room
1. Assess Your Room
Before you start soundproofing, it's important to assess your room's current state. Identify any gaps or weaknesses in the structure that could be allowing sound to escape or enter. This includes checking for holes around electrical outlets, light switches, and any other openings.
2. Seal Gaps and Cracks
Sealing gaps and cracks is one of the most effective ways to soundproof a room. Use acoustic caulk or spray foam to fill any openings around windows, doors, electrical outlets, and light switches. This will prevent sound from escaping or entering through these small openings.
3. Add Mass
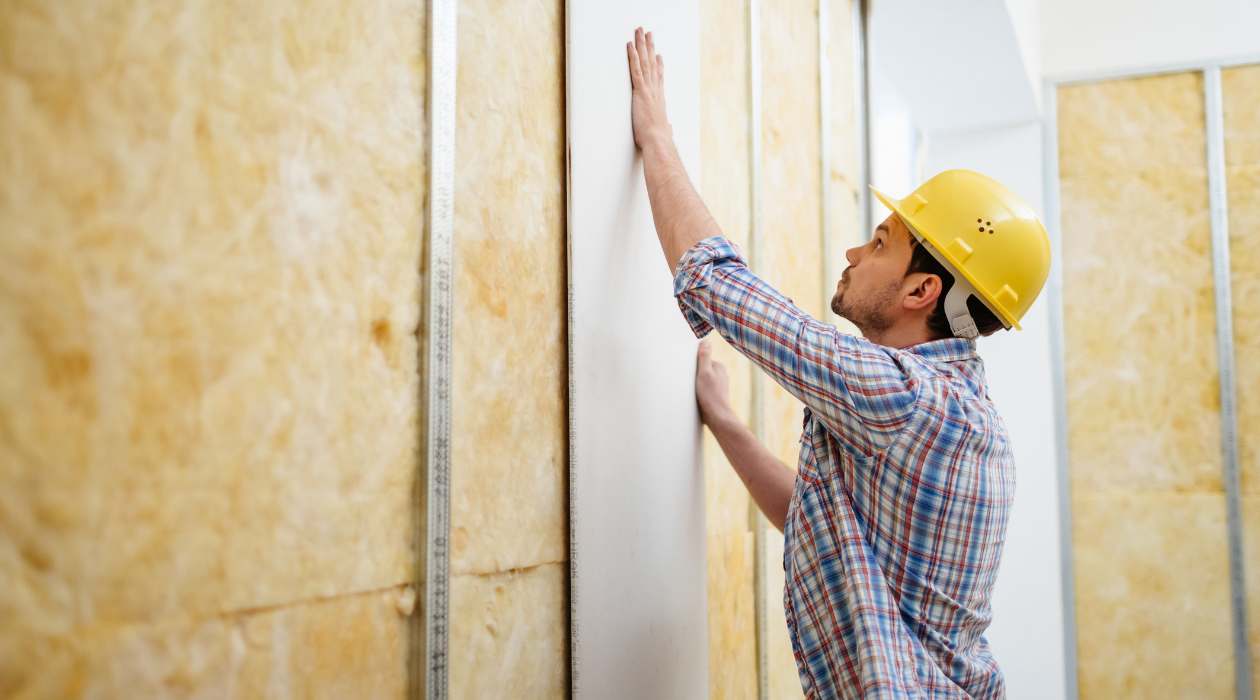
Adding mass to your walls and ceiling is crucial for effective soundproofing. You can do this by installing additional layers of drywall or using thick acoustic panels. The more mass you add, the better your room will be at blocking out external noise.
4. Use Decoupling Techniques
Decoupling involves separating surfaces from each other to prevent vibrations from transferring through them. You can achieve this by using resilient channels or acoustic caulk between layers of drywall or between the drywall and the ceiling.
5. Install Soundproofing Materials
There are various soundproofing materials available that can help you achieve better results. Some common materials include:
- Mass Loaded Vinyl (MLV): This is a flexible sheet that can be installed on walls and ceilings to add mass and reduce sound transmission.
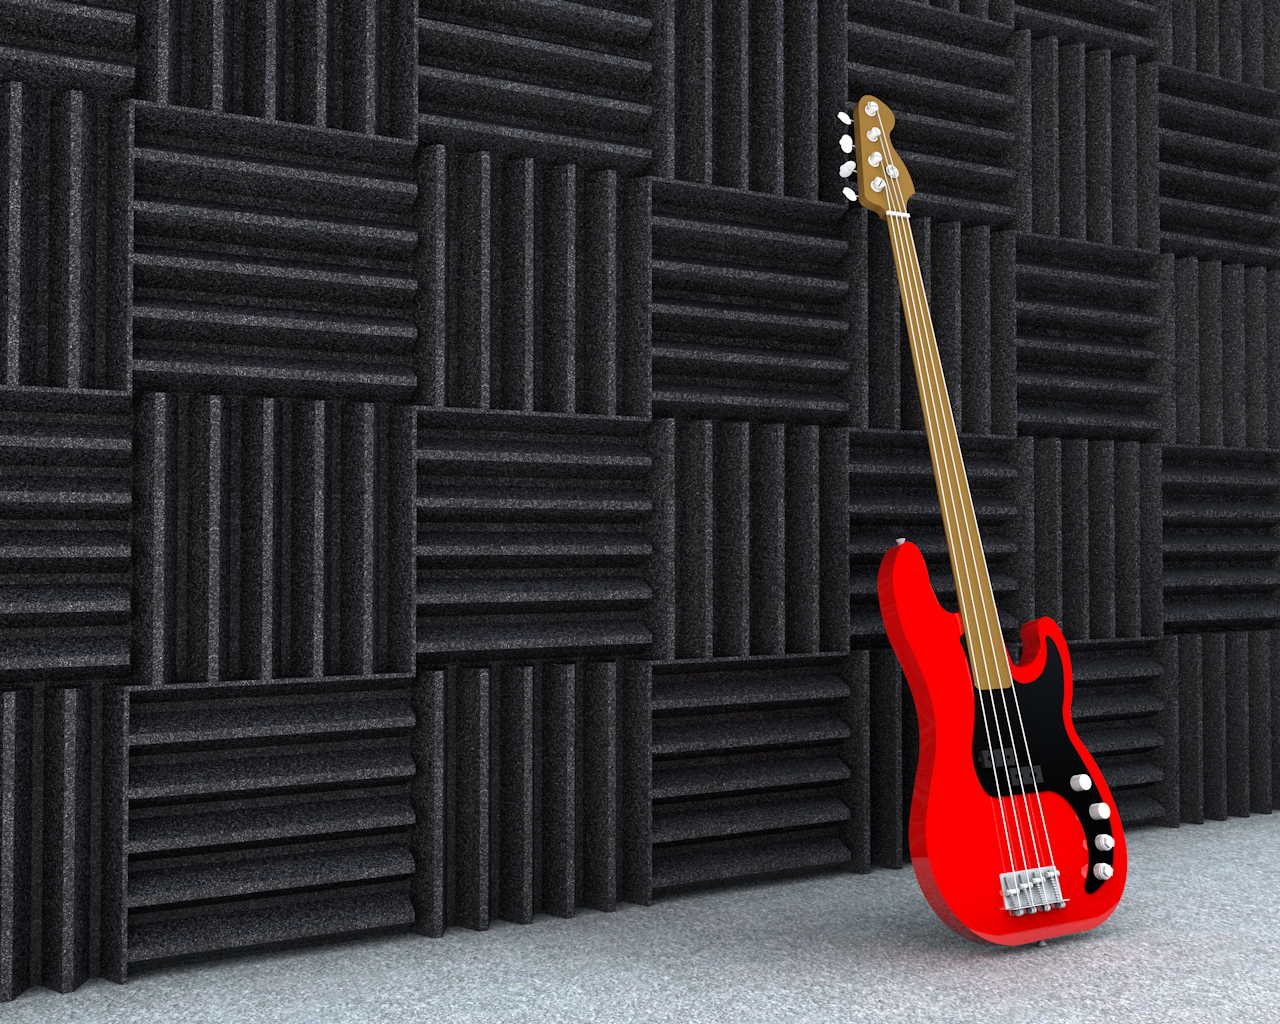
- Acoustic Panels: These panels absorb sound reflections within the room, making it easier to listen and record.
- Soundproofing Blankets: These blankets are designed to absorb sound and can be hung on walls or ceilings.
- Carpeting: Thicker carpeting can help reduce foot traffic noise and can also be used to cover walls or ceilings.
6. Treat Your Windows
Windows are often a weak point in soundproofing efforts. To address this, you can use:
- Acoustic Window Inserts: These inserts fit into existing windows and provide an additional layer of sound insulation.
- Window Seals: These seals can be applied around windows to prevent air leaks and reduce sound transmission.
- Double-Glazed Windows: If possible, installing double-glazed windows can significantly improve soundproofing.
Read more: How To Design A Music Studio In A House
7. Soundproof Your Doors
Doors are another critical area when it comes to soundproofing. Here are some tips:
- Solid Core Doors: These doors offer better sound insulation than hollow core doors.
- Door Seals: Apply door seals around the edges of your doors to prevent air leaks.
- Acoustic Door Sweeps: These sweeps fit under doors and provide an additional layer of sound insulation.
8. Consider Professional Help
If you're not comfortable with DIY soundproofing or if your room requires extensive work, consider hiring a professional. They can assess your space and provide tailored solutions based on your specific needs.
Additional Tips for Home Recording Studios
1. Choose the Right Location
When setting up your home recording studio, choose a location that is away from high-traffic areas and noisy rooms. This will help minimize external distractions and ensure better sound quality.
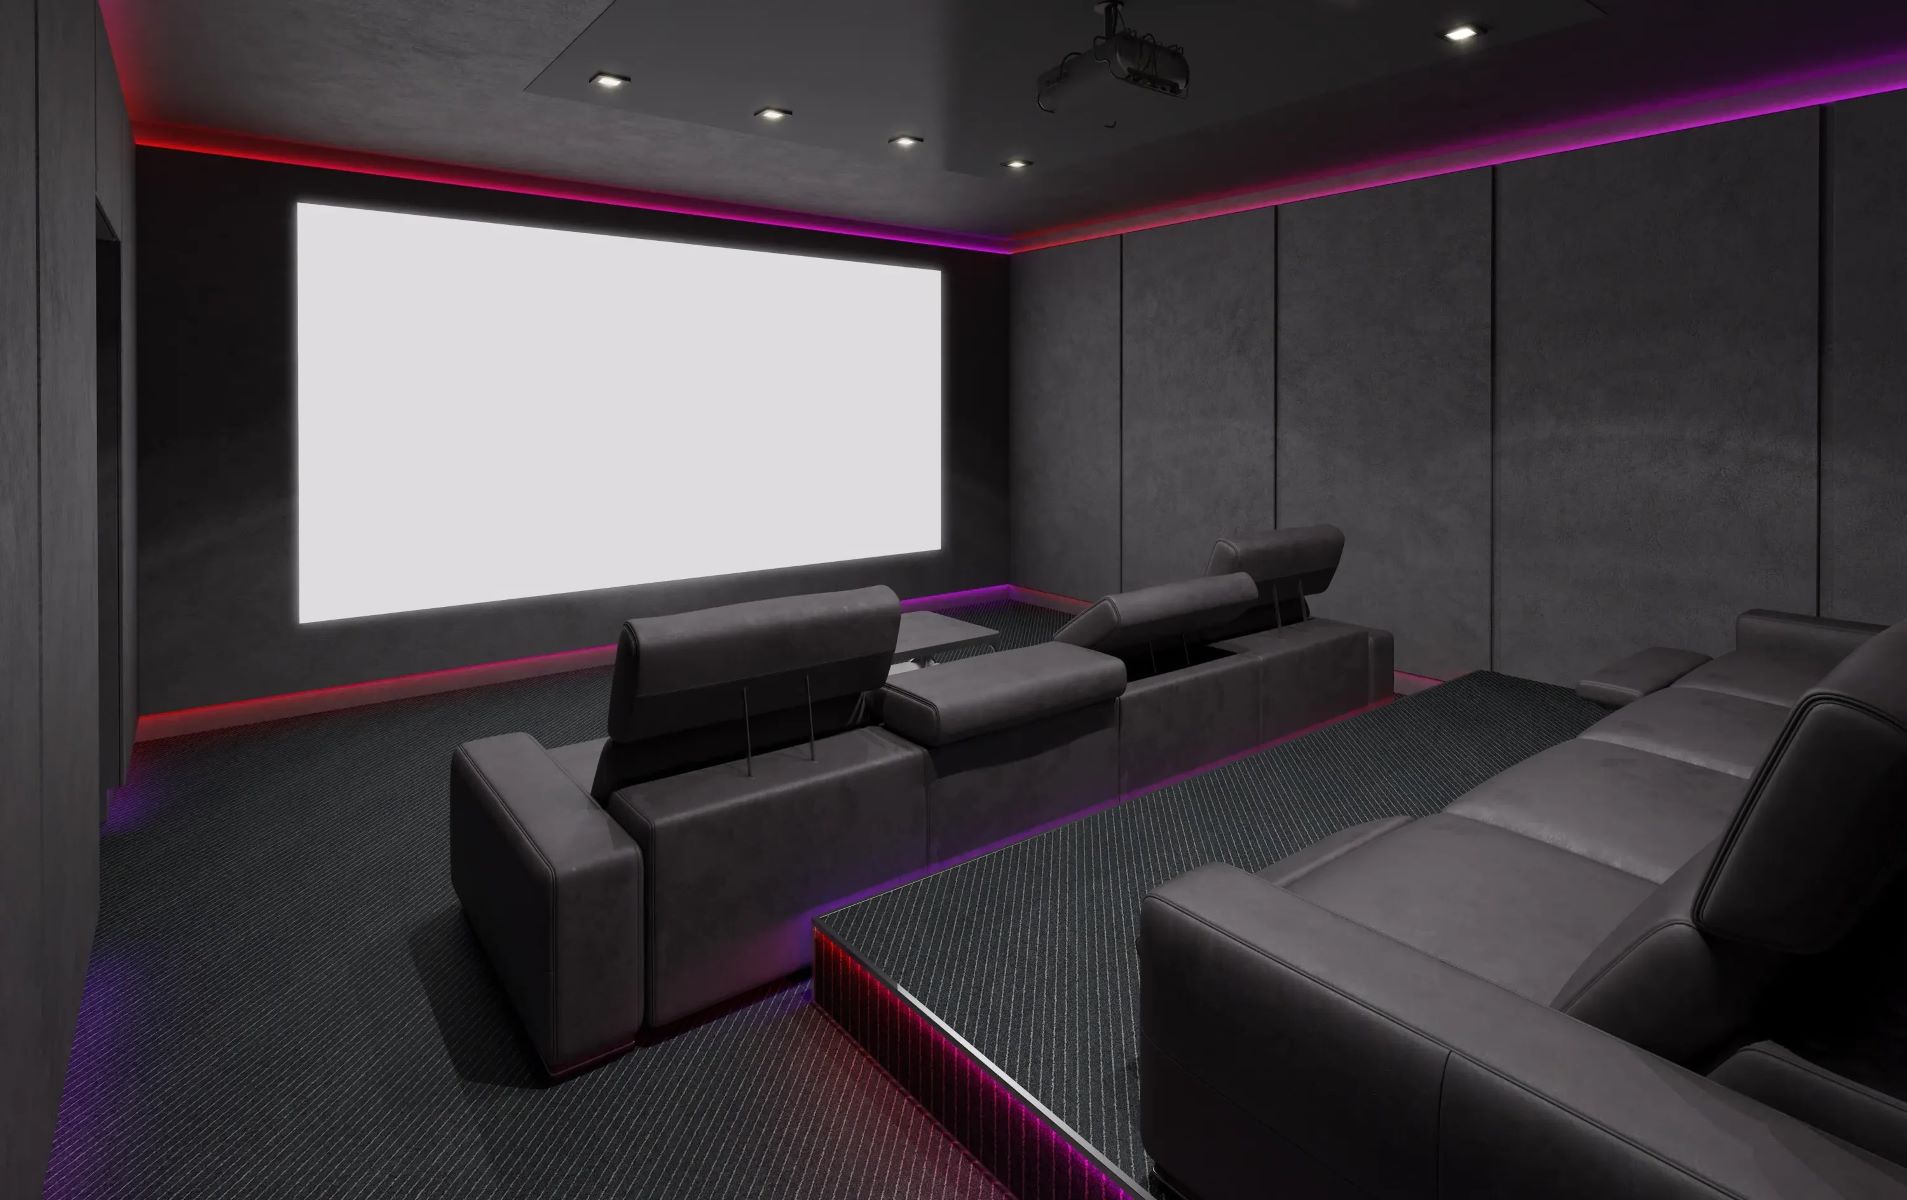
Read more: How To Soundproof A Home Theater Room
2. Designate Your Studio
Designate your studio as a workspace by setting up your equipment in a conscious, deliberate way. This decision itself can make it happen and help you stay focused.
3. Keep Outsiders Out
Keep your door shut when working and consider placing a sign outside indicating that you don't want to be interrupted. This will help maintain your focus and prevent distractions.
4. Silence Your Electronics
Switch off Outlook new mail pings, Twitter alerts, and set your Slack status to ‘busy’ to minimize electronic distractions.
5. Use Noise-Cancelling Headphones
Noise-cancelling headphones can be incredibly useful in reducing background noise while recording or mixing music.
6. Optimize Your Lighting
Good lighting is essential for a productive recording session. Ensure that your studio is well-lit but avoid harsh lights that might cause eye strain.
7. Maintain Fresh Air
Maintaining fresh air in your studio is crucial for both your health and the quality of your recordings. Use a central power control to switch off electrical items during the day when not in use.
Common Mistakes to Avoid
1. Over-Soundproofing
While soundproofing is important, over-soundproofing can lead to an overly reverberant space that sounds unnatural. Balance your soundproofing efforts with acoustic treatment to achieve optimal results.
Read also: 13 Best Soundproofing Studio Foam for 2025
2. Ignoring Air Gaps
Air gaps are often overlooked but can significantly compromise soundproofing efforts. Ensure that all gaps and cracks are sealed properly.
3. Using Ineffective Materials
Using ineffective materials like regular foam or curtains can be misleading and ineffective in soundproofing. Stick to proven materials like mass loaded vinyl or acoustic panels.
Conclusion
Creating a home recording studio requires careful planning and execution, especially when it comes to soundproofing. By following these tips and understanding the basics of soundproofing versus acoustic treatment, you can create an effective space that allows you to produce high-quality music without external distractions. Remember to assess your room thoroughly, seal gaps and cracks, add mass, use decoupling techniques, install soundproofing materials, treat your windows and doors, and consider professional help if needed. With these steps in mind, you'll be well on your way to creating a professional-grade home recording studio that meets all your musical needs.
Additional Resources
For those looking for more detailed information on soundproofing and home recording studios, here are some additional resources:
- Free 220 Page Guide on How to Make a Home Recording Studio: This comprehensive guide covers everything from soundproofing to acoustics, design, layout, lighting, desk construction, and gear selection.
- GeekBoss Soundproofing Tips: This article provides practical tips on reducing background noise in writing rooms, which can also be applied to music recording studios.
- Gearspace Learning Room Discussion: This forum discusses various aspects of setting up a recording space, including acoustic treatment and soundproofing techniques.
- Voices Soundproofing Guide: This guide offers do’s and don’ts of soundproofing rooms, including inexpensive ways to soundproof your space.
- YouTube Soundproofing Workshop: This video provides an in-depth lesson on soundproofing basics and offers a free soundproofing workshop for further learning.
By combining these resources with the tips outlined in this article, you'll be able to create a well-soundproofed home recording studio that meets all your musical needs.
Was this page helpful?
At Storables.com, we guarantee accurate and reliable information. Our content, validated by Expert Board Contributors, is crafted following stringent Editorial Policies. We're committed to providing you with well-researched, expert-backed insights for all your informational needs.

0 thoughts on “Music Room Soundproofing Tips: Create a Home Studio”