Home>Home Appliances>Home Automation Appliances>How To Create A Room In Google Home
Home Automation Appliances
How To Create A Room In Google Home
Modified: August 23, 2024
Learn how to create a room in Google Home for seamless organization of your home automation appliances. Streamline your smart home setup effortlessly!
(Many of the links in this article redirect to a specific reviewed product. Your purchase of these products through affiliate links helps to generate commission for Storables.com, at no extra cost. Learn more)
Introduction
Welcome to the world of smart home automation! With the rapid advancements in technology, it's now easier than ever to transform your living space into a smart, connected environment. Google Home, a voice-activated speaker powered by the Google Assistant, serves as the central hub for controlling various smart devices in your home. One of the key features of Google Home is the ability to organize your devices into different rooms, allowing for more efficient and seamless control over your smart appliances.
In this comprehensive guide, we will walk you through the process of setting up Google Home and creating a room within the Google Home app. Additionally, we will explore how to add devices to the room, manage them effectively, and make the most of your smart home experience.
Whether you're a tech enthusiast looking to delve into the world of home automation or a homeowner seeking to streamline daily tasks, this guide is designed to provide you with the necessary steps to create a room in Google Home and optimize the functionality of your smart devices. Let's embark on this exciting journey to elevate your living space with the power of Google Home!
Key Takeaways:
- Transform your living space with Google Home by creating rooms for efficient control of smart devices. Follow simple steps to set up, add devices, and manage rooms for a personalized smart home experience.
- With Google Home, you can easily organize smart devices into rooms, enabling seamless control and customization. From voice commands to automation, create a connected and intuitive living space tailored to your lifestyle.
Read more: How To Create Scenes In Google Home
Setting Up Google Home
Before diving into the process of creating a room in Google Home, it’s essential to ensure that your Google Home device is set up and connected to your home network. Follow these simple steps to get started:
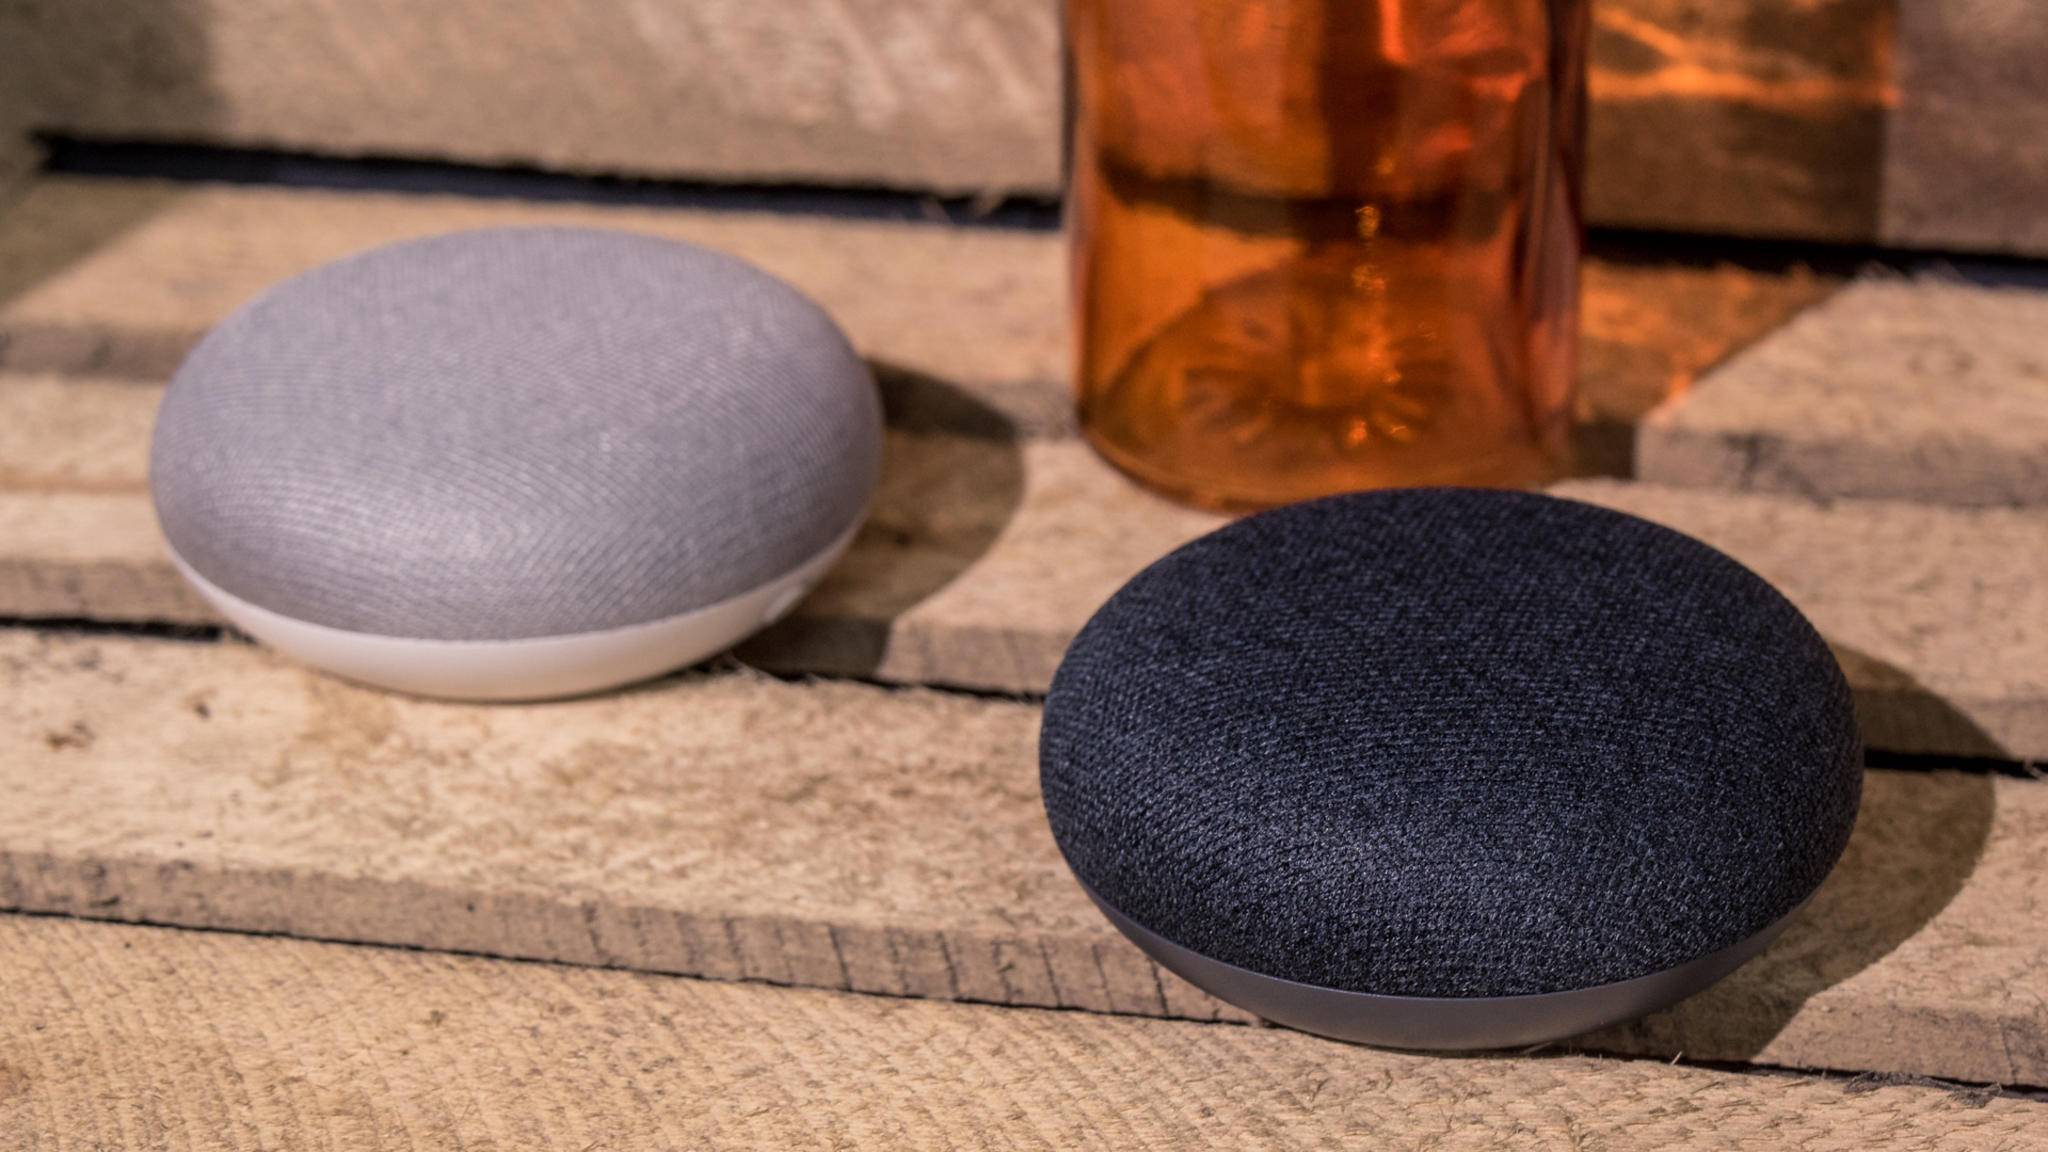
- Unboxing and Plugging In: Unbox your Google Home device and plug it into a power outlet. Once powered on, the device will emit an audible sound and the Google Home app will guide you through the setup process.
- Download the Google Home App: If you haven’t already done so, download the Google Home app from the App Store (for iOS devices) or the Google Play Store (for Android devices).
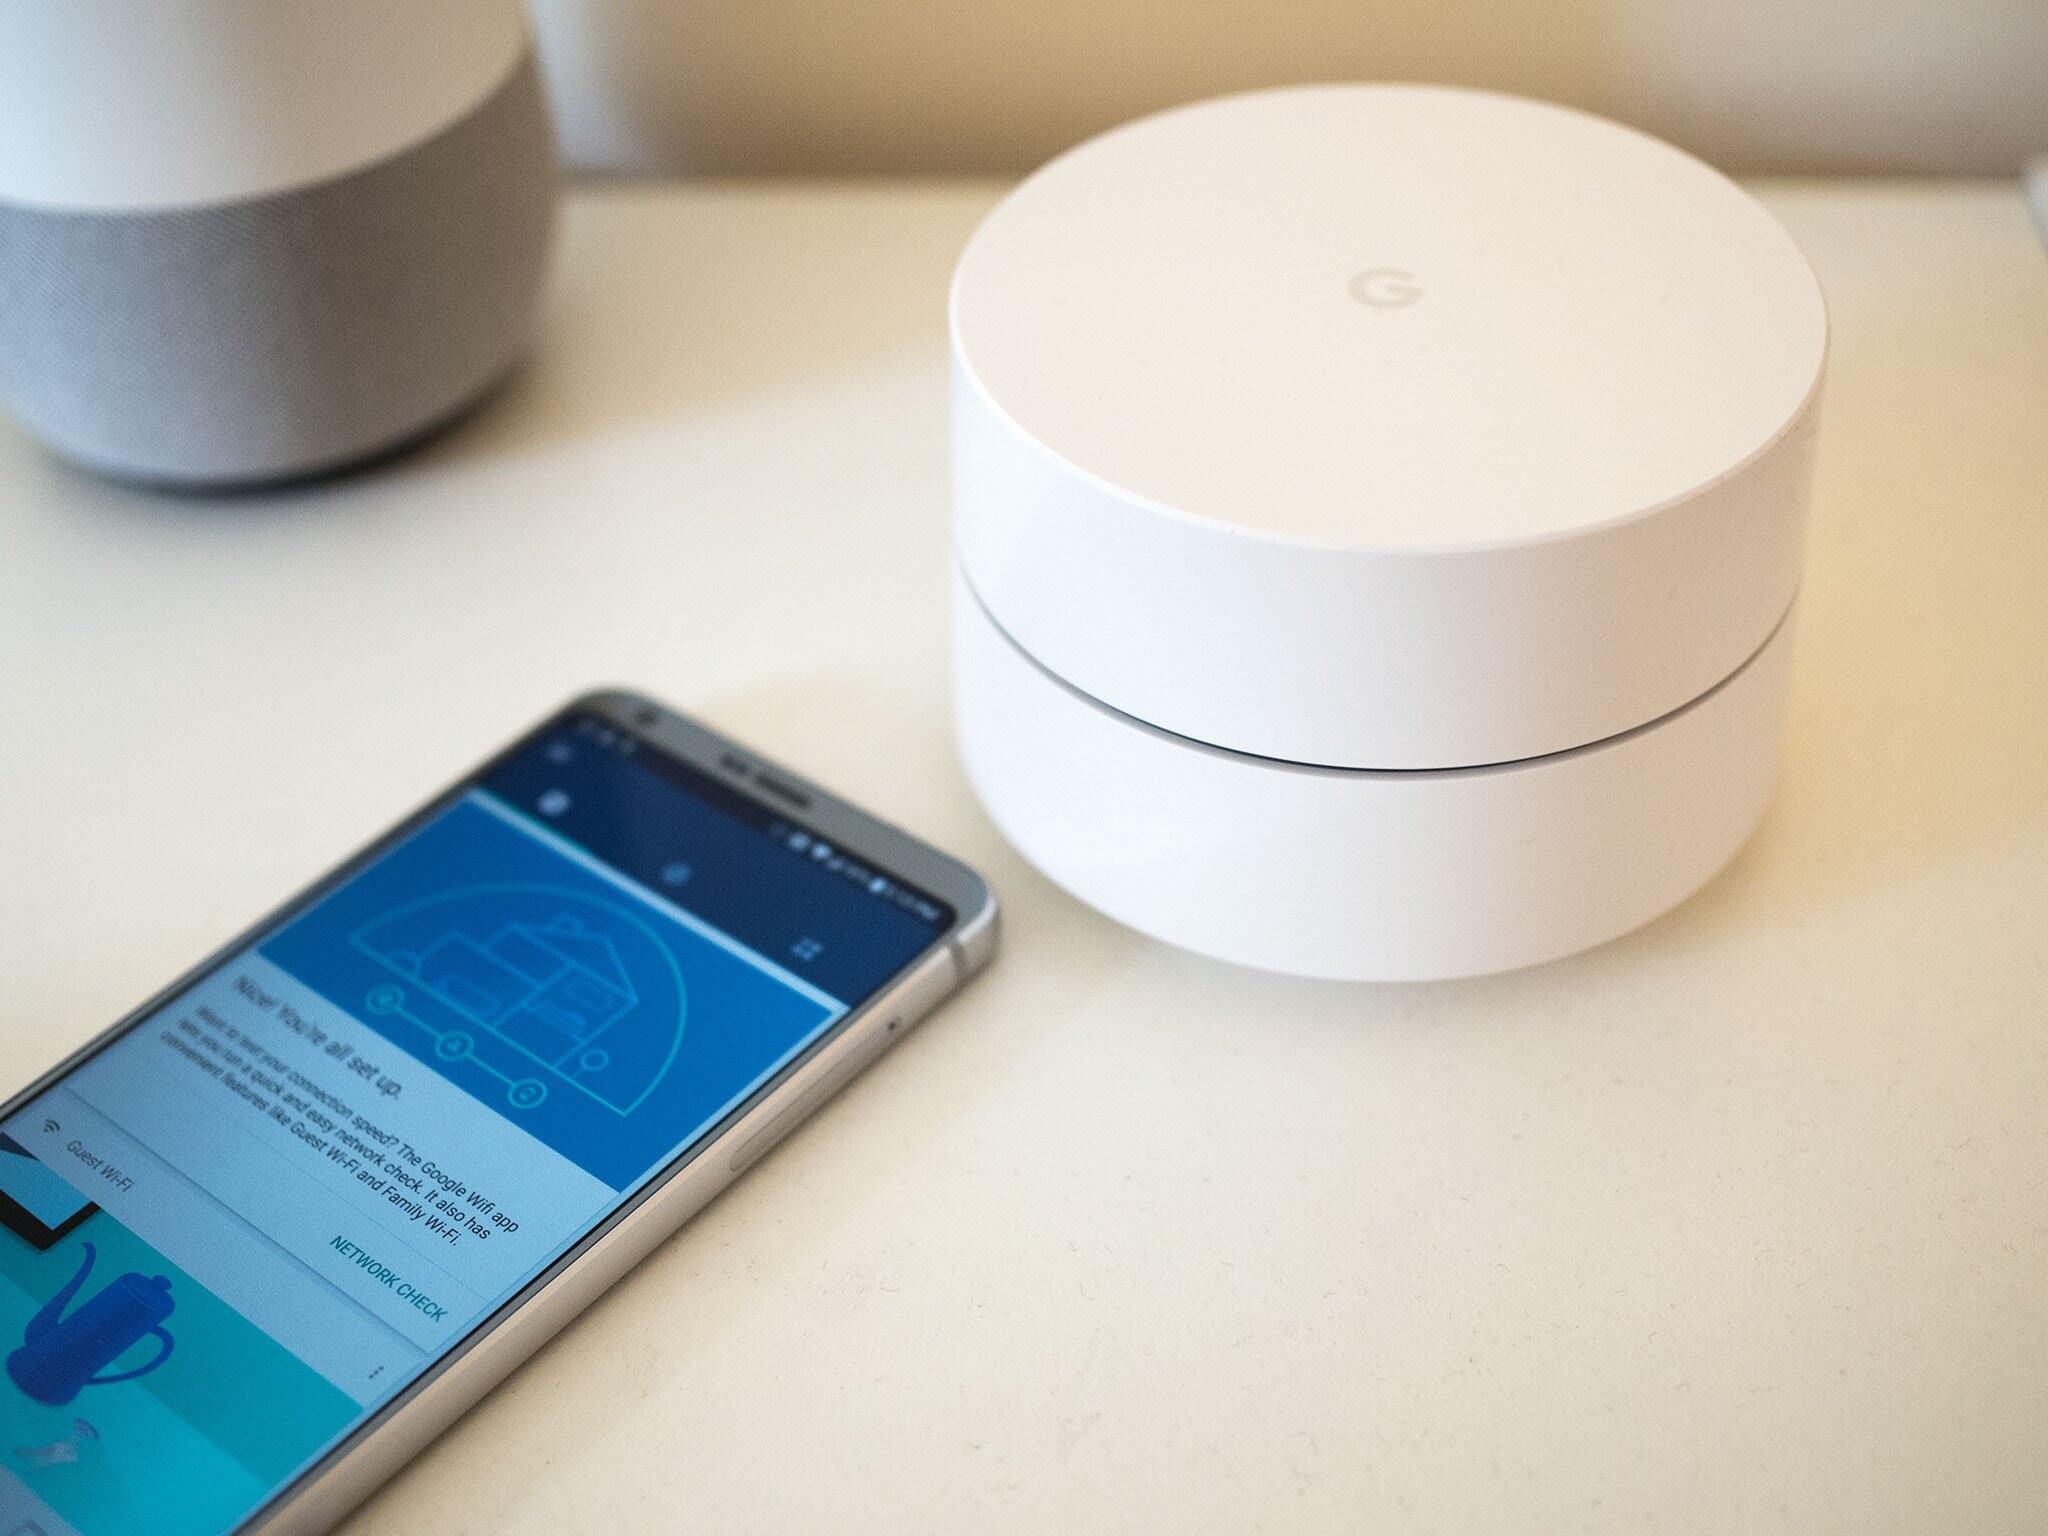
- Open the Google Home App: Launch the Google Home app and sign in with your Google account. Ensure that your mobile device is connected to the same Wi-Fi network that you intend to use for your Google Home device.
- Set Up a New Device: In the Google Home app, tap the “Add” button and select “Set up device.” Follow the on-screen instructions to connect your Google Home device to the app.
- Connect to Wi-Fi: During the setup process, you’ll be prompted to connect your Google Home device to your Wi-Fi network. Simply select your network from the list of available options and enter the Wi-Fi password when prompted.
- Customize Settings: Once connected, you can customize various settings such as the device’s location, language preferences, and the linked Google account.
After completing these steps, your Google Home device will be successfully set up and ready to be integrated into your smart home ecosystem. With the initial setup out of the way, you can now proceed to create a room within the Google Home app and begin organizing your smart devices for enhanced control and convenience.
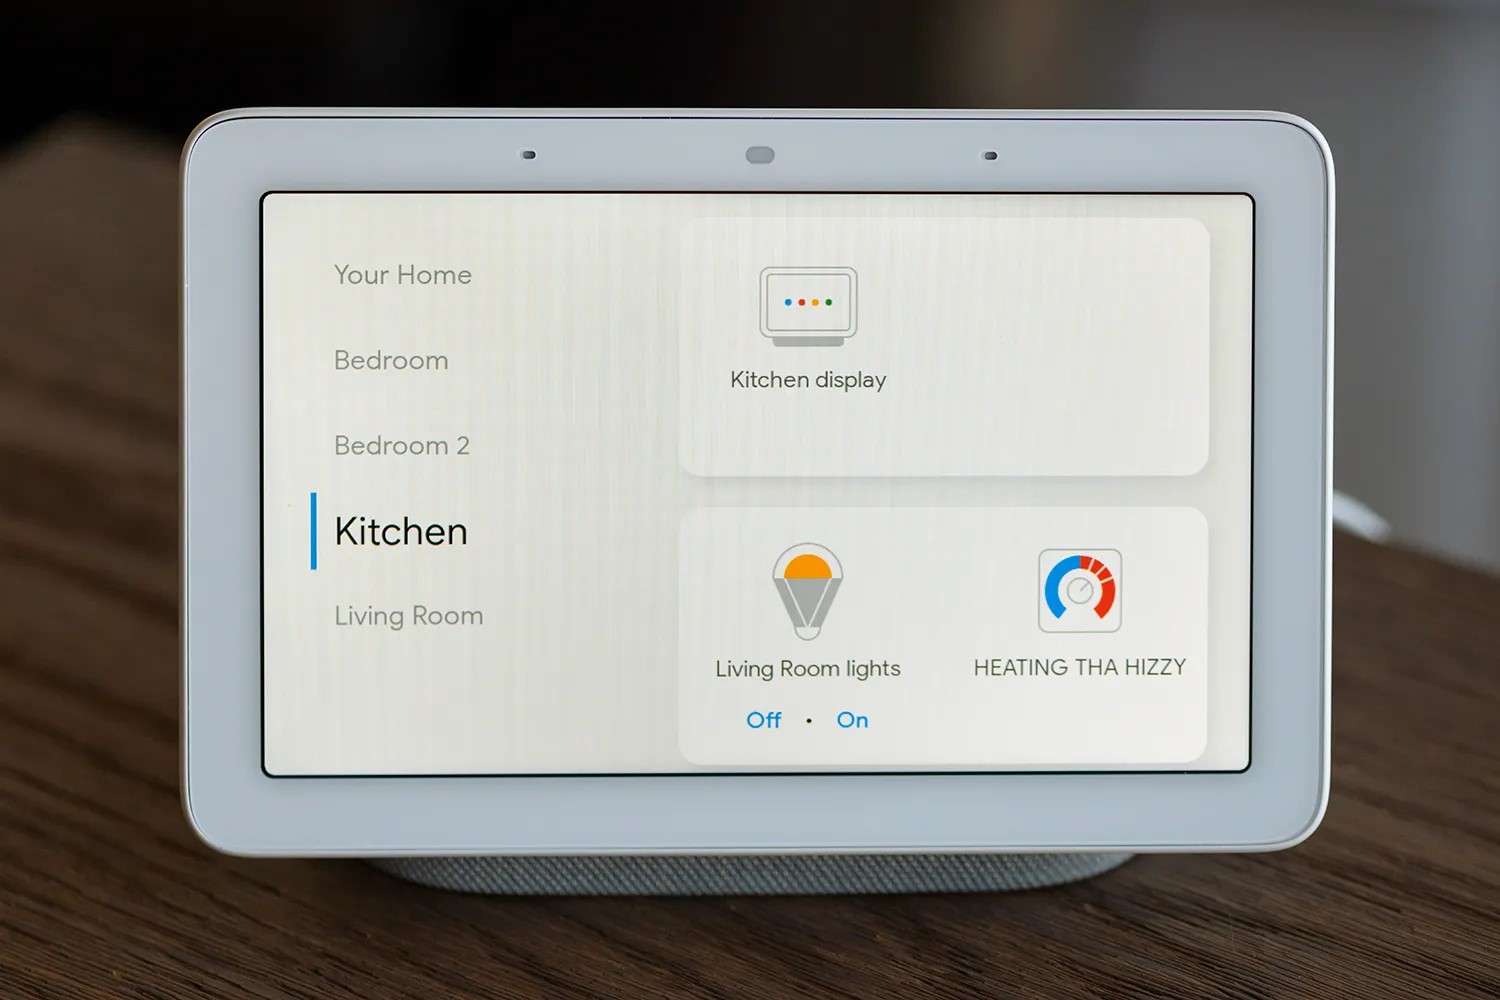
Creating a Room in Google Home
Once your Google Home device is set up, the next step is to create a room within the Google Home app. This feature allows you to group together smart devices based on their location within your home, making it easier to control multiple devices simultaneously. Follow these simple steps to create a room:
- Open the Google Home App: Launch the Google Home app on your mobile device and ensure that it is connected to the same Wi-Fi network as your Google Home device.
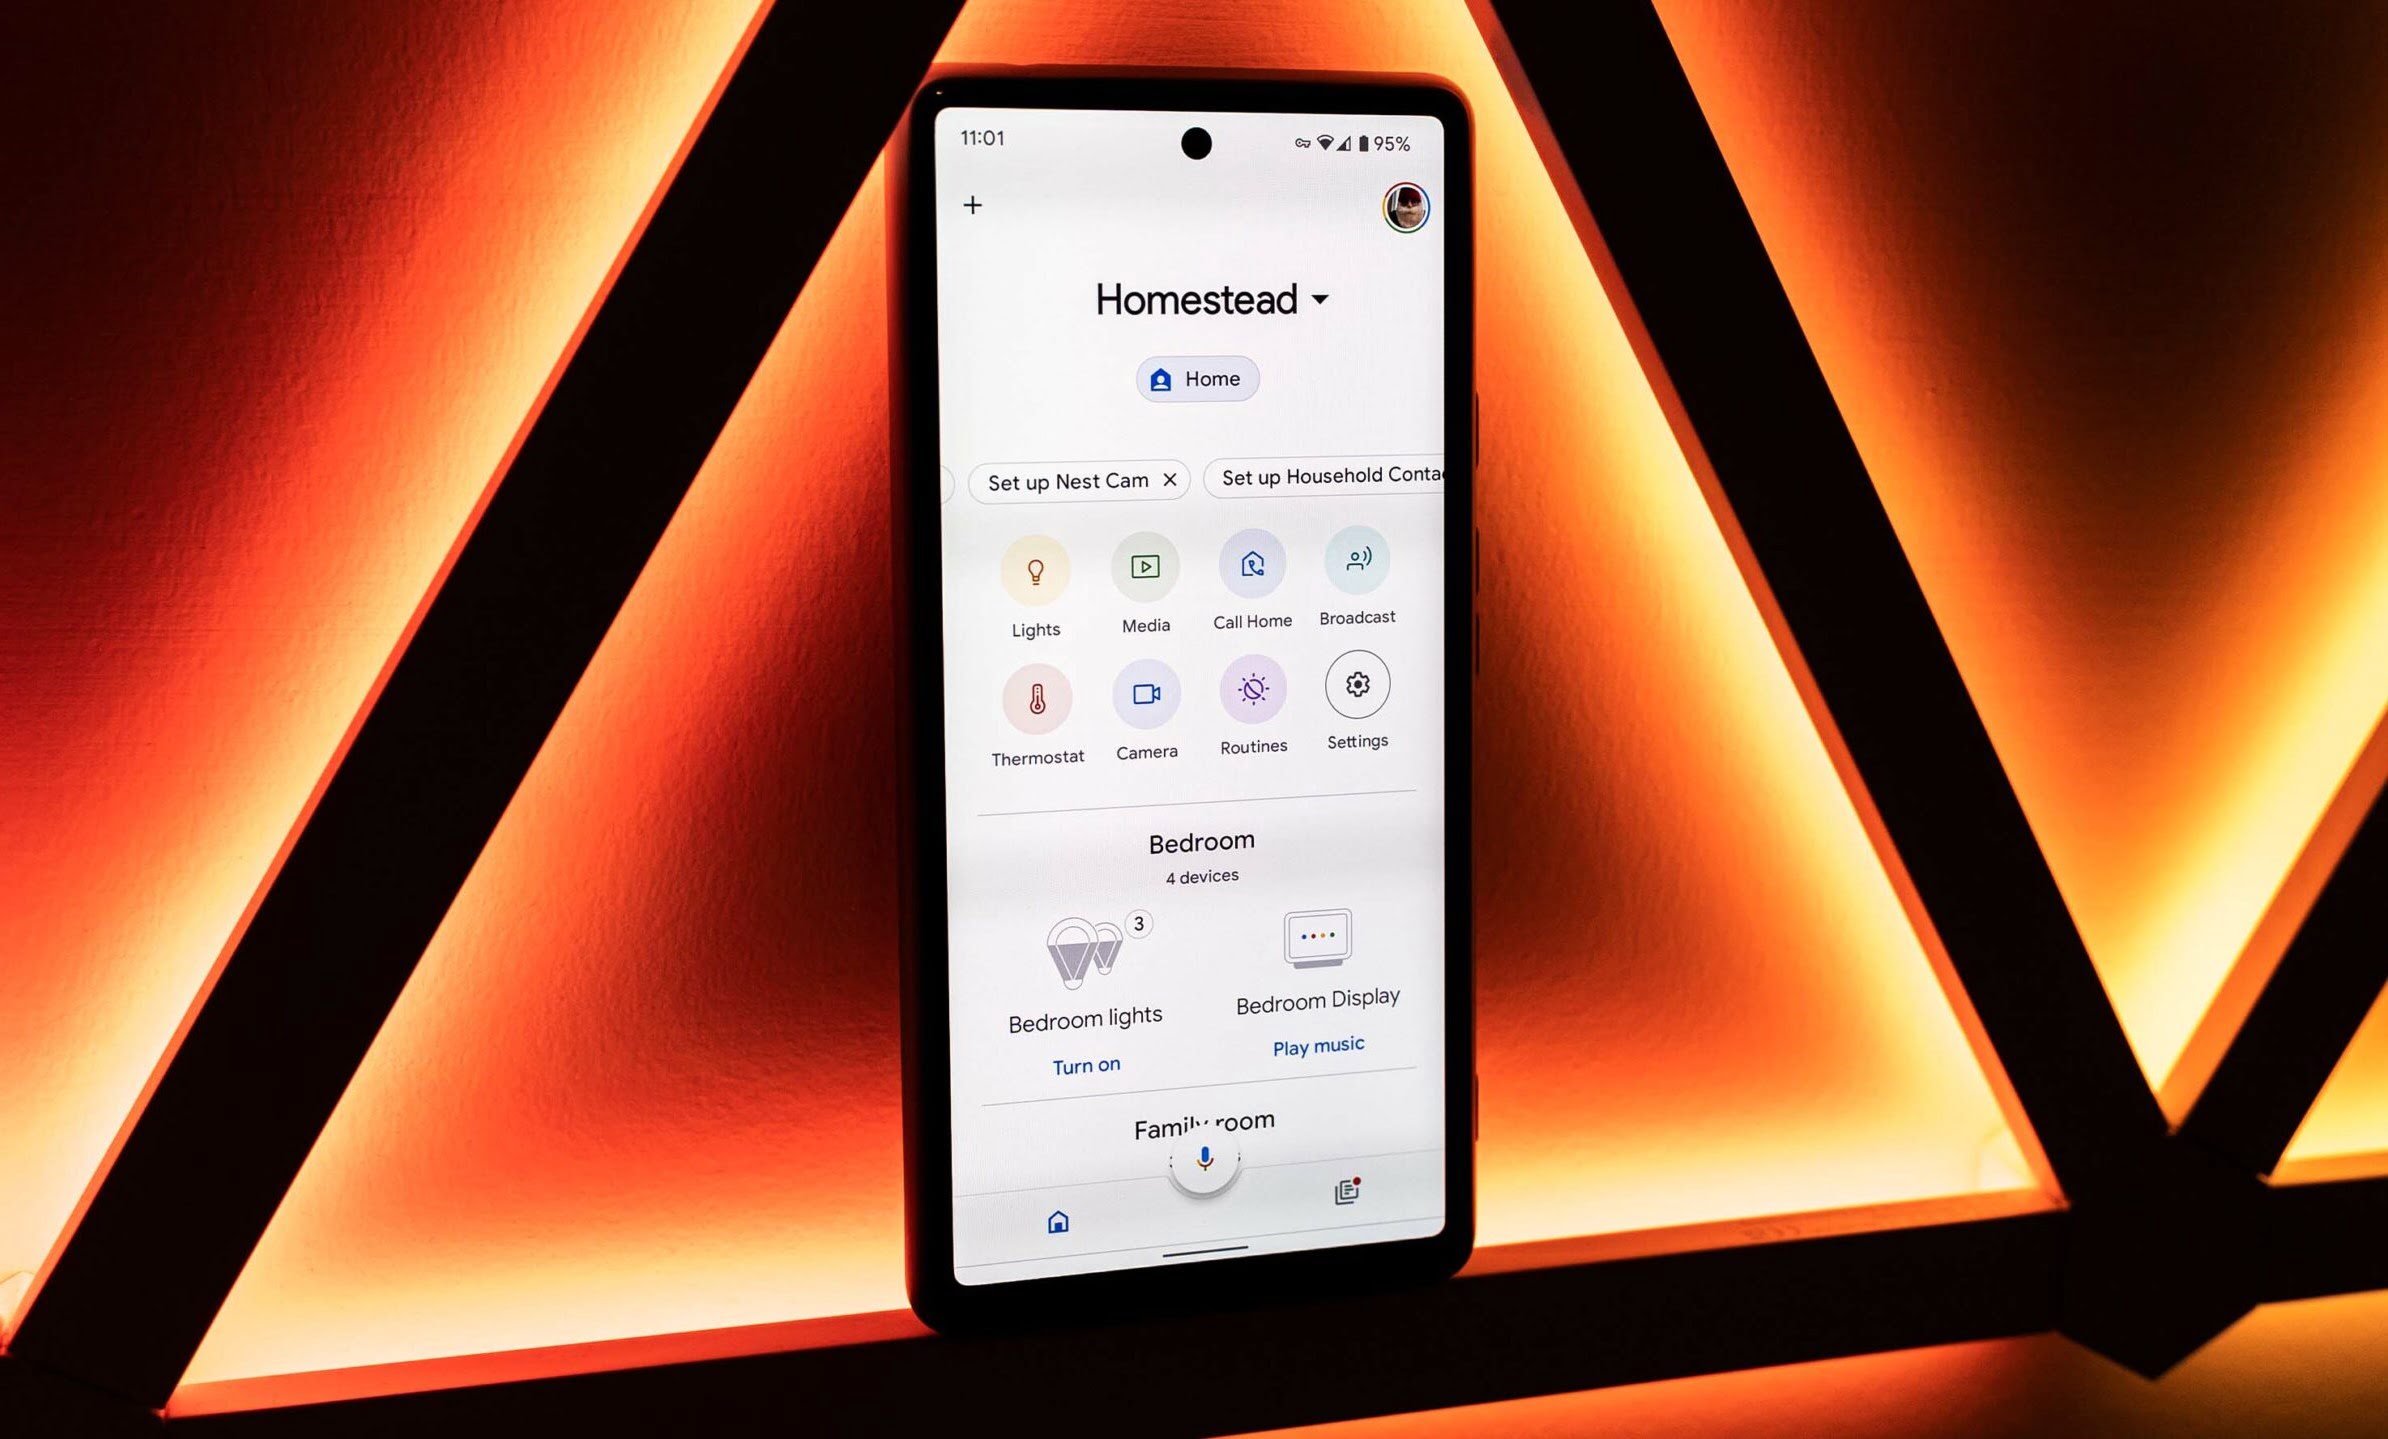
- Access the Home Settings: Tap on the “Home” icon located in the bottom right corner of the app to access the Home settings.
- Select “Rooms”: Within the Home settings, tap on “Rooms” to view the list of existing rooms or create a new one.
- Create a New Room: To create a new room, tap the “+” icon or the “Add room” button. You can then enter the name of the room, such as “Living Room,” “Kitchen,” or “Bedroom,” based on the location where the smart devices are situated.
- Assign Devices to the Room: After creating the room, you can assign compatible smart devices to it. Simply select the room and tap on “Add or remove devices” to choose the devices you want to include in that specific room.
- Customize Room Settings: You can further customize the room settings by adjusting the room’s icon, adding a description, or selecting the default media playback device for that room.
By following these steps, you can effectively organize your smart devices into distinct rooms within the Google Home app. This organization lays the foundation for seamless control and management of your smart home ecosystem. With rooms created, you can now move on to adding devices to the room and optimizing their functionality for a more integrated and efficient home automation experience.
To create a room in Google Home, open the Google Home app, tap on “Rooms,” then “Add” and choose the devices you want to include in the room. This will help you control multiple devices at once.
Adding Devices to the Room
Once you have created rooms within the Google Home app, the next step is to add compatible smart devices to each room. This process enables you to control and manage the devices within specific areas of your home with ease. Here’s how you can add devices to a room:
- Access the Room Settings: Open the Google Home app and navigate to the “Rooms” section within the Home settings. Select the room to which you want to add devices.
- Add or Remove Devices: Within the selected room, tap on “Add or remove devices” to view a list of compatible smart devices that can be included in the room.
- Select Devices to Add: From the list of available devices, choose the ones you wish to include in the room. These devices can range from smart lights and thermostats to smart plugs and speakers, depending on your home automation setup.
- Assign Devices to Room: Once you have selected the devices, confirm the action to assign them to the specific room. This will streamline the control and management of these devices within the designated area of your home.
- Verify Device Assignments: After adding devices to the room, you can verify their assignments by checking the room settings to ensure that all intended devices are successfully included.
By adding devices to the respective rooms, you can create a more organized and intuitive smart home environment. This allows for targeted control and coordination of devices based on their location, enhancing the overall convenience and functionality of your home automation setup. With the devices seamlessly integrated into their designated rooms, you can now move on to managing the rooms and optimizing the smart devices within them to suit your preferences and lifestyle.
Managing the Room
Once you have created rooms and added devices to the Google Home app, it’s essential to understand how to effectively manage and optimize the functionality of each room. Managing the rooms allows you to tailor the settings, control the devices, and create personalized experiences within different areas of your home. Here are some key aspects of managing the room:
- Voice Control and Commands: Utilize the Google Assistant to control the devices within a specific room using voice commands. For instance, you can say, “Hey Google, turn off the lights in the living room,” to seamlessly manage the smart lights in that room.
- Customized Room Settings: Access the room settings within the Google Home app to customize various aspects, such as adjusting the default media playback device, setting the room icon, or adding a description to provide context for the room’s purpose.
- Automation and Routines: Create automation routines using the Google Home app to trigger specific actions for the devices within a room based on predetermined schedules, sensor inputs, or manual activation. This allows for seamless integration of devices to suit your daily routines and lifestyle.
- Device Grouping: Group compatible devices within a room to synchronize their actions. For example, you can create a group of smart lights in the living room to control them collectively, adjusting brightness or color settings simultaneously.
- Remote Access: Manage the devices within each room remotely using the Google Home app, providing flexibility and control even when you are away from home.
By effectively managing the rooms and the devices within them, you can harness the full potential of your smart home ecosystem. This level of control and customization enhances the overall user experience, offering convenience, energy efficiency, and personalized automation tailored to your specific needs. With the ability to manage the rooms, you can create a truly connected and intelligent living space that adapts to your lifestyle seamlessly.
Read more: How To Create A Group In Google Home
Conclusion
Congratulations! You have successfully navigated through the process of setting up Google Home, creating rooms, adding devices, and managing the rooms within the Google Home app. By organizing your smart devices into distinct rooms, you have unlocked a new level of control, convenience, and personalization within your smart home ecosystem.
As you continue to explore the capabilities of Google Home, remember that the ability to create rooms and manage devices offers a myriad of possibilities for enhancing your daily routines and optimizing your living space. Whether it’s adjusting the ambiance of a room with smart lighting, setting the perfect temperature with a smart thermostat, or enjoying immersive audio with connected speakers, the power to control and customize your home environment is at your fingertips.
With the seamless integration of devices into designated rooms, you can effortlessly orchestrate your smart home experience, whether through voice commands, automation routines, or remote access. The flexibility and convenience provided by managing the rooms empower you to tailor your home environment to suit your lifestyle, preferences, and schedule.
As technology continues to evolve, the potential for smart home automation is boundless. Embracing the capabilities of Google Home and leveraging the ability to create rooms sets the stage for a more connected, efficient, and enjoyable living space. With each room tailored to your needs and preferences, you have embarked on a journey towards a smarter, more intuitive home that adapts to your every command and enhances your everyday life.
So, go ahead and explore the endless possibilities that await within the rooms of your Google Home app. Whether it’s transforming your living room into a cozy entertainment hub, optimizing your kitchen for culinary adventures, or creating a serene ambiance in your bedroom, the power to personalize your home environment is now in your hands. Let the rooms within Google Home be the canvas on which you paint your ideal smart home experience.
Frequently Asked Questions about How To Create A Room In Google Home
Was this page helpful?
At Storables.com, we guarantee accurate and reliable information. Our content, validated by Expert Board Contributors, is crafted following stringent Editorial Policies. We're committed to providing you with well-researched, expert-backed insights for all your informational needs.


0 thoughts on “How To Create A Room In Google Home”