Home>Ideas and Tips>Upgrading Your Home’s Attic With DIY Aerogel Insulation
Ideas and Tips
Upgrading Your Home’s Attic With DIY Aerogel Insulation
Published: September 21, 2024
Upgrade your attic with DIY aerogel insulation for superior energy efficiency and comfort. Learn the benefits and step-by-step installation guide.
(Many of the links in this article redirect to a specific reviewed product. Your purchase of these products through affiliate links helps to generate commission for Storables.com, at no extra cost. Learn more)
Introduction
As homeowners, we’re always looking for ways to make our homes more energy-efficient and comfortable. One of the best ways to do this is by upgrading the insulation in your attic. Traditional insulation materials like fiberglass and cellulose have their limits, especially when it comes to thermal performance and durability. This is where aerogel insulation comes into play—a highly advanced, eco-friendly material that offers unmatched thermal insulation properties. In this article, we’ll dive into the world of aerogel insulation, exploring its benefits, applications, and how you can install it in your attic using DIY methods.
What is Aerogel Insulation?
Aerogel is a type of insulation that’s gained a lot of attention recently due to its amazing thermal performance. It’s the lightest solid material known, with a density that’s about 1/100th that of water. This unique property makes it an excellent insulator, capable of trapping air within its nanoporous structure, which significantly reduces heat transfer.
History and Development
Aerogel was first developed in the 1930s by scientists at General Electric. Initially, it was used in various industrial applications, including aerospace and biomedical fields. However, its potential in building insulation was only recently realized, leading to its widespread adoption in construction projects.
Properties and Benefits
-
Thermal Conductivity: Aerogel has a thermal conductivity value of 0.015 W/mK, which is way lower than traditional insulation materials like fiberglass (R-3.5 per inch) and foam board (R-4 per inch). This means aerogel can provide up to 20 times better insulation than these materials of the same thickness.
-
Flexibility: Aerogel is super flexible, making it easy to install in various applications, including walls, floors, and ceilings. Its flexible nature also allows it to conform to irregular shapes and surfaces, ensuring a tight seal and maximum insulation performance.
-
Moisture Resistance: Aerogel is vapor permeable, allowing moisture to pass through while preventing condensation. This property makes it ideal for retrofitting existing buildings and traditional structures where moisture control is crucial.
-
High-Temperature Performance: Aerogel can withstand temperatures up to 650°C without losing its insulating properties. This makes it an excellent choice for applications where high temperatures are a concern.
-
Environmental Benefits: Aerogel is an eco-friendly material that reduces energy consumption and greenhouse gas emissions. By minimizing heat loss and gain, aerogel helps in achieving more energy-efficient buildings and reducing the carbon footprint associated with heating and cooling.
Applications of Aerogel Insulation
Aerogel insulation can be used in various parts of a building, including walls, floors, and ceilings. Here’s how it can be applied in each area:
Wall Insulation
-
Solid Walls: Aerogel can be used on solid walls made of brick or stone. However, the application method may vary depending on the porosity of the bricks or stones and any external render or internal finishes.
-
Timber Frame Walls: Aerogel is suitable for insulating timber frame walls but requires expert advice to ensure optimal installation.
-
Window Reveals: One of the most common uses for aerogel is around window reveals. It helps to eliminate thermal bridging between the window frame and wall insulation, especially in traditional buildings where windows are located towards the outside of thick walls.
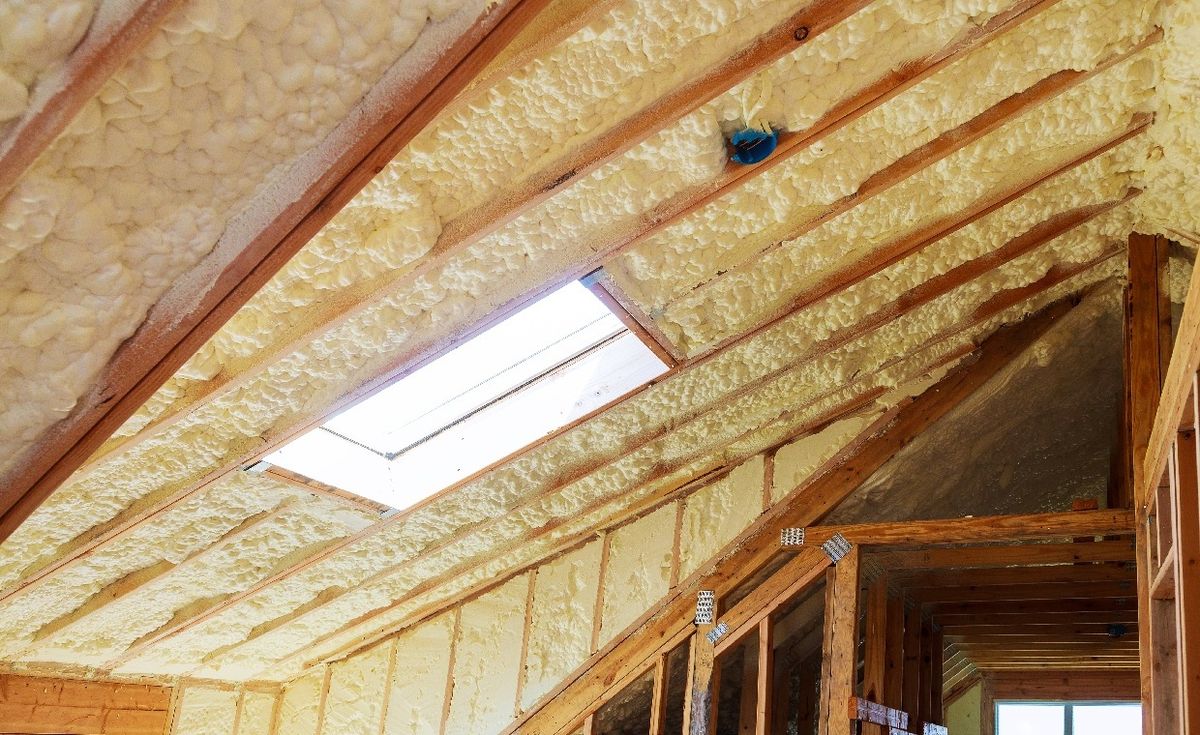
Roof Insulation
-
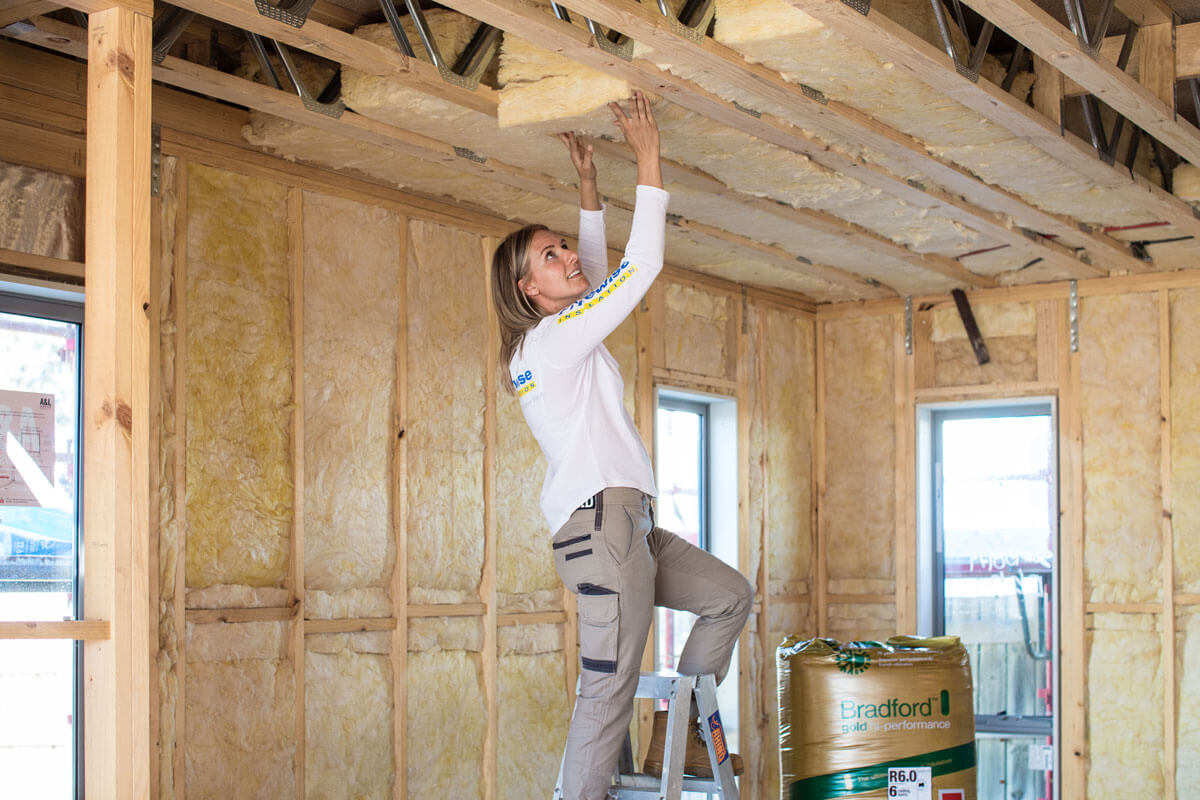
Cold Roofs: Aerogel can be reliably used to insulate at ceiling level in loft spaces or on room-in-roof stud walls. It’s particularly effective in cold roof applications where it helps reduce heat loss through the roof cavity.
-
Warm Roofs: For warm roof applications like loft conversions and room-in-roof spaces, including dormers, aerogel can be applied internally over existing plaster finishes. This method ensures good performance and eliminates thermal bridging from roof timbers.
-
Rafters: Aerogel can also be applied to rafters in a roof but requires careful attention at junctions like eaves, ridge, and gables to ensure continuous and airtight insulation.
Floor Insulation
-
Solid Floors: Aerogel blankets are ideal for solid floors due to their high performance and thin profile. This reduces the need to trim internal doors or skirtings, making it a cost-effective solution for remodeling basements.
-
Suspended Floors: For suspended timber floors, the most cost-effective way to insulate is usually from beneath. However, this isn’t always practical with shallow sub-floor voids.
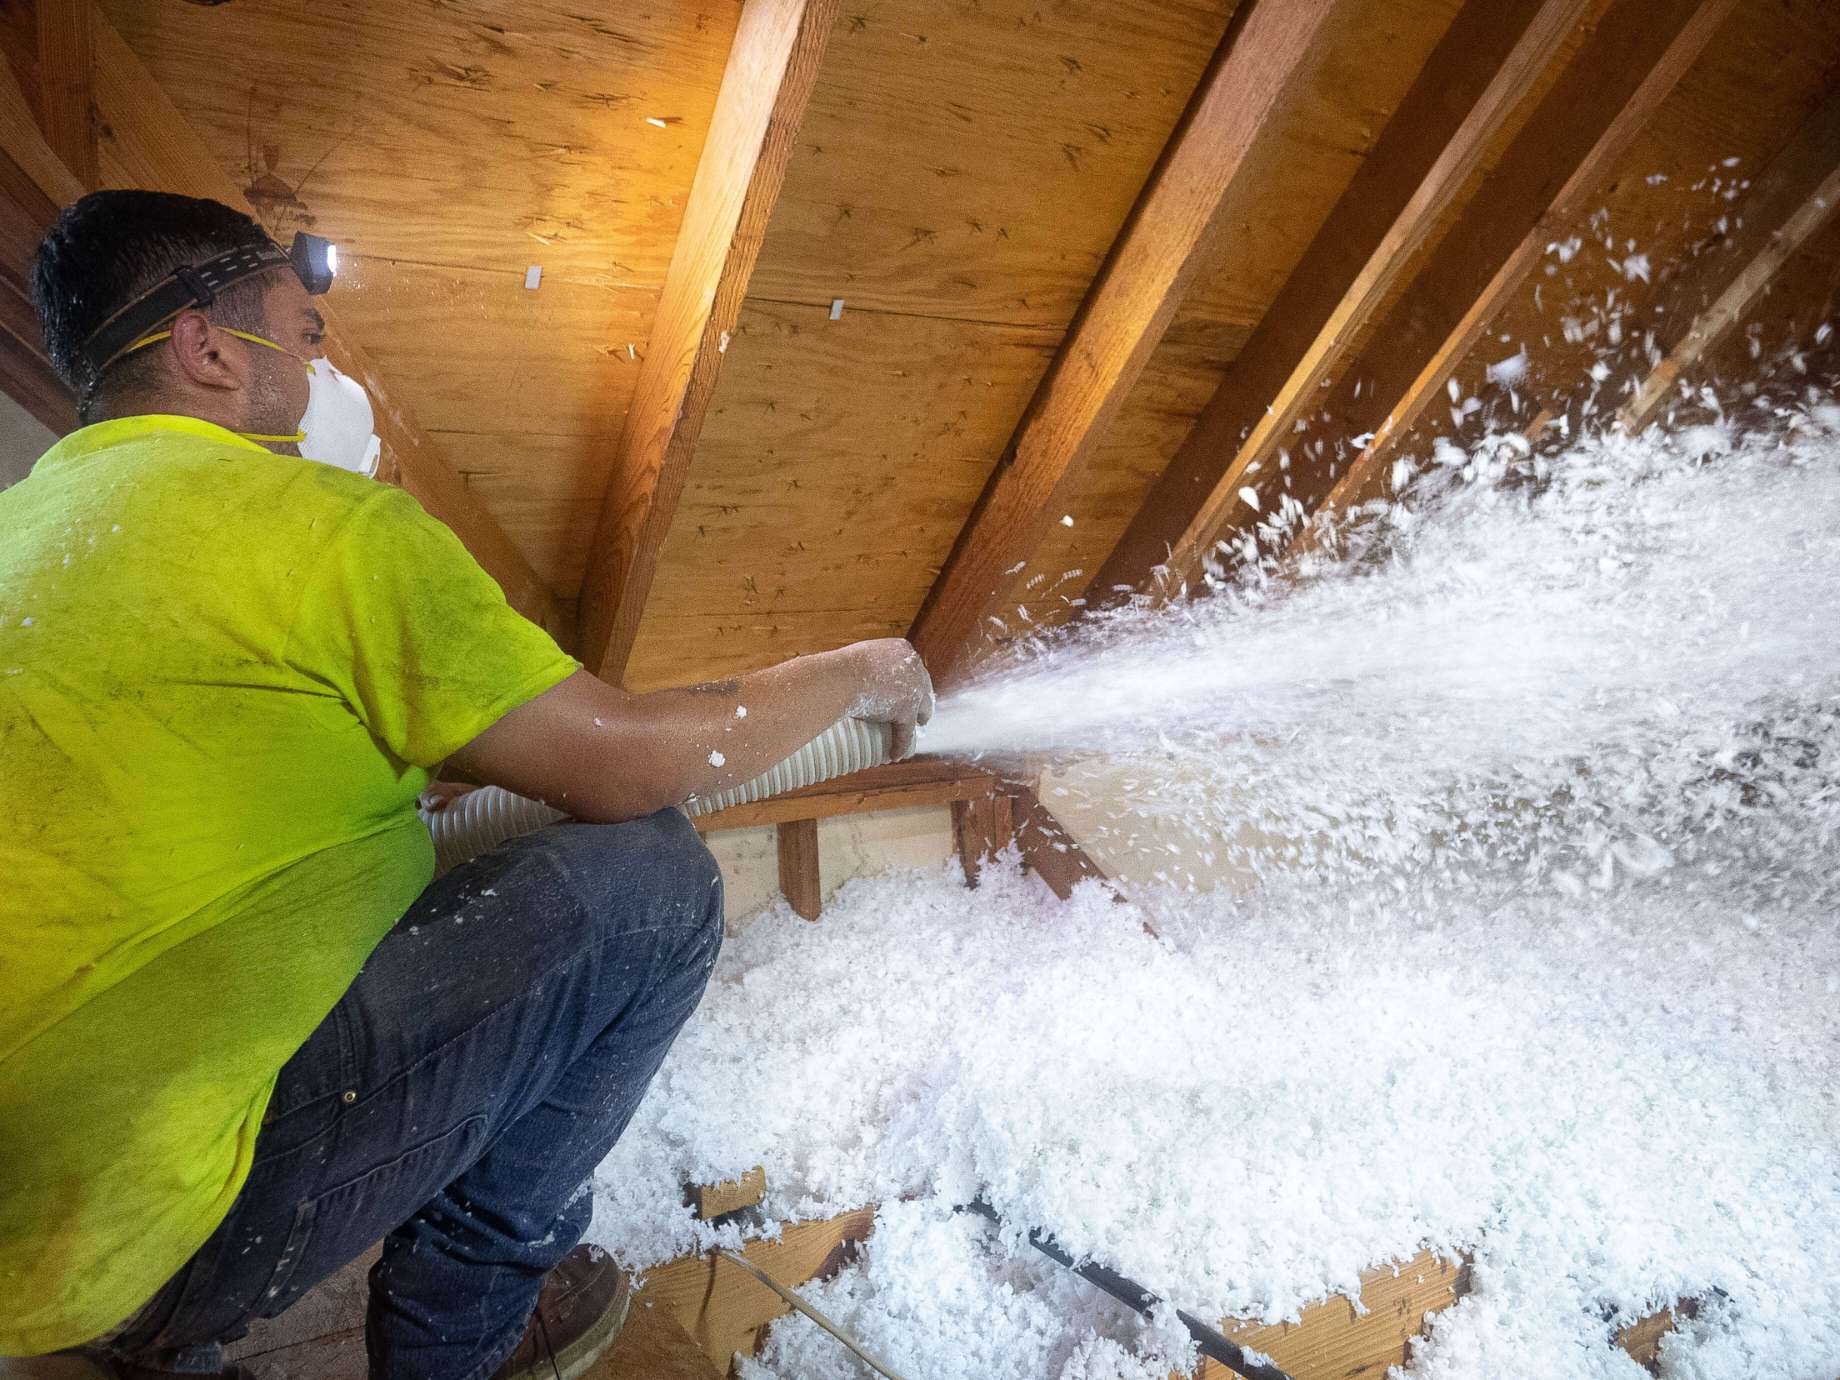
DIY Installation Guide for Attic Insulation
Installing aerogel insulation in your attic can significantly improve its energy efficiency and comfort. Here’s a step-by-step guide on how to do it yourself:
Materials Needed:
- Aerogel Insulation Blankets: These are typically available in 5 or 10mm thicknesses.
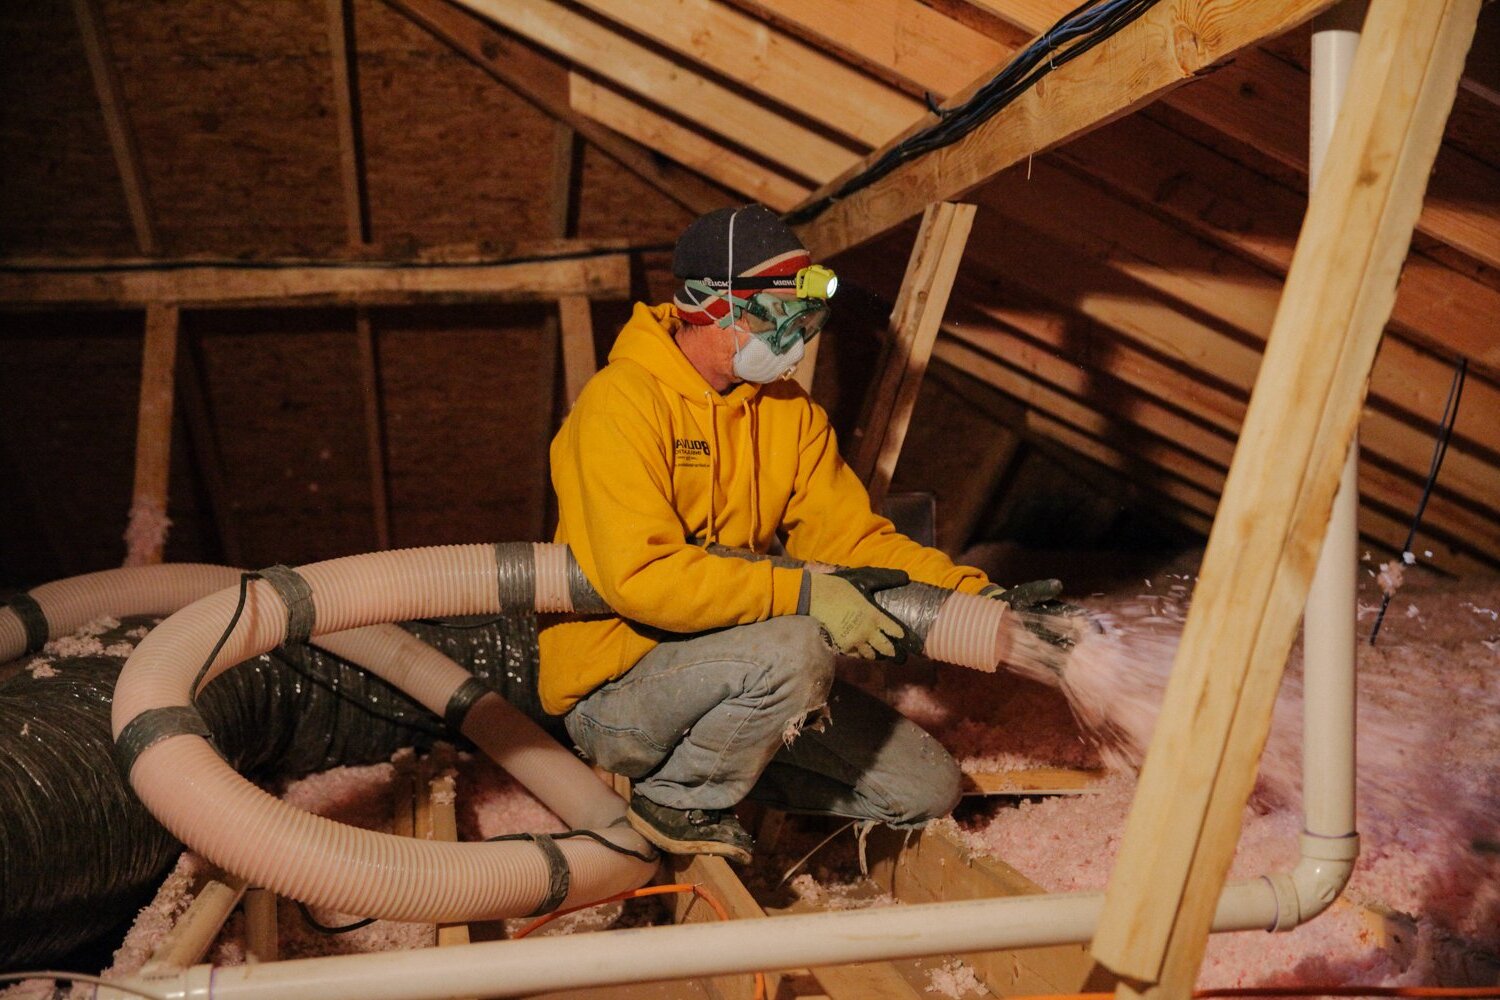
- Protective Gear: Gloves, safety glasses, and a dust mask.
- Measuring Tape: For measuring the attic space.
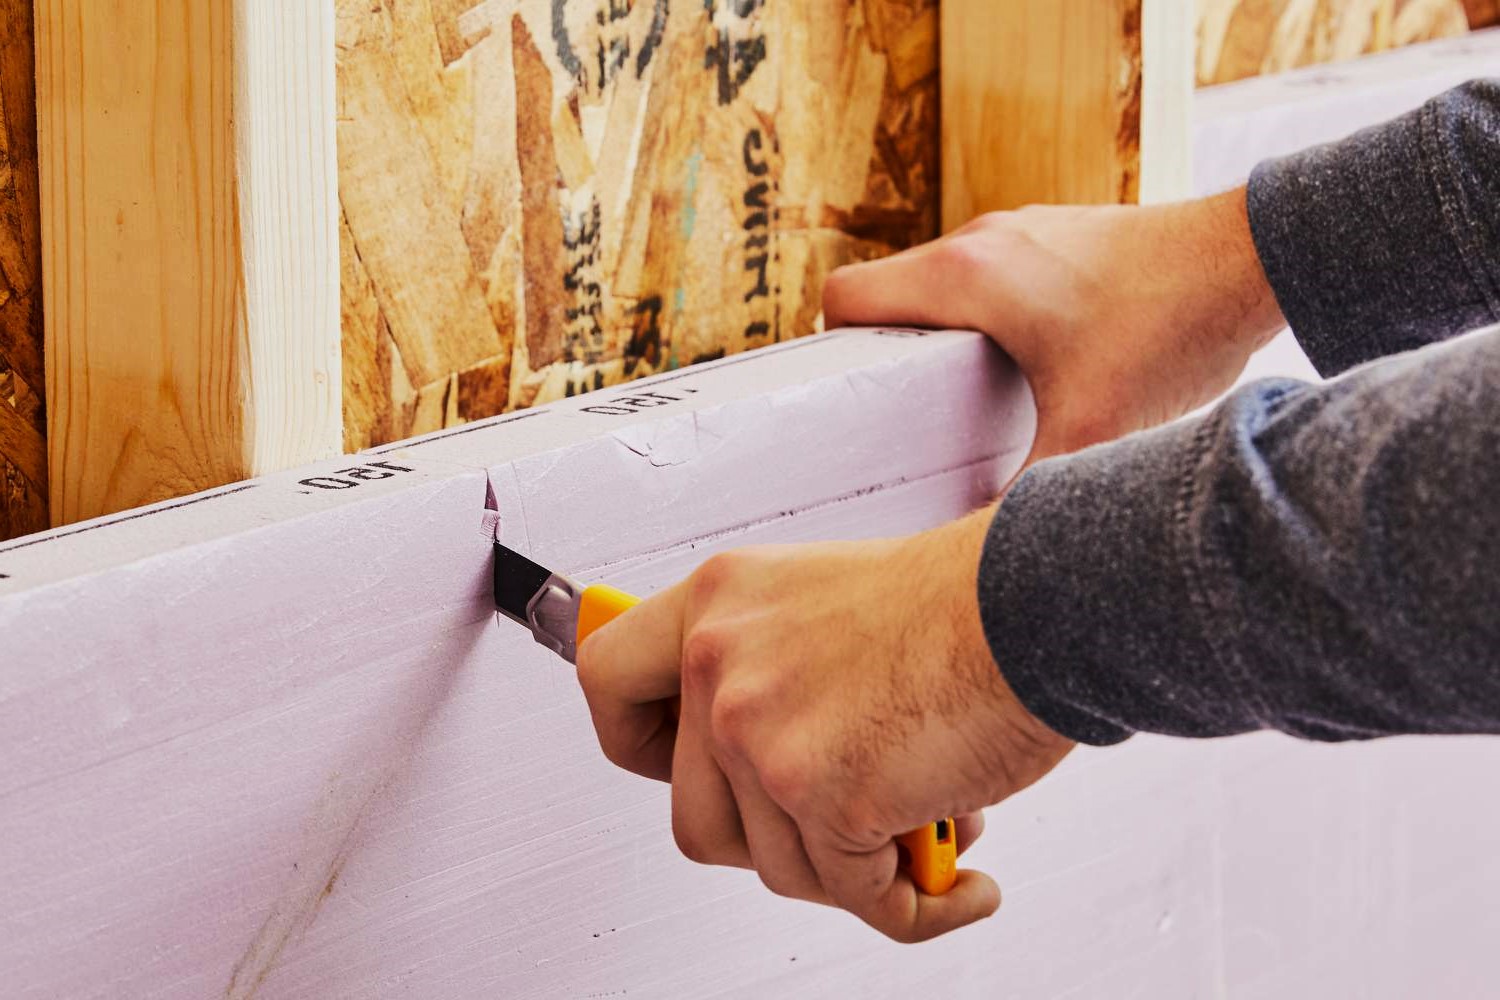
- Utility Knife or Scissors: For cutting the aerogel blankets.
- Rolling Tool or Brush: For smoothing out the insulation.
- Tape Measure and Pencil: For marking the attic space.
Steps:
-
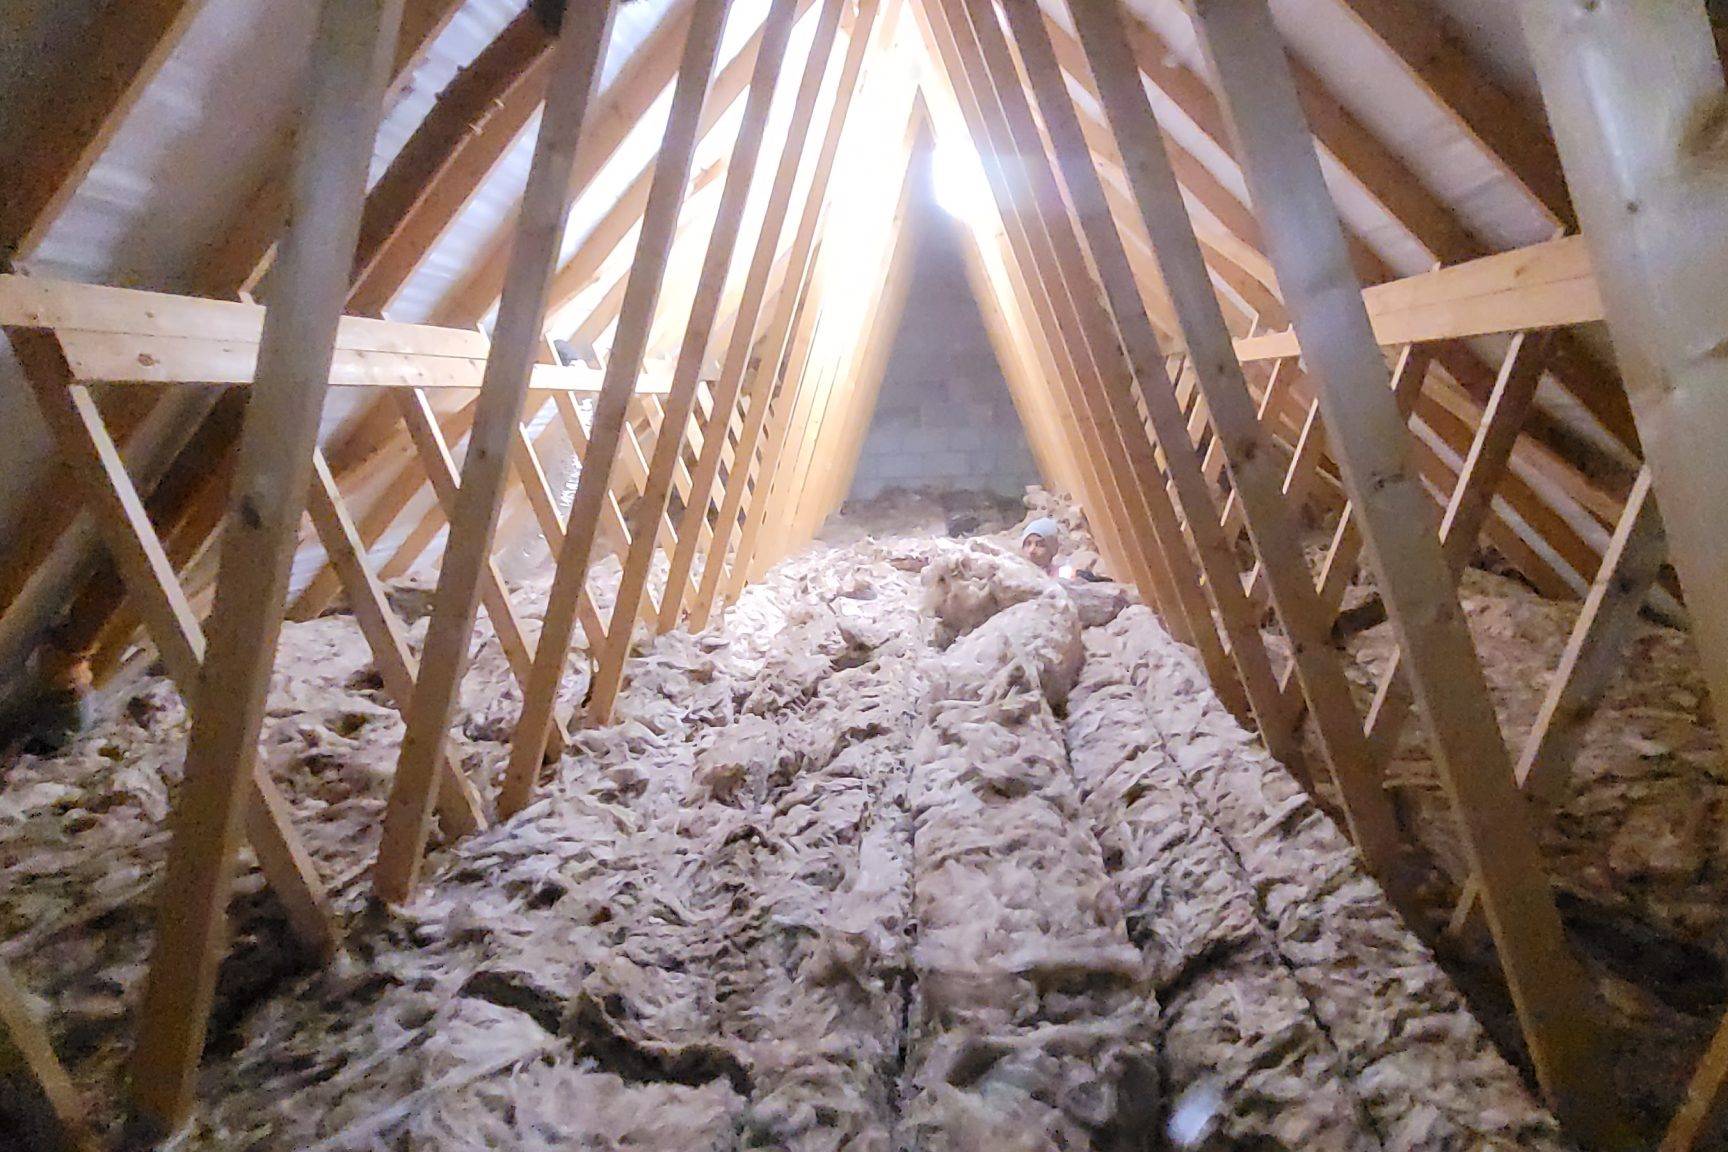
Prepare the Attic Space:
- Clear the attic of any debris or obstructions.
- Ensure the space is well-ventilated to prevent moisture buildup.
-
Measure the Attic Space:
- Use a measuring tape to determine the dimensions of your attic space.
- Mark these dimensions on the floor or walls to guide your insulation installation.
-
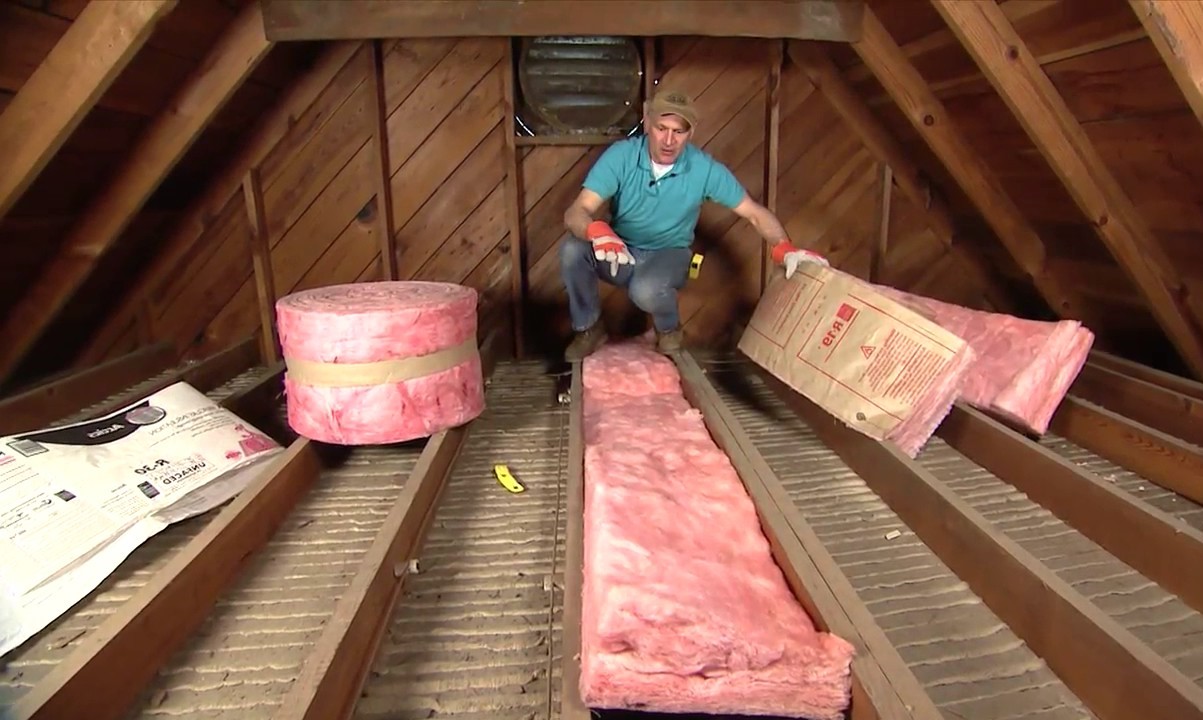
Cut the Aerogel Blankets:
- Use a utility knife or scissors to cut the aerogel blankets according to your measurements.
- Cut them slightly larger than needed to allow for easy fitting and trimming.
-
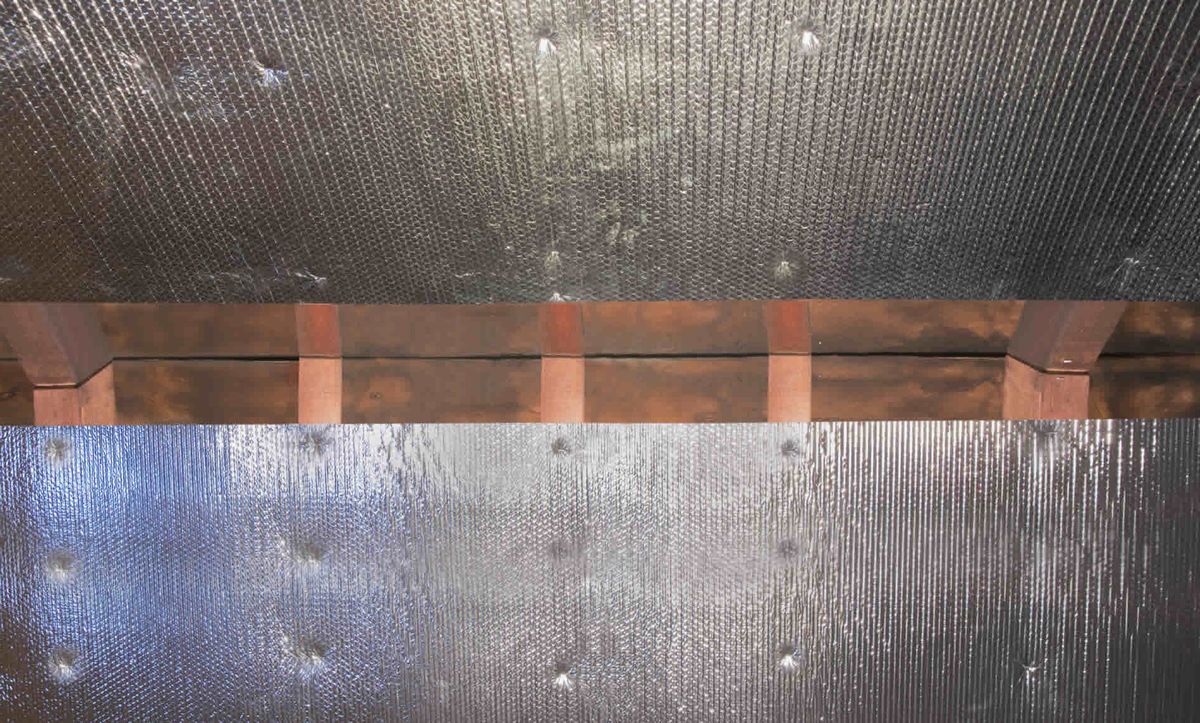
Install the Aerogel Blankets:
- Start by laying down one blanket along one edge of the attic floor.
- Roll out subsequent blankets, overlapping them by about 6 inches to ensure complete coverage.
- Use a rolling tool or brush to smooth out any wrinkles or air pockets in the insulation.
-
Secure the Blankets:
- Use tape to secure any loose edges of the blankets around vents, chimneys, or other obstructions.
- Ensure that all gaps are sealed tightly to prevent heat loss.
-
Check for Air Leaks:
- Use a flashlight and a piece of cardboard to check for any air leaks around joints and seams.
- Seal any gaps you find with spray foam or caulk.
-
Final Inspection:
- Walk through your attic space to ensure that all areas are well-insulated.
- Check for any signs of moisture accumulation which could indicate improper installation or inadequate ventilation.
Conclusion
Upgrading your home's attic with DIY aerogel insulation is an effective way to enhance its energy efficiency while reducing greenhouse gas emissions. With its superior thermal performance, flexibility, and moisture resistance, aerogel offers unparalleled benefits over traditional insulation materials. By following these steps and tips outlined above, homeowners can easily install aerogel insulation in their attics using DIY methods. This not only improves living conditions but also contributes positively towards environmental sustainability.
Recommendations
-
Consult Professionals: While this guide provides a comprehensive DIY installation process, it's always recommended to consult professionals if you're unsure about any part of the installation process.
-
Regular Maintenance: Regularly inspect your attic insulation for signs of wear or damage. Replace any damaged sections promptly to maintain optimal performance.
-
Combine with Other Insulations: Aerogel can be combined with other insulation materials like fiberglass or foam board for enhanced performance in specific applications.
By embracing aerogel insulation technology in your home improvement projects, you're not only upgrading your living space but also contributing towards a greener future for generations to come.
References: Sino-Aerogel. (2022). Building with Aerogel – a Green Material for your Home Retrieved from https://sino-aerogel.com/blogs/aerogel-material-apply-in-building/building-with-aerogel—a-green-material-for-your-building! Retrofit Support. (2024). Aerogel Application Guide. Retrieved from https://retrofitsupport.com/blogs/news/an-aerogel-application-guide Green Building Advisor. (2015). Spaceloft my only option? Retrieved from https://www.greenbuildingadvisor.com/question/spaceloft-my-only-option
Was this page helpful?
At Storables.com, we guarantee accurate and reliable information. Our content, validated by Expert Board Contributors, is crafted following stringent Editorial Policies. We're committed to providing you with well-researched, expert-backed insights for all your informational needs.


0 thoughts on “Upgrading Your Home’s Attic With DIY Aerogel Insulation”