Home>Ideas and Tips>Upgrading Your Home’s Attic With DIY Radiant Barrier Paint
Ideas and Tips
Upgrading Your Home’s Attic With DIY Radiant Barrier Paint
Published: September 18, 2024
Upgrade your attic with DIY radiant barrier paint to boost energy efficiency, reduce utility bills, and enhance home comfort. Learn how to apply it easily.
(Many of the links in this article redirect to a specific reviewed product. Your purchase of these products through affiliate links helps to generate commission for Storables.com, at no extra cost. Learn more)
Introduction
As homeowners, we are constantly seeking ways to improve the energy efficiency and comfort of our homes. One often overlooked area for improvement is the attic, which can be a significant source of heat gain and loss. Radiant barriers have long been recognized as a valuable tool in managing attic temperatures, but traditional foil-based barriers can be expensive and require professional installation. In this article, we will explore the concept of radiant barrier paint, a DIY-friendly alternative that offers similar benefits at a lower cost.
Understanding Radiant Barriers
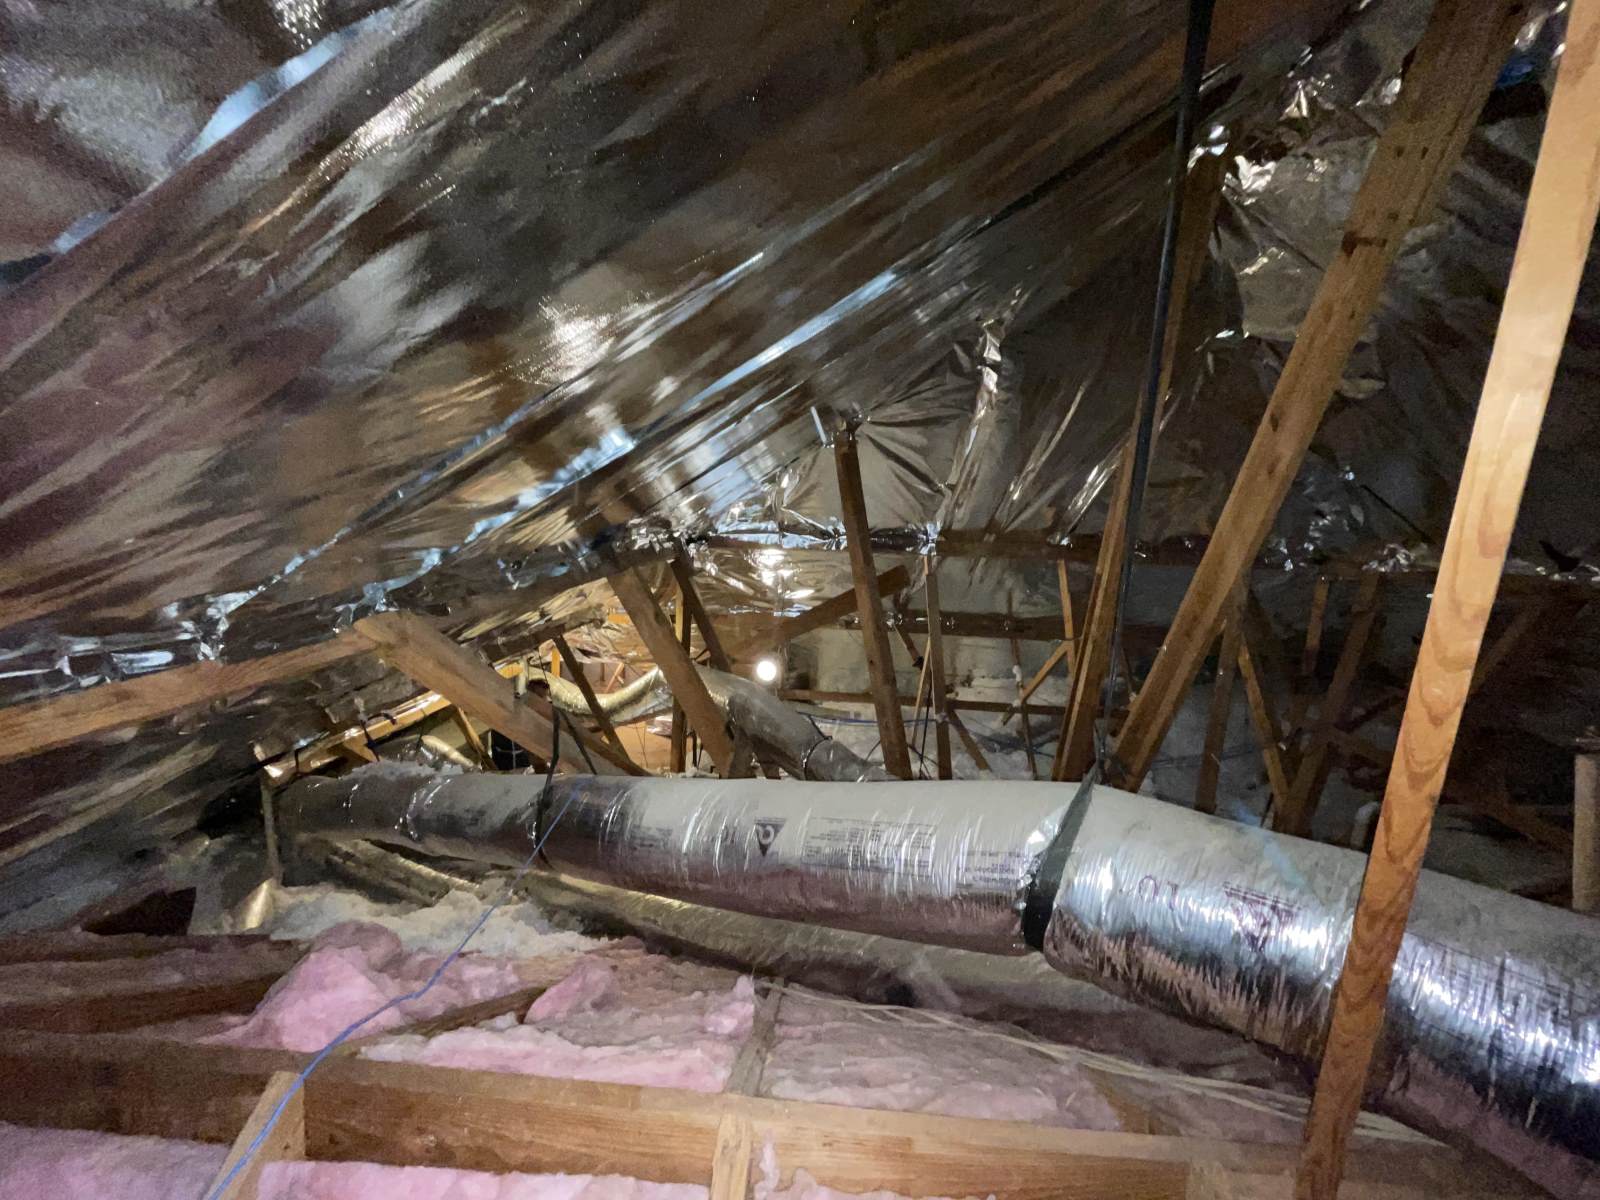
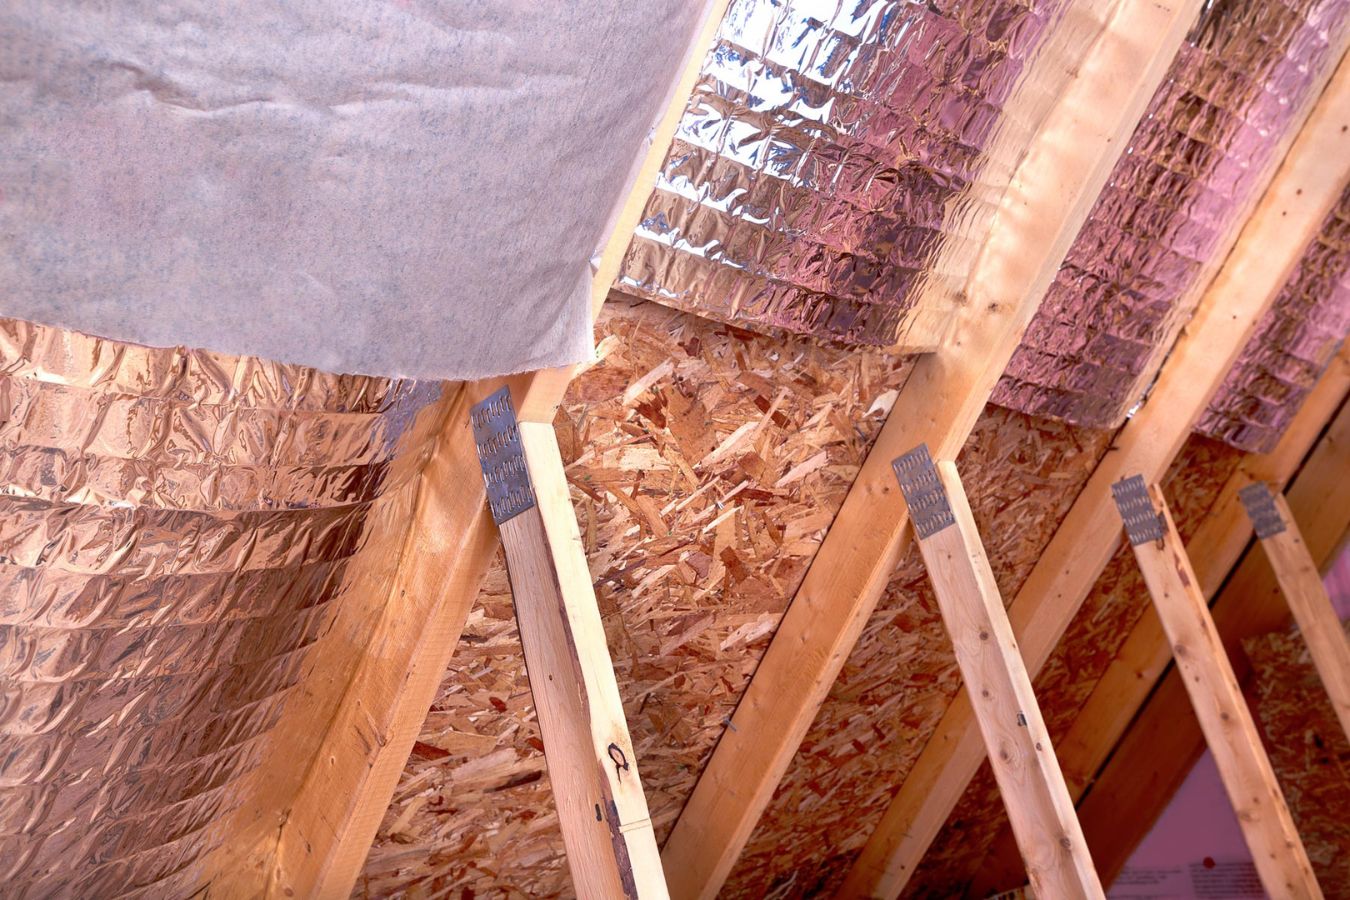
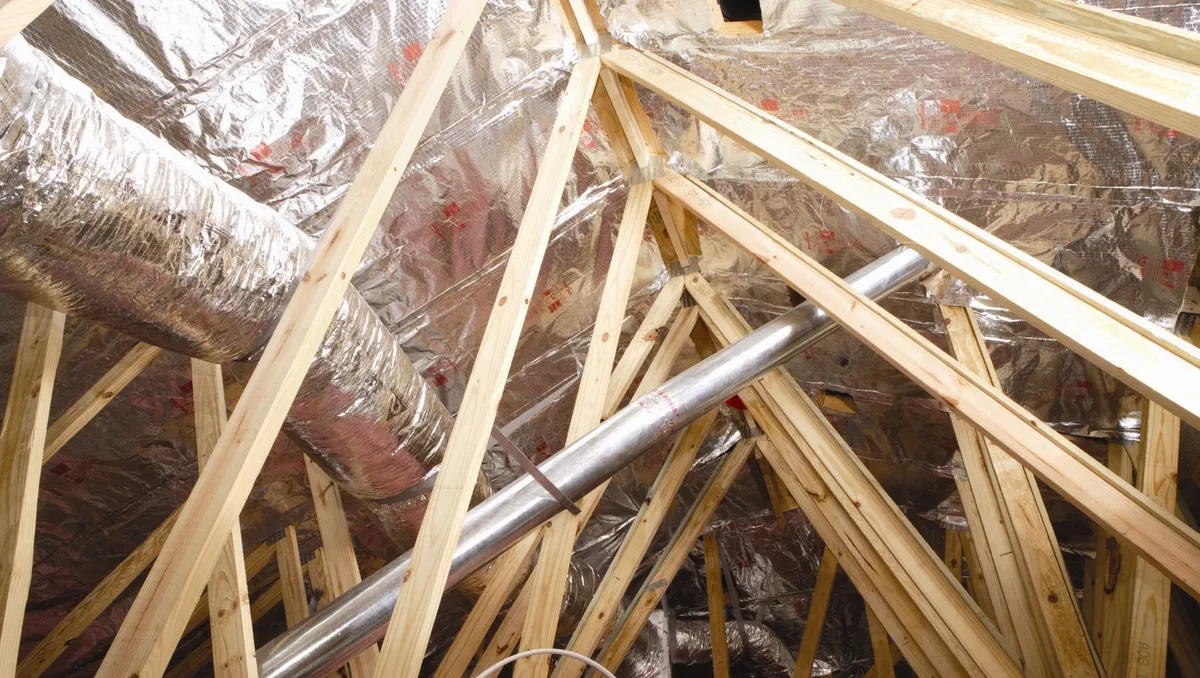
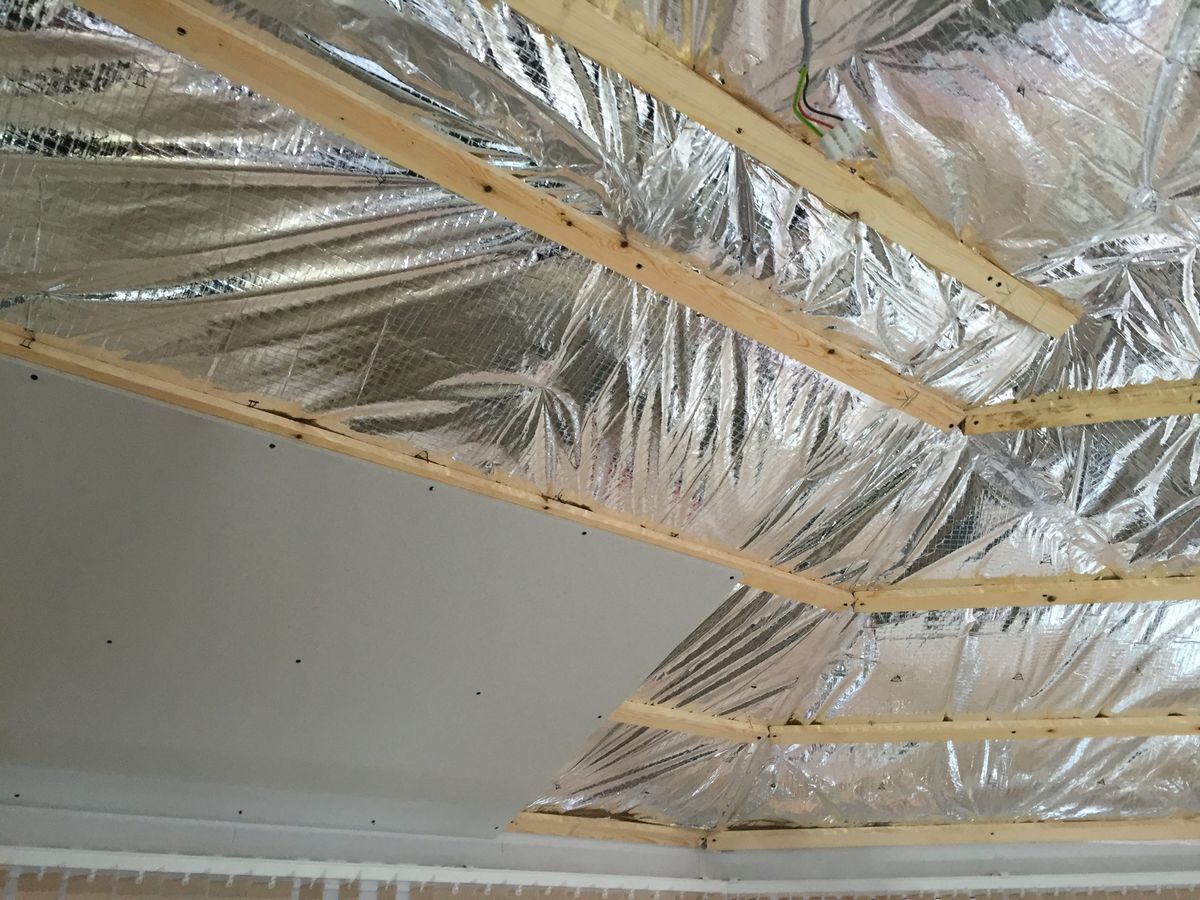
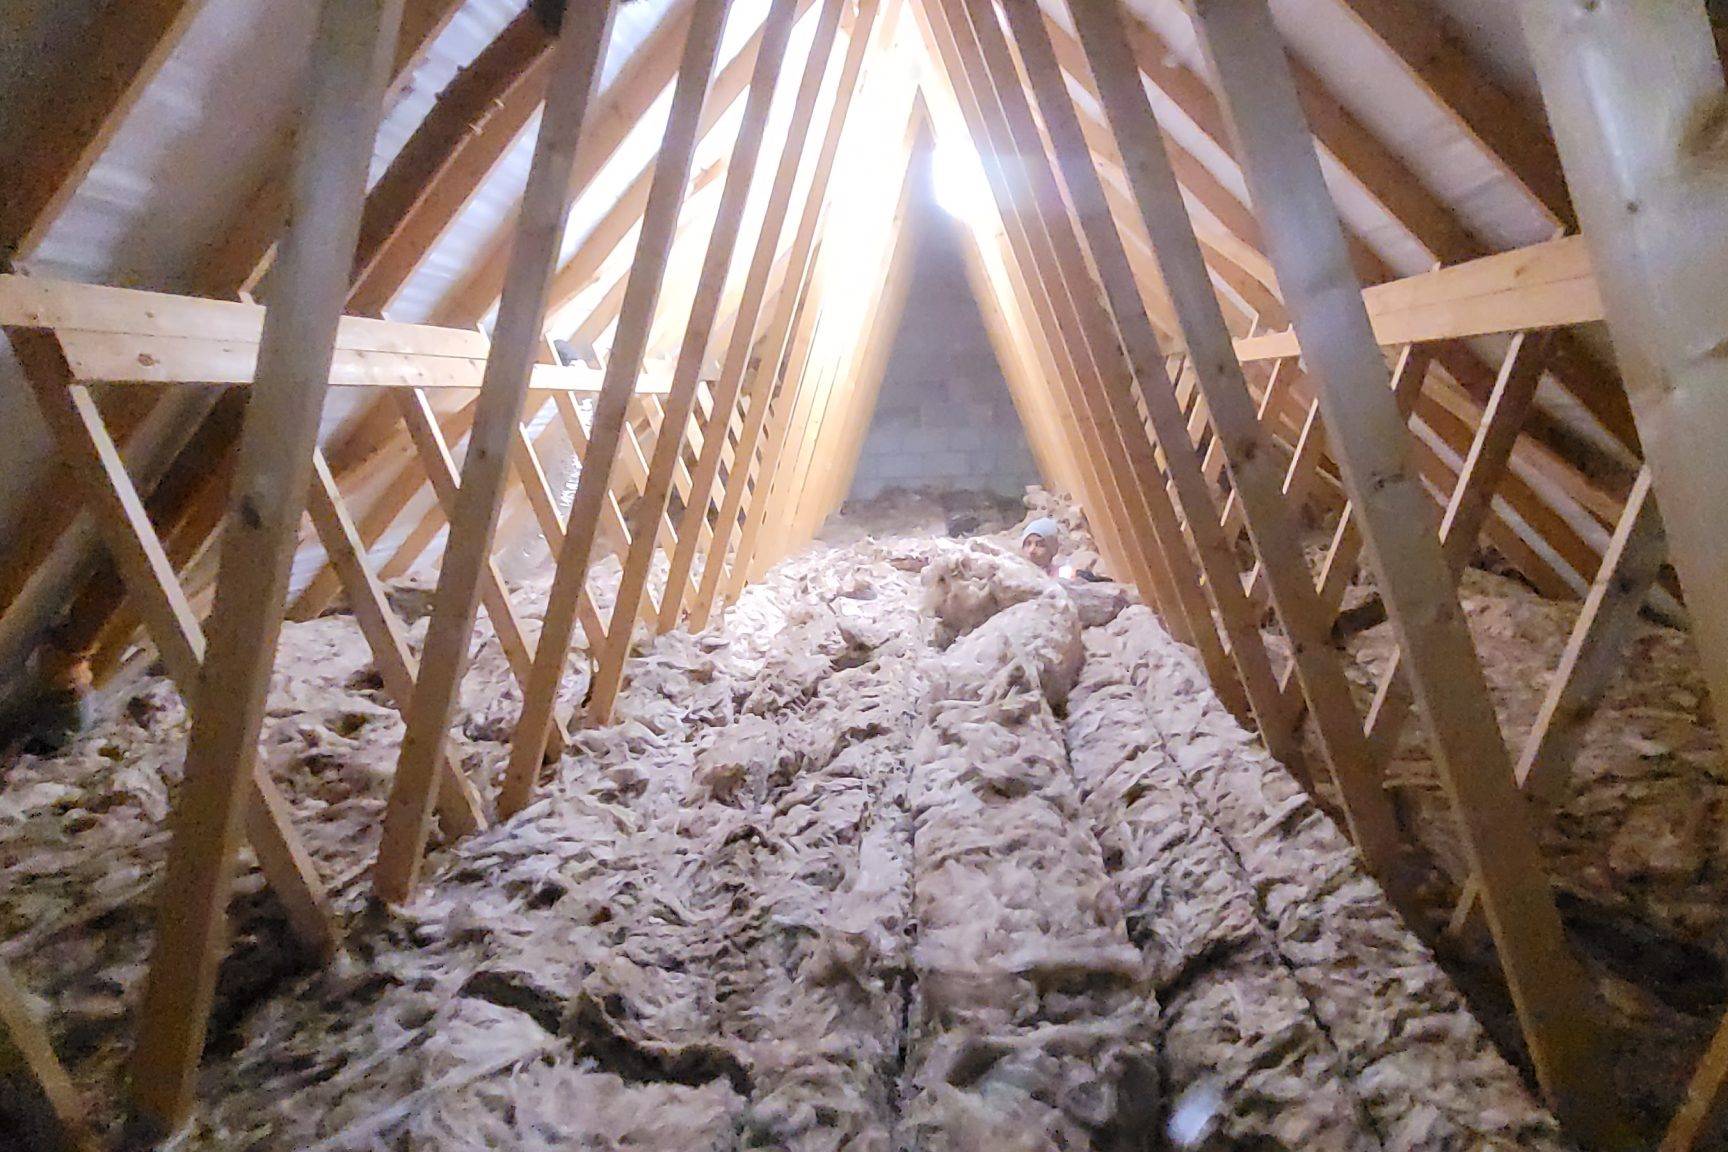
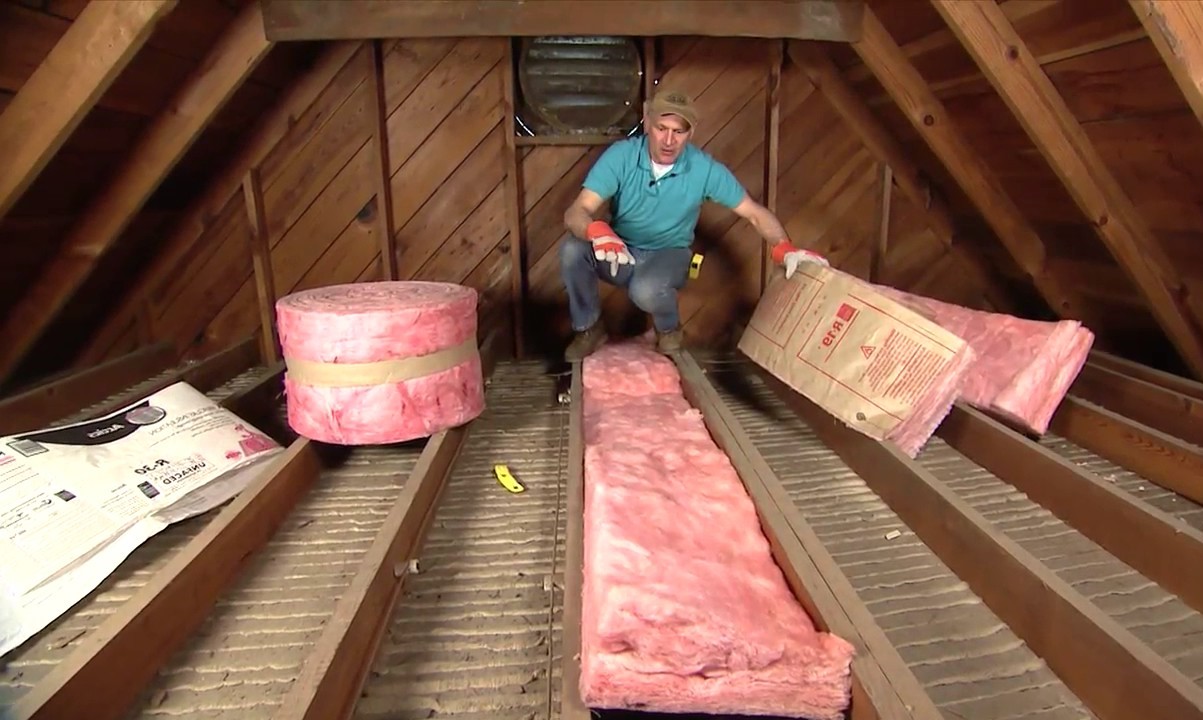
Before diving into the specifics of radiant barrier paint, it's essential to understand how traditional radiant barriers work. A radiant barrier is designed to reflect radiant heat rather than absorb it, thereby reducing the amount of heat that enters your home in the summer and escapes in the winter. These barriers are typically made from highly reflective materials like aluminum foil, which are applied to the underside of the roof or attic floor.
How Radiant Barriers Work
Radiant barriers function by reflecting infrared radiation, which is the primary method through which heat is transferred. When the sun heats the roof, it transfers this energy as infrared radiation. Traditional radiant barriers use aluminum foil to reflect this radiation back into the roof rather than allowing it to penetrate into the attic space. This process helps keep the attic cooler during hot weather and warmer during cold weather, thereby reducing the load on your HVAC system and lowering your energy bills.
Types of Radiant Barriers
There are two main types of radiant barriers: foil-based and spray-on. Foil-based barriers involve attaching a layer of aluminum foil to a backing material such as cardboard, plastic film, or plywood. This method is effective but requires professional installation and can be more expensive.
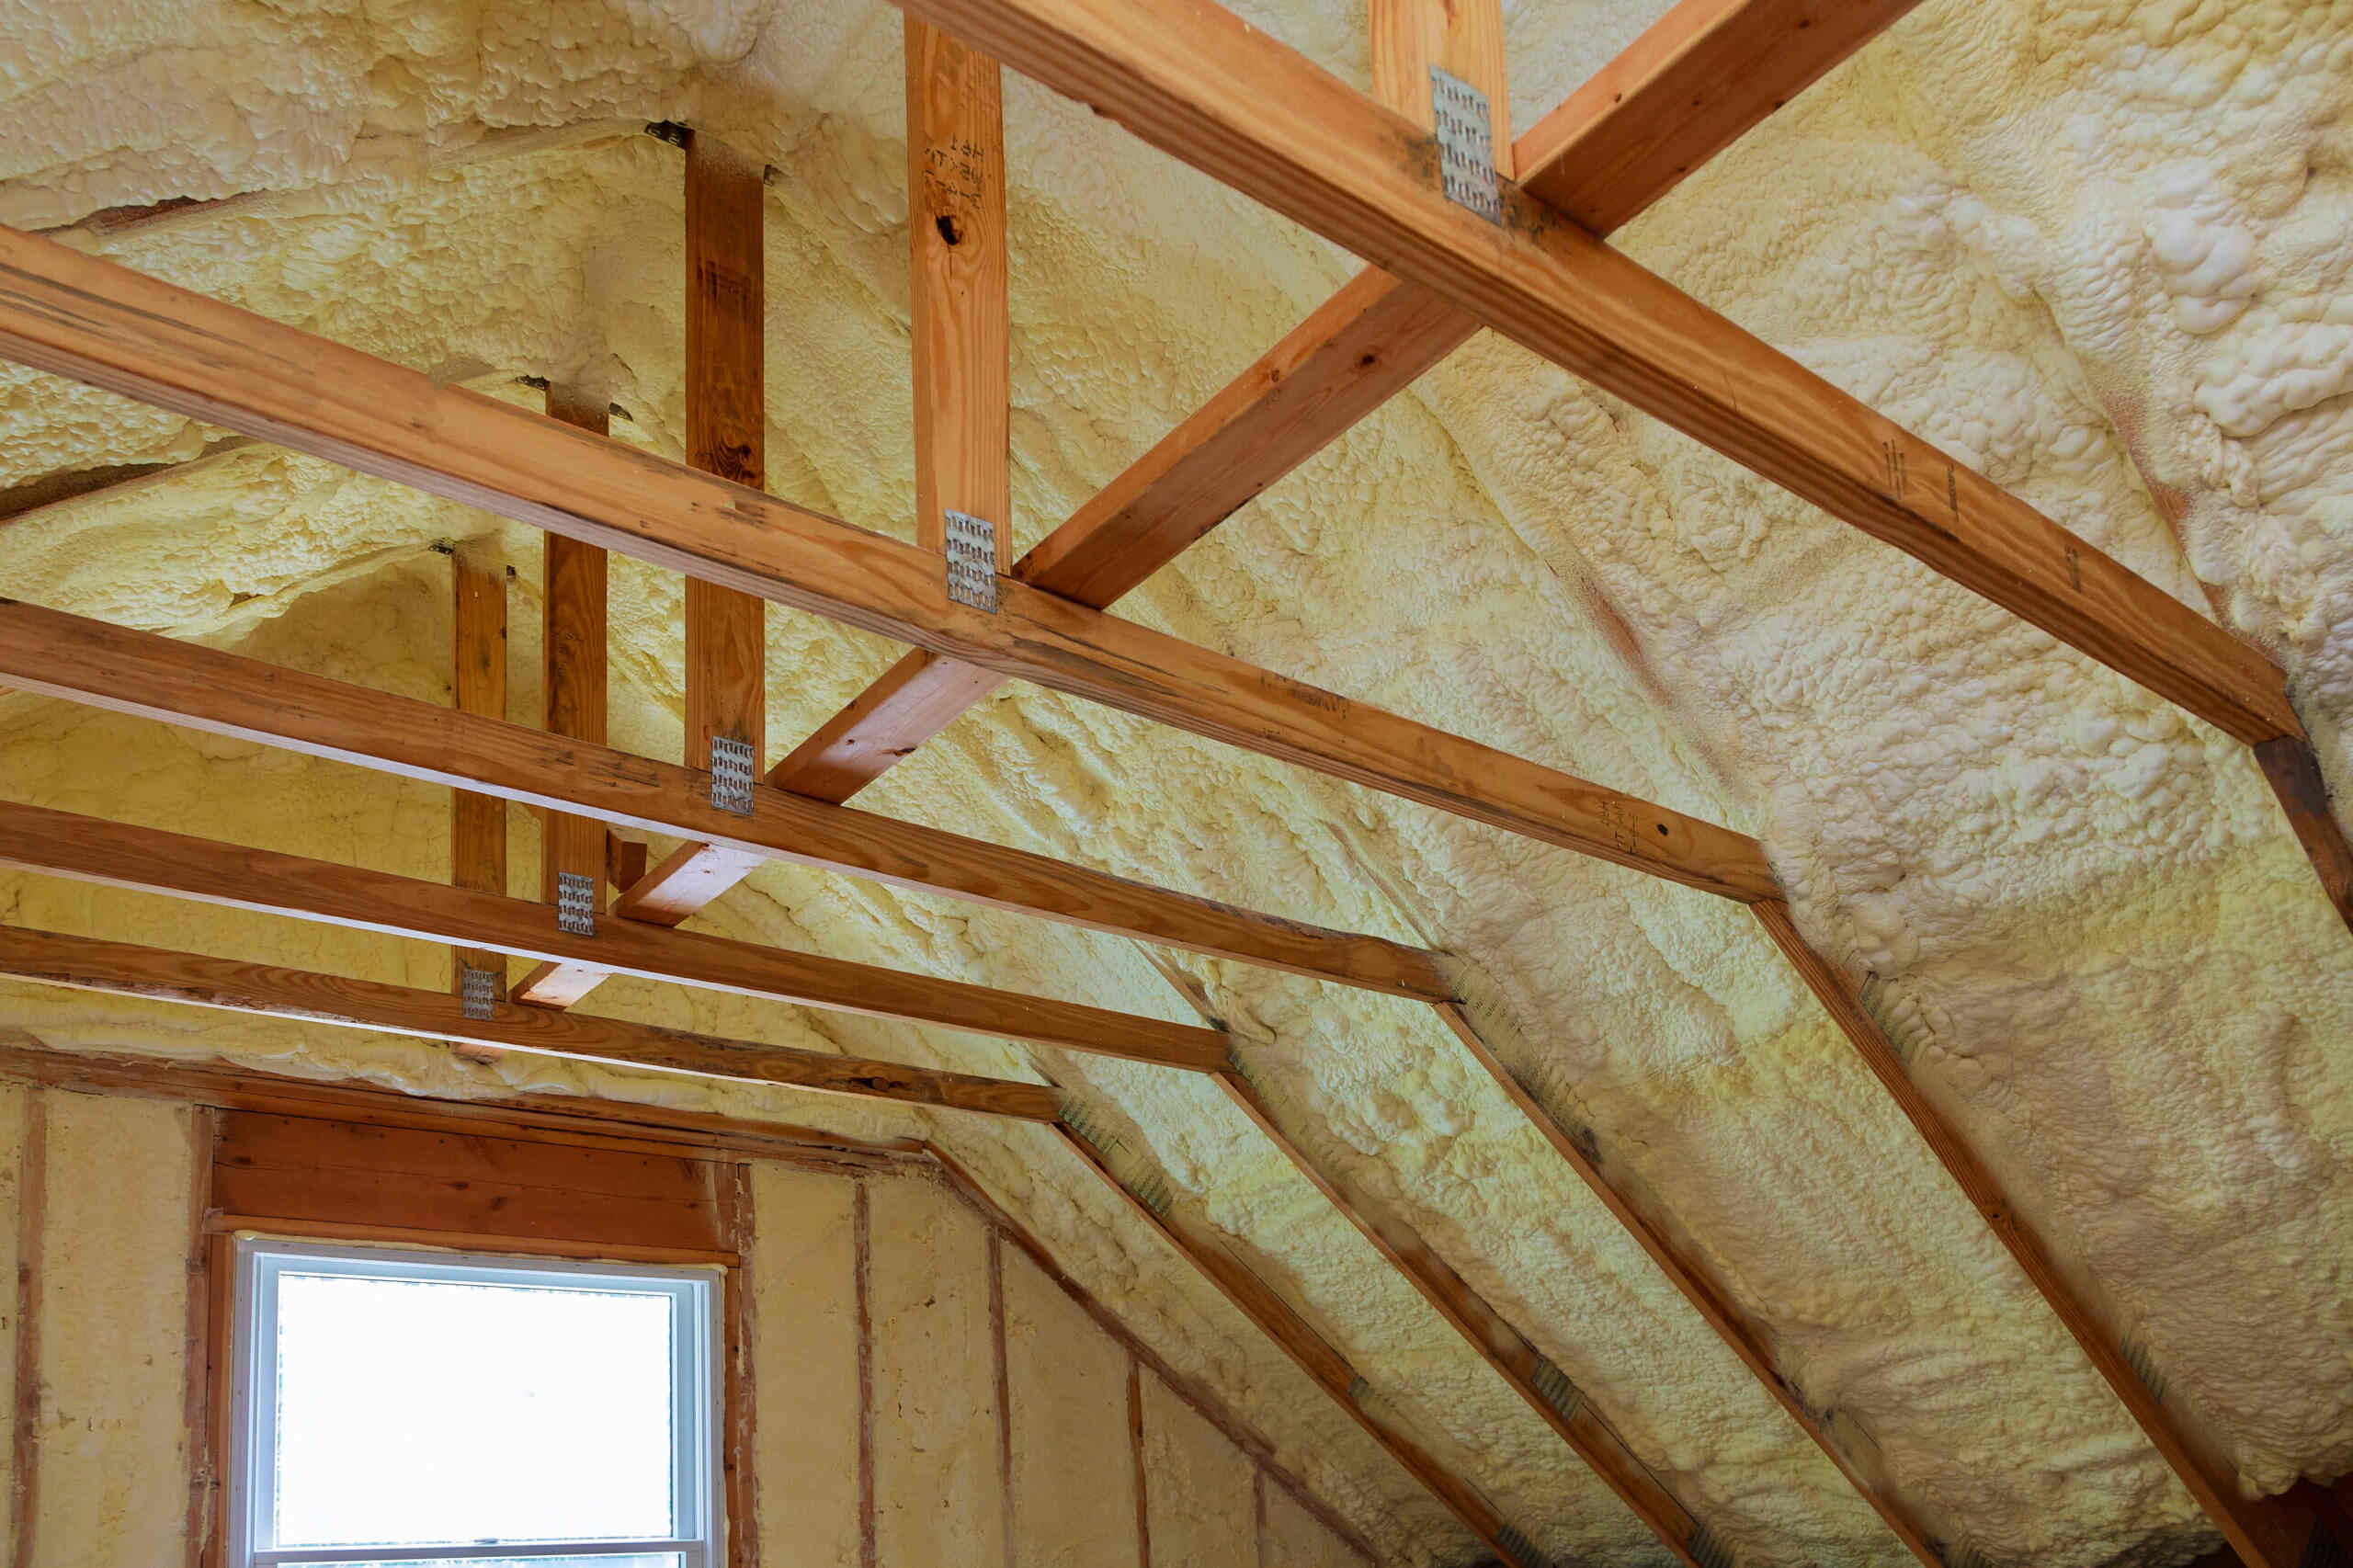
Spray-on radiant barriers, on the other hand, use reflective paint or coatings that are applied directly to the roof deck or other surfaces in the attic. These coatings are designed to provide similar reflective properties as foil-based barriers but offer greater flexibility in terms of application and cost.
The Rise of Radiant Barrier Paint
In recent years, there has been a growing interest in radiant barrier paint as a cost-effective and DIY-friendly alternative to traditional foil-based barriers. This paint is specifically formulated to reflect radiant heat and can be applied directly to the underside of the roof deck using standard painting equipment.
Benefits of Radiant Barrier Paint
-
Cost-Effectiveness: One of the primary advantages of radiant barrier paint is its lower cost compared to traditional foil-based barriers. The material costs for spray-on coatings are significantly lower, making it an attractive option for homeowners looking to improve their attic's energy efficiency without breaking the bank.
-
Ease of Application: Radiant barrier paint is designed to be easy to apply using standard painting equipment. This makes it a DIY-friendly solution that homeowners can tackle themselves without requiring professional assistance.
-
Flexibility: Unlike traditional foil-based barriers that need to be attached to specific surfaces, radiant barrier paint can be applied to various surfaces within the attic. This flexibility allows homeowners to target specific areas where heat gain is most pronounced.
-
Environmental Benefits: By reducing heat gain and loss through the attic, radiant barrier paint helps improve energy efficiency. This not only saves homeowners money on their energy bills but also contributes to a more sustainable living environment by reducing greenhouse gas emissions.
How to Apply Radiant Barrier Paint
Applying radiant barrier paint is relatively straightforward and can be completed with basic painting tools. Here’s a step-by-step guide:
Materials Needed
- Radiant Barrier Paint: This is the primary material you will need. Ensure that you purchase a high-quality product specifically designed for radiant barrier applications.
- Paintbrushes or Rollers: Standard painting tools will suffice for applying the paint.
- Drop Cloths: Protecting your attic floor with drop cloths will prevent any spills or drips from causing damage.
- Ladder or Scaffolding: Ensure you have safe access to the underside of your roof deck.
Steps for Application
-
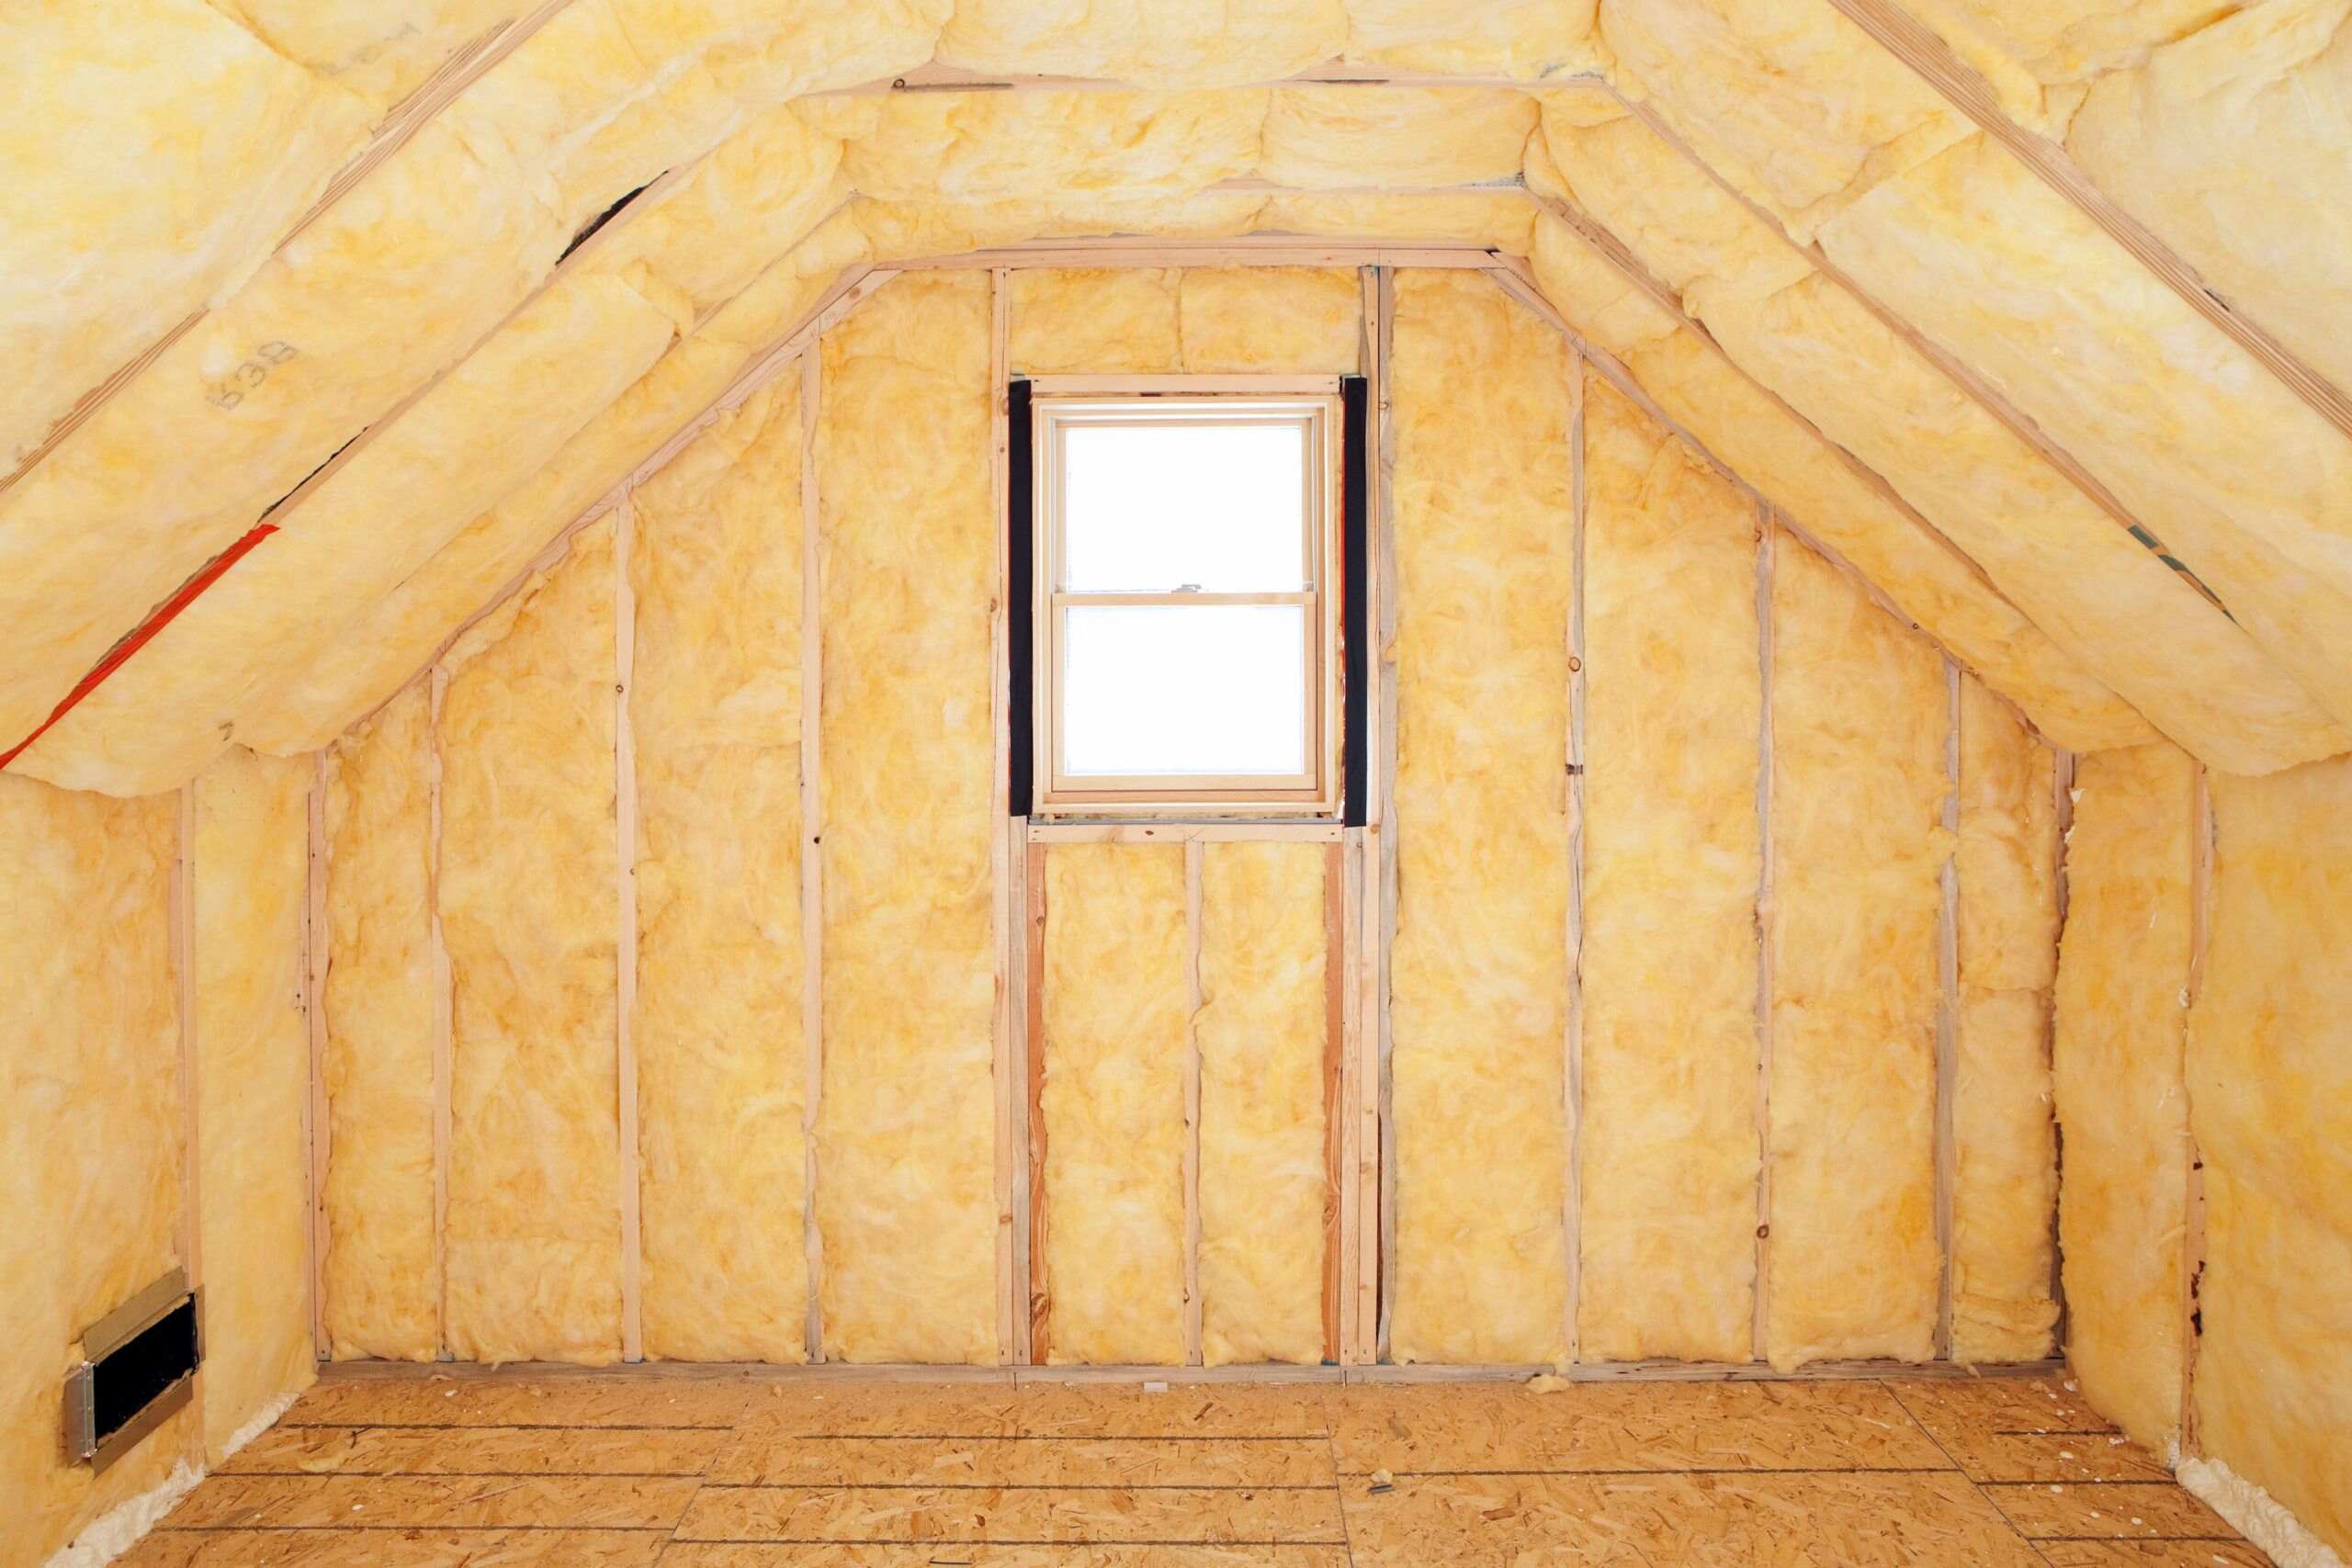
Prepare the Area: Clear any debris or old insulation from the area where you plan to apply the paint. Ensure that the surface is clean and dry.
-
Apply Primer (Optional): If your roof deck has a glossy finish or if you're using a particularly dark color, consider applying a primer first to ensure better adhesion of the radiant barrier paint.
-
Apply Radiant Barrier Paint: Using your paintbrushes or rollers, apply the radiant barrier paint evenly across the underside of your roof deck. Make sure to cover all surfaces thoroughly but avoid applying too much paint at once to prevent drips.
-
Allow Drying Time: Follow the manufacturer’s instructions for drying time between coats. Typically, this ranges from 30 minutes to several hours depending on environmental conditions.
-
Final Coat: Once the first coat has dried, apply additional coats as necessary until you achieve the desired level of reflectivity.
-
Inspect and Touch-Up: After the final coat has dried, inspect your work for any areas that may need touch-ups.
Considerations and Precautions
While radiant barrier paint offers many benefits, there are some considerations and precautions to keep in mind:
Air Gap Requirement
Unlike traditional foil-based barriers that require an air gap between them and any insulation material, radiant barrier paint should be applied directly onto clean surfaces without any intervening materials like insulation.
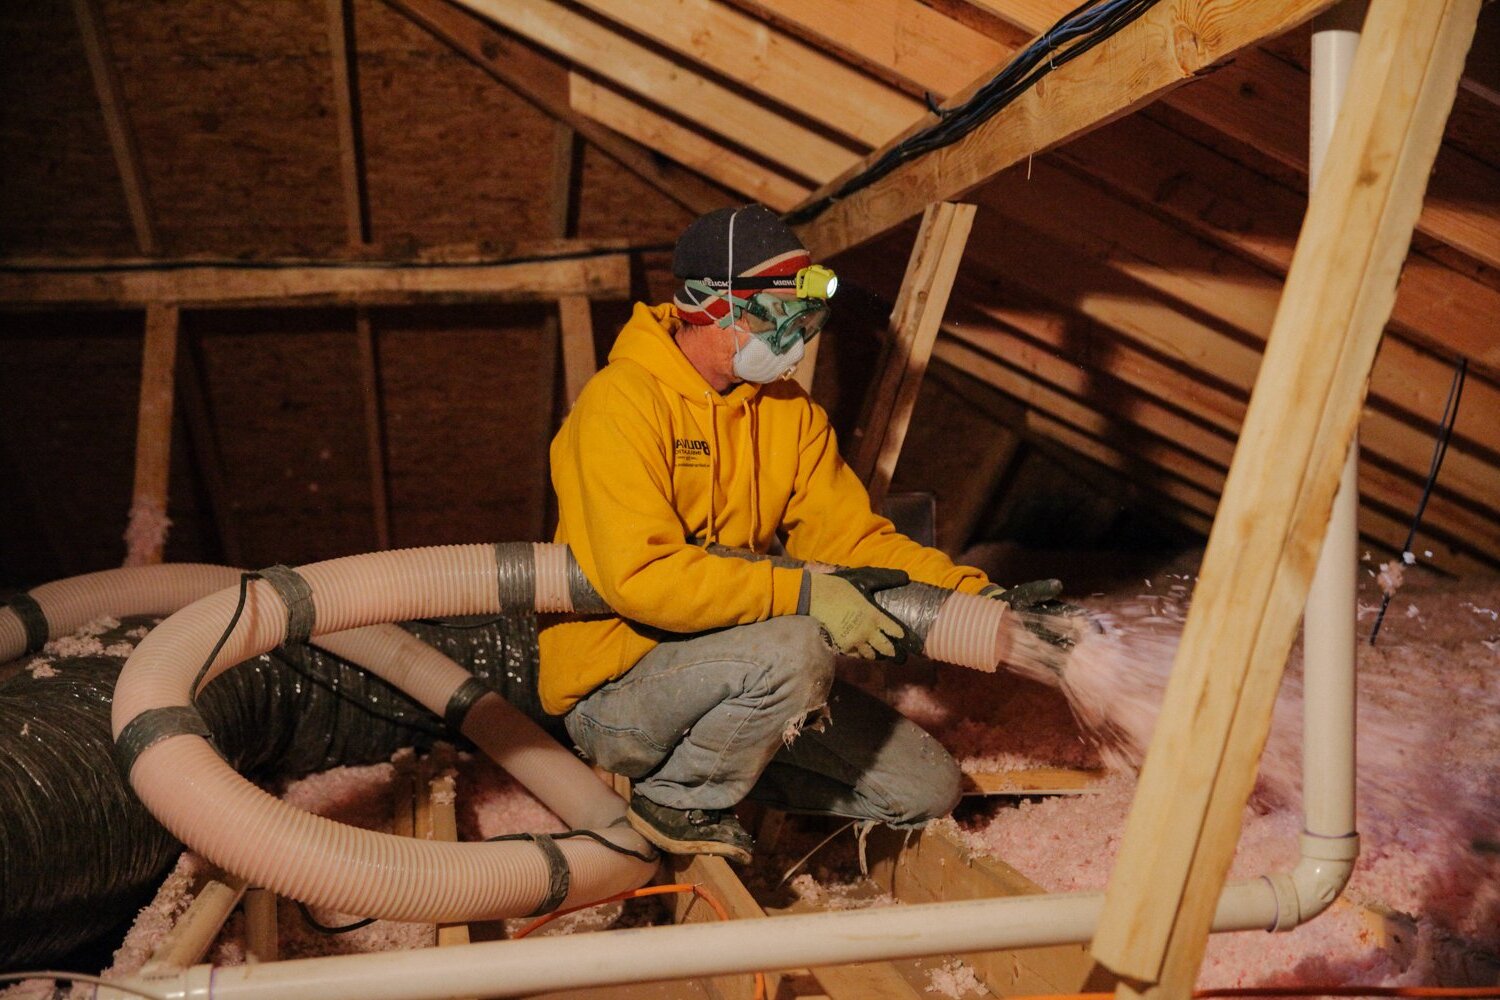
Compatibility with Existing Insulation
If you already have insulation in place, ensure that it does not interfere with the effectiveness of your radiant barrier paint. In some cases, it might be necessary to remove or reposition existing insulation materials before applying the paint.
Potential Downsides
-
Reflectivity vs Emissivity: While high reflectivity is crucial for effective heat reflection, some products may have lower emissivity values which could reduce their overall performance.
-
Durability: The durability of radiant barrier paint can vary depending on environmental conditions such as exposure to sunlight or moisture levels within your attic space.
-
Cost vs Benefit Analysis: While initially cheaper than traditional solutions, long-term benefits must be weighed against potential costs associated with reapplication over time due to wear-and-tear factors like weathering effects.
Read more: How To Install Radiant Barrier In Attic
Real-World Experiences
Several homeowners have reported positive experiences with using radiant barrier paint in their attics:
-
Energy Savings: Many homeowners have noted significant reductions in their cooling costs during hot summer months after installing radiant barrier paint in their attics.
-
Comfort Enhancement: By maintaining more stable indoor temperatures year-round, radiant barrier paint contributes significantly towards enhanced home comfort levels especially during extreme weather conditions.
-
Environmental Impact: By reducing reliance on HVAC systems during peak usage periods; these paints indirectly contribute towards lower greenhouse gas emissions thereby supporting sustainable living practices.
Conclusion
Upgrading your home's attic with DIY radiant barrier paint is an accessible way to enhance energy efficiency while saving money on utility bills over time. With its ease-of-application features coupled alongside cost-effectiveness; this solution stands out as an attractive option especially for those looking at budget-friendly yet impactful home improvement projects aimed at improving overall living conditions within their homes.
By following simple steps outlined above along ensuring adherence towards necessary precautions; homeowners can reap substantial benefits associated with installing such systems thereby transforming their living spaces into more comfortable & sustainable environments conducive towards long-term well-being & prosperity alike
Was this page helpful?
At Storables.com, we guarantee accurate and reliable information. Our content, validated by Expert Board Contributors, is crafted following stringent Editorial Policies. We're committed to providing you with well-researched, expert-backed insights for all your informational needs.


0 thoughts on “Upgrading Your Home’s Attic With DIY Radiant Barrier Paint”