
Articles
How To Install Radiant Barrier In Attic
Modified: October 20, 2024
Learn how to install radiant barrier in your attic with our informative articles. Increase energy efficiency and lower cooling costs.
(Many of the links in this article redirect to a specific reviewed product. Your purchase of these products through affiliate links helps to generate commission for Storables.com, at no extra cost. Learn more)
Introduction
Welcome to our step-by-step guide on how to install a radiant barrier in your attic. If you’re looking to improve the energy efficiency of your home and save on heating and cooling costs, installing a radiant barrier can be a great solution. A radiant barrier is a reflective material that helps to reduce heat transfer, keeping your home cooler in the summer and warmer in the winter.
By installing a radiant barrier in your attic, you can help prevent the loss of conditioned air and reduce the strain on your HVAC system. Not only will this help improve the comfort of your home, but it can also lead to significant energy savings over time.
In this article, we will guide you through the installation process, from gathering the necessary materials to checking for proper installation. By following these steps, you can ensure a successful installation and enjoy the benefits of a more energy-efficient home.
Key Takeaways:
- Installing a radiant barrier in your attic can significantly improve energy efficiency, reduce heating and cooling costs, and enhance overall home comfort. Follow the step-by-step guide for a successful and effective installation.
- Regular maintenance and monitoring of the radiant barrier are crucial for long-term effectiveness. Enjoy a cooler home in the summer, warmer home in the winter, and reduced energy costs by investing in a radiant barrier installation.
Read more: How To Install Radiant Barrier Insulation
Step 1: Gather Materials
Before you begin the installation process, you’ll need to gather all the necessary materials. Having everything ready beforehand will make the installation process smoother and more efficient. Here’s a list of the materials you’ll need:
- Radiant barrier roll or sheets
- Measuring tape
- Utility knife or scissors
- Staple gun or adhesive
- Staples or adhesive tape
- Gloves and safety goggles
The most important material you will need is the radiant barrier itself. Radiant barrier rolls or sheets are available in various sizes, so make sure to measure your attic space beforehand to determine the amount you’ll need.
Additionally, having a measuring tape will help you accurately measure and cut the radiant barrier to fit your attic. A utility knife or scissors will be necessary for cutting the barrier to size, and a staple gun or adhesive will be used to secure the barrier in place.
It’s important to wear gloves and safety goggles while handling the materials to protect yourself from any sharp edges or potential hazards.
Once you’ve gathered all the necessary materials, you’re ready to move on to the next step: measuring and cutting the radiant barrier.
Step 2: Measure and Cut Radiant Barrier
Now that you have all your materials ready, it’s time to measure and cut the radiant barrier to fit your attic space. Here’s how you can do it:
- Start by measuring the dimensions of your attic. Measure the length and width of the area where you want to install the radiant barrier. Make sure to account for any obstacles such as pipes or ducts.
- Transfer the measurements to the radiant barrier material. Use a measuring tape to mark the dimensions on the barrier material. Be precise in your measurements to ensure an accurate fit.
- Using a utility knife or scissors, carefully cut along the marked lines. Take your time to ensure clean and straight cuts.
- Repeat the process for each section of the attic where you’ll be installing the radiant barrier.
It’s important to note that when cutting the radiant barrier, you’ll want to leave a small overlap of a few inches between sections. This overlap will help ensure that there are no gaps or spaces where heat can penetrate.
Once you’ve cut the radiant barrier to size, you’re ready to move on to the next step: preparing your attic space for installation.
Step 3: Prepare Attic Space
Now that you have your radiant barrier cut to size, it’s time to prepare your attic space for installation. Follow these steps to ensure a clean and effective installation:
- Clean the attic: Before installing the radiant barrier, it’s important to clear the attic space of any debris or obstructions. Remove any stored items or debris that may hinder the installation process.
- Inspect the attic: Take a close look at the attic for any signs of damage or leaks. Repair any leaks or damaged areas before proceeding with the installation. It’s important to have a well-maintained attic space to maximize the effectiveness of the radiant barrier.
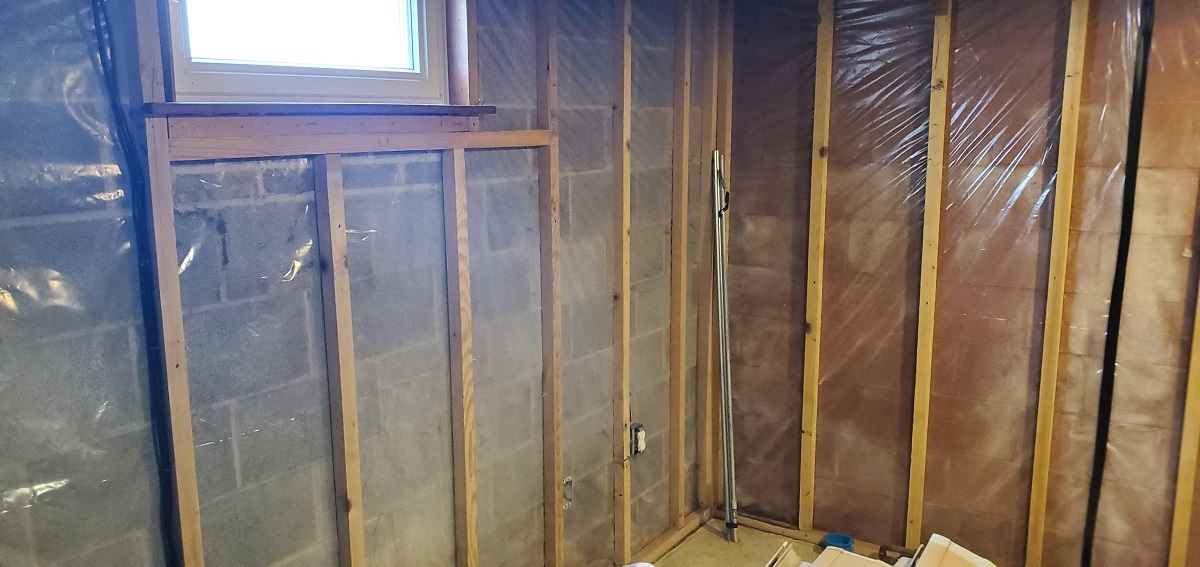
- Seal any air leaks: Inspect the attic for any gaps, cracks, or openings where air can escape or enter. Use caulking or weatherstripping to seal these areas. This will help prevent the loss of conditioned air and ensure the efficiency of the radiant barrier.
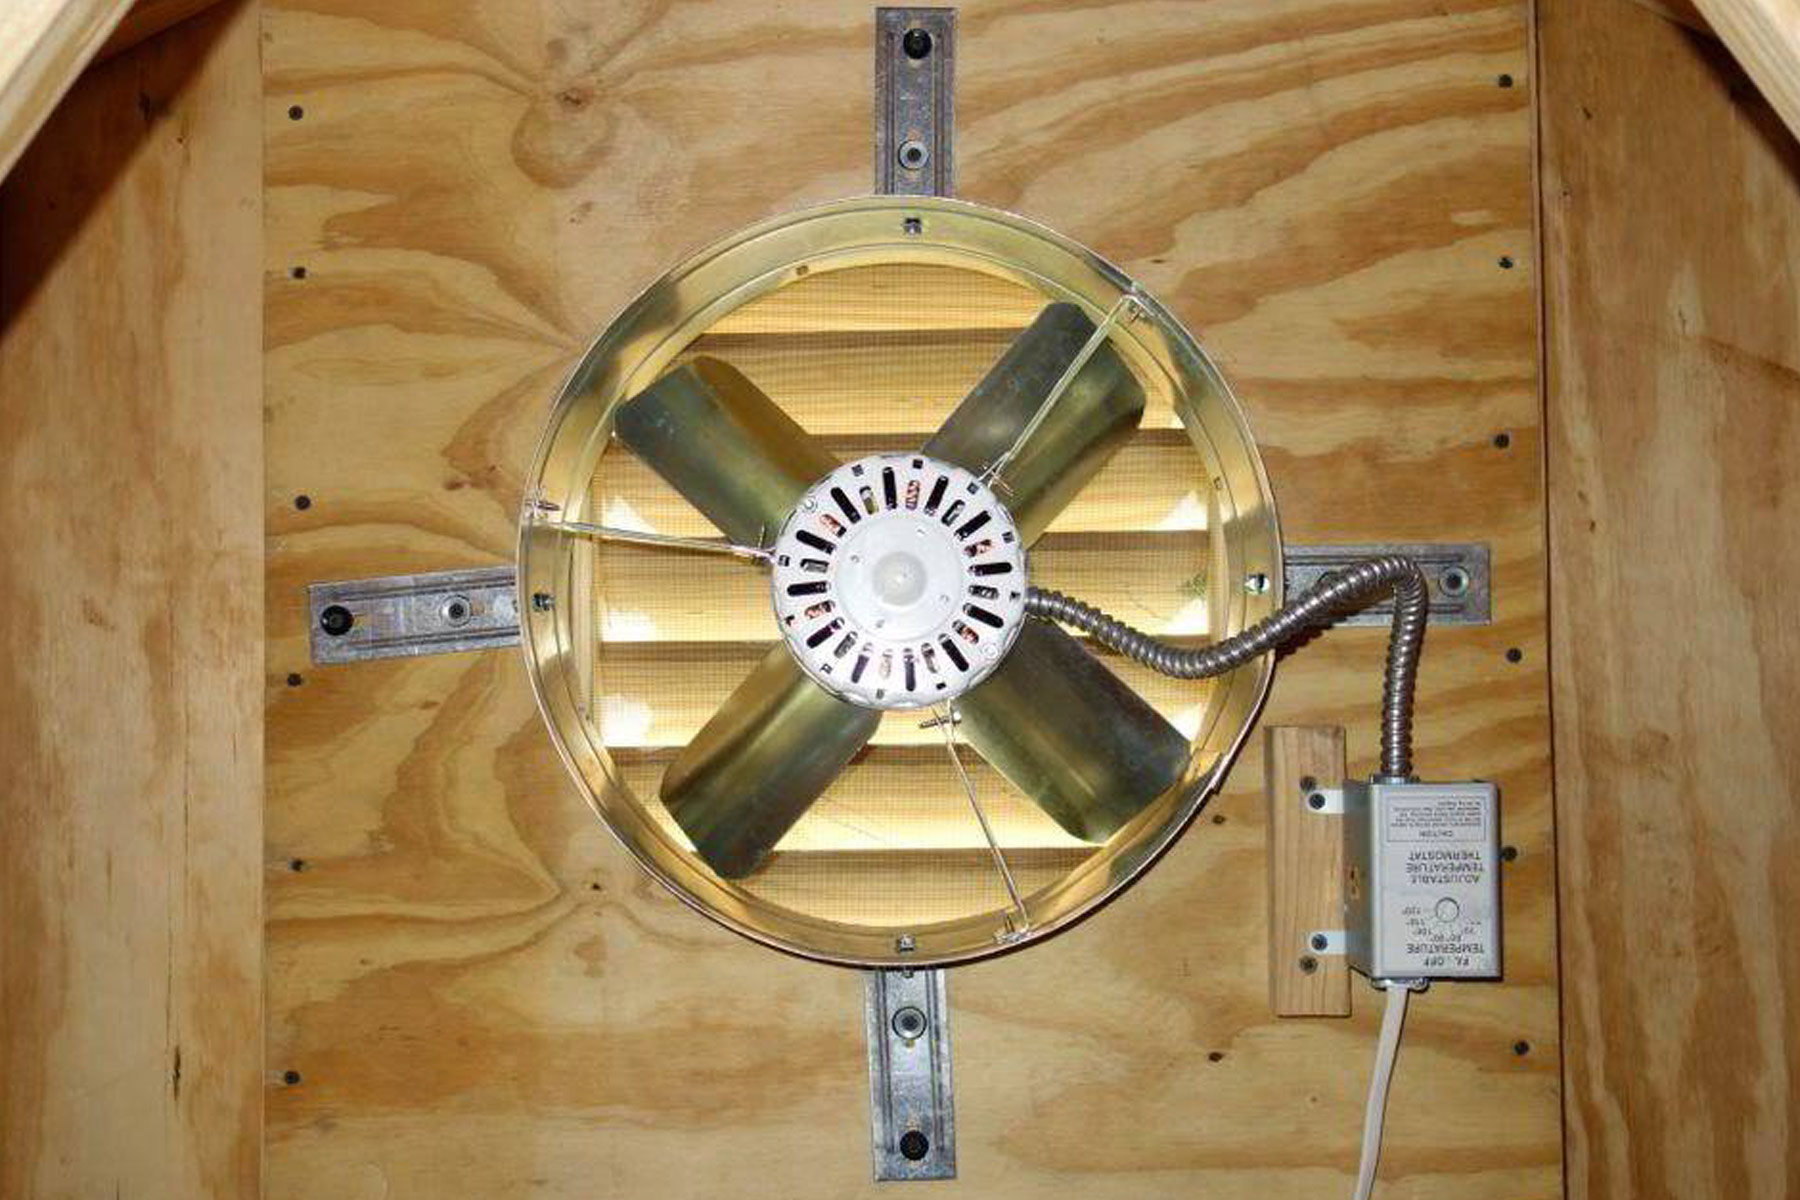
- Ensure proper ventilation: Adequate attic ventilation is essential for a healthy and energy-efficient home. Check that your attic has proper ventilation through vents or fans. If necessary, install additional ventilation to maintain a balanced airflow.
By cleaning and preparing the attic space, you’ll create an optimal environment for the installation of the radiant barrier. This will help maximize its effectiveness in reducing heat transfer and improving energy efficiency.
Now that your attic is ready, it’s time to move on to the next step: installing the radiant barrier.
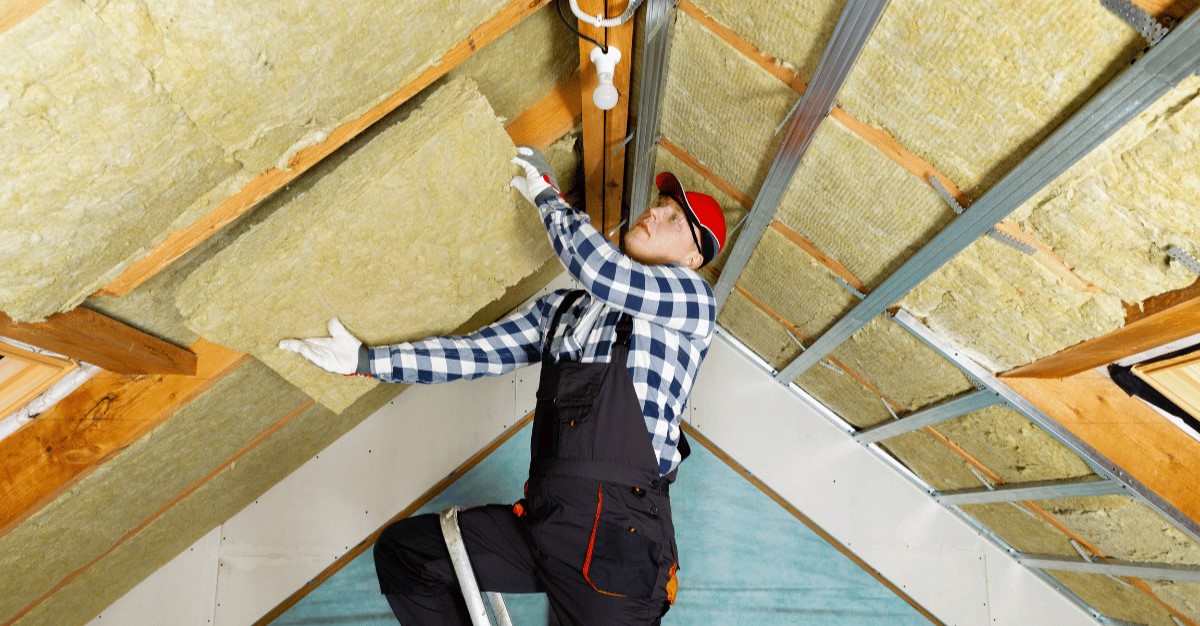
When installing radiant barrier in the attic, make sure to wear protective clothing and gloves to avoid irritation from the reflective surface. Also, use a staple gun to secure the barrier to the rafters, ensuring a tight and even installation.
Step 4: Install Radiant Barrier
With your attic prepared, it’s time to begin the installation of the radiant barrier. Follow these steps to ensure a proper and effective installation:
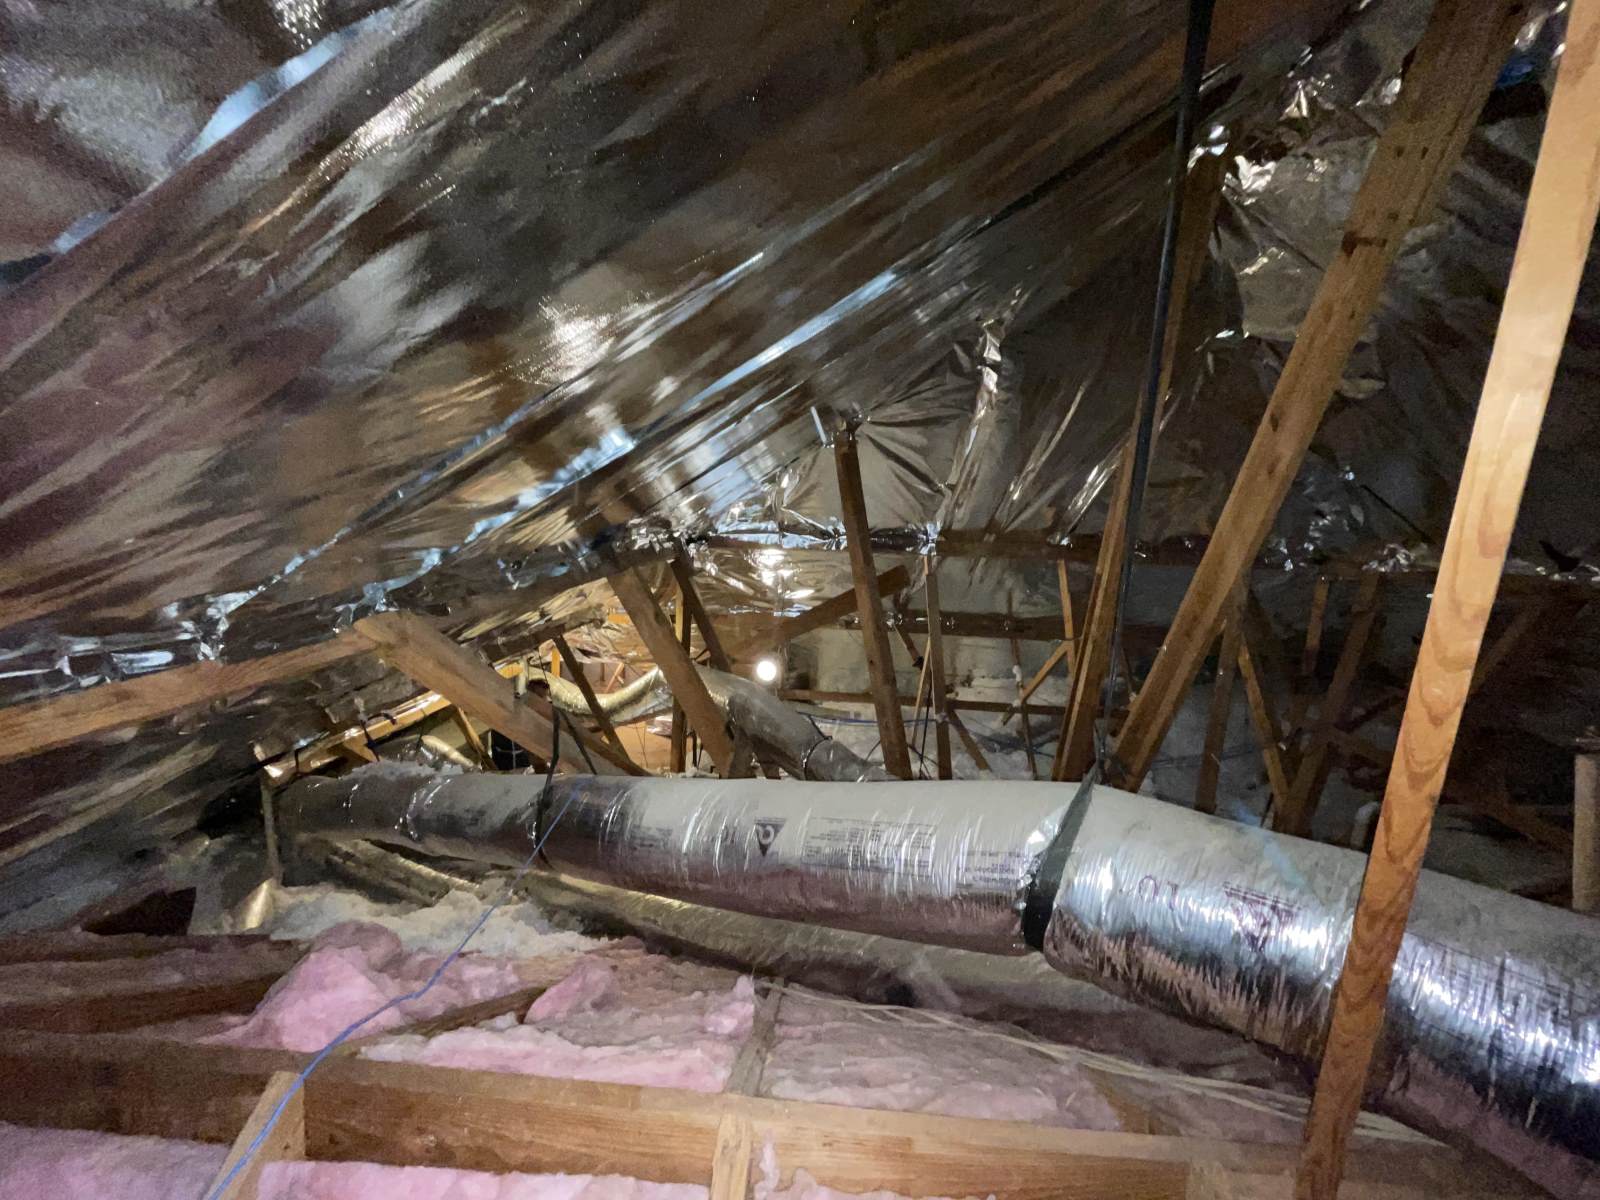
- Start at one end of the attic: Begin the installation process at one end of the attic, preferably near an access point. This will allow for easier maneuverability as you work your way across the attic.
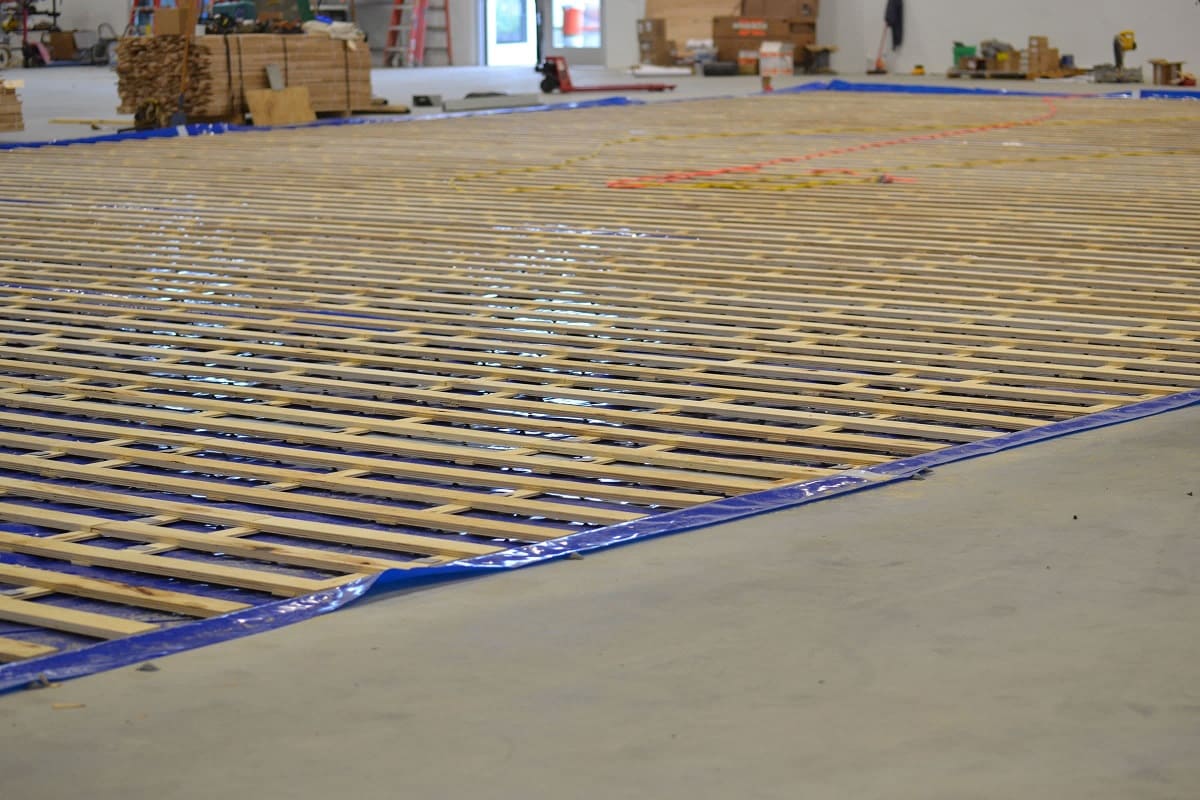
- Secure the radiant barrier: Using a staple gun or adhesive, secure the radiant barrier to the rafters or roof decking. Start by attaching one corner or edge of the barrier and work your way along the entire length. Space the staples or adhesive approximately 12-18 inches apart for a secure hold.
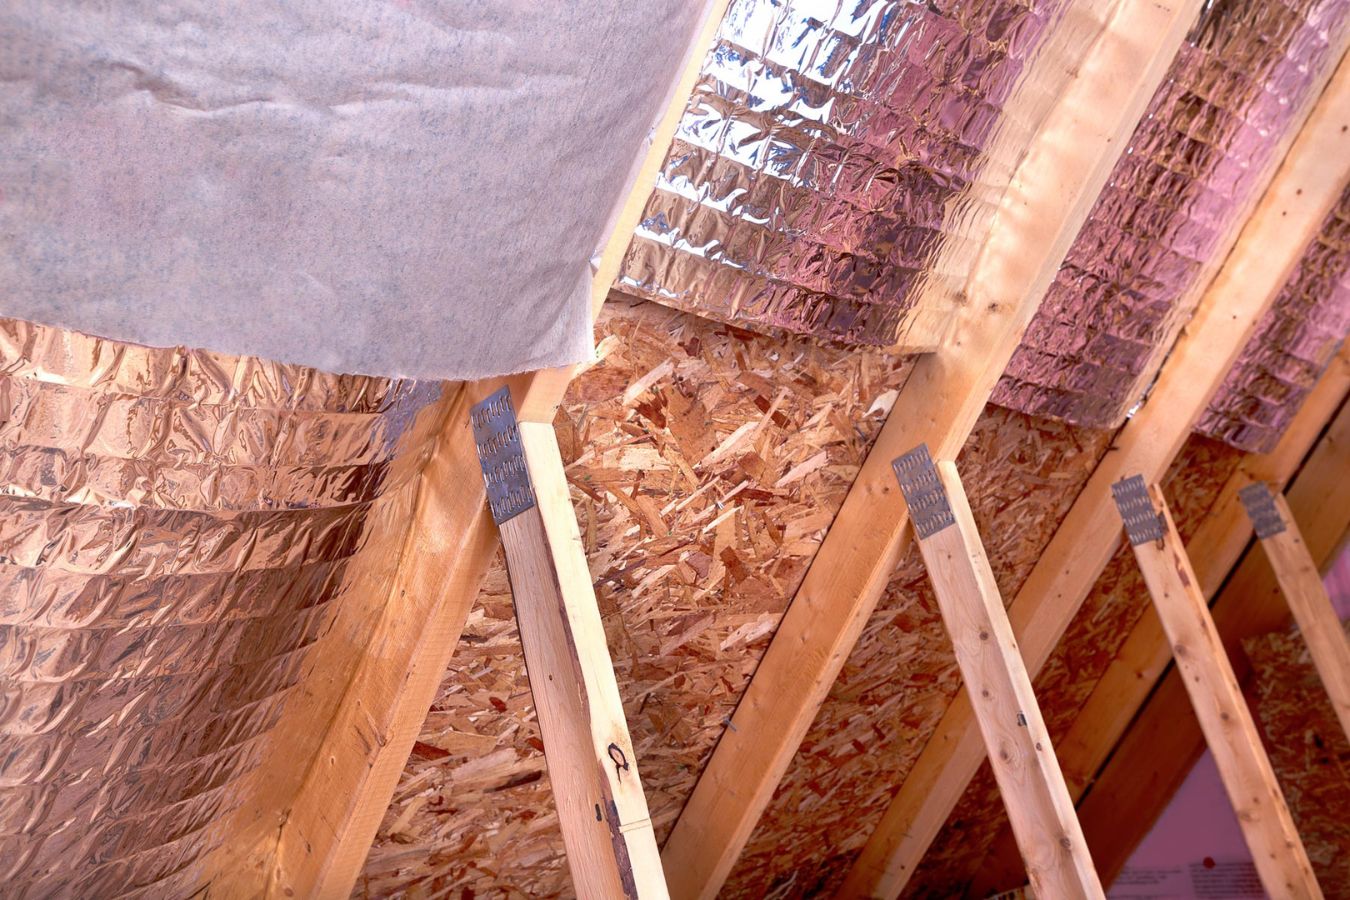
- Smooth out any wrinkles or folds: As you install the radiant barrier, make sure to smooth out any wrinkles or folds in the material. This will help ensure a flat and uniform installation, maximizing its effectiveness.
- Overlap sections: When moving from one section to another, overlap the edges of the radiant barrier by a few inches. This will help eliminate gaps and ensure continuous coverage.
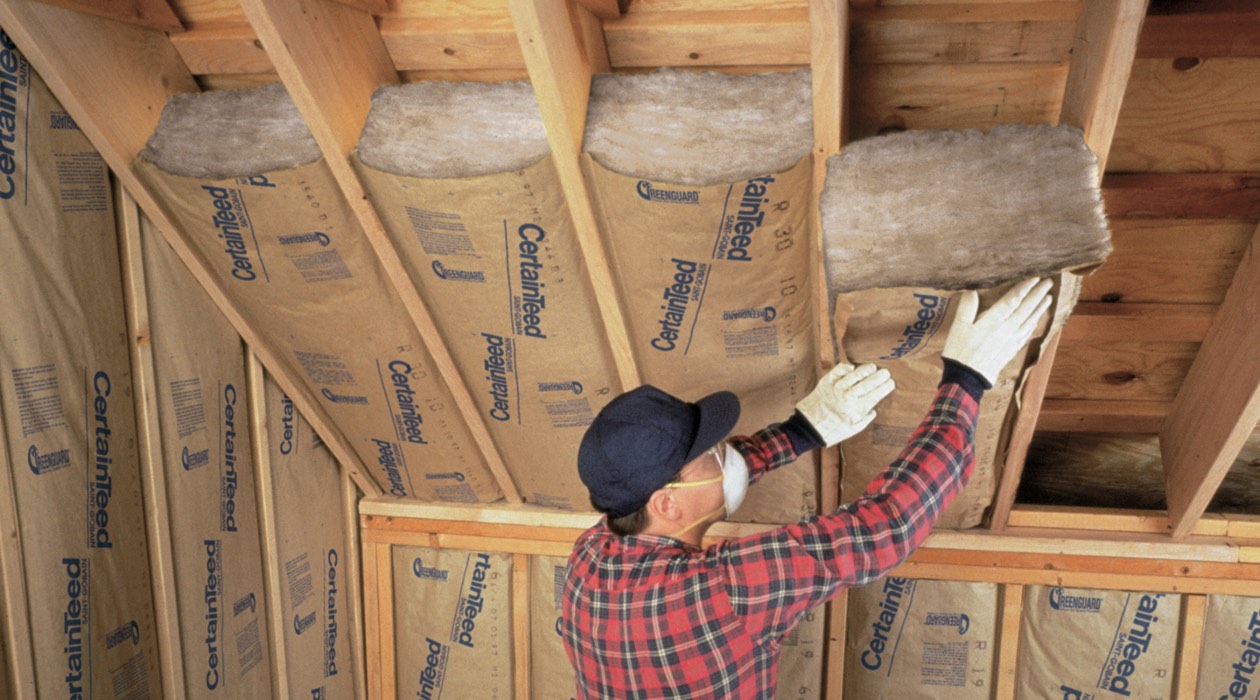
- Work your way across the attic: Continue installing the radiant barrier section by section, working your way across the attic. Take breaks as needed, but try to maintain a consistent and steady pace to ensure timely completion.
It’s important to note that while stapling is the most common method of securing the radiant barrier, you can also use adhesive or special radiant barrier tape. Choose the method that works best for your particular application and follow the manufacturer’s recommendations.
As you install the radiant barrier, be cautious of any electrical wiring or other obstructions in the attic. Avoid placing staples or adhesive too close to these areas to prevent any damage.
Once you have completed the installation of the radiant barrier, it’s time to move on to the next step: sealing and securing the barrier.
Step 5: Seal and Secure Barrier
After installing the radiant barrier in your attic, it’s important to seal and secure the barrier to ensure its effectiveness. Follow these steps to properly seal and secure the barrier:
- Inspect for gaps or openings: Thoroughly inspect the installed radiant barrier for any gaps, openings, or loose sections. Look for any areas where the barrier may not be fully adhered or secured.
- Seal gaps and openings: If you find any gaps or openings in the radiant barrier, use adhesive or radiant barrier tape to seal them. Apply the adhesive or tape to the edges of the barrier, ensuring a tight seal.
- Secure loose sections: If any sections of the radiant barrier are loose or not properly secured, use additional staples or adhesive to secure them. Make sure all sections are flat and tightly secured to maximize their effectiveness.
- Check for proper coverage: Take a step back and inspect the entire attic to ensure that the radiant barrier is properly installed and covering the desired areas. Look for any missed spots or areas that may need additional coverage.
- Address any quality concerns: If you notice any quality issues with the radiant barrier, such as tears or damage, address them immediately. Replace any damaged sections to ensure the barrier is performing at its best.
Sealing and securing the radiant barrier is crucial for maintaining its effectiveness and preventing any potential heat transfer. By following these steps, you’ll ensure that your barrier is properly installed and providing optimal energy efficiency benefits.
With the barrier sealed and secured, you’re ready to move on to the final step: checking for proper installation and functionality.
Step 6: Check for Proper Installation
After installing and sealing the radiant barrier in your attic, it’s important to verify that it has been properly installed and is functioning as intended. Follow these steps to check for proper installation:
- Inspect the coverage: Take a thorough look at the entire attic space to ensure that the radiant barrier is covering the desired areas. Check for any gaps, overlaps, or areas where the barrier may not be fully secured.
- Conduct a temperature test: Use a thermometer to measure the temperature in your attic before and after installing the radiant barrier. Ideally, the barrier should help to reduce the attic temperature by reflecting the radiant heat away from your living space.
- Assess energy efficiency: Monitor your energy bills over the course of a few months after installing the radiant barrier. Compare them to previous months or the same period from the previous year. A significant reduction in energy usage can indicate the effectiveness of the radiant barrier.
- Check for moisture or condensation: Regularly inspect the attic for any signs of moisture or condensation. The radiant barrier should not contribute to the formation of moisture or condensation in the attic. If you notice any issues, address them promptly.
- Seek professional opinion: If you’re unsure about the effectiveness of the radiant barrier or have any concerns, it’s advisable to consult with a professional. They can assess the installation and offer guidance on potential improvements or adjustments.
By conducting these checks and assessments, you can ensure that the radiant barrier is functioning as intended and providing the desired energy-saving benefits. It’s important to regularly monitor and maintain the barrier to ensure its long-term effectiveness.
Congratulations, you have successfully completed the installation of a radiant barrier in your attic! Not only will this help improve the energy efficiency of your home, but it will also contribute to your overall comfort and utility savings.
Remember to periodically check the barrier and make any necessary repairs or adjustments to maximize its performance. Enjoy the benefits of a cooler home in the summer, warmer home in the winter, and reduced energy costs throughout the year.
Conclusion
Installing a radiant barrier in your attic is a worthwhile investment that can significantly improve the energy efficiency of your home. By reducing heat transfer, the radiant barrier helps keep your living space cooler in the summer and warmer in the winter. This translates to increased comfort and reduced energy costs throughout the year.
Throughout this step-by-step guide, we have walked you through the process of installing a radiant barrier in your attic. From gathering the necessary materials to checking for proper installation, we provided detailed instructions to ensure a successful and effective installation.
By following these steps, you can create a more energy-efficient home while also enjoying the benefits of lower heating and cooling bills. However, it’s important to regularly inspect and maintain the radiant barrier to ensure its continued effectiveness. Address any gaps, tears, or loose sections promptly to maximize its performance.
If you have any doubts or concerns during the installation process, don’t hesitate to seek professional advice. An experienced contractor or energy specialist can provide valuable insights and assistance to ensure optimal results.
With a properly installed and well-maintained radiant barrier, you can enjoy a more comfortable and energy-efficient living environment. Plus, you can take pride in reducing your carbon footprint by decreasing your home’s energy consumption. Start the installation process today and reap the benefits for years to come.
Frequently Asked Questions about How To Install Radiant Barrier In Attic
Was this page helpful?
At Storables.com, we guarantee accurate and reliable information. Our content, validated by Expert Board Contributors, is crafted following stringent Editorial Policies. We're committed to providing you with well-researched, expert-backed insights for all your informational needs.


0 thoughts on “How To Install Radiant Barrier In Attic”