Home>Ideas and Tips>Upgrading Your Home’s Attic With DIY Radiant Barrier System
Ideas and Tips
Upgrading Your Home’s Attic With DIY Radiant Barrier System
Modified: October 18, 2024
Upgrade your home's attic with a DIY radiant barrier system to boost energy efficiency, reduce cooling costs, and enhance comfort. Learn how with our step-by-step guide.
(Many of the links in this article redirect to a specific reviewed product. Your purchase of these products through affiliate links helps to generate commission for Storables.com, at no extra cost. Learn more)
Introduction
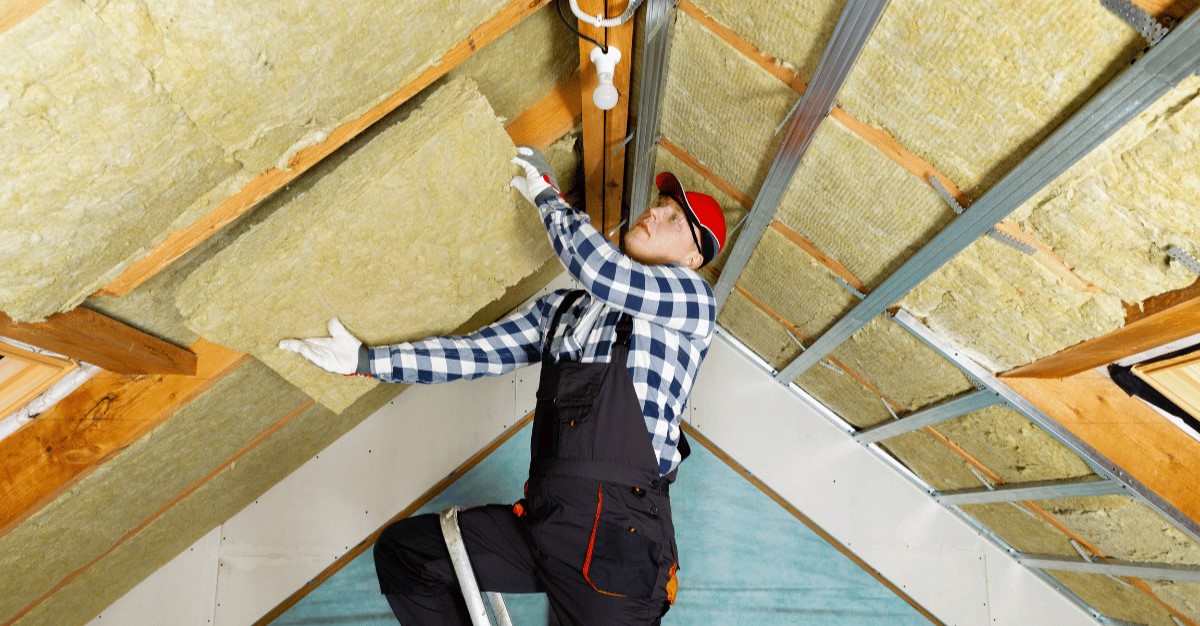
As homeowners, we're always on the lookout for ways to make our homes more energy-efficient and comfortable. One method that often gets overlooked is installing a radiant barrier in the attic. This simple yet powerful tool can significantly cut down on cooling costs and make your home more comfortable, especially if you live in a warmer climate. So, what exactly is a radiant barrier, and how does it work? Let's dive in and find out.
What is a Radiant Barrier?
A radiant barrier is a highly reflective material designed to reflect radiant heat rather than absorb it. Unlike traditional insulation materials that work by slowing down conductive and convective heat flow, radiant barriers operate by reflecting the radiant heat away from the attic space. This reflection prevents the heat from being transferred to other parts of the house, thereby reducing the load on your air conditioning system and lowering your cooling costs.
How Radiant Barriers Work
Heat travels through a combination of conduction, convection, and radiation. Conduction occurs when heat is transferred through direct contact between materials. Convection involves the movement of heated air or liquid, causing it to rise and cooler air to fall. Radiation, however, involves the transfer of heat through electromagnetic waves, which can travel through a vacuum and do not require a medium to propagate.
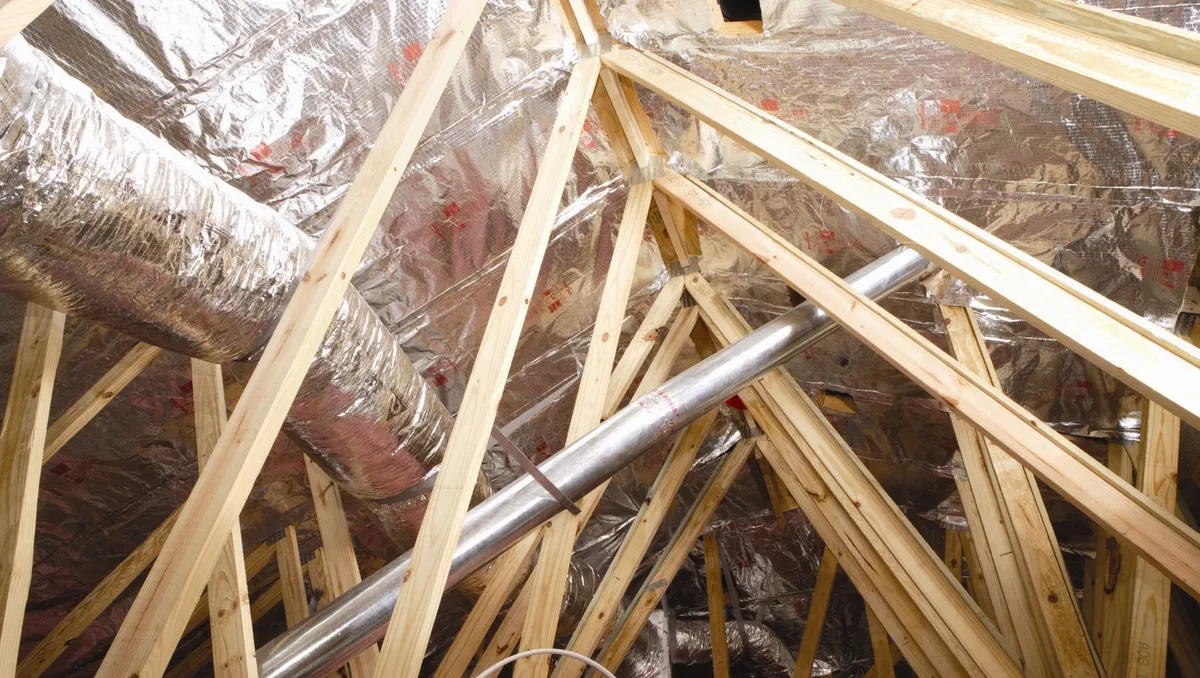
Radiant barriers are most effective in reducing radiant heat gain. When the sun heats a roof, it primarily transfers this heat through radiation. Much of this radiant energy then travels through the roofing materials to the attic side of the roof. The hot roof material then radiates its gained heat energy onto the cooler attic surfaces, including air ducts and the attic floor. By installing a radiant barrier in the attic, you can significantly reduce this radiant heat transfer from the underside of the roof to other surfaces in the attic.
Types of Radiant Barriers
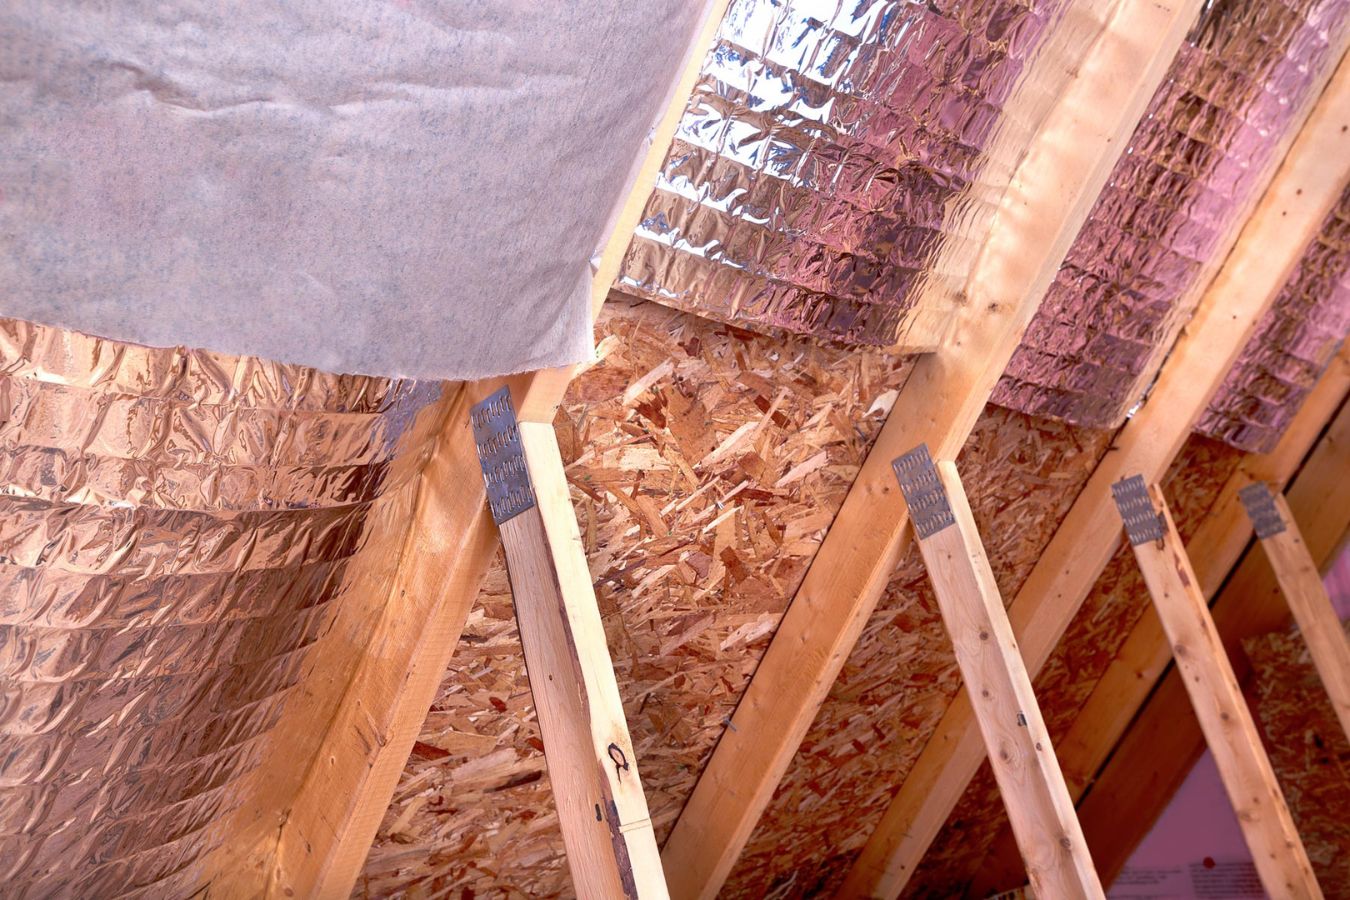
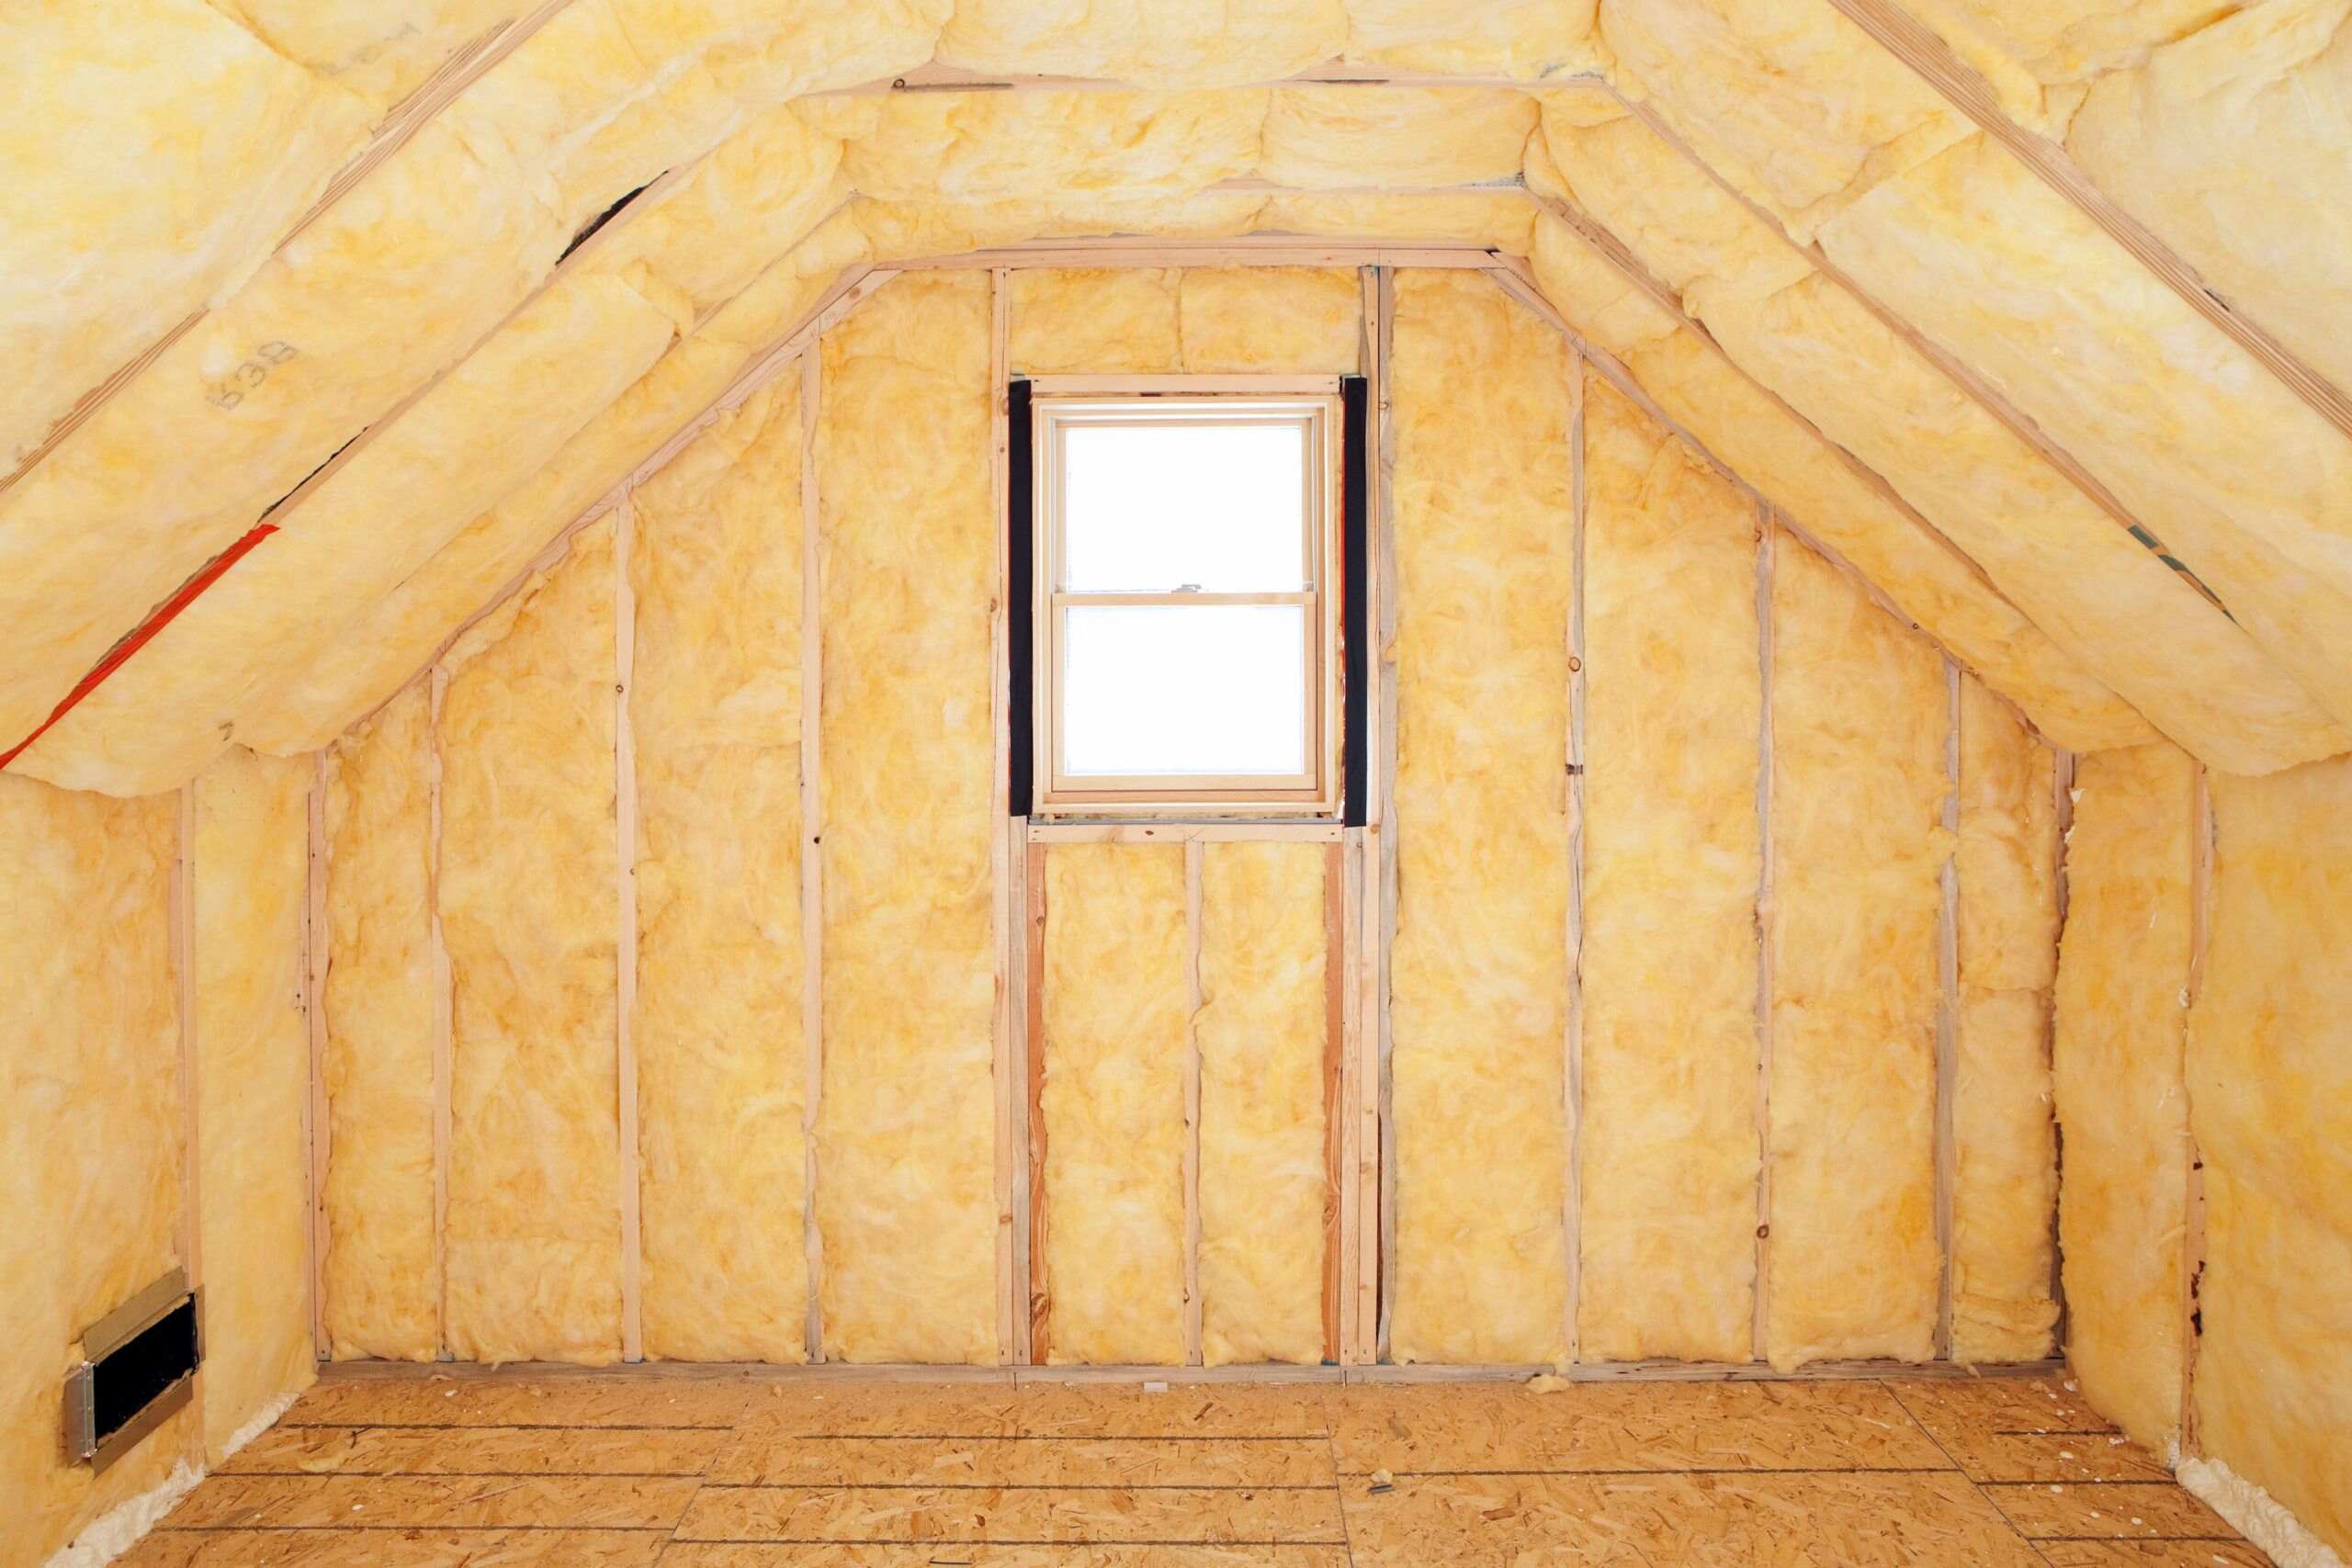
Radiant barriers come in various forms and materials. The most common type is aluminum foil, which is highly reflective and effective at blocking radiant heat. These foils are often applied to one or both sides of substrate materials such as kraft paper, plastic films, cardboard, oriented strand board (OSB), and air infiltration barrier material. Some products are fiber-reinforced to increase durability and ease of handling.
Radiant barriers can also be combined with other insulation materials in reflective insulation systems. In these combinations, the radiant barrier acts as the thermal insulation's facing material. This integration enhances the overall energy efficiency of your home by blocking both conductive and convective heat flows while reflecting radiant heat.
Benefits of Radiant Barriers
-
Energy Efficiency: Radiant barriers are particularly effective in reducing summer heat gain and cooling costs. By reflecting up to 96% of radiant heat, they help keep your attic cooler and reduce the load on your air conditioning system.
-
Cost-Effective: While radiant barriers may not be as effective in cool climates, they offer significant benefits in hot climates where cooling costs are high. Studies show that radiant barriers can reduce cooling costs by 5% to 10% when used in warm, sunny climates.
-
Easy Installation: Installing a radiant barrier is relatively straightforward and can be done as part of a new home construction project or as an upgrade to an existing home. This makes it an accessible option for homeowners looking to improve their home's energy efficiency without breaking the bank.
-
Dust Resistance: Unlike traditional insulation materials that can accumulate dust over time, radiant barriers remain relatively dust-free. This ensures that their reflective properties remain effective over time, providing consistent energy savings.
-
Moisture Resistance: Radiant barriers are completely moisture-resistant, making them an ideal choice for areas prone to high humidity or moisture issues. This feature is particularly beneficial when installed under homes where moisture can be a significant concern.
Installation Tips
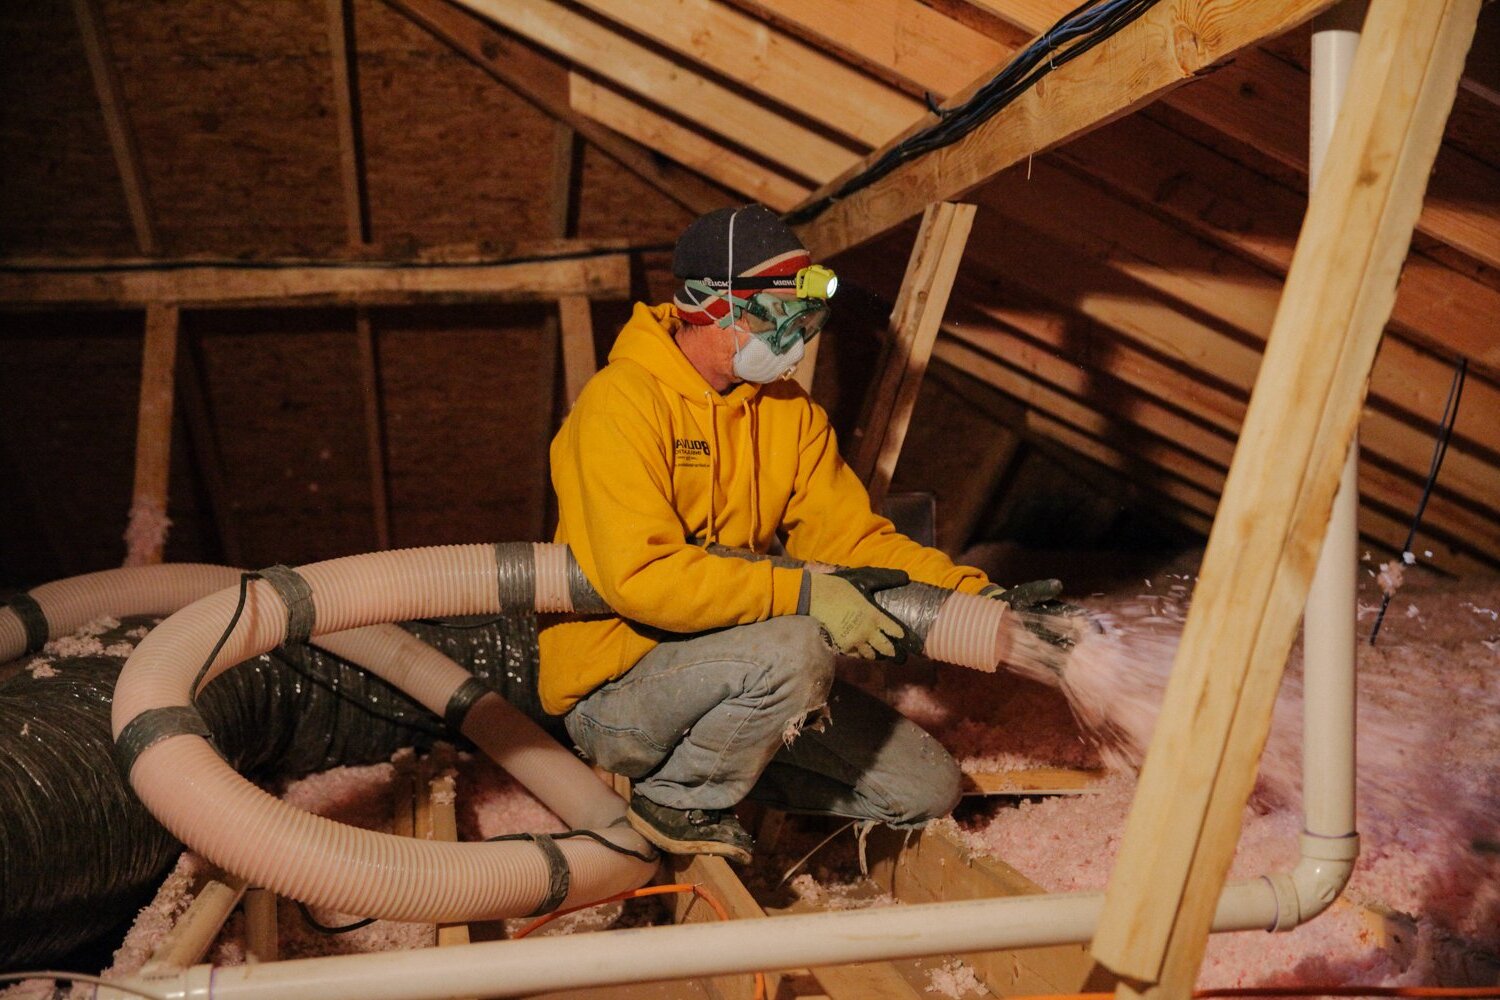
Preparing for Installation
Before you start installing your radiant barrier, it's essential to prepare the attic space properly. This includes:
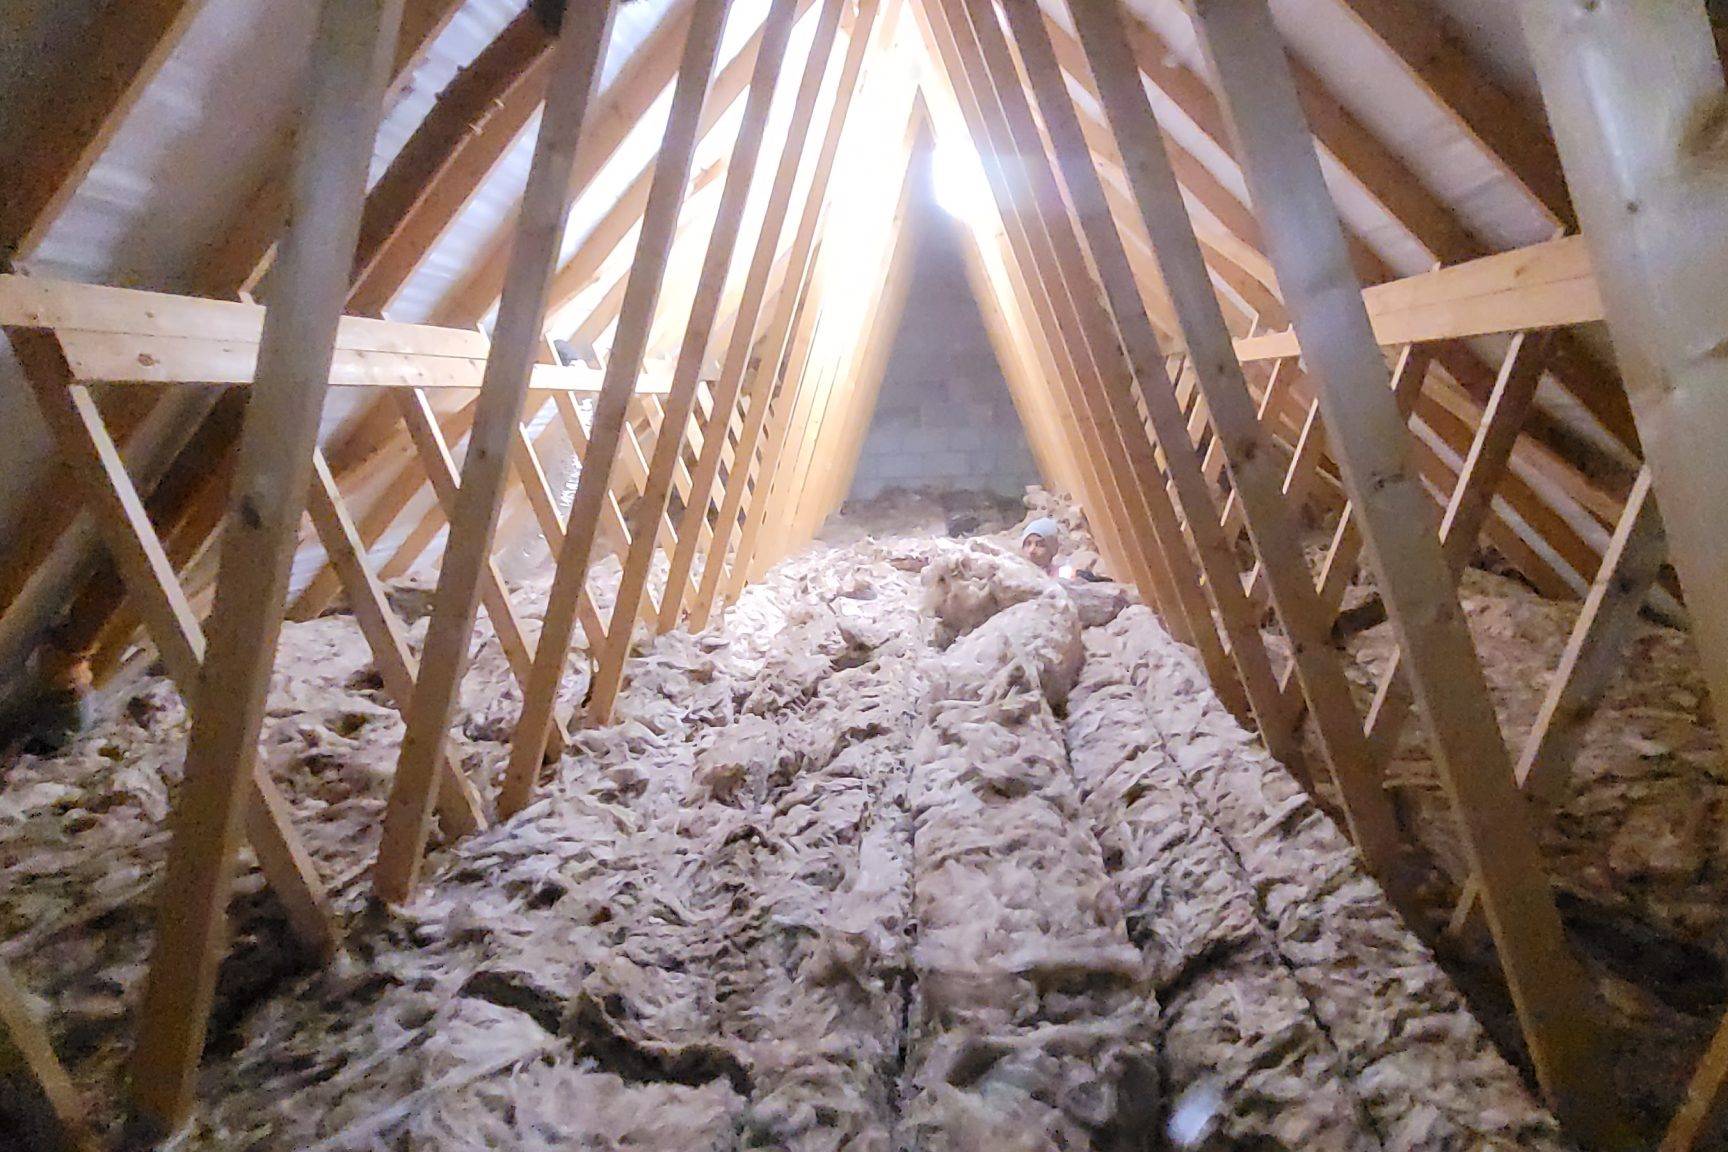
- Clearing the Attic: Remove any debris, old insulation, or obstructions from the attic floor.
- Sealing Air Leaks: Ensure that there are no air leaks in the attic space. Seal any gaps around vents, chimneys, or electrical outlets to prevent heat from escaping.
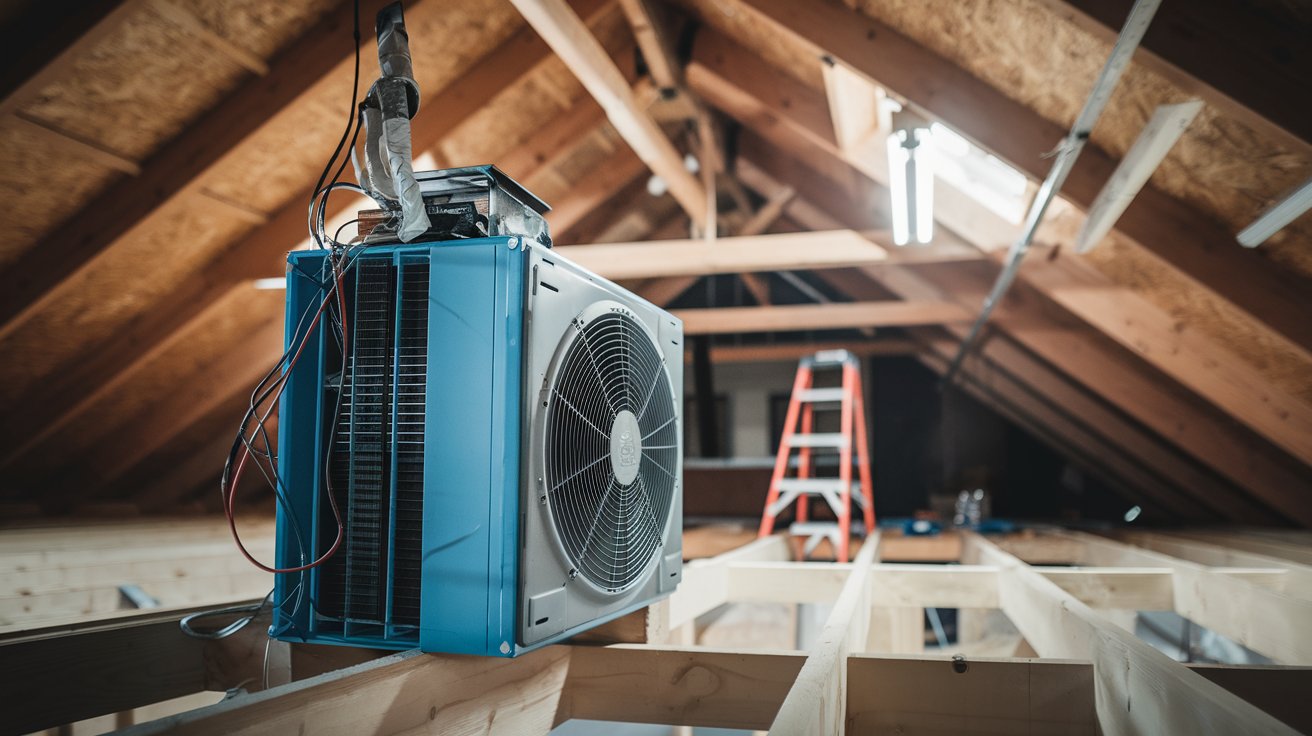
- Ensuring Proper Ventilation: Ensure that your attic has adequate ventilation to prevent moisture buildup. Proper ventilation helps in maintaining a dry attic environment, which is crucial for the longevity of your radiant barrier.
Installing the Radiant Barrier
-
Choosing the Right Material: Select a high-quality radiant barrier material that is suitable for your climate and attic conditions. Aluminum foil is the most common choice due to its high reflectivity and durability.
-
Measuring the Attic Space: Measure the length and width of your attic space to determine how much material you need. It's always better to have a little extra material to ensure proper coverage.
-
Cutting the Material: Cut the radiant barrier material into sections that fit between the roof rafters. Ensure that each section is slightly larger than the rafter spacing to allow for easy installation.
-
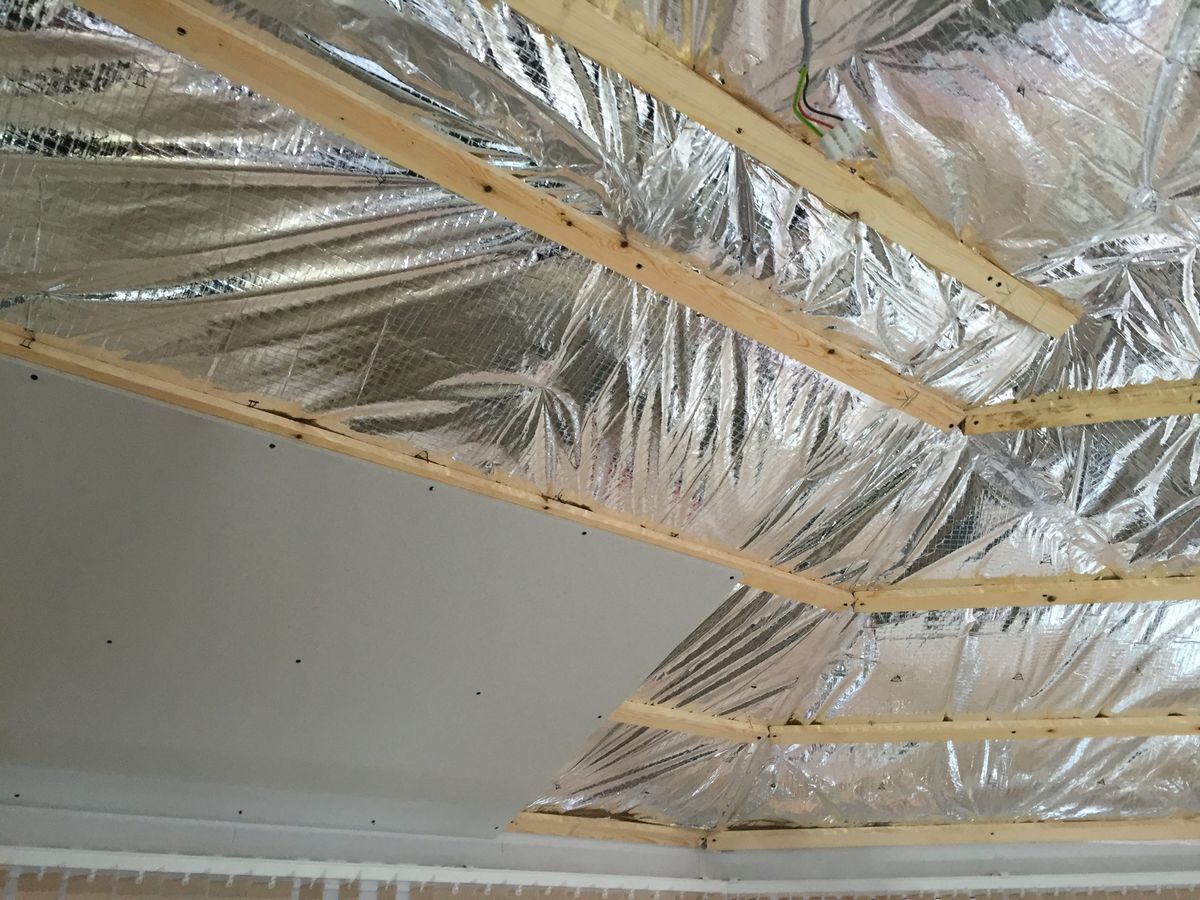
Draping the Material: Start by draping one end of the radiant barrier material over a rafter, ensuring it faces downwards towards the attic floor. Use staples or nails to secure it in place, making sure not to stretch or distort the material.
-
Creating an Air Space: Allow at least a 1-inch air space between the radiant barrier and the roof rafters. This air space is crucial for maintaining the reflective properties of the material and preventing heat conduction.
-
Securing the Material: Continue stapling or nailing the material across the attic space, ensuring it is tightly secured but not stretched. If using double-faced radiant barriers, ensure that both sides face downwards towards the attic floor.
-
Sealing Edges: Seal any edges or gaps around vents, chimneys, or electrical outlets using caulk or spray foam to prevent heat from escaping.
-
Final Check: Inspect your attic space to ensure that all sections of the radiant barrier are properly installed and securely fastened.
Common Mistakes to Avoid
-
Direct Installation on Insulation: Avoid installing the radiant barrier directly on top of attic floor insulation as this can trap moisture in fiber insulation and reduce its effectiveness.
-
Insufficient Air Space: Failing to maintain an adequate air space between the radiant barrier and roof rafters can lead to diminished effectiveness or even increase cooling costs by conducting heat into the attic instead of reflecting it away.
-
Dust Accumulation: Regularly clean your radiant barrier to prevent dust accumulation, which can reduce its reflective capabilities over time.
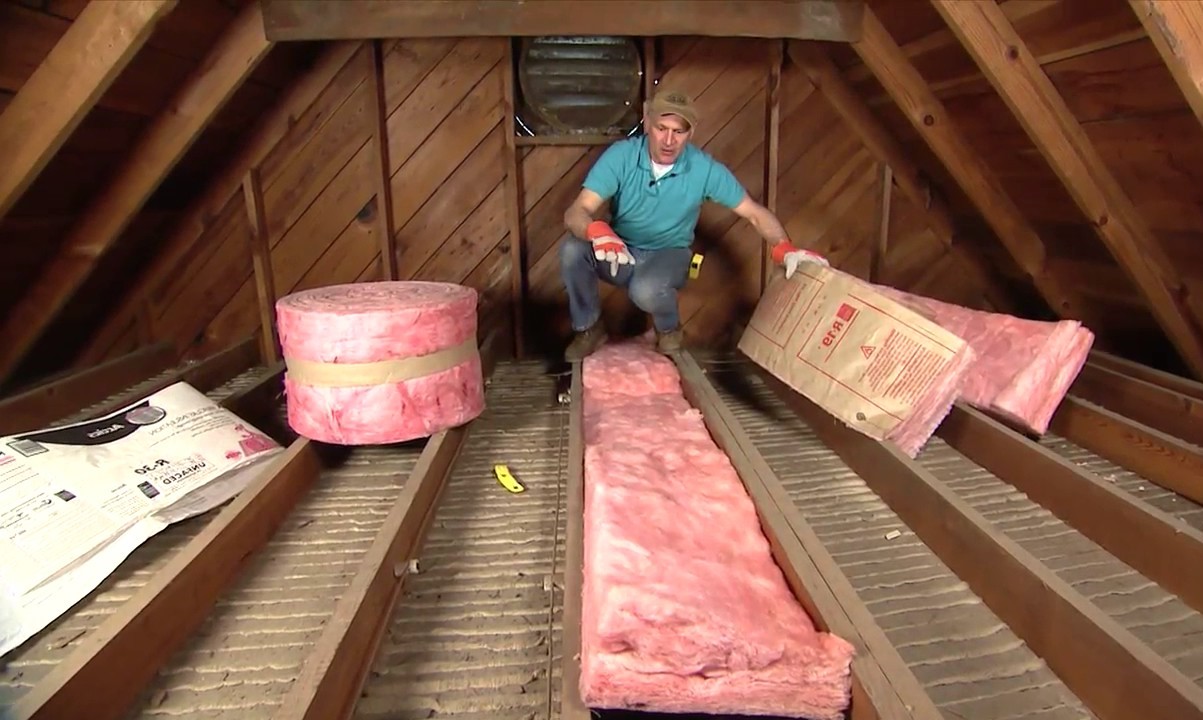
Combining Radiant Barriers with Other Insulations
While radiant barriers are highly effective at reflecting radiant heat, they work best when combined with other insulation materials. Here’s how you can integrate them:
-
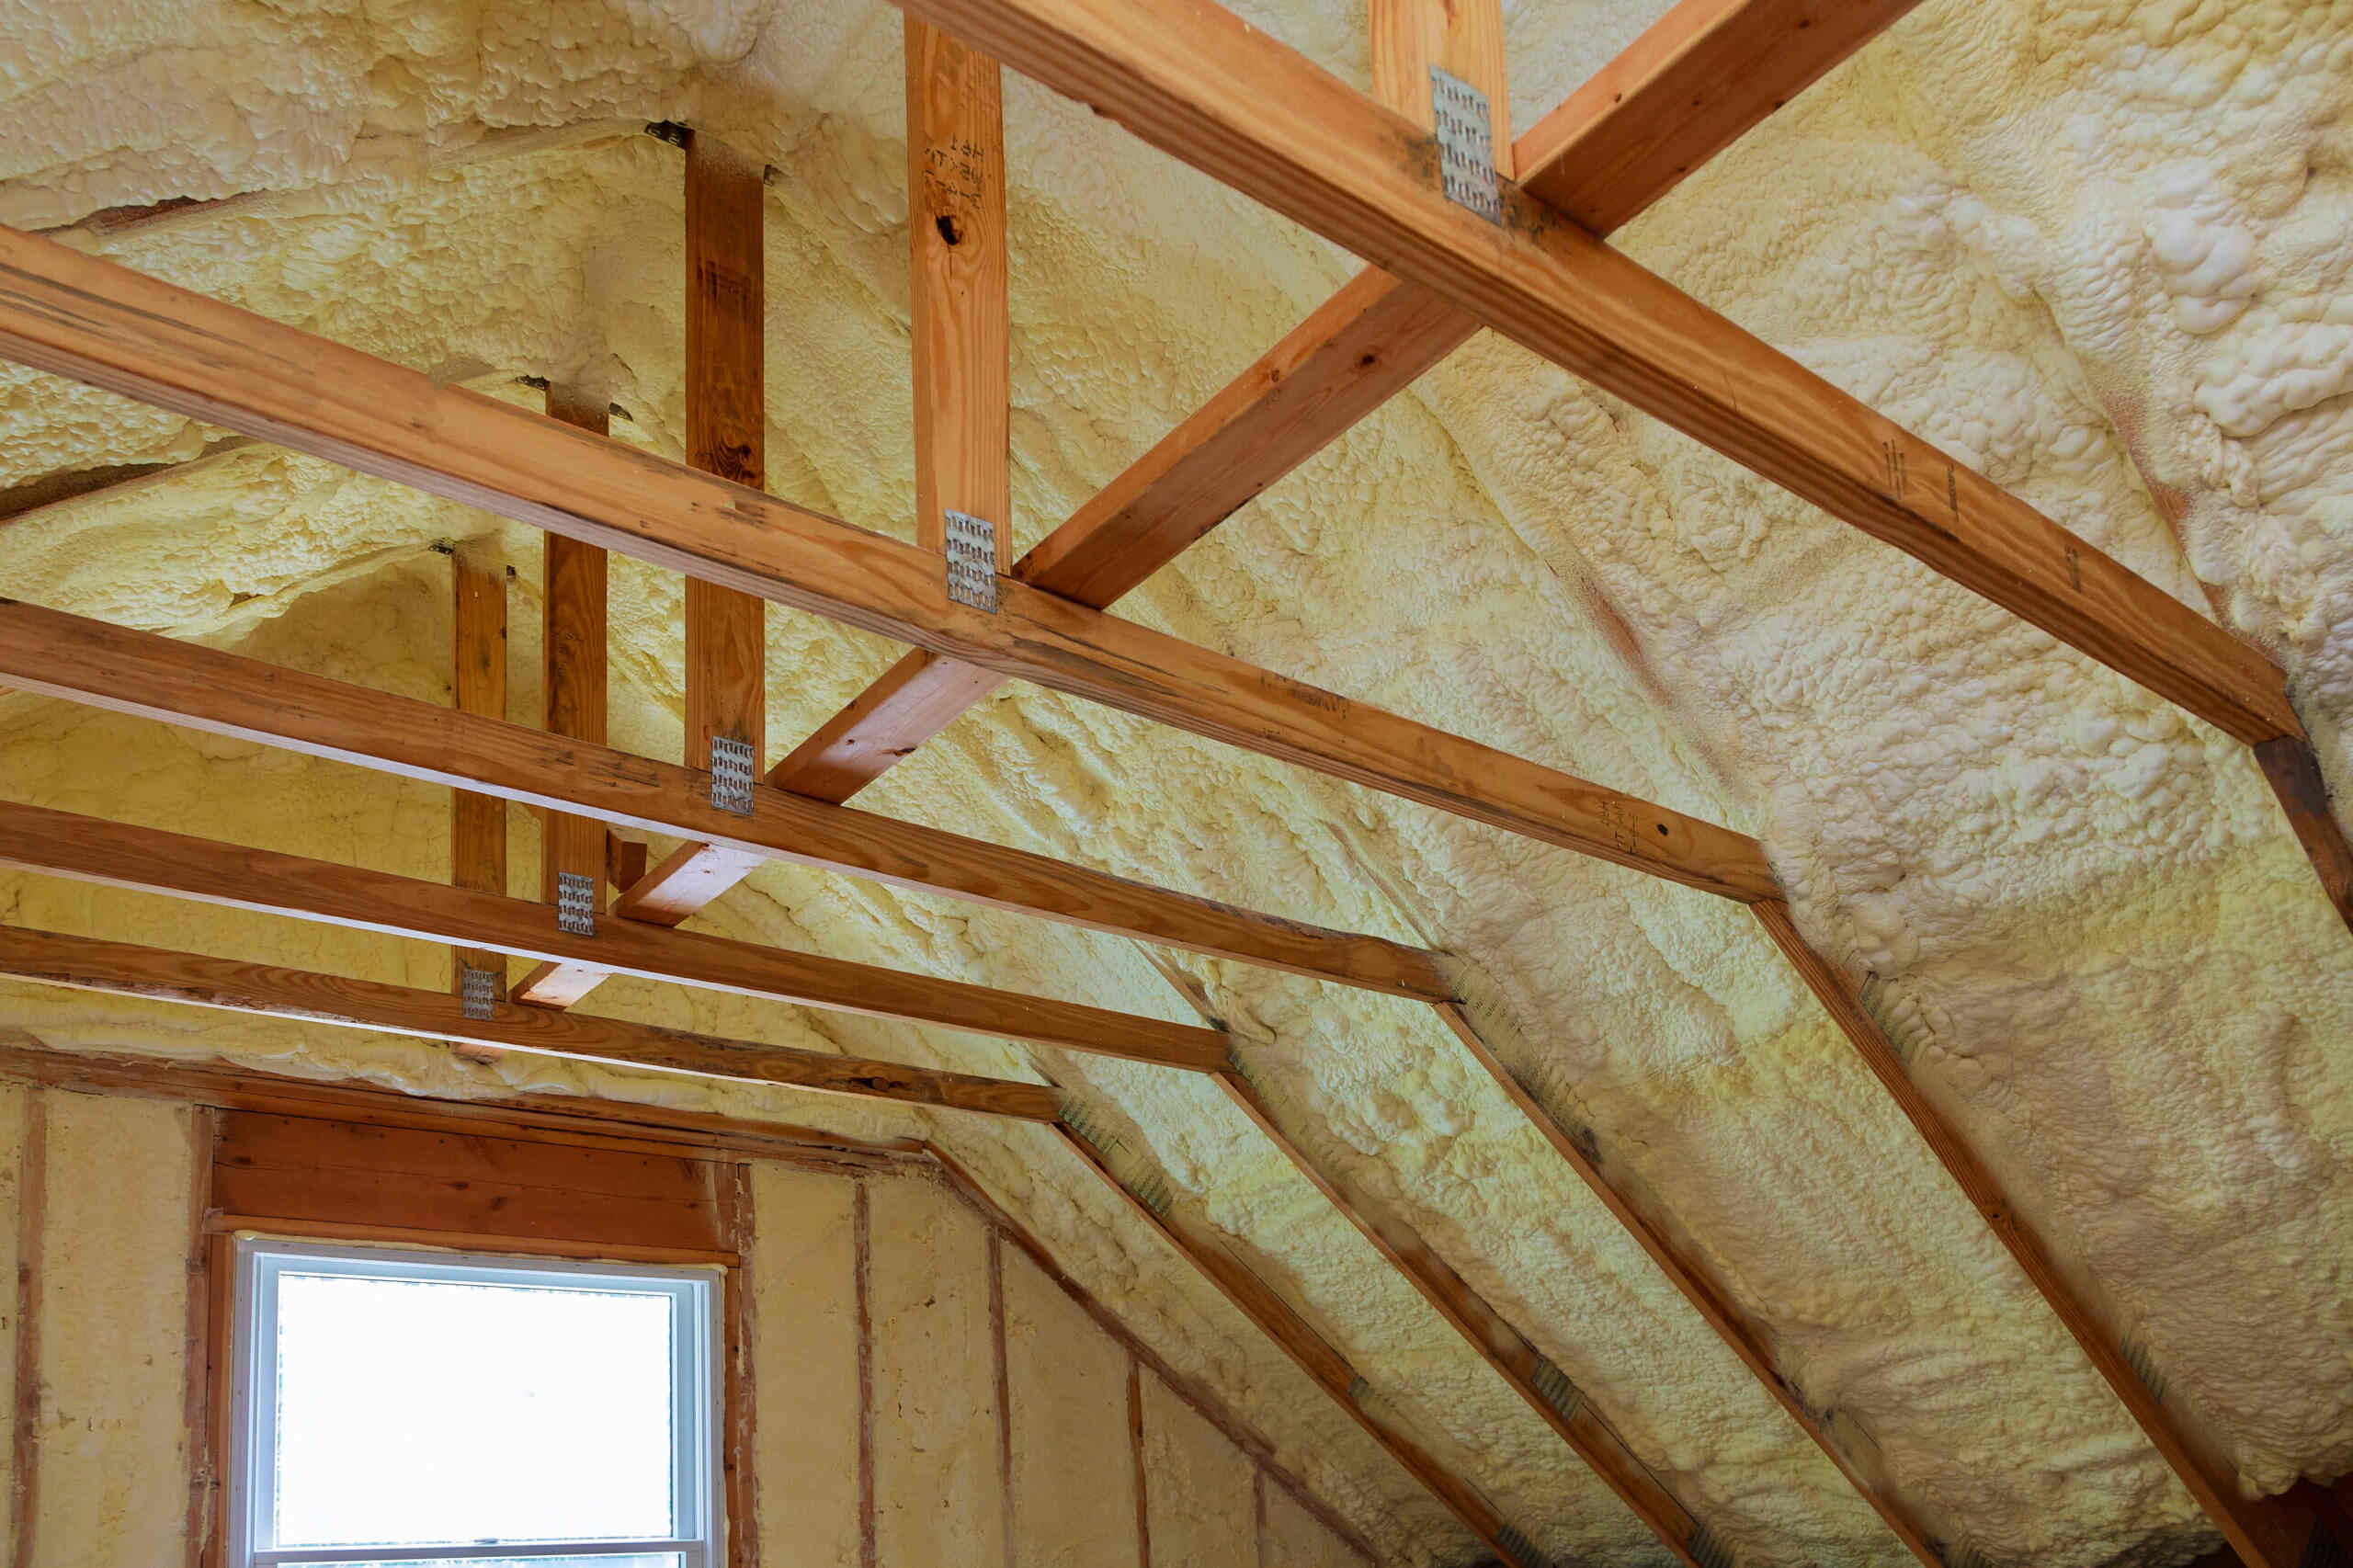
Blown-In Insulation: Combine radiant barriers with blown-in insulation like cellulose or fiberglass. The reflective surface of the radiant barrier can act as the facing material for blown-in insulation, enhancing its overall performance.
-
Reflective Insulation Systems: Use reflective insulation systems that include both radiant barriers and thermal insulation materials. These systems provide comprehensive coverage against all forms of heat transfer—conduction, convection, and radiation.
Conclusion
Upgrading your home's attic with a DIY radiant barrier system is a straightforward and cost-effective way to enhance energy efficiency and reduce cooling costs. By understanding how radiant barriers work, their benefits, and following proper installation tips, you can significantly improve your home's comfort levels while saving on utility bills. Remember to avoid common mistakes like direct installation on insulation or insufficient air space to ensure optimal performance from your radiant barrier. With these steps and precautions in mind, you can enjoy a cooler attic space and lower energy bills all year round.
Additional Resources
For more detailed information on radiant barriers and their installation, consider consulting the following resources:
- Department of Energy: The Department of Energy provides comprehensive information on radiant barriers, including their effectiveness and proper installation techniques.
- Green Building Advisor: Green Building Advisor offers expert advice on various energy-efficient solutions, including attic insulation upgrades and radiant barrier installations.
- Radiant Barrier Guru: Radiant Barrier Guru provides a summary of radiant barrier installation methods, including the staple-up method for attic foil insulation.
By following these guidelines and leveraging additional resources, you can successfully upgrade your home's attic with a DIY radiant barrier system, enhancing its energy efficiency and comfort levels.
Was this page helpful?
At Storables.com, we guarantee accurate and reliable information. Our content, validated by Expert Board Contributors, is crafted following stringent Editorial Policies. We're committed to providing you with well-researched, expert-backed insights for all your informational needs.


0 thoughts on “Upgrading Your Home’s Attic With DIY Radiant Barrier System”