
Articles
How To Condition An Attic
Modified: August 16, 2024
Learn how to effectively condition your attic with our informative articles. Get expert tips and advice to create a comfortable and energy-efficient space.
(Many of the links in this article redirect to a specific reviewed product. Your purchase of these products through affiliate links helps to generate commission for Storables.com, at no extra cost. Learn more)
Introduction
Welcome to the comprehensive guide on how to condition an attic. Your attic is an often overlooked space in your home that has the potential for significant energy savings and improved comfort if properly conditioned. Conditioning your attic involves measures to insulate, ventilate, and control the temperature and moisture levels in this space. By following the steps outlined in this guide, you can create an environment that is energy-efficient, comfortable, and free from issues such as mold and mildew.
An improperly conditioned attic can result in a host of problems, including heat loss, ice dams, and even damage to the structure of your home. By taking the time to properly condition your attic, you will not only improve the overall energy efficiency of your home but also increase its value.
Before we dive into the details, it’s essential to note that conditioning an attic is not a one-size-fits-all process. The steps you might need to take can vary depending on the climate you live in, the type of construction of your home, and other factors specific to your situation. However, the general principles outlined in this guide will apply to most attics.
So let’s get started by assessing your attic and determining what needs to be done to condition it properly.
Key Takeaways:
- Properly conditioning your attic involves assessing its current state, addressing air leaks, adding insulation, ensuring ventilation, sealing ductwork and pipes, installing barriers, controlling moisture, and maintaining the space over time.
- Regular maintenance and monitoring are essential to sustain the benefits of a conditioned attic. By staying proactive, you can address potential problems before they escalate and maintain a well-conditioned attic for a more energy-efficient, comfortable, and healthy living environment.
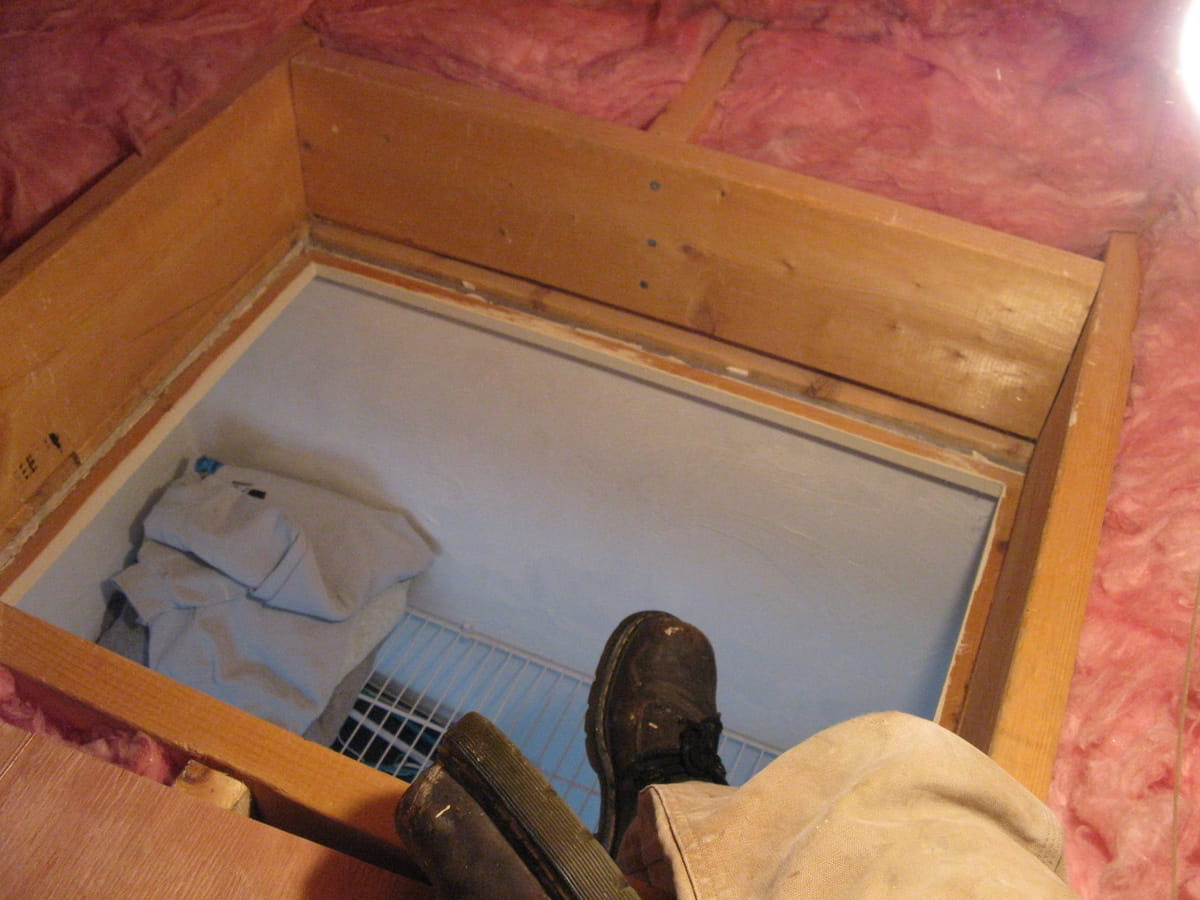
Read more: How To Access Attic
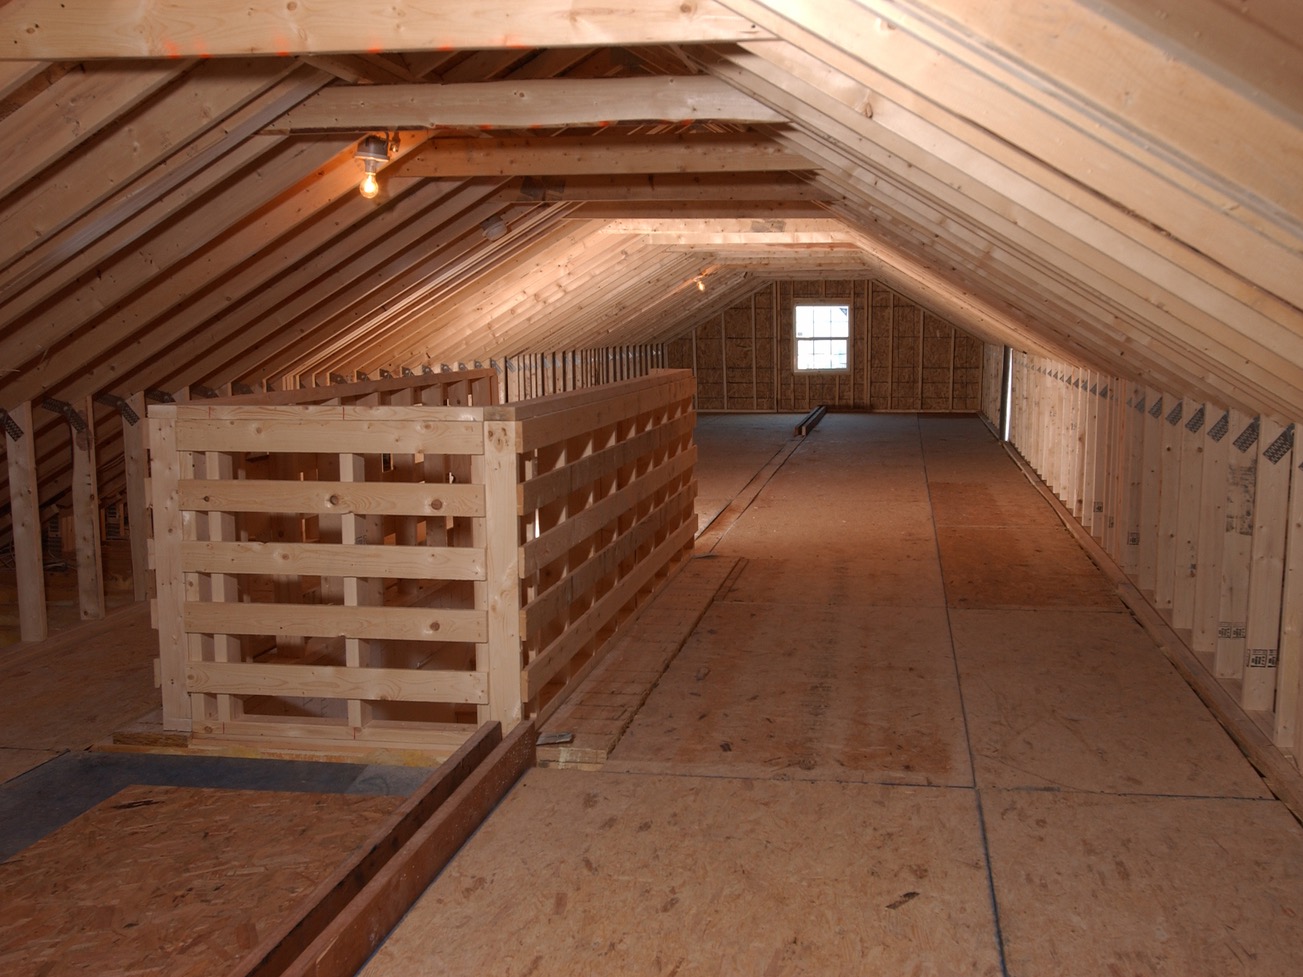
Step 1: Assessing the Attic
Before you begin conditioning your attic, it’s crucial to assess its current condition. This step will help you identify any existing issues and determine what specific measures need to be taken to properly condition the space. Here are some key factors to consider during the assessment:
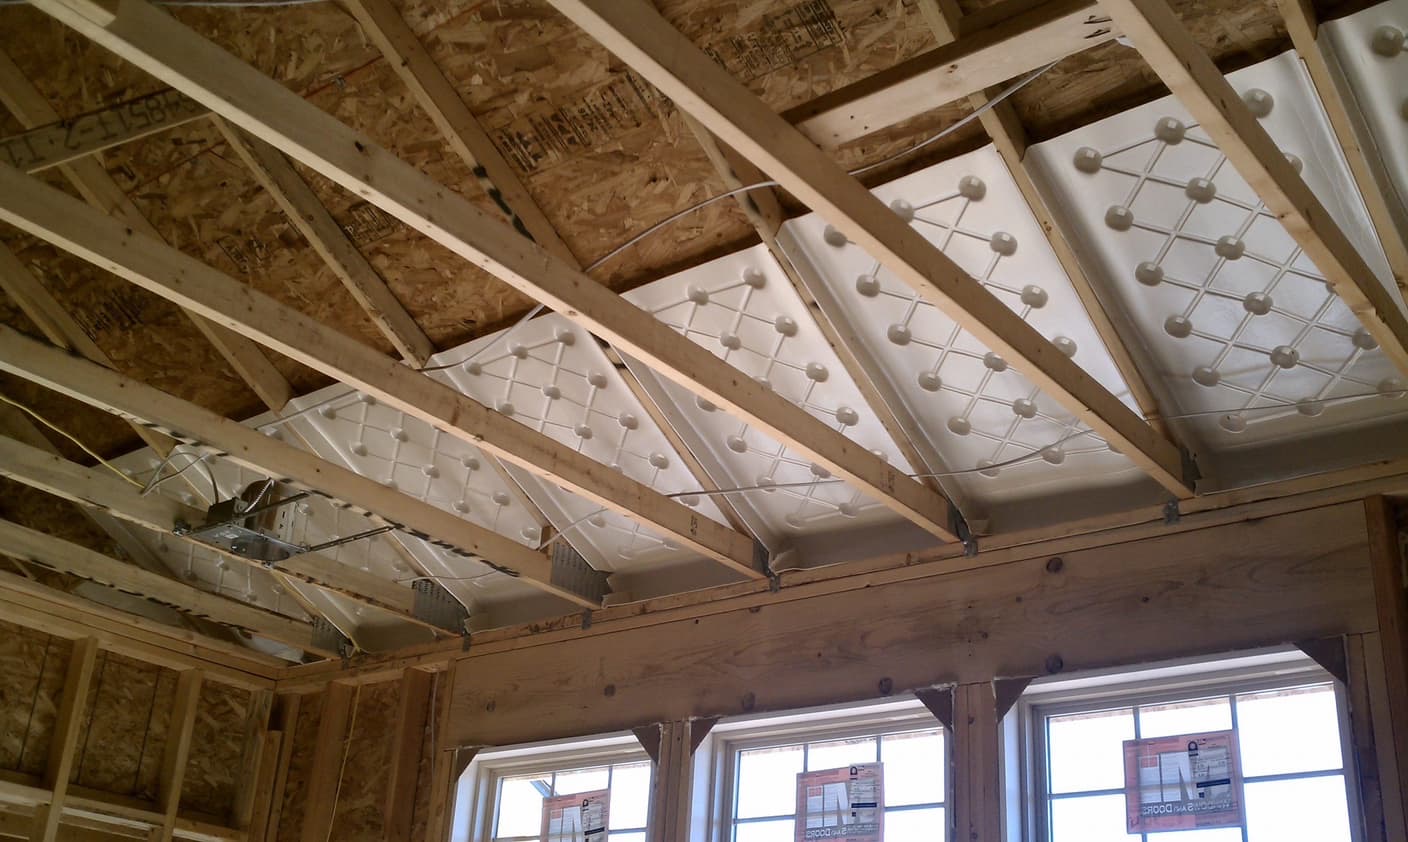
- Insulation: Check the current insulation level in your attic. Insufficient insulation can lead to heat loss and energy inefficiency. Measure the depth of the insulation and ensure it meets the recommended levels for your region.
- Air Leaks: Look for any gaps, cracks, or holes in the attic that could allow air to escape or enter. Common areas for air leaks include around recessed lights, attic hatches, and plumbing vents.
- Ventilation: Assess the ventilation in your attic. Proper ventilation is crucial to prevent the buildup of moisture, which can lead to mold and other issues. Check for the presence of soffit vents, ridge vents, or gable vents, and ensure they are unobstructed and adequately sized.
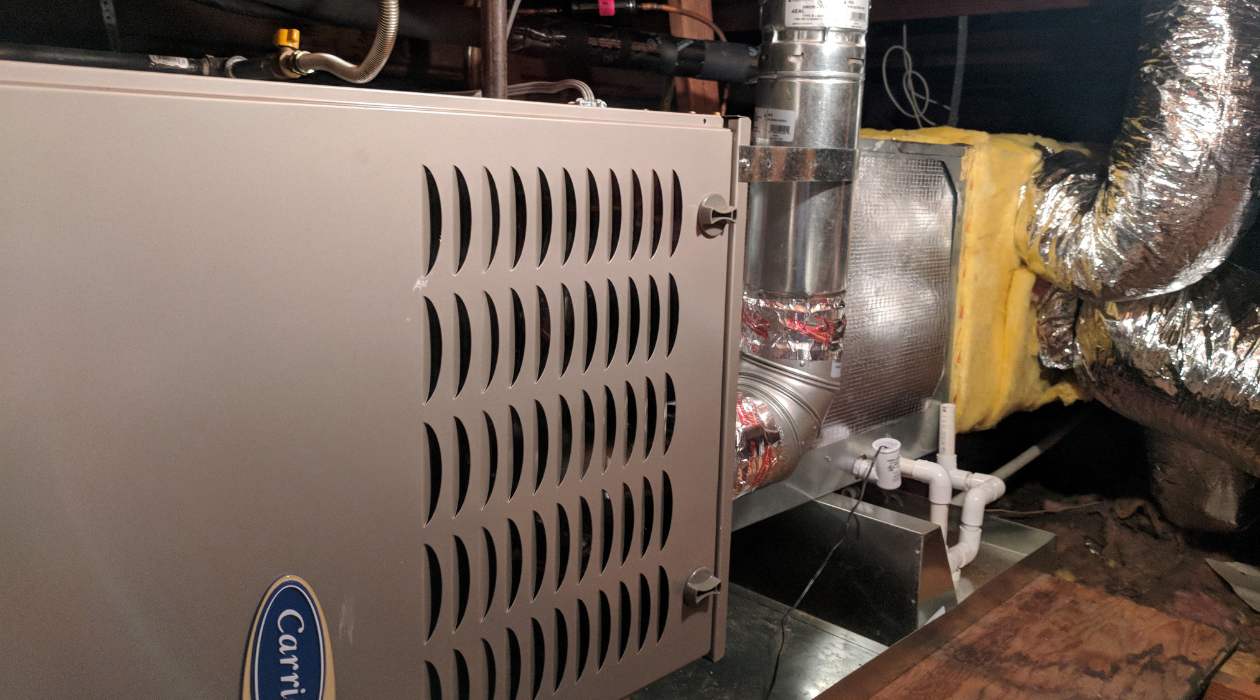
- Ductwork and Pipes: Inspect the ductwork and pipes in your attic. Ensure they are well-insulated and properly sealed to prevent energy loss and condensation. Leaky or poorly insulated ductwork can significantly impact the efficiency of your HVAC system.
- Moisture and Mold: Look for any signs of moisture or mold growth in your attic. Excessive moisture can lead to mold and mildew, which can be detrimental to your health and the structural integrity of your home.
- Structural Issues: Examine the structure of your attic, including the roof, walls, and floor. Look for any signs of water damage, sagging, or compromised integrity. Addressing any structural issues is essential before proceeding with conditioning measures.
By thoroughly assessing your attic, you will have a better understanding of its current condition and be able to identify the specific steps needed to condition it properly. Remember to document your findings and take note of any areas that require immediate attention before moving on to the next steps.
Step 2: Inspecting and Addressing Air Leaks
Air leaks in the attic can significantly impact the efficiency of your home’s heating and cooling system. They can allow conditioned air to escape and unconditioned air to enter, leading to energy waste and discomfort. In this step, we will focus on identifying and addressing air leaks in your attic. Here’s how:
1. Perform a Visual Inspection: Start by visually inspecting the attic for any noticeable gaps, cracks, or openings where air might be leaking in or out. Check around windows, doors, electrical outlets, and any penetrations through the attic floor or walls.
2. Conduct a Smoke Test: A smoke test is an effective way to identify air leaks that may not be visible to the naked eye. Close all windows, doors, and vents in the attic. Then, turn on a fan or create negative pressure in the attic by closing the attic access door and using a handheld smoke stick or incense. Move the smoke stick along potential air leak locations and observe if the smoke is drawn in or disturbed, indicating an air leak.
3. Seal Gaps and Cracks: Once you have identified the air leaks, it’s time to seal them. Use an appropriate sealant, such as caulk or weatherstripping, to fill gaps around windows and doors. Use expanding foam spray for larger gaps or cracks. Additionally, seal any penetrations through the attic floor or walls, such as plumbing vents or electrical outlets, using fire-rated foam sealant or appropriate gaskets.
4. Insulate and Seal Ductwork: Ductwork in the attic is susceptible to air leaks. Inspect the ducts for any visible gaps or loose connections. Seal these gaps with duct mastic or metal-backed tape. Additionally, consider insulating the ductwork using insulation sleeves or wrap, which will help maintain the temperature of the air traveling through the ducts.
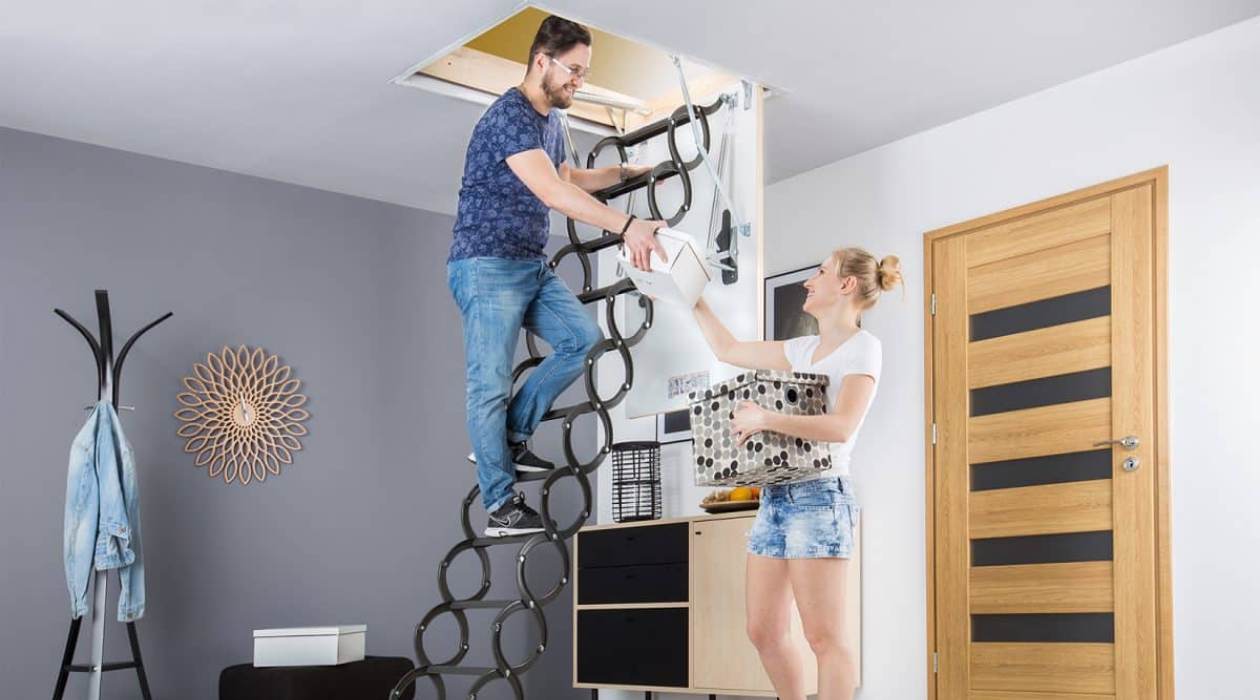
5. Insulate Attic Access Points: If your attic has an access door or hatch, make sure it is properly insulated and weatherstripped. An uninsulated or poorly sealed access point can contribute to significant energy loss. Install weatherstripping around the edges and add insulation to the door or hatch to prevent air leakage.
By thoroughly inspecting and addressing air leaks in your attic, you can significantly improve energy efficiency and reduce drafts, making your home more comfortable while lowering utility bills. Remember to check for air leaks regularly and address them promptly to maintain the conditioned space in your attic.
Step 3: Adding Insulation
Proper insulation is a key component of conditioning an attic. It helps regulate temperature, prevent heat loss or gain, and improve energy efficiency. In this step, we will discuss how to add insulation to your attic effectively. Here’s what you need to do:
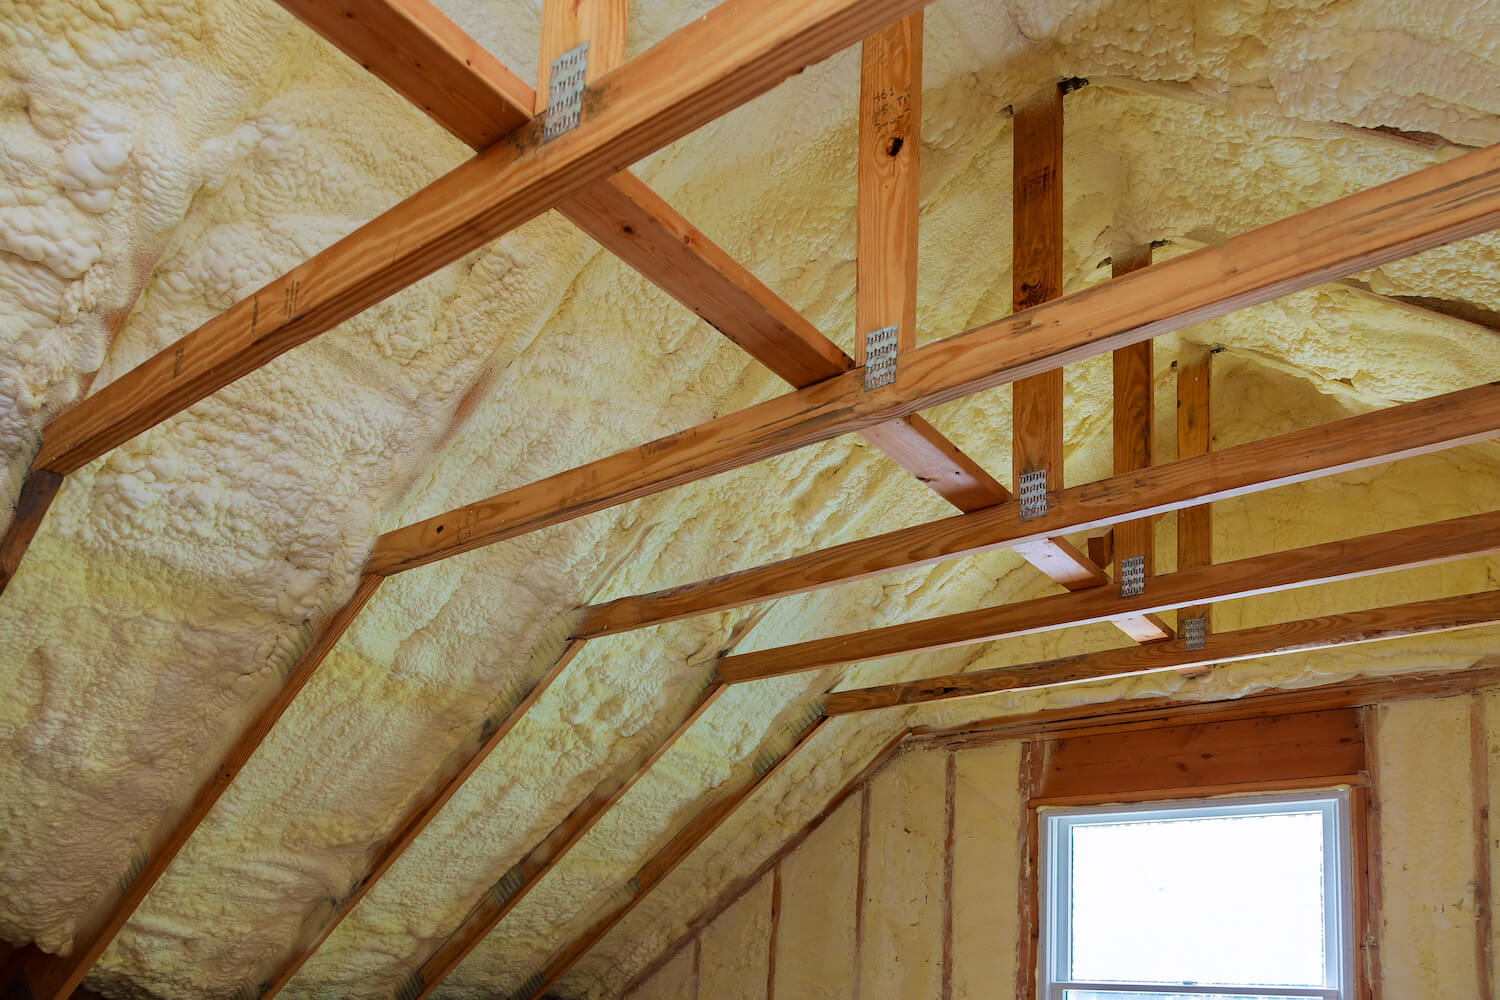
1. Determine the Type and Amount of Insulation Needed: Before adding insulation, you need to determine the appropriate type and amount required for your attic. Common insulation options include fiberglass batts, blown-in cellulose, or spray foam insulation. Consider factors such as your climate, local building codes, and energy efficiency goals when selecting insulation.
2. Prepare the Attic: To ensure proper insulation installation, the attic should be cleared of any debris or obstructions. Take the time to remove any stored items, dust, or spider webs. Ensure that the attic floor is clean and clear of insulation from previous installations.
3. Seal Air Leaks: Before adding insulation, seal any remaining air leaks in the attic. Use caulk or weatherstripping to seal gaps around windows, vents, and other openings. Pay extra attention to areas where air might infiltrate or escape, such as recessed lighting fixtures and plumbing vents.
4. Install the Insulation: If using fiberglass batts, carefully unroll and lay them perpendicular to the ceiling joists. Ensure a snug fit and avoid compressing the insulation, as it can reduce its effectiveness. If you choose blown-in insulation, use a machine to evenly distribute the material throughout the attic space. Follow the manufacturer’s instructions for proper installation.
5. Achieve the Recommended R-Value: The R-value measures the insulation’s thermal resistance. It determines how effective the insulation is in resisting heat flow. Consult local building codes or energy efficiency guidelines to determine the recommended R-value for your attic based on your region’s climate. Add multiple layers of insulation if needed to achieve the desired R-value.
6. Take Safety Precautions: Insulation materials can be hazardous if not handled properly. Wear protective clothing, gloves, and a mask to prevent skin irritation and exposure to fibers or particles. Work in a well-ventilated area and consider using a dust mask or respirator, especially when dealing with blown-in insulation.
Properly insulating your attic helps create a thermal barrier, reducing heat transfer and improving energy efficiency. It also enhances the comfort of your home and reduces the workload on your heating and cooling systems. Follow these steps to add insulation to your attic effectively and reap the benefits of a well-insulated space.
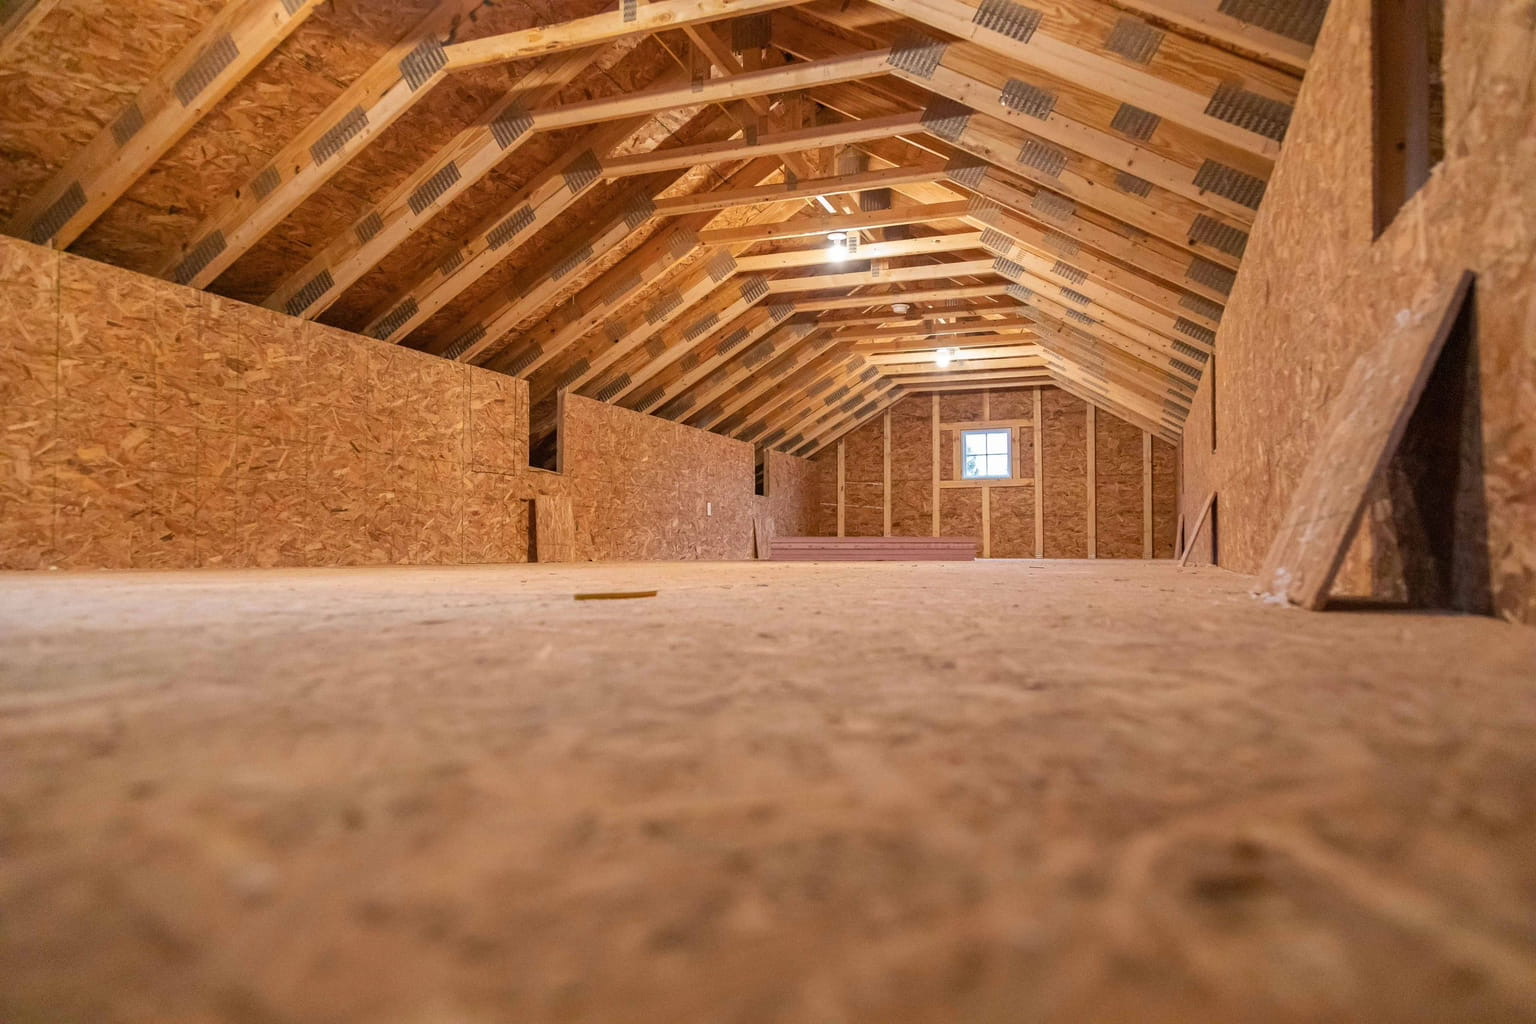
Step 4: Ensuring Proper Ventilation
Proper ventilation is crucial for maintaining a healthy and efficient attic. It helps prevent the buildup of moisture, control temperature, and prolong the lifespan of your roofing materials. In this step, we will explore how to ensure proper ventilation in your attic. Follow these guidelines:
1. Assess Existing Ventilation: Begin by evaluating the current ventilation system in your attic. Check for the presence of soffit vents, ridge vents, gable vents, or other ventilation openings. Ensure that they are unobstructed and free from debris.
2. Calculate Ventilation Needs: Determine the proper ventilation requirements for your attic based on the size and square footage. A general guideline is to have at least one square foot of ventilation for every 150 square feet of attic space. However, specific codes and recommendations may vary, so consult local regulations or an expert to determine the exact requirements for your area.
3. Add Soffit Vents: Soffit vents are installed along the eaves of your roof and allow fresh air to enter the attic. If your attic lacks soffit vents, consider adding them to enhance ventilation. Ensure the vents are evenly spaced and properly sized to allow for adequate airflow.
4. Install Ridge Vents: Ridge vents run along the peak of the roof and facilitate the release of warm air from the attic. If your attic doesn’t have ridge vents, consider installing them to improve ventilation. Ridge vents work in conjunction with soffit vents to create a natural airflow and promote proper ventilation.
5. Maintain Clear Pathways: Ensure that there are clear pathways from the soffit vents to the ridge vents to promote unrestricted airflow. Remove any insulation or debris that could obstruct the ventilation pathways. This allows air to move freely and reduces the risk of moisture buildup.
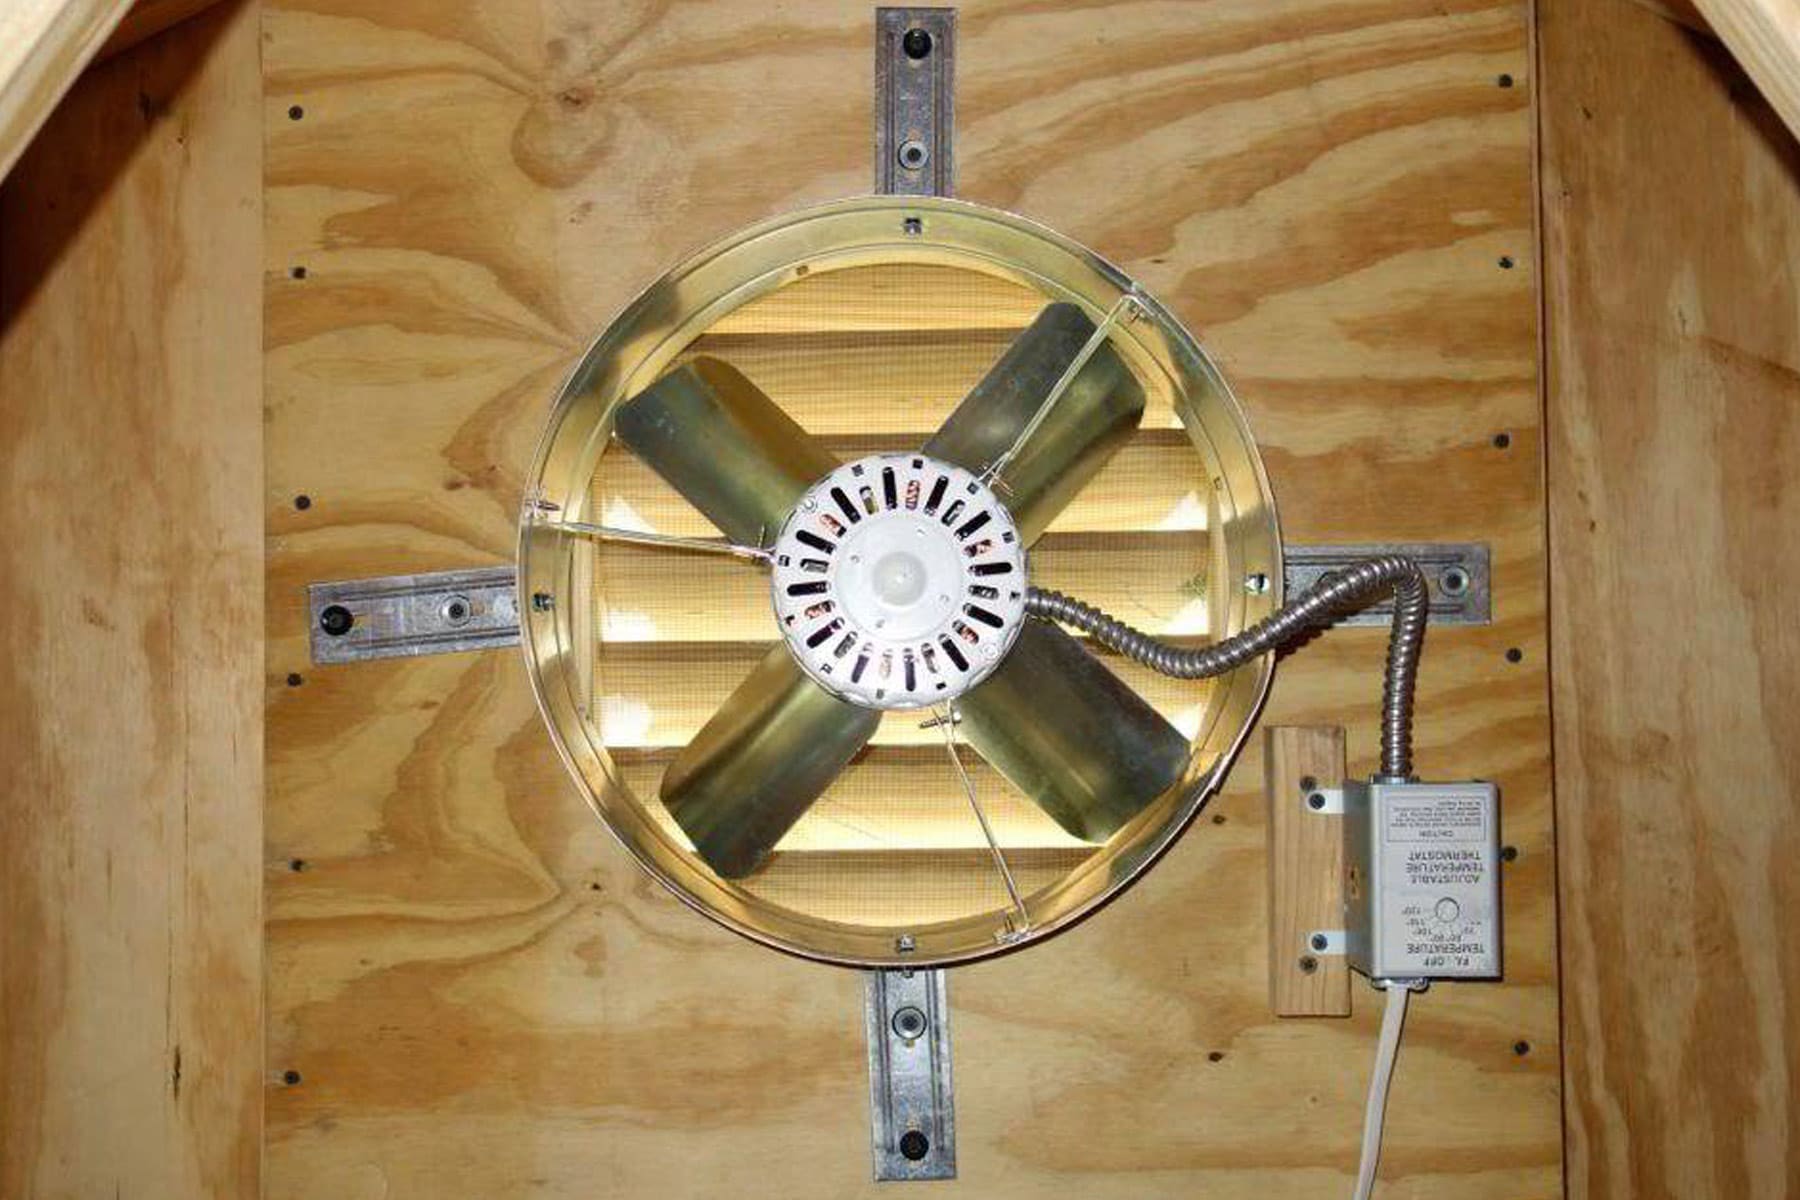
6. Consider Mechanical Ventilation: In some cases, especially if your attic does not have adequate natural ventilation, you may need to consider mechanical ventilation options. These include attic fans or powered vents that help exhaust hot air and improve airflow. Consult an expert to determine the most suitable mechanical ventilation system for your attic.
7. Insulate Properly Around Vents: Proper insulation around vents is essential to prevent heat loss or gain, as well as to avoid condensation issues. Make sure the insulation is installed correctly and does not block or cover the ventilation openings.
By ensuring proper ventilation in your attic, you can prevent the buildup of moisture and maintain a more consistent temperature. Proper airflow reduces the risk of mold and mildew growth, protects your roofing materials, and helps prolong the lifespan of your attic space. Follow these steps to achieve adequate ventilation in your attic.
Make sure to properly insulate and ventilate your attic to prevent moisture buildup and maintain a consistent temperature. This will help protect your home from potential damage and reduce energy costs.
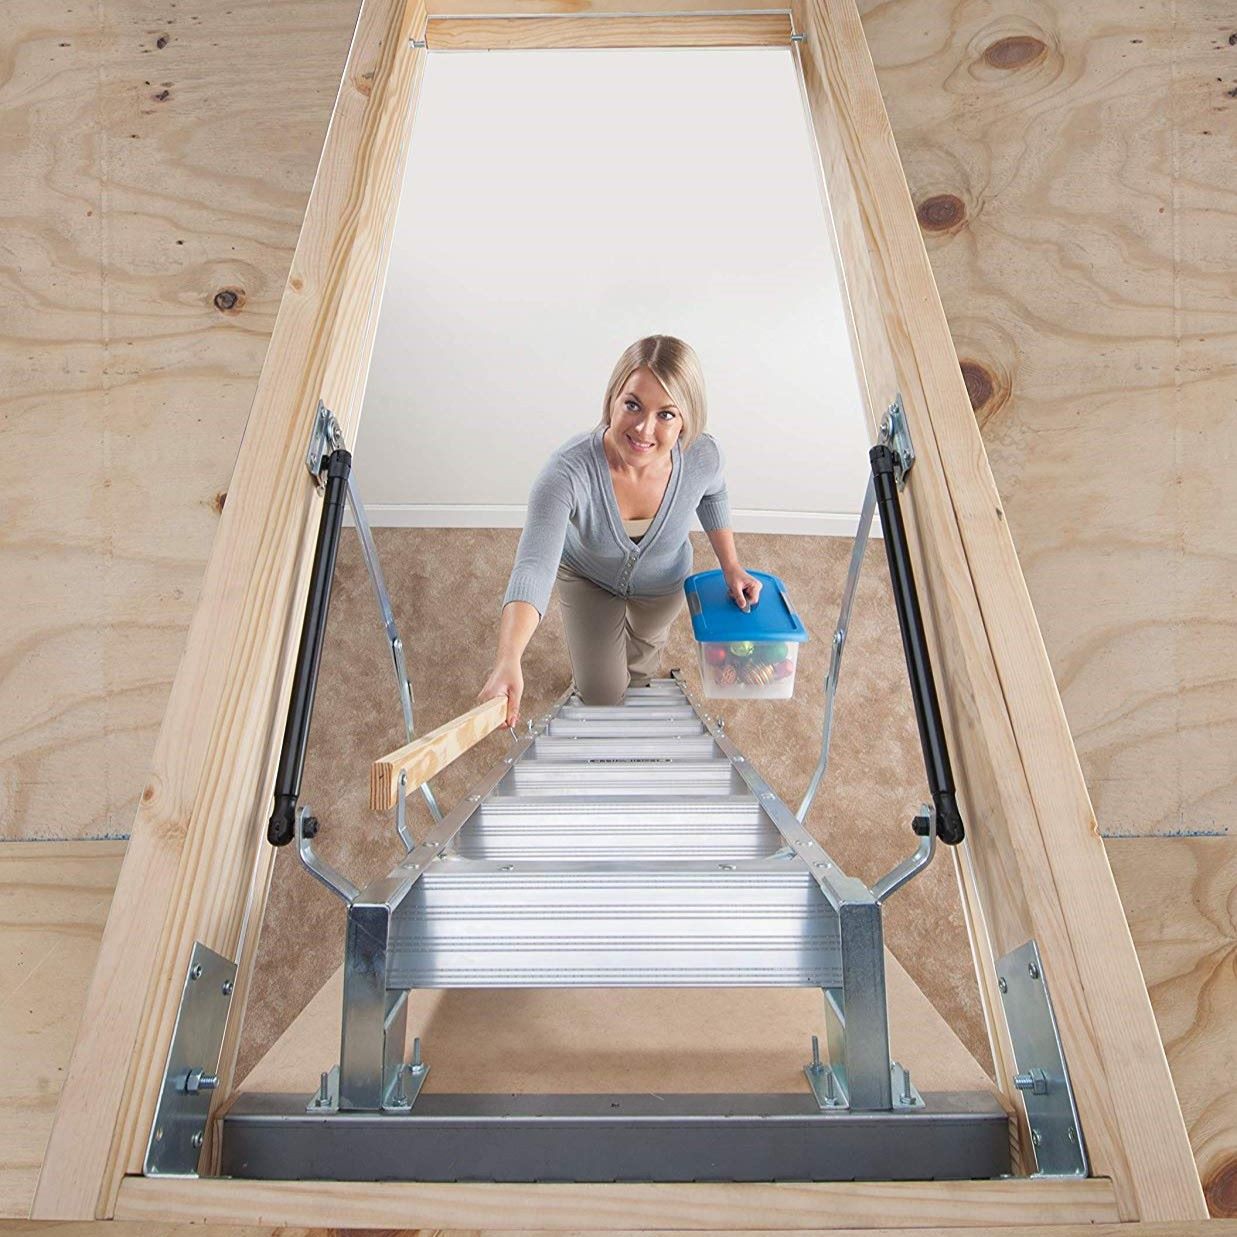
Read more: How To Open The Attic
Step 5: Sealing Ductwork and Pipes
Sealing ductwork and pipes in the attic is crucial for maintaining optimum energy efficiency and preventing air leakage. In this step, we will discuss how to properly seal ductwork and pipes to ensure maximum efficiency and comfort in your attic. Follow these guidelines:
1. Inspect the Ductwork and Pipes: Start by inspecting the ductwork and pipes in your attic. Look for any visible signs of damage, gaps, or loose connections. Check for leaks or areas where insulation may be missing or damaged. Identify any areas that require sealing or insulation.
2. Clean and Prepare the Surfaces: Before sealing, make sure to clean the surfaces of the ductwork and pipes. Remove any dust, dirt, or debris that can interfere with the sealing process. Wipe down the surfaces with a damp cloth or use a vacuum cleaner with a brush attachment to remove any loose particles.
3. Choose the Right Sealant: Select the appropriate sealant for your ductwork and pipes. Common options include duct mastic, foil tape, or specialized duct sealants. Ensure that the sealant you choose is compatible with the material of your ductwork and pipes.
4. Seal the Ductwork: Apply the chosen sealant to any visible gaps, loose connections, or joints in the ductwork. Use a brush or your fingers to spread the sealant evenly and ensure a tight seal. Pay special attention to areas where the ductwork meets vents or registers, as these are common sources of air leaks.
5. Insulate the Ductwork: Insulating the ductwork in your attic helps prevent energy loss and improves the efficiency of your heating and cooling system. Wrap the ductwork with insulation sleeves or blanket insulation, ensuring a snug fit. Secure the insulation with tape or zip ties to hold it in place.
6. Seal the Pipes: Similar to the ductwork, inspect the pipes in your attic and seal any visible gaps or joints. Use the appropriate sealant based on the material of the pipes. Apply the sealant around the joints or connections, ensuring a complete seal and preventing any air leakage.
7. Check for Leaks: Once you have sealed the ductwork and pipes, it’s essential to check for any remaining leaks. Turn on your HVAC system and feel for any air escaping from the sealed areas. Use a smoke pencil or incense to detect any subtle air movements that may indicate a leak. If you identify any leaks, reapply sealant as needed to ensure a proper seal.
By properly sealing the ductwork and pipes in your attic, you can prevent energy loss, improve indoor air quality, and ensure that conditioned air reaches its intended destination. Taking the time to seal these areas will contribute to a more efficient and comfortable home.
Step 6: Installing Attic Barriers
Installing attic barriers is an effective way to further improve the energy efficiency and comfort of your home. Attic barriers help to minimize heat transfer, prevent radiant heat gain in the summer, and retain heat during the winter. In this step, we will explore how to install attic barriers. Follow these guidelines:
1. Choose the Right Attic Barrier: There are different types of attic barriers available, such as radiant barriers and attic insulation barriers. Determine which type is most suitable for your attic based on your climate, budget, and specific needs.
2. Prepare the Attic: Before installing the attic barrier, ensure that the attic is clean and free from debris. Remove any existing insulation or obstacles that may hinder the installation process. Take care to clear pathways, especially around areas where the barrier will be installed.
3. Measure and Cut: Measure the dimensions of the areas where you will install the attic barrier. Use a utility knife or scissors to cut the barrier to the appropriate size. Be sure to leave a slight overlap to ensure complete coverage and minimize any gaps.
4. Install the Attic Barrier: Start by positioning the first piece of the attic barrier in the desired location. Use staples, clips, or adhesive to secure the barrier to the attic floor or rafters, depending on the type of barrier being installed. Working methodically, continue to install the barrier, ensuring a tight and secure fit.
5. Overlap and Seal: As you install additional pieces of the attic barrier, overlap them slightly to create a continuous barrier with minimal gaps. Secure the overlapping sections with staples or adhesive to ensure a proper seal. Take care to eliminate any potential openings where radiant heat can penetrate.
6. Insulate Around the Barrier: To maximize the effectiveness of the attic barrier, ensure that it is properly insulated. Insulate around and on top of the barrier using appropriate insulation materials. This additional insulation will further prevent any heat transfer and boost the overall energy efficiency of your attic space.
7. Inspect and Maintain: Once the attic barriers are installed, periodically inspect them to ensure they remain in good condition and are secure. Look for any signs of damage, wear, or decay. Make any necessary repairs or replacements to maintain the effectiveness of the barriers.
By installing attic barriers, you can significantly reduce heat gain, improve energy efficiency, and enhance the overall comfort of your home. Attic barriers are an excellent investment in creating a more energy-efficient and sustainable living environment.
Step 7: Controlling Moisture
Controlling moisture in your attic is essential for maintaining a healthy and functional space. Excessive moisture can lead to mold and mildew growth, wood rot, and damage to insulation and structural components. In this step, we will discuss how to effectively control moisture in your attic. Follow these guidelines:
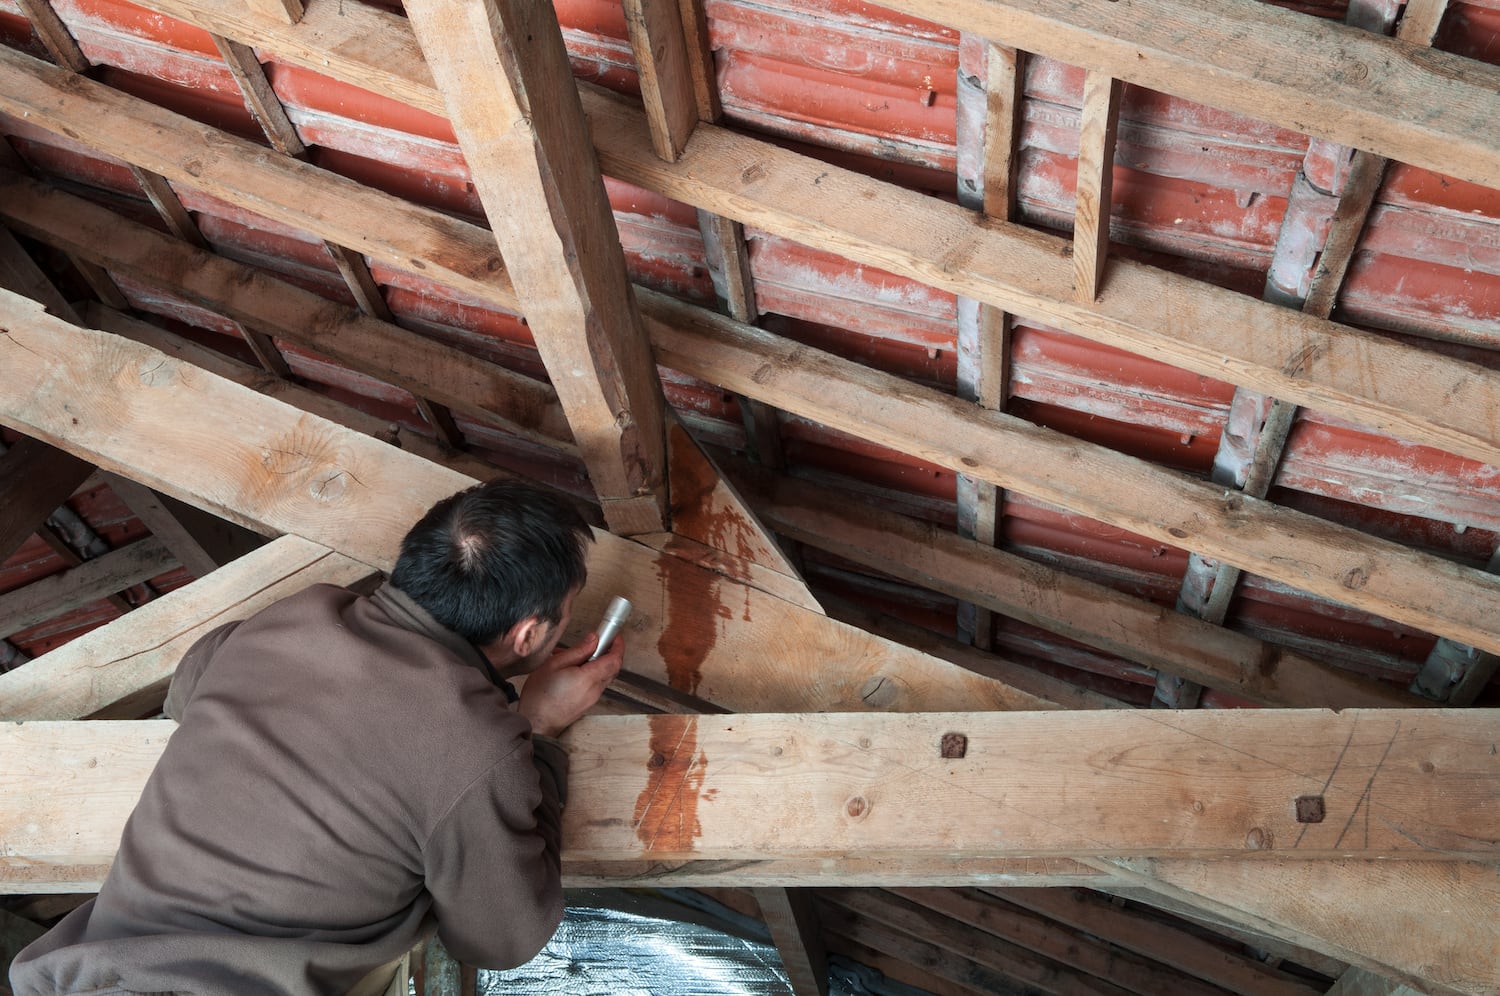
1. Identify Potential Sources of Moisture: Begin by identifying potential sources of moisture in your attic. Common sources include roof leaks, plumbing leaks, inadequate ventilation, and condensation from HVAC systems. Inspect these areas carefully to identify any existing or potential issues.
2. Repair Roof Leaks: If you notice any signs of roof leaks, such as water stains or damp spots, address them promptly. Repair any damaged or missing shingles, seals around roof penetrations, or flashing to prevent water intrusion into your attic. Consider consulting a professional roofer if needed.
3. Fix Plumbing Leaks: Inspect the plumbing fixtures and pipes in your attic to ensure there are no leaks. Repair any damaged or leaking pipes and tighten loose connections. Address plumbing issues as soon as possible to prevent long-term moisture problems.
4. Maintain Proper Attic Ventilation: Proper attic ventilation is crucial for controlling moisture. Ensure that soffit vents, ridge vents, or other ventilation openings are unobstructed and functioning correctly. An adequate airflow will help remove excess moisture and prevent condensation buildup.
5. Insulate and Seal Air Leaks: Proper insulation and sealing of air leaks are essential for preventing moisture buildup. Ensure that your insulation is properly installed and does not have any gaps or compressed areas. Seal any air leaks around windows, doors, electrical outlets, and other openings to prevent warm, moist air from entering your attic.
6. Use Vapor Barriers: Consider using vapor barriers, such as plastic sheeting or specialized vapor barrier paint, in your attic. These barriers help prevent moisture from infiltrating the attic space. Install them on the warm side of the insulation to effectively control moisture and prevent condensation.
7. Monitor Humidity Levels: Use a hygrometer or humidity monitor to regularly check the humidity levels in your attic. Aim for a relative humidity level between 30% and 50%. If the humidity exceeds these levels, consider using a dehumidifier or improving ventilation to control moisture.
8. Regularly Inspect and Maintain: Regularly inspect your attic for any signs of moisture, mold, or mildew. Address any issues promptly to prevent further damage. Additionally, maintain the recommended maintenance schedule for your HVAC system, roof, and other components to ensure their proper functioning and minimize moisture-related problems.
By effectively controlling moisture in your attic, you can prevent the growth of mold and mildew, protect your insulation and structural components, and maintain a healthy living environment. Follow these steps to minimize moisture-related issues and preserve the integrity of your attic space.
Step 8: Maintaining and Monitoring the Attic
Proper maintenance and regular monitoring of your attic are crucial for ensuring its long-term functionality and effectiveness. In this final step, we will discuss the important tasks involved in maintaining and monitoring your attic. Follow these guidelines:
1. Regular Inspection: Schedule regular inspections of your attic to identify any signs of damage, leaks, or issues. Look for water stains, mold growth, pest infestations, or any visible damage to the insulation or structural components. Catching problems early can help prevent further damage and address issues promptly.
2. Check Insulation: Periodically check the condition and effectiveness of your attic insulation. Look for areas where insulation may have settled or become compressed and add or replace insulation as needed to maintain optimum energy efficiency.
3. Clean and Clear Obstructions: Keep your attic clean and free from debris and obstructions. Remove any accumulated dust, dirt, or animal droppings. Clear away any obstructions that may hinder proper ventilation or access to important components, such as air ducts or electrical panels.
4. Monitor Moisture Levels: Regularly monitor the humidity levels in your attic to ensure they are within the recommended range. Use a hygrometer to measure the relative humidity and address any issues that may be contributing to excessive moisture, such as leaks or inadequate ventilation.
5. Inspect Roof and Vents: Regularly inspect the condition of your roof, including shingles, flashing, and vents. Look for any signs of damage or wear that may lead to leaks or compromised ventilation. Address any necessary repairs or maintenance to prevent water intrusion and ensure proper airflow.
6. Maintain Proper Ventilation: Continuously monitor and maintain proper attic ventilation. Ensure that vents are clear from any obstructions, such as debris or insulation. Check that soffit vents, ridge vents, and other ventilation openings are unobstructed and functioning effectively. Address any issues promptly to maintain optimal airflow.
7. Monitor Energy Efficiency: Keep track of your energy bills to determine if there are any significant changes in energy consumption. A sudden increase in energy usage could indicate a problem with attic insulation, air leaks, or ventilation. Address any energy inefficiencies or abnormalities to ensure maximum energy efficiency and cost savings.
8. Address Pest Issues: Monitor your attic for signs of pest infestations, such as droppings, chewed wires, or nests. Take appropriate measures to address and prevent pest problems, such as sealing entry points and contacting pest control professionals if necessary.
By maintaining and regularly monitoring your attic, you can ensure its long-term functionality, energy efficiency, and comfort. A proactive approach to attic maintenance will help you identify and address issues promptly, preserving the integrity of your attic space and the overall condition of your home.
Read more: How To Air Condition A Shed
Conclusion
Congratulations on completing the comprehensive guide on how to condition an attic! By following the steps outlined in this guide, you have taken significant strides towards optimizing the energy efficiency, comfort, and health of your attic space.
Conditioning an attic involves assessing its current condition, addressing air leaks, adding insulation, ensuring proper ventilation, sealing ductwork and pipes, installing attic barriers, controlling moisture, and maintaining and monitoring the attic over time.
Through the assessment process, you were able to identify any existing issues and determine the specific measures needed to condition your attic effectively. By addressing air leaks and adding insulation, you improved the energy efficiency and thermal comfort of the space. Proper ventilation helps prevent the buildup of moisture, while the sealing of ductwork and pipes ensures optimal performance of your HVAC system.
By installing attic barriers, you further enhanced the attic’s ability to resist radiant heat and maintain a consistent temperature. Controlling moisture is essential for preventing mold growth and preserving the integrity of your insulation and structural components. Lastly, ongoing maintenance and monitoring of your attic will ensure its continued effectiveness and prevent any future issues.
Remember, conditioning an attic is not a one-time task. Regular inspections, maintenance, and monitoring are essential to sustain the benefits you have achieved. By staying proactive, you can address potential problems before they escalate and maintain a well-conditioned attic that contributes to the overall energy efficiency and comfort of your home.
Thank you for embarking on this journey to condition your attic. By implementing the steps outlined in this guide, you have taken a significant step towards creating a more energy-efficient, comfortable, and healthy living environment. Enjoy the benefits of your conditioned attic for years to come!
Frequently Asked Questions about How To Condition An Attic
Was this page helpful?
At Storables.com, we guarantee accurate and reliable information. Our content, validated by Expert Board Contributors, is crafted following stringent Editorial Policies. We're committed to providing you with well-researched, expert-backed insights for all your informational needs.


0 thoughts on “How To Condition An Attic”