Home>Ideas and Tips>Upgrading Your Home’s Attic With DIY Skylight Installation
Ideas and Tips
Upgrading Your Home’s Attic With DIY Skylight Installation
Published: September 19, 2024
Learn how to brighten your attic with a DIY skylight installation. Follow our step-by-step guide for a successful and safe project.
(Many of the links in this article redirect to a specific reviewed product. Your purchase of these products through affiliate links helps to generate commission for Storables.com, at no extra cost. Learn more)
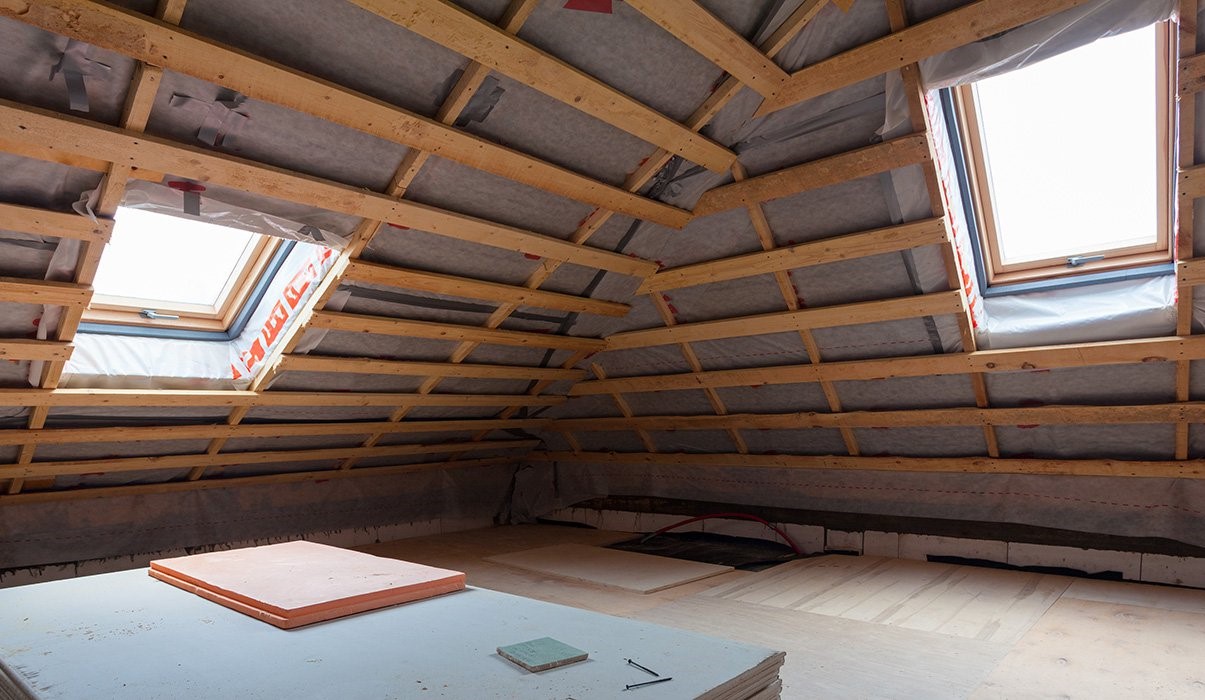
Adding a skylight to your home can be a fantastic way to bring in natural light and enhance the aesthetic appeal of your attic space. However, installing a skylight can be a complex process, especially if you're not familiar with roofing and drywall work. In this article, we'll guide you through the steps involved in installing a skylight in your attic, highlighting both the DIY aspects and the importance of professional assistance when needed.
Understanding Skylights
Skylights are windows installed in the roof to let natural light into the space below. They come in various types, each with its own benefits and requirements. Choosing the right one is crucial for your needs.
Types of Skylights
- Fixed Skylights: These don't open but provide natural light. Perfect for rooms where ventilation isn't needed.
- Ventilating Skylights: These can open to allow airflow. Great for areas needing moisture control like bathrooms and kitchens.
- Solar-Powered Skylights: Use solar panels to open and close. They're energy-efficient and eco-friendly.
Planning Your Skylight Installation
Before starting, careful planning is vital. Here are some steps to take:
1. Assess Your Roof
First, check your roof's condition and structure. Look for obstructions like HVAC units, ductwork, bathroom fans, plumbing vents, electrical wires, and natural gas lines. These might require adjustments in the skylight's placement or relocation.
2. Choose the Right Skylight
Pick a skylight based on your roof's pitch and the amount of light you want. For flat ceilings with attic space above, consider how the light will be directed into the room. A VELUX skylight is often recommended for its efficiency in directing light through a light shaft or well.
3. Measure and Mark the Area
Measure the space for the skylight and mark it with a level. Ensure the marks are accurate and level to avoid issues during installation.
Preparing for Installation
Once planned and measured, it's time to prepare for installation.
1. Protect Your Home
Lay down drop cloths in the work area to protect your home's interior from dust and debris.
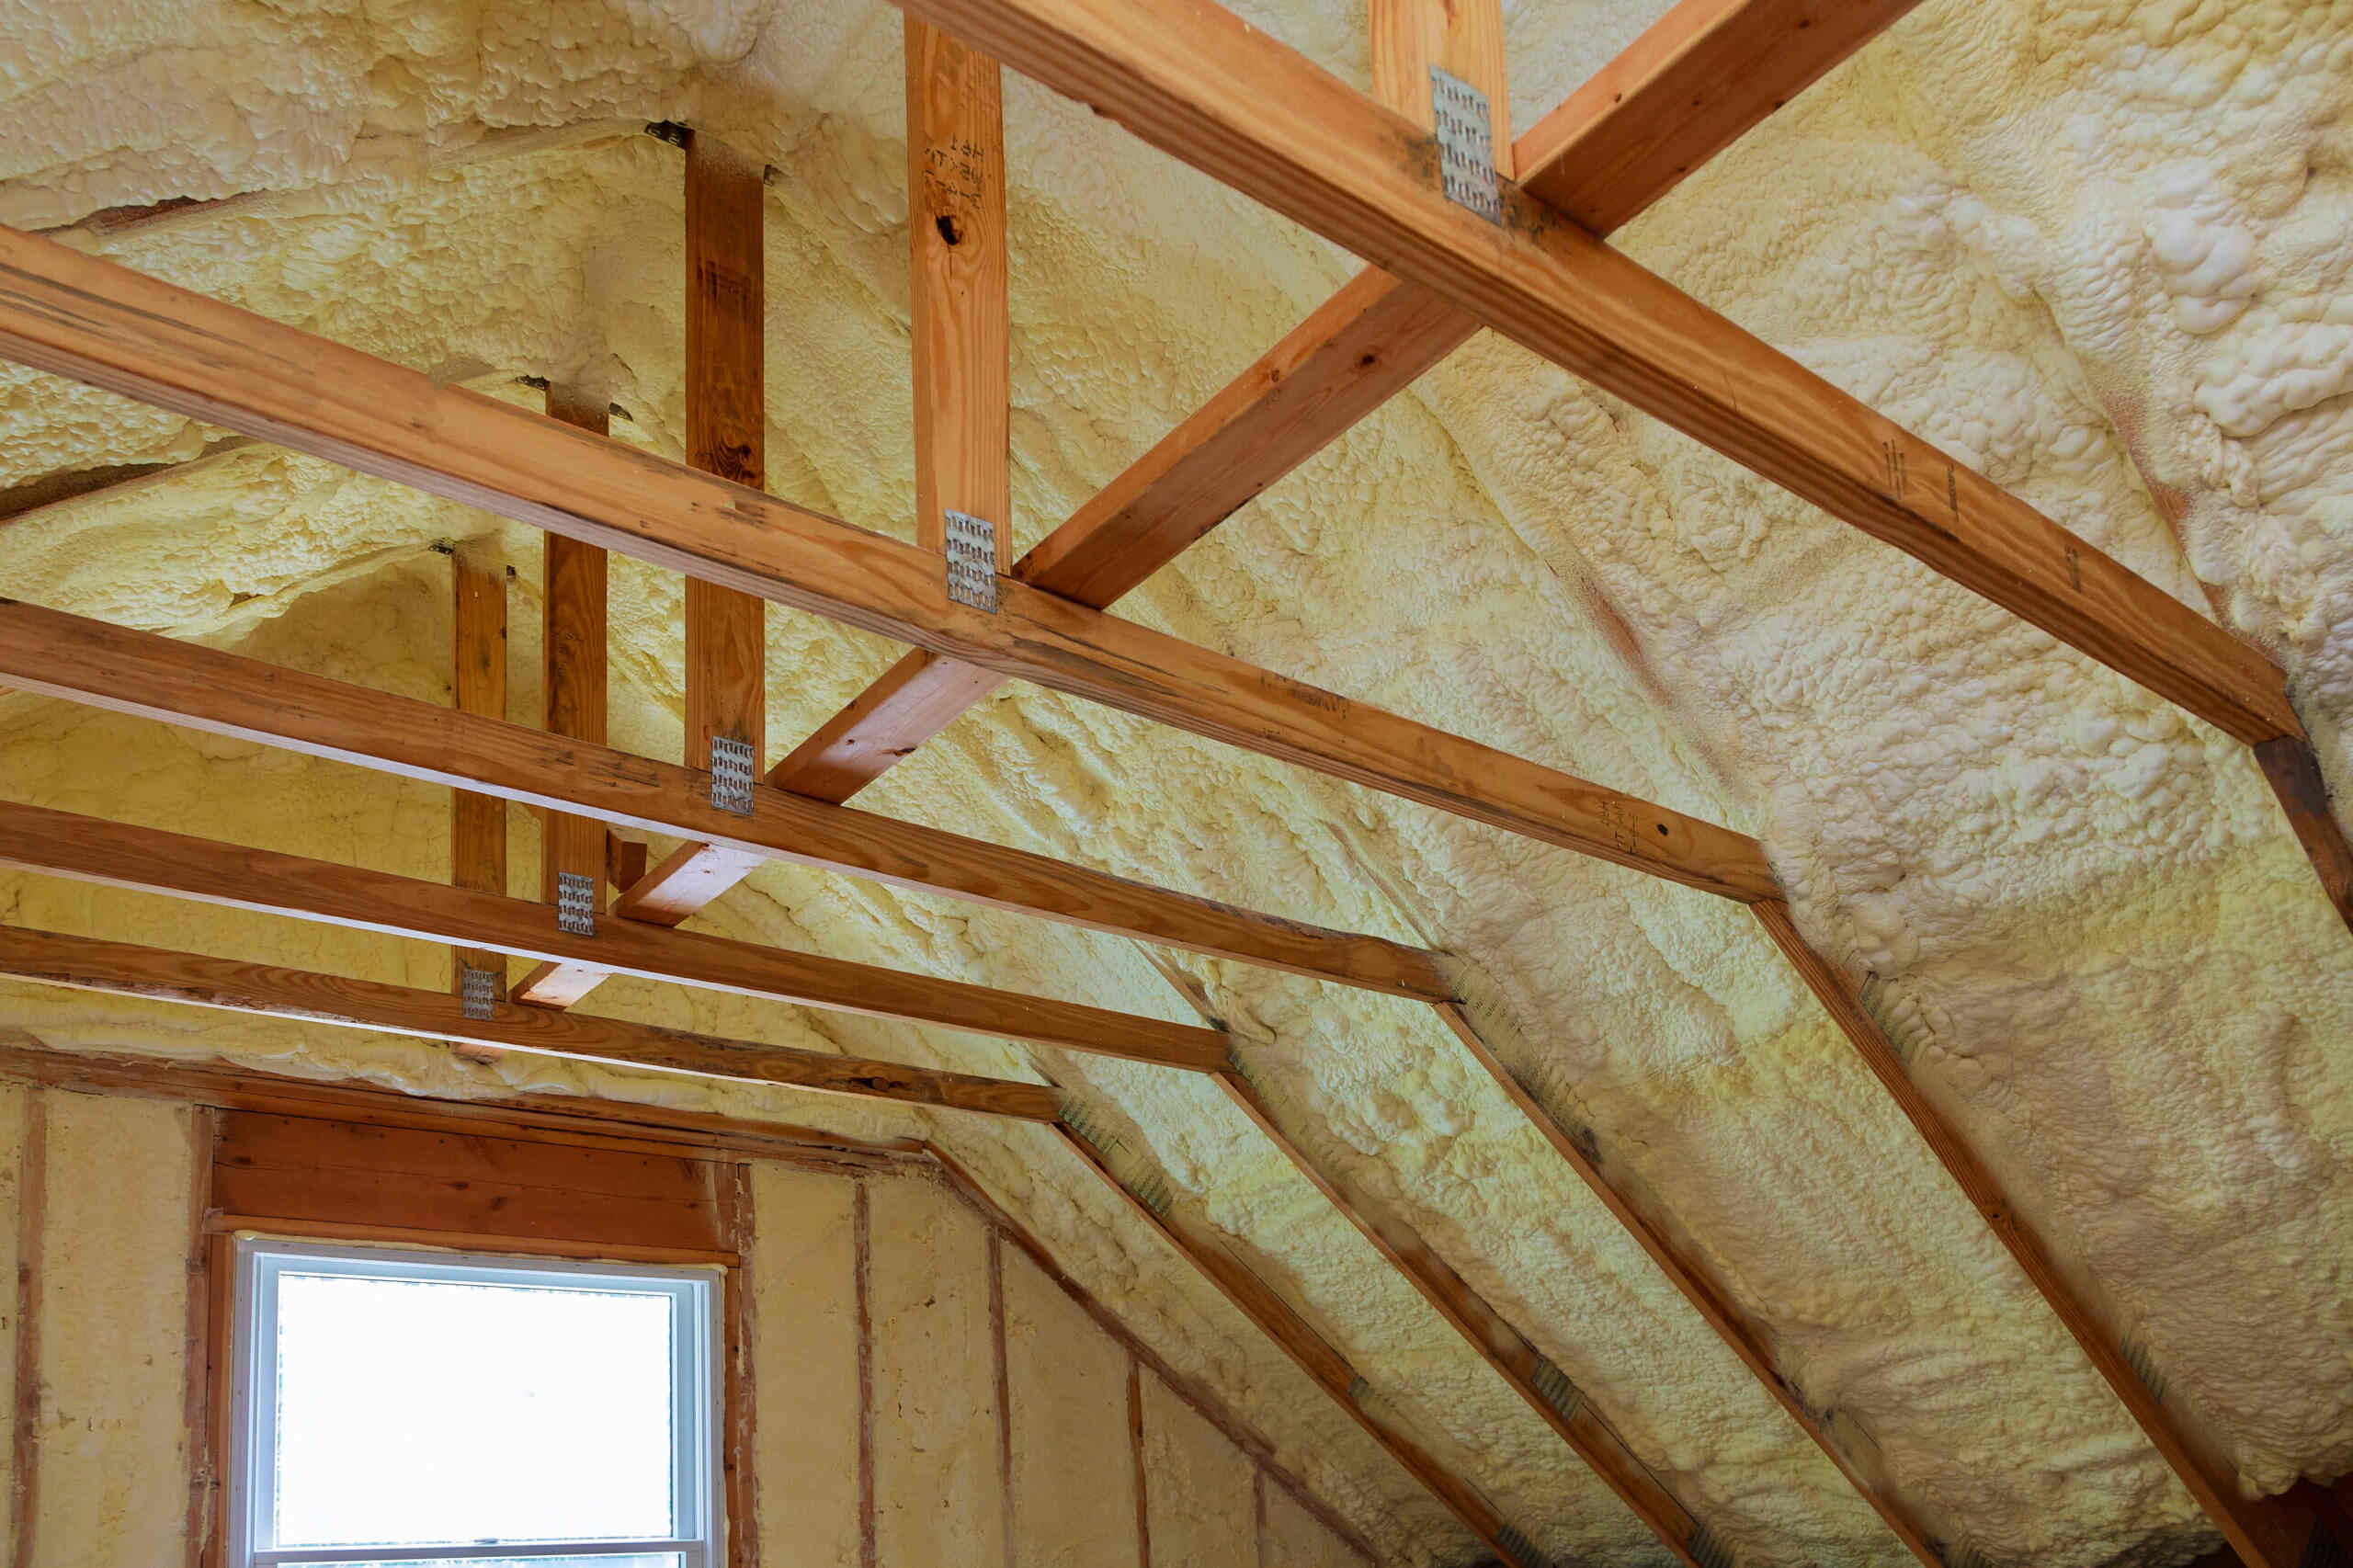
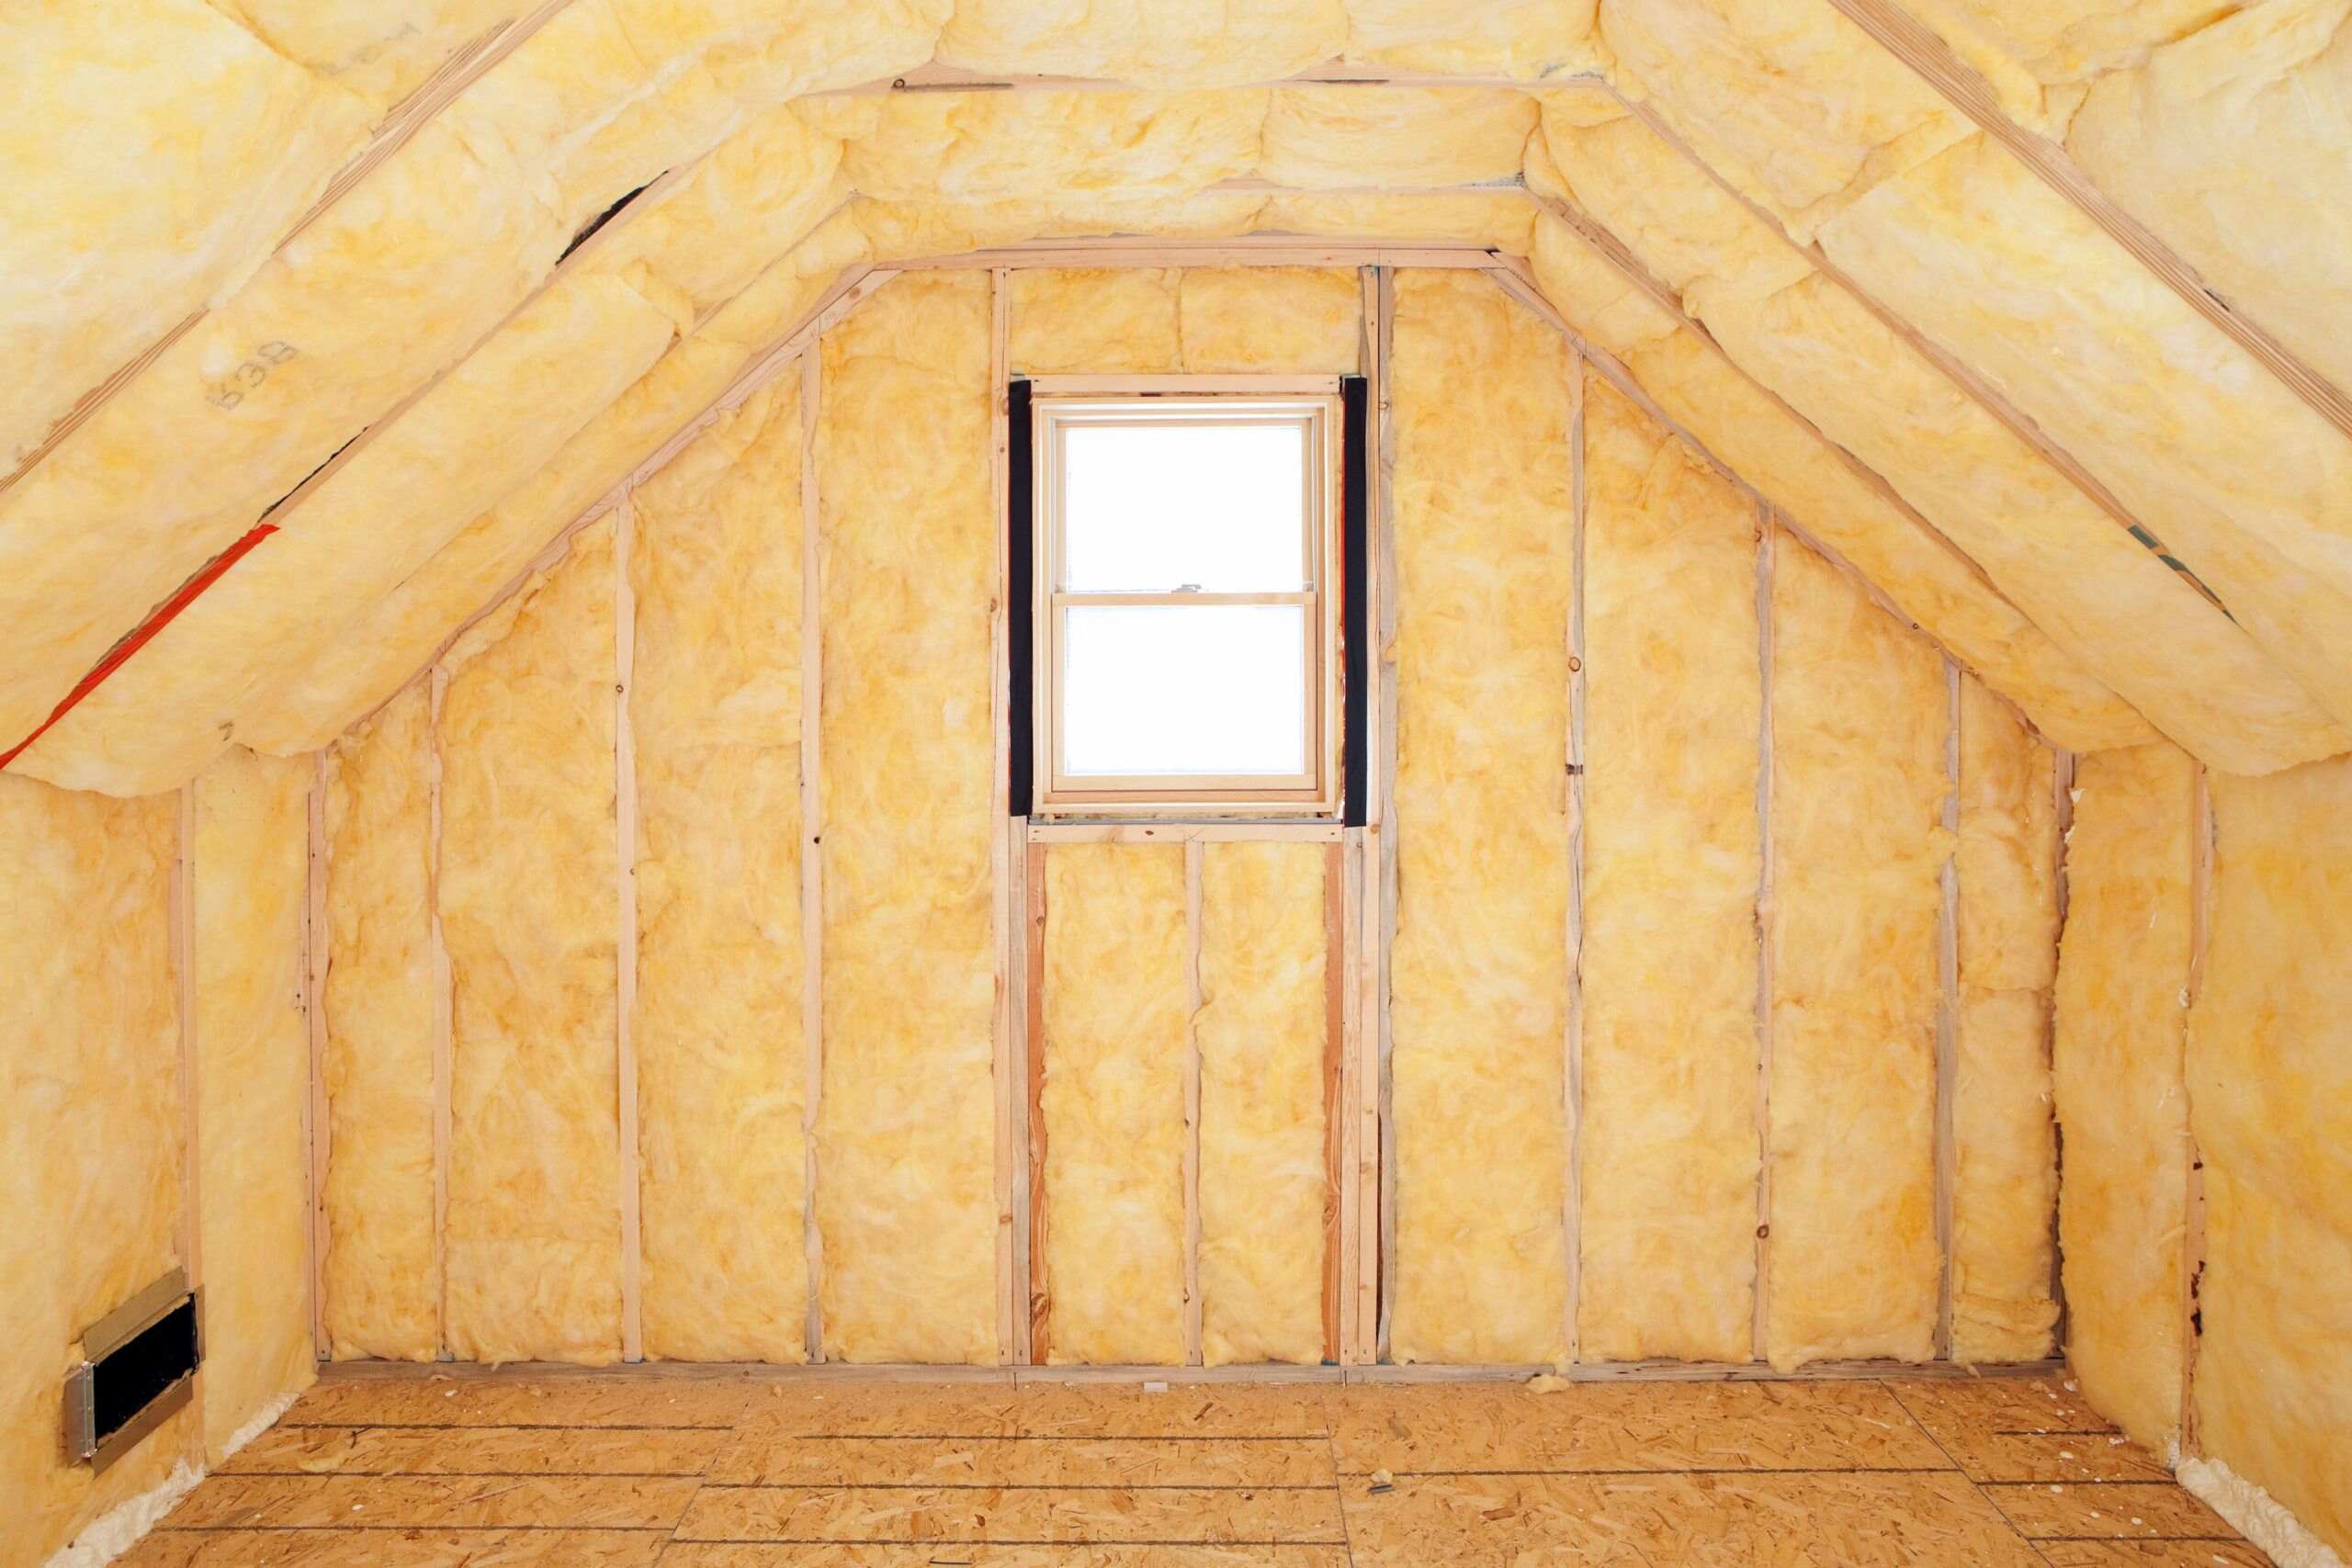
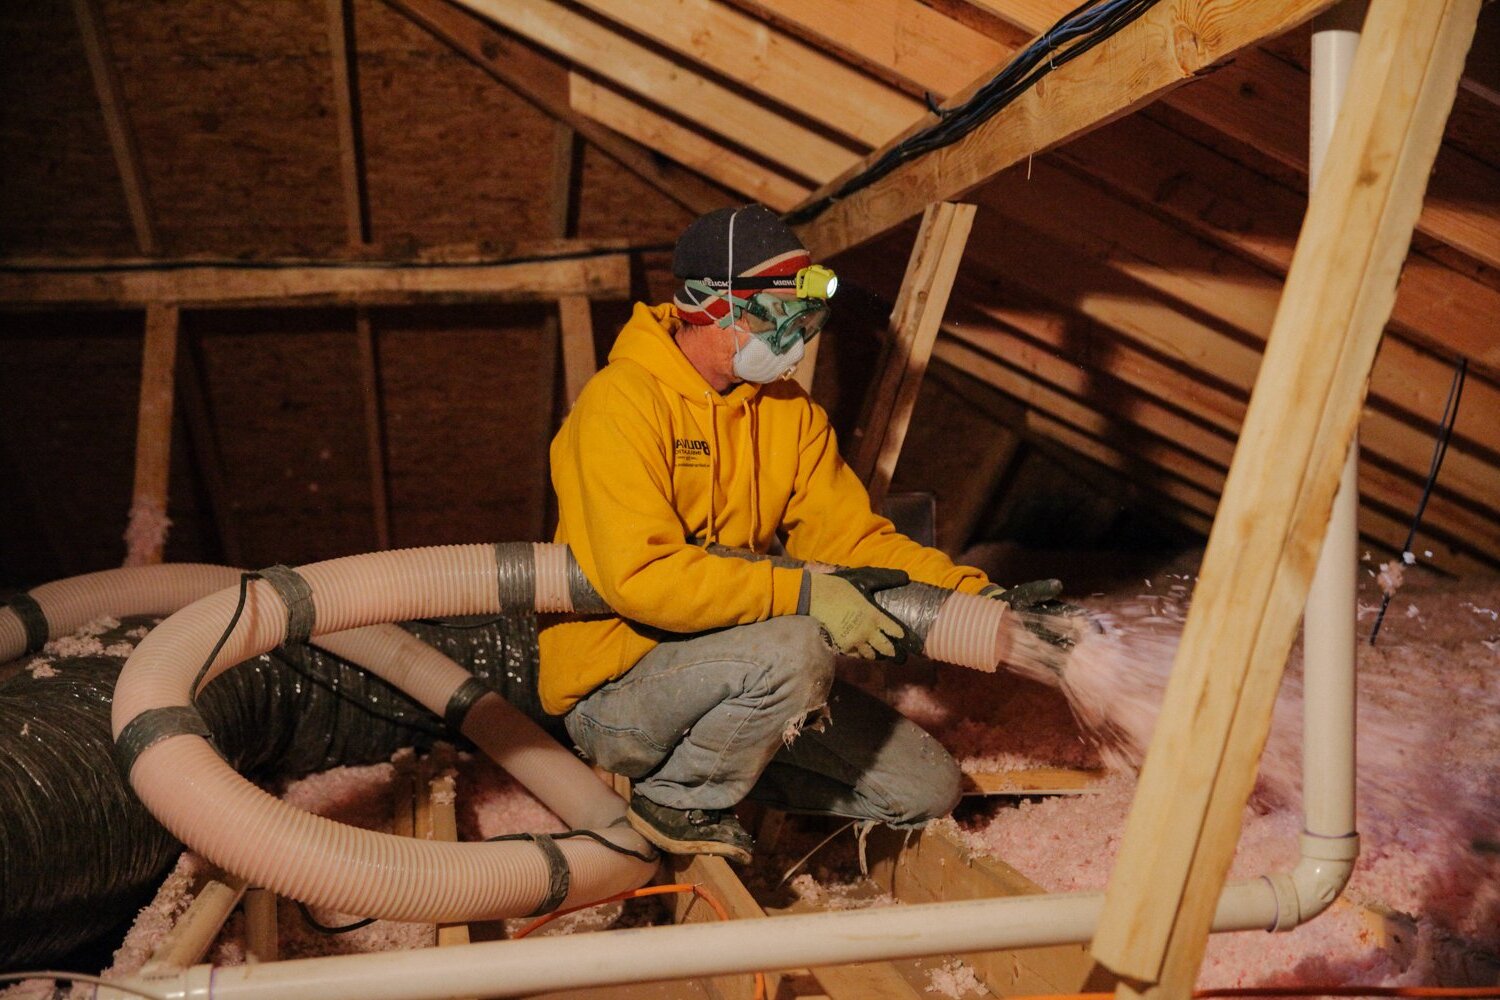
2. Remove Insulation
Remove insulation between the exposed rafters to ensure a clear path for the skylight installation. This step is crucial for proper ventilation and to prevent moisture buildup.
3. Frame the Rough Opening
Using the skylight's dimensions, frame the rough opening. Drive screws into each corner to secure it. Ensure these screws penetrate through the roof so they can be easily found later.
Installing the Skylight
Now, let's install your skylight. Here are the steps:
1. Cut Out the Roof
Using a circular saw and the outline marked on the roof, cut out the opening for your skylight. Be careful not to cut too much or too little; this will affect how well your skylight fits and functions.
2. Install Flashing
Install flashing around the edges of the opening to prevent water from seeping into your attic space. This is a critical step in ensuring your skylight remains waterproof.
3. Attach Skylight
Attach your skylight to the roof using the provided fasteners. Ensure it's securely fastened but not over-tightened, which could damage the skylight or your roof.
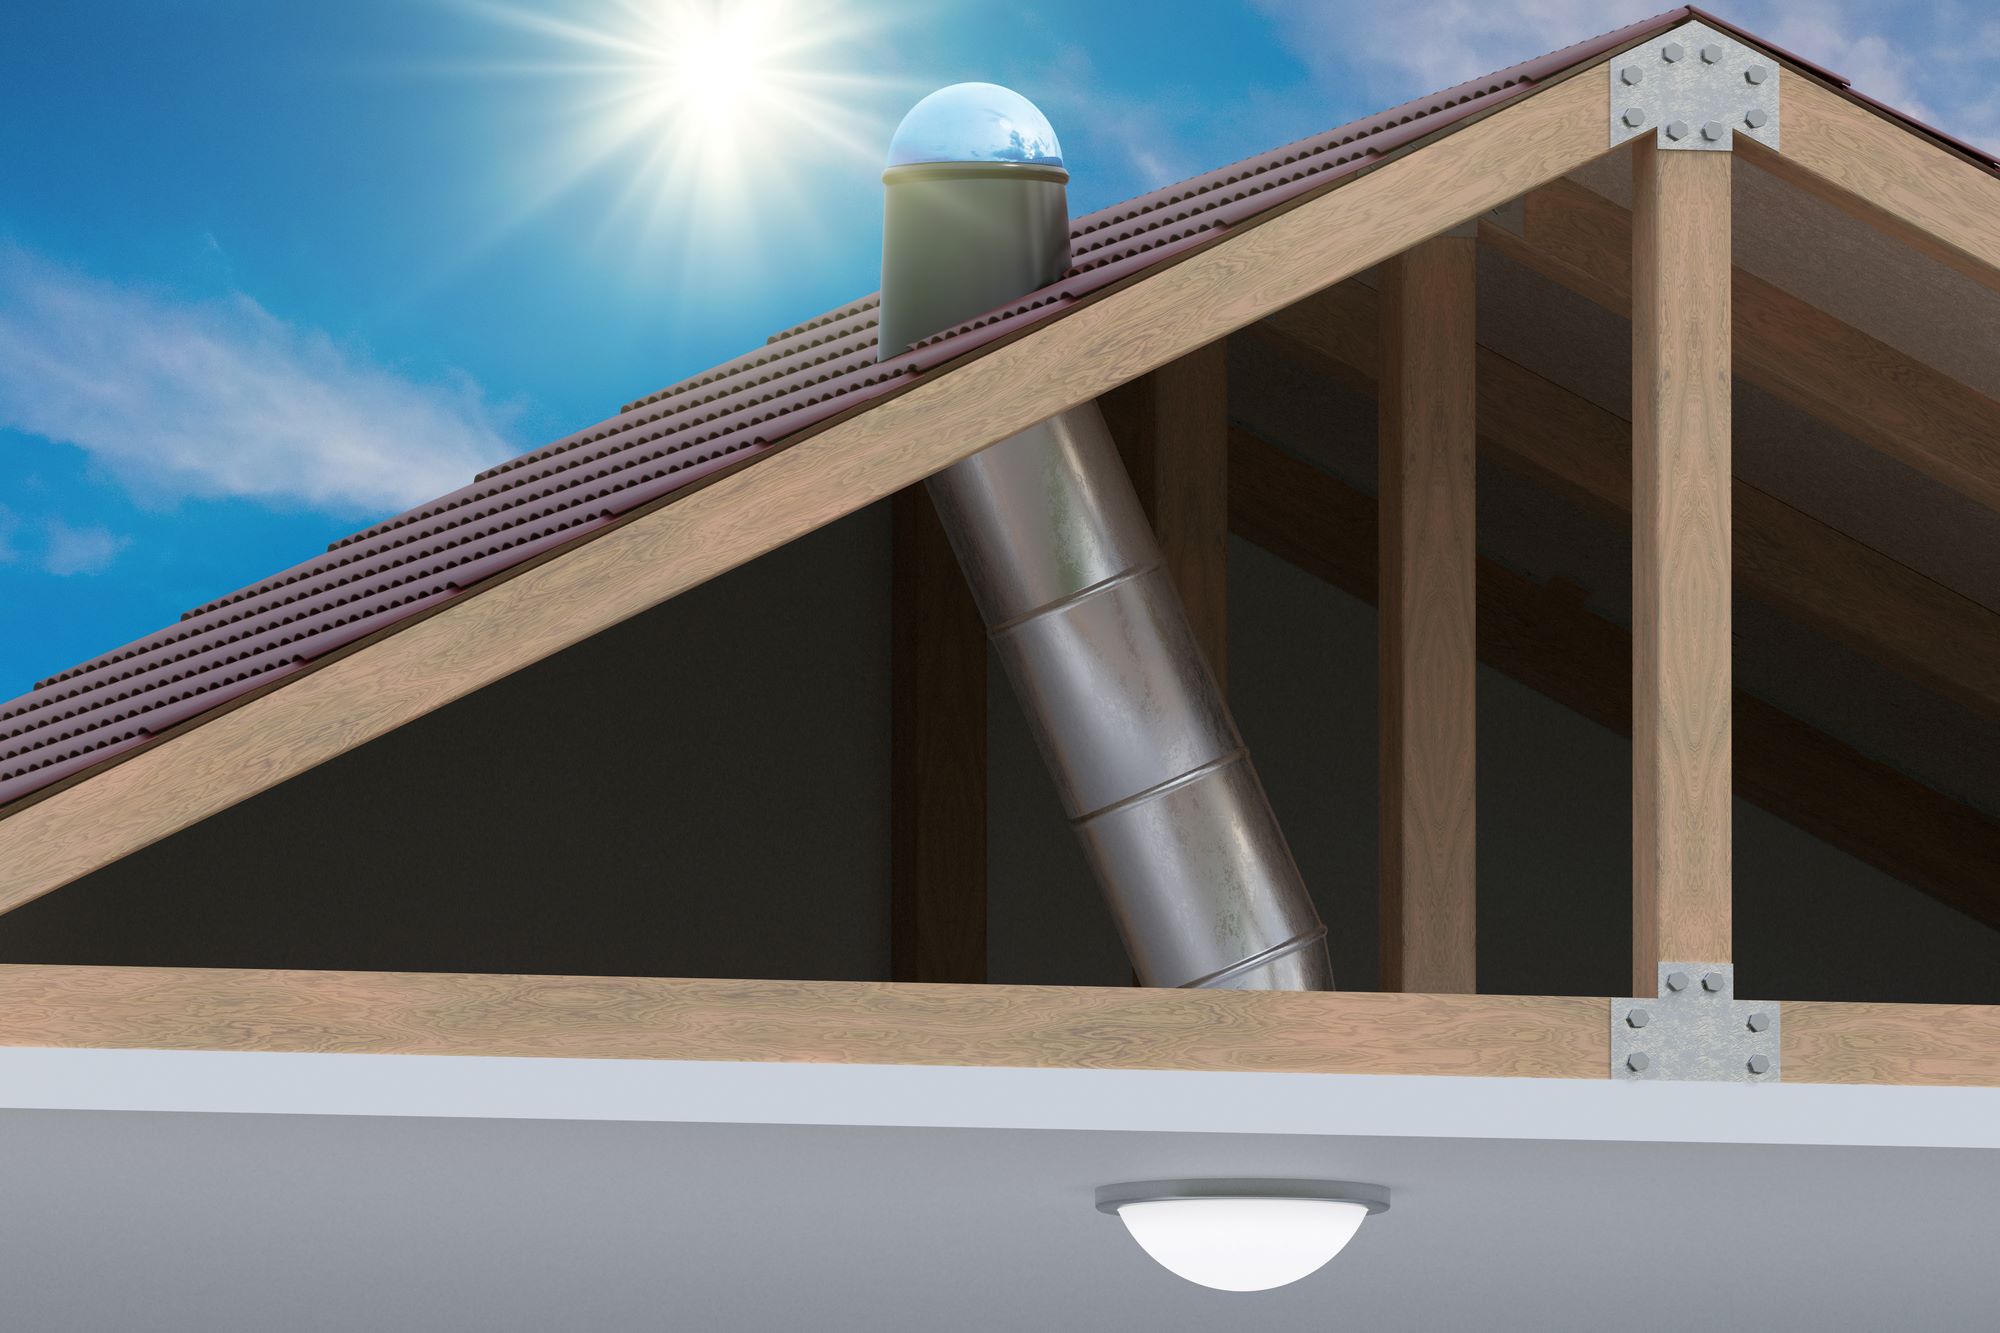
4. Build Light Shaft (If Necessary)
If using a VELUX skylight or similar type requiring a light shaft or well, build this structure using drywall and framing materials. The light shaft should be angled slightly wider at the bottom than at the top to allow more light to spill into the room.
Finishing Touches
After installing your skylight, complete these finishing touches:
1. Drywall Work
Finish any drywall work around the skylight area by installing drywall panels and sanding them smooth. Paint over any seams or imperfections for a seamless finish.
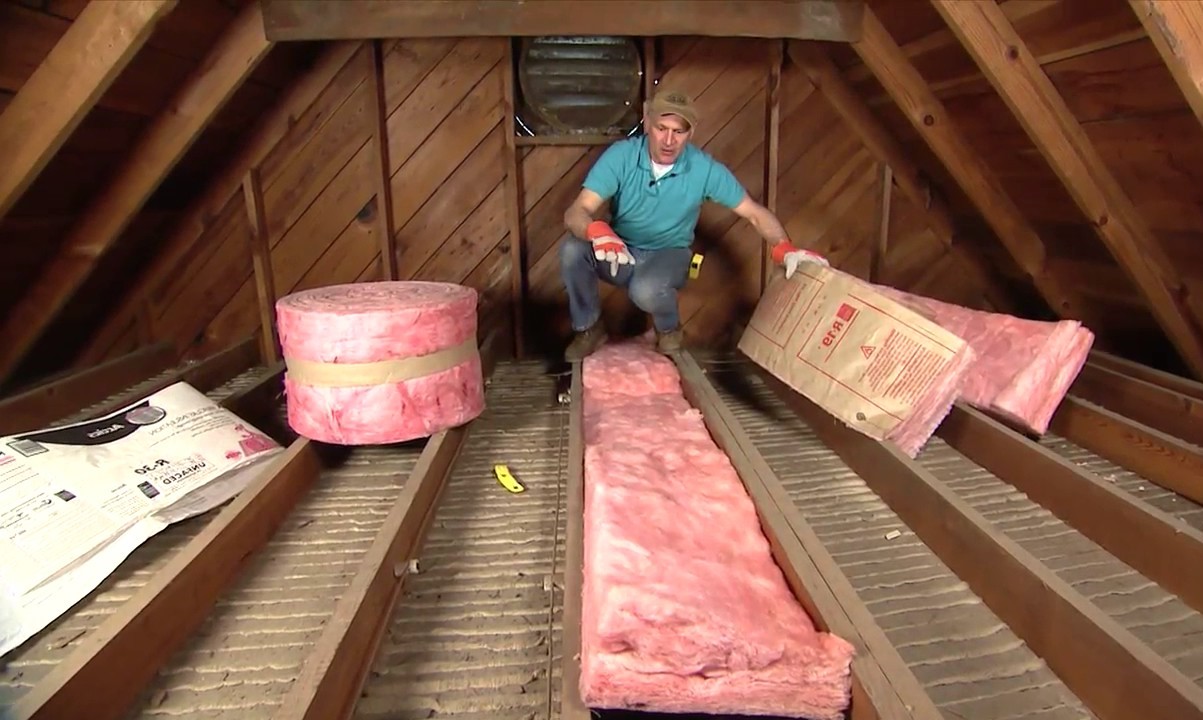
2. Insulation
Reinstall insulation around the skylight area once you've completed all other steps. This will help maintain energy efficiency and prevent heat loss or gain through your newly installed skylight.
DIY vs Professional Installation
While it's possible to install a skylight yourself with proper planning and execution, hiring a professional might be advisable:
- Complexity: Skylight installations can be complex, especially with multiple obstructions or sloped ceilings.
- Safety: Working on roofs can be hazardous; professionals have the necessary training and equipment to ensure safety.
- Quality: Professionals ensure all components are installed correctly, affecting both functionality and longevity.
Common Issues During Installation
Here are some common issues you might encounter:
- Obstructions: Obstructions like HVAC units or electrical wires can complicate the installation process.
- Roof Condition: If your roof is old or damaged, it may require additional repairs before installing a skylight.
- Light Shaft Design: Designing an effective light shaft that maximizes natural light entry can be challenging without proper planning.
Conclusion
Installing a skylight in your attic space can significantly enhance both the aesthetic appeal and functionality of your home. While it's possible to do it yourself with careful planning and execution, hiring a professional might be advisable due to potential complexities and safety concerns.
By following these steps—assessing your roof's condition, choosing the right skylight type, measuring accurately, protecting your home during installation, removing insulation as needed, framing correctly, cutting out openings carefully, installing flashing properly, attaching securely—and finishing with drywall work and insulation—you'll be well on your way to enjoying natural light through your newly installed skylight.
Remember always to consult local building codes and regulations before starting any project involving structural modifications like installing skylights.
Additional Resources
For more detailed instructions or specific guidance tailored to your situation:
- VELUX Daylight Designer Consultation: Schedule a virtual consultation with a VELUX daylight designer who can provide personalized recommendations and refer you to an installer in your area.
- YouTube Tutorials: Watch videos like "How To Install a Skylight | Lowe's Pro How-To" which provide step-by-step demonstrations intended for professionals but can still offer valuable insights.
- DIY Forums: Visit forums like DoItYourself.com where users share their experiences and provide tips on various aspects of home improvement projects including skylight installations.
By combining thorough planning with professional expertise when needed, you'll be able to upgrade your home's attic space effectively with a beautifully installed skylight.
Was this page helpful?
At Storables.com, we guarantee accurate and reliable information. Our content, validated by Expert Board Contributors, is crafted following stringent Editorial Policies. We're committed to providing you with well-researched, expert-backed insights for all your informational needs.


0 thoughts on “Upgrading Your Home’s Attic With DIY Skylight Installation”