Home>Ideas and Tips>Upgrading Your Home’s Basement With DIY Acoustic Ceiling Tiles
Ideas and Tips
Upgrading Your Home’s Basement With DIY Acoustic Ceiling Tiles
Modified: October 28, 2024
Enhance your basement's sound quality and aesthetics with DIY acoustic ceiling tiles. Discover step-by-step instructions and tips for a cozy, echo-free space.
(Many of the links in this article redirect to a specific reviewed product. Your purchase of these products through affiliate links helps to generate commission for Storables.com, at no extra cost. Learn more)
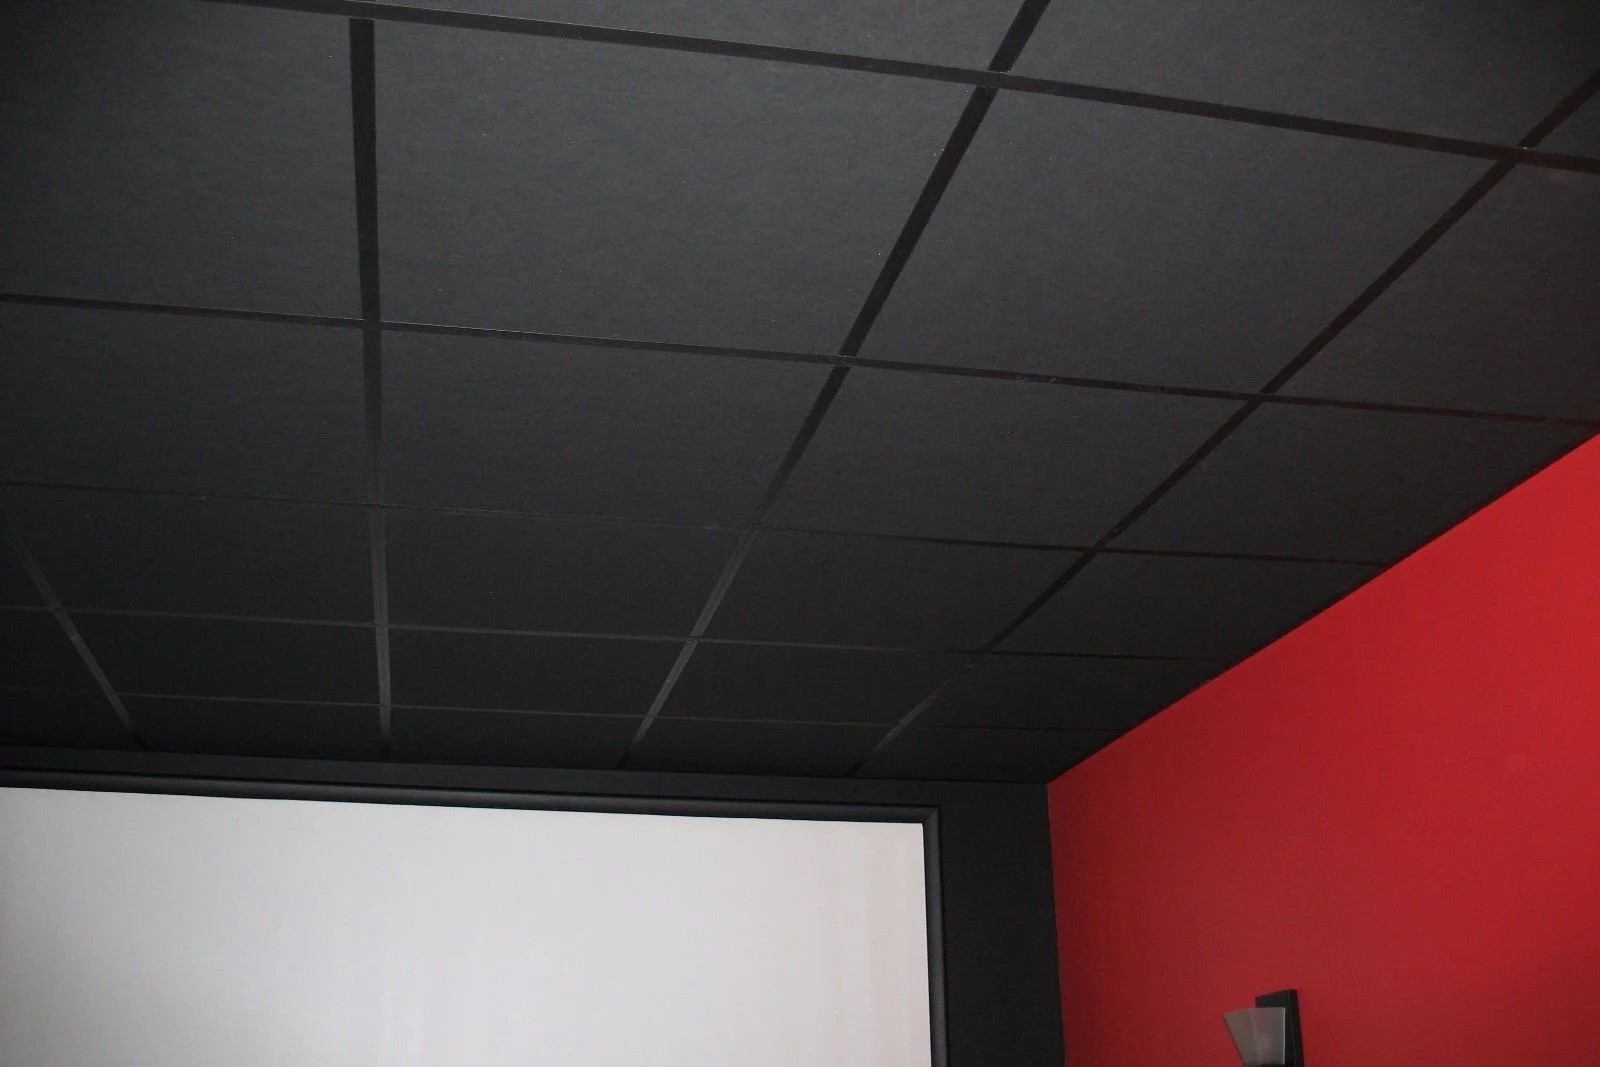
Upgrading your home's basement with DIY acoustic ceiling tiles is a fantastic way to enhance both the aesthetic appeal and functional sound quality of your space. Basements often suffer from poor acoustics due to their inherent design, which can make them echoey and uncomfortable for various activities. However, with the right materials and a bit of DIY know-how, you can transform your basement into a cozy and acoustically friendly area perfect for relaxation, entertainment, or even professional use.
Why Upgrade Your Basement's Acoustics?
Upgrading your basement's acoustics is important for several reasons. Improved sound quality is one of the main benefits. Acoustic ceiling tiles help reduce echo and reverberation, creating a more pleasant listening experience. Whether you're watching movies, playing music, or engaging in conversations, better sound quality makes a significant difference.
Enhanced comfort is another reason. Poor acoustics can be uncomfortable and even cause headaches or fatigue. By improving the sound environment, you can create a more relaxing space that's easier on the ears.
Increased property value is also a factor. A well-designed and acoustically improved basement can significantly enhance your property's value. It's a great investment if you plan to sell your home in the future.
Finally, versatility is a key benefit. Acoustic ceiling tiles are versatile and can be used in various settings within your basement. From home theaters to game rooms and even home offices, these tiles can be adapted to suit different needs.
Materials Needed for DIY Acoustic Ceiling Tiles
To get started with your DIY project, you'll need the following materials:
- Insulation Material: Mineral wool or fiberglass insulation is ideal for acoustic panels. These materials are effective at absorbing sound waves and come in various thicknesses and sizes.
- Frame Material: You'll need a sturdy frame to hold the insulation in place. MDF (Medium-Density Fiberboard) is a popular choice due to its stability and smooth surface.
- Fabric: Choose a fabric that is thick enough to cover the frame effectively but still allows for airflow. Cotton or polyester fabrics work well for this purpose.
- Mounting Hardware: Eye bolts, J-hooks, or French cleats can be used to hang the acoustic panels from the ceiling. Ensure that these are securely attached to the joists for maximum effectiveness.
- Tools: Basic tools like a saw, drill, utility knife, and measuring tape will come in handy during the project.
Step-by-Step Guide to Building DIY Acoustic Ceiling Tiles
1. Plan Your Project
Before starting your project, take some time to plan out how you want your acoustic ceiling tiles to look and function. Consider the size of your basement, the type of activities you'll be doing there, and any specific design elements you want to include.
2. Prepare Your Workspace
Clear out any clutter from your workspace and ensure that you have enough room to work comfortably. If necessary, set up a ladder or scaffolding to reach higher areas of your ceiling.
3. Cut the Frame
Using your saw, cut the MDF into the required dimensions for your frames. For a standard 15-1/4" wide by 47" long frame (as used in the example from FixThisBuildThat), you'll need:
- 24 sides at 47" long
- 24 ends at 16-3/4" long
- All pieces should be 3-1/2" wide
Assemble the frames using butt joints with wood glue and brad nails or screws.
4. Add Insulation
Place the insulation material inside each frame, ensuring it's evenly distributed and snugly fitted.
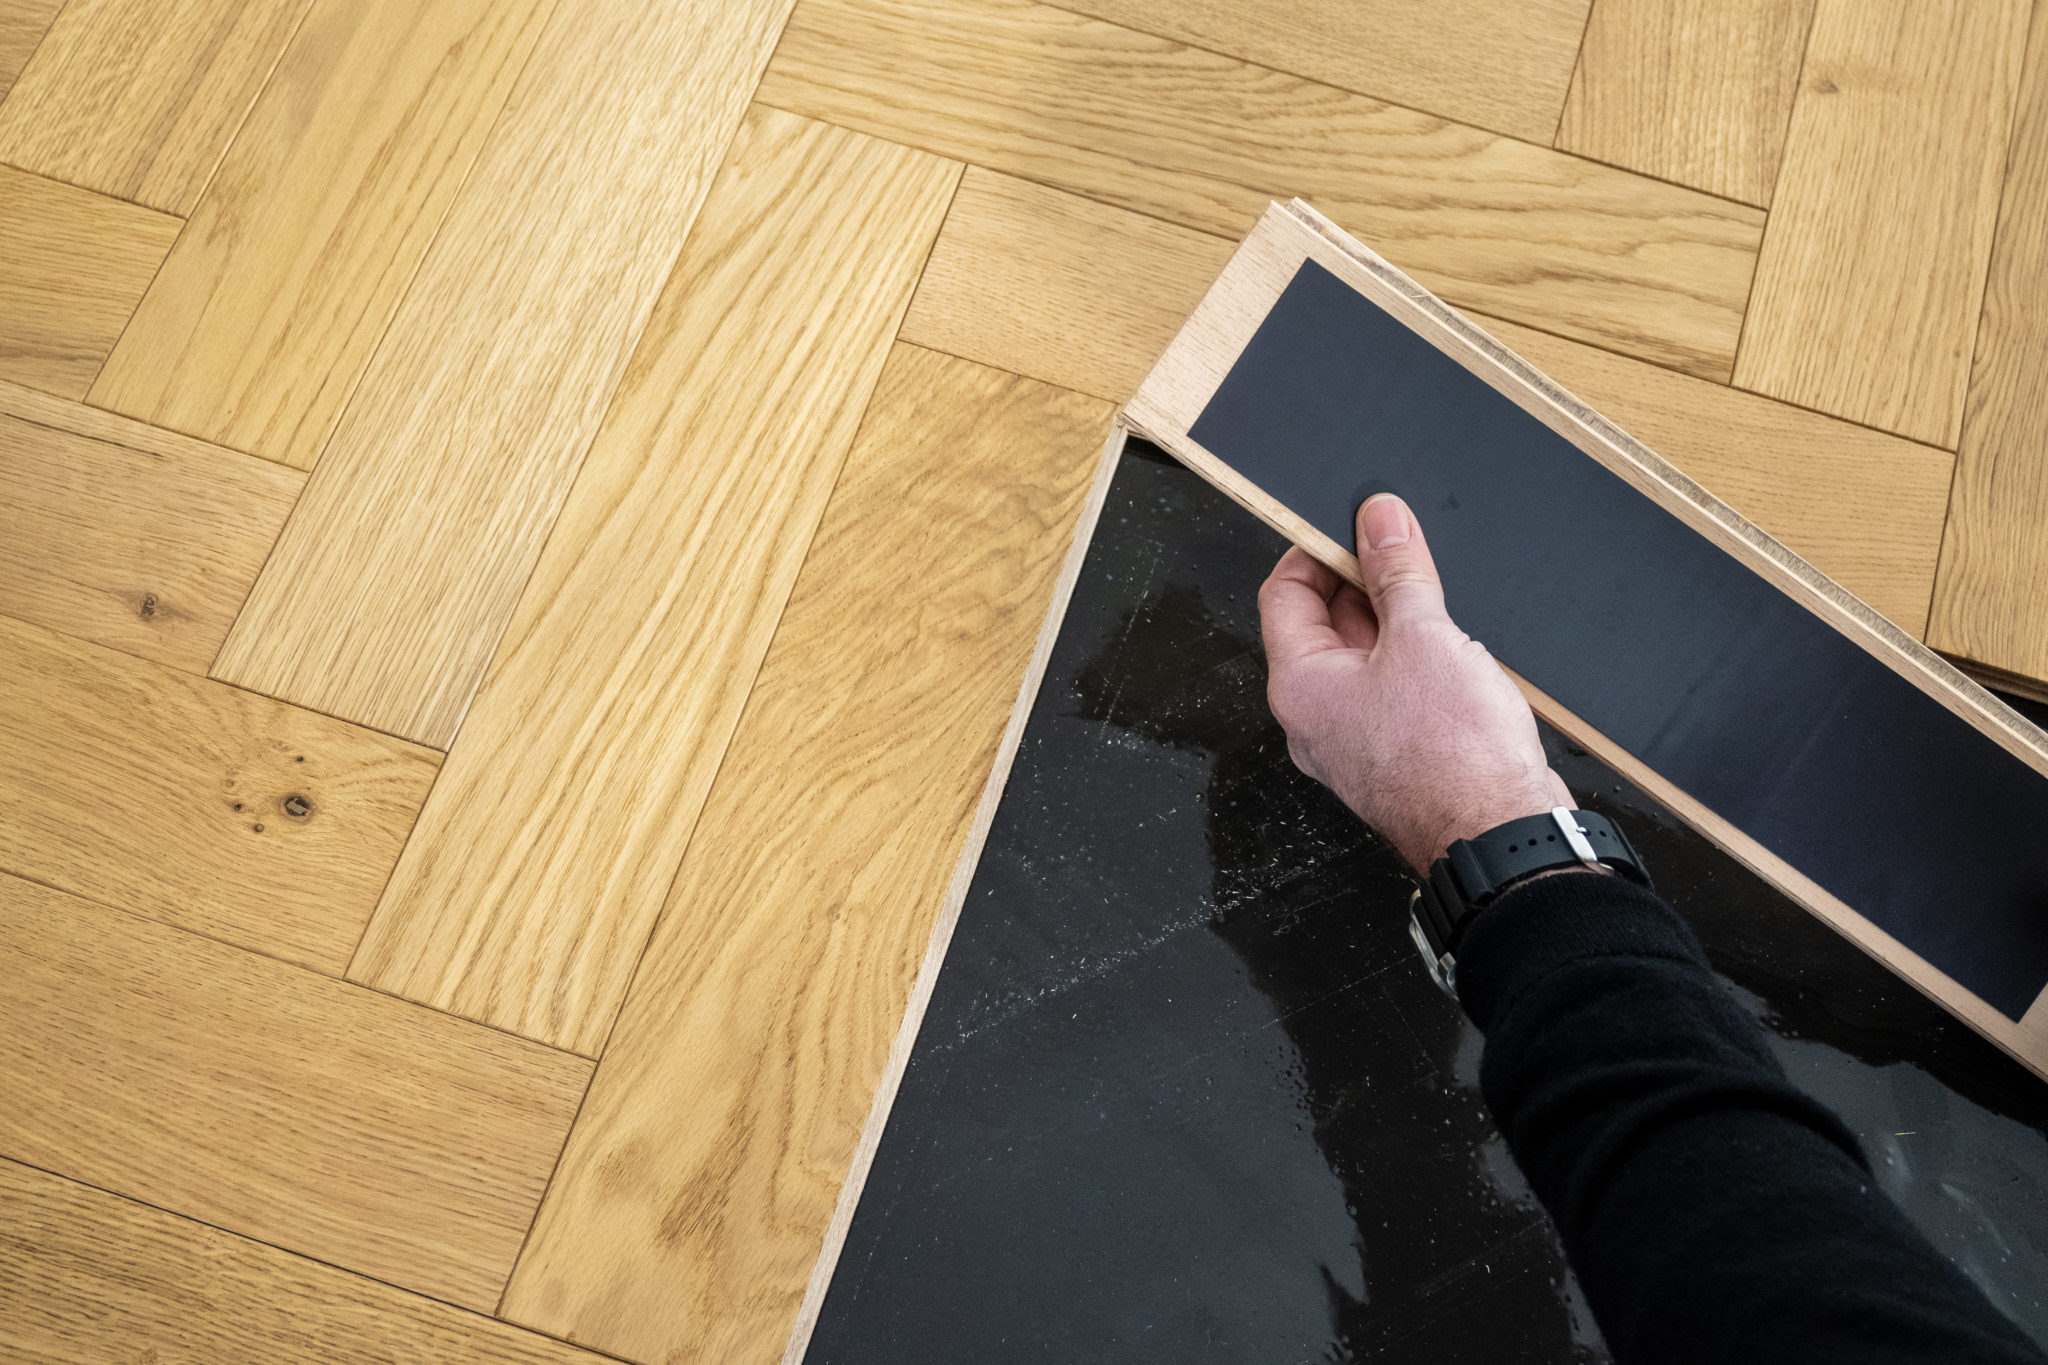
5. Wrap with Fabric
Cut your chosen fabric to size and wrap it tightly around each frame using staples or hot glue. Make sure there are no gaps where sound could escape.
6. Add Mounting Hardware
Attach eye bolts or J-hooks to the top of each frame where they will be hanging from the ceiling. Alternatively, use French cleats for a more secure mounting method.
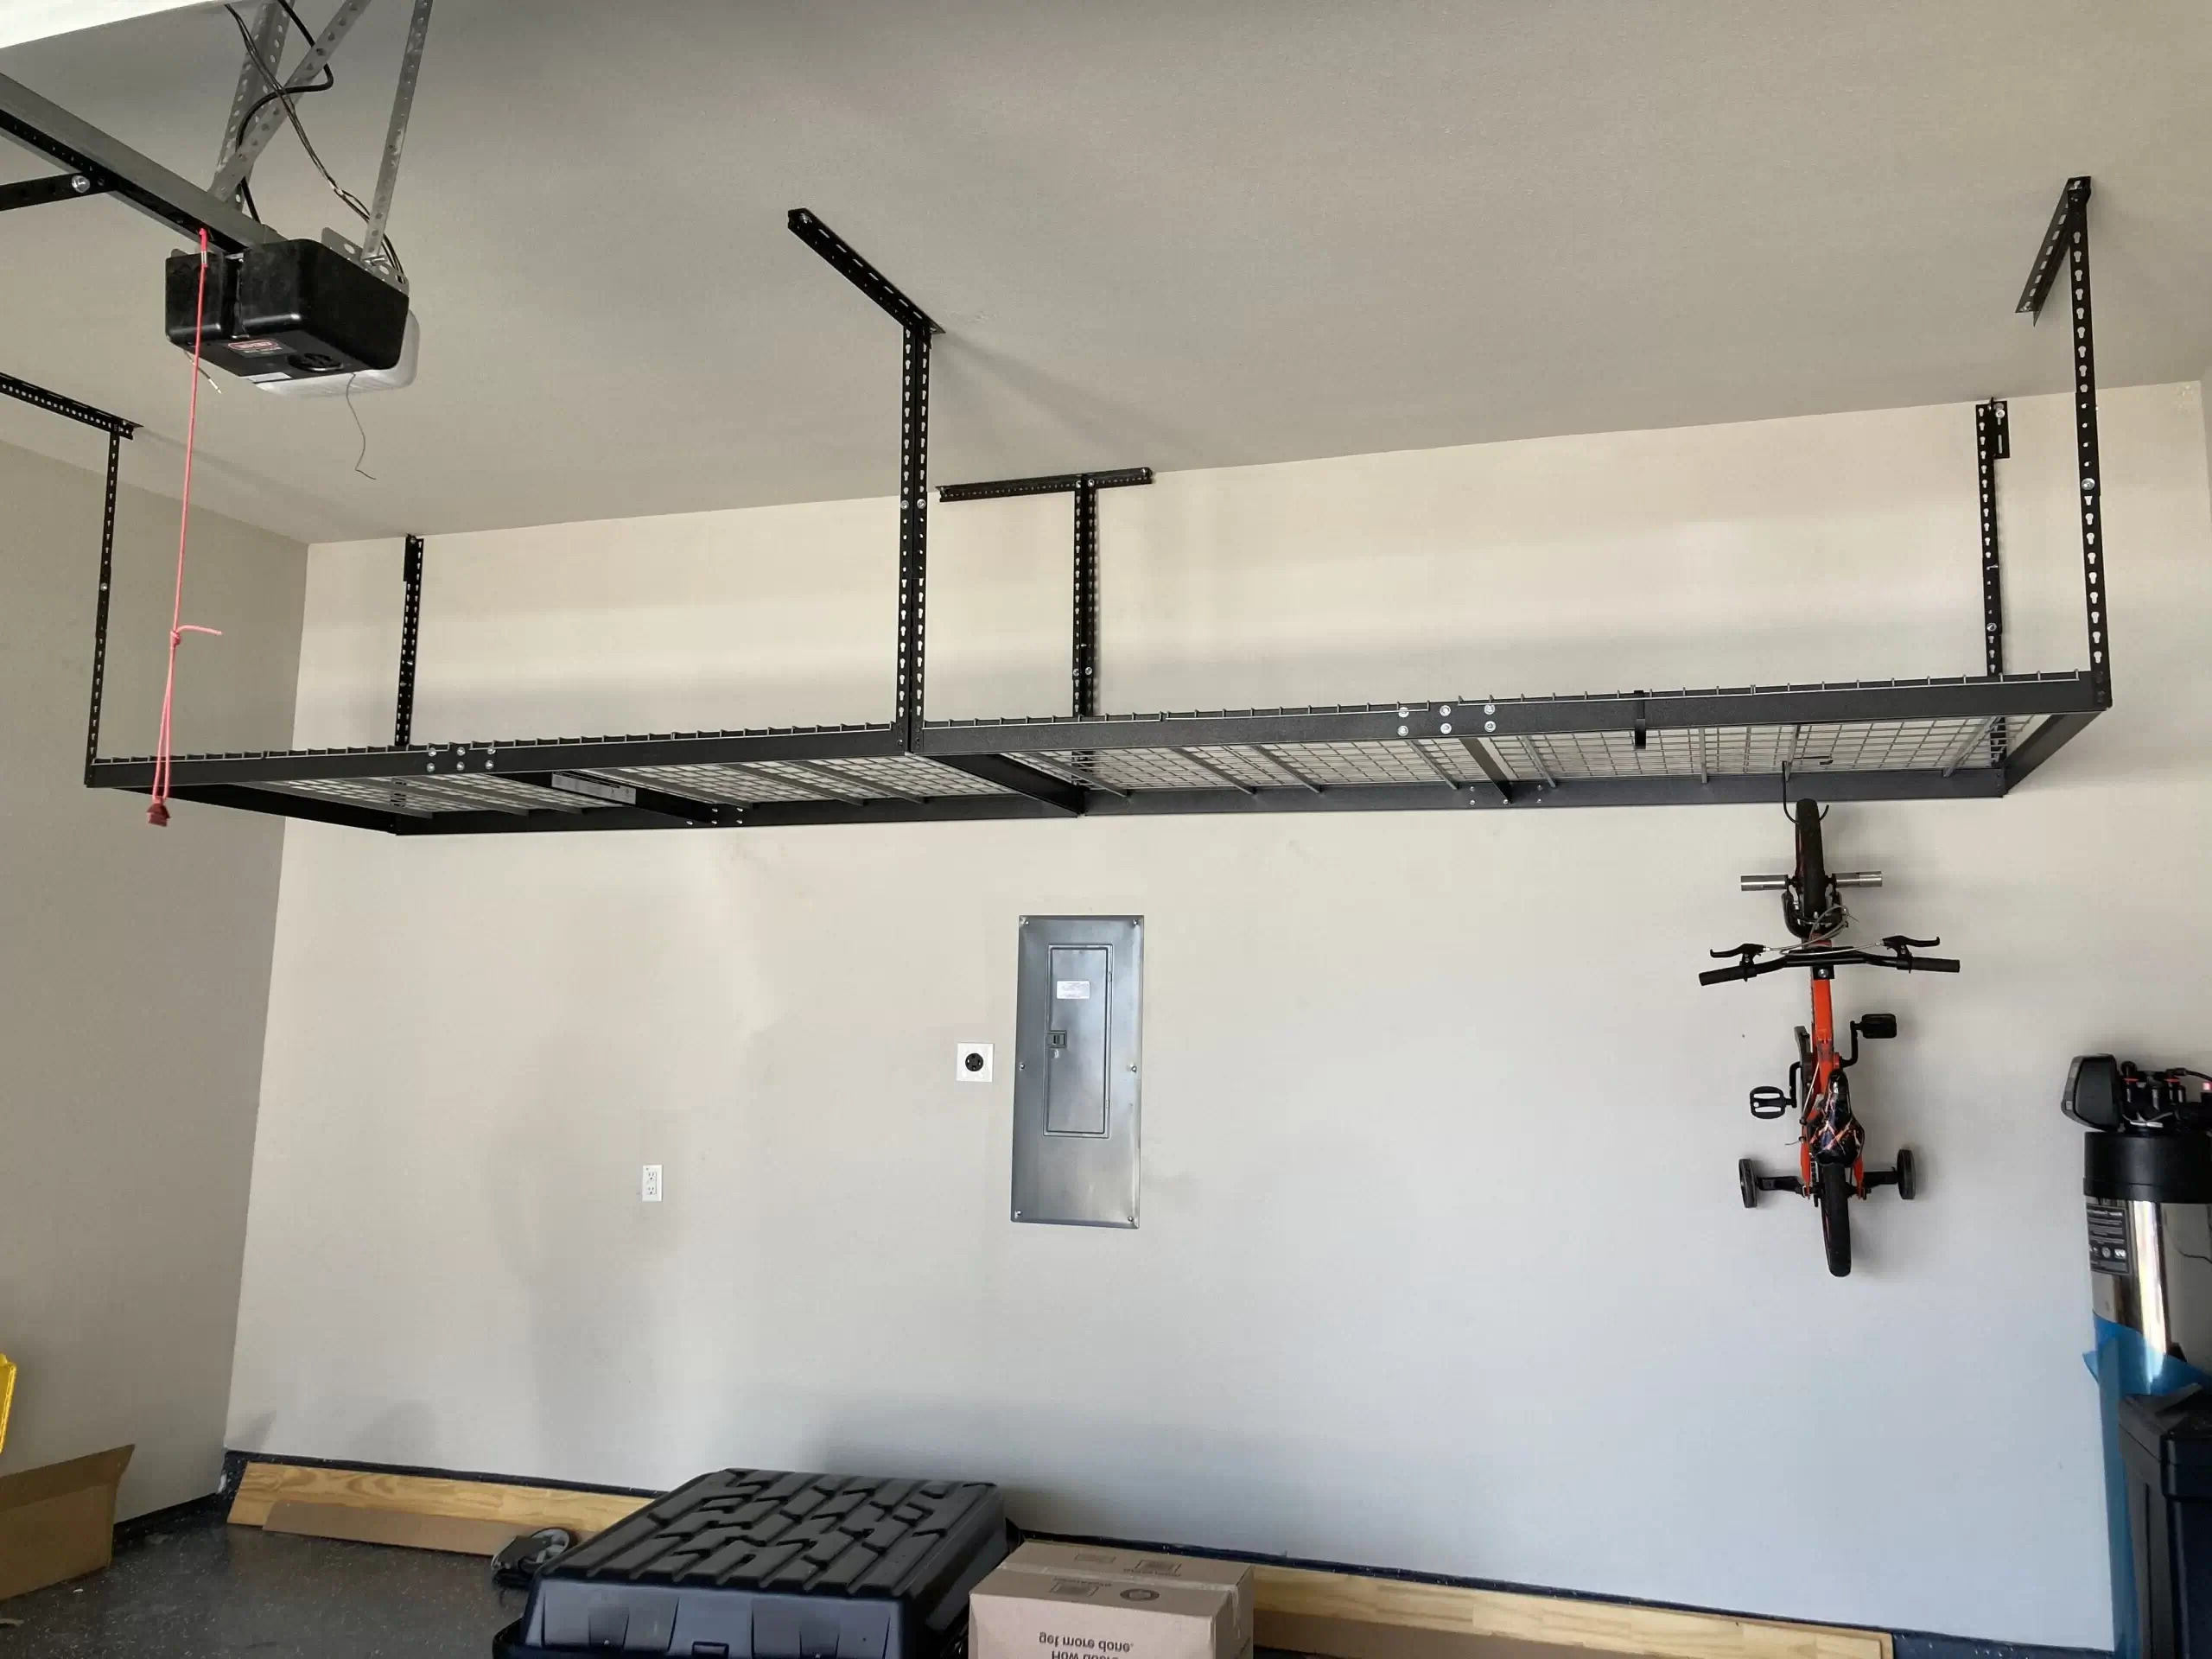
7. Hang Acoustic Panels
Mark out the locations of your ceiling joists using a stud finder. Attach your mounting hardware securely to these joists before hanging your acoustic panels.
For a French cleat method:
- Attach one end of the cleat to the joist.
- Slide the acoustic panel onto this cleat.
- Secure with screws if necessary.
For an eye bolt method:
- Drill holes into your joist where you marked earlier.
- Screw in eye bolts.
- Hang your acoustic panels from these eye bolts using chains or ropes if needed.
8. Final Touches
Once all panels are hung, inspect them for any gaps or loose edges that might compromise their effectiveness as acoustic panels.
Tips and Variations
Here are some additional tips and variations you might consider when building your DIY acoustic ceiling tiles:
- Custom Designs: You can customize your frames and fabric choices based on your desired aesthetic or functional needs.
- Multiple Layers: Adding multiple layers of insulation within each panel can enhance their sound-absorbing capabilities.
- Different Shapes: Instead of rectangular shapes, you could use circular or hexagonal shapes for added visual interest.
- Color Options: Choose fabrics in various colors or patterns to match your home decor seamlessly.
- Additional Features: Incorporate LED lights or other decorative elements into your frames for added ambiance.
Benefits of Using DIY Acoustic Ceiling Tiles
Using DIY acoustic ceiling tiles offers several benefits over commercial solutions:
- Cost-Effective: These panels are significantly cheaper than buying commercial ones, making them an excellent budget-friendly option.
- Customization: You have complete control over design elements such as size, shape, color, and material choice.
- Ease of Installation: With basic tools and some patience, you can install these panels yourself without needing professional help.
- Environmental Impact: Using recycled materials like old CDs or fabric scraps can make your project more eco-friendly.
Conclusion
Upgrading your home's basement with DIY acoustic ceiling tiles is a rewarding project that not only enhances the aesthetic appeal but also significantly improves sound quality and comfort levels within the space. By following these steps and considering various tips and variations, you can create an acoustically friendly environment perfect for any activity or purpose you have in mind for your basement.
Whether you're looking to create a cozy home theater or simply want to reduce echo in your living area, these DIY acoustic ceiling tiles are an excellent solution that fits within most budgets while offering unparalleled customization options.
So go ahead—transform your basement into a haven where every moment feels more enjoyable due to superior acoustics!
References:
- Pink Little Notebook – How To Update Old Ceiling Tile
- FixThisBuildThat – Easiest DIY Acoustic Panels Under $20
- Codecademy Forum – Exam Help Improved Styling with CSS
Was this page helpful?
At Storables.com, we guarantee accurate and reliable information. Our content, validated by Expert Board Contributors, is crafted following stringent Editorial Policies. We're committed to providing you with well-researched, expert-backed insights for all your informational needs.


0 thoughts on “Upgrading Your Home’s Basement With DIY Acoustic Ceiling Tiles”