Articles
How To Finish Drywall Butt Joints
Modified: December 7, 2023
Discover expert tips and techniques for finishing drywall butt joints. Read our informative articles and master the art of seamless drywall installation.
(Many of the links in this article redirect to a specific reviewed product. Your purchase of these products through affiliate links helps to generate commission for Storables.com, at no extra cost. Learn more)
Introduction
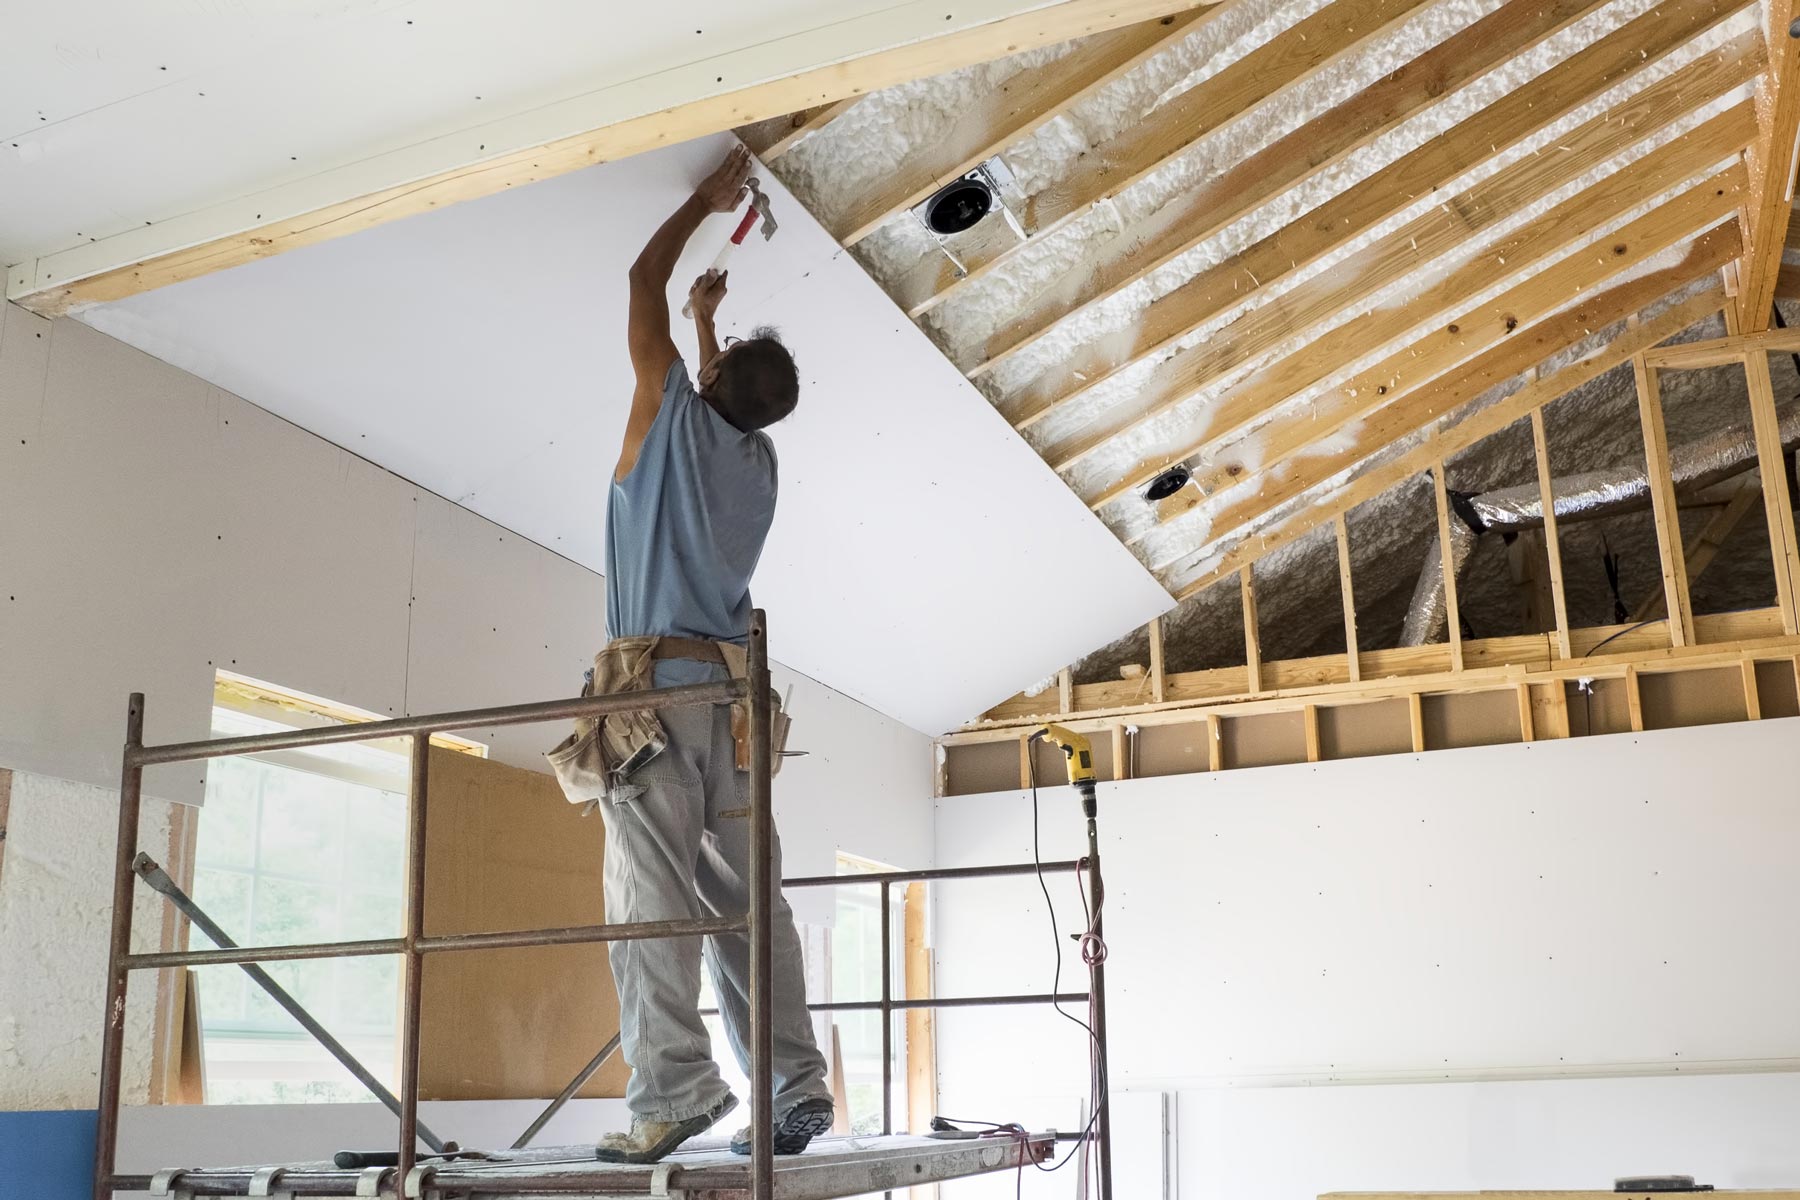
When it comes to finishing drywall, one of the most important aspects is dealing with butt joints. Butt joints occur where two pieces of drywall meet at a straight edge, creating a visible seam. These joints can be tricky to finish properly, as they tend to be more noticeable compared to other types of joints.
In this article, we will explore the process of finishing drywall butt joints step by step. We will cover everything from preparing the drywall surface to applying joint compound, taping the joints, feathering the edges, and finally, achieving a smooth and seamless finish.
Before we dive into the details, it’s essential to understand that finishing butt joints requires practice and patience. With the right techniques and a little persistence, however, you can achieve professional-looking results.
So, let’s get started and learn how to finish drywall butt joints like a pro!
Key Takeaways:
- Achieving a seamless finish on drywall butt joints requires meticulous preparation, precise application of joint compound, and patient feathering and sanding. With practice and persistence, you can master the art of creating virtually invisible butt joints.
- Properly finishing drywall butt joints involves understanding their unique challenges, carefully taping and feathering the edges, and diligently sanding for a flawless result. Attention to detail and patience are key to achieving professional-looking butt joints.
Read more: How To Choose A Level Of Drywall Finish
Understanding Butt Joints
Before we start the process of finishing drywall butt joints, it’s important to have a clear understanding of what they are and why they need special attention. Butt joints occur when two pieces of drywall meet at the edges, forming a straight seam.
Unlike other types of joints, such as tapered edges or corner joints, butt joints lack the natural taper that helps hide imperfections. This makes them more challenging to finish seamlessly. If not properly treated, butt joints can be more visible, especially when light shines directly on them.
One common mistake many DIYers make is not leaving enough space for joint compound at the joint. It’s crucial to leave a gap between the two adjacent sheets of drywall. This gap is typically about 1/8 inch wide to accommodate joint compound and tape.
When working with butt joints, it’s important to ensure the edges of the drywall are perfectly aligned. Even a slight misalignment can result in a noticeable hump or ridge along the joint. Take the time to make sure both edges are level and flush with each other before proceeding with the finishing process.
Understanding the nature of butt joints and the challenges they present will help you approach the finishing process with the right techniques and expectations. By following the steps outlined in the remainder of this article, you can achieve a smooth and seamless finish that will make the butt joint virtually invisible.
Preparing the Drywall
Before you can begin finishing the butt joints, it’s important to properly prepare the drywall surface. This preparation step will ensure that the joint compound adheres well and creates a smooth and seamless finish.
Start by inspecting the drywall sheets for any imperfections, such as dents, gouges, or protruding screws or nails. Use a putty knife or sandpaper to smooth out any rough patches and fill in any depressions with joint compound. Make sure to sand the repaired areas smooth and wipe away any dust or debris.
Next, apply a coat of primer over the entire drywall surface. This will help seal the surface and create an even base for the joint compound. Allow the primer to fully dry before moving on to the next step.
Now it’s time to mark the location of the butt joints. Use a pencil or a marking tool to draw a straight line along the joint. This line will serve as a guide when applying the joint compound and tape.
Before moving on to the next step, dampen the area where the joint will be with a sponge or a damp cloth. This will help prevent the drywall from absorbing too much moisture from the joint compound, which can affect the adhesion and drying process.
By taking the time to properly prepare the drywall surface, you will set the stage for a successful finishing process. The key is to create a smooth and even surface that will allow the joint compound to adhere well and blend seamlessly with the surrounding drywall.
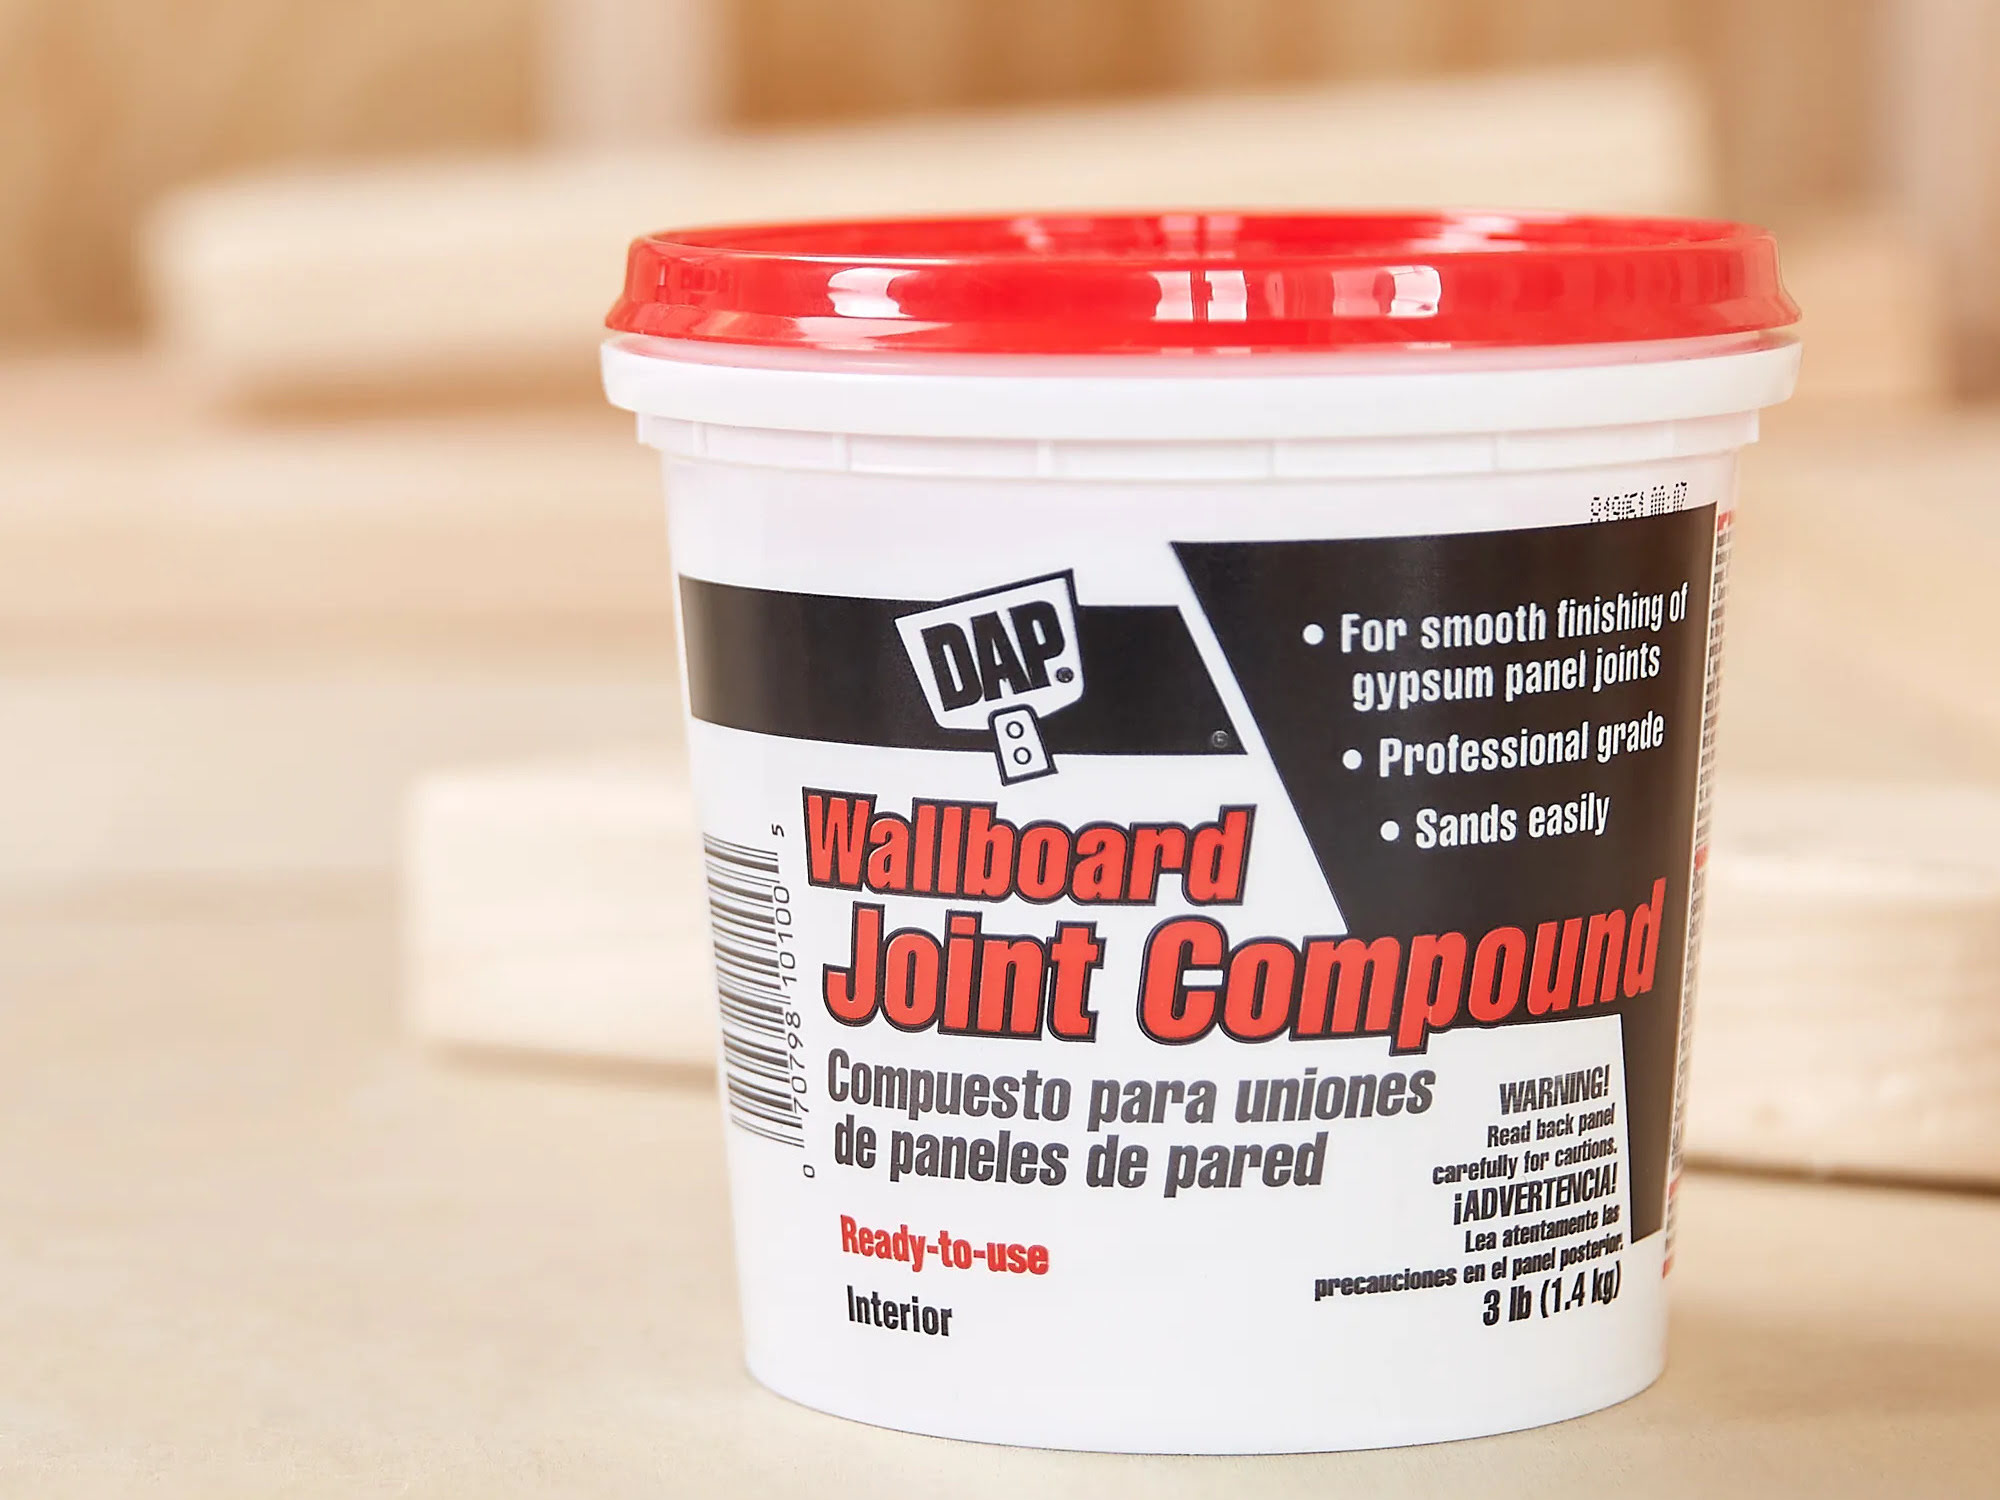
Applying Joint Compound
Now that the drywall surface is prepped and ready, it’s time to apply the joint compound. The joint compound, also known as mud, is a thick paste-like material used to fill in and smooth out the joints.
Start by using a wide putty knife or a taping knife to scoop some joint compound onto a hawk or a small tray. This will make it easier to access the compound as you work. It’s important to note that joint compound has a limited working time, so only take out as much as you can comfortably use within 15-20 minutes.
Using the putty knife or taping knife, apply a thin and even layer of joint compound over the butt joint. The compound should extend about 6-8 inches on either side of the joint, gradually tapering out to blend with the surrounding drywall. Smooth the compound out in long, even strokes, making sure to fill in any gaps or depressions along the joint.
When applying the joint compound, it’s important to maintain a consistent pressure and angle. Applying too much pressure can cause the compound to squeeze out from the joint, while too little pressure can result in an uneven application. Keep practicing until you find the right balance.
Once the initial layer of joint compound is applied, allow it to dry completely. The drying time will vary depending on the temperature and humidity, so refer to the manufacturer’s instructions for specific guidelines.
After the first layer is completely dry, inspect it for any imperfections, such as air bubbles or unevenness. Use a sanding block or sandpaper to smooth out any rough spots or high spots in the compound. Remember to wipe away any dust or debris before moving on to the next step.
Repeat the process of applying joint compound, allowing it to dry, and sanding as necessary until you achieve a smooth and level surface along the butt joint. It’s common to apply multiple thin coats of joint compound to build up the surface gradually.
By applying joint compound correctly, you will create a solid foundation for the finishing process. Take your time and ensure each layer is applied smoothly and evenly, as this will greatly contribute to achieving a seamless finish on the butt joint.
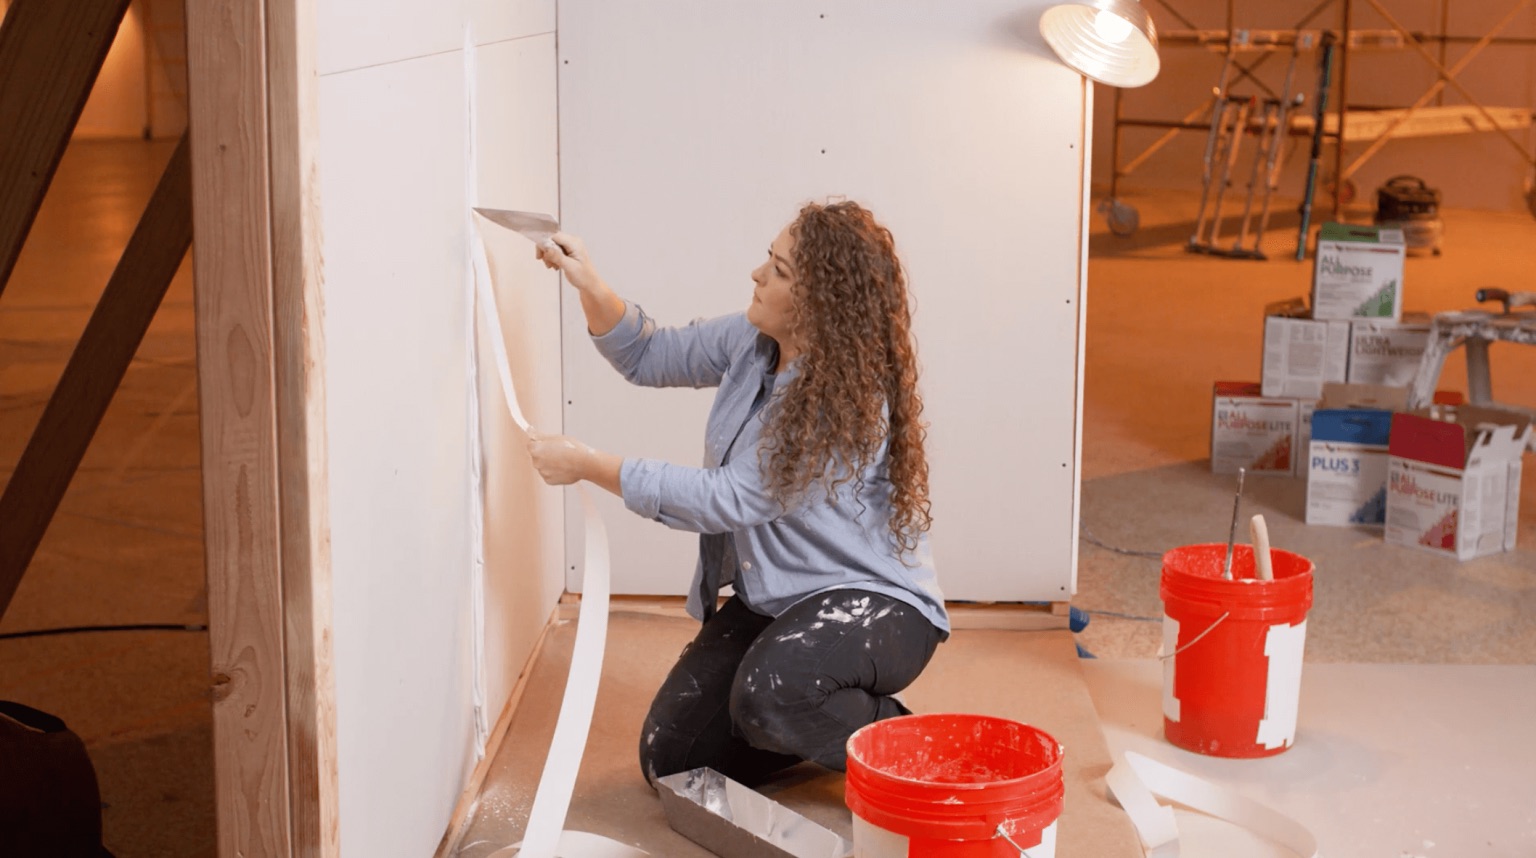
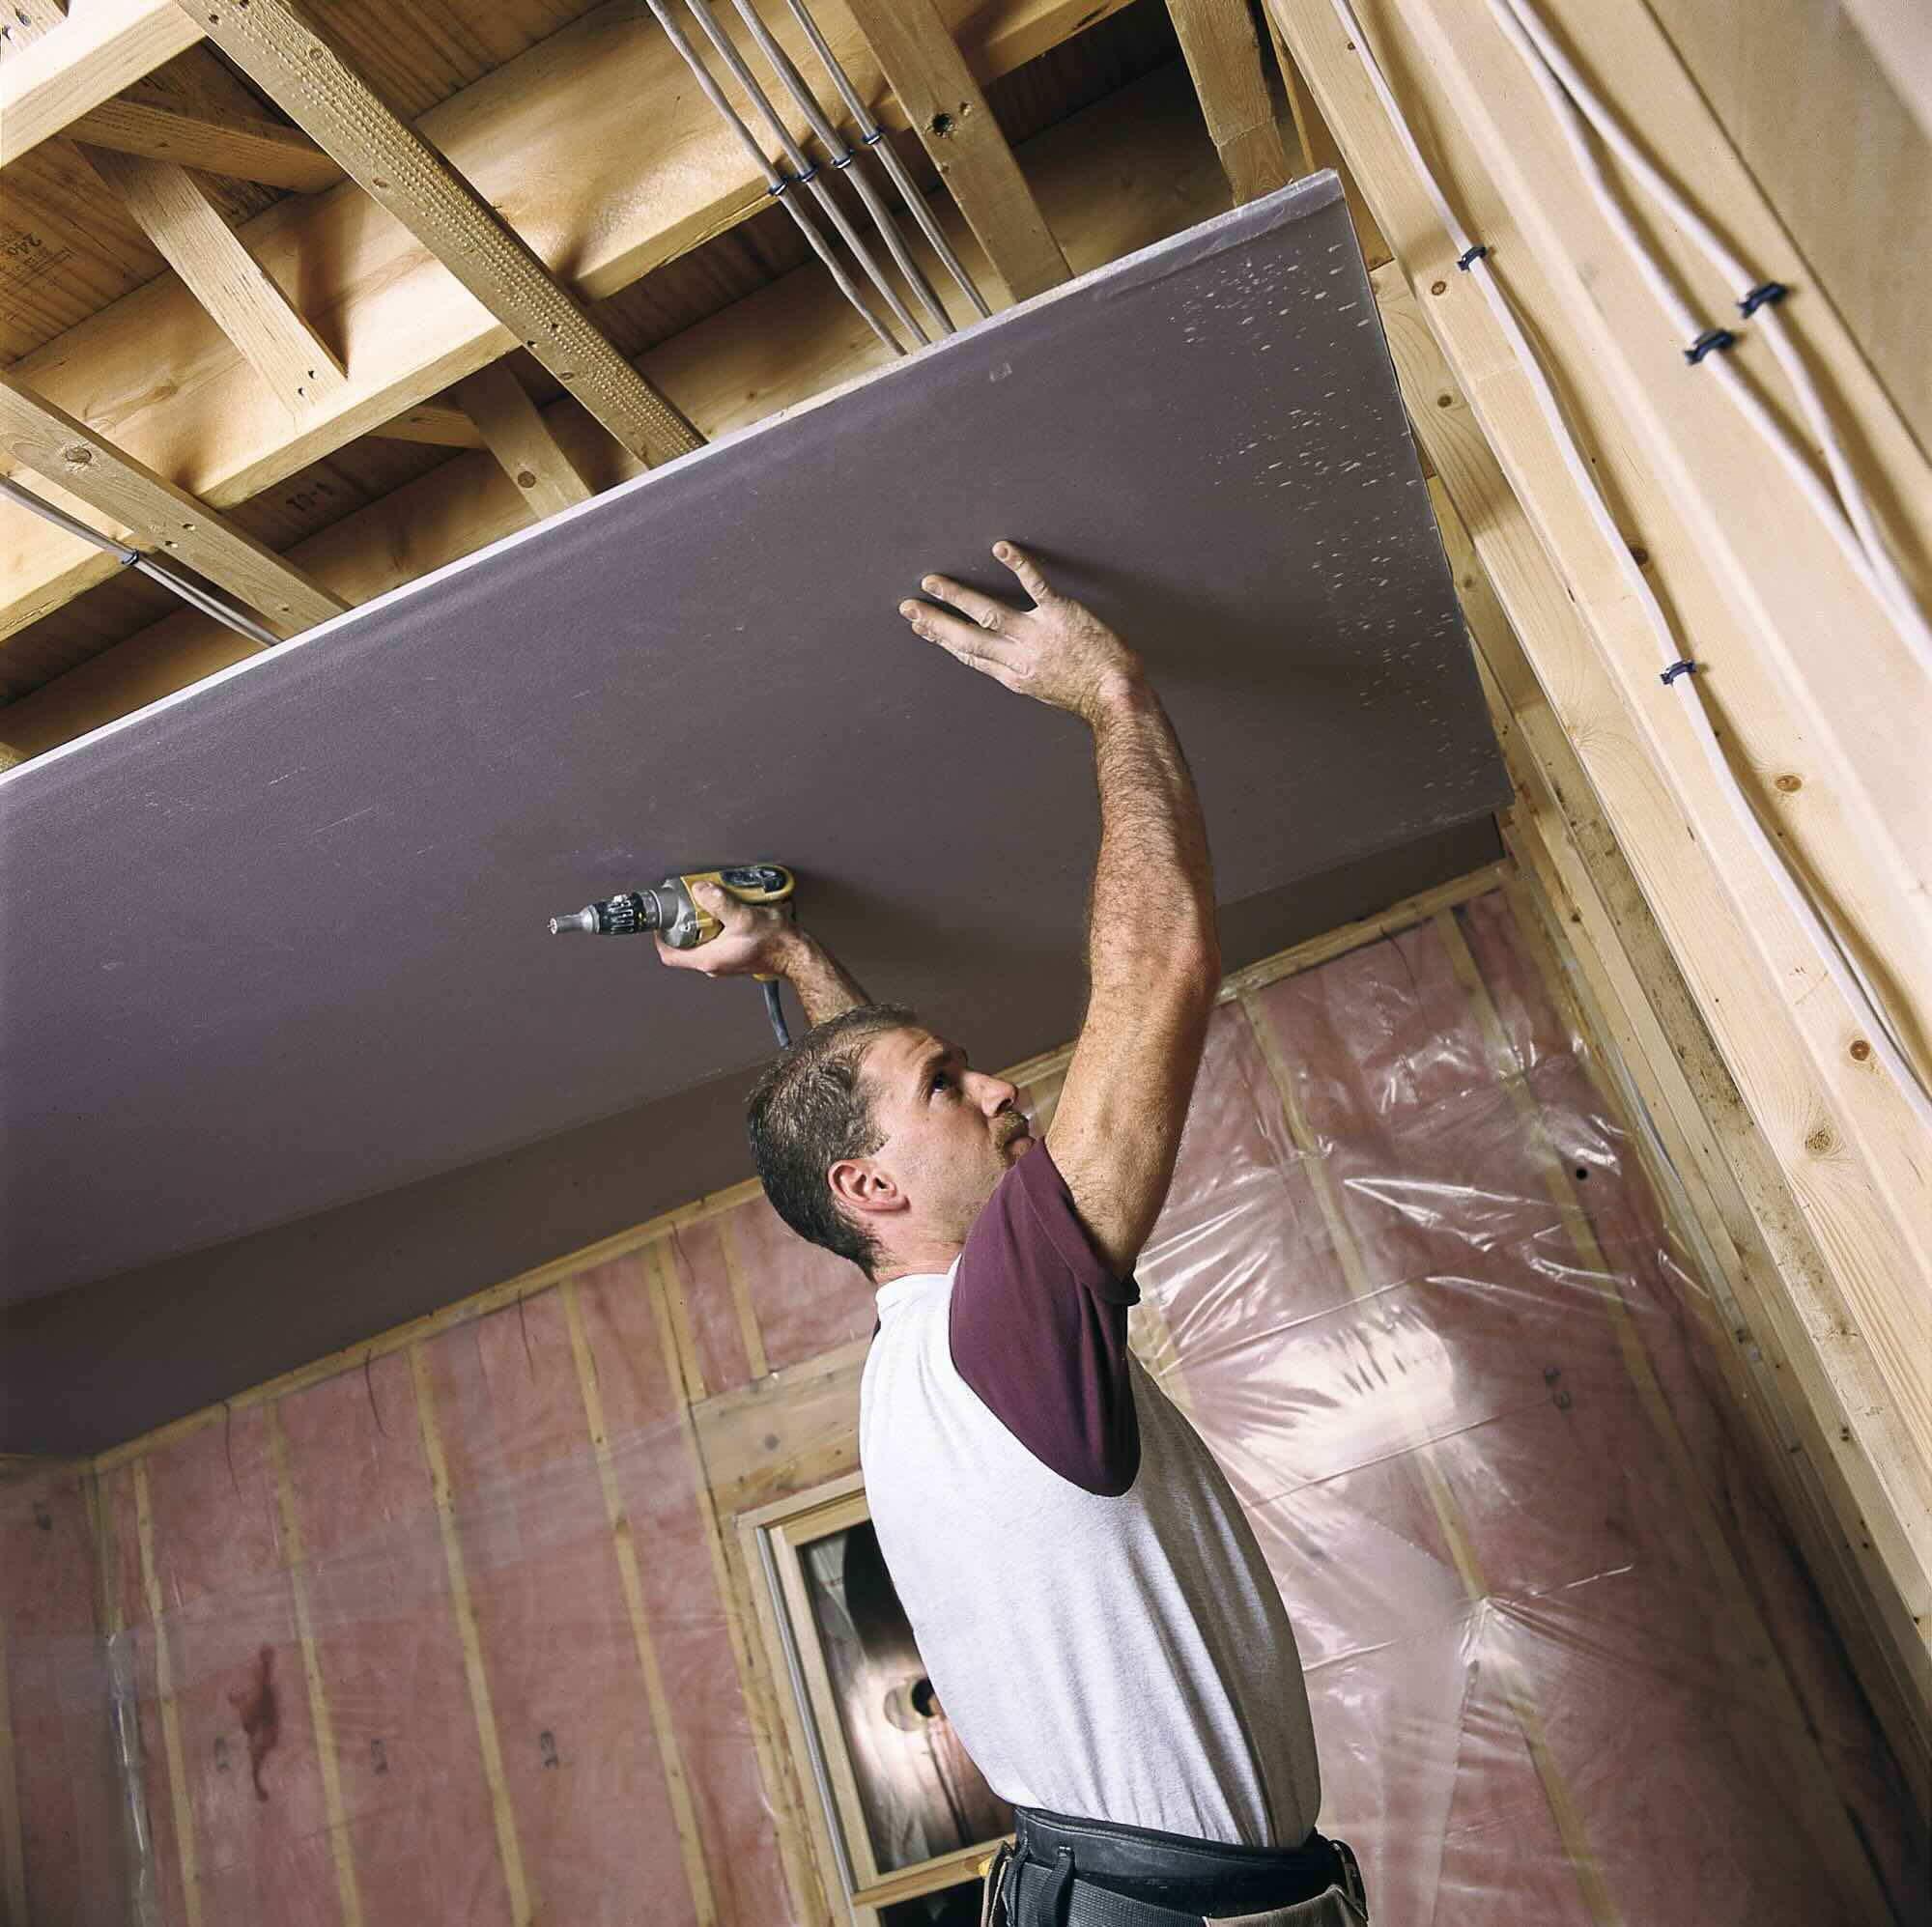
Taping the Butt Joints
Once the joint compound is applied and dry, it’s time to tape the butt joints. Taping is a crucial step in the finishing process as it helps reinforce the joint and ensure a seamless appearance.
Start by cutting a piece of drywall joint tape to the length of the butt joint. Joint tape is a thin, self-adhesive mesh that helps strengthen the joint and prevent cracks from forming in the future.
Apply a thin layer of joint compound along the butt joint, directly over the dried layer of compound. This layer will act as an adhesive for the tape. Using a putty knife, press the joint tape firmly into the compound, making sure it is centered over the butt joint.
Smooth out the tape with the putty knife, pressing it into the compound to ensure good adhesion. Make sure there are no wrinkles or bubbles in the tape. The tape should lay flat and be firmly embedded in the joint compound.
Once the tape is applied and smoothed out, apply another thin layer of joint compound over the tape. Use the putty knife to feather the compound out, blending it with the surrounding drywall. The goal is to create a smooth and even transition from the tape to the rest of the wall.
Allow the compound to dry completely before moving on to the next step. This step is essential as it allows the joint compound to fully bond with the tape, creating a strong and durable joint.
Inspect the taped butt joint and sand any rough spots or high edges using a sanding block or sandpaper. Wipe away any dust or debris before proceeding to the next step.
Repeat the process of taping and applying joint compound, ensuring that each layer is smooth and properly feathered. Depending on the quality of the joint compound and the desired finish, it may take multiple layers to achieve a seamless and professional-looking butt joint.
Taping the butt joints properly will help reinforce the joint and create a smooth and seamless appearance. Take your time during this step and ensure that the tape is securely applied and the compound is feathered out evenly for the best results.
When finishing drywall butt joints, apply a thin layer of joint compound, embed paper tape, and then apply two more layers of compound, feathering the edges each time for a smooth finish.
Read more: How To Finish Basement Walls Without Drywall
Feathering the Edges
After taping the butt joints, the next step in finishing is feathering the edges. Feathering refers to the process of gradually blending the joint compound from the butt joint into the surrounding drywall, creating a smooth and seamless transition.
Start by applying a thin layer of joint compound along both sides of the butt joint, extending it approximately 12-18 inches out from the joint. Use a putty knife or a taping knife to spread the compound in long, smooth strokes, ensuring it blends seamlessly with the existing compound.
As you move away from the butt joint, gradually decrease the pressure and angle of the knife to create a gentle feathering effect. The goal is to achieve a smooth transition where the compound thins out and becomes indistinguishable from the rest of the wall.
Be sure to feather the edges on both sides of the butt joint to maintain symmetry and create a balanced appearance. The feathered edges should be gradually tapered and blend smoothly into the surrounding drywall. This step requires patience and practice to achieve a seamless finish.
Allow the feathered edges to dry completely before moving on to the next step. Depending on the temperature and humidity, this may take a few hours or even overnight. Proper drying is crucial to ensure a solid and durable finish.
Inspect the feathered edges for any rough spots or unevenness. Use a sanding block or sandpaper to gently smooth out any imperfections, taking care not to remove too much compound and expose the underlying tape. Wipe away any dust before proceeding.
Repeat the process of feathering and drying the edges, applying thin layers of joint compound and gradually blending them with the surrounding drywall. This iterative process will create a seamless and professional finish along the butt joints.
Feathering the edges is a crucial step in achieving a seamless appearance on the butt joints. Take your time and pay attention to detail during this step to ensure that the feathered edges blend smoothly and create a visually pleasing transition.
Sanding and Smoothing
Once the joint compound is dry and the feathered edges are completed, it’s time to sand and smooth the surface of the butt joints. Sanding is an important step as it helps to refine the finish and create a seamless appearance by removing any imperfections or roughness.
Start by using a fine-grit sandpaper or a sanding sponge to gently sand the dried joint compound. Be careful not to sand too aggressively, as this can damage the joint tape or create uneven surfaces. Use light, even strokes and keep the sandpaper flat against the wall.
Pay close attention to the butt joints, focusing on smoothing out any visible lines or ridges. Move the sandpaper in a circular motion to blend the compound and create a seamless transition between the joint and the surrounding drywall. Remember to sand both sides of the joint for symmetry.
Wipe away the dust with a damp cloth or sponge, and let the area dry completely before inspecting the results. If there are still visible imperfections or unevenness, repeat the sanding process until you achieve a smooth and consistent surface.
As you sand, periodically run your hand over the surface to feel for any rough spots or inconsistencies. This tactile feedback can help you identify areas that need further sanding or touch-ups.
It’s important to note that sanding can generate a significant amount of dust, so ensure proper ventilation and wear a dust mask to protect your respiratory system. Additionally, cover nearby surfaces and furniture to prevent dust from settling onto them.
Continue to sand and smooth the butt joints until they are seamlessly blended with the surrounding wall. Take your time during this step and be patient, as it will greatly contribute to achieving a professional and flawless finish.
Once you are satisfied with the results, wipe away any remaining dust and debris with a clean cloth, ensuring the surface is clean and smooth before proceeding to the next step.
Sanding and smoothing the butt joints is an essential part of the finishing process. By carefully sanding, you can achieve a seamless and polished appearance that will make the butt joints virtually invisible.
Applying a Second Coat of Joint Compound
After sanding and smoothing the butt joints, it’s time to apply a second coat of joint compound. This additional layer helps to further refine the finish and ensure a seamless appearance.
Begin by inspecting the sanded butt joints to ensure they are smooth and free of any imperfections. If you notice any low spots or unevenness, use a putty knife to fill them in with a small amount of joint compound.
Once any touch-ups are done, apply a thin layer of joint compound along the entire length of the butt joints, extending the compound about 12-18 inches on each side. Use a putty knife or a taping knife to spread the compound evenly, making sure to blend it with the surrounding feathered edges.
Similar to the first coat, gradually decrease the pressure and angle of the knife as you move away from the joint, creating a smooth and gradual transition. The goal is to create a seamless appearance where the compound blends harmoniously with the rest of the wall.
Allow the second coat of joint compound to dry completely. The drying time will vary depending on factors such as temperature and humidity, so refer to the manufacturer’s instructions for specific guidance.
After the compound is completely dry, inspect the butt joints for any rough spots or unevenness. If necessary, lightly sand the dried compound to smooth out any imperfections, taking care not to sand through the layers or expose the underlying tape.
Wipe away any dust from the sanding process, ensuring a clean and smooth surface before moving on to the final step of finishing the butt joints.
Applying a second coat of joint compound helps to refine the finish and create a seamless appearance along the butt joints. Take your time during this step, ensuring even application and blending with the feathered edges for a professional and flawless finish.
Final Sanding and Finishing
Once the second coat of joint compound is dry and any imperfections have been addressed, it’s time for the final sanding and finishing of the butt joints. This step will ensure a smooth and seamless appearance, ready for further finishing touches.
Begin by gently sanding the dried joint compound using fine-grit sandpaper or a sanding sponge. This final sanding step is meant to refine the surface and create a polished finish. Use light, even strokes, being careful not to sand too aggressively.
Pay special attention to the butt joints, ensuring that they are smooth and blended with the surrounding wall. Continuously run your hand over the surface to feel for any rough spots or inconsistencies, addressing them with further sanding as needed.
After sanding, wipe away any dust and debris using a clean, damp cloth or sponge. This will ensure a clean surface for the final finishing steps.
Depending on the desired finish, you may choose to apply a thin layer of primer over the butt joints to even out the texture and prepare them for paint. Allow the primer to dry according to the manufacturer’s instructions.
If you plan to paint the wall, make sure to choose a high-quality paint and apply it evenly over the entire wall, including the butt joints. Use a brush or roller to ensure a smooth and consistent coverage.
If you prefer a textured finish, you can apply texture compound or use techniques such as skip troweling or stippling to create a unique texture that masks any slight imperfections along the butt joints.
After the final sanding and finishing steps are complete, step back and admire your work. The butt joints should now blend seamlessly with the rest of the wall, creating a professionally finished look.
Remember, attention to detail and patience are essential in achieving a flawless final result. Take the time to ensure that the butt joints are smooth and consistent with the surrounding wall for a seamless and professional finish.
Conclusion
Finishing drywall butt joints can be a challenging task, but with the right techniques and attention to detail, you can achieve a seamless and professional-looking finish. Understanding the nature of butt joints and properly preparing the drywall surface is crucial for a successful outcome.
By applying joint compound, taping the joints, and feathering the edges, you can gradually build up the surface and create a seamless transition. Sanding and smoothing the butt joints further refine the finish, ensuring a polished appearance. Applying a second coat of joint compound and the final sanding and finishing steps allow you to achieve a flawlessly blended result.
Remember to consistently assess the appearance of the butt joints during each step of the process, making any necessary adjustments to ensure a smooth and seamless finish. Take your time, be patient, and don’t rush the process. Practice and persistence will lead to improved skills and better results.
Ultimately, finishing drywall butt joints is about creating a visually pleasing and professional appearance. Whether you choose to paint the wall or apply a textured finish, the proper finishing techniques will help the butt joints blend seamlessly with the rest of the wall, making them virtually invisible.
Now armed with the knowledge and techniques outlined in this article, you can confidently tackle drywall butt joints and achieve a smooth and flawless finish. With practice and patience, you’ll be able to transform your drywall projects into beautifully finished spaces.
Frequently Asked Questions about How To Finish Drywall Butt Joints
Was this page helpful?
At Storables.com, we guarantee accurate and reliable information. Our content, validated by Expert Board Contributors, is crafted following stringent Editorial Policies. We're committed to providing you with well-researched, expert-backed insights for all your informational needs.


0 thoughts on “How To Finish Drywall Butt Joints”