Home>Ideas and Tips>Upgrading Your Home’s Basement With DIY Luxury Vinyl Plank Flooring
Ideas and Tips
Upgrading Your Home’s Basement With DIY Luxury Vinyl Plank Flooring
Published: August 31, 2024
Transform your basement with DIY luxury vinyl plank flooring. Discover benefits, preparation steps, and installation tips for a stunning upgrade.
(Many of the links in this article redirect to a specific reviewed product. Your purchase of these products through affiliate links helps to generate commission for Storables.com, at no extra cost. Learn more)
Introduction
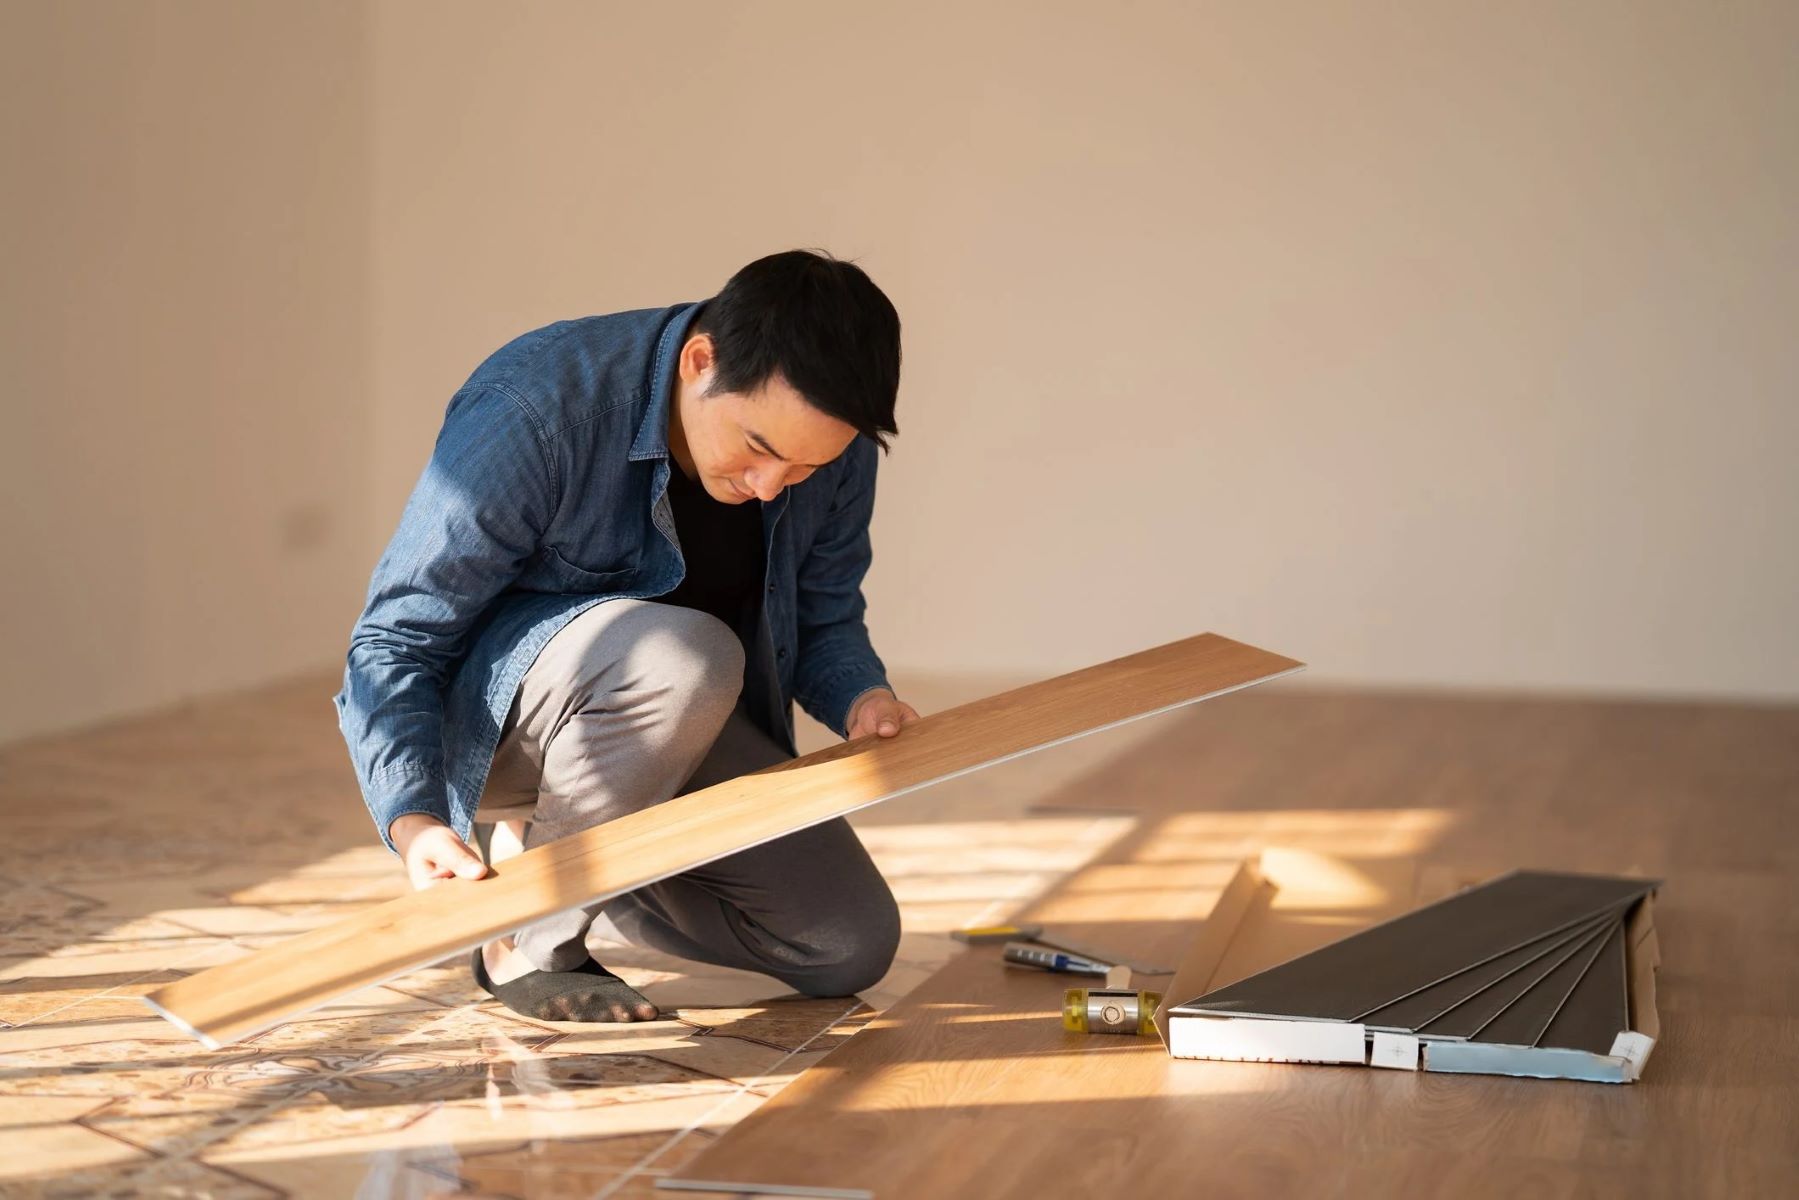
The basement is often the most underutilized space in a home, but with the right upgrades, it can become a functional and inviting area that adds value to your property. One of the most effective ways to transform your basement is by installing luxury vinyl plank (LVP) flooring. LVP offers a versatile, durable, and aesthetically pleasing solution that can elevate the entire space. In this article, we will guide you through the process of upgrading your home's basement with DIY luxury vinyl plank flooring, highlighting the benefits, preparation steps, and installation tips.
Benefits of Luxury Vinyl Plank Flooring
Luxury vinyl plank flooring has become a popular choice for homeowners due to its numerous benefits. Here are some key advantages:
Durability
LVP is known for its durability and resistance to wear and tear. It can withstand heavy foot traffic and is less prone to scratches compared to other types of flooring. This makes it an excellent choice for high-traffic areas like basements.
Versatility
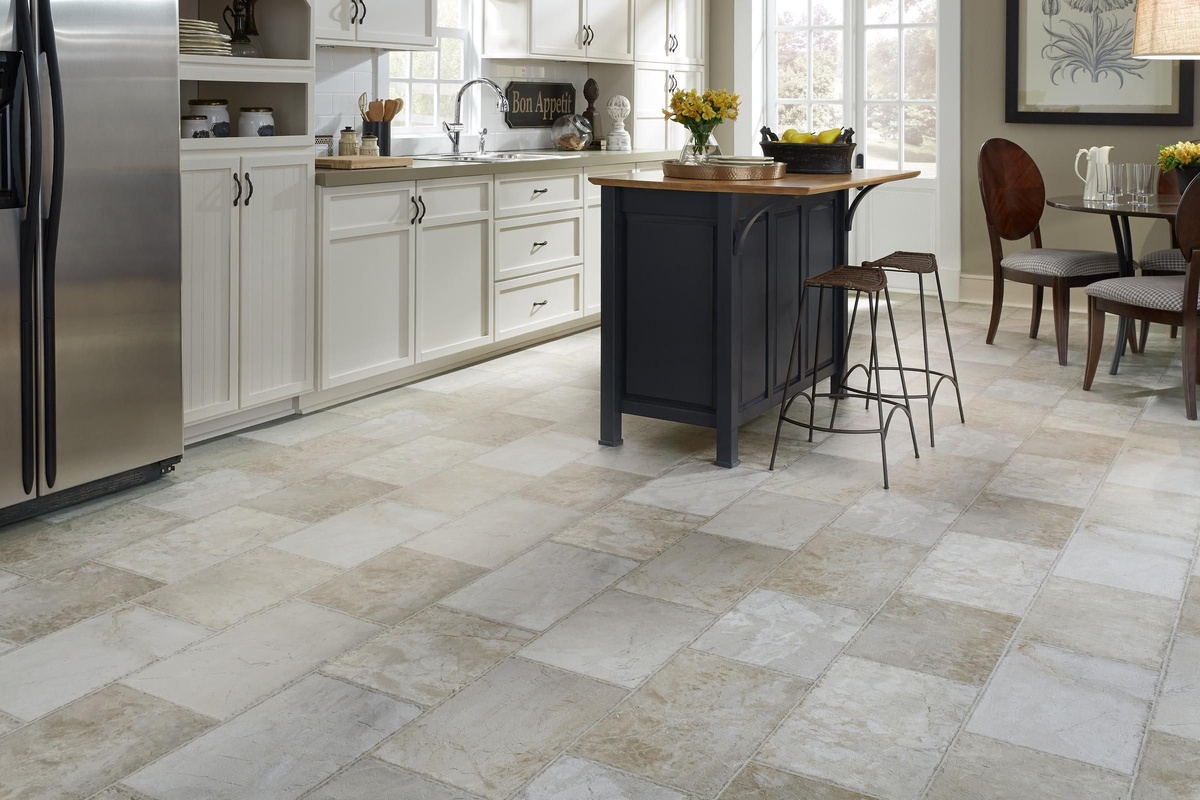
LVP comes in a wide range of styles and designs, mimicking the look of hardwood, stone, and even tile. This versatility allows you to choose a style that complements your basement's decor and purpose.
Moisture Resistance
Basements are often prone to moisture issues, but LVP is designed with moisture resistance in mind. It can handle spills and humidity changes without compromising its integrity, making it an ideal choice for basements.
Easy Maintenance
LVP is relatively easy to clean and maintain. It can be swept or vacuumed regularly, and spills can be wiped up quickly without causing damage. This makes it a practical choice for busy households.
Cost-Effective
Compared to other flooring options like hardwood or tile, LVP is generally more cost-effective. It offers a high-quality look at a lower price point, making it an attractive option for those on a budget.
Preparing Your Basement for LVP Installation
Before you start installing LVP flooring, it's crucial to prepare your basement properly. Here are some steps to ensure a smooth installation process:
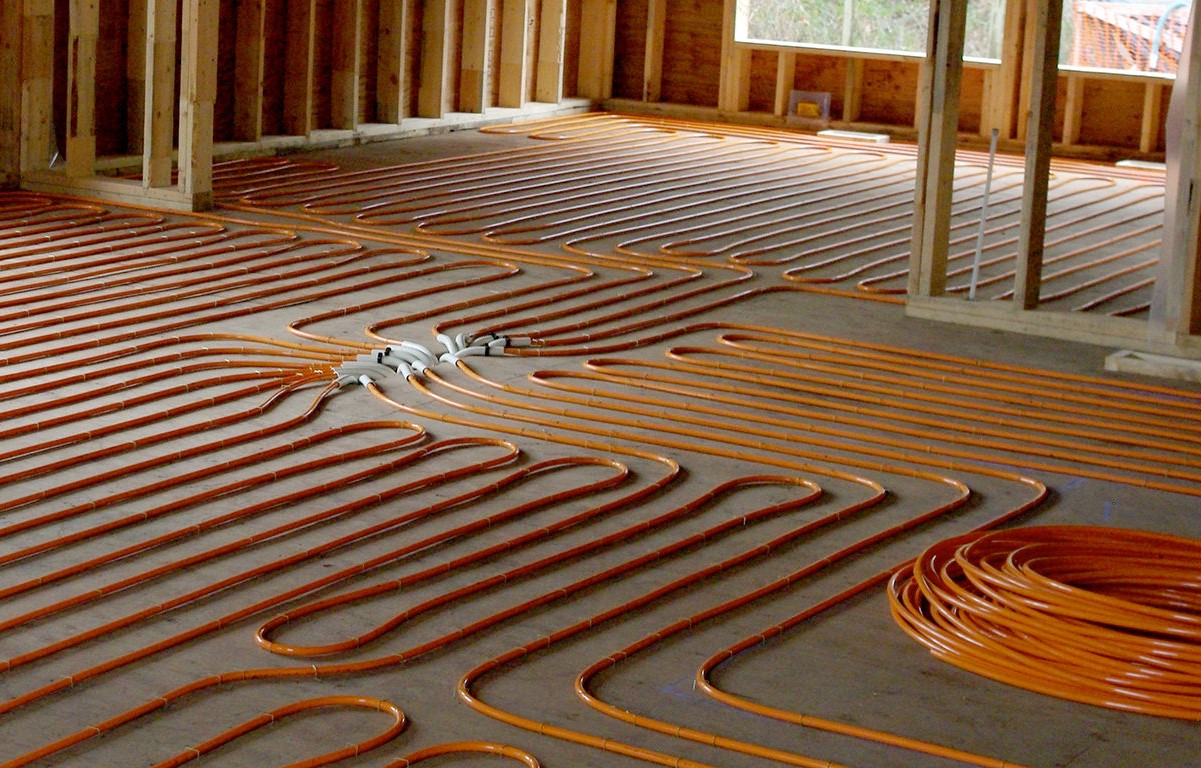
Cleaning the Subfloor
The subfloor must be clean, dry, and level. Remove any debris, adhesive residues, or imperfections that could affect the installation. Use a leveling compound if necessary to ensure the subfloor is even.
Ensuring Proper Ventilation
Basements often have poor ventilation, which can lead to moisture issues. Ensure that your basement has adequate ventilation to prevent moisture buildup. This will help in maintaining the longevity of your LVP flooring.
Checking for Electrical and Plumbing Issues
Before starting the installation, check for any electrical or plumbing issues in the area. You don't want to encounter any unexpected problems during the installation process.
Acclimating the Planks
Allow the LVP planks to acclimate to the room's temperature and humidity for at least 48 hours before installation. This prevents warping after installation and ensures a better fit.
Choosing the Right LVP Flooring
Selecting the right LVP flooring is crucial for achieving the desired look and functionality. Here are some factors to consider:
Read more: How To Install Vinyl Plank Flooring
Style and Design
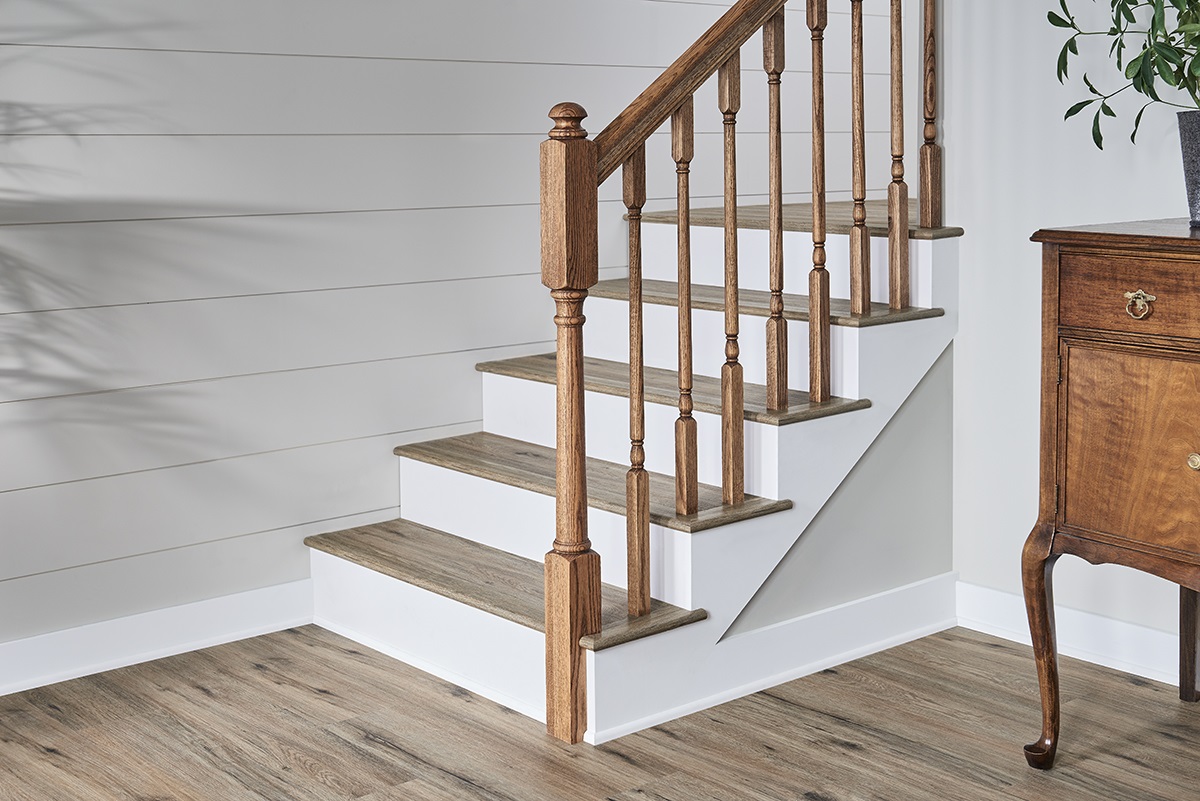
Choose an LVP style that complements your basement's decor. Consider the color, pattern, and texture of the planks. Lighter tones can create a sense of spaciousness in smaller basements, while darker tones can add warmth and coziness.
Thickness and Underlayment
Ensure that the LVP planks you choose have a built-in underlayment or consider purchasing an additional underlayment material. This provides extra cushioning, sound insulation, and moisture resistance.
Quality of Planks
Invest in high-quality LVP planks. Quality planks are more durable and better resistant to wear and tear, ensuring a longer-lasting and visually appealing floor.
Tools and Materials Needed
To install LVP flooring successfully, you'll need the right tools and materials. Here's a list of what you'll need:
- LVP Planks: Choose high-quality planks with built-in underlayment or additional underlayment material.
- Tapping Block: A universal tapping block is essential for tapping the planks securely into place.
- Rubber Mallet: Use a rubber mallet to tap the planks gently without causing damage.
- Utility Knife: For cutting the planks to fit around obstructions or edges.
- Carpenter's Square: Ensures that the first row of planks is straight and aligned properly.
- Spacers: Place spacers along the walls to allow for expansion and contraction of the planks.
- Measuring Tape: For measuring the room accurately and planning the layout.
- Leveling Compound: To ensure the subfloor is even.
- Baseboards or Quarter-Round Moldings: To conceal expansion gaps around the edges of the room.
Step-by-Step Installation Guide
Installing LVP flooring can be a DIY-friendly project if you follow these steps carefully:
Step 1: Measure and Plan Thoroughly
Measure the room accurately, adding about 10% extra to account for any mistakes or future repairs. Plan the layout of the planks, considering the direction of the light and the room's dimensions.
Step 2: Prepare the Subfloor
Ensure that the subfloor is clean, dry, and level. Remove any debris, adhesive residues, or imperfections that could affect the installation. Use a leveling compound if necessary to ensure the subfloor is even.
Step 3: Lay Down Spacers
Place spacers along all the walls to allow for expansion and contraction of the planks. This is crucial to prevent buckling or warping of the planks.
Step 4: Install the First Row
Begin installing planks from a straight and squared reference point, typically a wall. Use a carpenter's square to ensure that the first row is aligned properly. Tap each plank into place using a tapping block and rubber mallet.
Step 5: Install Subsequent Rows
Continue installing subsequent rows by tapping each plank into place. Ensure that each plank is securely locked with the previous one using a tapping block and rubber mallet. Cut planks to fit around obstructions or edges using a utility knife.
Step 6: Maintain Expansion Gaps
Leave small gaps around the edges of the room to accommodate for expansion due to temperature and humidity changes. Conceal these gaps with baseboards or quarter-round moldings.
Step 7: Final Inspection
After installation, take the time to inspect the entire floor for any misaligned planks, gaps, or defects. Address any issues before moving furniture back in.
Addressing Common Issues During Installation
While installing LVP flooring can be a rewarding DIY project, there are common issues that may arise during installation. Here are some tips to address these issues:
Buckling or Warping
If you notice any buckling or warping during installation, it could be due to inadequate expansion gaps or improper acclimation of the planks. Ensure that you have left sufficient expansion gaps and allowed the planks to acclimate properly before installation.
Misaligned Planks
Misaligned planks can create an uneven surface and affect the overall appearance of your basement. Use a carpenter's square to ensure that each row is aligned properly before tapping them into place.
Gaps Between Planks
Gaps between planks can be unsightly and affect the durability of your flooring. Use a tapping block and rubber mallet to ensure each plank is securely locked with the previous one, minimizing gaps between planks.
Read more: What To Use To Mop Vinyl Plank Flooring
Enhancing Your Basement with LVP Flooring
Once you've installed your LVP flooring, there are several ways to enhance your basement further:
Lighting
Proper lighting can make a significant difference in the ambiance of your basement. Consider installing LED lighting strips or pendant lights to create a cozy and inviting atmosphere.
Decor
Add decorative elements such as throw pillows, rugs, and wall art to make your basement feel more like a living space. Choose colors and patterns that complement your LVP flooring.
Furniture
Select furniture that complements both the style and functionality of your basement. For example, if you're creating a home gym or yoga room, choose furniture that is durable and easy to clean.
Conclusion
Upgrading your home's basement with DIY luxury vinyl plank flooring is a rewarding project that can significantly enhance the value and appeal of your property. By following these steps and tips, you can achieve professional-looking results that stand the test of time. Remember to always measure and plan thoroughly, prepare your subfloor properly, and maintain expansion gaps to ensure a smooth installation process. With patience and attention to detail, you can transform your basement into a functional and inviting space that adds value to your home.
Additional Tips and Resources
For more detailed information on DIY luxury vinyl plank flooring installation, consider consulting the following resources:
- Carpet Trends: "The Impact of New Flooring on Home Value" – This article provides insights into how new flooring can impact home value and offers tips on choosing the right flooring for your home.
- SimpleFLOORS: "The Ultimate Guide to DIY Luxury Vinyl Plank Flooring: Do's and Don'ts" – This guide offers essential do's and don'ts for installing LVP flooring, ensuring that your project goes smoothly.
- Willowbloom Home Blog: "Installing Luxury Vinyl Plank Flooring in our Basement – Week 5 of the One Room Challenge" – This blog post provides a step-by-step guide to installing LVP flooring in a basement, including before photos and inspiration for the overall look.
By following these tips and resources, you'll be well-equipped to upgrade your home's basement with DIY luxury vinyl plank flooring, creating a space that is both functional and beautiful.
Was this page helpful?
At Storables.com, we guarantee accurate and reliable information. Our content, validated by Expert Board Contributors, is crafted following stringent Editorial Policies. We're committed to providing you with well-researched, expert-backed insights for all your informational needs.

0 thoughts on “Upgrading Your Home’s Basement With DIY Luxury Vinyl Plank Flooring”