Home>Articles>How To Install Framing For A Sleeper Floor Over A Concrete Slab
Articles
How To Install Framing For A Sleeper Floor Over A Concrete Slab
Modified: October 18, 2024
Learn how to install framing for a sleeper floor over a concrete slab with our informative articles. Step-by-step instructions and tips for a successful installation.
(Many of the links in this article redirect to a specific reviewed product. Your purchase of these products through affiliate links helps to generate commission for Storables.com, at no extra cost. Learn more)
Introduction
When it comes to installing a sleeper floor over a concrete slab, proper framing is crucial. Whether you’re looking to transform your basement into a cozy living space or wanting to add a new level to your home, framing for a sleeper floor provides a solid foundation for your project.
In this article, we will guide you through the step-by-step process of installing framing for a sleeper floor over a concrete slab. We will cover everything from preparing the concrete slab to securing the frame and adding insulation and vapor barrier. By following these instructions, you’ll be well on your way to creating a stable and comfortable floor.
Before we dive into the details, it’s important to understand the purpose of framing for a sleeper floor. A sleeper floor is a wooden framework that is built on top of a concrete slab, providing an elevated platform for additional flooring layers such as subflooring and finished flooring. This method helps to create an air gap between the concrete slab and the new flooring, allowing for better insulation, moisture control, and overall stability.
Now that we have a clear understanding of the purpose and benefits of a sleeper floor, let’s move on to the first step: preparing the concrete slab.
Key Takeaways:
- Properly preparing the concrete slab, choosing the right framing material, and securely attaching the frame are crucial steps in creating a stable and comfortable sleeper floor over a concrete slab.
- Adding insulation, a vapor barrier, and finishing touches not only enhance energy efficiency and protect against moisture but also contribute to the overall durability and aesthetics of the sleeper floor.
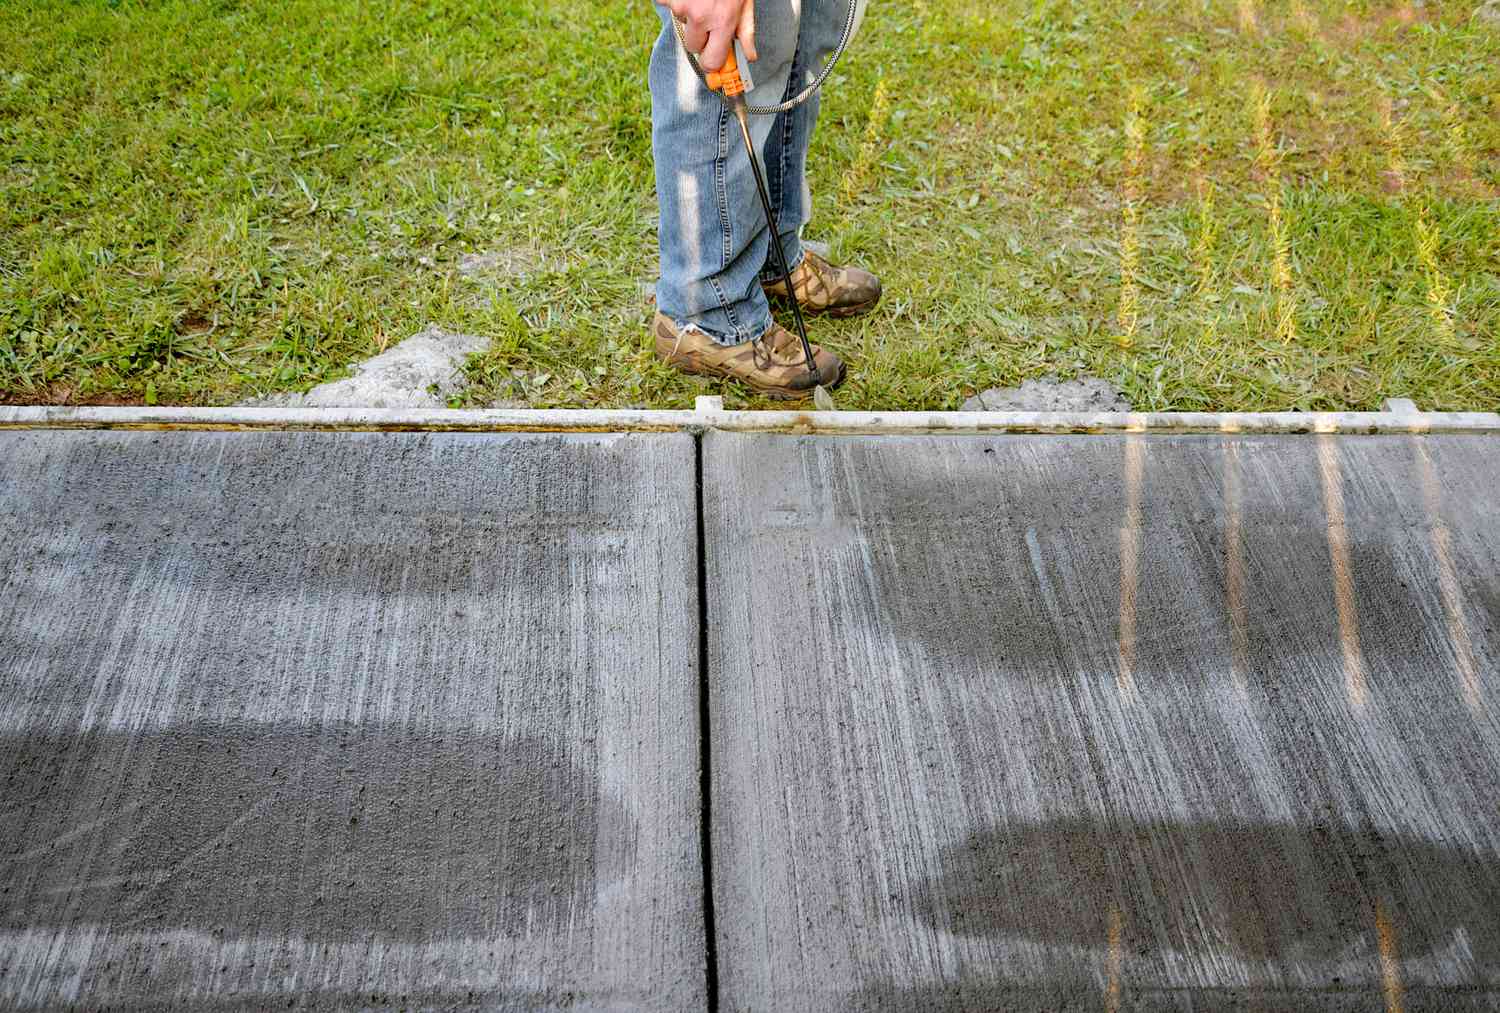
Step 1: Preparing the Concrete Slab
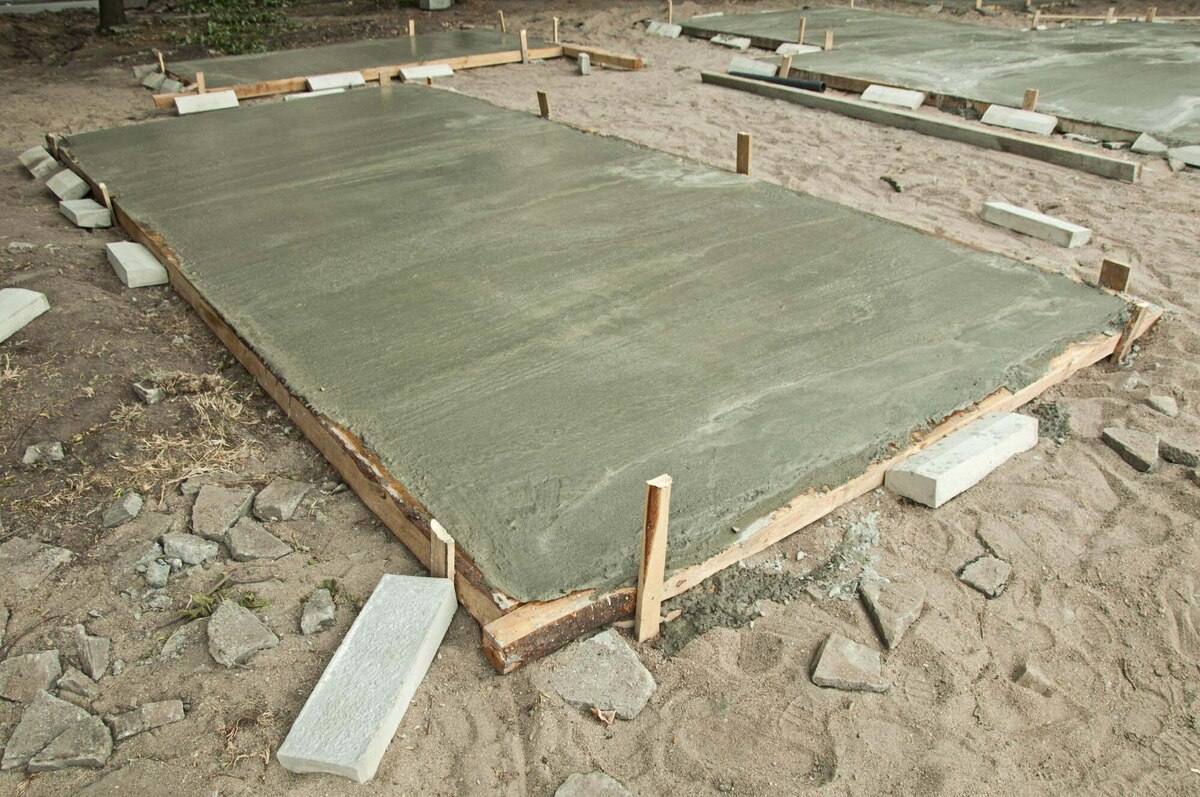
Before you begin installing the framing for a sleeper floor, it is essential to properly prepare the concrete slab. This involves clearing and cleaning the surface, repairing any cracks or damages, and optionally applying a moisture barrier.
The first task is to clear the surface of any debris or obstructions. Remove any furniture, boxes, or loose objects from the area. Sweep or vacuum the floor to ensure it is free from dust and dirt. This will provide a clean surface for the next steps.
Next, carefully inspect the concrete slab for any cracks or damages. If you find cracks, use a concrete patching compound to fill and repair them. Follow the manufacturer’s instructions for the specific product you are using. This step is crucial to ensure a smooth and level surface for the framing.
Applying a moisture barrier is an optional but highly recommended step, especially if you anticipate any moisture issues. A moisture barrier can help prevent the transfer of moisture from the concrete slab to the framing and flooring layers above. It is especially important in basements or areas prone to moisture infiltration.
To apply a moisture barrier, you can use a liquid membrane or a roll-on material, such as a waterproofing paint or a sheet membrane. Follow the product instructions for the best application method and allow sufficient drying time before proceeding to the next step.
By properly preparing the concrete slab, you create a clean and stable foundation for the framing of your sleeper floor. This ensures the longevity and durability of your flooring project. Once the concrete slab is clear, repaired, and optionally protected with a moisture barrier, you are ready to proceed to the next step: building the frame.
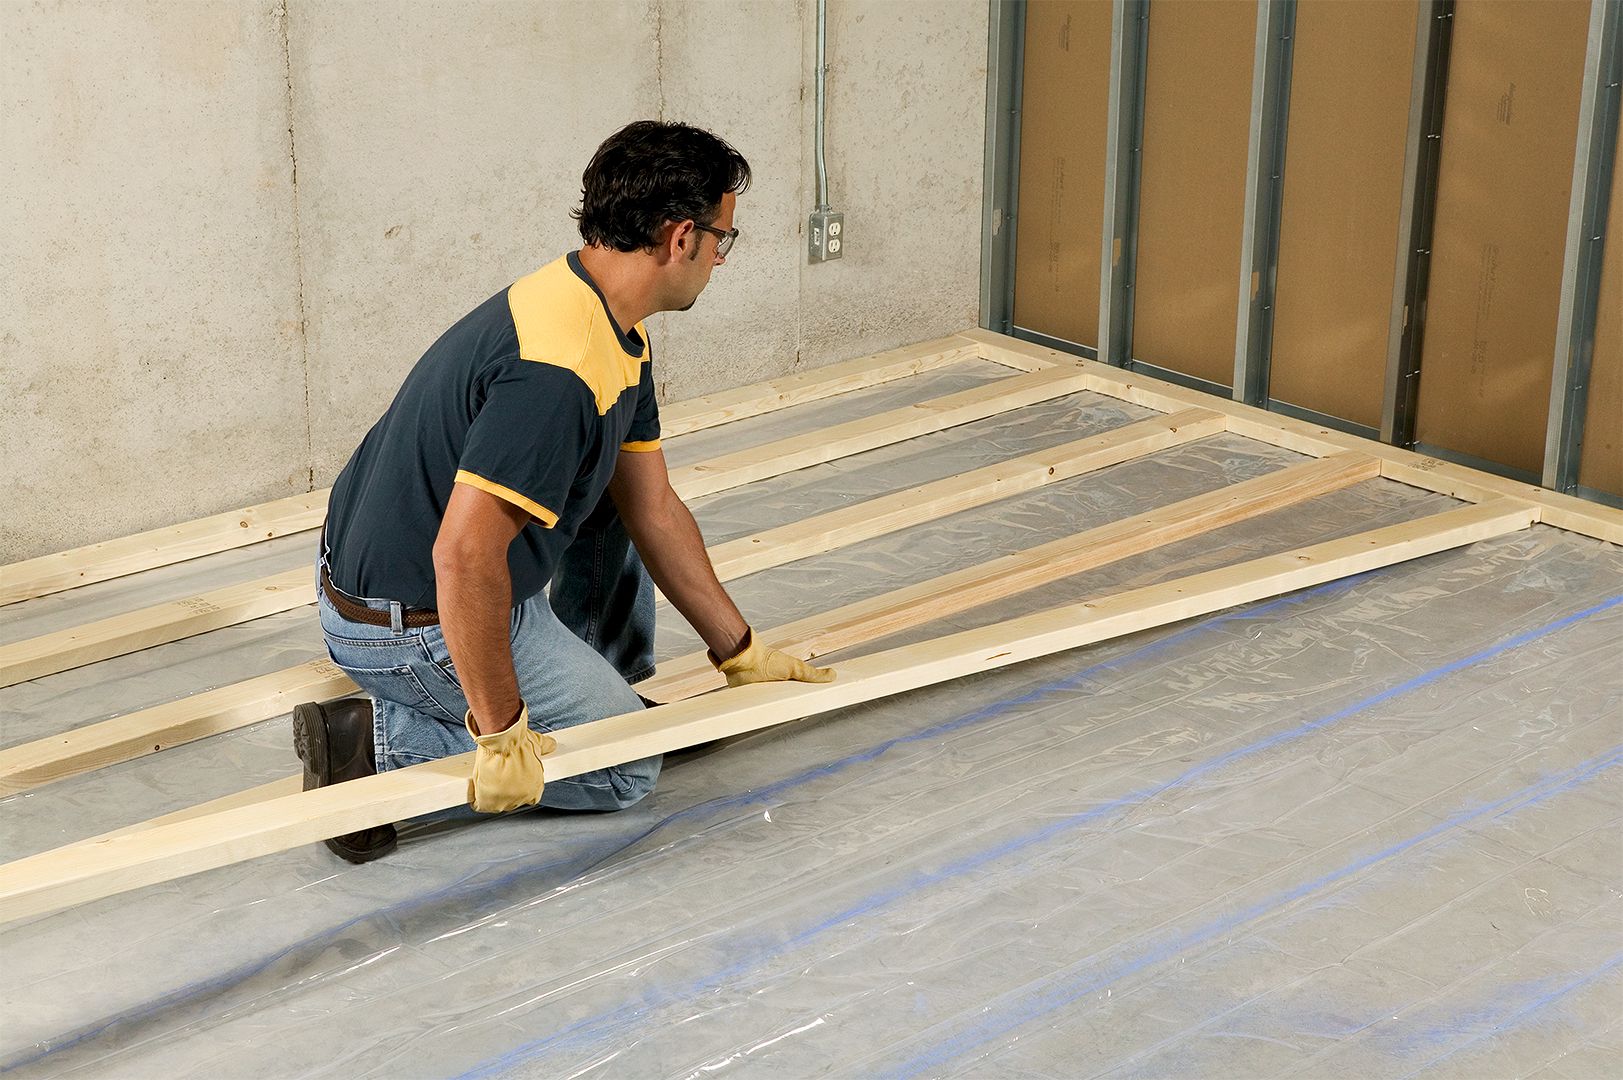
Step 2: Building the Frame
Now that the concrete slab is prepared, it’s time to start building the frame for your sleeper floor. This step involves choosing the type of framing material, measuring and marking the layout, cutting and preparing the framing members, attaching the sill plate to the concrete slab, and installing the joists or sleepers.
The choice of framing material will depend on your specific project requirements and personal preference. Common options include pressure-treated lumber, composite materials, or even steel. Consider factors such as durability, cost, and availability when making your decision. Once you’ve chosen the material, gather all necessary tools and equipment.
Before cutting the framing members, it’s essential to accurately measure and mark the layout on the concrete slab. Start by determining the desired spacing between the joists or sleepers. Typically, a spacing of 16 inches on center is commonly used. Use a tape measure, chalk line, and square to ensure the layout lines are straight and perpendicular to the walls.
Now, it’s time to cut and prepare the framing members according to the marked layout. Measure and mark the necessary lengths of the sill plate, joists, or sleepers. Use a circular saw, miter saw, or handsaw to cut the material to the correct dimensions. Double-check the accuracy of your measurements before moving on.
Next, attach the sill plate to the concrete slab. The sill plate acts as the anchor for the entire frame and provides a solid connection between the frame and the concrete. Use concrete anchors or specialized adhesive to secure the sill plate directly to the concrete slab. Ensure that it is level and firmly attached.
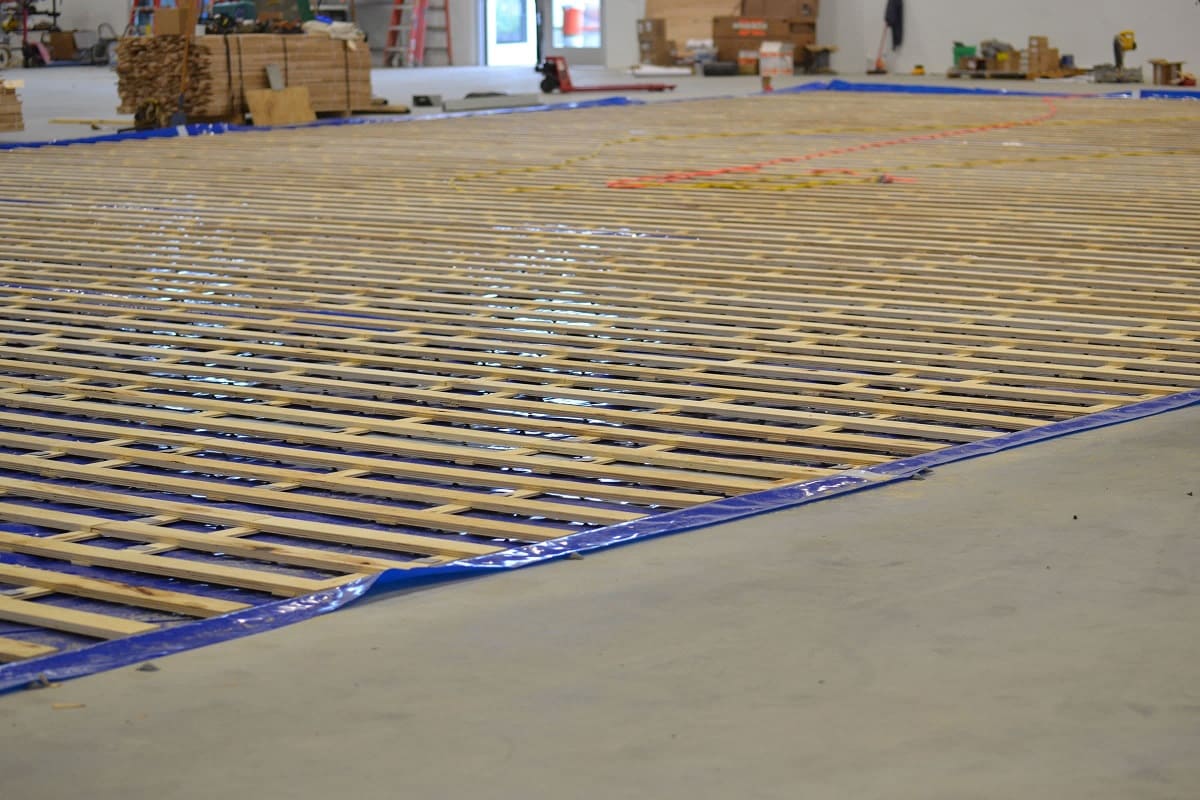
With the sill plate in place, you can now begin installing the joists or sleepers. Position them parallel to each other, following the layout lines you marked earlier. Attach them to the sill plate using appropriate fasteners such as screws or nails. Ensure that they are evenly spaced and aligned with each other.
Building the frame is a critical step in the installation process, as it forms the foundation for your sleeper floor. Take your time to measure accurately, make precise cuts, and securely attach the framing members. With the frame in place, you’re one step closer to completing your sleeper floor installation. The next step will focus on securing the frame to ensure stability.
Step 3: Securing the Frame
After constructing the frame for your sleeper floor, the next step is to secure it in place. This involves ensuring proper spacing and alignment, attaching the frame to the concrete slab, and using anchors or adhesive for added stability.
Start by checking the spacing and alignment of the framing members. Use a tape measure to ensure that the distance between the joists or sleepers is consistent throughout the entire floor. This step is crucial for maintaining structural integrity and preventing any potential issues in the future. Adjust the positioning as necessary to achieve uniform spacing.
To attach the frame to the concrete slab, there are two common methods: anchors and adhesive. Concrete anchors provide a strong and reliable connection, while adhesive offers a more seamless and stable bond.
If you choose to use anchors, pre-drill holes in the sill plate and then use a hammer drill with the correct size bit to create holes in the concrete slab. Insert the anchors into the holes and tighten them securely using a wrench or hammer, depending on the anchor type. Repeat this process for each framing member to ensure sturdy attachment.
If you prefer to use adhesive, apply a construction-grade adhesive onto the surface of the concrete slab. Place the frame in the desired position, ensuring proper alignment. Press it firmly onto the adhesive, allowing the adhesive to bond and create a strong connection. Follow the adhesive manufacturer’s instructions for drying time and any additional recommendations.
Whether you choose anchors or adhesive, ensure that the frame is securely attached to the concrete slab. This will provide stability and prevent any shifting or movement of the sleeper floor over time.
Securing the frame is a critical step in the installation process. It ensures that the frame remains in place and provides the necessary support for the subsequent layers of the sleeper floor. With the frame securely attached to the concrete slab, you’re ready to move on to the next step: insulation and vapor barrier installation.
When installing framing for a sleeper floor over a concrete slab, make sure to use pressure-treated lumber to prevent moisture damage and ensure the framing is level and securely anchored to the slab.
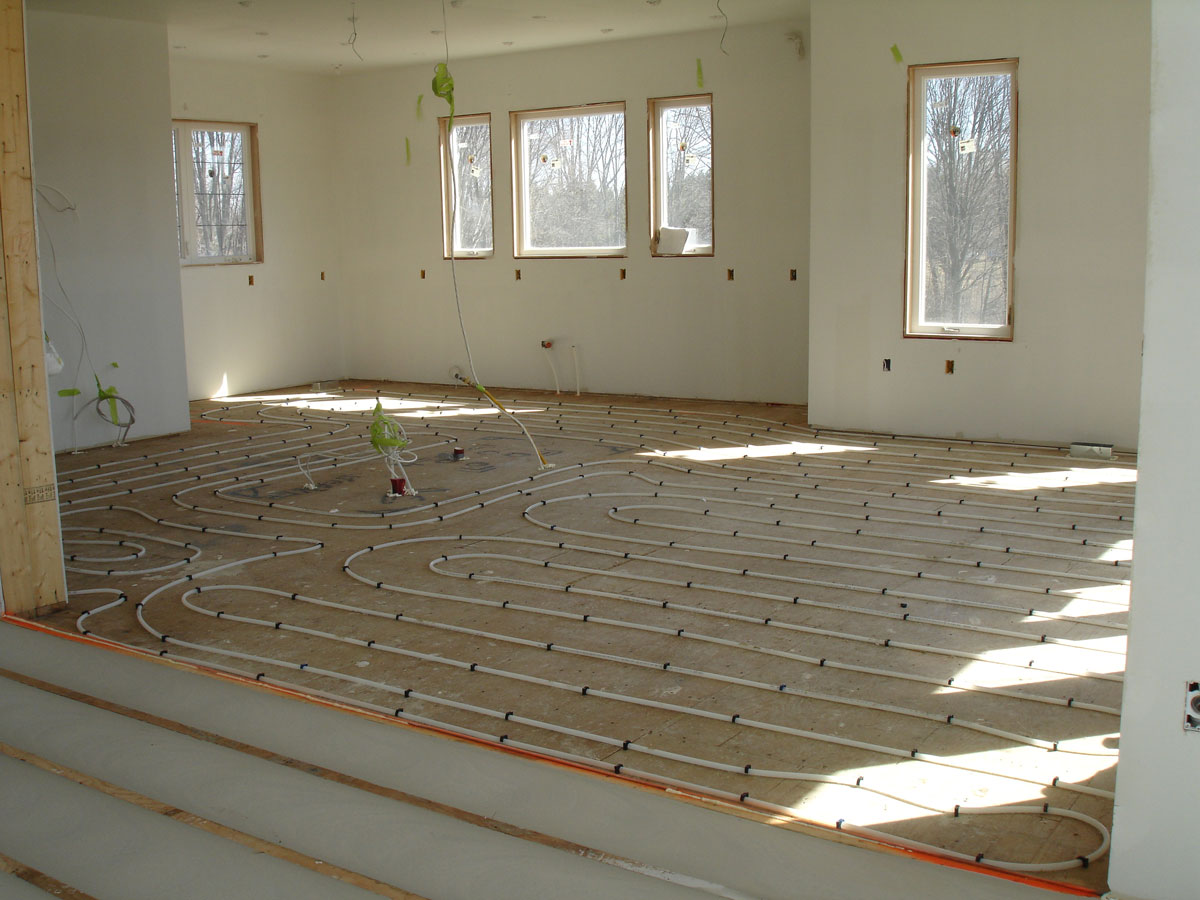
Step 4: Insulation and Vapor Barrier
Once the frame for your sleeper floor is securely attached to the concrete slab, it’s time to focus on insulation and installing a vapor barrier. These steps are essential for improving energy efficiency, preventing moisture-related issues, and enhancing overall comfort.
Begin by adding insulation to the framed floor. Insulation helps regulate temperature and reduce energy loss, especially in colder or hotter climates. Choose insulation materials that are appropriate for your specific needs, such as fiberglass batts, rigid foam panels, or spray foam insulation. Install the insulation between the joists or sleepers, ensuring a snug fit and proper coverage.
Make sure to leave any required gaps for ventilation purposes, such as around vents or crawl spaces. Proper insulation will help enhance soundproofing as well, providing a quieter and more comfortable living space.
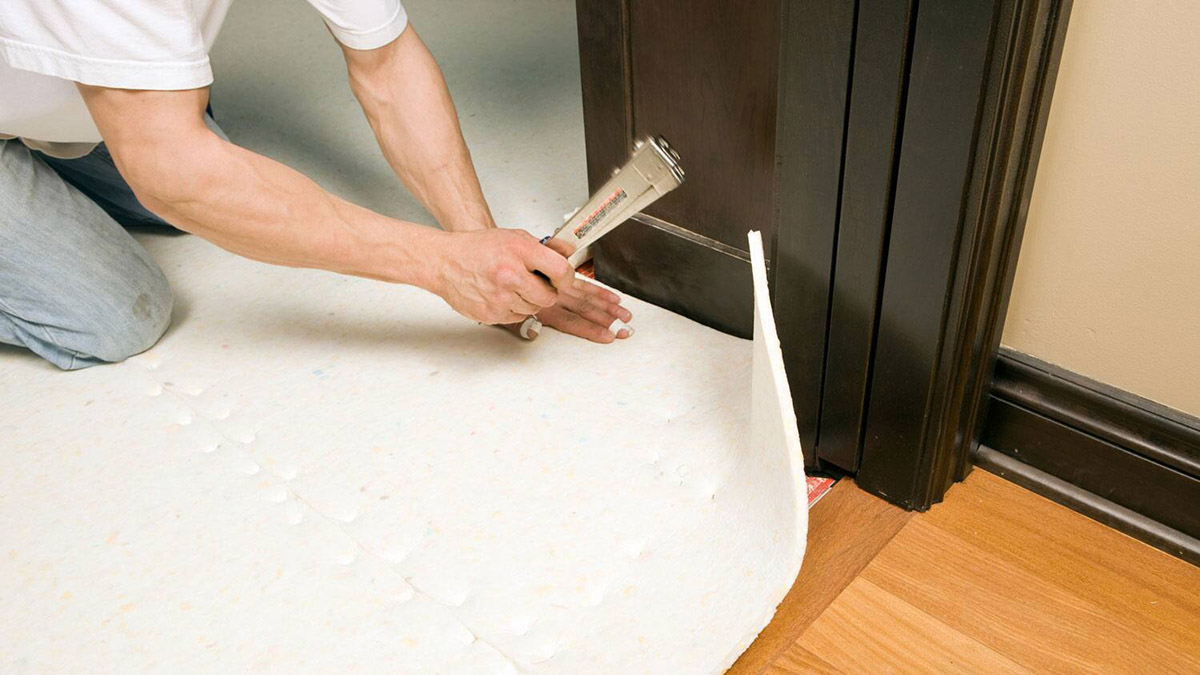
Next, install a vapor barrier to prevent moisture-related issues. A vapor barrier acts as a barrier between the concrete slab and the flooring layers above, preventing moisture from seeping up through the concrete and causing damage. It is particularly important in areas with high humidity levels.
A common type of vapor barrier is a polyethylene sheet, which is laid over the insulation and taped or sealed at the seams. This creates an effective barrier against moisture. Ensure that the vapor barrier is properly installed, covering the entire floor area and extending up the walls by a few inches.
Additionally, consider adding a termite barrier if you live in an area prone to termite infestation. This extra layer of protection helps prevent termites from damaging the sleeper floor and the surrounding structure of your home.
By adding insulation and a vapor barrier, you enhance the energy efficiency of your sleeper floor and protect it from potential moisture issues. These steps contribute to a comfortable and durable flooring system that will stand the test of time. With insulation and the vapor barrier in place, you’re ready to move on to the final step: finishing touches.
Read more: How To Install Conduit In Concrete Slab
Step 5: Finishing Touches
After completing the insulation and vapor barrier installation, it’s time to focus on the finishing touches of your sleeper floor. This step involves adding additional layers such as a subfloor or underlayment, fastening the flooring material, and applying any necessary finishes or sealants.
Start by adding an additional layer to enhance the structural integrity and provide a smooth surface for your flooring. Depending on your preferences and the specific requirements of your project, you may choose to install a subfloor or underlayment.
A subfloor is a layer of plywood or oriented strand board (OSB) that is installed on top of the frame. It adds stability and strength to the floor, as well as a solid base for the final flooring material. Secure the subfloor to the framing members using screws or nails, ensuring proper spacing between panels.
If you prefer a more cushioned or sound-absorbing surface, you can opt for an underlayment. Underlayment materials range from foam or cork to specialized products designed for specific flooring types. Follow the manufacturer’s instructions for installation and secure the underlayment to the subfloor or frame.
Once the additional layers are in place, it’s time to fasten the chosen flooring material. This can be hardwood, laminate, vinyl, or any other type that suits your design preferences and lifestyle. Follow the manufacturer’s guidelines for proper installation techniques and use the recommended fasteners to secure the flooring to the subfloor or underlayment.
After the flooring is installed, consider applying any necessary finishes or sealants. This step depends on the specific flooring material and your desired level of protection and aesthetics. It may include staining, varnishing, or applying a protective layer to seal the surface.
Take care to follow the instructions provided by the flooring manufacturer. Proper finishing and sealing will help enhance the durability and lifespan of your sleeper floor, as well as provide a beautiful and long-lasting finish.
Now that you’ve completed the finishing touches, you can step back and admire your newly installed sleeper floor. Congratulations on successfully installing framing for a sleeper floor over a concrete slab! Your efforts have paid off, and you now have a solid, comfortable, and stylish surface for your living space.
Remember to consult with professionals or conduct further research for specific guidance depending on your project’s unique requirements. Enjoy your newly transformed space!
Conclusion
Installing framing for a sleeper floor over a concrete slab is a rewarding project that can transform your space and provide numerous benefits. By following the steps outlined in this article, you can create a sturdy, comfortable, and moisture-resistant floor that will stand the test of time.
From preparing the concrete slab to securing the frame, adding insulation and a vapor barrier, and applying finishing touches, each step plays a vital role in creating a successful sleeper floor installation. Taking the time to properly plan, measure, and execute each step will ensure a professional and long-lasting result.
Remember to choose the right framing material, ensure proper spacing and alignment, and securely attach the frame to the concrete slab. Adding insulation and a vapor barrier will enhance energy efficiency and protect against moisture issues. Finally, adding additional layers, fastening the flooring material, and applying finishes or sealants will provide the final polished look.
Whether you’re converting your basement into a living space, creating a new level in your home, or simply seeking to enhance the comfort and aesthetics of your space, installing framing for a sleeper floor is a valuable investment.
As with any construction project, it’s essential to consult with professionals, adhere to local building codes, and follow manufacturer guidelines for specific materials and tools. Each space is unique, and it’s important to tailor the installation process to suit your specific requirements and preferences.
By prioritizing proper planning, acquiring the necessary materials and tools, and taking the time to execute each step with precision, you can create a sleeper floor that enhances the overall functionality, comfort, and appeal of your living space.
Now that you have the knowledge and guidance to install framing for a sleeper floor over a concrete slab, you can embark on your project with confidence. Enjoy the process, and revel in the transformation of your space into a comfortable and beautiful area that you’ll love for years to come.
Now that you've got the hang of installing a sleeper floor, why not dive deeper into other DIY ventures? For those intrigued by crafting and building, our next feature sheds light on the unique benefits of personal project endeavors. Whether you're looking to save cash, customize your space, or just have fun, understanding the perks of DIY projects will surely inspire your next home improvement task.
Frequently Asked Questions about How To Install Framing For A Sleeper Floor Over A Concrete Slab
Was this page helpful?
At Storables.com, we guarantee accurate and reliable information. Our content, validated by Expert Board Contributors, is crafted following stringent Editorial Policies. We're committed to providing you with well-researched, expert-backed insights for all your informational needs.


0 thoughts on “How To Install Framing For A Sleeper Floor Over A Concrete Slab”