Articles
How To Install Vinyl Plank Flooring
Modified: October 27, 2024
Learn how to install a vinyl-plank floor with our step-by-step articles. Easy and cost-effective solution for enhancing your home's aesthetics.
(Many of the links in this article redirect to a specific reviewed product. Your purchase of these products through affiliate links helps to generate commission for Storables.com, at no extra cost. Learn more)
Introduction
Installing a vinyl-plank floor is a great way to give your space a fresh and stylish look. Whether you’re revamping your kitchen, bathroom, or any other room in your home, vinyl-plank flooring offers durability, easy maintenance, and a wide range of design options.
In this step-by-step guide, we will walk you through the process of installing a vinyl-plank floor. From preparing the subfloor to cutting and fitting the planks, we will cover everything you need to know to achieve a professional-looking installation.
Before we dive in, it’s important to note that while installing vinyl-plank flooring is a relatively straightforward task, it does require some basic DIY skills and tools. If you’re unsure or uncomfortable with any of the steps, it’s always best to consult a professional or enlist the help of an experienced friend or family member.
Now, let’s get started on transforming your space with a beautiful vinyl-plank floor!
Key Takeaways:
- Proper preparation is key to a successful vinyl-plank floor installation. From leveling the subfloor to measuring and planning, attention to detail ensures a smooth and professional-looking outcome.
- Acclimating the vinyl planks, precise cutting and fitting, and meticulous cleaning and inspection are essential for a durable and visually appealing vinyl-plank floor. Attention to detail and maintenance are crucial for long-term satisfaction.
Read more: What To Use To Mop Vinyl Plank Flooring
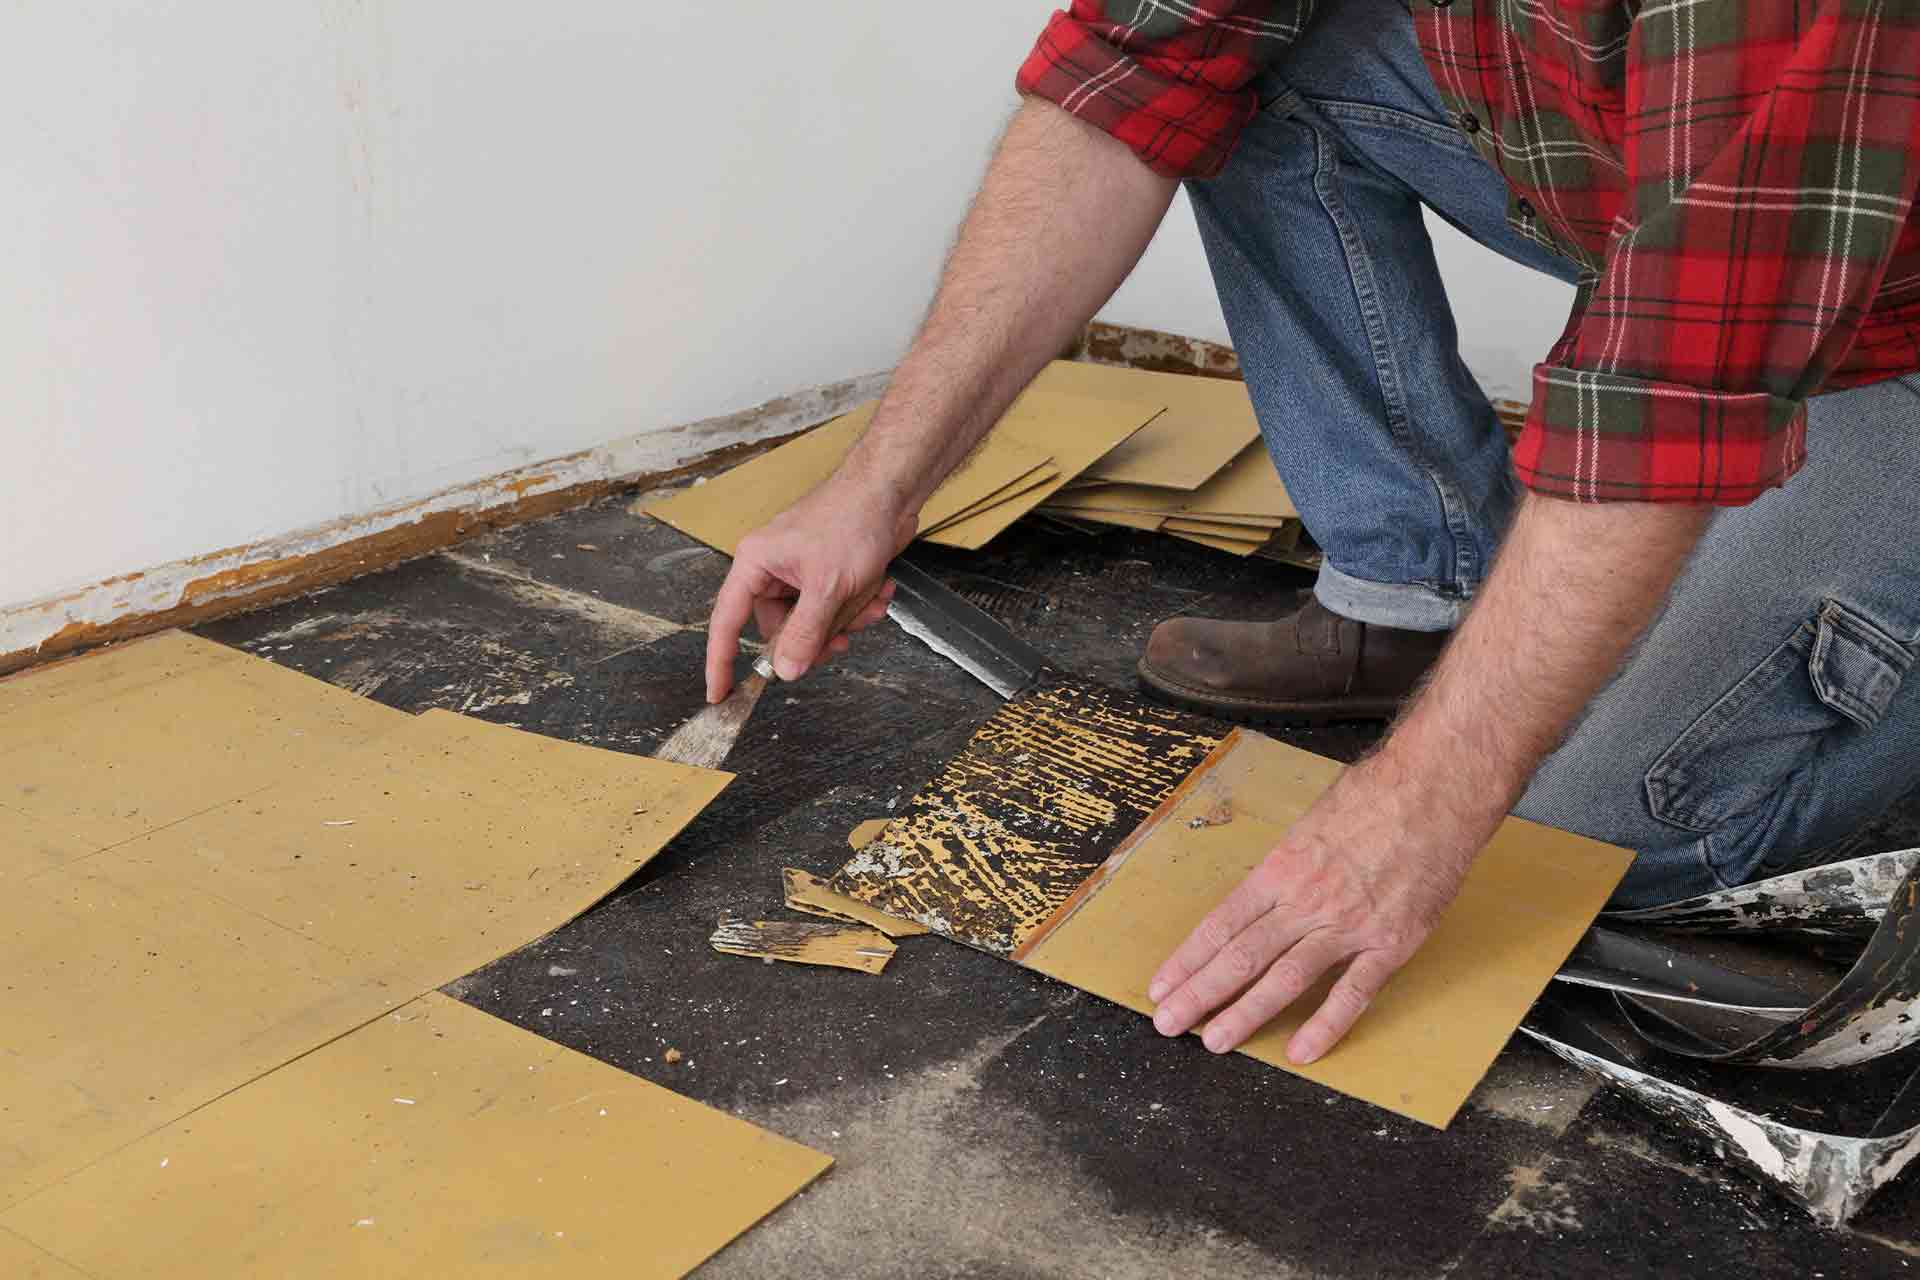
Step 1: Prepare the Subfloor
Before you can begin installing your vinyl-plank floor, it’s crucial to ensure that the subfloor is clean, level, and free from any damage or imperfections. This step is vital to ensure a smooth installation and to prevent any issues with the longevity and stability of your new floor. Here’s what you need to do:
- Clean the subfloor: Start by removing any existing flooring materials, such as carpet, tiles, or laminate. Sweep or vacuum the subfloor to remove dust and debris. Use a damp cloth to wipe away any stains or spills.
- Check for levelness: Use a level tool to determine if the subfloor is level. Place the level on various points across the floor, both horizontally and vertically. If you find any areas that are uneven, use a self-leveling compound to fill in the low spots and ensure a flat surface.
- Repair any damage: Inspect the subfloor for any signs of damage, such as cracks, holes, or rot. Repair any issues using appropriate materials, such as a patching compound for minor cracks or plywood replacement for significant damage.
- Remove baseboards and trim: If there are baseboards or trim along the edges of the room, carefully remove them using a pry bar or a trim removal tool. This will make the installation process easier and allow for a clean, finished look.
- Ensure proper moisture levels: Vinyl-plank flooring is not suitable for areas with excessive moisture, such as basements or bathrooms without proper waterproofing. Use a moisture meter to check the moisture levels of the subfloor and ensure they are within the manufacturer’s recommended range.
By taking the time to properly prepare the subfloor, you will create a solid foundation for your vinyl-plank floor installation. This will help prevent any issues such as unevenness, moisture damage, or premature wear and tear. Once the subfloor is clean, level, and in good condition, you can move on to the next step: measuring and planning for your new floor.
Step 2: Measure and Plan
Accurate measurements and careful planning are essential for a successful vinyl-plank floor installation. Taking the time to measure your space correctly and create a detailed plan will ensure that you purchase the right amount of flooring and minimize waste. Here’s what you need to do:
- Measure the room: Start by measuring the length and width of the room. Use a tape measure to get precise measurements, and be sure to note any alcoves, angles, or other irregularities.
- Calculate the square footage: Multiply the length and width of the room to determine the square footage. If there are alcoves or irregular areas, measure and calculate them separately, then add the square footage together.
- Consider wastage: It’s recommended to add 10% to 15% to your total square footage to account for wastage during installation. This will factor in any cuts, mistakes, or damaged planks that may occur during the process.
- Choose a layout: Decide on the direction in which you want the planks to run. Most commonly, they are laid parallel to the longest wall for aesthetic appeal. However, you have the freedom to choose a layout that suits your preference. Consider factors such as the shape of the room and the natural light flow.
- Create a layout plan: Using graph paper or a digital floor planning tool, sketch out a layout plan for your space. Plan where you want to start, how the planks will be laid, and where you may need to make cuts. This will help you visualize the final result and make the installation process smoother.
By carefully measuring your room, calculating the square footage, considering wastage, and creating a layout plan, you’ll be well-prepared for the next steps of the installation process. Now that you have a clear plan in place, it’s time to gather the necessary tools and materials for your vinyl-plank floor installation.
Step 3: Gather the Necessary Tools and Materials
Before you start installing your vinyl-plank floor, it’s important to gather all the necessary tools and materials. Having everything you need at hand will make the installation process smoother and more efficient. Here is a list of the essential items:
- Vinyl-plank flooring: Purchase enough vinyl planks to cover the square footage of your space, plus a little extra for wastage. Choose a color, style, and design that suits your aesthetic preferences and complements your overall decor.
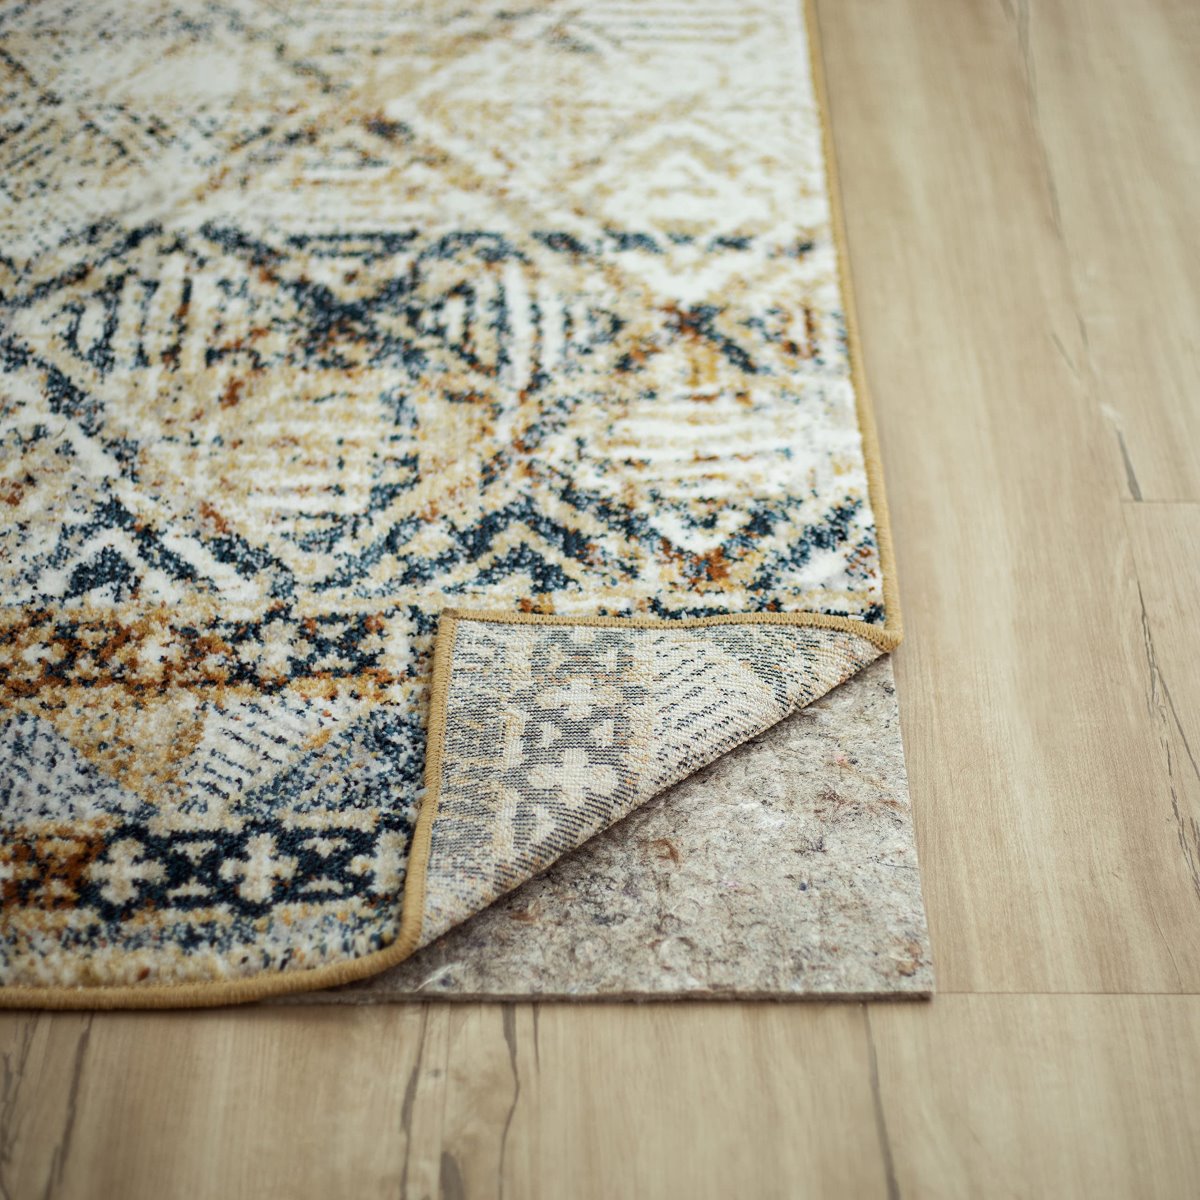
- Underlayment (if required): Check if your vinyl-plank flooring requires an underlayment. Some vinyl floors come with built-in underlayment, while others may require an additional layer for added cushioning and sound insulation.
- Tape measure: A tape measure is essential for accurate measurements when planning your layout and cutting the planks.
- Utility knife: A sharp utility knife will be used to cut the vinyl planks to the required size and make precise cuts around obstacles.
- Straight edge: A straight edge, such as a ruler or a carpenter’s square, will help you make straight and precise cuts when trimming the planks.
- Spacers: Plastic spacers will be used to maintain a small expansion gap between the planks and the walls or obstacles. This gap allows the flooring to expand and contract with changes in temperature and humidity.
- Tapping block and rubber mallet: These tools are necessary for gently tapping the planks into place and ensuring a tight fit between the joints.
- Adhesive (if required): Some vinyl-plank floors require adhesive to secure the planks to the subfloor. Check the manufacturer’s instructions to determine if adhesive is necessary.
- Knee pads: Installing a vinyl-plank floor involves a lot of kneeling and crawling, so it’s a good idea to wear knee pads for comfort and protection.
- Dust mask and safety glasses: When cutting the vinyl planks, protect yourself by wearing a dust mask to prevent inhaling particles and safety glasses to shield your eyes.
By gathering all the necessary tools and materials before you start the installation process, you’ll be fully equipped to tackle each step with ease and efficiency. With everything you need at hand, it’s time to move on to the next step: acclimating the vinyl planks.
Step 4: Acclimate the Vinyl Planks
Acclimating the vinyl planks to the environment in which they will be installed is an important step in ensuring a successful and long-lasting installation. This process allows the planks to adjust to the temperature and humidity of the room, minimizing the risk of expansion or contraction after the installation. Here’s what you need to do:
- Unbox the vinyl planks: Open the boxes of vinyl planks and remove any packaging materials. Carefully stack the planks on a flat surface in the room where they will be installed.
- Let them sit: Allow the vinyl planks to acclimate for at least 48 hours. This timeframe may vary depending on the manufacturer’s recommendations, so be sure to check the instructions that come with your specific product.
- Keep the room conditions stable: Maintain the room temperature and humidity levels within the range specified by the manufacturer. This will ensure that the vinyl planks adjust to the conditions they will be exposed to during their lifespan.
- Keep an eye on any changes: During the acclimation period, observe any changes in the appearance or dimension of the vinyl planks. If you notice any significant defects or potential issues, contact the manufacturer for further guidance.
- Do not expose to extreme conditions: Avoid exposing the vinyl planks to extreme temperatures or moisture during the acclimation process. This includes keeping them away from direct sunlight, heating vents, or damp areas.
Acclimating the vinyl planks is a crucial step that should not be overlooked. By allowing the planks to adjust to the room’s conditions, you can minimize the risk of issues such as buckling, warping, or gaps between the planks after installation. Once the acclimation period is complete, you’re ready to move on to the next step: the actual installation of the vinyl planks.
Read more: How To Install Vinyl Floor
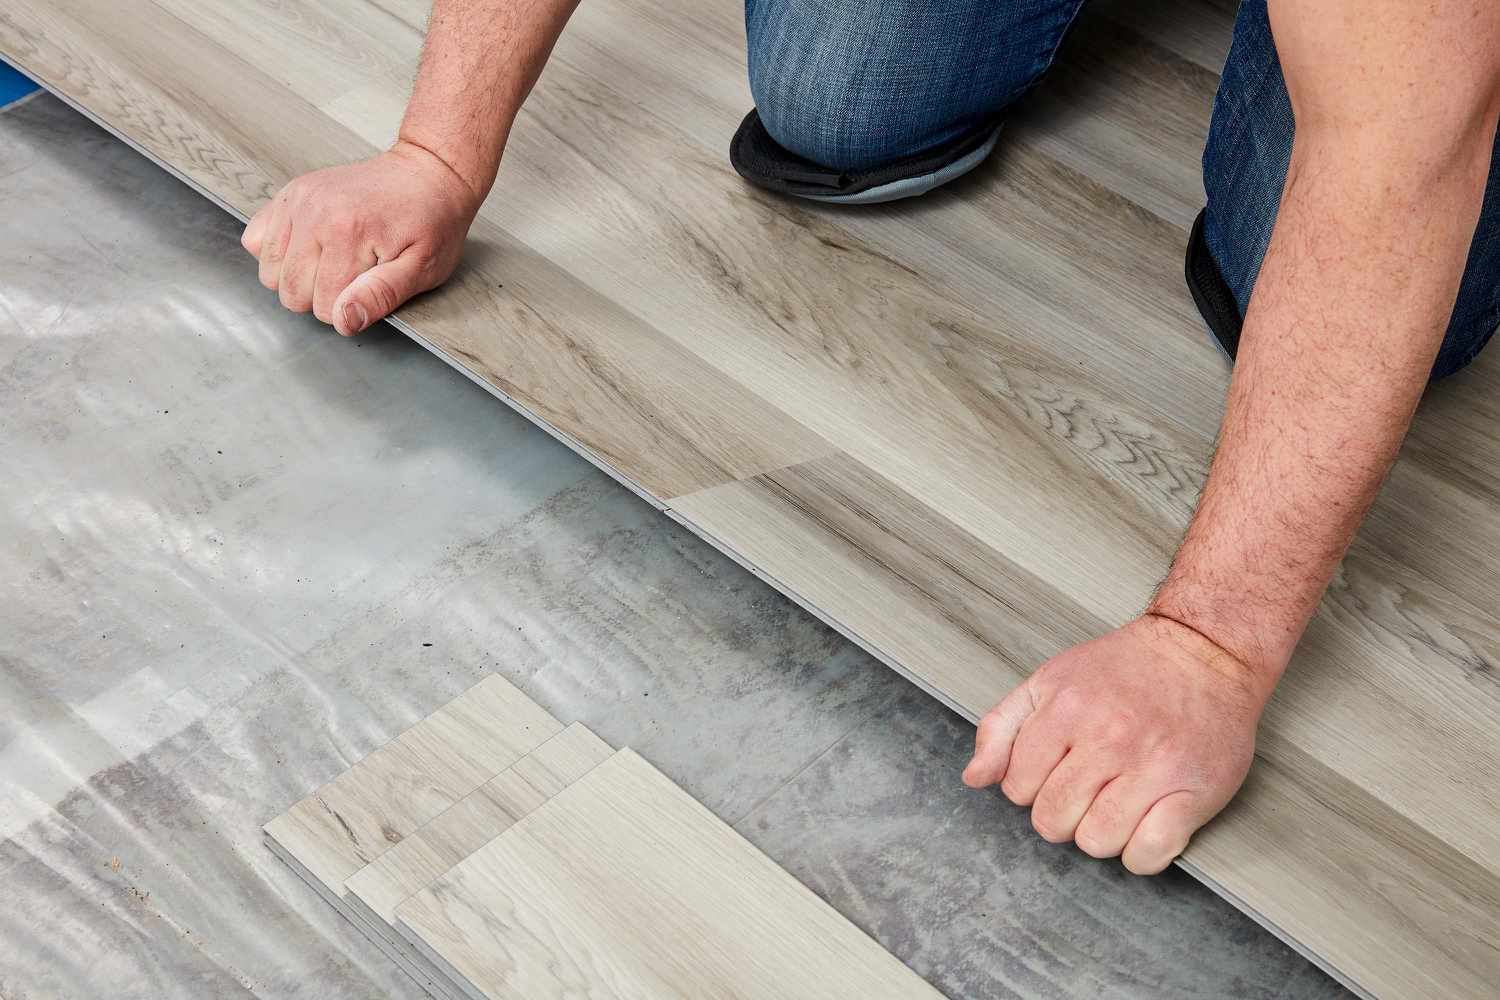
Step 5: Begin Installation
With the subfloor prepared, the necessary tools gathered, and the vinyl planks acclimated, you’re ready to embark on the exciting step of actually installing your vinyl-plank floor. Here’s a detailed guide on how to begin the installation:
- Start in a corner: Begin in a corner of the room, working from left to right or right to left, depending on the layout you’ve chosen. This is typically the most visually appealing starting point.
- Place spacers: Position plastic spacers along the starting wall to create an expansion gap. These spacers will ensure that the vinyl planks have enough room to expand and contract without causing damage or buckling.
- Lay the first plank: Lay the first vinyl plank in the corner, placing it against the spacers and the starting wall. Make sure to leave a small gap between the plank and the wall, approximately 1/4 inch, to allow for expansion. Align the plank’s long edge with the starting wall.
- Continue with the next planks: Lay the next plank tightly against the previously installed plank, joining the short ends together. Use a slight angle to connect the planks, and then press them down firmly to secure the adhesive or click-lock mechanism in place.
- Use a tapping block and mallet: As you proceed, gently tap the planks with a tapping block and rubber mallet to ensure a snug fit and eliminate any gaps between the planks. Be careful not to apply too much force to avoid damaging the planks.
- Stagger the planks: As you continue installing the planks, be sure to stagger the joints for a more natural look and to increase stability. Avoid having the end joints of adjacent rows align with one another by cutting the first plank of each row to a different length.
- Continue the installation: Repeat the process of laying, connecting, and tapping the planks until you reach the opposite wall. If needed, use a knife to trim the last plank to fit properly against the wall and maintain the expansion gap.
- Check for levelness: Periodically check that the installed planks are level by placing a straight edge or level tool across several rows. This will help ensure a smooth and even installation.
- Trim door jambs and moldings: If the planks extend under door jambs or moldings, use a coping saw or utility knife to carefully trim them for a seamless fit. This will allow the planks to slide underneath without obstruction.
Remember to work carefully and slowly, paying attention to detail and ensuring a tight and secure installation. Take breaks as needed to prevent fatigue and to maintain focus. By following these steps, you’ll be well on your way to completing the installation of your vinyl-plank floor.
Before starting the installation, make sure the subfloor is clean, dry, and level. Any imperfections can cause the vinyl planks to not lay flat or click together properly.
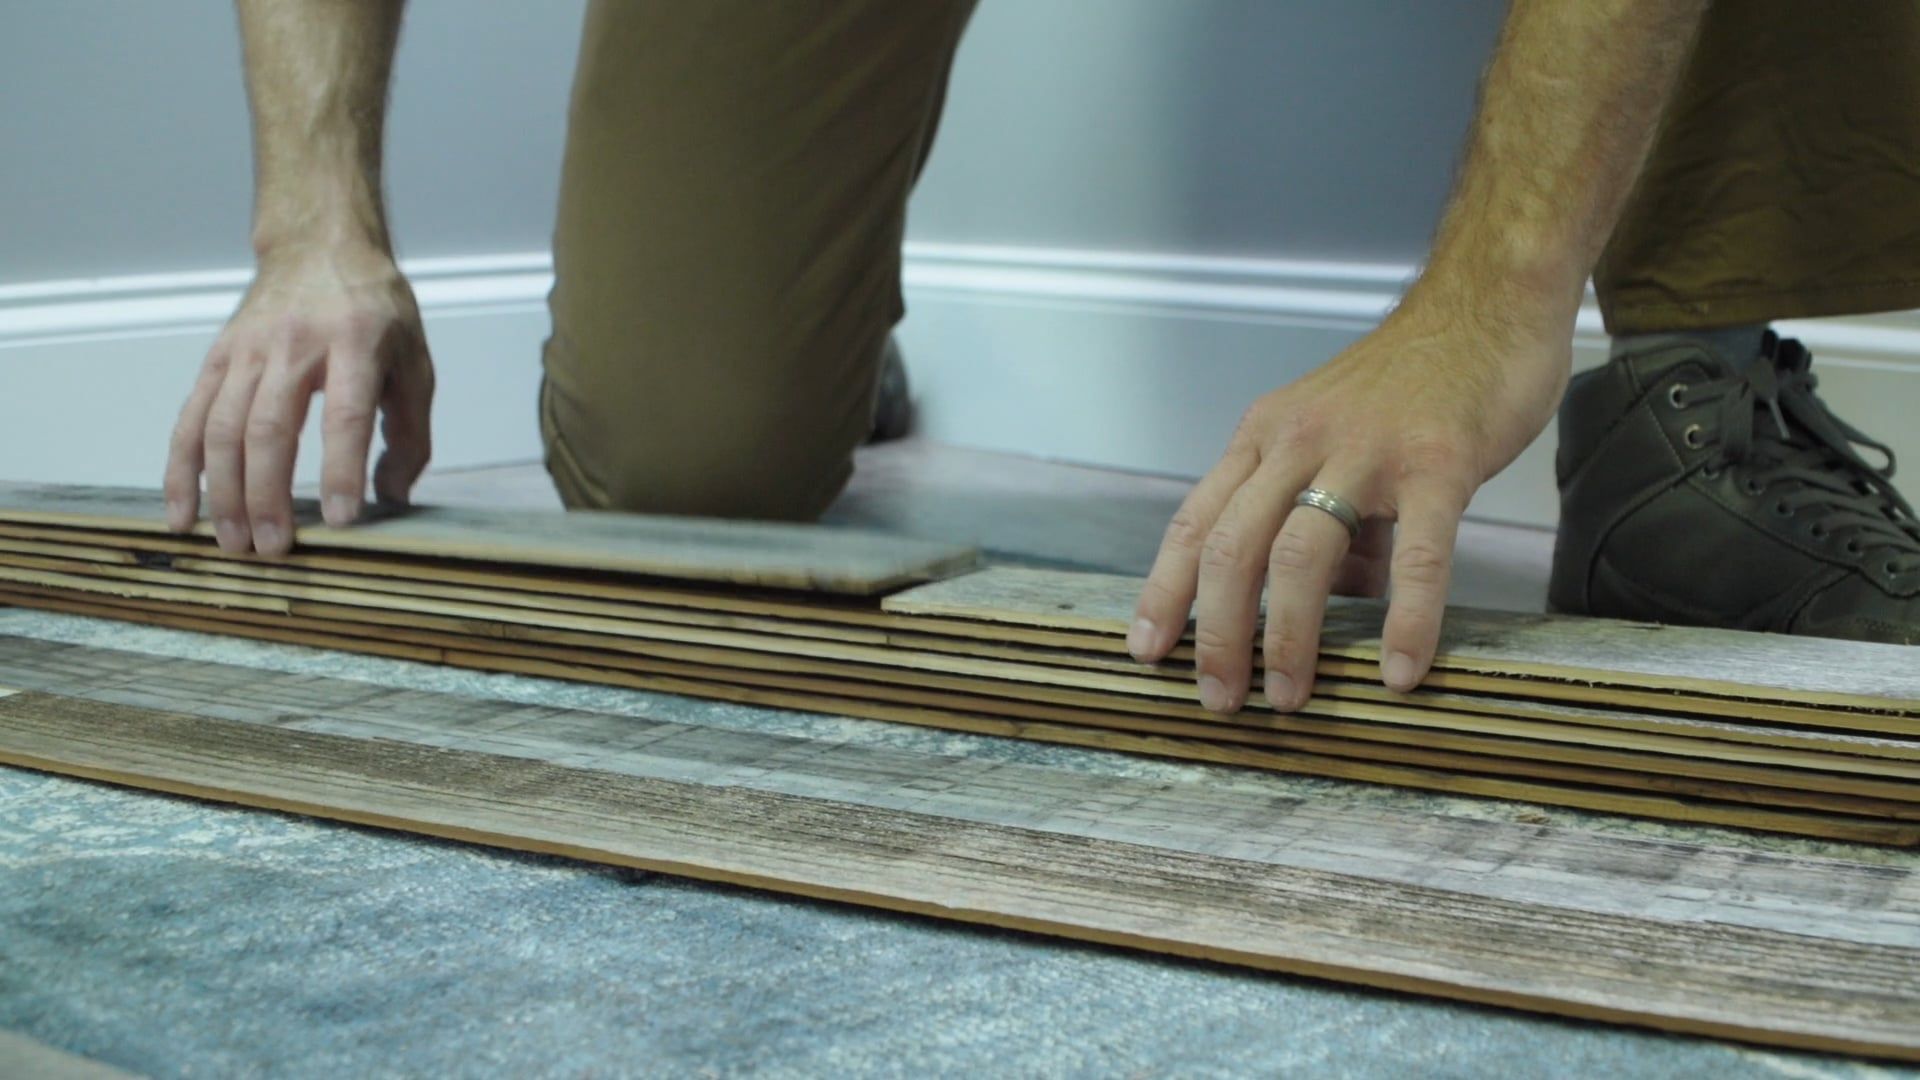
Step 6: Cut and Fit the Planks
As you progress with the installation of your vinyl-plank floor, you will inevitably encounter areas where the standard-sized planks need to be trimmed or adjusted to fit properly. In this step, we will guide you through the process of cutting and fitting the planks for a seamless installation:
- Measure and mark: Measure the space where a plank needs to be cut, taking into account the required expansion gap. Mark the measurement on the plank using a straight edge and a pencil.
- Score the plank: Using a utility knife, score the plank along the marked line. Apply firm, even pressure with multiple passes to ensure a clean and precise cut. Be sure to cut on the decorative side of the plank.
- Snap and break: Once the plank is deeply scored, carefully bend it along the scored line to snap it. This will create a clean break. If needed, use the utility knife to finish the cut along any remaining sections.
- Fit the plank: Test-fit the cut plank in the designated area to ensure that it fits snugly. Make any necessary adjustments by trimming the plank further if required, ensuring a proper fit.
- Trim around obstacles: In areas where you encounter obstacles such as doorways, heating vents, or pipes, use a jigsaw or a coping saw to cut the planks to the desired shape. Take your time and make precise cuts to ensure a seamless fit around these obstacles.
- Use a pull bar: If you encounter difficulty fitting the last plank against the wall, use a pull bar to gently pull the planks together, closing any gaps and creating a tight fit.
- Inspect and adjust: Once all the planks have been cut and fit into place, inspect the entire floor for any visible gaps or areas that may require additional adjustments. Make any necessary cuts or trims to ensure a visually appealing and properly installed floor.
Remember to take your time and work with precision when cutting and fitting the planks. Accurate measurements and clean cuts will result in a professional-looking installation. With this step complete, you are now ready to move on to installing the vinyl planks around obstacles in the room.
Step 7: Install Around Obstacles
When installing a vinyl-plank floor, you will likely encounter various obstacles such as doorways, heating vents, and pipes that require special attention and precision. In this step, we will guide you on how to successfully install the planks around these obstacles:
- Doorways: Measure and mark the doorway area where the planks will need to be cut to fit. Use a straight edge and a pencil to create a precise guideline.
- Trimming door jambs: Use a coping saw or a jigsaw to carefully trim the bottom of the door jambs. This will allow the planks to fit underneath without obstruction. Ensure that the cut is clean and flush with the floor’s surface.
- Heating vents: Measure and mark the area around the heating vents where the planks will need to be cut. Use a jigsaw or a utility knife to make the necessary cuts to fit the planks tightly around the vents.
- Pipes and other obstructions: If you encounter pipes or other obstructions that protrude from the floor, create a template using sturdy cardboard or paper. Transfer the template onto the plank and cut out the marked shape to fit around the obstruction.
- Ensure proper fit and alignment: Before securing the planks around the obstacles, ensure that they fit snugly and align properly with the surrounding pieces. Make any necessary adjustments by trimming the planks or adjusting the cutouts.
- Install transition pieces: If necessary, install transition pieces around doorways or between different types of flooring to create a smooth and seamless transition. Follow the manufacturer’s instructions for proper installation of transition molding.
It’s important to work carefully and double-check your cuts and fitments around obstacles. Taking the time to make precise cuts and ensuring a proper fit will result in a polished and professional-looking installation. With the vinyl planks properly installed around obstacles, you are now ready for the final steps to complete the flooring installation process.
Step 8: Complete the Installation
Congratulations! You’re in the final stage of installing your vinyl-plank floor. In this step, you’ll complete the installation process and make sure everything is secure and aligned for a finished look. Here’s what you need to do:
- Check for loose or raised planks: Walk across the entire floor, paying attention to any planks that feel loose or raised. If you notice any, gently tap them down using a rubber mallet and tapping block to ensure a tight and secure fit.
- Remove spacers: Once you have confirmed that all the planks are securely in place, remove the plastic spacers along the walls. This will allow the planks to expand and contract as needed without restriction.
- Clean the floor: Use a soft broom or a vacuum with a soft brush attachment to remove any dust or debris from the surface of the vinyl-plank floor. Make sure to clean between the planks and along the edges for a thorough cleaning.
- Inspect the installation: Take a step back and assess the entire installation. Look for any visible gaps, unevenness, or areas that may require touch-ups. Make any necessary adjustments or repairs to ensure a flawless finish.
- Install baseboards and trim: Once you are satisfied with the installation, reinstall the baseboards and trim along the perimeter of the room. Use a nail gun or a hammer and finishing nails to securely attach them, making sure they are aligned and flush with the floor.
- Remove any adhesive residue: If adhesive was used during the installation process, check for any residue on the surface of the planks. Use a clean cloth and an appropriate adhesive remover to carefully remove any excess adhesive.
- Enjoy your new vinyl-plank floor: After completing the installation and giving the floor a final clean, it’s time to sit back and enjoy your beautiful new vinyl-plank floor. Take a moment to appreciate the transformation it has brought to your space.
By ensuring all the planks are secure, removing spacers, cleaning the floor, inspecting the installation, installing baseboards and trim, and removing any adhesive residue, you’ll complete the final touches of your vinyl-plank floor installation. Now, it’s time to step back and admire the result of your hard work and attention to detail!
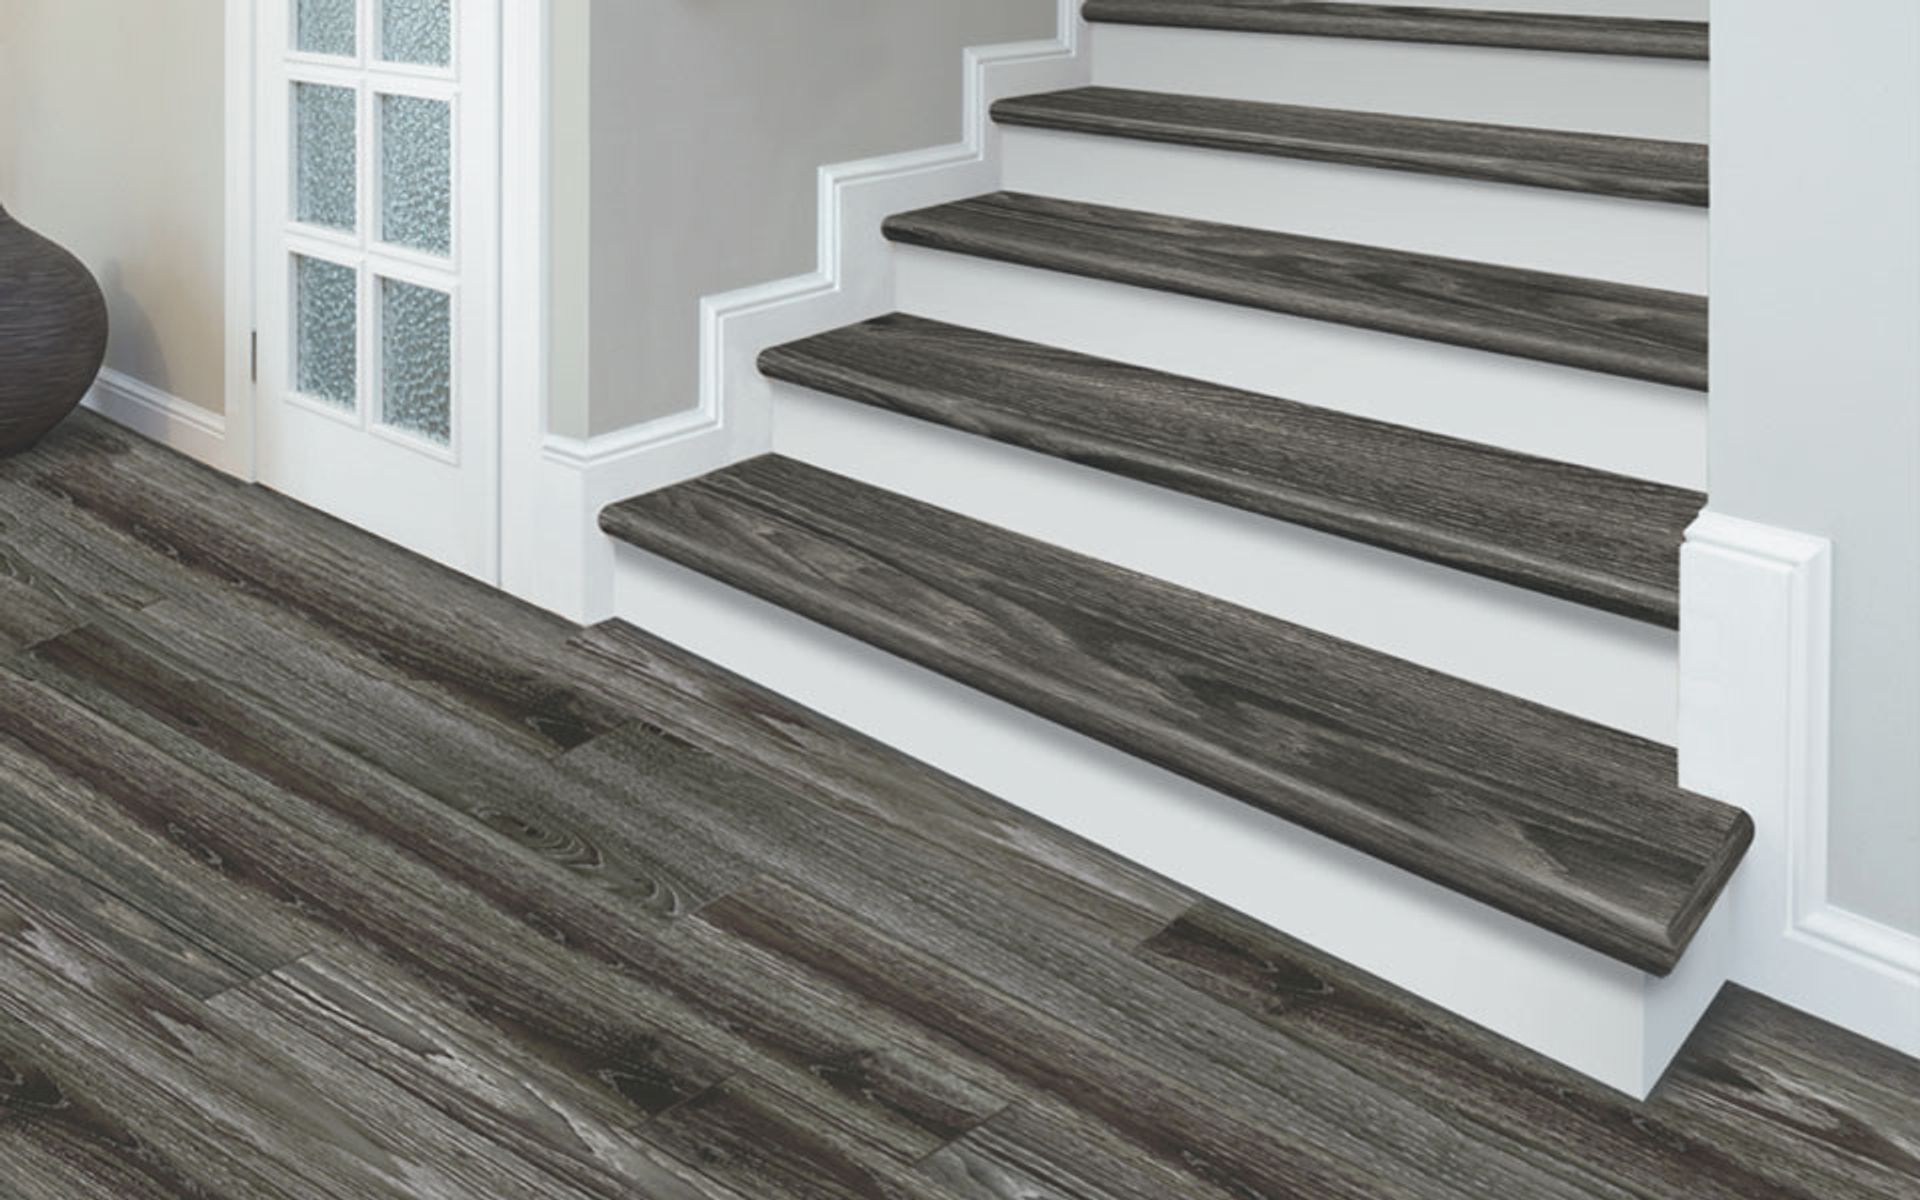
Read more: How To Do Vinyl Plank On Stairs
Step 9: Install Transition Molding
Transition molding is an essential finishing touch for your vinyl-plank floor installation. It provides a smooth and seamless transition between different types of flooring, such as vinyl and carpet or vinyl and tile. In this step, we’ll guide you on how to install transition molding:
- Measure and cut the molding: Measure the length needed for the transition molding using a tape measure. Use a miter saw or a coping saw to make accurate cuts at a 45-degree angle for corners or straight cuts for straight edges.
- Prep the floor and subfloor: Clean the area where the transition molding will be installed, ensuring it is free from dust and debris. Check the subfloor to make sure it is level and smooth to ensure a proper fit for the molding.
- Apply adhesive: Apply a small amount of construction adhesive to the bottom of the molding or the subfloor, following the manufacturer’s instructions. This will help secure the molding in place.
- Position and attach the molding: Carefully position the molding in the desired location and press it firmly against the floor. Use finishing nails or screws to secure the molding to the subfloor, making sure it is aligned and flush.
- Fill any gaps: If there are any small gaps between the molding and the flooring, use wood filler or caulk to fill them in. Smooth the filler or caulk with a putty knife for a seamless finish.
- Clean and inspect: Clean any excess adhesive or filler from the surface of the molding and surrounding areas. Inspect the installed transition molding to ensure it is secure, aligned, and blends well with the flooring.
By following these steps, you’ll successfully install transition molding that enhances the overall appearance of your vinyl-plank floor and provides a professional and finished look. Transition molding not only adds a decorative touch but also serves the practical purpose of protecting the edges of the flooring and creating a cohesive transition between different flooring materials.
Now that you’ve completed the installation of the transition molding, you’re ready for the final step: cleaning and inspecting the finished floor.
Step 10: Clean and Inspect the Finished Floor
Cleaning and inspecting your newly installed vinyl-plank floor is the final step to ensure its pristine condition and long-lasting beauty. By following this step, you’ll be able to enjoy the full benefits of your hard work. Here’s what you need to do:
- Sweep or vacuum: Begin by sweeping or vacuuming the floor to remove any loose dirt, dust, or debris. This is important to prevent scratching or damaging the surface during the cleaning process.
- Use a suitable cleaner: Consult the manufacturer’s recommendations for the appropriate cleaning solution for your specific vinyl-plank floor. Avoid using harsh chemicals or abrasive cleaners that can damage or dull the finish.
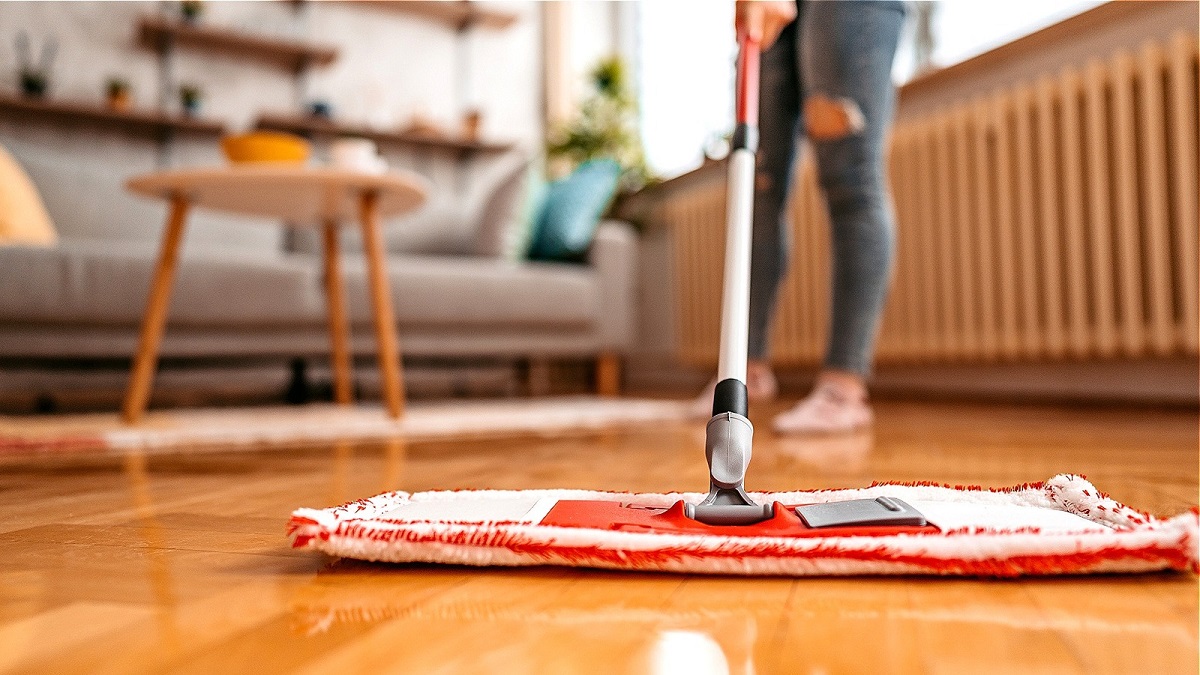
- Mop the floor: Dilute the recommended cleaning solution in a bucket of warm water according to the manufacturer’s instructions. Use a damp mop to gently clean the surface, ensuring that the mop is not soaking wet. Wring out excess water to prevent water damage to the floor.
- Spot clean any stains or spills: For stubborn stains or spills, use a soft cloth or sponge dipped in the diluted cleaning solution. Gently blot the area, avoiding excessive scrubbing, which can damage the surface.
- Dry the floor: After mopping and spot cleaning, thoroughly dry the floor using a clean, dry mop or towel. Excess moisture can lead to slips and falls, as well as potential damage to the floor.
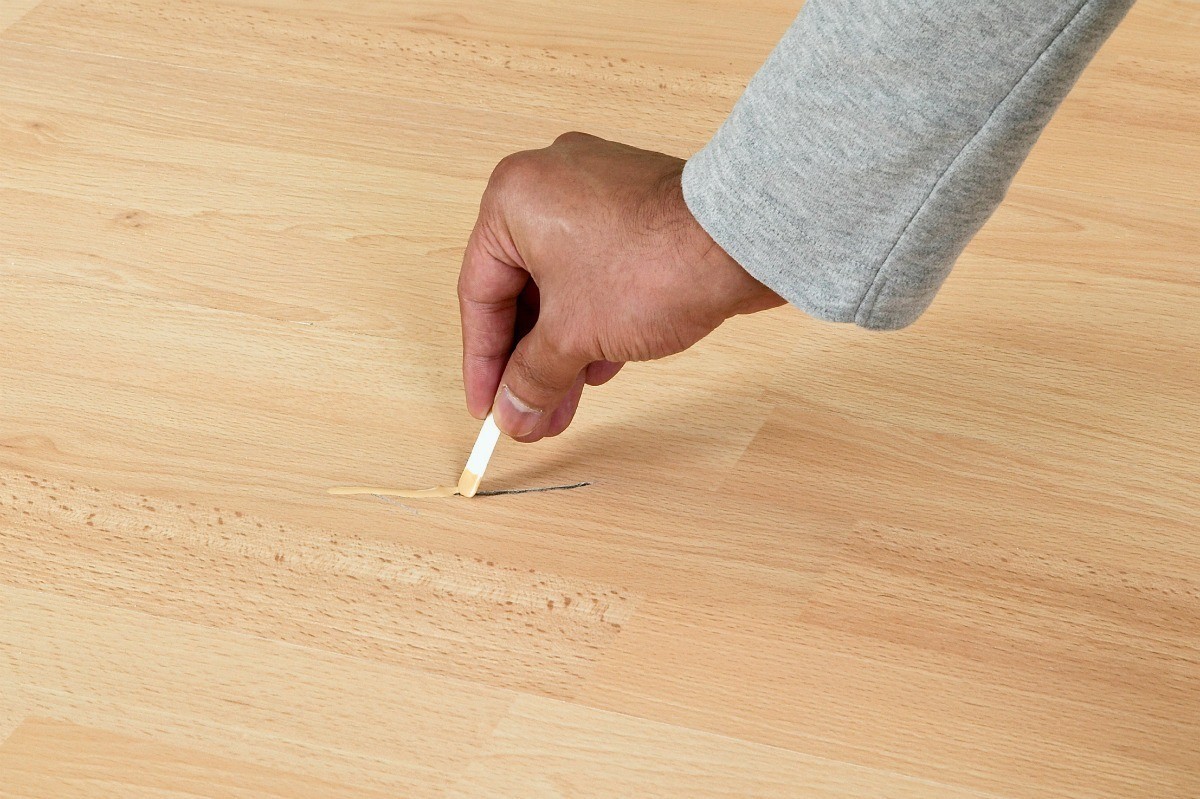
- Inspect the floor: Take the time to carefully inspect the entire floor for any imperfections, gaps, or damage that may have occurred during the installation process. Address any issues as needed or consult a professional if necessary.
- Protect the floor: Place furniture pads or felt pads on the bottom of furniture legs to prevent scratches or indentations. Use rugs and doormats in high traffic areas to minimize wear and tear.
- Maintain regular cleaning: Keep your vinyl-plank floor looking its best by establishing a routine cleaning schedule. Regular sweeping or vacuuming, as well as periodic mopping, will help maintain its beauty and durability over time.
By diligently cleaning and inspecting your finished floor, you ensure its longevity and attractiveness for years to come. Taking these final steps will leave you with a stunning vinyl-plank floor that enhances the aesthetic appeal of your space and provides a comfortable and low-maintenance flooring option.
Congratulations! You have successfully completed the installation of your vinyl-plank floor. Enjoy your beautiful new floor and the countless benefits it brings to your home or space!
Conclusion
Installing a vinyl-plank floor is a rewarding process that can transform the look and feel of any space. By following the ten comprehensive steps outlined in this guide, you can achieve a professional-looking installation while ensuring durability, functionality, and visual appeal.
From preparing the subfloor to measuring and planning, gathering the necessary tools and materials, acclimating the vinyl planks, and cutting and fitting the planks, each step has been carefully detailed to guide you through the process with ease and confidence. Additionally, steps on installing around obstacles, completing the installation, installing transition molding, cleaning, and inspecting the finished floor ensure a polished and seamless outcome.
Throughout the installation process, always prioritize safety by wearing protective gear, taking breaks as needed, and consulting professionals or experienced individuals if unsure or uncomfortable with any step. Attention to detail, precision, and adhering to manufacturer guidelines will result in a visually appealing and long-lasting vinyl-plank floor.
Remember, maintenance plays a crucial role in preserving the beauty and performance of your vinyl-plank floor. Establish a regular cleaning routine and take proactive measures to protect the floor from potential damage caused by furniture or high foot traffic areas.
With its durability, easy maintenance, and versatility in design options, vinyl-plank flooring offers a practical and stylish solution for any room in your home or commercial space. By successfully installing a vinyl-plank floor, you’ve not only enhanced the aesthetics of your environment but also added value and comfort to your daily living or working space.
Now, armed with the knowledge and guidance provided in this comprehensive guide, you are ready to embark on your vinyl-plank floor installation journey. Enjoy the process, and may your new floor bring you years of satisfaction and delight!
Frequently Asked Questions about How To Install Vinyl Plank Flooring
Was this page helpful?
At Storables.com, we guarantee accurate and reliable information. Our content, validated by Expert Board Contributors, is crafted following stringent Editorial Policies. We're committed to providing you with well-researched, expert-backed insights for all your informational needs.


0 thoughts on “How To Install Vinyl Plank Flooring”