Home>Ideas and Tips>Upgrading Your Home’s Exterior With DIY Porch Railing

Ideas and Tips
Upgrading Your Home’s Exterior With DIY Porch Railing
Modified: October 20, 2024
Enhance your home's curb appeal and safety with a DIY porch railing. Learn about materials, designs, and step-by-step installation tips.
(Many of the links in this article redirect to a specific reviewed product. Your purchase of these products through affiliate links helps to generate commission for Storables.com, at no extra cost. Learn more)
Upgrading your home's exterior with a DIY porch railing is a fantastic way to boost curb appeal, add safety, and increase property value. But why should you consider this project? Let's dive into the reasons.
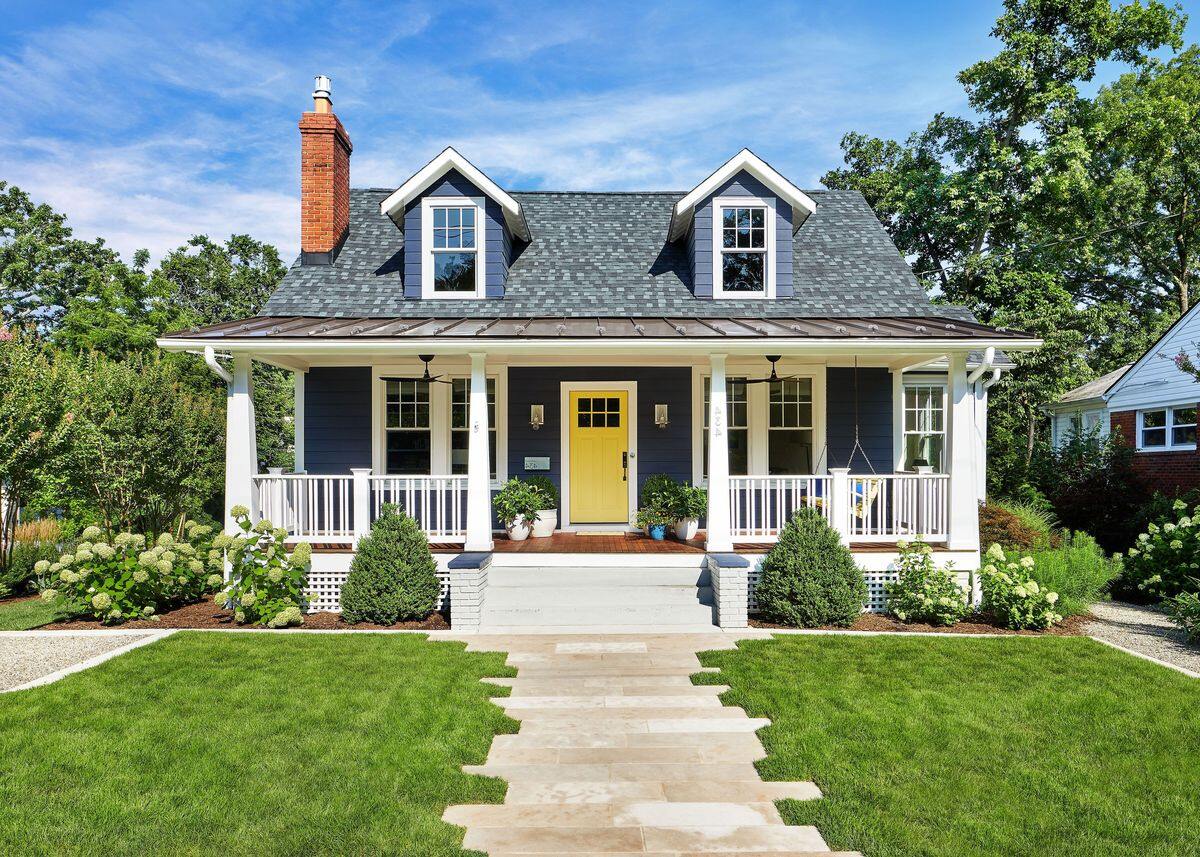
First off, a well-designed porch railing can make your home look more inviting and stylish. Imagine driving up to your house and seeing a beautifully crafted railing that complements your home's architecture. It adds a touch of elegance and sophistication, making your house stand out in the neighborhood. Plus, it's a great way to express your personal style. Whether you prefer a classic wooden look or a modern metal design, there's a porch railing style that will suit your taste.
Safety is another big reason to upgrade your porch railing. If you have kids or pets, you know how important it is to have a secure barrier around your porch. A sturdy railing can prevent accidental falls and give you peace of mind. It's not just about looks; it's about keeping your loved ones safe.
Functionality is also a key factor. Porch railings aren't just for show; they can serve practical purposes too. You can use them to hang plants, lights, or decorations, adding even more charm to your outdoor space. Some designs even include built-in seating or storage, making your porch more versatile and useful.
And let's not forget about property value. A well-maintained and attractive porch railing can increase the value of your home. It's one of those small improvements that can make a big difference when it comes time to sell. Potential buyers will appreciate the added safety and aesthetic appeal, making your home more attractive on the market.
Now, let's talk about choosing the right materials for your DIY porch railing. This is a crucial step that will determine the durability and look of your project. Here are some popular options:
- Wood: A classic choice, wood is known for its natural beauty and durability. You can opt for pressure-treated wood for added longevity or use cedar, pine, or other types of wood for a more rustic look.
- Vinyl: Vinyl is low maintenance and resistant to weathering. It comes in various styles and colors, making it easy to match with your home's exterior.
- Metal: Metal railings can add a modern touch to your porch. They are durable and require minimal maintenance but may not be as aesthetically pleasing as wood or vinyl.
- Composite Materials: Composite materials like Trex offer the best of both worlds—durability and aesthetic appeal. They are made from a combination of wood fibers and plastic, making them resistant to rot and insect damage.
Before you start your project, it's crucial to plan carefully. Here are some steps to help you plan your porch railing:
- Measure Your Porch: Measure the length and width of your porch to determine how many sections of railing you'll need. Also, note the distance between the posts.
- Decide on the Design: Decide on the design of your porch railing. You can choose from various styles such as horizontal, vertical, or a combination of both. Consider the height of the railing—typically between 36 inches and 42 inches.
- Check Local Building Codes: Ensure that your design complies with local building codes and regulations. Some areas may have specific requirements for porch railings.
When it comes to installing porch railings, you have two main options: using prefabricated railings or building custom railings from scratch.
Prefabricated Railings
Prefabricated railings are available at most home improvement stores and can be easily installed by following the manufacturer's instructions. Here are some pros and cons of using prefabricated railings:
Pros:
- Ease of Installation: Prefabricated railings are quick to install as they come in pre-made sections.
- Cost-Effective: They are often cheaper than custom-built railings.
- Consistency: Each section is identical, ensuring uniformity in design.
Cons:
- Limited Customization: You are limited in terms of customization as you have to choose from available designs.
- Waste: If your porch dimensions don't match perfectly with the pre-made sections, you might end up with wasted material.
Custom-Built Railings
Building custom railings from scratch offers more flexibility in terms of design and fit. Here are some pros and cons of building custom railings:
Pros:
- Customization: You can design your railing exactly how you want it, ensuring it fits perfectly with your home's style.
- Fit: Custom-built railings will fit your porch dimensions precisely without any waste.
Cons:
- Time-Consuming: Building custom railings requires more time and effort.
- Skill Level: It requires some DIY skills and knowledge of carpentry or masonry.
If you decide to build custom porch railings, here’s a step-by-step guide to help you through the process:
Materials Needed:
- Pressure-treated wood or other types of wood
- Wood screws
- Post anchors
- Galvanized L brackets
- Decorative trim (optional)
- Safety glasses
- Power tools (saw, drill, miter saw)
Steps:
- Prepare Your Posts: Ensure that your porch posts are level and securely anchored to the ground. If necessary, use post anchors for added stability.
- Measure and Cut Railings: Measure between each post and cut your railing material accordingly. Use a miter saw for precise cuts.
- Assemble Sections: Assemble each section of railing by attaching them to the posts using wood screws or galvanized L brackets.
- Add Decorative Trim: If desired, add decorative trim around the edges of each section for a more polished look.
- Install Handrails: Attach handrails to the top of each section using screws or brackets. Ensure they are securely fastened.
- Final Touches: Inspect your work for any gaps or loose screws and make necessary adjustments before finishing up.
Here are some additional tips and considerations when installing your DIY porch railing:
- Safety First: Always wear safety glasses when working with power tools and ensure that your workspace is clear of any debris.
- Weather Resistance: Choose materials that are resistant to weathering such as pressure-treated wood or composite materials.
- Maintenance: Regularly inspect your porch railing for any signs of wear or damage and perform necessary maintenance tasks like re-staining or re-sealing.
- Aesthetic Balance: Ensure that your porch railing complements the overall aesthetic of your home without overpowering it.
- Budgeting: Set a budget before starting your project and stick to it by choosing materials wisely and avoiding unnecessary expenses.
For a real-world example of how a DIY porch railing project can transform a home's exterior, let's look at a case study from The Minimal House blog:
In this case study, the homeowners decided to install modern front porch railings using wood slats as part of their home improvement project. Here’s how they did it:
- Materials Used: They used 4×4 posts for the base, 5/4 pressure-treated deck boards for the top plates, and decorative trim for finishing touches.
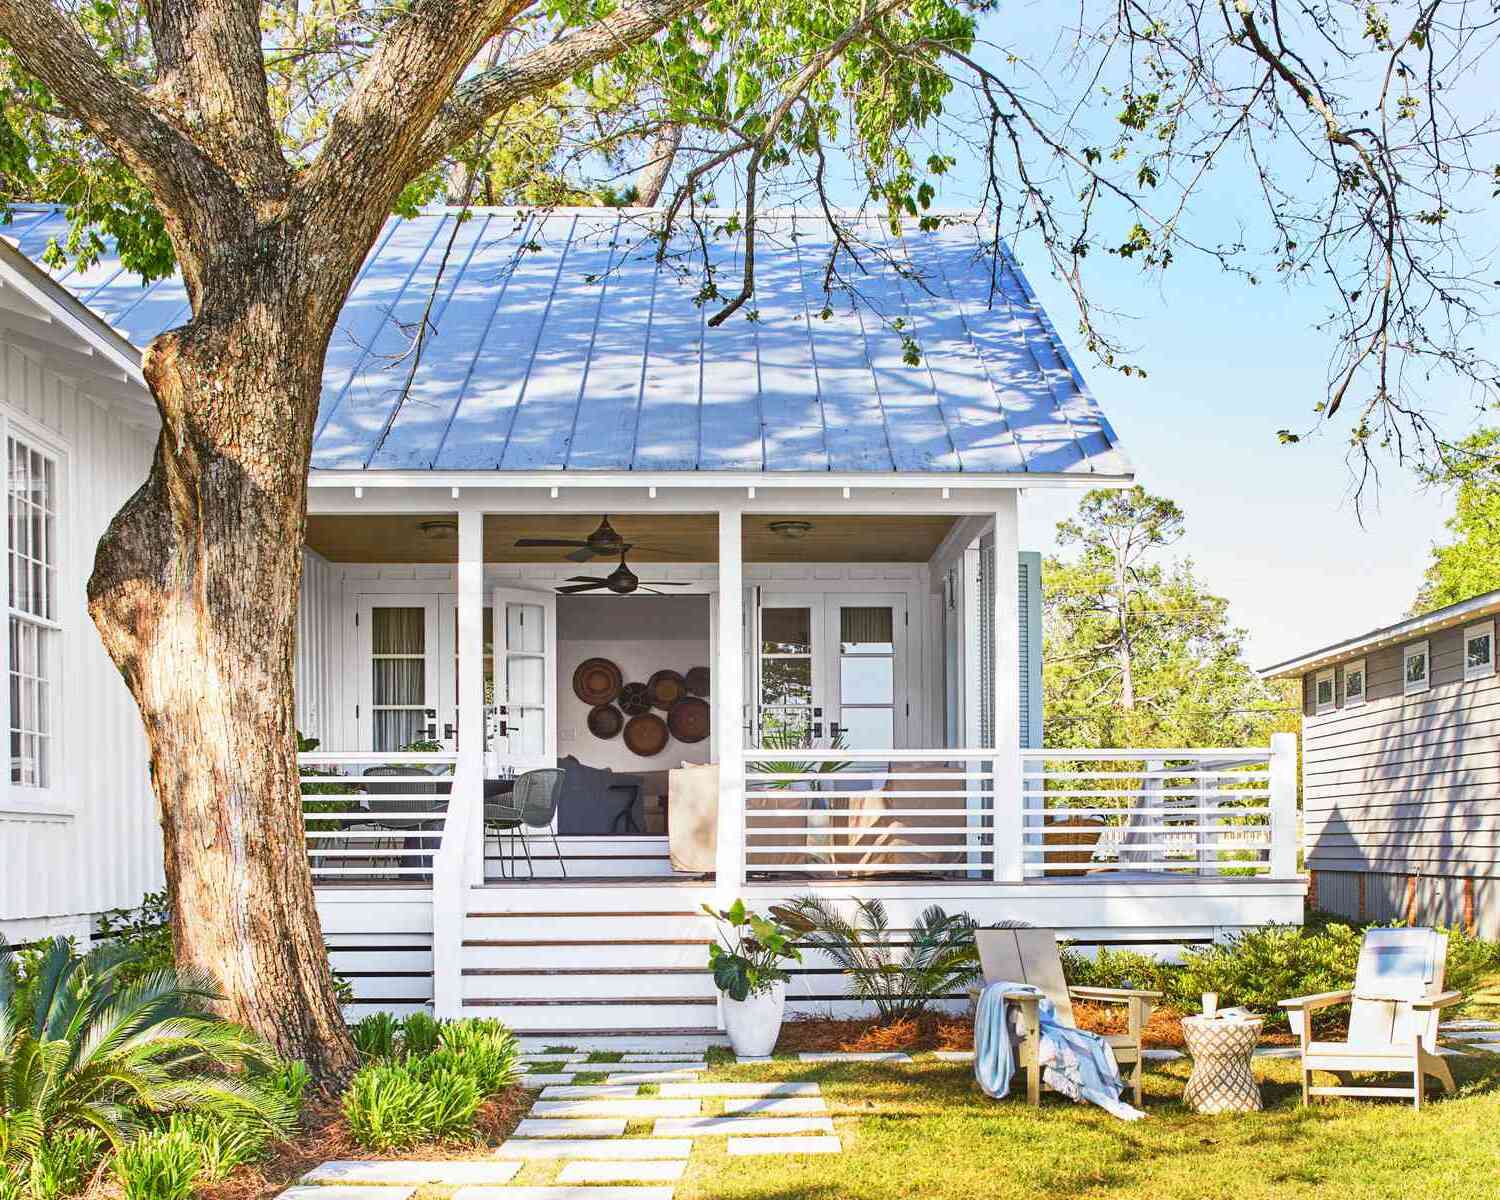
- Design Choice: They opted for horizontal wood slats which added an inexpensive yet stylish touch to their home's curb appeal.
- Installation Process: They cut angles on the 4×4 posts using a miter saw and then installed them securely into place before adding the deck boards.
- Final Touches: They concealed all visible wood pieces with deck boards ensuring a clean finish.
The result was an instant curb appeal upgrade that completely transformed their home's exterior.
Upgrading your home's exterior with a DIY porch railing is not only cost-effective but also highly rewarding in terms of aesthetic appeal and functionality. By choosing the right materials, planning carefully, and following a step-by-step guide, you can achieve professional-looking results without needing professional help. Whether you opt for prefabricated or custom-built railings, remember that attention to detail and safety precautions are key to ensuring a successful project. So why wait? Start planning your DIY porch railing project today and watch how it enhances your home's curb appeal!
Was this page helpful?
At Storables.com, we guarantee accurate and reliable information. Our content, validated by Expert Board Contributors, is crafted following stringent Editorial Policies. We're committed to providing you with well-researched, expert-backed insights for all your informational needs.



0 thoughts on “Upgrading Your Home’s Exterior With DIY Porch Railing”