Home>Ideas and Tips>Upgrading Your Home’s Exterior With DIY Retractable Awning

Ideas and Tips
Upgrading Your Home’s Exterior With DIY Retractable Awning
Modified: October 18, 2024
Enhance your home's curb appeal and functionality with a DIY retractable awning. Learn benefits, planning, installation, and maintenance tips.
(Many of the links in this article redirect to a specific reviewed product. Your purchase of these products through affiliate links helps to generate commission for Storables.com, at no extra cost. Learn more)
Introduction
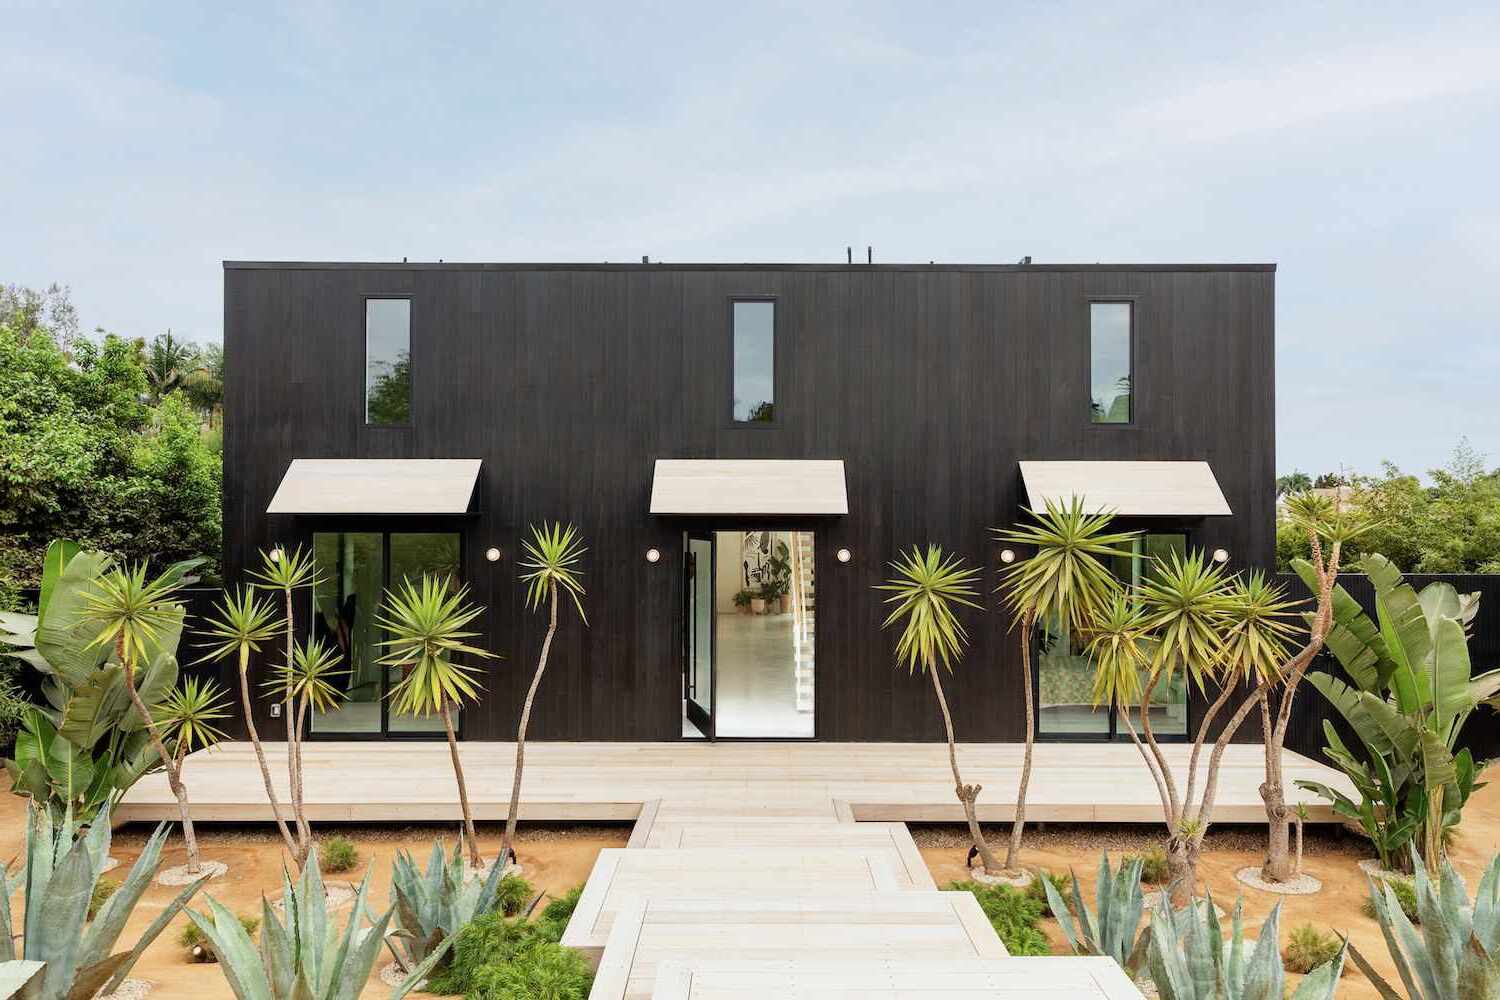
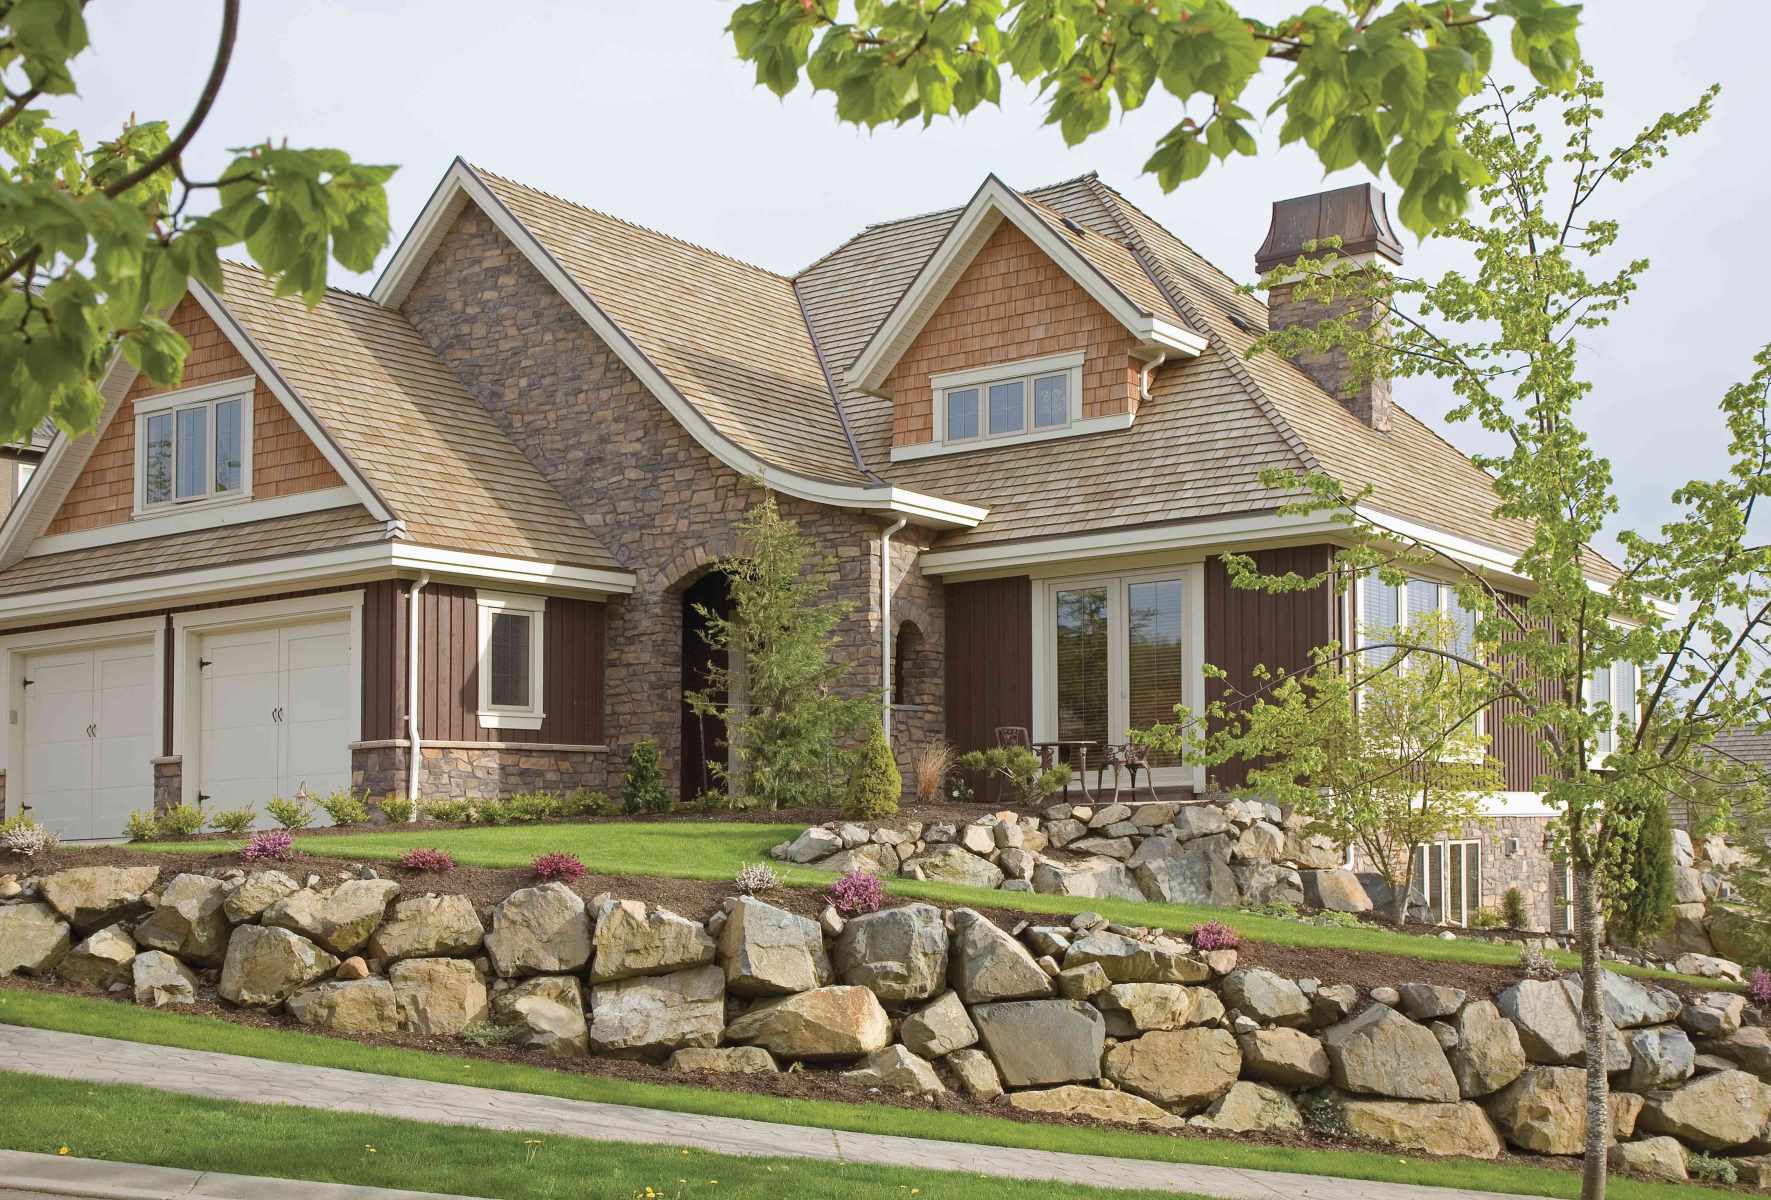
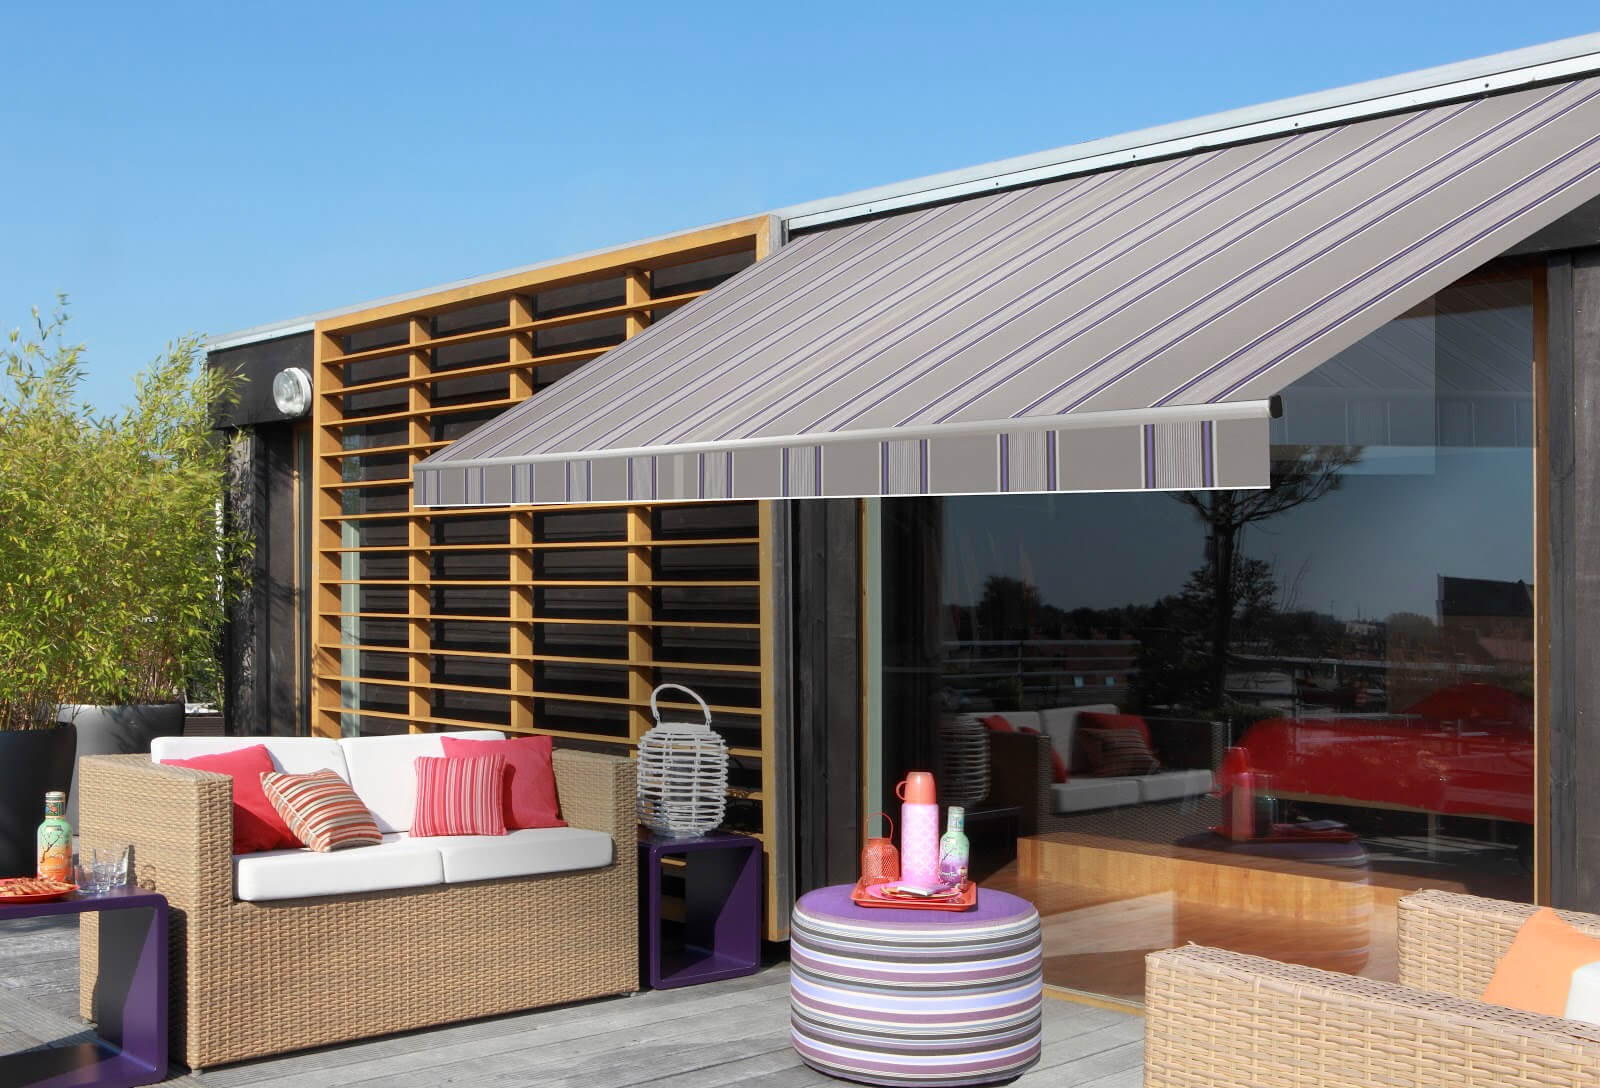
Upgrading your home's exterior can significantly enhance its curb appeal and functionality. One of the most effective and stylish ways to achieve this is by installing a DIY retractable awning. Not only do these awnings provide shade and protection from the elements, but they also add a touch of elegance to your home's facade. In this article, we will guide you through the process of upgrading your home's exterior with a DIY retractable awning, covering everything from planning and preparation to installation and maintenance.
Benefits of a DIY Retractable Awning
Before diving into the installation process, it's essential to understand the benefits of a DIY retractable awning. Here are some key advantages:
- Aesthetic Appeal: A retractable awning can transform the look of your home's exterior, adding a modern and sophisticated touch.
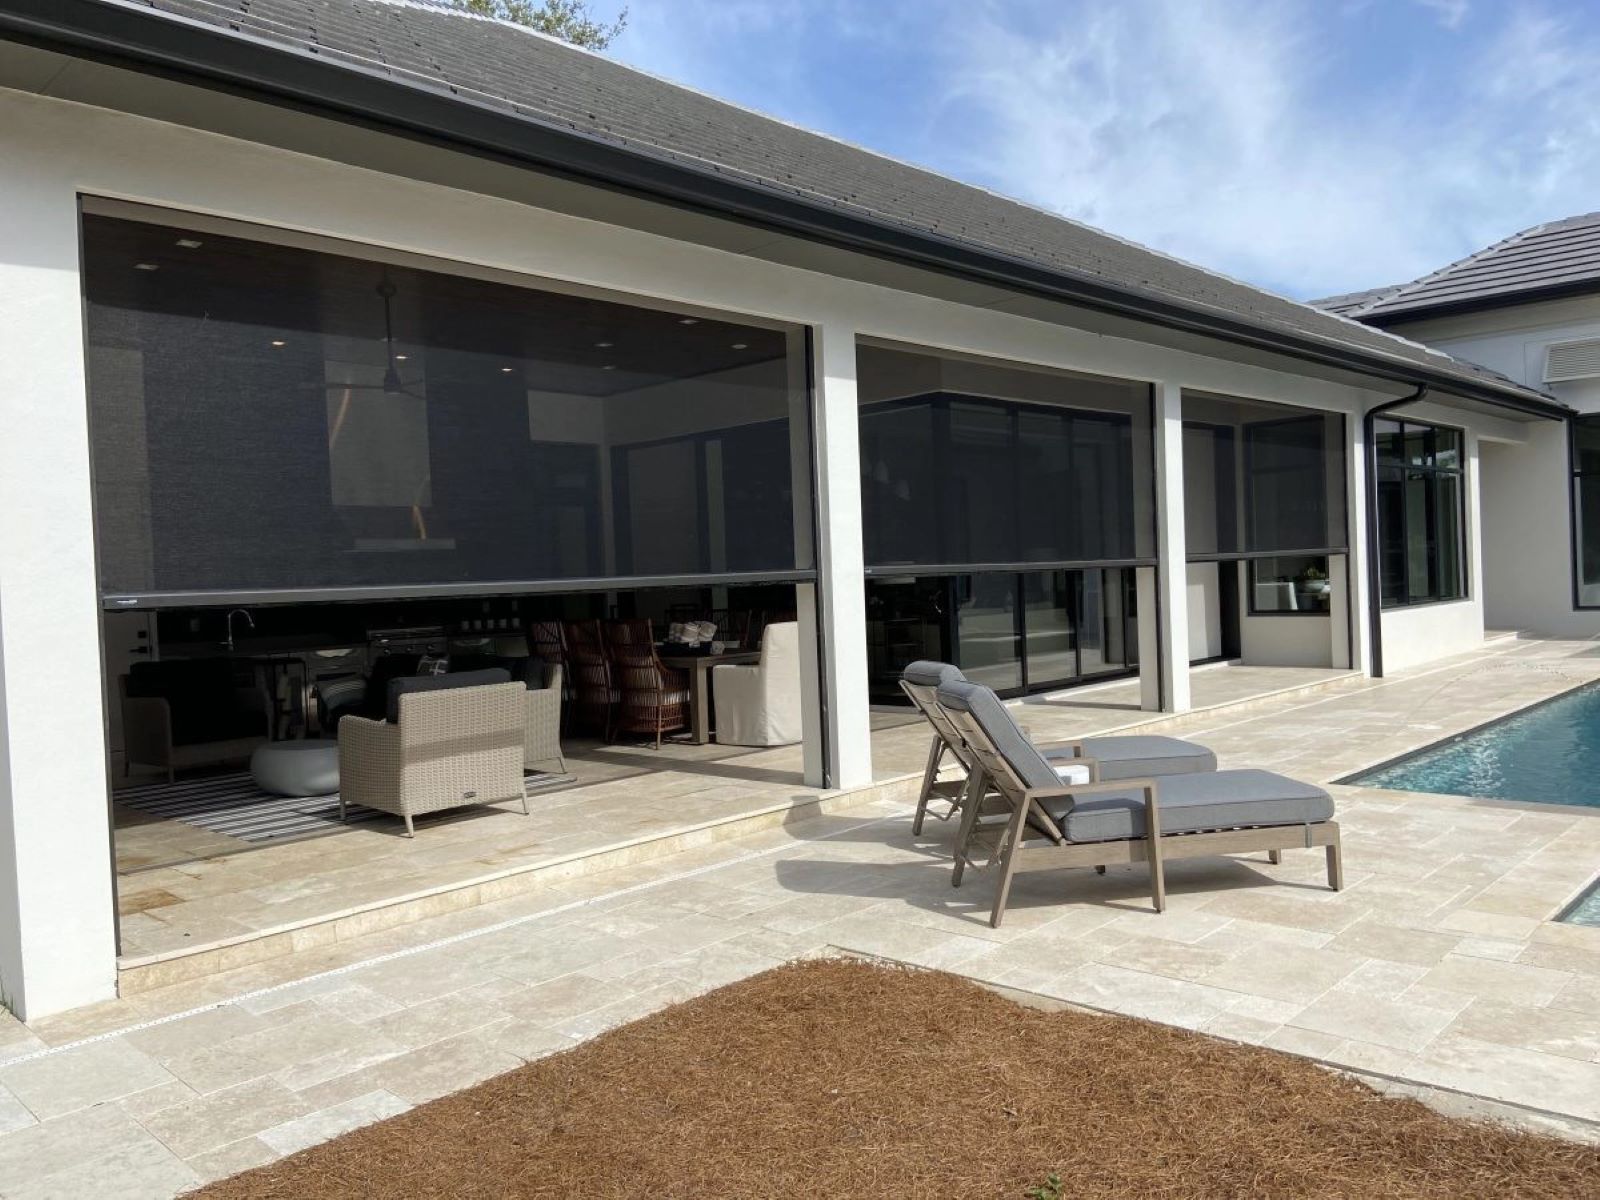
- Shade and Sun Protection: These awnings provide excellent shade, reducing the need for interior shading solutions and protecting your furniture and floors from UV damage.
- Weather Protection: They offer protection from rain, wind, and snow, ensuring that your outdoor spaces remain usable throughout the year.
- Energy Efficiency: By reducing the need for air conditioning and heating, retractable awnings can help lower your energy bills.
- Durability: High-quality materials and proper installation ensure that your awning will last for many years.
Planning and Preparation
Before starting your project, it's crucial to plan and prepare thoroughly. Here are some steps to follow:
-
Assess Your Space:
- Determine the area where you want to install the awning. Consider the size of your patio, deck, or porch.
- Measure the width and length of the space to ensure you choose an awning that fits perfectly.
-
Choose the Right Material:
- Decide on the material for your awning. Common options include fabric, metal, and vinyl. Each material has its own advantages and disadvantages.
- Consider factors like durability, maintenance requirements, and aesthetic appeal.
-
Select a Style:
- Decide on the style of your awning. Options include fixed, retractable, and motorized.
- Choose a style that complements your home's architecture and personal preferences.
-
Check Local Building Codes:
- Ensure that your DIY project complies with local building codes and regulations.
- Obtain any necessary permits before starting the installation.
-
Gather Tools and Materials:
- Make a list of all the tools and materials you will need for the installation.
- Purchase high-quality components to ensure a durable and long-lasting awning.
Tools and Materials Needed
Here is a comprehensive list of tools and materials you will need for your DIY retractable awning project:
-
Structural Components:
- Posts or columns
- Beams or rafters
- Mounting brackets
- Hinges and pivot points
-
Fabric or Covering:
- Retractable awning fabric (available in various colors and materials)
- Fabric clips or fasteners
-
Hardware:
- Screws
- Nuts and bolts
- Washers
-
Fasteners:
- Drill bits
- Screwdrivers
- Pliers
-
Safety Equipment:
- Ladder or scaffolding
- Safety harness (if necessary)
- Gloves
Step-by-Step Installation Guide
Now that you have all the necessary tools and materials, it's time to start the installation process. Here’s a step-by-step guide:
-
Prepare the Area:
- Clear the area where you will be working. Remove any furniture or obstructions.
- Lay down protective coverings to prevent damage to your floors.
-
Mark the Posts:
- Use a level to ensure that your posts are perfectly vertical.
- Mark the positions of the posts with chalk or a marker.
-
Drill Pilot Holes:
- Drill pilot holes for the screws or bolts that will secure the mounting brackets to the posts.
-
Attach Mounting Brackets:
- Use screws or bolts to attach the mounting brackets to the posts. Ensure they are securely fastened.
-
Install Beams or Rafters:
- Place the beams or rafters between the posts, ensuring they are level and securely attached using screws or bolts.
-
Attach Hinges and Pivot Points:
- Install hinges and pivot points according to the manufacturer's instructions. These components will allow your awning to retract smoothly.
-
Attach Fabric or Covering:
- Clip or fasten the fabric or covering to the structural components using fabric clips or fasteners.
-
Test the Awning:
- Test your retractable awning to ensure it is functioning properly. Check for any leaks or misalignments.
-
Add Finishing Touches:
- Add any decorative elements such as valances or side panels.
- Ensure all components are securely fastened and there are no loose ends.
Maintenance Tips
To keep your DIY retractable awning in excellent condition, follow these maintenance tips:
-
Regular Cleaning:
- Clean the fabric or covering regularly to prevent dirt buildup.
- Use mild soap and water for cleaning; avoid harsh chemicals that can damage materials.
-
Inspect Regularly:
- Inspect your awning regularly for signs of wear and tear.
- Check for loose screws, bolts, or fasteners and tighten them as needed.
-
Store Properly:
- During harsh weather conditions, retract your awning to prevent damage from wind or snow.
- Store any removable components such as side panels or valances in a dry place.
-
Replace Parts as Needed:
- Replace worn-out parts such as fabric clips or fasteners promptly to maintain the awning's functionality.
Conclusion
Upgrading your home's exterior with a DIY retractable awning is a rewarding project that can enhance both functionality and aesthetics. By following these steps and tips, you can achieve professional-looking results without breaking the bank. Remember to plan carefully, use high-quality materials, and maintain your awning regularly to ensure it remains a beautiful and functional addition to your home for years to come.
This article provides a comprehensive guide for homeowners looking to upgrade their home's exterior with a DIY retractable awning. From planning and preparation to installation and maintenance, it covers all aspects of this project, making it easier for anyone to achieve professional-looking results at home.
Was this page helpful?
At Storables.com, we guarantee accurate and reliable information. Our content, validated by Expert Board Contributors, is crafted following stringent Editorial Policies. We're committed to providing you with well-researched, expert-backed insights for all your informational needs.






0 thoughts on “Upgrading Your Home’s Exterior With DIY Retractable Awning”