Home>Furniture>Outdoor Furniture>How To Make A Retractable Patio Awning

Outdoor Furniture
How To Make A Retractable Patio Awning
Modified: October 19, 2024
Learn how to make your own retractable patio awning for your outdoor furniture. Enhance your outdoor living space with this DIY project that provides shade and protection from the sun.
(Many of the links in this article redirect to a specific reviewed product. Your purchase of these products through affiliate links helps to generate commission for Storables.com, at no extra cost. Learn more)
Introduction
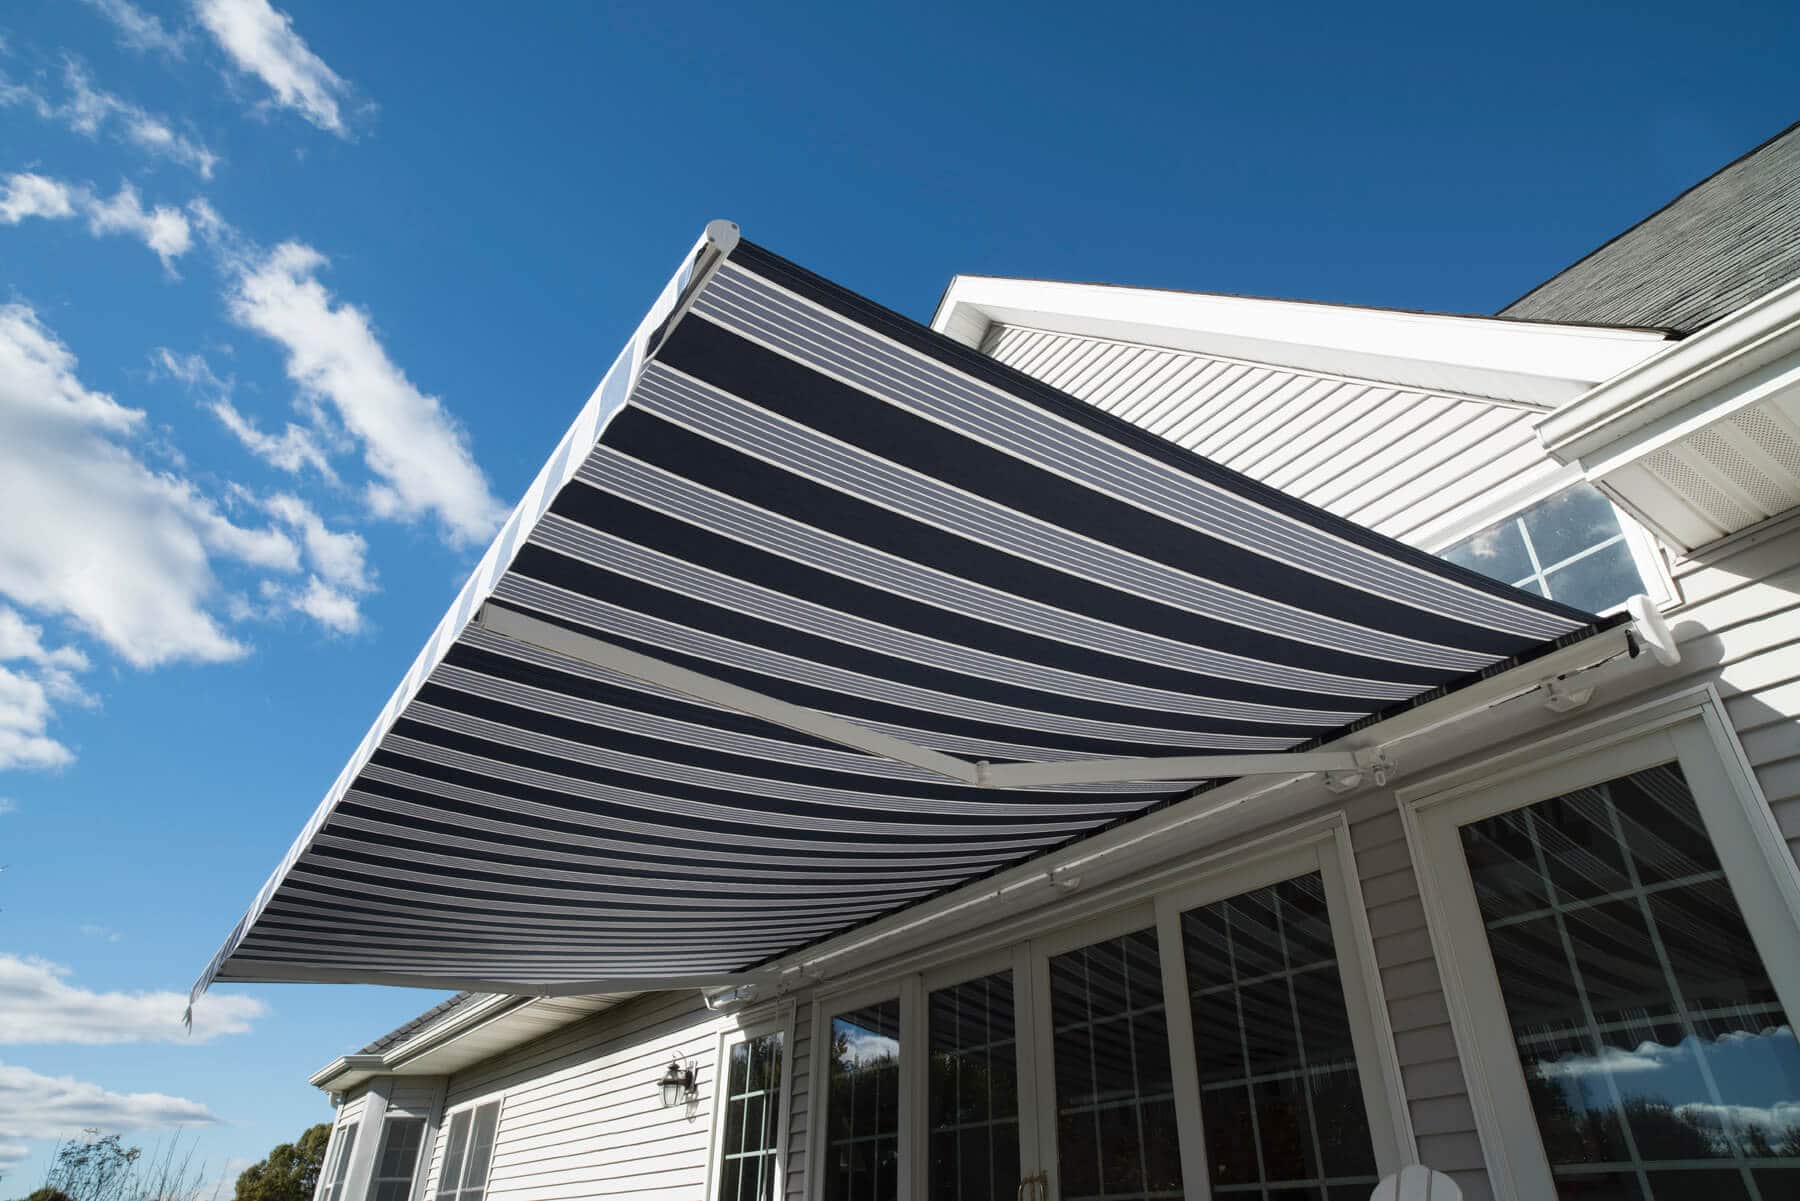
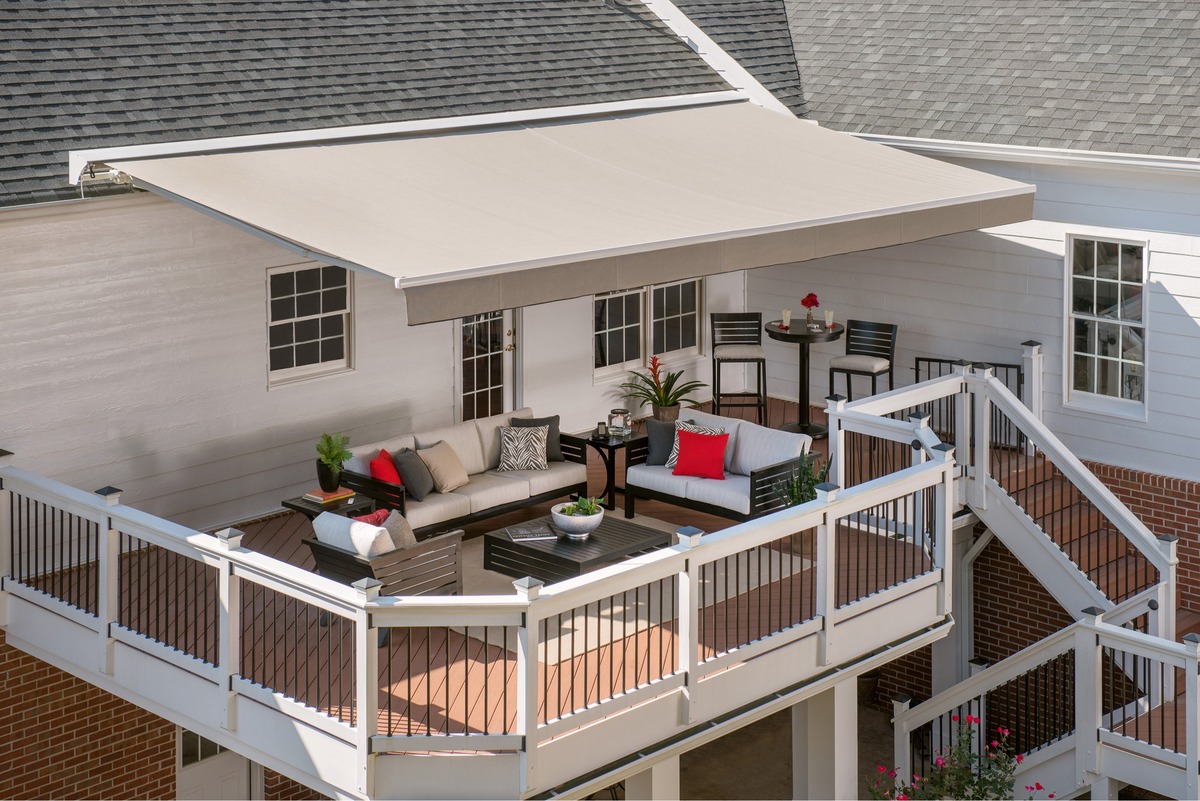
Creating a comfortable and functional outdoor space is essential for enjoying the great outdoors, especially during the warmer months. One way to enhance your outdoor living area is by installing a retractable patio awning. This versatile addition provides shade, protection from the elements, and the flexibility to adjust the level of sunlight that enters your outdoor space.
In this article, we will guide you through the step-by-step process of making a retractable patio awning. We will cover everything from measuring and planning your awning, to selecting the right materials, and finally installing and adjusting the awning for optimal functionality.
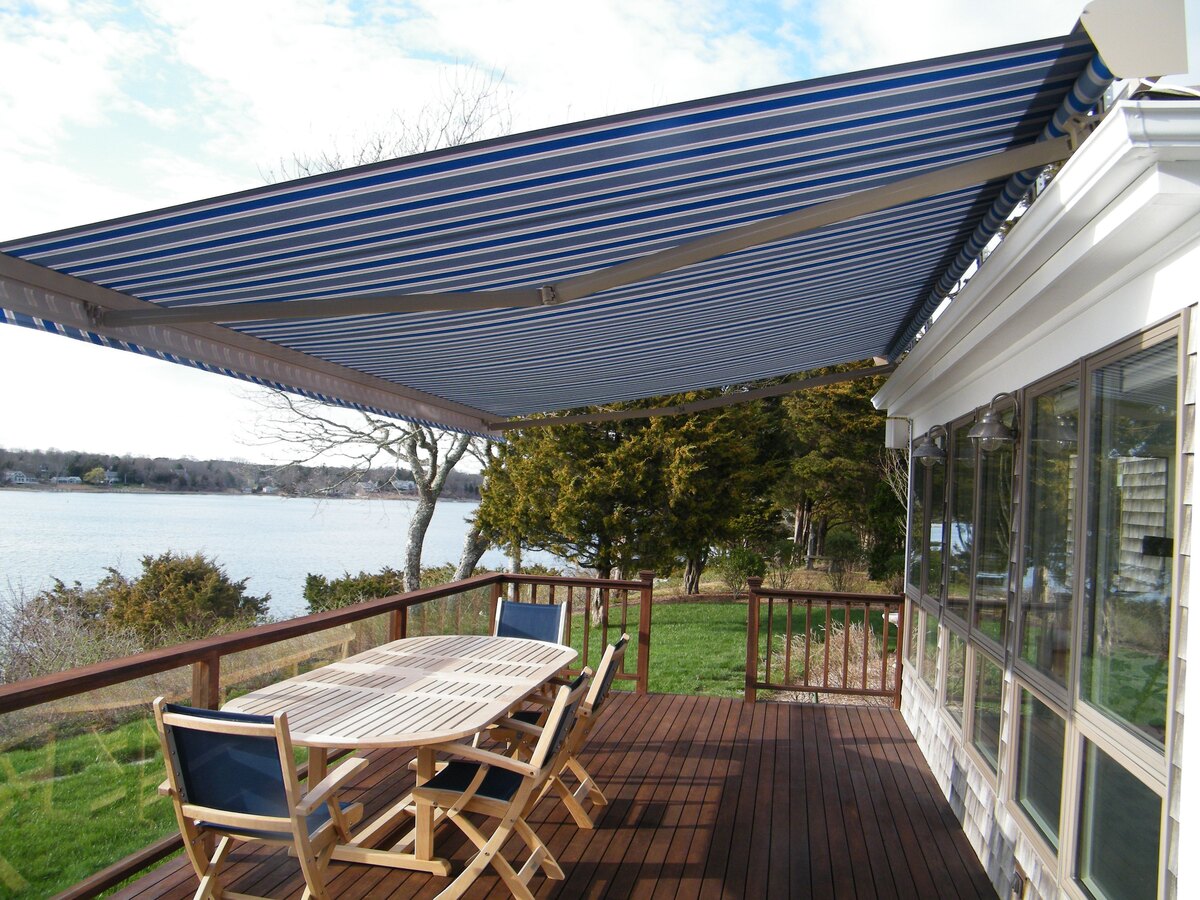
Before we dive into the detailed instructions, let’s take a moment to understand the benefits of having a retractable patio awning. With an awning, you can create a cozy and inviting haven right in your backyard. It offers shade and protection from the sun, allowing you to relax or entertain outdoors without worrying about harmful UV rays. Additionally, a retractable patio awning gives you the freedom to adjust the amount of shade depending on your preference or the weather conditions.
Whether you have a small patio or a spacious deck, a retractable awning can transform your outdoor space into a comfortable and stylish area. So, let’s gather the necessary materials and get ready to create your own retractable patio awning!
Key Takeaways:
- Creating a comfortable outdoor space is easy with a retractable patio awning. It provides shade, protection, and flexibility for enjoying the great outdoors.
- Careful planning, measuring, and material selection are crucial for making and installing a retractable patio awning. Enjoy a shaded and inviting outdoor haven with this versatile addition.
Read more: How To Make A Retractable Awning
Materials Needed
Before starting the project, make sure you have the following materials and tools on hand:
- Retractable awning kit (including the frame, fabric, and all necessary hardware)
- Tape measure
- Pencil
- Drill
- Screws
- Level
- Stud finder
- Ladder
- Safety goggles
- Work gloves
When selecting a retractable awning kit, ensure that it is suitable for the size of your patio or deck. Measure the area where the awning will be installed to determine the appropriate dimensions.
It’s also important to choose high-quality materials that are durable and weather-resistant. The fabric should be made of a UV-resistant material, such as polyester or acrylic, to withstand prolonged sun exposure. The frame materials can vary, but common options include aluminum and steel, which offer strength and stability.
Before starting the installation, gather all the necessary tools to make the process smoother and more efficient. Ensure that you have a drill with the appropriate drill bits for your wall or deck material. Safety goggles and work gloves are essential for protection while working at height and handling materials.
Now that you have all the materials and tools ready, it’s time to move on to the next step – measuring and planning your retractable patio awning.
Step 1: Measuring and Planning
The first step in making a retractable patio awning is to measure your outdoor space and plan the placement of the awning.
Start by measuring the width and depth of your patio or deck where you want to install the awning. Use a tape measure to carefully measure the dimensions and record the measurements in inches or feet.
Next, consider the height of the awning. Measure the distance from the ground or floor to the desired height of the awning. This will help determine the length of the vertical supports needed for the frame.
Once you have the measurements, it’s time to plan the placement of the awning. Consider factors such as the direction of the sun, prevailing wind patterns, and any existing structures or obstacles that may affect the installation or operation of the awning.
Choose a location that provides maximum shade and protection from the sun’s rays during the hottest parts of the day. Also, take into account any nearby trees, walls, or windows that may obstruct the awning or cause damage.
Using a pencil, mark the location of the awning on your patio or deck. Make sure the marks are level and aligned properly. This will serve as a guide during the installation process.
Before proceeding to the next step, it’s essential to check for any potential hazards or obstacles behind the area where you will be installing the awning. Use a stud finder to locate any electrical wires, plumbing, or structural elements that you need to avoid while drilling or anchoring the awning.
Now that you have measured your space and planned the placement, you’re ready to move on to selecting the awning fabric and frame in the next step.
Step 2: Selecting the Awning Fabric and Frame
Choosing the right awning fabric and frame materials is crucial for the longevity and functionality of your retractable patio awning.
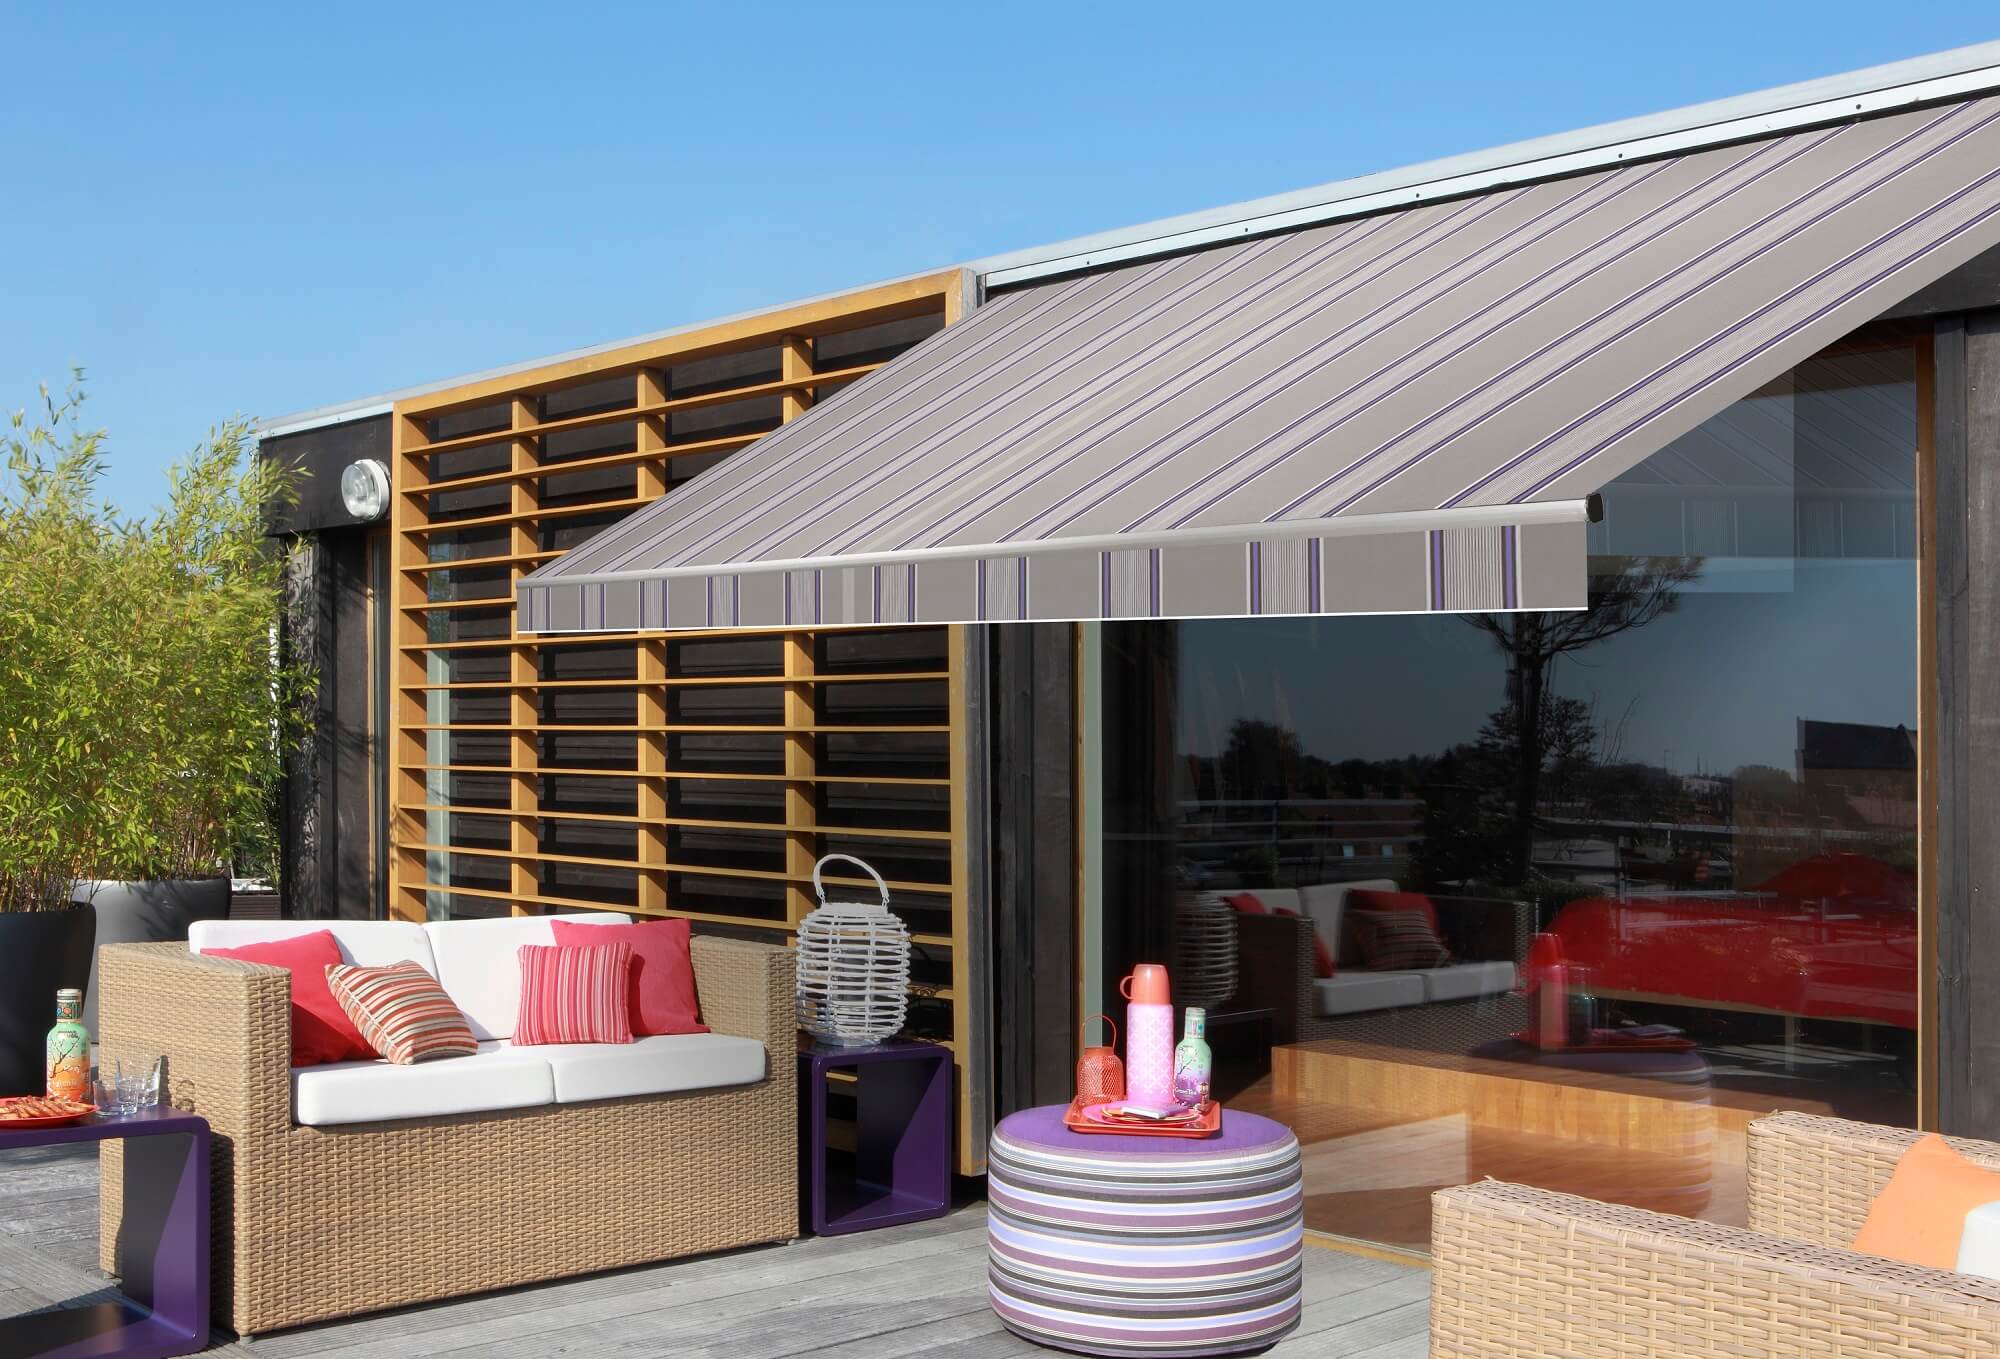
When selecting the awning fabric, opt for a material that is durable, fade-resistant, and capable of withstanding outdoor elements. Common fabric options include polyester, acrylic, and solution-dyed acrylic. These materials are known for their durability and UV resistance, ensuring that your awning will be able to withstand prolonged sun exposure without fading or deteriorating.
Consider the color and pattern of the fabric as well. Choose a color that complements your outdoor space and blends well with the surrounding environment. Additionally, selecting a fabric with a pattern or texture can add visual interest and enhance the overall aesthetic appeal of your patio or deck.
For the frame of your retractable awning, there are typically two main material options: aluminum and steel.
Aluminum frames are lightweight, corrosion-resistant, and relatively low maintenance. They also offer good structural integrity and stability, making them an excellent choice for most residential applications.
Steel frames, on the other hand, are heavier and more robust. They provide enhanced strength and stability, making them suitable for larger awnings or areas with high wind loads.
Consider factors such as the climate in your area, the size of your awning, and your personal preferences when selecting the frame material. Both aluminum and steel frames are durable and can provide long-lasting support for your retractable patio awning.
Once you have chosen the awning fabric and frame materials, it’s time to move on to the next step – preparing the frame for installation.
Step 3: Preparing the Frame
Before you can begin attaching the awning fabric, it’s important to properly prepare the frame of your retractable patio awning.
Start by unpacking and organizing all the components of the awning frame according to the manufacturer’s instructions. Lay them out on a clean and flat surface, ensuring that you have easy access to each piece.
Next, thoroughly inspect each component for any damage or defects. Check for any signs of bending, cracking, or missing parts. It’s essential to address any issues before proceeding with the installation.
If necessary, assemble the frame according to the manufacturer’s instructions. This may involve connecting upright posts, cross beams, and support brackets using the provided hardware. Make sure to tighten all screws and bolts securely.
Before mounting the frame to your patio or deck, it’s a good idea to apply a coat of protective paint or sealant to the frame. This will help prevent rust and corrosion, ensuring the longevity of your awning. Choose a paint or sealant that is compatible with the frame material and follow the application instructions carefully.
Once the paint or sealant has dried, position the frame against the marked location on your patio or deck. Use a level to ensure that the frame is perfectly level and plumb. Adjust as needed by adding shims or adjusting the location of the frame.
Now that the frame is prepared and positioned correctly, it’s time to move on to attaching the awning fabric in the next step.
When installing a retractable patio awning, make sure to properly secure the mounting brackets to a sturdy surface to ensure stability and prevent damage from wind or heavy rain.
Read more: What Is A Retractable Awning
Step 4: Attaching the Awning Fabric
Attaching the awning fabric is an important step in the process of making a retractable patio awning. Follow these steps to ensure a secure and professional installation:
- Start by unrolling the awning fabric and laying it out on a flat surface, making sure it’s free from wrinkles or folds.
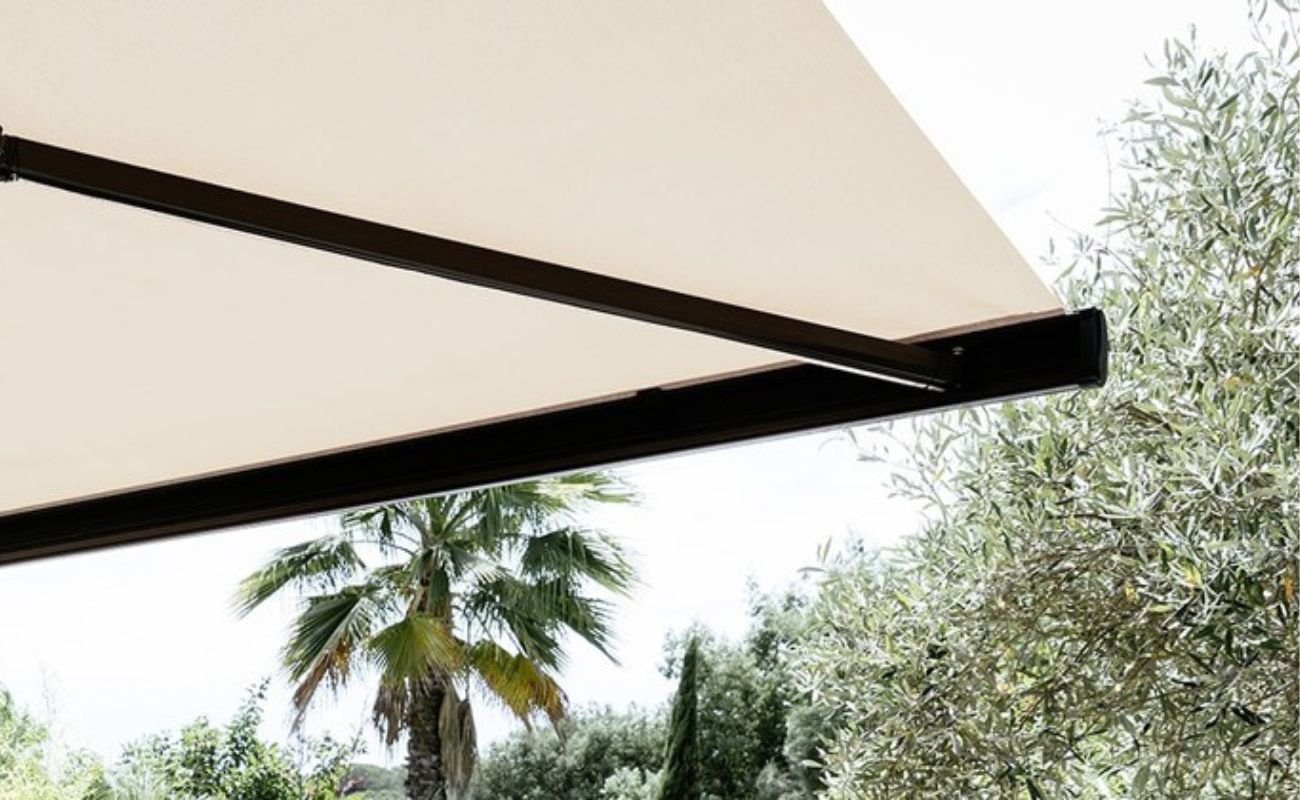
- Locate the fabric channel on the underside of the awning frame. This is where the edge of the fabric will be inserted.
- Align one edge of the fabric with the fabric channel, ensuring that it is straight and centered.
- Starting from one end, insert the edge of the fabric into the fabric channel, using your fingers to push it in securely. Continue inserting the fabric along the entire length of the frame, making sure it is evenly distributed.
- Once the fabric is fully inserted, use a plastic or rubber mallet to gently tap along the fabric channel, ensuring that the fabric is securely held in place.
- Check the tension of the fabric. It should be tight but not overly stretched. Adjust the tension by adjusting the tensioning mechanism or using any provided tensioning devices.
- Trim any excess fabric using sharp scissors or a fabric cutting tool. Leave a small margin of fabric to allow for adjustments if needed.
- Inspect the fabric for any visible defects or loose threads. If necessary, address any issues before proceeding.
It’s important to refer to the manufacturer’s instructions for specific guidance on attaching the awning fabric, as the process may vary depending on the awning kit you have purchased.
Now that the awning fabric is securely attached, it’s time to move on to the next step – installing the retractable mechanism.
Step 5: Installing the Retractable Mechanism
The retractable mechanism is what allows you to easily extend and retract your patio awning. Follow these steps to install the retractable mechanism:
- Refer to the manufacturer’s instructions to identify the appropriate location for installing the retractable mechanism.
- Using a drill and the provided screws, attach the retractable mechanism to the underside of the awning frame. Make sure it is securely fastened.
- Ensure that the retractable mechanism is aligned properly and positioned symmetrically along the length of the frame.
- Once the retractable mechanism is installed, test its functionality by extending and retracting the awning a few times. Make sure it operates smoothly and without any obstructions.
- Check that the fabric rolls up and unwinds evenly along the length of the frame. Adjust the tension or alignment as needed.
- Inspect the retractable mechanism for any signs of damage or wear. If necessary, address any issues before proceeding.
It’s important to carefully follow the manufacturer’s instructions for installing the retractable mechanism, as the process may vary depending on the specific awning kit you are using.
With the retractable mechanism installed and functioning properly, it’s time to move on to the next step – mounting the awning to your patio or deck.
Step 6: Mounting the Awning
Mounting the awning securely to your patio or deck is essential for its stability and safety. Follow these steps to mount the awning:
- Position the awning frame at the marked location on your patio or deck.
- Using a drill and the appropriate screws or anchors, attach the frame to the surface. Be sure to align the frame with the marked guidelines and ensure that it is level and plumb.
- If mounting on a wall, ensure that you are drilling into solid studs or using appropriate wall anchors for secure installation.
- For mounting on a deck or concrete surface, use the recommended anchors or brackets to secure the awning frame.
- Tighten all screws and bolts securely, but be careful not to overtighten as it may cause damage to the frame or the mounting surface.
- Double-check that the awning is level and stable. Give it a gentle shake to ensure it is securely mounted.
It’s important to refer to the manufacturer’s instructions for specific guidance on mounting the awning, as the process may vary depending on the awning kit you have purchased.
Once the awning is securely mounted, it’s time to move on to the final step – testing and adjusting the awning.
Step 7: Testing and Adjusting the Awning
After the awning is installed, it’s important to test its functionality and make any necessary adjustments to ensure optimal performance. Follow these steps to test and adjust your retractable patio awning:
- Extend the awning fully to its maximum length. Make sure it moves smoothly and without any obstructions.
- Check that the awning fabric is taut and free from wrinkles when fully extended. If there are any areas of slack, adjust the tensioning mechanism or tighten the fabric attachment to correct it.
- With the awning fully extended, assess the amount of shade it provides. If necessary, use the retractable mechanism to adjust the angle of the awning to maximize shade coverage.
- Retract the awning partially or fully to test its ability to retract smoothly. Ensure that it rolls up evenly and without any difficulties.
- Test the stability of the awning by gently shaking it. If it feels loose or unstable, double-check the mounting and tighten any loose screws or bolts.
- Review the maintenance instructions provided by the manufacturer. Follow the recommended maintenance practices to keep your awning in good condition and prolong its lifespan.
It’s important to periodically check and adjust the tension and alignment of the awning as needed. Proper maintenance and care will ensure that your retractable patio awning remains in optimal condition for years to come.
Congratulations! You have successfully completed the process of making and installing a retractable patio awning. Now you can enjoy the benefits of a shaded and comfortable outdoor space.
Remember, if you have any concerns or encounter any difficulties during the installation process, consult the manufacturer’s instructions or seek assistance from a professional.
Enjoy your newfound shade and relaxation with your beautiful retractable patio awning!
Conclusion
Creating a retreat in your outdoor space is made easy and enjoyable with a retractable patio awning. By following the steps outlined in this guide, you can successfully make and install your own awning, providing shade, protection, and versatility to your outdoor living area.
Throughout the process, careful measuring, planning, and selection of materials are key. From choosing the right awning fabric and frame materials to preparing and mounting the awning, each step contributes to the overall functionality and aesthetic appeal of your outdoor space.
Remember to pay attention to details, such as tensioning the fabric, adjusting the angle for optimal shade coverage, and testing the stability of the retractable mechanism. Regular maintenance and care will ensure that your awning remains in pristine condition for years to come.
Whether you have a small patio or a spacious deck, a retractable patio awning can transform your outdoor area into a comfortable and inviting haven. It provides the perfect balance of shade and sunlight, allowing you to enjoy the outdoors in any weather.
So go ahead, gather the necessary materials, follow the step-by-step instructions, and create your own retreat with a retractable patio awning. Soon, you’ll be enjoying relaxing moments and memorable gatherings in the comfort of your shaded outdoor oasis.
Remember to always refer to the manufacturer’s instructions and, if needed, consult with professionals to ensure the proper installation of your retractable patio awning.
Now, bask in the beauty of your outdoor space and enjoy the benefits of your newly installed retractable patio awning!
Frequently Asked Questions about How To Make A Retractable Patio Awning
Was this page helpful?
At Storables.com, we guarantee accurate and reliable information. Our content, validated by Expert Board Contributors, is crafted following stringent Editorial Policies. We're committed to providing you with well-researched, expert-backed insights for all your informational needs.


0 thoughts on “How To Make A Retractable Patio Awning”