Home>Ideas and Tips>Upgrading Your Home’s Exterior With DIY Solar Path Lights
Ideas and Tips
Upgrading Your Home’s Exterior With DIY Solar Path Lights
Modified: October 18, 2024
Enhance your home's exterior with DIY solar path lights. Discover eco-friendly, cost-effective, and stylish lighting solutions for your outdoor space.
(Many of the links in this article redirect to a specific reviewed product. Your purchase of these products through affiliate links helps to generate commission for Storables.com, at no extra cost. Learn more)
Introduction
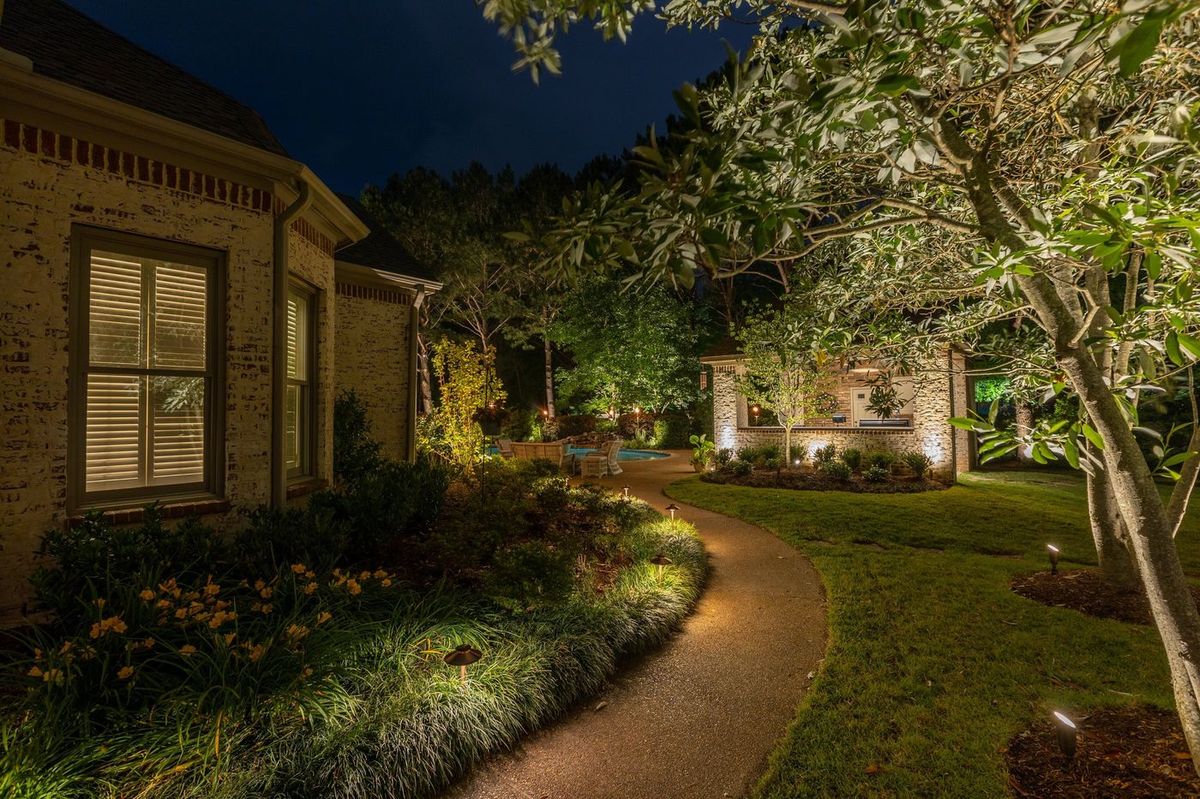
Upgrading your home's exterior with DIY solar path lights is a fantastic way to enhance both the aesthetic and functional aspects of your outdoor space. These eco-friendly lights not only provide a beautiful and inviting ambiance but also offer practical benefits like improved safety and energy efficiency. In this article, we will delve into the world of DIY solar path lights, exploring their benefits, different installation ideas, and step-by-step guides on how to build and restore these lights.
Benefits of DIY Solar Path Lights
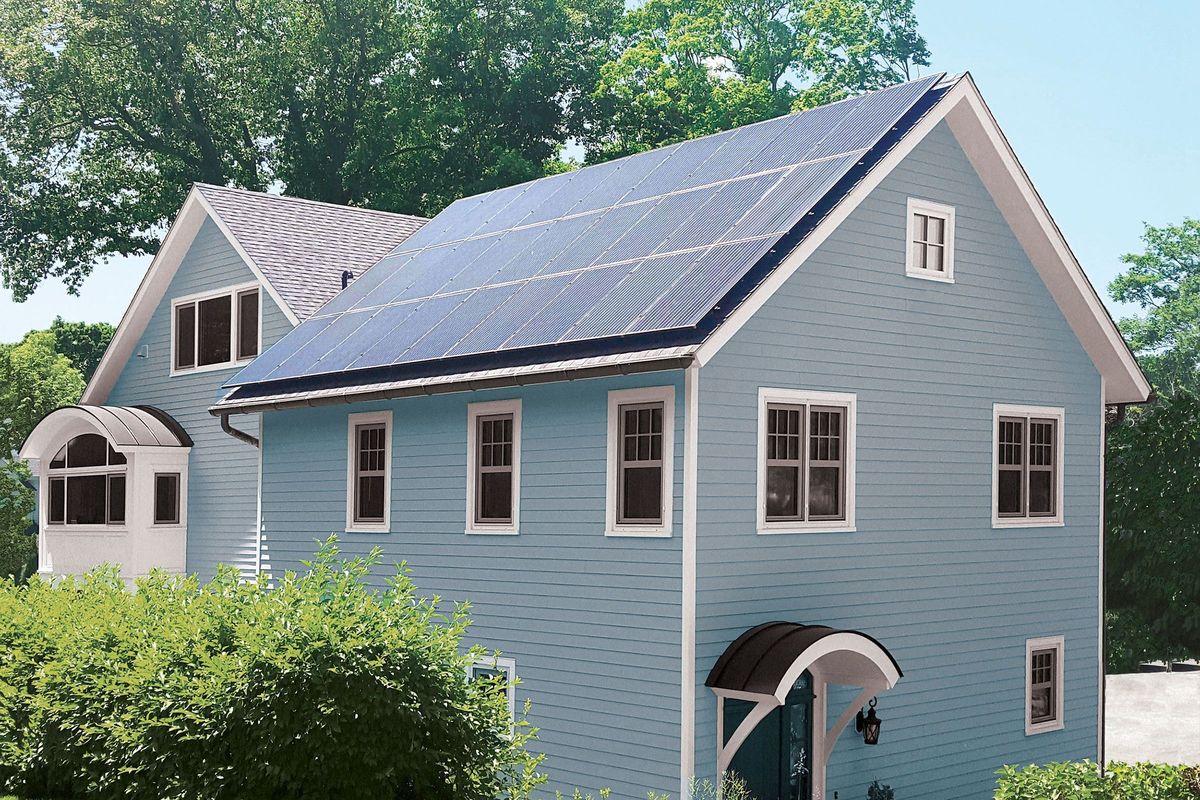
Eco-Friendly: Solar path lights are powered by the sun, making them an excellent choice for those looking to reduce their carbon footprint. They require no electrical wiring, which means no additional energy consumption or environmental impact.
Cost-Effective: Unlike traditional path lights that need to be connected to a power source, solar path lights are self-sufficient. This eliminates the need for expensive electrical installations, making them a budget-friendly option.
Easy Installation: One of the most significant advantages of solar path lights is their ease of installation. Most models come with stakes that can be easily driven into the ground, making it a DIY-friendly project.
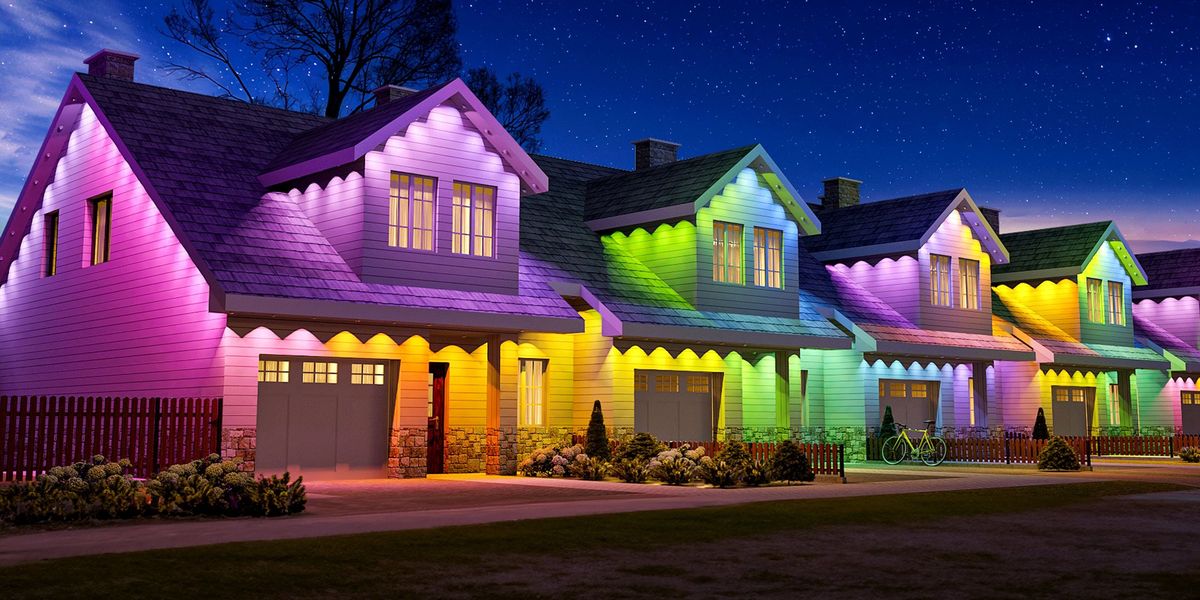
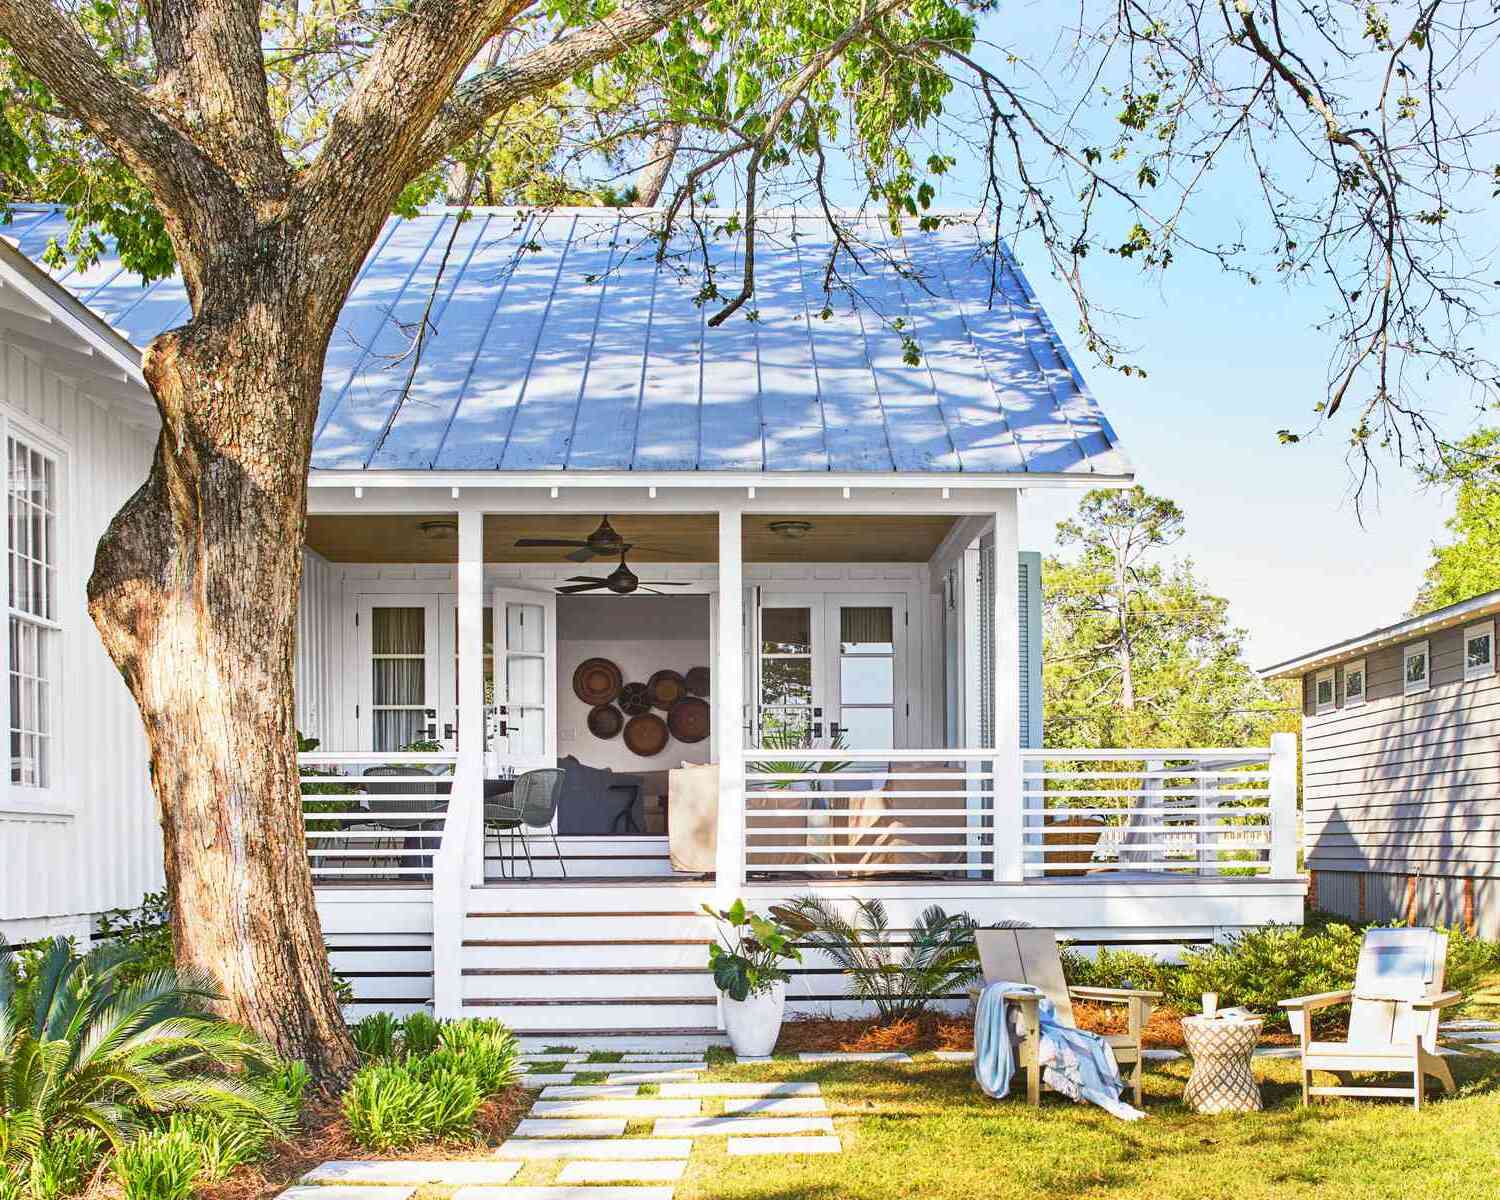
Aesthetic Appeal: Solar path lights come in a variety of styles and colors, allowing you to choose the perfect match for your home's exterior design. They can be used to illuminate pathways, highlight architectural elements, or create a beautiful garden setting.
Safety: By providing clear lighting, solar path lights enhance safety by preventing trips and falls on your property. This is especially important for homes with children or pets.
10 Simple Outdoor Lighting Ideas to Elevate Your Space
While solar path lights are a fantastic addition to any outdoor space, there are many other DIY outdoor lighting ideas that can elevate your living area. Here are ten simple yet elegant ideas:
-
String Lights
- String lights, also known as fairy lights, are versatile and can be draped across trees, along fences, or above outdoor seating areas. Their soft, warm glow creates a cozy and inviting atmosphere, perfect for outdoor dinners, parties, or quiet nights under the stars.
-
Mason Jar Lanterns
- Mason jar lanterns offer a rustic and nostalgic charm to your outdoor décor. They are cost-effective and easy to make yourself. You can customize the jars with paints, glitters, or leave them plain for a minimalist look. Their gentle illumination adds a touch of romance to your evenings.
-
Solar-Powered Path Lights
- Solar-powered path lights require no wiring and are a hassle-free addition to your outdoor landscape. During the day, they collect energy from the sun and automatically illuminate your pathways at night. They come in various styles and colors, ensuring you can find the right ones that match your home.
-
Tiki Torches
- Tiki torches bring a tropical and festive atmosphere to your outdoor gatherings. They are a fun and practical way to keep pesky insects at bay when filled with citronella oil. Their flickering flames create a lively ambiance, making them a fantastic choice for summer parties and barbecues.
-
Café Lights
- Café lights, also known as bistro or festoon lights, mimic the warm, cozy glow of a café or bistro. They make your outdoor dining area feel elegant and inviting. Their flexibility allows you to place them in various settings, from patios to gardens.
-
Flood Lights
- Flood lights are optimal for highlighting larger areas and outdoor architectural elements like your home exterior, large trees, fountains, etc. They require a creative and architectural eye for design but can significantly enhance the visual appeal of your property.
-
Solar Stair Lights
- Solar staircase lighting is highly functional and can be screwed into place for a permanent solution or come with adhesive applicators depending on your staircase material. These lights look best when installed mirroring each other—two lights per stair facing each other.
-
Umbrella Lights
- Umbrella lights are quick to build and uniquely stylish. They feature low-lumen solar lamps that cast a subtle, pleasing light on your path. These lights are perfect for creating a row of footlights along the path.
-
Valance Post Lights
- Valance post lights can be made using interesting grain woods like teak or eucalyptus. They are great for adding a unique touch to your outdoor decor while providing ambient lighting.
-
String Light Planters
- String light planters combine the beauty of plants with the charm of string lights. They highlight the green in your backyard and create a fairy garden vibe, perfect for those who love nature.
How to Restore Solar Pathway Lights
Over time, solar pathway lights can lose their luster due to exposure to the elements. However, restoring them is a simple and cost-effective process that can make them look like new again. Here’s a step-by-step guide on how to restore solar pathway lights:
Materials Needed
- Polish: A mother’s mag and aluminum polish (available on Amazon)
- Buffer Ball: A power ball (available on Amazon)
- Blue Tape: Painters tape (available on Amazon)
- Isopropyl Alcohol: Cleaning alcohol (available on Amazon)
- Solar Pathway Lights: The lights you want to restore (available on Amazon)
Steps to Restore Solar Pathway Lights
-
Clean the Solar Panel
- Start by wiping off the solar panel to get it free and clear of dust and dirt. This will ensure that the polish adheres properly.
-
Apply Polish
- Take a little dab of mother’s mag and aluminum polish and rub it all over the solar panel. Don’t worry if some of the polish gets on other parts of the light; you’ll clean it away later.
-
Buff with Power Ball
- Attach a power ball to your drill and buff away all the polish you just applied to the solar panel. This will help remove any excess polish and give the surface a smooth finish.
-
Clean Residual Polish
- Use a q-tip or any other tool you have on hand to get any remaining polish out of the cracks.
-
Clean with Isopropyl Alcohol
- Take some isopropyl alcohol and go over the solar panel again to clean away any residual polish that may be remaining.
-
Protect with Tape
- Before applying a clear coat, put some blue painters tape around the solar panel to protect the rest of the light from overspray.
-
Apply Clear Coat
- Using clear gloss fast-drying non-yellowing UV-resistant spray from Rust-Oleum, quickly apply this to the solar panel. This will add a protective layer that enhances efficiency.
-
Remove Tape
- After about a minute, remove the tape and inspect your work. The solar panel should now be clean and clear, ready to convert sunlight into stored solar power.
How to Build Solar Path Lights
Building your own solar path lights can be a fun and rewarding DIY project that adds a personal touch to your outdoor decor. Here’s a step-by-step guide on how to build solar path lights:
Materials Needed
- Wooden Posts: Treated 2×2 or 2×4 lumber (depending on the design)
- Solar Lights: Small solar light discs or modules (available on Amazon)
- Wood Glue: Exterior wood glue
- Screws: Weather-resistant screws
- Drill: Cordless drill with screwdriver bit
- Hammer: For tapping screws into place
Steps to Build Solar Path Lights
-
Cut Wooden Posts
- Cut the wooden posts to the desired height for your path lights. For umbrella-style lights, you might want shorter posts.
-
Bevel Top of Post
- Use a miter saw or circular saw to bevel the top of each post. This will help create a smooth surface for attaching the solar light module.
-
Drill Holes
- Drill holes into the top of each post where you plan to attach the solar light module.
-
Attach Solar Light Module
- Glue and screw the solar light module into place on top of each post. Make sure it is secure and evenly positioned.
-
Add Arms (Optional)
- For umbrella-style lights, attach cedar arms using wood glue and screws. Cut these arms at an angle so they mimic footlights along the path.
-
Add Clear Finish
- Apply a clear exterior finish to protect your wooden posts from weathering.
-
Install in Ground
- Bury the posts in the ground, ensuring they are level and secure.
-
Test Your Lights
- Place your new solar path lights in the sun during the day and test them at night to ensure they are working properly.
Placement Suggestions for Solar Path Lights
While building or restoring your solar path lights is an exciting DIY project, placing them correctly is crucial for maximum impact. Here are some placement suggestions:
-
Illuminate Pathways
- The most obvious place to install solar path lights is along pathways leading to your home or garden. This ensures clear visibility and safety.
-
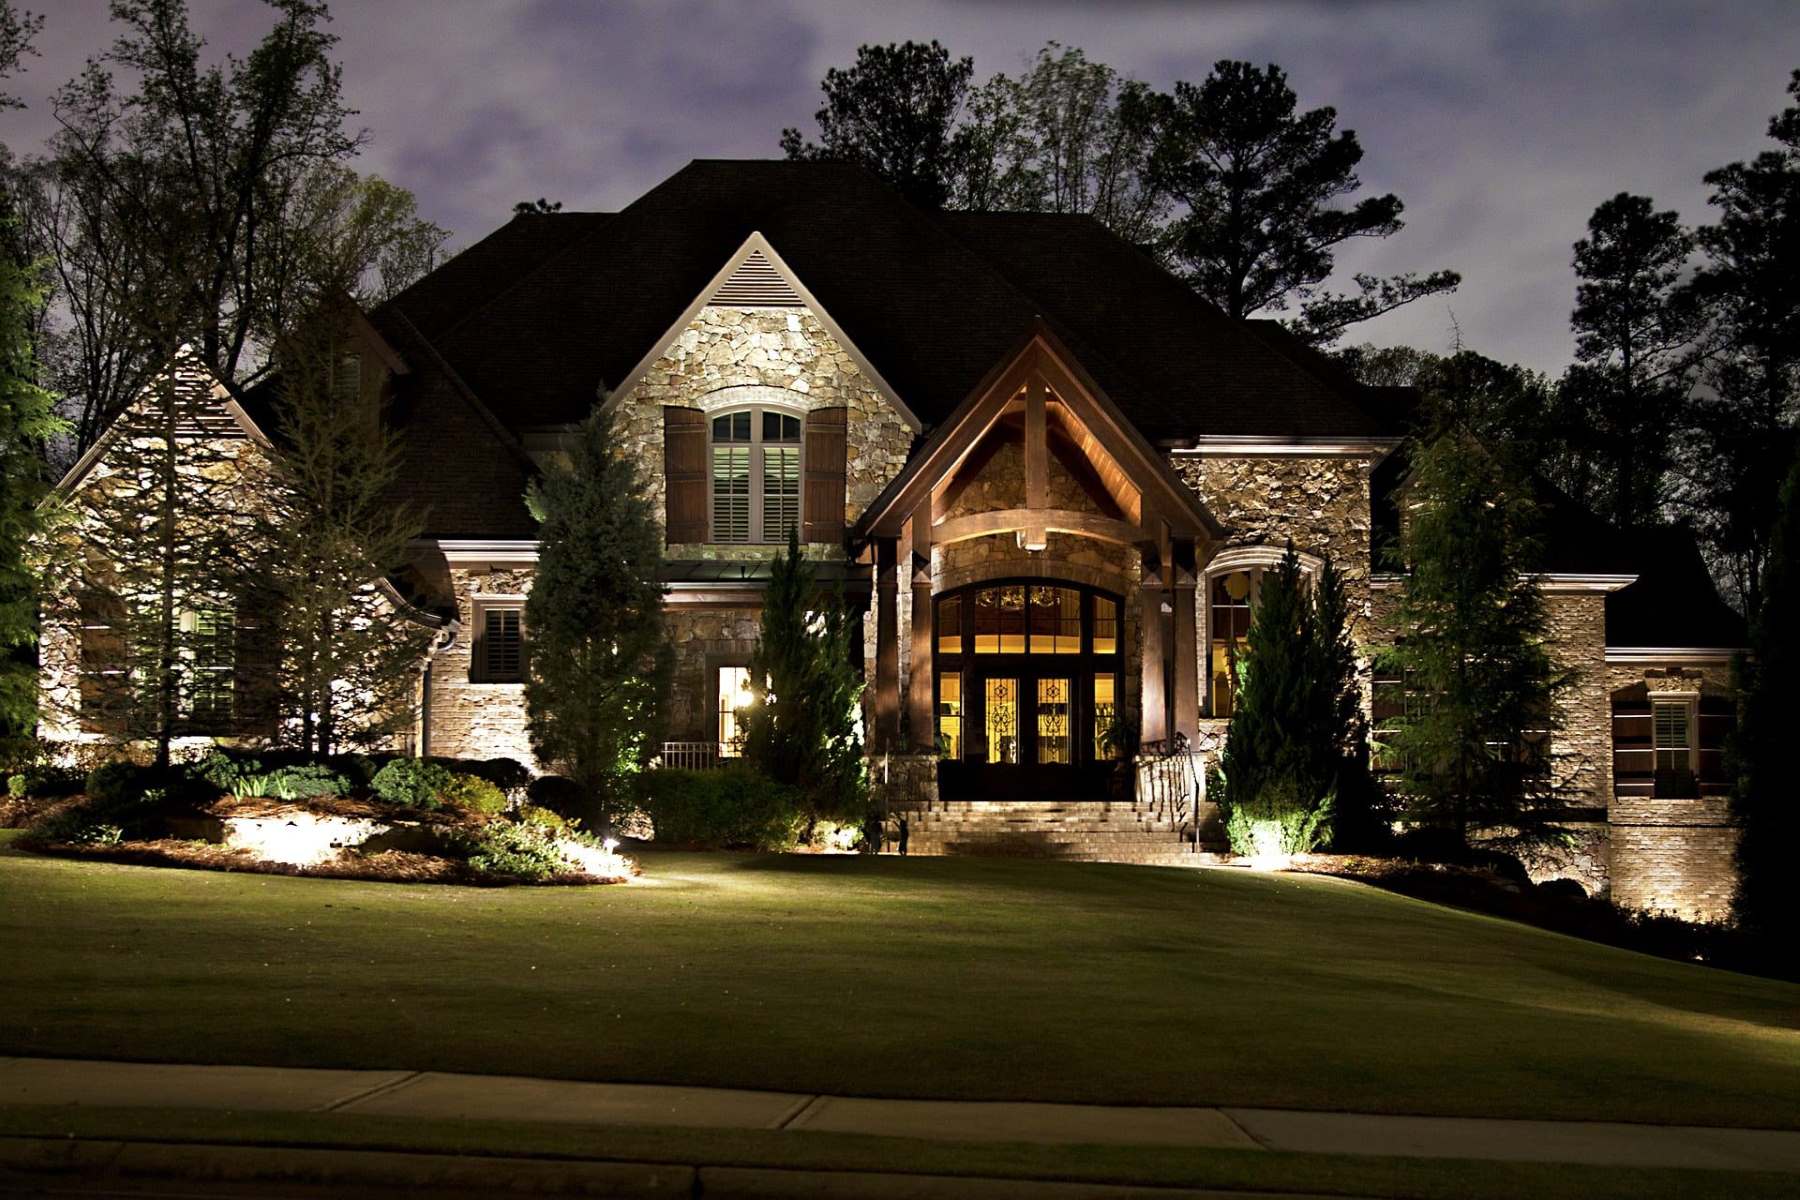
Highlight Architectural Elements
- Use flood lights to highlight larger areas like your home exterior, large trees, fountains, etc. This adds depth and visual appeal to your property.
-
Light a Fence or Perimeter
- Solar lights can be used to illuminate fences or property perimeters, enhancing curb appeal and safety.
-
Illuminate Plants or Terra Cotta Pots
- Highlight plants or timeless terra cotta pots with solar garden lights to create a beautiful garden setting.
-
Line Landscaping Curbs
- Line landscaping curbs with solar lights to create a cohesive look that enhances the aesthetic of your garden.
-
Highlight Outdoor Focal Points
- Use solar lights to highlight flags, fountains, outdoor kitchens, pergolas, etc., creating a layered and dimensional exterior look.
Conclusion
Upgrading your home's exterior with DIY solar path lights is not only an eco-friendly and cost-effective solution but also a fun and rewarding DIY project that adds personal touch to your outdoor decor. By following these steps on how to restore and build solar path lights, you can enhance both the aesthetic appeal and functional aspects of your property while reducing your carbon footprint.
Whether you choose to restore existing lights or build new ones from scratch, incorporating solar path lights into your outdoor lighting strategy will undoubtedly elevate your living space into a captivating haven that is both beautiful and practical.
References
- How To Restore Solar Pathway Lights In About A Minute – YouTube
- 10 Easy DIY Outdoor Lighting Installations To Upgrade Your Living Space – Southwest Exteriors
- Where to Install Outdoor DIY Solar Landscape Lighting – Room for Tuesday
- How to Build 4 Different Styles of Path Lights (DIY) – Family Handyman
By following these tips and guides, you can transform your outdoor space into a magical setting that is both safe and environmentally friendly.
Was this page helpful?
At Storables.com, we guarantee accurate and reliable information. Our content, validated by Expert Board Contributors, is crafted following stringent Editorial Policies. We're committed to providing you with well-researched, expert-backed insights for all your informational needs.


0 thoughts on “Upgrading Your Home’s Exterior With DIY Solar Path Lights”