Home>Ideas and Tips>Upgrading Your Home’s Exterior With DIY Window Awnings

Ideas and Tips
Upgrading Your Home’s Exterior With DIY Window Awnings
Modified: October 19, 2024
Enhance your home's exterior with DIY window awnings. Discover benefits, materials, and step-by-step installation for a stylish and energy-efficient upgrade.
(Many of the links in this article redirect to a specific reviewed product. Your purchase of these products through affiliate links helps to generate commission for Storables.com, at no extra cost. Learn more)
Introduction
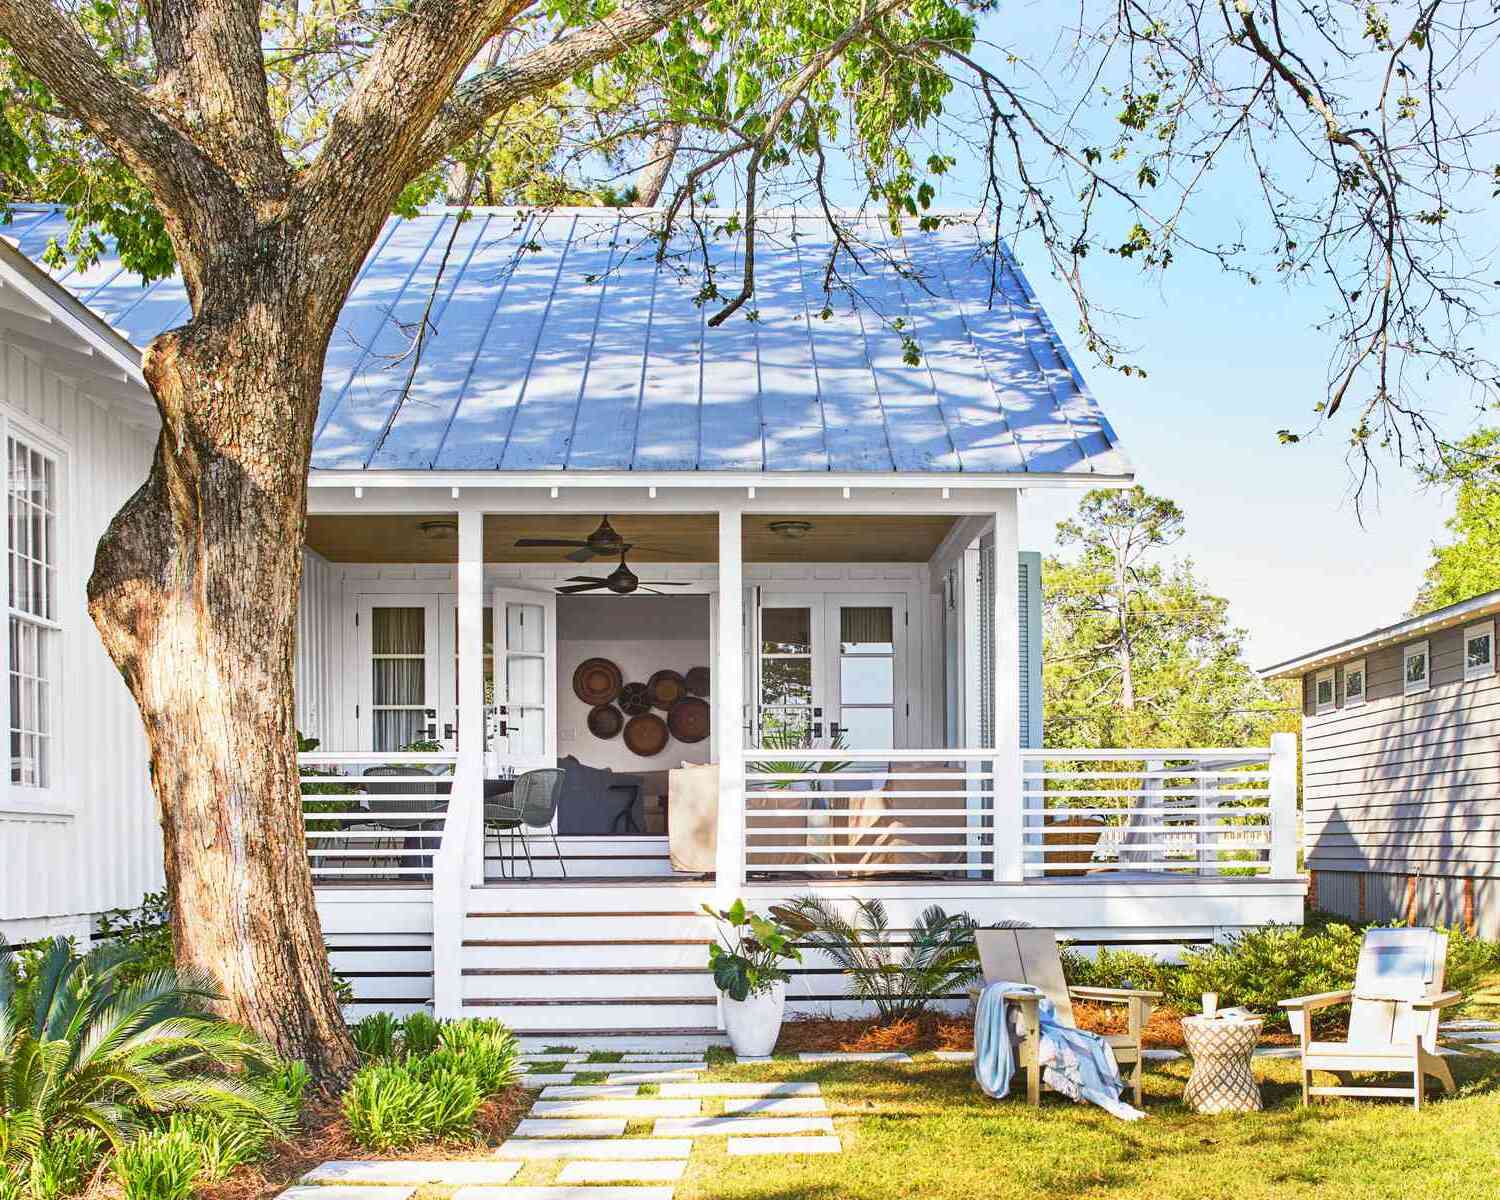
Enhancing your home's exterior can be done in many ways, but one of the most effective and budget-friendly methods is installing DIY window awnings. These versatile structures not only provide shade and protection from the elements but also add a touch of elegance and modernity to your home's facade. So, why should you consider DIY window awnings? Let's dive in and find out.
Why Consider DIY Window Awnings?
DIY window awnings offer a bunch of benefits that make them a smart choice for any homeowner. First off, they can significantly reduce the amount of heat entering your home during the summer. By blocking direct sunlight, they help keep your house cooler, reducing the need for air conditioning and lowering your energy bills. Who wouldn't want to save some cash on those pesky utility bills?
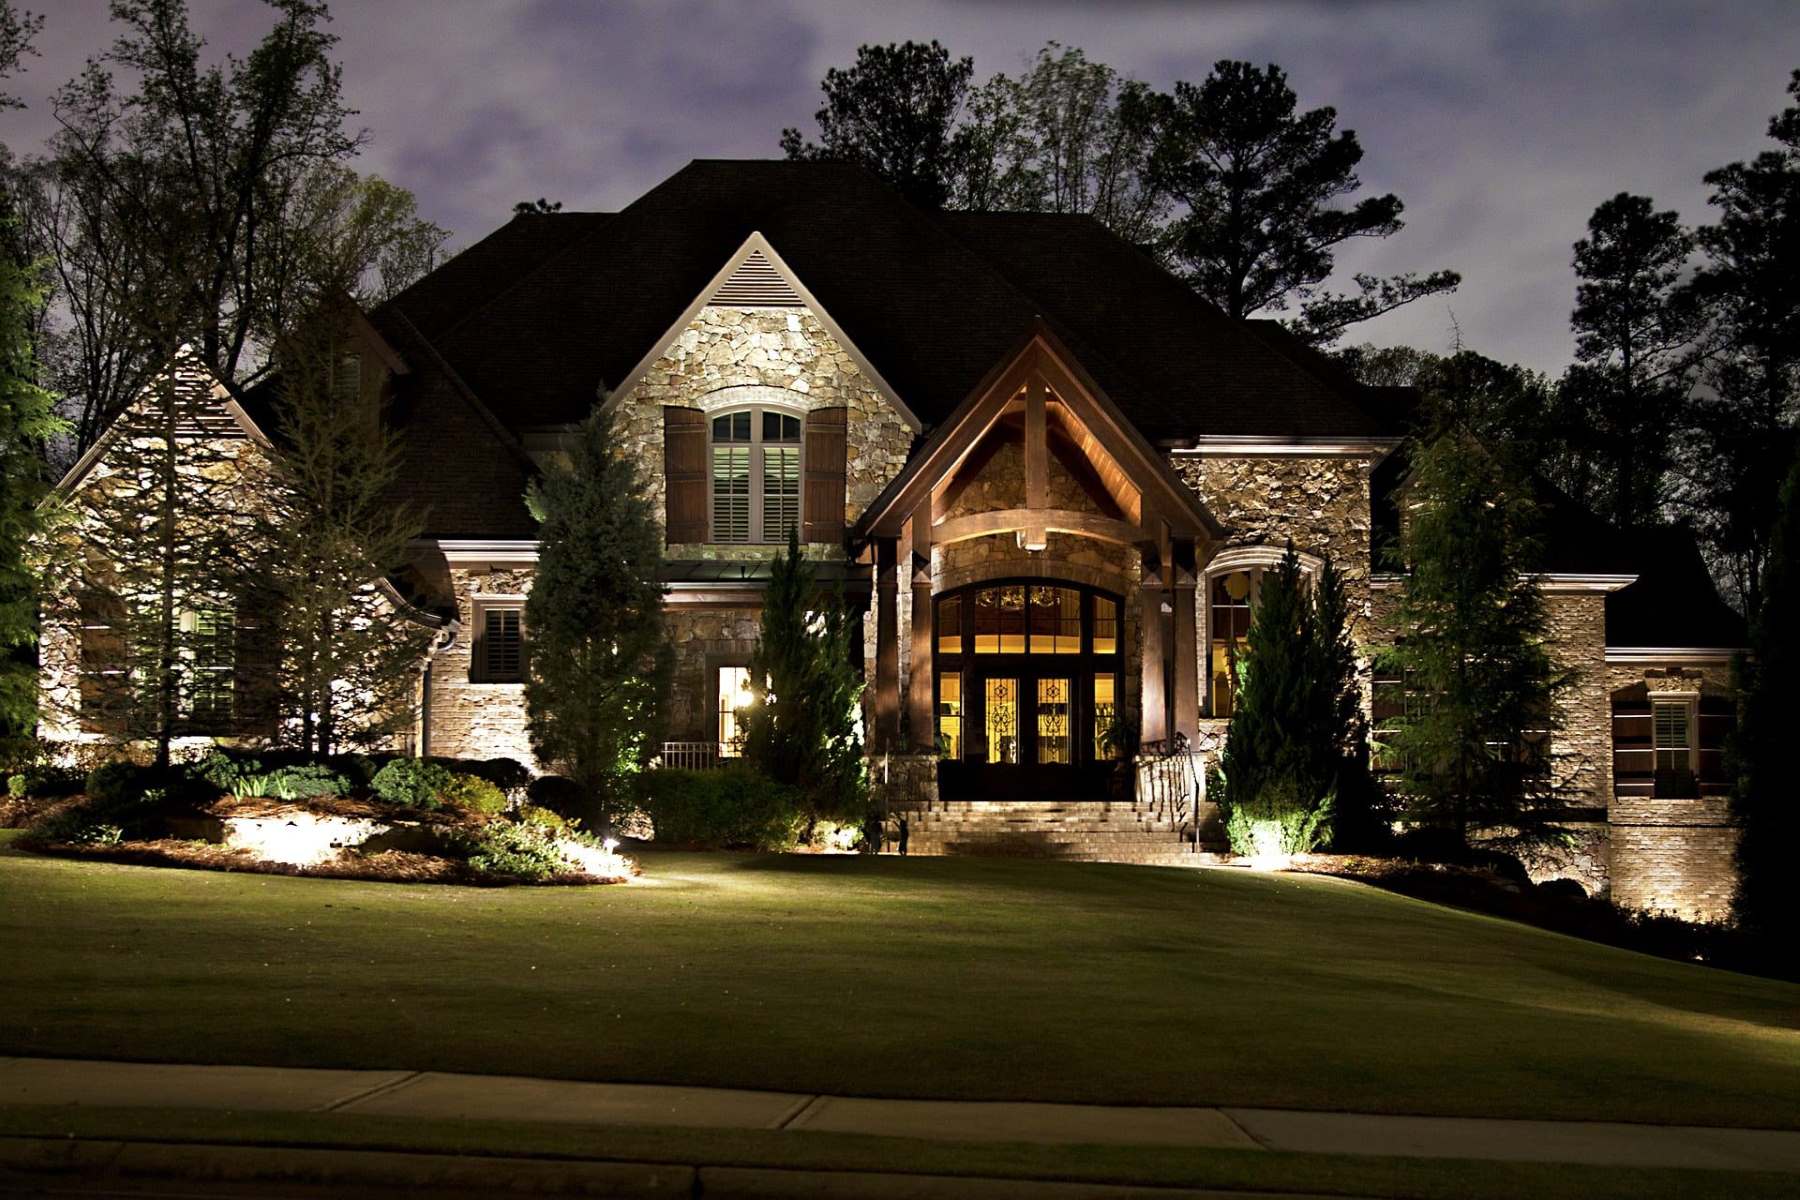
Another big plus is the protection they offer from the elements. Awnings act as a barrier against rain, snow, and hail, ensuring your windows stay dry and secure. This is especially important for windows exposed to harsh weather conditions. Plus, they can add a touch of sophistication and elegance to your exterior, making your home stand out in the neighborhood. Increased curb appeal can even boost your property's value if you decide to sell in the future.
Awnings are also incredibly versatile. They're not just for windows; you can install them over doors, patios, and even outdoor seating areas. This versatility makes them an excellent addition to any home improvement project. So, whether you're looking to reduce energy costs, protect your windows, or simply improve your home's appearance, DIY window awnings are a fantastic option.
Materials Needed
Before you start your DIY project, gather all the necessary materials. Here's a list of what you'll need:
- Fabric or Material: The most common materials used for awnings are fabric, metal, or vinyl. Each has its own set of benefits; fabric is lightweight and easy to install, while metal and vinyl offer greater durability.
- Frame: The frame is the structural part of the awning that provides support. You can choose from aluminum, steel, or PVC frames depending on your budget and desired durability.
- Mounting Hardware: This includes screws, brackets, and other fasteners needed to secure the awning to your home's exterior.
- Measuring Tape: Accurate measurements are crucial for ensuring your awning fits perfectly over your windows.
- Drill and Drill Bits: You'll need a drill to make holes for the mounting hardware.
- Screwdriver: A screwdriver is necessary for tightening or loosening screws during installation.
- Safety Gear: Always wear safety gear like gloves and goggles when working with power tools.
Step-by-Step Instructions
Step 1: Measure Your Windows
Measure the width and length of each window to determine how large your awning needs to be. Make sure to take into account any obstructions such as window handles or sills.
Step 2: Choose Your Fabric or Material
Select a fabric or material that complements your home's color scheme and style. Consider factors like sunlight exposure, wind resistance, and maintenance requirements when making your choice.
Step 3: Prepare the Frame
Assemble the frame according to the manufacturer's instructions. Ensure it is sturdy enough to support the weight of the fabric or material.
Step 4: Attach Mounting Hardware
Attach mounting brackets to both ends of the frame using screws or other fasteners provided with the hardware kit.
Step 5: Install Mounting Brackets on Your Home's Exterior
Mark where you want to place each bracket on your home's exterior using chalk or a marker. Drill pilot holes for screws if necessary, then attach brackets securely using screws.
Step 6: Attach Fabric or Material to Frame
Stretch and attach fabric or material over the frame using staples, clips, or other fastening methods recommended by the manufacturer.
Step 7: Secure Fabric or Material at Corners
Use additional fasteners at corners where fabric tends to bunch up more easily.
Step 8: Test Your Awnings
Before finalizing installation, test your awnings by opening them fully and checking for any sagging or unevenness.
Tips for Installation
- Ensure Proper Alignment: Align your awnings perfectly over windows to avoid any gaps that might let sunlight through.
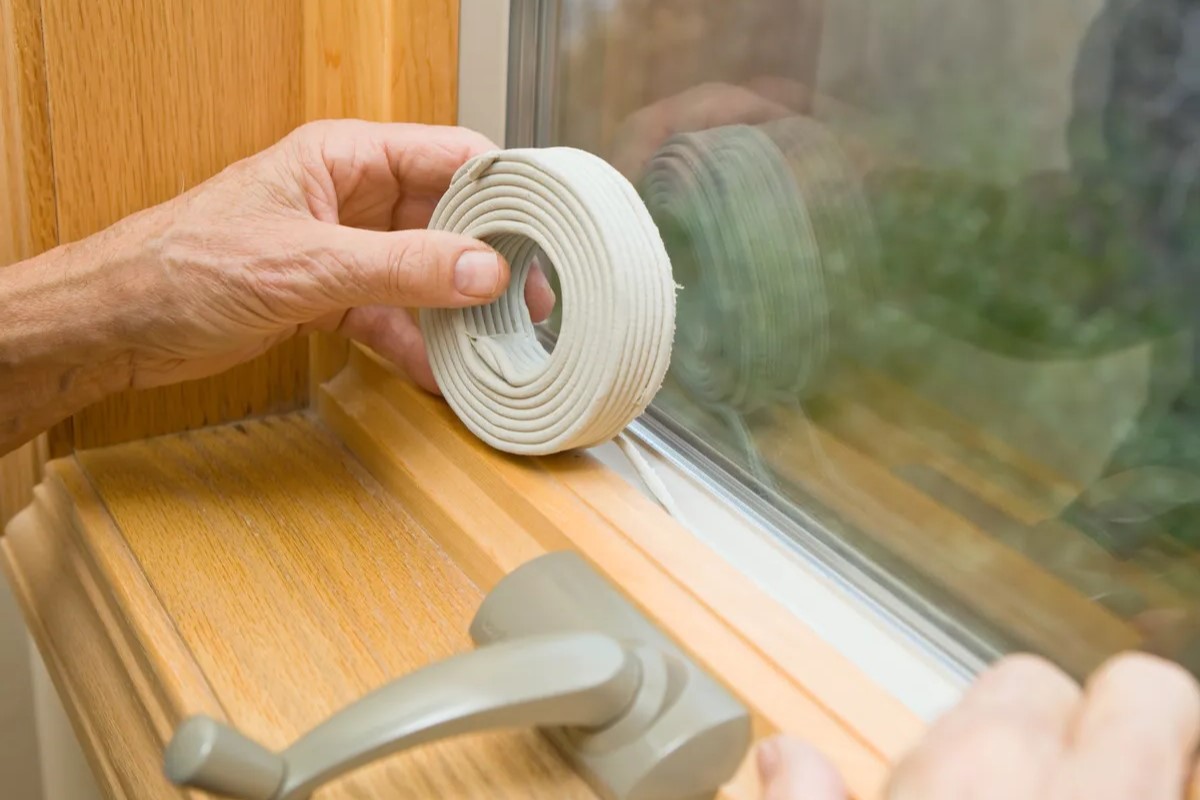
- Use Weatherproofing Seals: Apply weatherproofing seals around edges where fabric meets frame for added protection against rain and wind.
- Regular Maintenance: Regularly inspect your awnings for signs of wear such as torn fabric or loose screws. Perform repairs promptly to maintain their effectiveness.
- Consider Local Building Codes: Check local building codes before starting your project as some areas may have specific regulations regarding exterior modifications.
- Seek Professional Help If Needed: If you're unsure about any part of the process or lack experience with DIY projects, consider hiring a professional contractor who specializes in home improvements.
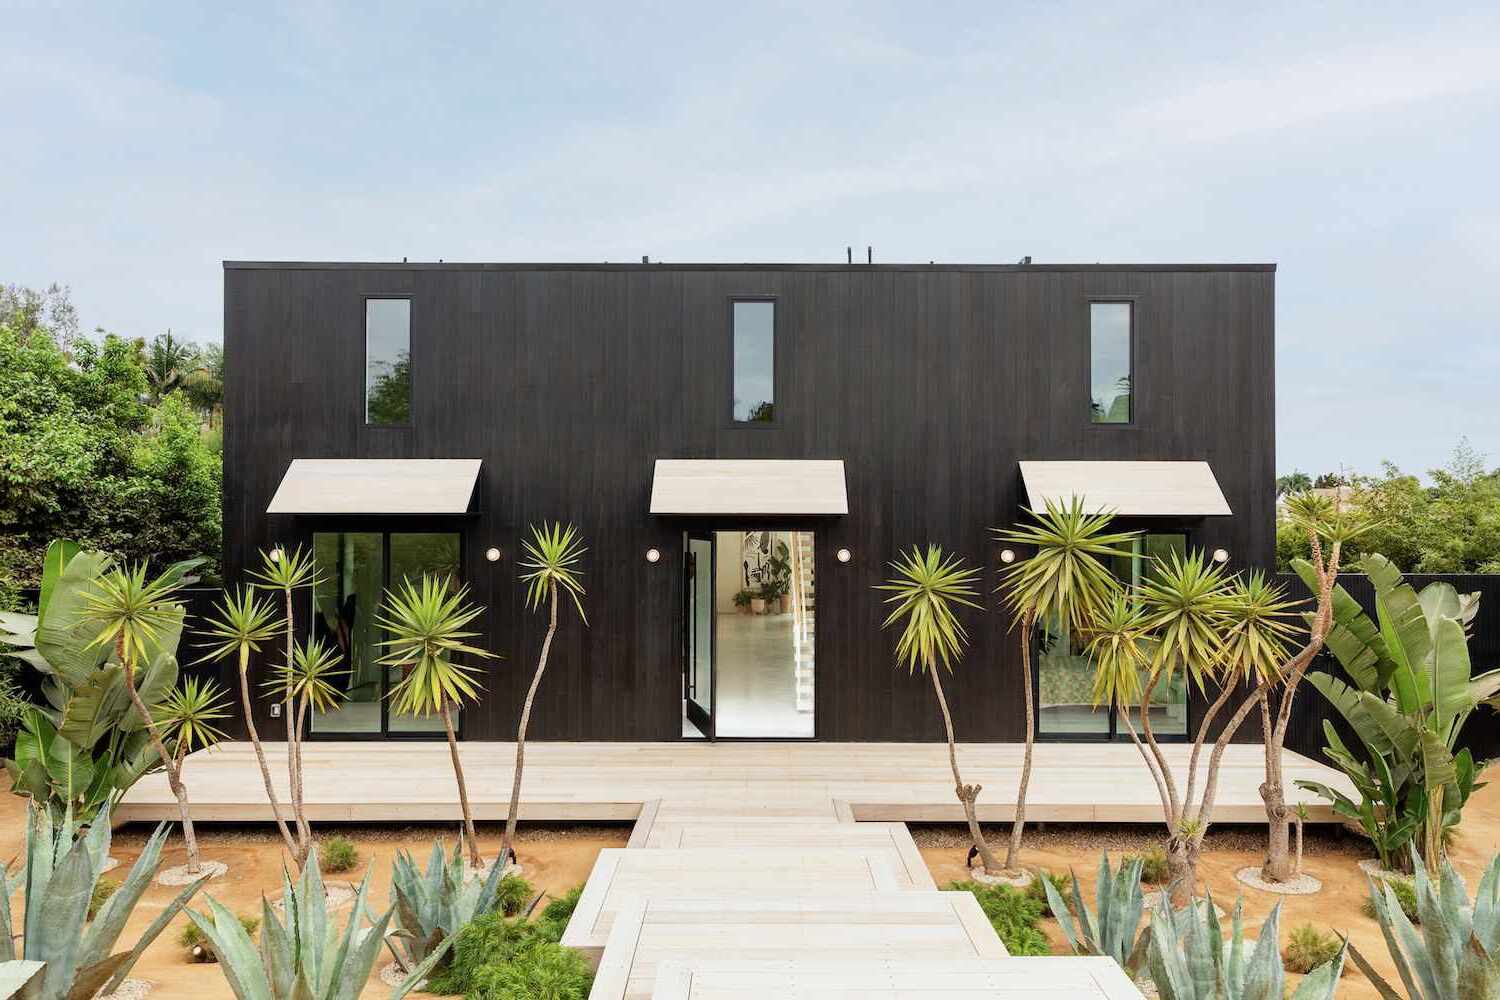
Modern and Fun Designs
While traditional awnings are always a great choice, you can also explore more modern and fun designs that add an extra layer of personality to your home's exterior:
- Colorful Fabrics: Choose vibrant colors or patterns that match your home's interior decor for an eye-catching effect.
- Unique Shapes: Instead of traditional rectangular shapes, opt for triangular or hexagonal shapes that add visual interest.
- Integrated Lighting: Install LED lights within your awning's frame for an added touch of elegance at night.
- Custom Designs: Work with a professional designer to create custom awnings that reflect your personal style and complement your home's architectural design.
Conclusion
Upgrading your home's exterior with DIY window awnings is an excellent way to enhance both functionality and aesthetics without breaking the bank. By following these steps and tips, you can create beautiful, functional awnings that not only protect your windows but also add a touch of modernity and fun to your home's facade. Whether you're looking to reduce energy costs or simply improve curb appeal, installing DIY window awnings is an investment worth considering for any homeowner looking to make their house stand out in style.
Was this page helpful?
At Storables.com, we guarantee accurate and reliable information. Our content, validated by Expert Board Contributors, is crafted following stringent Editorial Policies. We're committed to providing you with well-researched, expert-backed insights for all your informational needs.


0 thoughts on “Upgrading Your Home’s Exterior With DIY Window Awnings”