Articles
How To Bleach Sink
Modified: August 27, 2024
Learn how to bleach your sink with our informative articles on effective sink cleaning methods and tips. Achieve a spotless and hygienic sink effortlessly.
(Many of the links in this article redirect to a specific reviewed product. Your purchase of these products through affiliate links helps to generate commission for Storables.com, at no extra cost. Learn more)
Introduction
Having a clean and sparkling sink is essential for maintaining a hygienic and visually appealing kitchen or bathroom. Over time, sinks can accumulate stains, grime, and discoloration, making them look dull and unattractive. One effective way to restore the brightness and shine to your sink is by using a bleach solution.
In this article, we will guide you through the step-by-step process of bleaching a sink, from gathering the necessary materials to achieving a spotless finish. Whether you have a porcelain, enamel, or stainless steel sink, these instructions will help you transform it back to its original pristine condition.
Before we delve into the process, it’s important to note that bleach is a strong chemical and should be handled with care. Make sure to wear protective gloves and work in a well-ventilated area to avoid any adverse reactions. Additionally, always read and follow the manufacturer’s instructions on the bleach bottle for safety precautions and usage guidelines.
Bleaching your sink can be a fantastic way to refresh its appearance, eliminate tough stains, and kill bacteria. By following the steps outlined in this article, you’ll be able to achieve a beautifully clean and hygienic sink that will enhance the overall look and feel of your kitchen or bathroom. So let’s get started!
Key Takeaways:
- Revitalize your sink with a bleach solution to achieve a sparkling, stain-free surface that enhances the overall cleanliness and visual appeal of your kitchen or bathroom.
- Prioritize safety, gather materials, and follow the step-by-step process to rejuvenate your sink. Implement maintenance tips to prolong its pristine condition and prevent the buildup of stains and grime.
Read more: Why Pour Bleach Down Your Sink At Night
Step 1: Gathering the necessary materials
Before embarking on the sink bleaching process, it’s important to gather all the materials you’ll need. Having everything prepared ahead of time will ensure a smooth and efficient cleaning experience. Here are the materials you’ll need:
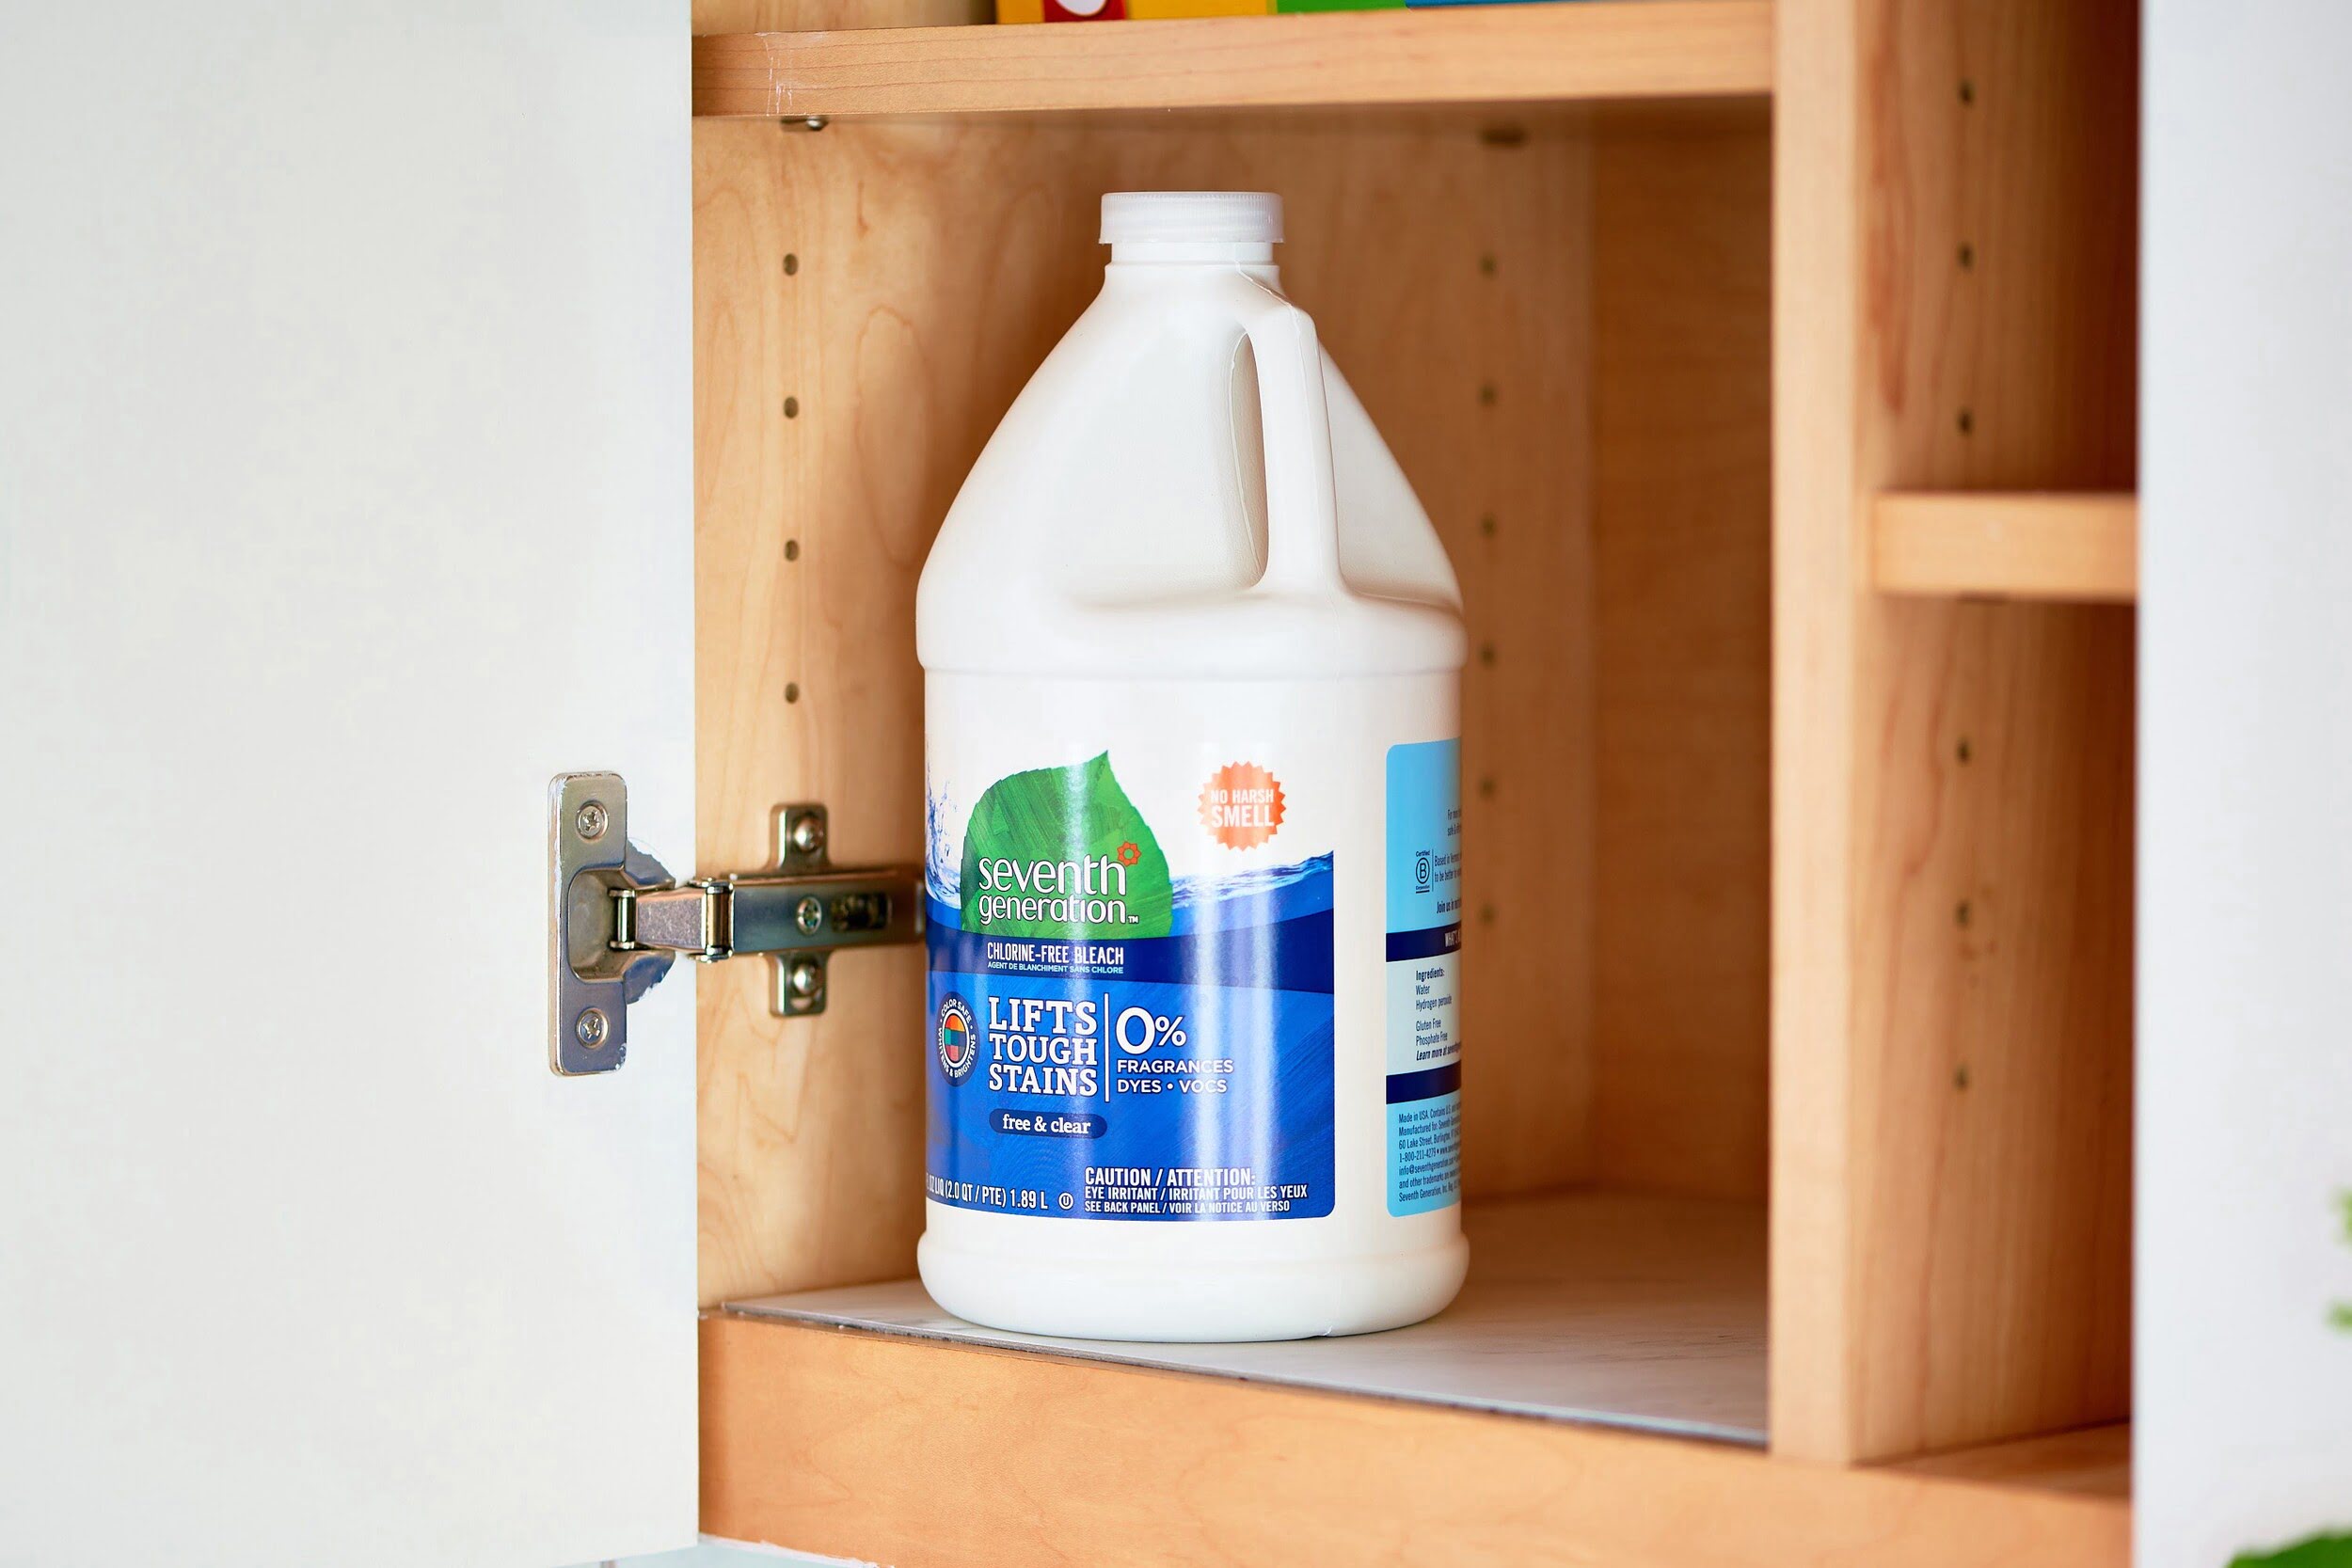
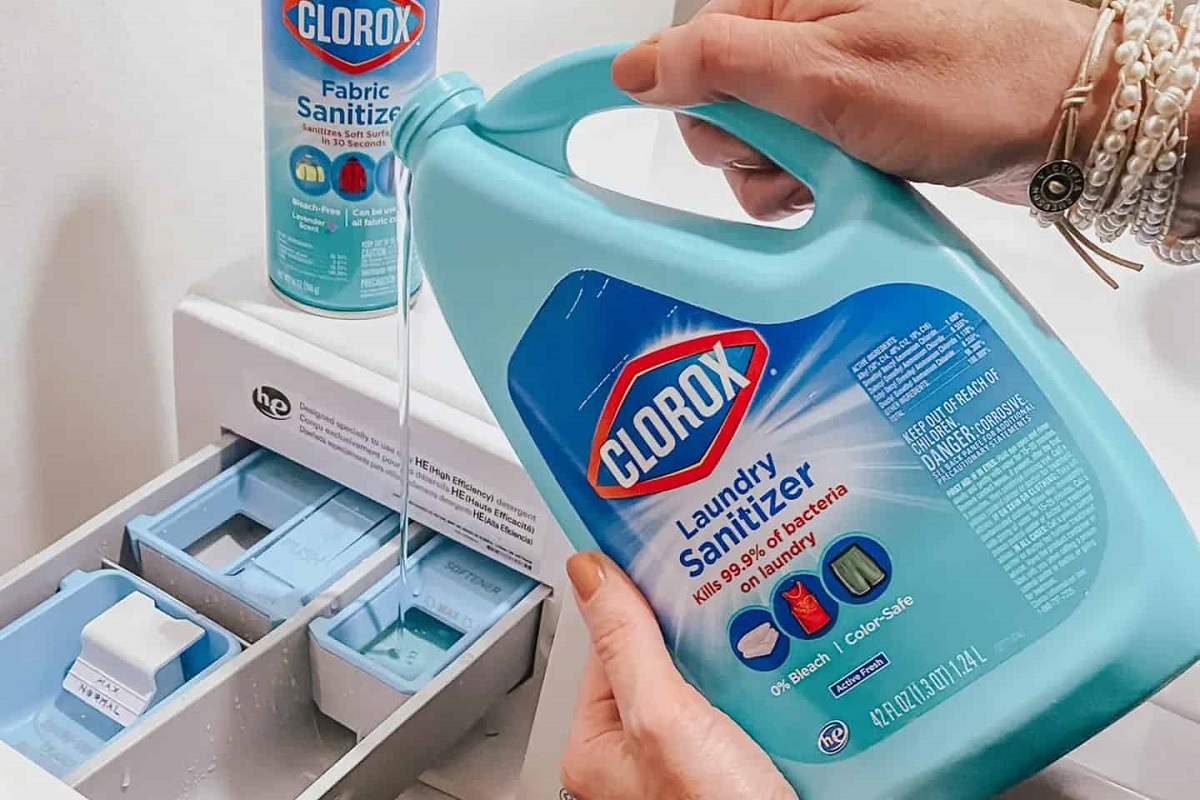
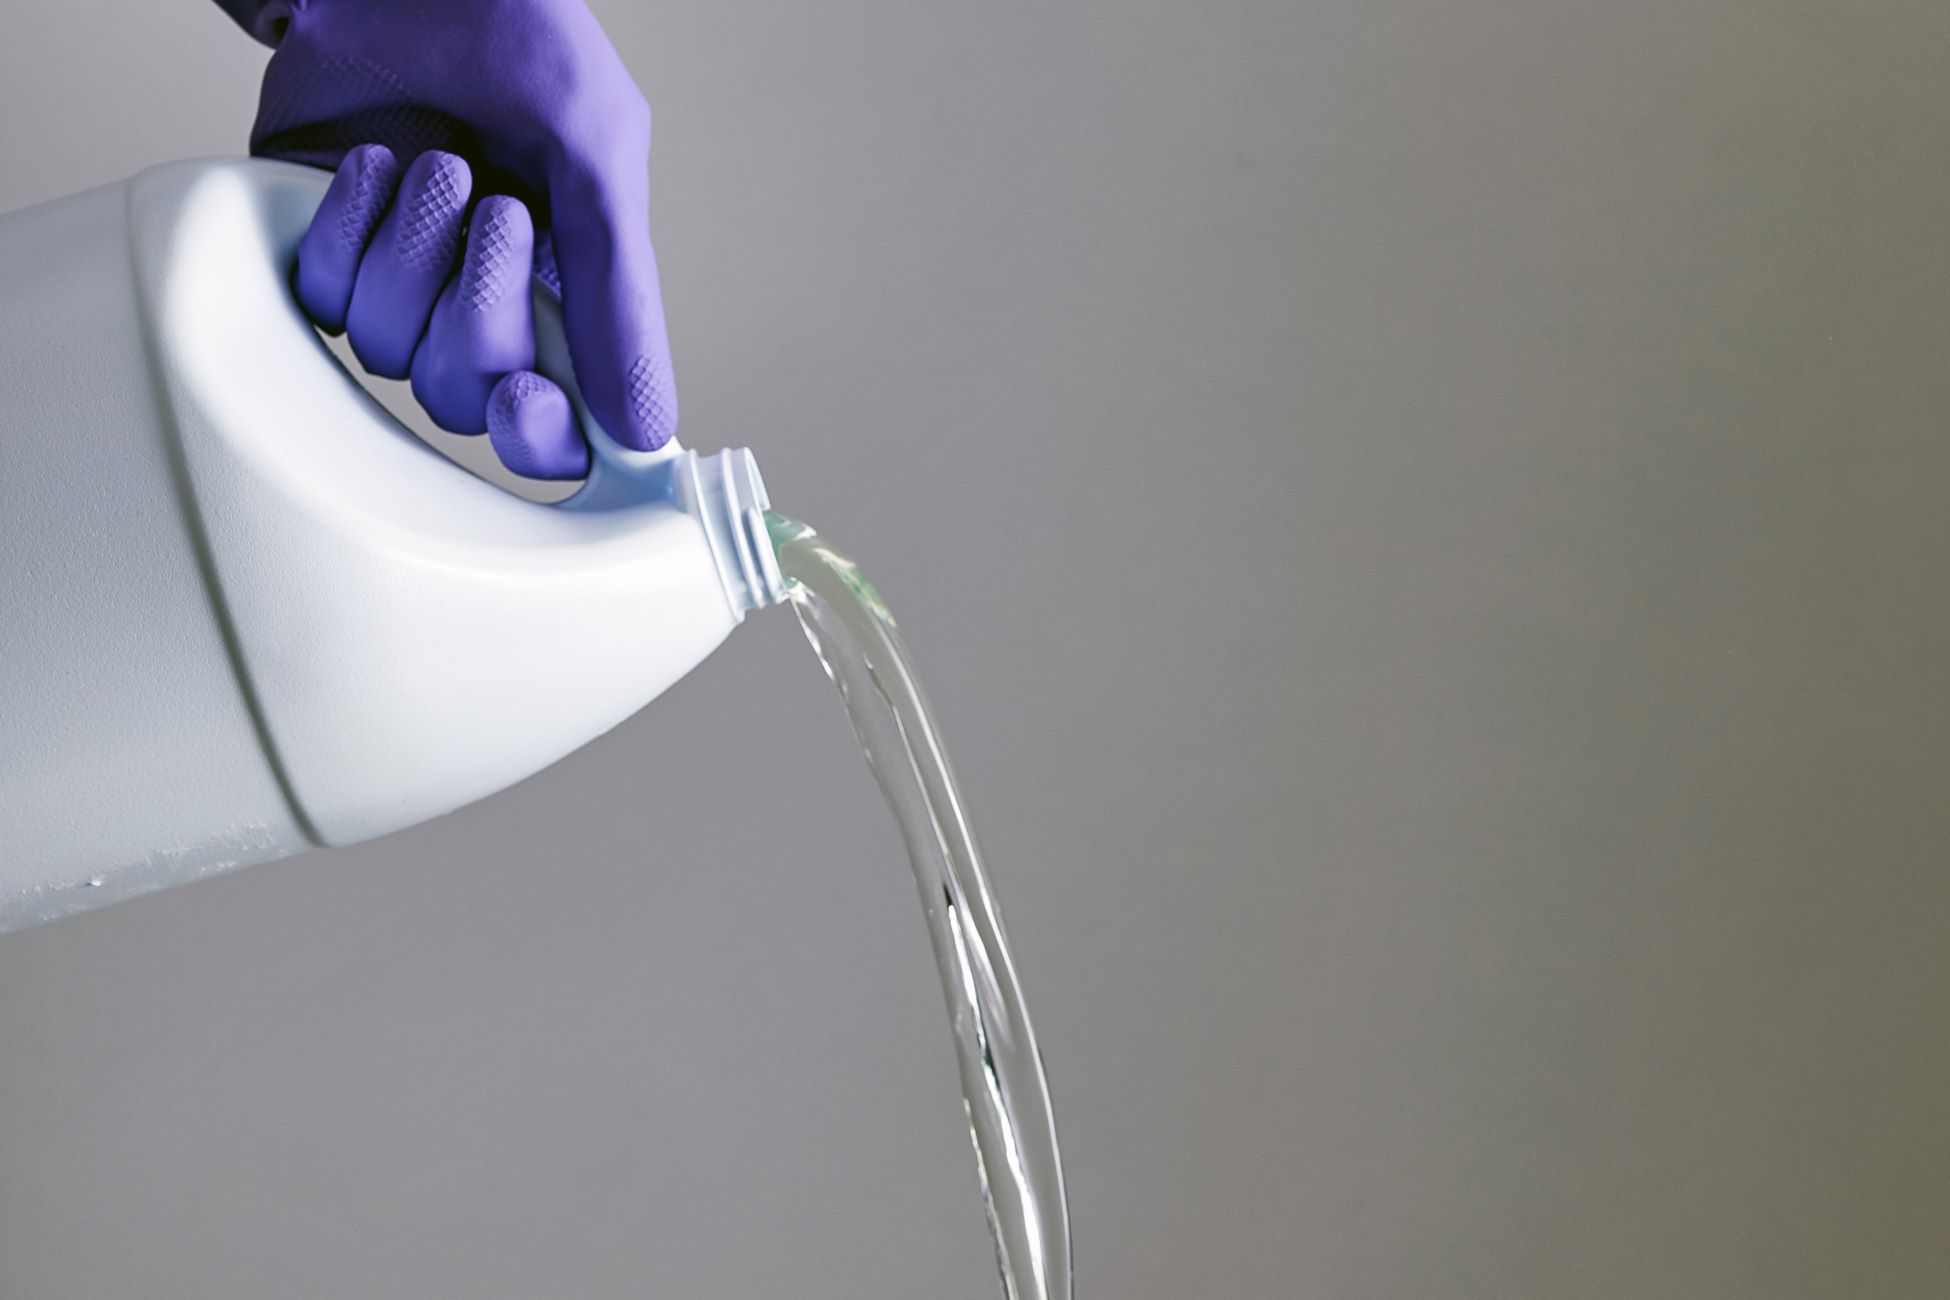
- Bleach: Choose a bleach product that is suitable for the material of your sink. For porcelain and enamel sinks, chlorine bleach is generally safe to use. However, for stainless steel sinks, it’s recommended to use a non-chlorine bleach to prevent any potential damage.
- Protective gloves: Rubber or latex gloves are essential to protect your hands from the harsh chemicals in the bleach.
- Protective eyewear: Safety goggles or glasses will shield your eyes from any splashes of bleach.
- Scrub brush: Select a scrub brush with firm bristles that will effectively remove dirt and stains without scratching the sink surface.
- Microfiber cloth: This soft and absorbent cloth is perfect for drying the sink and leaving it streak-free.
- Bucket or basin: A container to mix the bleach solution and water.
- Water: You’ll need water for rinsing the sink after the bleaching process.
- Optional: Vinegar. If you have stubborn mineral deposits or limescale on your sink, vinegar can help dissolve them before bleaching.
Ensure that all the materials are readily available before you begin the sink bleaching process. This will save you time and allow you to work efficiently to achieve the best results. Once you have gathered everything, you’re ready to move on to the next step: preparing the sink for bleaching.
Step 2: Preparing the sink for bleaching
Before applying the bleach to your sink, it’s important to prepare the surface to ensure maximum effectiveness. Here are the steps to prepare the sink for bleaching:
- Clear the sink: Remove any dishes, utensils, or other items from the sink. You want to have an empty and accessible space to work with.
- Clean the sink: Give your sink a thorough cleaning using a mild dish soap and warm water. Use a sponge or cloth to scrub away any dirt, grease, or debris. Rinse the sink thoroughly to remove any soap residue.
- Optional vinegar solution: If you have mineral deposits or limescale buildup on your sink, now is the time to tackle it. Mix equal parts white vinegar and water in a spray bottle. Spray the solution onto the affected areas and let it sit for a few minutes. Use a sponge or cloth to scrub away the deposits. Rinse the sink thoroughly.
- Dry the sink: Use a clean microfiber cloth to dry the sink completely. Make sure there is no moisture left on the surface before proceeding to the next step.
By following these preparation steps, you’ll ensure that the bleach can penetrate the sink’s surface and effectively remove stains and discolorations. Taking the time to properly prepare the sink will lead to better results and a cleaner overall finish.
Once the sink is prepped and dry, it’s time to move on to the next step: applying the bleach.
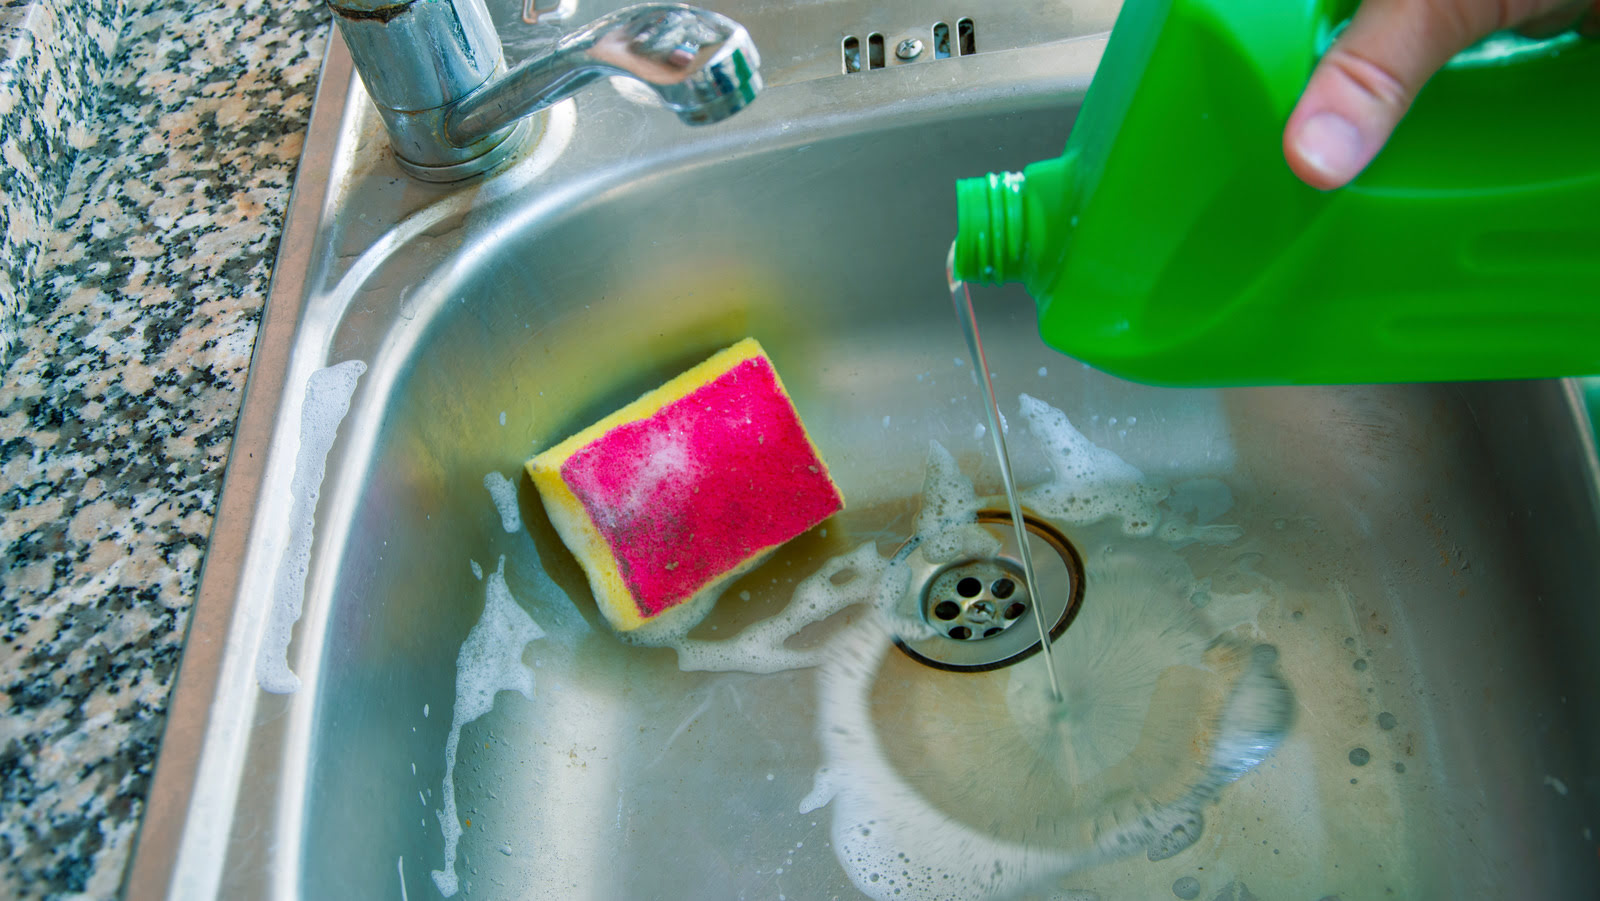
Step 3: Applying the bleach
Now that your sink is clean and prepared, it’s time to apply the bleach solution to bring back its shine. Follow these steps to apply the bleach properly:
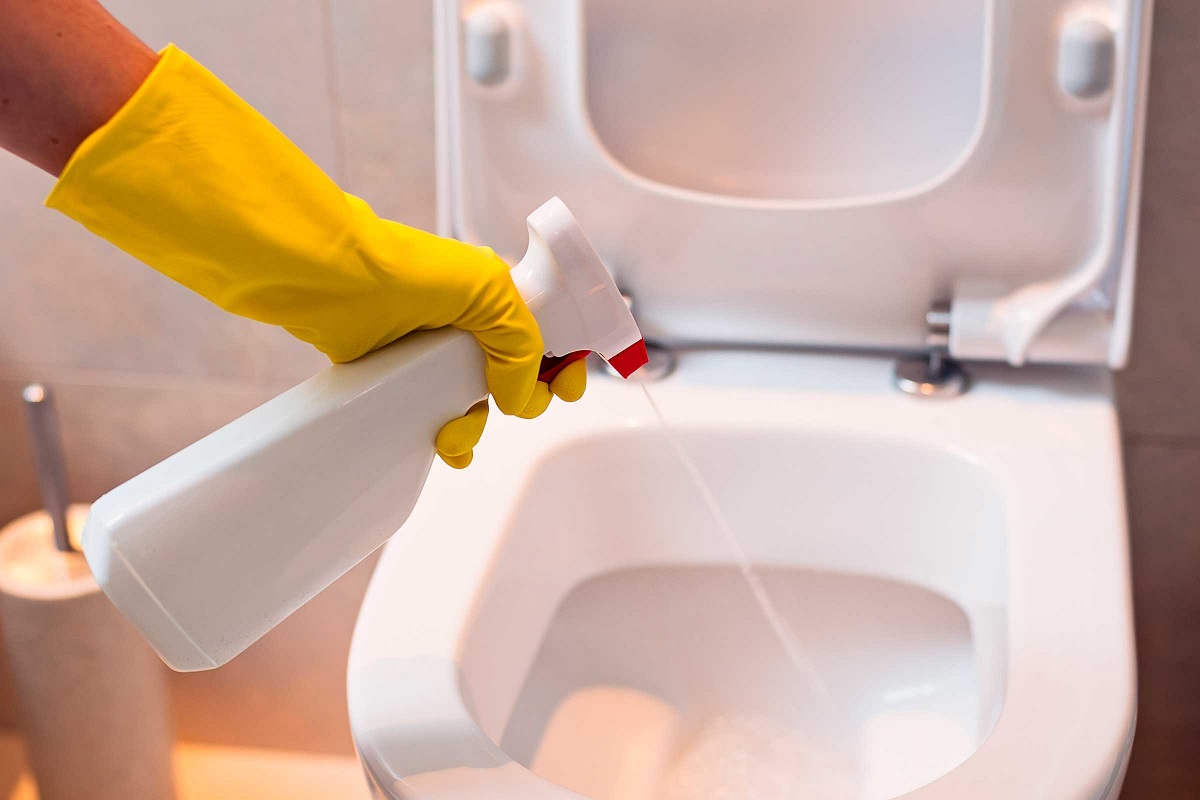
- Put on your protective gloves and eyewear to ensure your safety while handling the bleach.
- In the bucket or basin, mix the bleach with water according to the manufacturer’s instructions. Typically, a 1:10 ratio of bleach to water is recommended.
- Dip your scrub brush into the bleach solution, making sure the bristles are saturated.
- Start applying the bleach to the sink surfaces, focusing on any areas that have stains or discoloration. Use gentle circular motions to scrub the sink, paying extra attention to corners, edges, and hard-to-reach spots.
- Continue scrubbing until you’ve covered the entire sink surface. Make sure to distribute the bleach solution evenly.
- If your sink has a stubborn stain, you can let the bleach solution sit on the stain for a few minutes before scrubbing again.
It’s important to note that different sink materials may react differently to bleach. Porcelain and enamel sinks are generally more resilient, but it’s still essential to follow the manufacturer’s instructions for your specific sink type. If you’re unsure, test a small area of the sink first to ensure there are no adverse reactions.
Once you’ve thoroughly applied the bleach to the sink, you’re ready to move on to the next step: scrubbing the sink to remove stains and dirt.
When bleaching a sink, make sure to wear gloves and ventilate the area. Mix a solution of 1 part bleach to 4 parts water, apply it to the sink, and let it sit for 10-15 minutes before scrubbing and rinsing thoroughly.
Step 4: Scrubbing the sink
Now that the bleach solution has been applied to the sink surfaces, it’s time to scrub away stains, dirt, and grime. Follow these steps to effectively clean your sink:
- Using your scrub brush, apply firm but gentle pressure to the sink surfaces. Make sure to focus on areas with stains or discoloration.
- Scrub in circular motions, working your way from one side of the sink to the other. Pay extra attention to corners, edges, and any hard-to-reach spots.
- If you encounter tough stains, you can use a bit more pressure or let the bleach solution sit on the stain for a few minutes to help loosen it.
- Continue scrubbing until you’re satisfied with the cleanliness of your sink. Take your time and be thorough.
- Once you’re done scrubbing, take a step back and assess the sink. If you notice any areas that still require attention, go over them with the scrub brush again.
Remember to take breaks as needed, especially if you’re scrubbing for an extended period of time. It’s essential to maintain a comfortable posture and avoid straining your muscles.
After scrubbing the sink, it’s time to move on to the next step: rinsing and drying.
Step 5: Rinsing and drying the sink
Now that you’ve scrubbed away the stains and dirt from your sink, it’s time to rinse off the bleach solution and dry the sink. Follow these steps to complete the cleaning process:
- Fill the sink with clean water, ensuring that it covers all the surfaces.
- Using a sponge or cloth, thoroughly rinse the sink to remove any remaining bleach solution. Pay special attention to corners and crevices.
- Drain the water from the sink and give it a final rinse with fresh water to ensure no bleach residue remains.
- Use a clean and dry microfiber cloth to carefully dry the sink. Start from the top and work your way down, ensuring that all surfaces are completely dry.
- Inspect the sink for any remaining stains or areas that need further attention. If necessary, repeat the scrubbing process or apply a specific stain remover suitable for your sink material.
It’s important to ensure that your sink is completely dry to prevent any water spots or streaks from forming. Drying the sink thoroughly will also help maintain its shine and prevent the growth of bacteria or mold.
Once the sink is rinsed and dried, it’s time for the final step: applying some finishing touches and implementing maintenance tips.
Step 6: Final touches and maintenance tips
With your sink now clean, bright, and free from stains, it’s time to add the final touches and implement maintenance tips to keep it looking pristine. Follow these steps to complete the process:
- Inspect the sink to ensure that all stains and dirt have been effectively removed. If you notice any remaining stains, try using a specific stain remover recommended for your sink material.
- Wipe down the surrounding countertops or vanity with a clean cloth to remove any residue or splatters from the cleaning process.
- Consider applying a layer of protective wax or sealant to your sink’s surface to enhance its resistance to stains and make it easier to clean in the future. Make sure to use a product suitable for your sink material and follow the manufacturer’s instructions.
- Implement regular maintenance practices to keep your sink looking its best. This includes wiping down the sink after each use, using gentle cleaners specifically designed for your sink material, and avoiding abrasive scrub brushes or harsh chemicals that can damage the surface.
- Prevent staining by promptly cleaning up any spills or splatters, especially those from substances like coffee, wine, or acidic liquids.
- Regularly inspect your sink for any signs of damage or wear and tear. Address any issues as soon as possible to prevent further damage.
- Consider installing a sink protector or mat to prevent scratches and maintain the sink’s shine.
- Lastly, establish a cleaning routine that includes regular deep cleanings to keep your sink looking fresh and vibrant.
By following these final touches and implementing proper maintenance practices, you can extend the lifespan of your sink and keep it looking beautiful for years to come.
With the completion of these steps, your sink should now be clean, bright, and free from stains. Enjoy the rejuvenated appearance of your sink, and take pride in maintaining a hygienic and visually pleasing kitchen or bathroom.
Conclusion
Revitalizing a stained or dull sink is made possible with the power of bleach. By following the step-by-step process outlined in this article, you can achieve a sparkling, stain-free sink that will enhance the overall look and cleanliness of your kitchen or bathroom.
Remember to always prioritize safety when working with bleach by wearing protective gloves and eyewear, and ensuring proper ventilation in your workspace. Additionally, be mindful of the specific requirements for your sink material to prevent any damage during the bleaching process.
Gathering the necessary materials, preparing the sink for bleaching, applying the bleach, scrubbing the sink, rinsing and drying, and implementing maintenance tips are all integral steps in the sink bleaching process. Each step plays a crucial role in achieving the desired results.
By regularly maintaining your sink and practicing good cleaning habits, you can prolong its pristine condition and prevent the buildup of stains and grime. Perform routine inspections, address any issues promptly, and take preventive measures to keep your sink looking fresh and inviting.
With a rejuvenated sink, you’ll not only enjoy a cleaner and more hygienic space but also contribute to the overall aesthetic appeal of your kitchen or bathroom. Take pride in your sparkling sink, and let its shine reflect the effort and care you put into maintaining your home.
Get ready to impress yourself and others with a beautifully bleached sink that adds a touch of elegance to your space!
Frequently Asked Questions about How To Bleach Sink
Was this page helpful?
At Storables.com, we guarantee accurate and reliable information. Our content, validated by Expert Board Contributors, is crafted following stringent Editorial Policies. We're committed to providing you with well-researched, expert-backed insights for all your informational needs.


0 thoughts on “How To Bleach Sink”