Home>Ideas and Tips>Upgrading Your Home’s Garage Storage With DIY Shelving
Ideas and Tips
Upgrading Your Home’s Garage Storage With DIY Shelving
Modified: October 28, 2024
Maximize your garage space with DIY shelving. Discover easy-to-follow steps and tips to create customized storage solutions for a clutter-free garage.
(Many of the links in this article redirect to a specific reviewed product. Your purchase of these products through affiliate links helps to generate commission for Storables.com, at no extra cost. Learn more)
Introduction
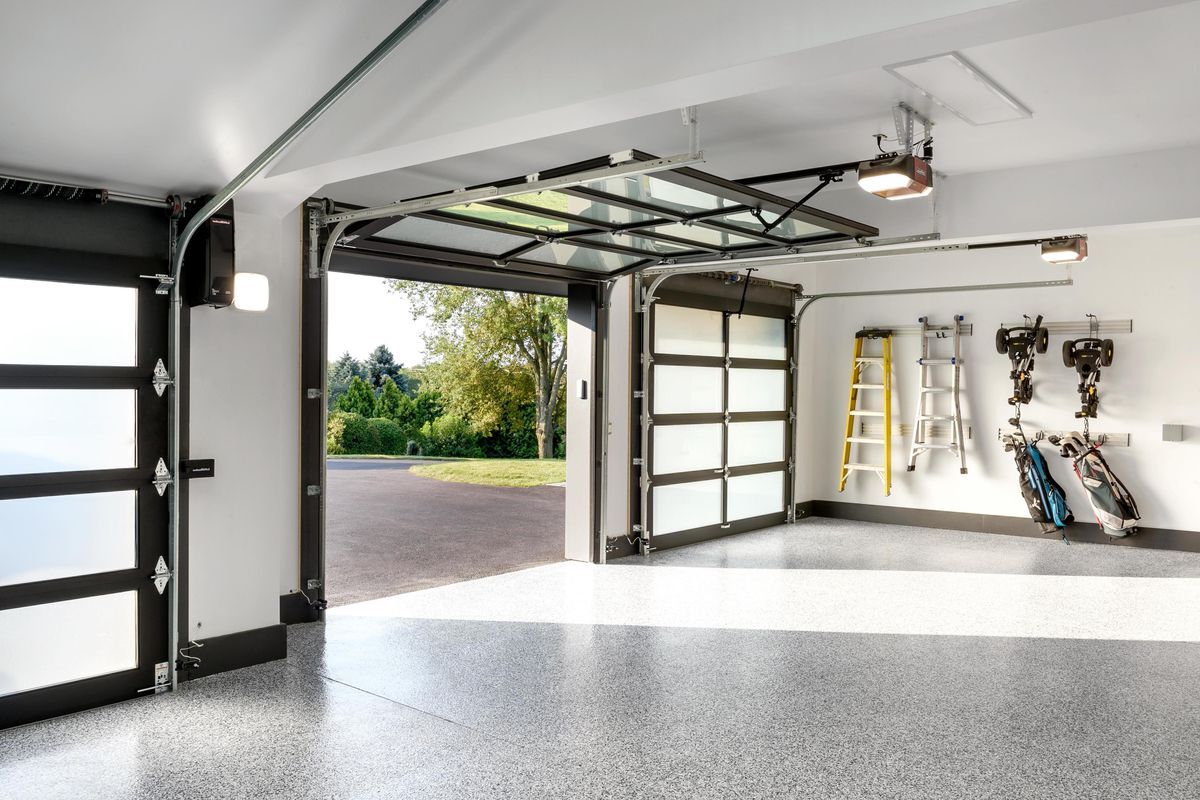
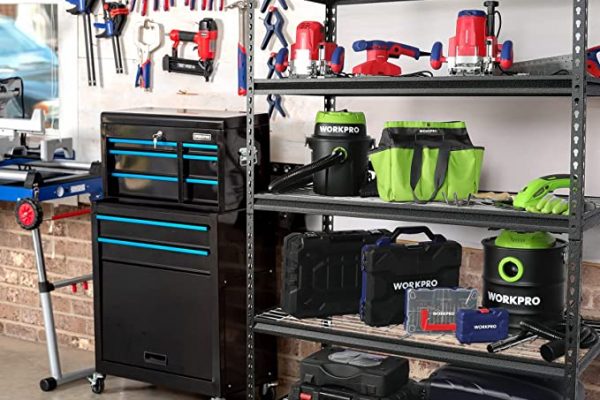
Garage storage is an essential aspect of maintaining a well-organized and functional home. Over time, garages can become cluttered with tools, equipment, and other items that are difficult to access and manage. Upgrading your garage storage with DIY shelving is an excellent way to maximize space, improve organization, and enhance the overall functionality of your garage. In this article, we will explore various DIY garage shelving ideas, materials needed, and step-by-step instructions to help you create a customized storage system that meets your specific needs.
Understanding Your Needs
Before diving into the DIY project, it's crucial to understand your garage's specific requirements. Here are a few key considerations:
- Space Constraints: Measure the dimensions of your garage walls and floor to determine the best placement for your shelves.
- Item Types: Identify the types of items you need to store, such as tools, equipment, sports gear, or seasonal decorations.
- Accessibility: Consider how frequently you need to access certain items and plan accordingly.
- Budget: Determine how much you are willing to spend on materials and tools.
Materials Needed
To start your DIY garage shelving project, you'll need the following materials:
-
Lumber:
- 2x4s for vertical supports and shelf frames
- 2x3s for additional support (if needed)
- Plywood or oriented strand board (OSB) for shelf surfaces
-
Fasteners:
- 3-inch screws for securing shelves to wall studs
- 2-inch screws for assembling shelf frames
- Wood glue for added stability
-
Tools:
- Circular saw or hand saw for cutting lumber
- Drill with screwdriver and drill bits
- Hammer for tapping screws into place
- Tape measure for precise measurements
- Level to ensure shelves are straight
-
Additional Components (Optional):
- Casters or wheels for mobile shelving units
- Sliding doors or drawers for added accessibility
- Hooks or pegboard for hanging tools and accessories
DIY Garage Shelving Ideas
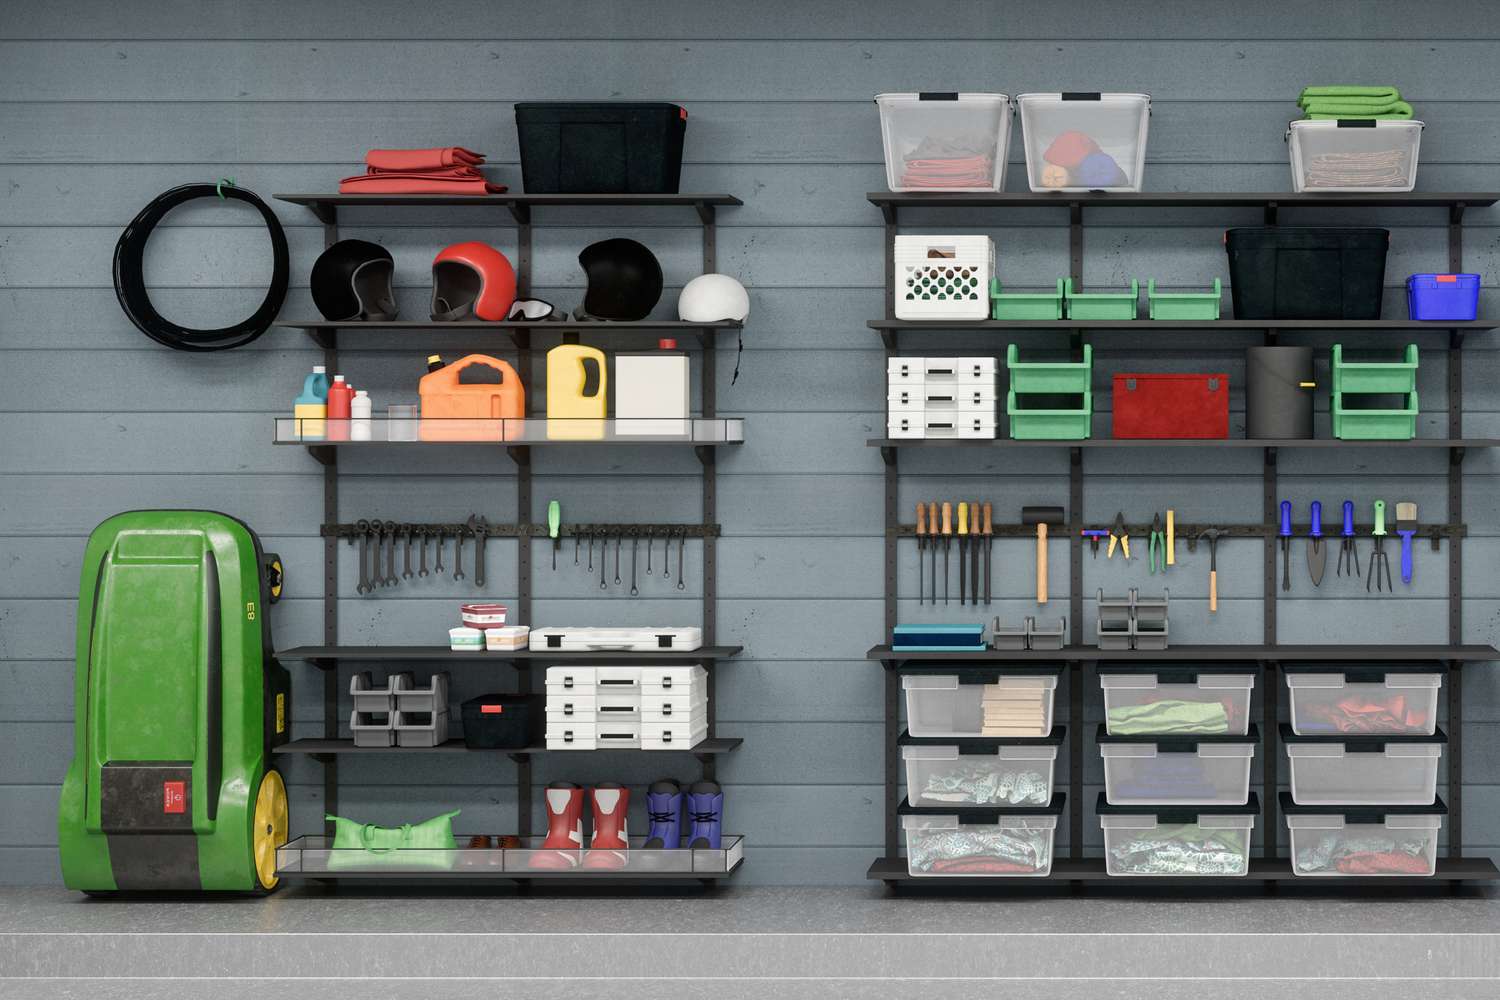
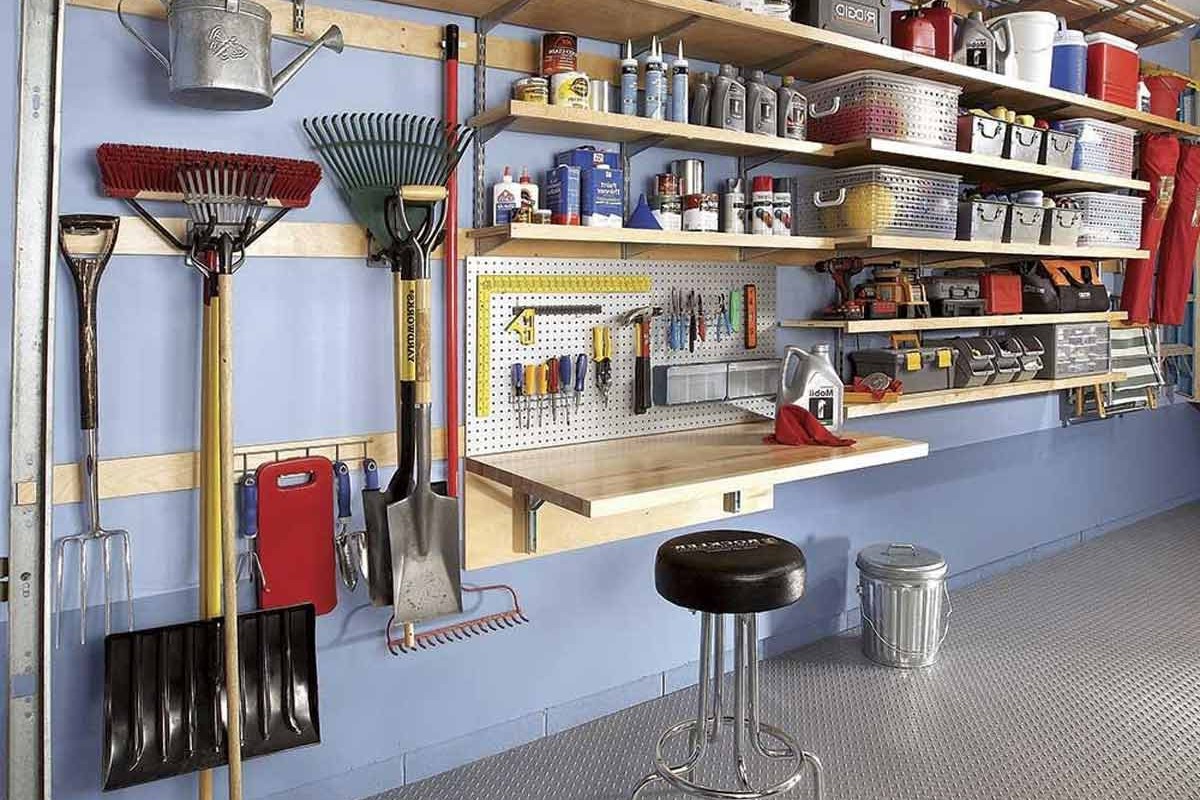
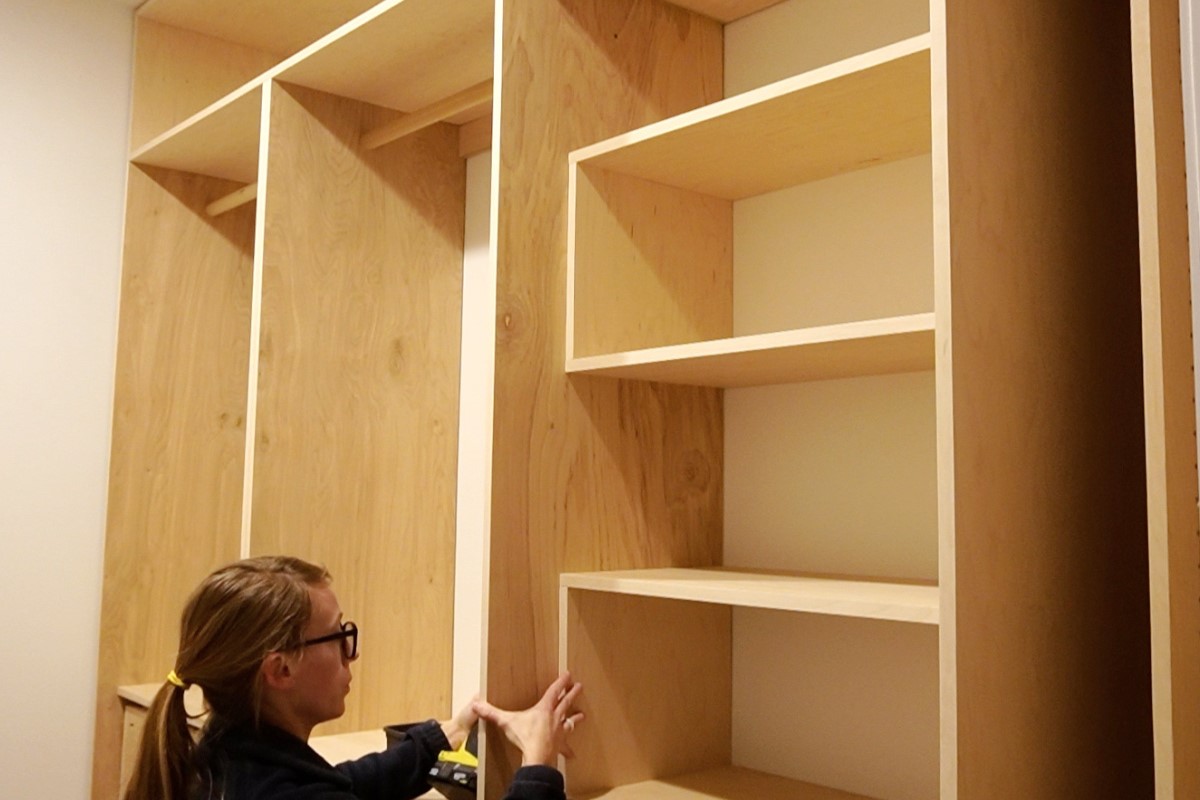
1. Basic Wall-Mounted Shelves
This is one of the simplest and most cost-effective DIY garage shelving projects. Here’s how to do it:
-
Measure and Cut Lumber:
- Measure the length of your wall where you want to install the shelves.
- Cut multiple 2x4s to the desired length using a circular saw.
-
Assemble Shelf Frames:
- Use 2-inch screws to assemble the shelf frames from the 2x4s.
- Ensure the frames are square and sturdy.
-
Attach Shelves to Wall:
- Use 3-inch screws to secure the shelf frames to the wall studs.
- Make sure the shelves are level and evenly spaced.
-
Add Additional Support (If Needed):
- If you have heavy items or want extra stability, add additional support using 2x3s between the shelf frames.
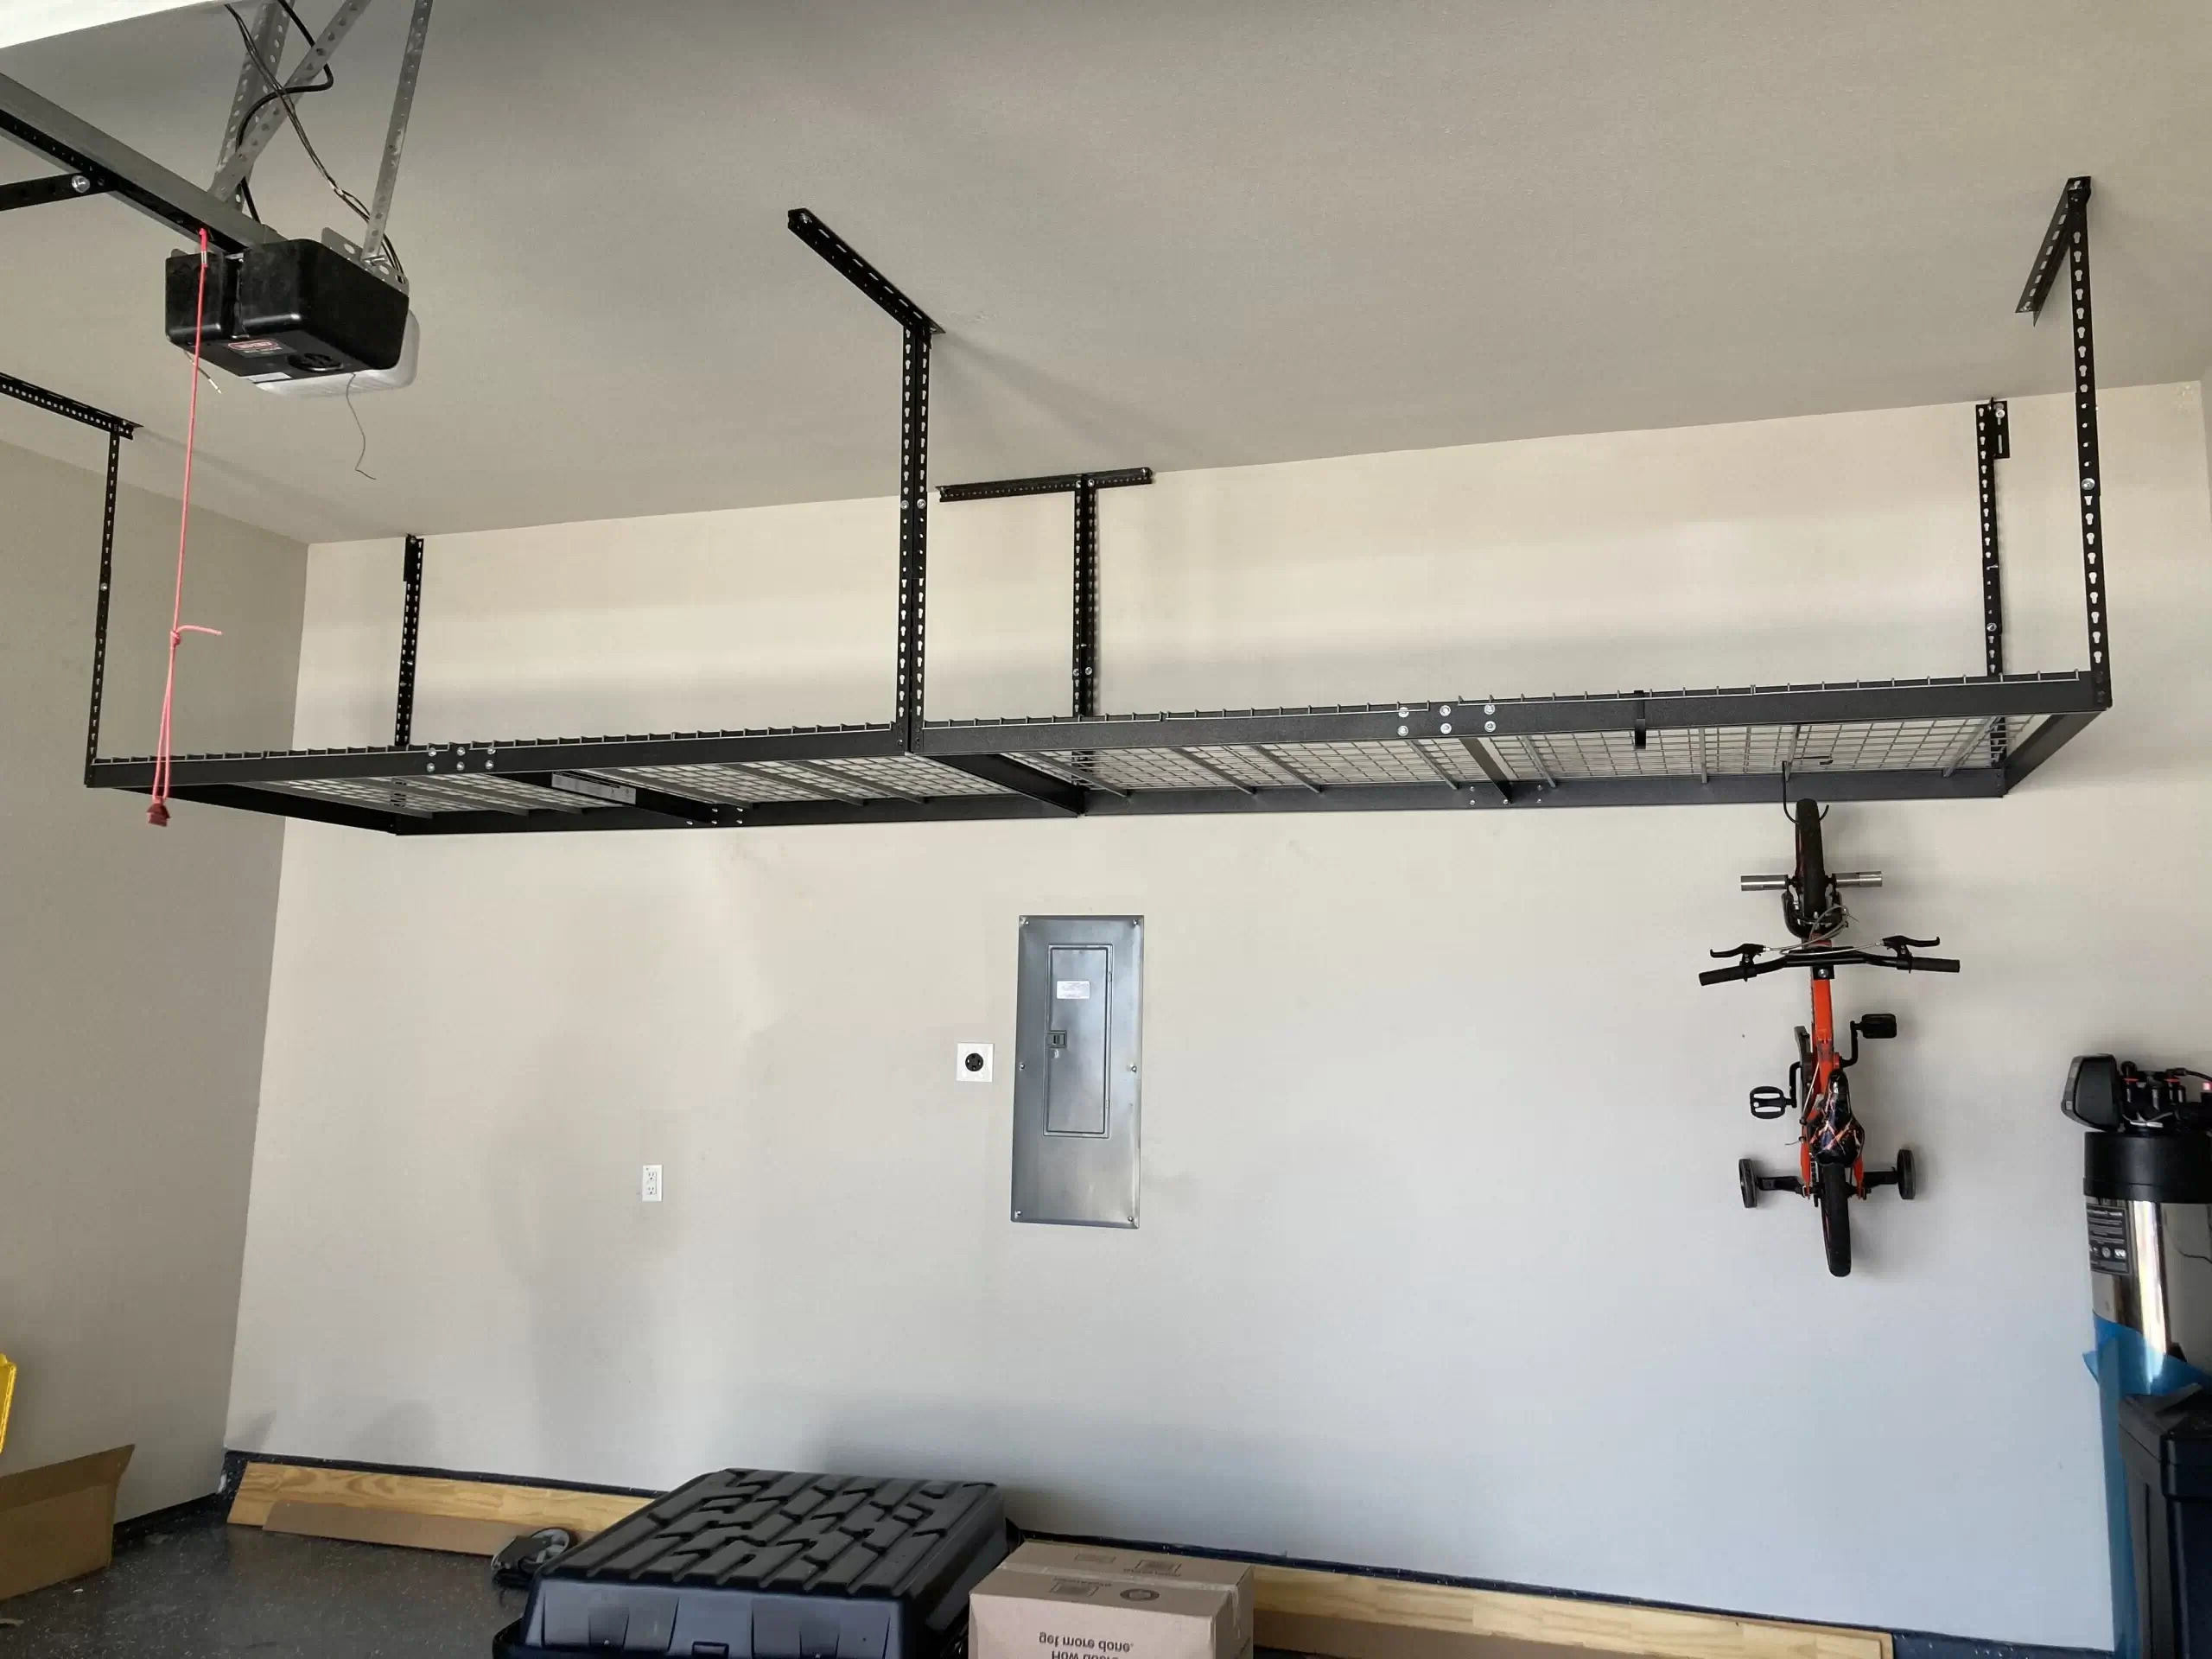
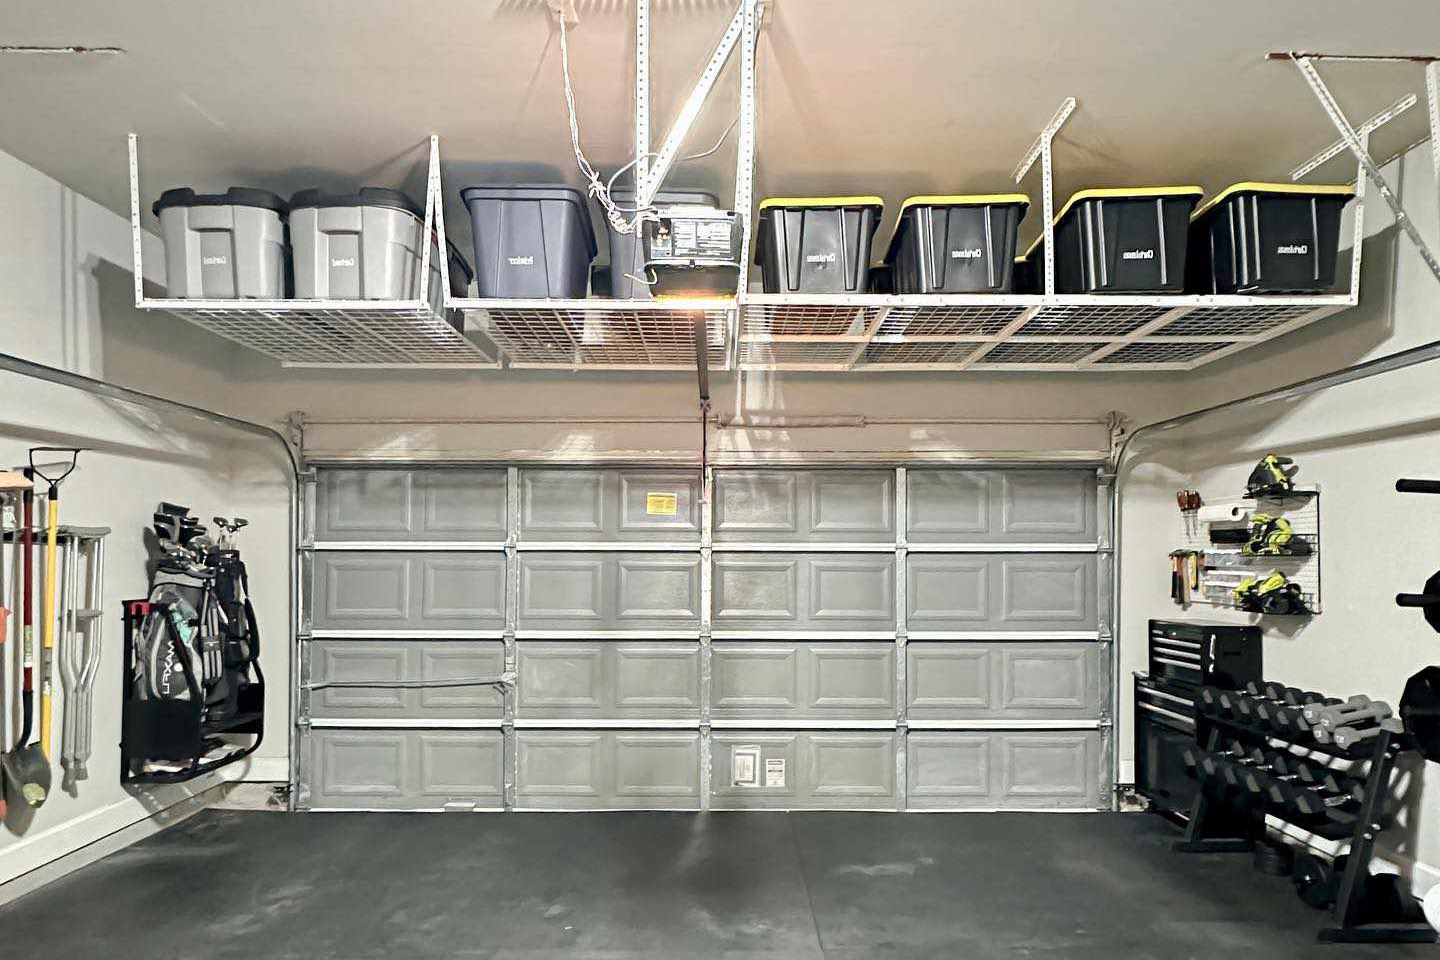
2. Double-Duty Garage Storage Shelf
This project involves creating a double-decker shelf system to maximize floor space:
-
Measure and Cut Lumber:
- Measure the length of your wall and cut multiple 2x4s to the desired length.
-
Assemble Shelf Frames:
- Create two sets of shelf frames, one for each level.
- Use 2-inch screws to assemble the frames.
-
Attach Shelves to Ceiling:
- Screw 2×4 cleats to the ceiling using 3-inch screws.
- Attach the upper shelf frames to these cleats.
-
Add Lower Shelves:
- Attach lower shelf frames directly to wall studs using 3-inch screws.
3. Mobile Garage Storage Unit
Creating a mobile garage storage unit is perfect for those who need to move their storage frequently:
-
Measure and Cut Lumber:
- Measure the dimensions of your storage bins or totes.
- Cut 2x4s and 4x4s according to your design plan.
-
Assemble Frame:
- Use 6-inch HeadLOK screws to attach vertical posts (4x4s) to horizontal rails (2x4s).
- Ensure there is at least 20 inches between each post for easy bin access.
-
Attach Rails to Vertical Posts:
- Attach rails to vertical posts using screws or nails.
- This will create separate compartments for each bin.
-
Add Casters:
- Attach casters (5-inch or 6-inch) to the bottom of the frame for mobility.
-
Finish with Tote Storage:
- Place 27-gallon storage containers into the compartments.
- Ensure they are securely attached using screws or clips.
4. Rolling Scrap Wood Cart Storage
This project utilizes scrap wood and casters to create a rolling cart for storing small items:
-
Gather Scrap Wood:
- Collect various sizes of scrap wood pieces.
-
Assemble Frame:
- Use screws or nails to assemble a rectangular frame from the scrap wood pieces.
-
Add Casters:
- Attach casters (4-inch) to the bottom of the frame for mobility.
-
Add Shelves or Compartments:
- Attach additional shelves or compartments using screws or nails.
-
Finish with Decorative Touches (Optional):
- Add decorative touches like paint or stain if desired.
Advanced DIY Garage Shelving Projects
1. DIY Wall-Mounted Yard Tool Organizer
This project involves creating a pegboard system for organizing yard tools:
-
Measure and Cut Lumber:
- Measure the length of your wall where you want to install the pegboard.
- Cut multiple 2x4s to the desired length.
-
Assemble Pegboard Frame:
- Use 2-inch screws to assemble a rectangular frame from the 2x4s.
- Ensure it is sturdy and level.
-
Attach Pegboard Panel:
- Attach a pegboard panel to the frame using screws or nails.
- Add hooks or bins underneath for additional storage.
-
Add Additional Features (Optional):
- Add sliding doors or drawers for easy access to tools.
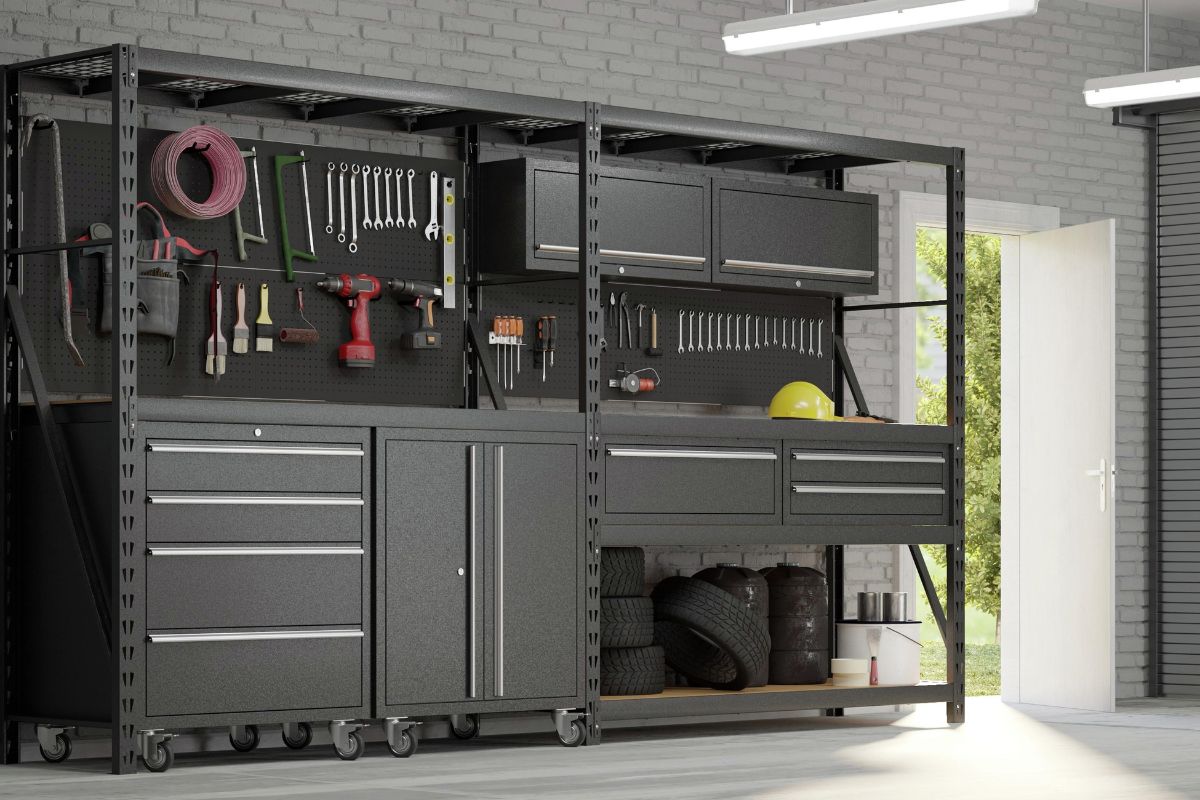
2. DIY Miter Saw Station and Build-in Garage Cabinets
This project involves creating a miter saw station and build-in garage cabinets:
-
Measure and Cut Lumber:
- Measure the dimensions of your miter saw and cabinets.
- Cut multiple 2x4s and plywood or OSB according to your design plan.
-
Assemble Miter Saw Station:
- Use 3-inch screws to attach vertical supports (2x4s) to horizontal surfaces (plywood or OSB).
- Ensure it is sturdy and level.
-
Assemble Cabinets:
- Use 2-inch screws to assemble cabinet frames from 2x4s.
- Attach cabinet doors using hinges and latches.
-
Add Additional Features (Optional):
- Add adjustable shelves or drawers inside the cabinets for better organization.
Tips for Successful DIY Garage Shelving Projects
-
Plan Thoroughly: Before starting any project, make sure you have a clear plan including measurements, materials needed, and step-by-step instructions.
-
Use Proper Safety Gear: Always wear safety gear such as gloves, safety glasses, and a dust mask when working with power tools or handling materials.
-
Measure Twice: Double-check your measurements before cutting lumber to avoid errors that could lead to wasted materials or rework.
-
Use High-Quality Materials: Choose high-quality materials that are durable enough to support heavy loads and withstand regular use.
-
Label Your Shelves: Use a label maker to identify where major items should go, making it easier to find what you need quickly.
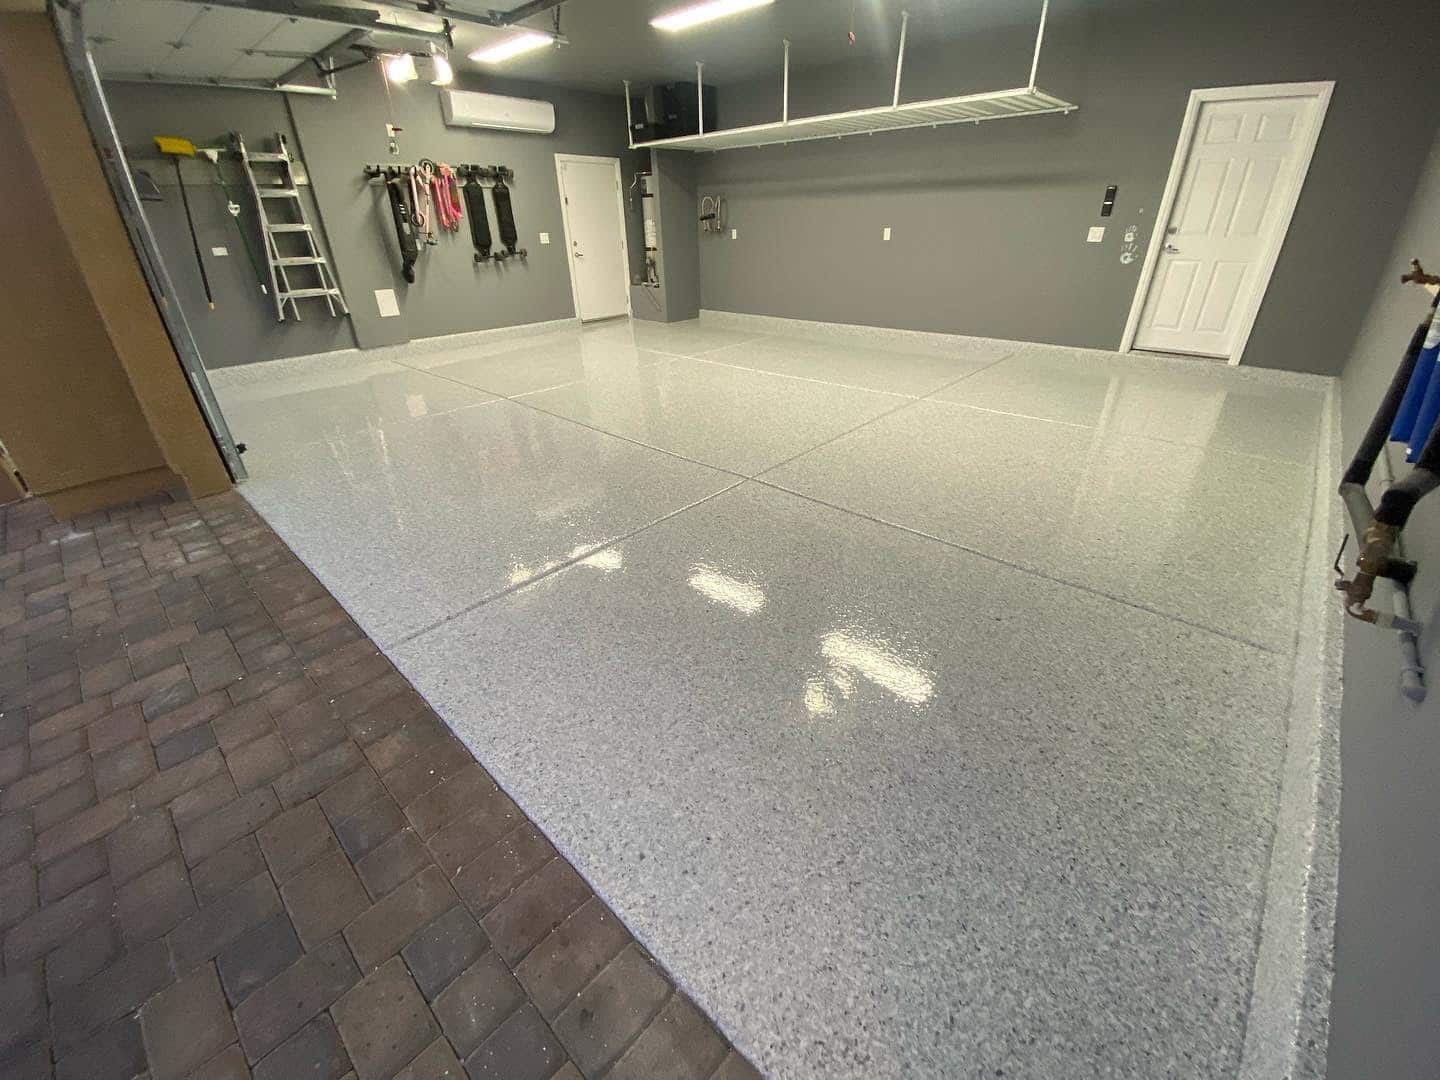
Conclusion
Upgrading your home's garage storage with DIY shelving is an excellent way to maximize space, improve organization, and enhance the overall functionality of your garage. By following these DIY garage shelving ideas and tips for successful projects, you can create customized storage systems that meet your specific needs while saving money on professional installation costs.
Remember to always plan thoroughly, use proper safety gear, measure twice, and choose high-quality materials for a successful DIY project. Whether you're looking for basic wall-mounted shelves or advanced mobile storage units, there's a DIY garage shelving solution out there for everyone.
By taking control of your garage storage needs through DIY projects, you'll not only save money but also enjoy the satisfaction of creating something useful and functional with your own hands. Happy building
Was this page helpful?
At Storables.com, we guarantee accurate and reliable information. Our content, validated by Expert Board Contributors, is crafted following stringent Editorial Policies. We're committed to providing you with well-researched, expert-backed insights for all your informational needs.


0 thoughts on “Upgrading Your Home’s Garage Storage With DIY Shelving”