Home>Ideas and Tips>Upgrading Your Home’s Garage With DIY Sliding Storage System

Ideas and Tips
Upgrading Your Home’s Garage With DIY Sliding Storage System
Modified: October 20, 2024
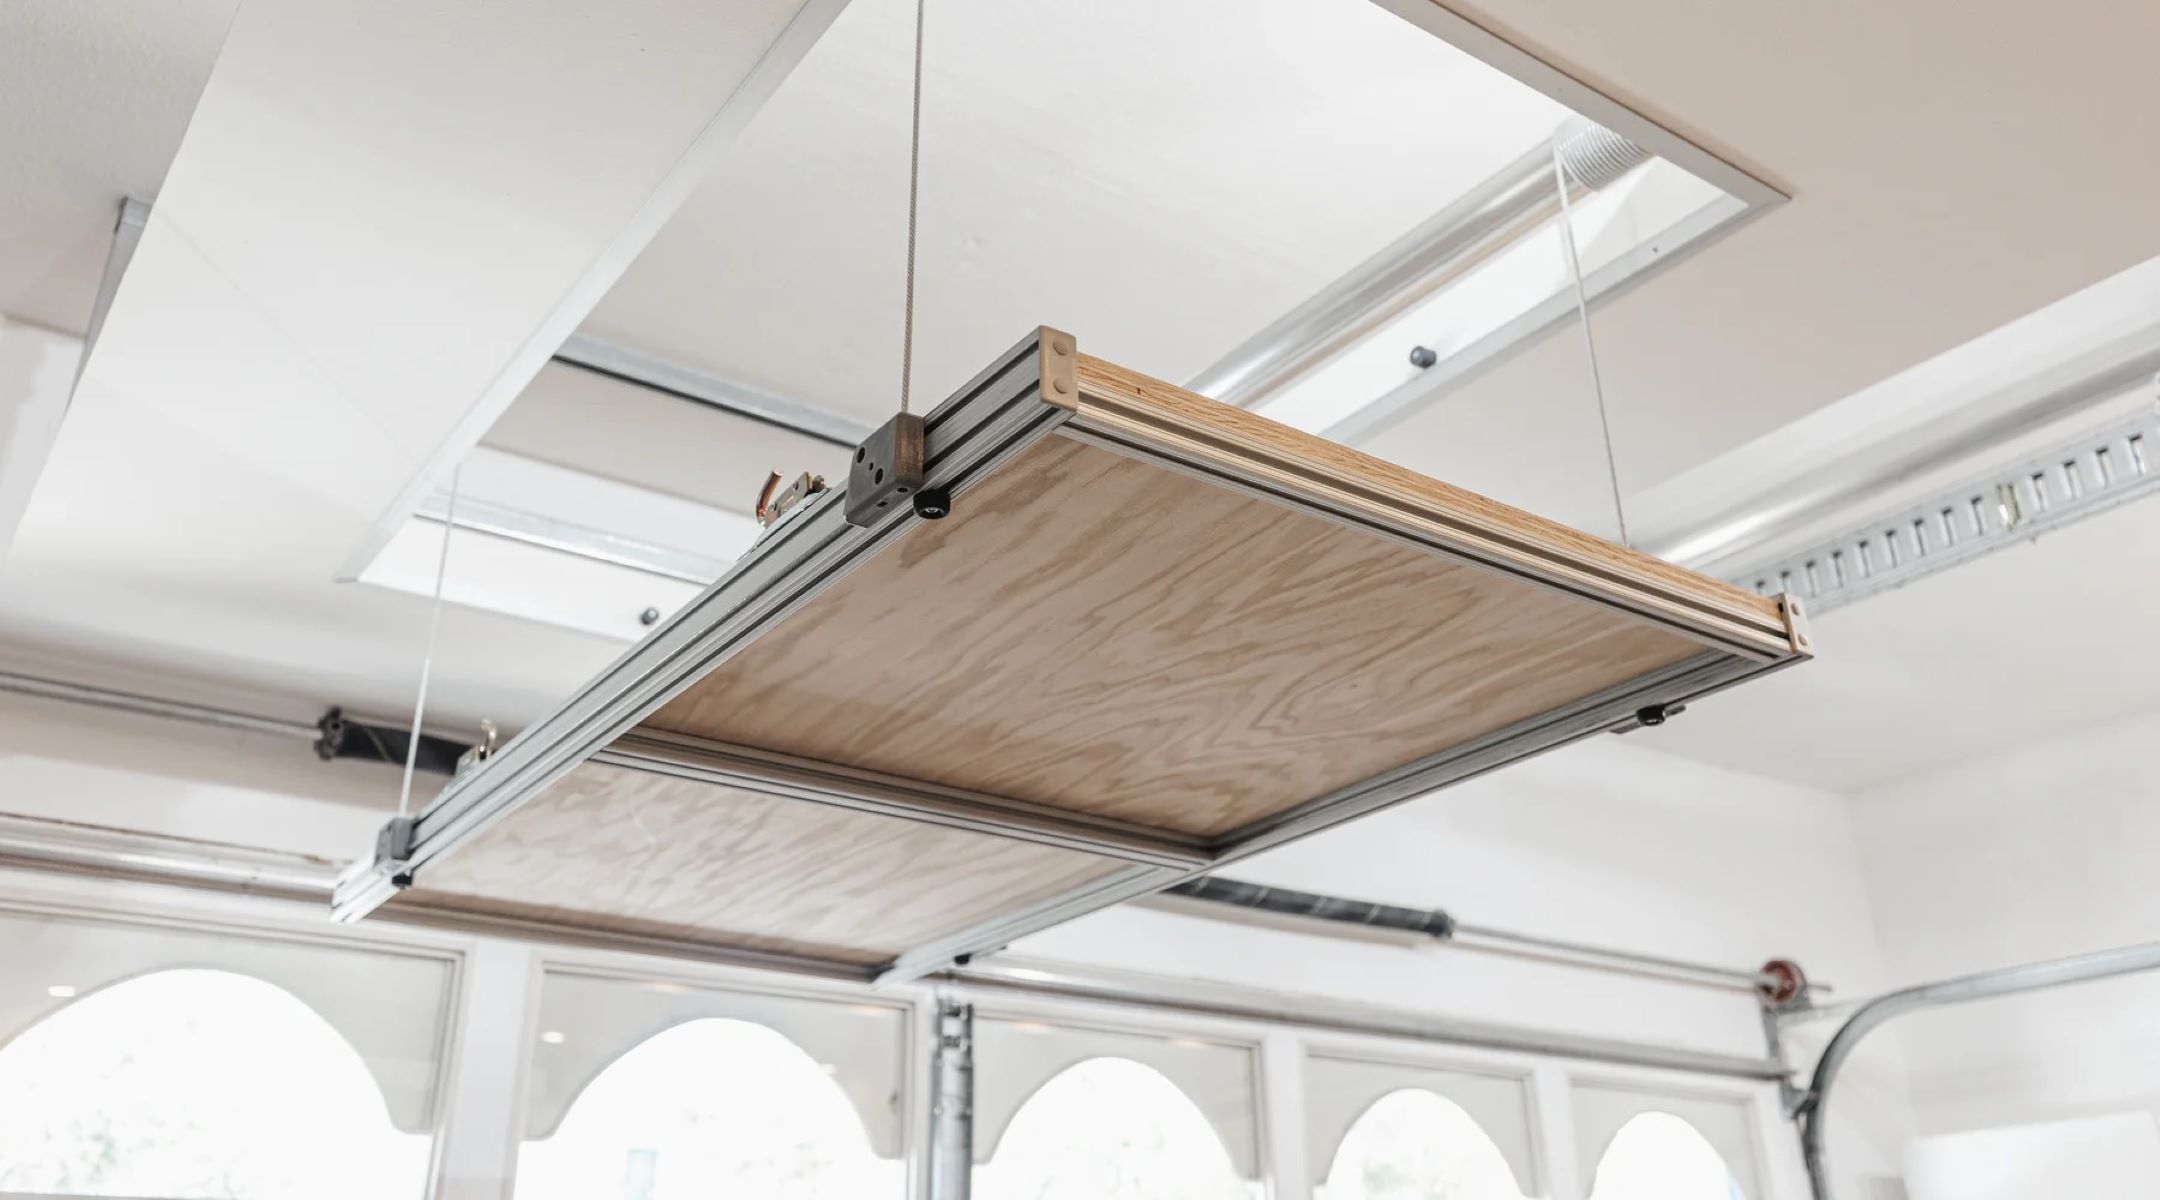
Transform your garage with a DIY sliding storage system. Maximize space, enhance accessibility, and create a more organized, functional area.
(Many of the links in this article redirect to a specific reviewed product. Your purchase of these products through affiliate links helps to generate commission for Storables.com, at no extra cost. Learn more)
Introduction
Garages are often the most underutilized spaces in our homes, serving as mere repositories for our belongings rather than functional areas that enhance the overall living experience. However, with a little creativity and some DIY skills, you can transform your garage into a well-organized, efficient, and beautiful space that complements your home. One of the most effective ways to achieve this is by installing a DIY sliding storage system. In this article, we will guide you through the process of creating a custom sliding storage system for your garage, highlighting the tools and materials needed, step-by-step instructions, and tips for maximizing space and functionality.
Why Choose a Sliding Storage System?
A sliding storage system is a game-changer for your garage. It makes the most of your vertical space, allowing you to store items that would otherwise clutter the floor or walls. Imagine being able to easily access all your tools, holiday decorations, and gardening supplies without having to dig through piles of boxes. That’s the beauty of a sliding storage system. Plus, you can customize it to fit your specific needs, making it a perfect solution for any garage. And let’s not forget the aesthetics – a well-designed sliding storage system can make your garage look organized and inviting.
Tools and Materials Required
To get started on this project, you’ll need a variety of tools and materials. Here’s a comprehensive list:
Tools Required
- Circular Saw: For cutting wood and plywood.
- Cordless Drill: For drilling holes and driving screws.
- Drill Bit Set: For drilling precise holes.
- Hammer: For tapping pieces into place.
- Level: To ensure everything is perfectly aligned.
- Miter Saw: For making precise angled cuts.
- Safety Glasses: For protecting your eyes from debris.
- Socket/Ratchet Set: For tightening bolts and screws.
- Stepladder: For reaching high areas safely.
- Stud Finder: To locate studs in the wall for secure mounting.
Materials Required
- 1/2" x 1×2 x 8' Pine Stop Strip (1): For creating the frame of the shelves.
- 1/4" x 2" Wood Screws (1 box): For assembling the frame.
- 23-1/2" x 19-1/2" x 13" Plastic Totes (6): For storing items. These totes are reinforced for added strength and can support weights up to 35 lbs each.
- 2×4 x 8" (2): For creating the carriages that hold the totes.
- 3-1/2" Lag Screws and Washers (16): For anchoring the carriages to the ceiling joists.
- 3" Wood Screws (1 box): For assembling the carriages.
- 4' x 8' Sheet of 3/4" Plywood: For creating additional support and shelves if needed.
- Carpenter’s Glue (1 pint): For bonding wood pieces together.
Step-by-Step Instructions
Step 1: Measure and Plan
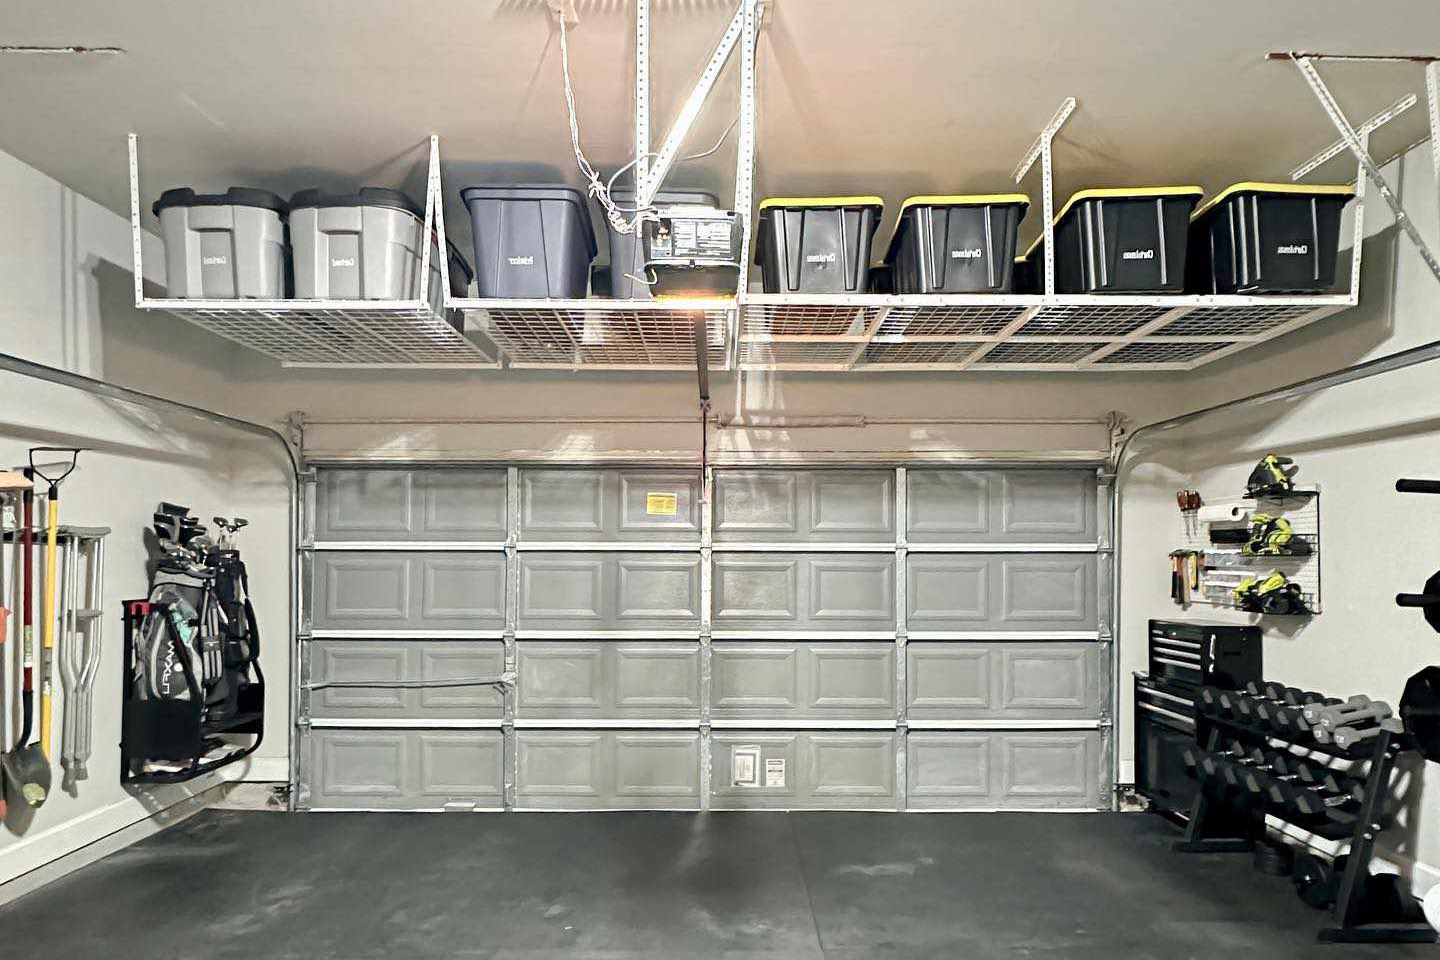
Before starting your project, measure the top of your garage ceiling to determine how many totes you can fit. Also, consider the height above your garage door and choose totes that will work with that clearance. For example, our 13-inch-deep totes required 18 inches of clearance, including the carriages.
Step 2: Prepare the Ceiling
Ensure that your garage ceiling is sturdy enough to support the weight of the totes and their contents. If necessary, consult a professional for reinforcement.
Step 3: Assemble the Carriages
Using your circular saw, cut two pieces of 2×4 lumber to the desired length for your carriages. Assemble these pieces using 3" wood screws, ensuring they are square and sturdy.
Step 4: Attach Lag Screws
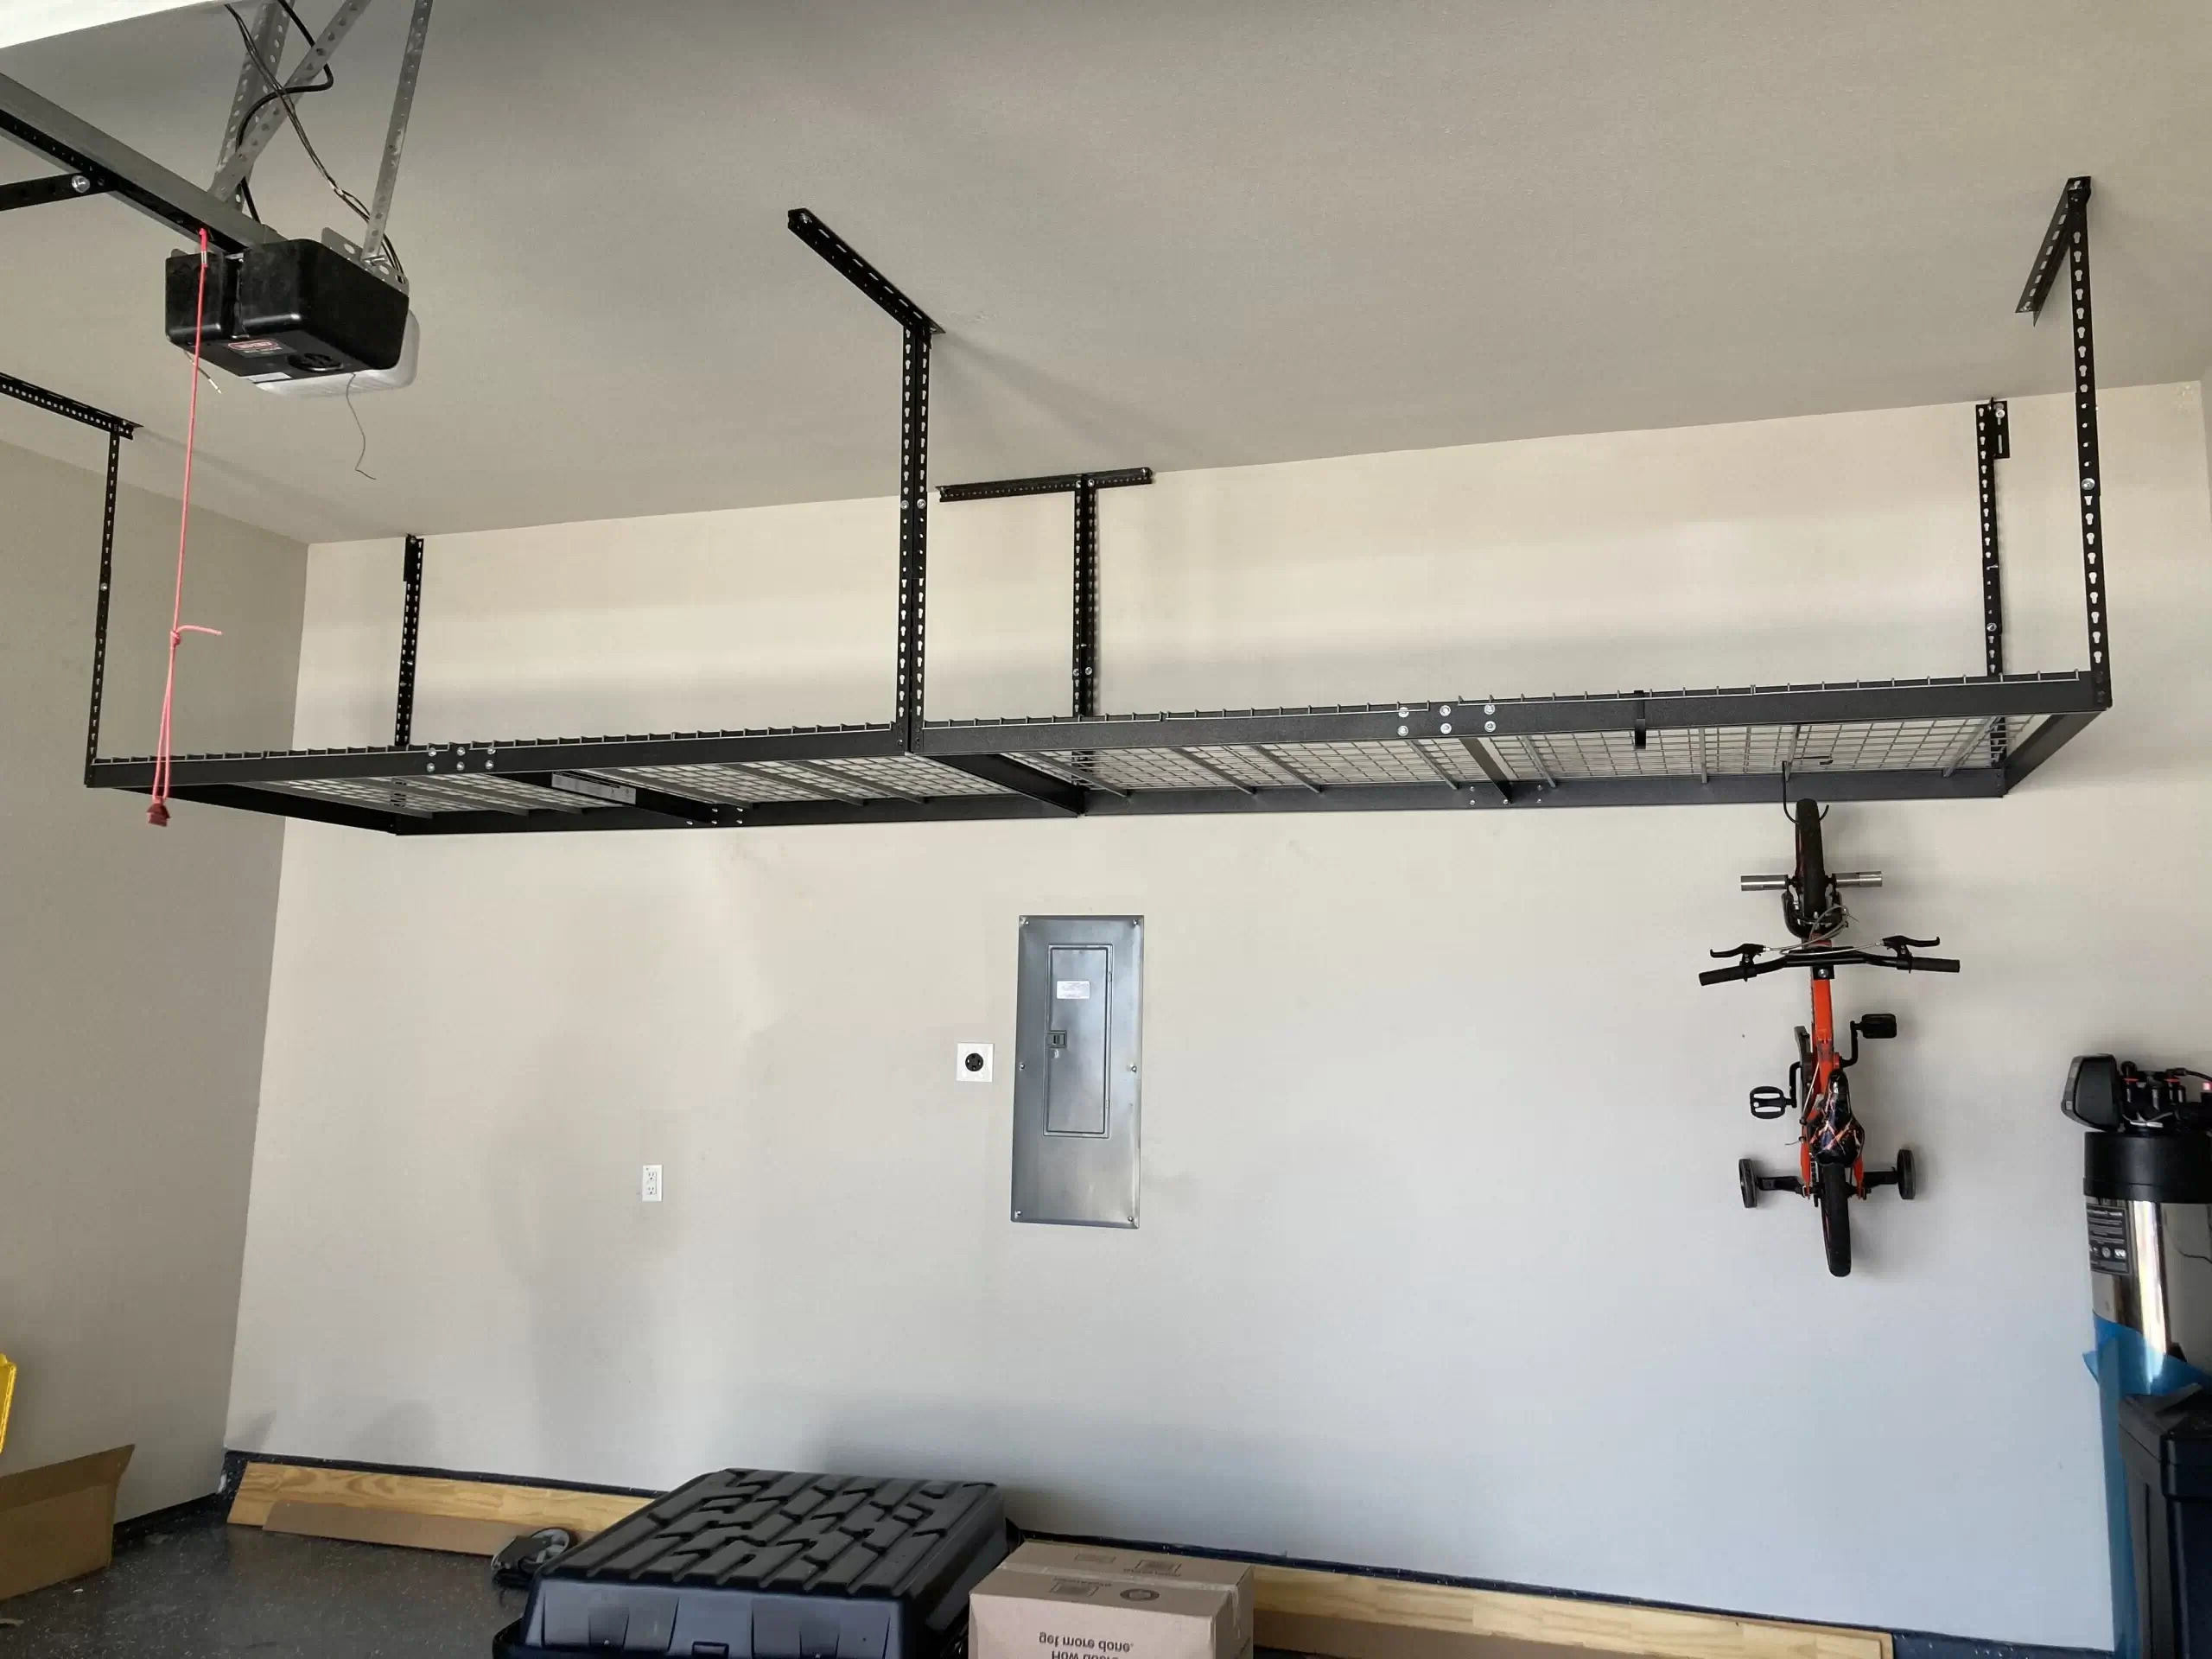
Using a stud finder, locate the ceiling joists and mark their positions. Drill pilot holes for the lag screws and attach them to the carriages with washers. This will secure your carriages firmly to the ceiling.
Step 5: Attach Plywood Strips
Cut strips from the 1/2" x 1×2 pine stop strip to fit between the carriages. These strips will serve as rails for your totes. Attach them using 1/4" x 2" wood screws.
Step 6: Install Totes
Place each tote on its carriage, ensuring they are aligned with the rails. Secure them with additional screws if necessary. Label each tote so you can easily identify what's stored inside.
Step 7: Add Additional Shelves (Optional)
If you need more storage space, cut additional shelves from the 3/4" plywood and attach them to the carriages using screws. This will provide extra room for larger items like toolboxes or equipment.
Read more: Upgrading Your Garage Door For Curb Appeal
Additional Tips for Maximizing Space
-
Utilize Dead Space: If you don’t have unused space above the garage door, consider installing this ceiling garage storage system in another area of your garage. Just keep the totes at least two feet from garage lighting, door springs, and garage door openers.
-
Choose the Right Totes: Select reinforced plastic totes that can support weights up to 35 lbs each. These are available from internet suppliers like usplastic.com and simplastics.com.
-
Customize Your System: Tailor your sliding storage system to fit your specific needs. For example, if you have a lot of holiday decorations or gardening tools, you can use totes of different sizes to accommodate these items.
-
Consider Sliding Doors: If you have limited space in your garage, consider using sliding doors for your storage units. This will allow you to access items easily without compromising on space.
Case Study: DIY Sliding Shelves
For those who prefer a more comprehensive approach to garage organization, building sliding shelves can be an excellent option. Here’s how you can create sliding shelves:
-
Determine Space: Measure the width and height of your garage wall where you plan to install the shelves. Decide on the depth of the shelves based on the items you want to store.
-
Build the Frame: Cut pieces of 2×4 lumber to create the frame of your shelves. Assemble these pieces using screws, ensuring they are square and sturdy.
-
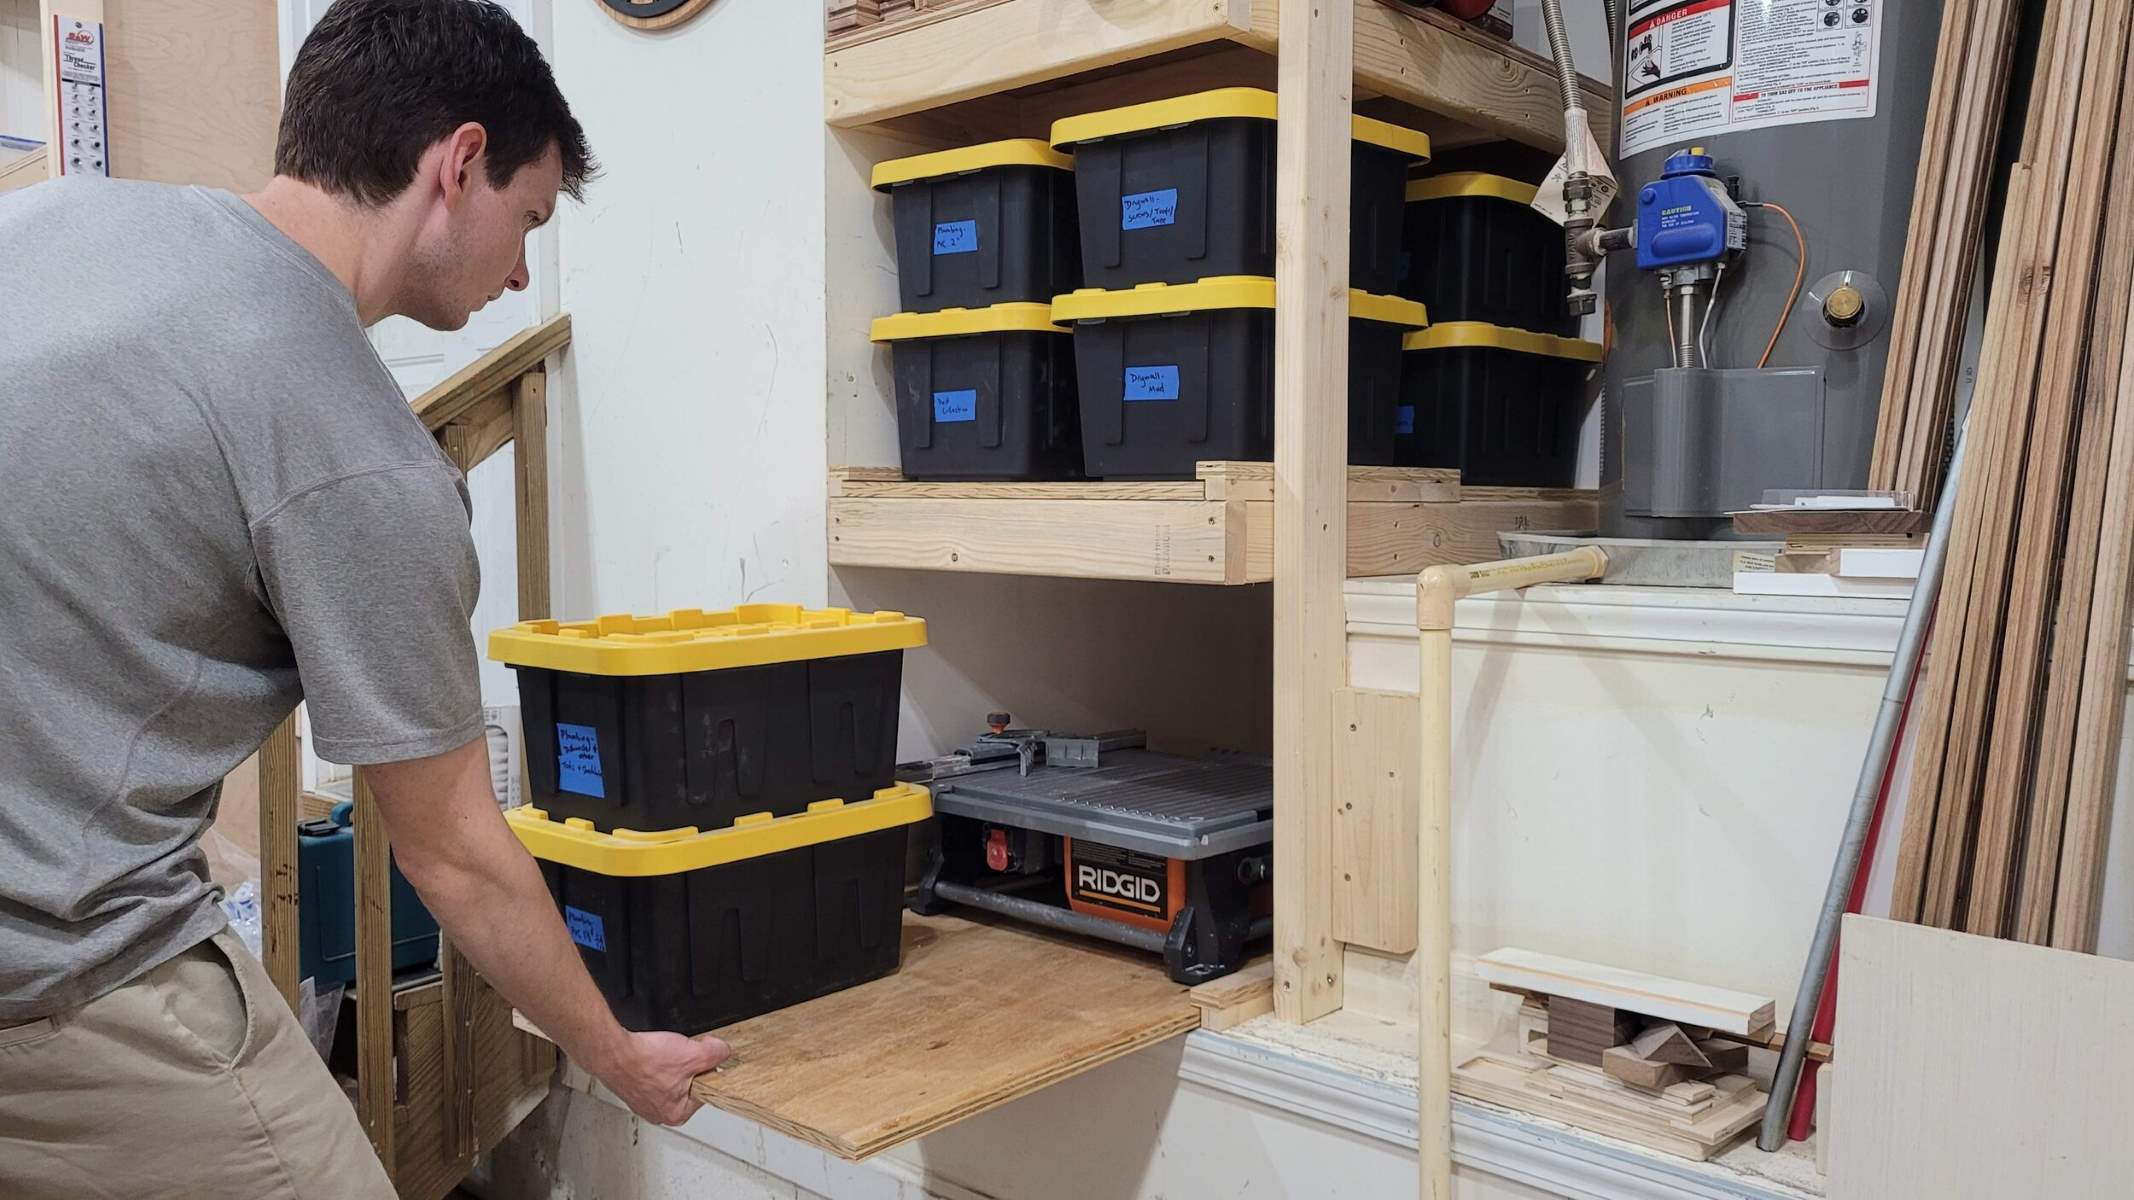
Add Rollout Shelves: Cut particleboard or plywood for the rollout shelves. Attach these to the frame using screws or nails. Ensure that the rollout mechanism is smooth by using proper hardware.
-
Install Tracks: Attach tracks to the shelf frame before installing it. This will make it easier to slide the shelves in and out without having to work overhead.
-
Mount Rollouts: Slide rollers into the tracks and hang the rollout shelf. Use scraps to support heavy rollouts while aligning them.
Conclusion
Upgrading your home's garage with a DIY sliding storage system is a rewarding project that can significantly enhance both functionality and aesthetics. By following these steps and tips, you can create a custom storage solution that meets your specific needs while maximizing space efficiency. Whether you choose to build overhead storage or sliding shelves, remember that customization is key to achieving an organized and beautiful garage space.
Additional Resources
For more ideas on garage organization and DIY projects, consider the following resources:
- Family Handyman’s Space-Saving Sliding Shelves: A comprehensive guide on building ultra-efficient use of narrow garage sidewalls.
- Garage Journal’s Sliding Shelves Ideas: A forum discussion on various ideas and plans for building sliding shelves in garages.
- Just Measuring Up’s Sliding Garage Shelves: A detailed guide on turning a 20-foot garage corner into 70 feet of space with stacked slide-out storage shelves.
By leveraging these resources and following our step-by-step guide, you’ll be well on your way to transforming your garage into an efficient, organized, and beautiful space that complements your home perfectly.
Was this page helpful?
At Storables.com, we guarantee accurate and reliable information. Our content, validated by Expert Board Contributors, is crafted following stringent Editorial Policies. We're committed to providing you with well-researched, expert-backed insights for all your informational needs.





0 thoughts on “Upgrading Your Home’s Garage With DIY Sliding Storage System”