Home>Others>Specialized Home Improvement Topics>How To Remove Vape Film From Car Windows
Specialized Home Improvement Topics
How To Remove Vape Film From Car Windows
Published: January 9, 2024
Learn effective methods to remove vape film from car windows with specialized home improvement tips. Keep your car windows clean and clear with these expert techniques.
(Many of the links in this article redirect to a specific reviewed product. Your purchase of these products through affiliate links helps to generate commission for Storables.com, at no extra cost. Learn more)
Introduction
Vaping has become a popular alternative to traditional smoking, offering a wide array of flavors and a potentially reduced health risk. However, one of the downsides of vaping is the residue it can leave behind, particularly on car windows. This residue, often referred to as "vape film," can accumulate over time, leading to hazy and unsightly windows. Removing vape film from car windows is essential not only for aesthetic reasons but also for safety, as it can obstruct visibility while driving.
In this comprehensive guide, we will delve into the process of effectively removing vape film from car windows. Whether you are a vaping enthusiast or someone who has inherited a vehicle with vape film buildup, this step-by-step tutorial will equip you with the knowledge and techniques to restore your car windows to a pristine condition.
Understanding the nature of vape film and the appropriate tools and materials to use is crucial for achieving optimal results. By following the outlined steps and incorporating additional tips and precautions, you can ensure that your car windows remain free from vape film, enhancing both the appearance and safety of your vehicle.
So, let's roll up our sleeves and embark on this journey to reclaim the clarity and transparency of our car windows. With the right approach and a bit of elbow grease, you can bid farewell to vape film and revel in the unobstructed view of the open road.
Key Takeaways:
- Vape film on car windows is a stubborn residue that can obstruct visibility. Using the right tools and techniques, like a plastic razor blade and rubbing alcohol, can effectively remove it and restore clear windows for safer driving.
- Preparing the window, applying the cleaning solution, scrubbing, and thorough wiping and drying are essential steps in removing vape film. Regular maintenance and caution with cleaning products can help maintain clear car windows.
Read more: How To Remove Fog From Car Windows
Understanding Vape Film
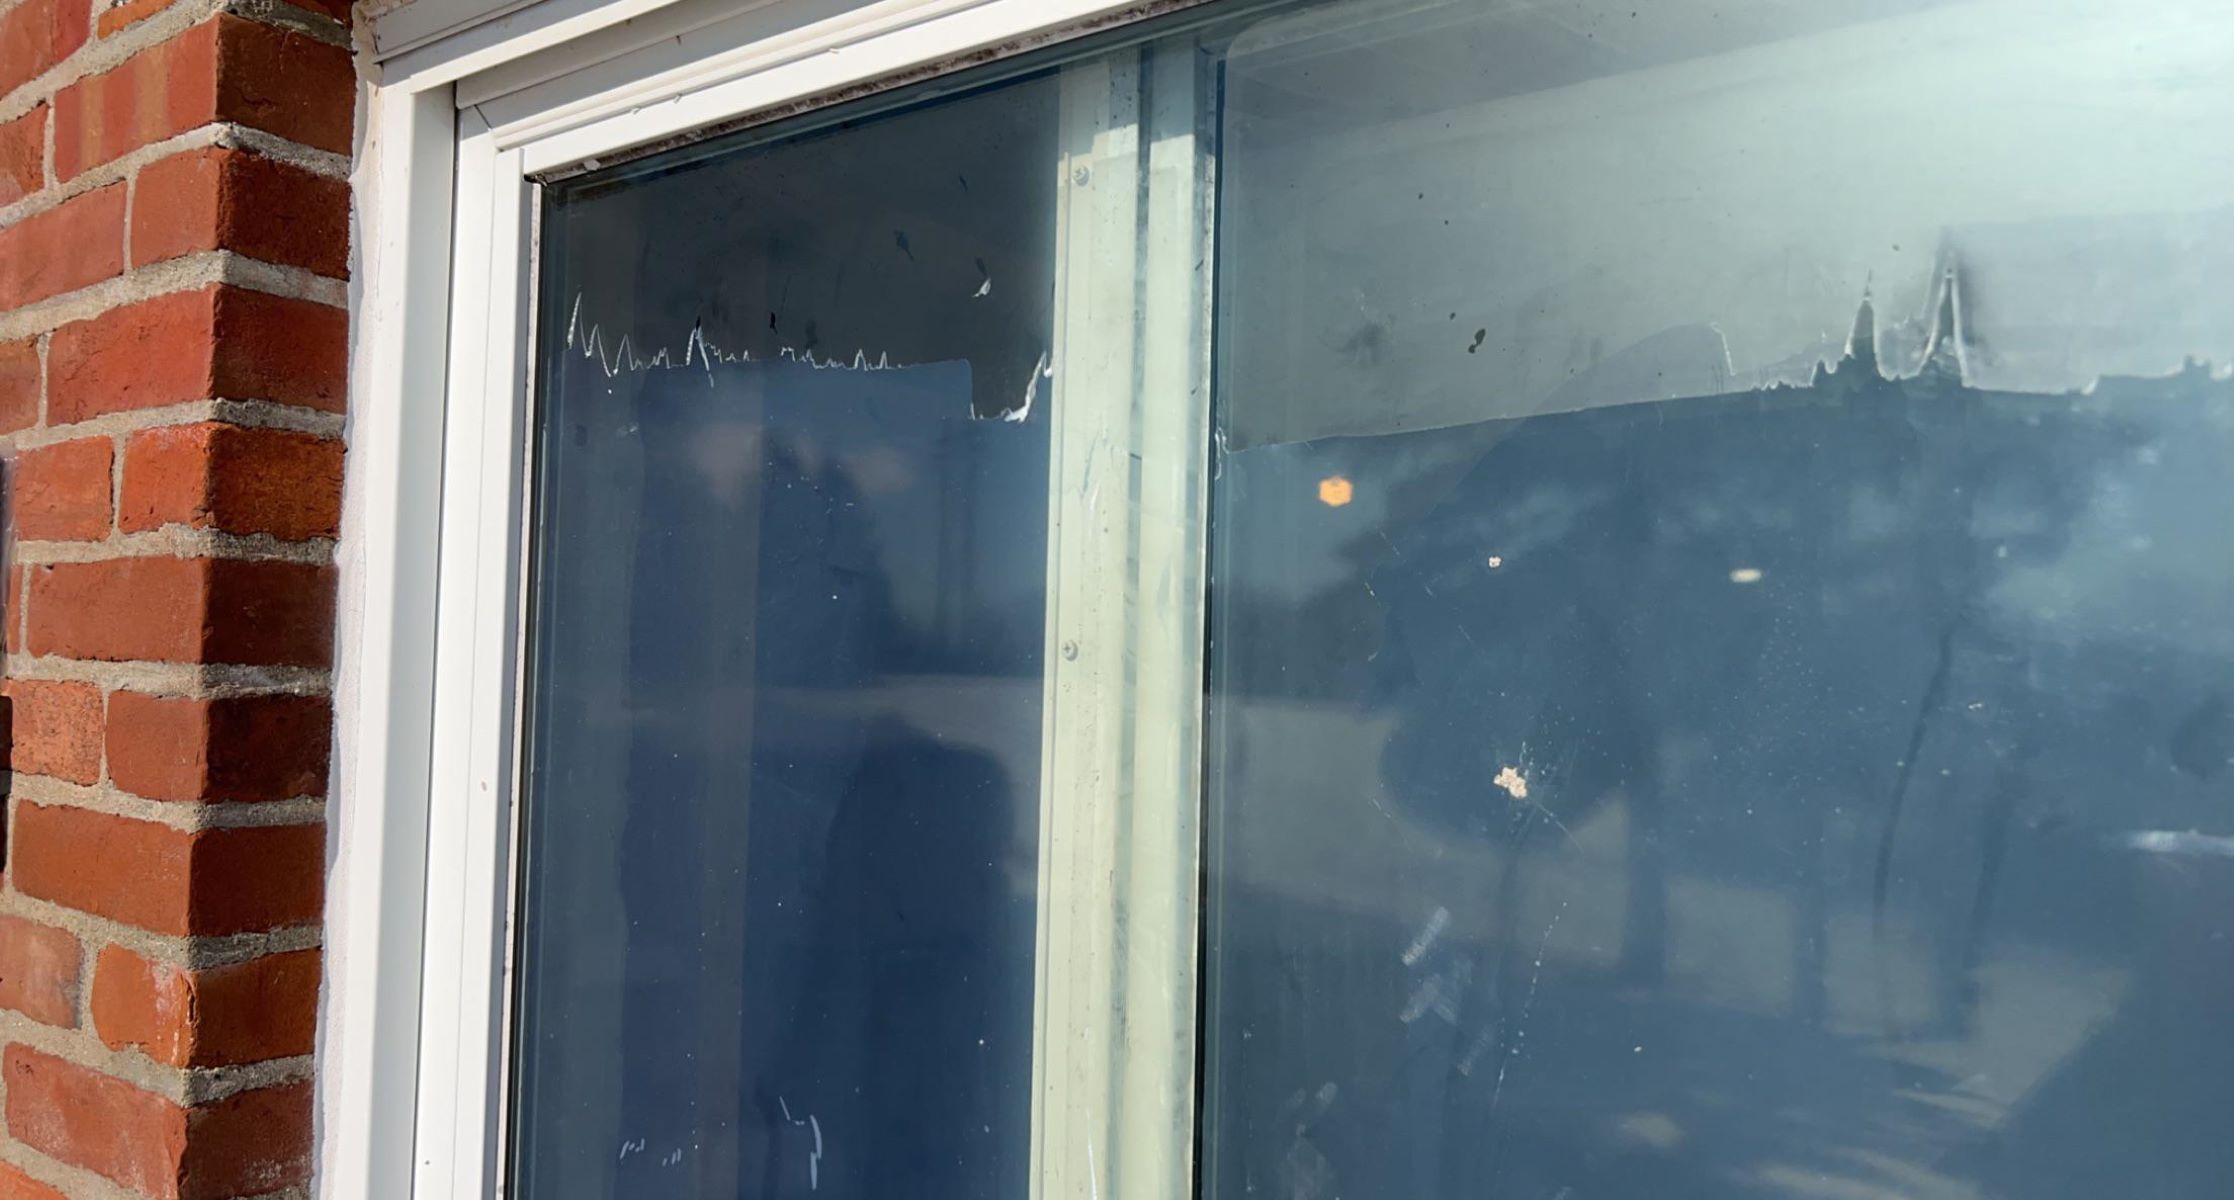
Vape film, also known as vapor residue, is the accumulation of tiny droplets of e-liquid and other particles that are emitted during vaping. When these particles come into contact with car windows, they can adhere to the surface and gradually form a thin, hazy layer. This residue is not only visually unappealing but can also compromise the transparency and clarity of the windows, impeding the driver’s visibility.
The composition of vape film can vary depending on the type of e-liquid being used. It typically consists of a combination of propylene glycol, vegetable glycerin, flavorings, and nicotine. When these substances vaporize and come into contact with the cooler surface of a car window, they can condense and form a film that is challenging to remove with conventional cleaning methods.
Unlike dust or dirt, vape film adheres more stubbornly to the glass due to its sticky nature, requiring specialized cleaning techniques to effectively eliminate it. Moreover, prolonged exposure to sunlight can cause the vape film to harden and become even more resistant to standard cleaning agents.
Understanding the characteristics of vape film is essential for selecting the appropriate cleaning solutions and techniques to tackle this specific type of residue. By gaining insight into the nature of vape film, you can approach the cleaning process with confidence, knowing that you are employing methods tailored to address its unique composition and adhesion properties.
Now that we have a clearer understanding of vape film and its composition, let’s explore the essential tools and materials needed to effectively remove this stubborn residue from car windows.
Tools and Materials Needed
Before embarking on the task of removing vape film from car windows, it’s essential to gather the necessary tools and materials to ensure a successful cleaning process. Here’s a comprehensive list of items you’ll need:
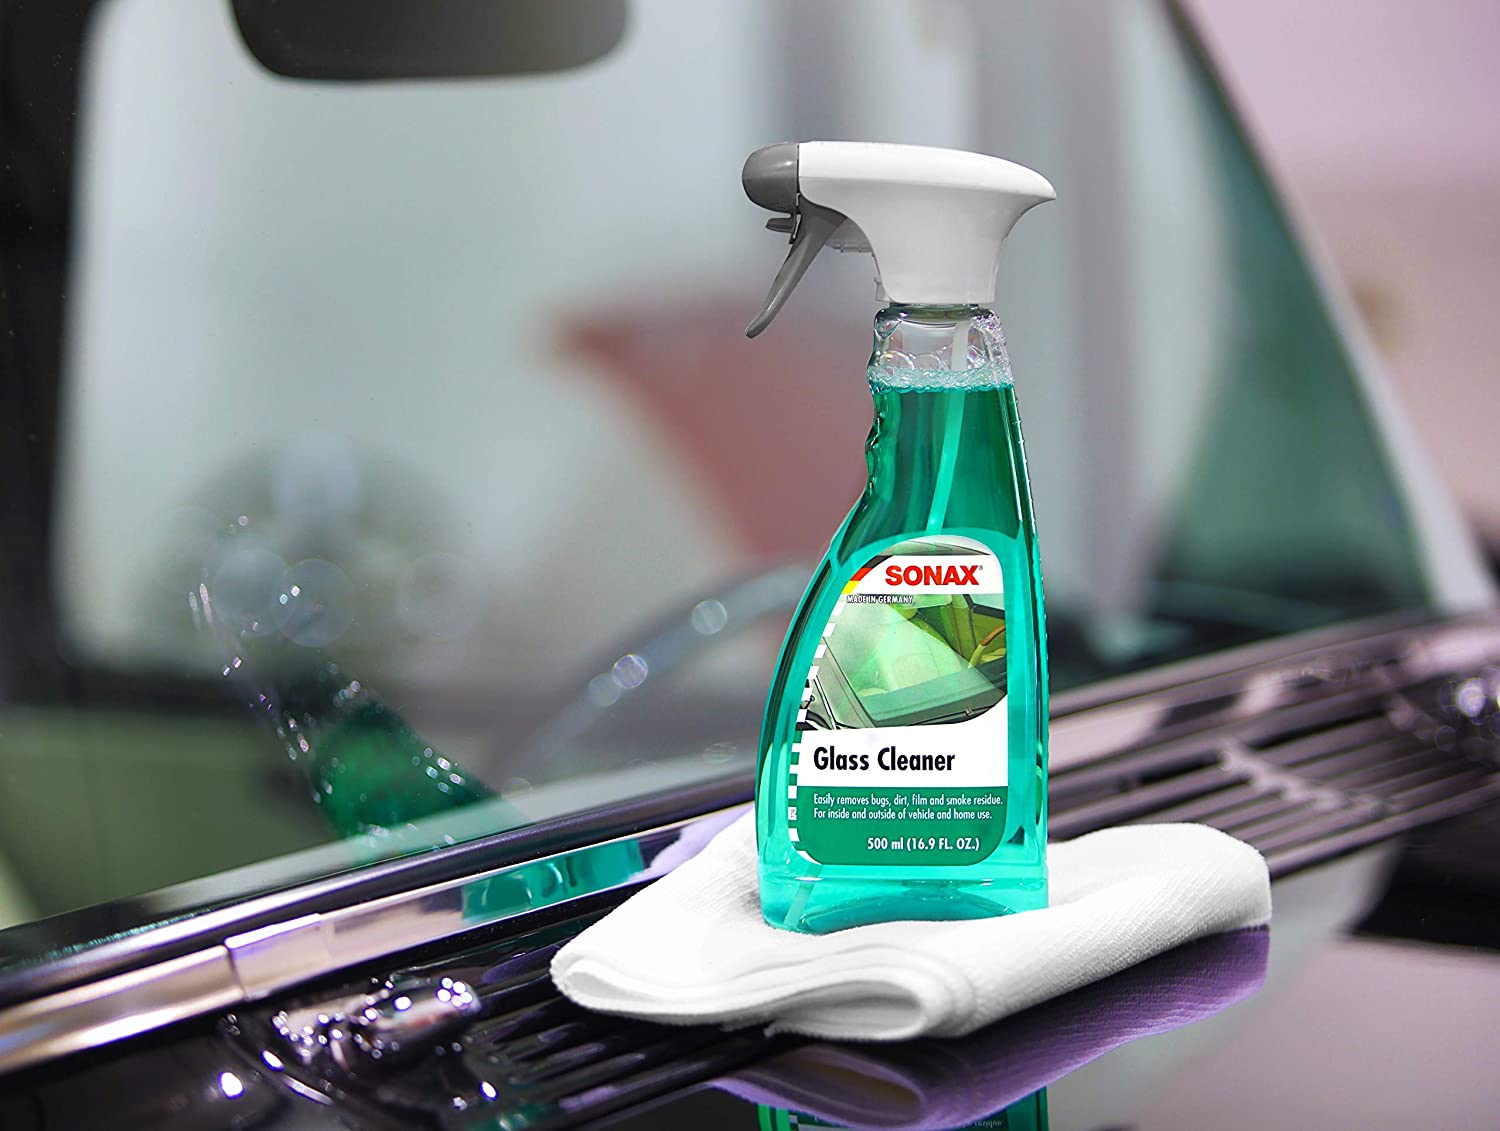
1. Glass Cleaner:
Choose a high-quality glass cleaner specifically formulated to cut through tough residues. Look for a cleaner that is ammonia-free to prevent streaking and damage to tinted windows.
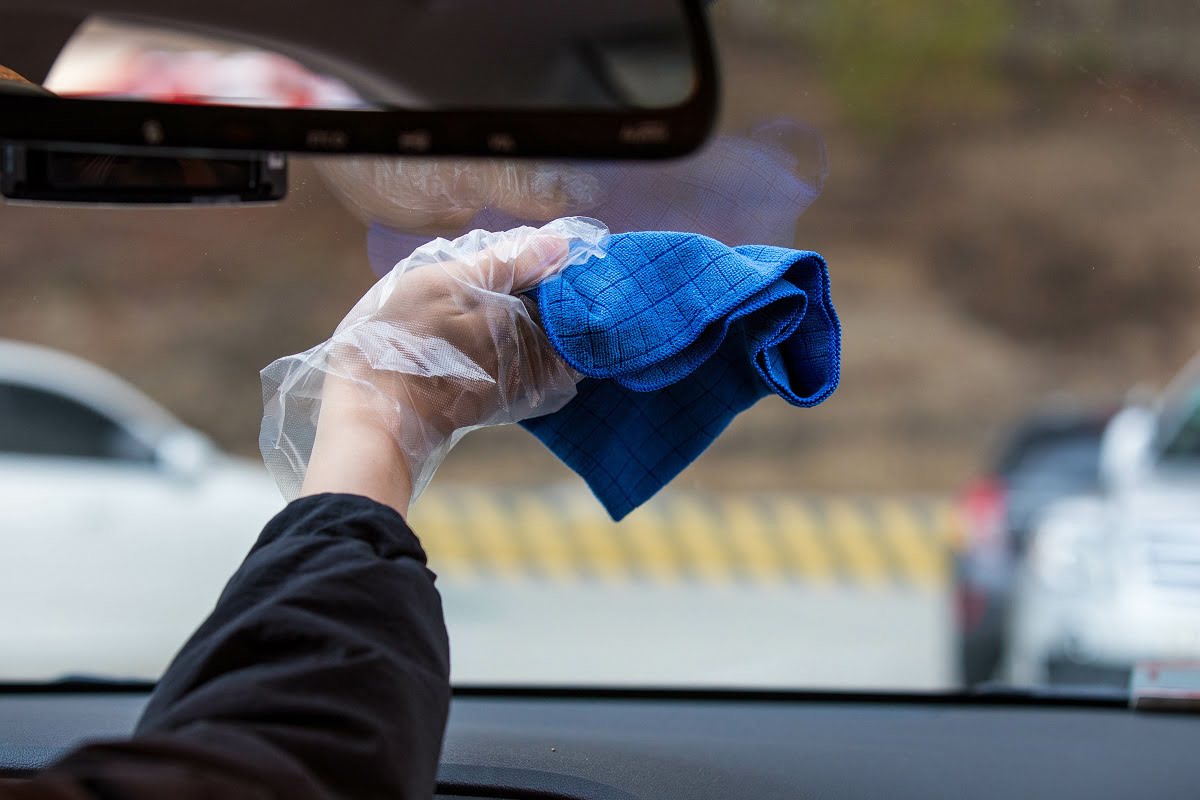
2. Microfiber Cloths:
Microfiber cloths are ideal for cleaning car windows as they are gentle on the glass and highly absorbent. They help to lift and trap the vape film without leaving behind lint or streaks.
Read more: How To Remove Overspray From Car Windows
3. Rubbing Alcohol:
Rubbing alcohol is effective in breaking down the sticky components of vape film. Opt for isopropyl alcohol with a concentration of at least 70% for optimal cleaning results.
4. Distilled Water:
Using distilled water in combination with the glass cleaner and rubbing alcohol helps prevent mineral deposits and streaking on the windows.
5. Plastic Razor Blade:
A plastic razor blade can be used to gently scrape off stubborn residues without scratching the glass. It is a safe and effective tool for removing tough buildup of vape film.
6. Cleaning Solution Spray Bottle:
Having a spray bottle for your cleaning solution allows for easy and controlled application onto the windows, ensuring thorough coverage of the affected areas.
Read more: How To Remove Ice From Car Windows
7. Protective Gloves:
Since rubbing alcohol is used in the cleaning process, wearing protective gloves is advisable to prevent skin irritation and dryness.
8. Ventilation:
Ensure adequate ventilation in the area where you will be working, especially when using rubbing alcohol. Proper ventilation helps to disperse fumes and ensures a comfortable and safe cleaning environment.
By assembling these essential tools and materials, you’ll be well-prepared to tackle the task of removing vape film from your car windows effectively and safely. With the right equipment at your disposal, you can proceed with confidence, knowing that you have everything you need to achieve optimal cleaning results.
Step 1: Preparing the Window
Before diving into the cleaning process, it’s crucial to prepare the car window to ensure that the subsequent steps are carried out smoothly and effectively. Here’s a detailed guide on how to prepare the window for the vape film removal process:
1. Choose a Suitable Location:
Opt for a shaded or indoor location to work on the car windows. Direct sunlight can cause cleaning solutions to dry too quickly, leading to streaking and potentially compromising the cleaning process.
Read more: How To Remove Paint From Car Windows
2. Open the Windows:
If possible, partially lower the windows to access the entire glass surface, including the upper edges where vape film tends to accumulate. This will facilitate thorough cleaning and ensure that no residue is left behind in the window’s recessed areas.
3. Remove Any Surface Debris:
Use a soft brush or microfiber cloth to gently remove any loose debris, such as dust or dirt, from the window’s surface. This initial step helps prevent the formation of streaks during the cleaning process and ensures that the focus remains on eliminating the vape film.
4. Protect Surrounding Surfaces:
Use masking tape or protective cloths to cover the surrounding surfaces, such as the car’s interior panels and upholstery, to prevent accidental contact with cleaning solutions. This precaution helps safeguard other components of the vehicle from potential damage during the cleaning process.
5. Ventilate the Area:
Ensure that the area is well-ventilated to disperse fumes from the cleaning solutions. Proper ventilation is essential, especially when using rubbing alcohol, to create a comfortable and safe working environment.
By meticulously preparing the car window and its surroundings, you set the stage for a seamless and effective vape film removal process. With these preparatory steps completed, you are now ready to move on to the next phase: applying the cleaning solution to tackle the stubborn vape film.
Read more: How To Remove Car Decals From Windows
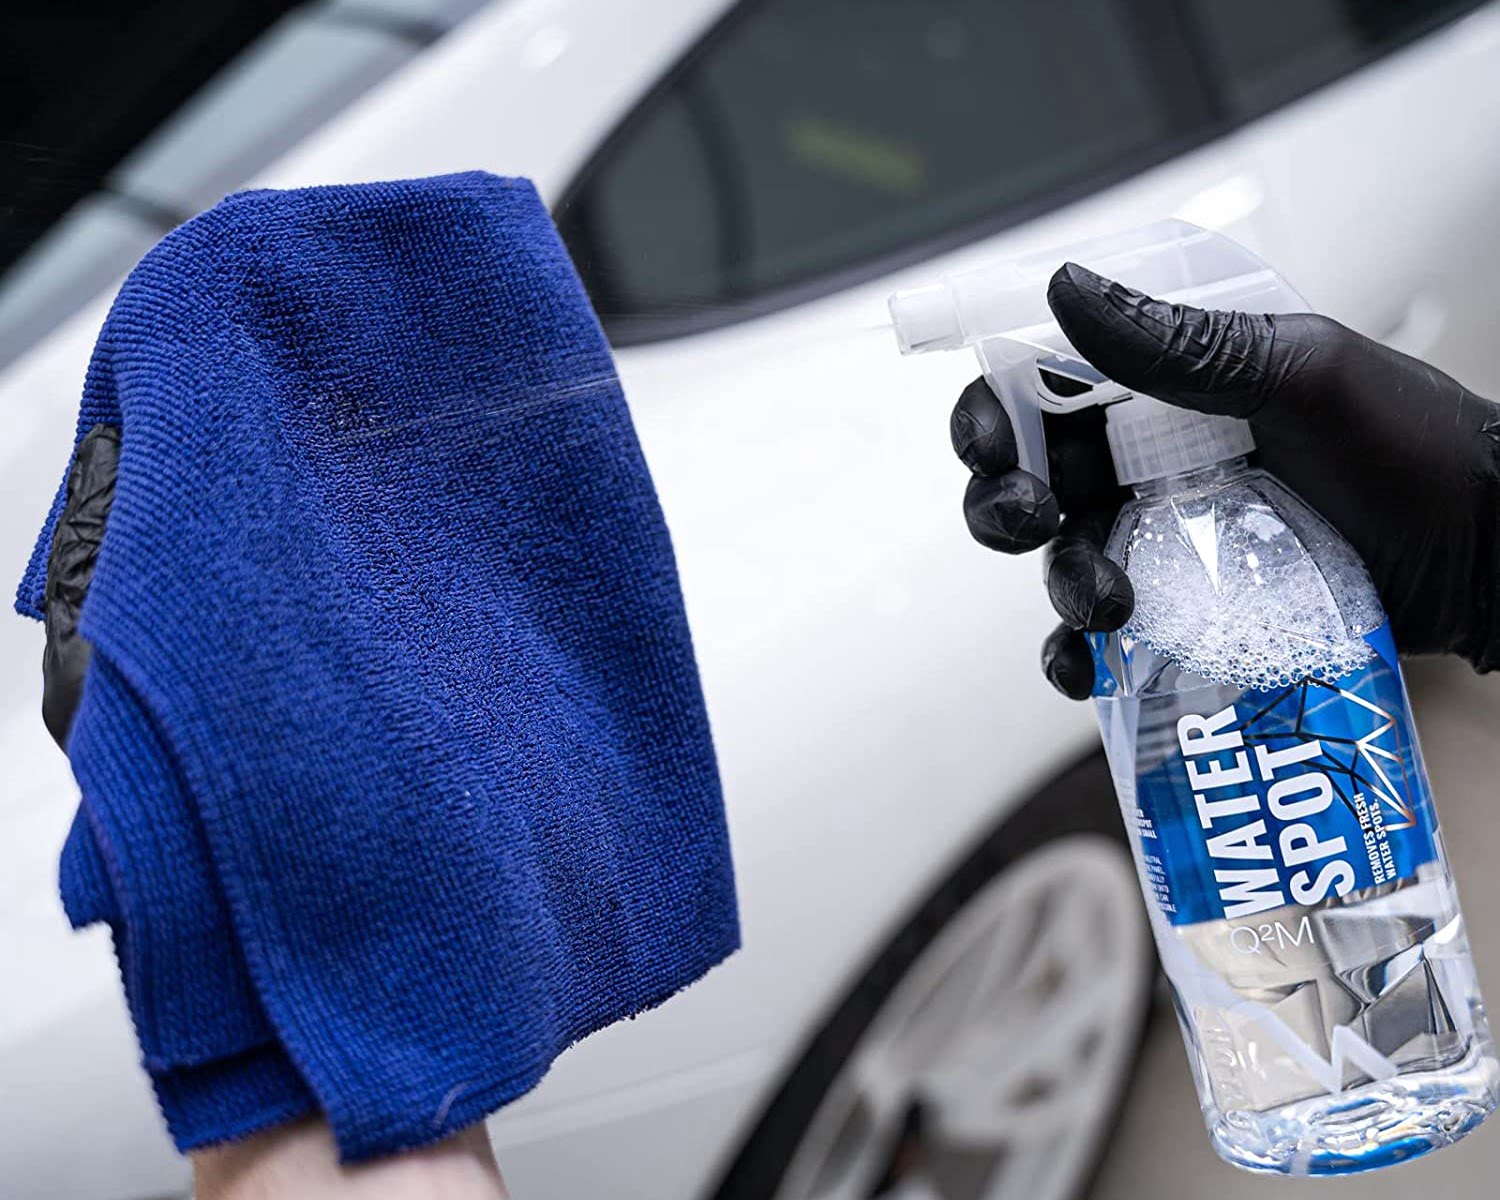
Step 2: Applying the Cleaning Solution
Once the window is adequately prepared, the next step in the process of removing vape film is the application of a suitable cleaning solution. This step is crucial in loosening and breaking down the stubborn residue, preparing it for removal. Here’s a detailed guide on how to apply the cleaning solution effectively:
1. Prepare the Cleaning Solution:
Combine the glass cleaner and rubbing alcohol in a spray bottle, ensuring that the ratio of the two components is appropriate for effectively cutting through the vape film. A common ratio is one part rubbing alcohol to three parts glass cleaner. Shake the bottle gently to mix the solution thoroughly.
2. Test in a Small Area:
Prior to applying the cleaning solution to the entire window, perform a patch test in a small, inconspicuous area to ensure compatibility with the glass and any tinting. This precaution helps prevent potential damage and allows you to assess the solution’s effectiveness before proceeding with the full application.
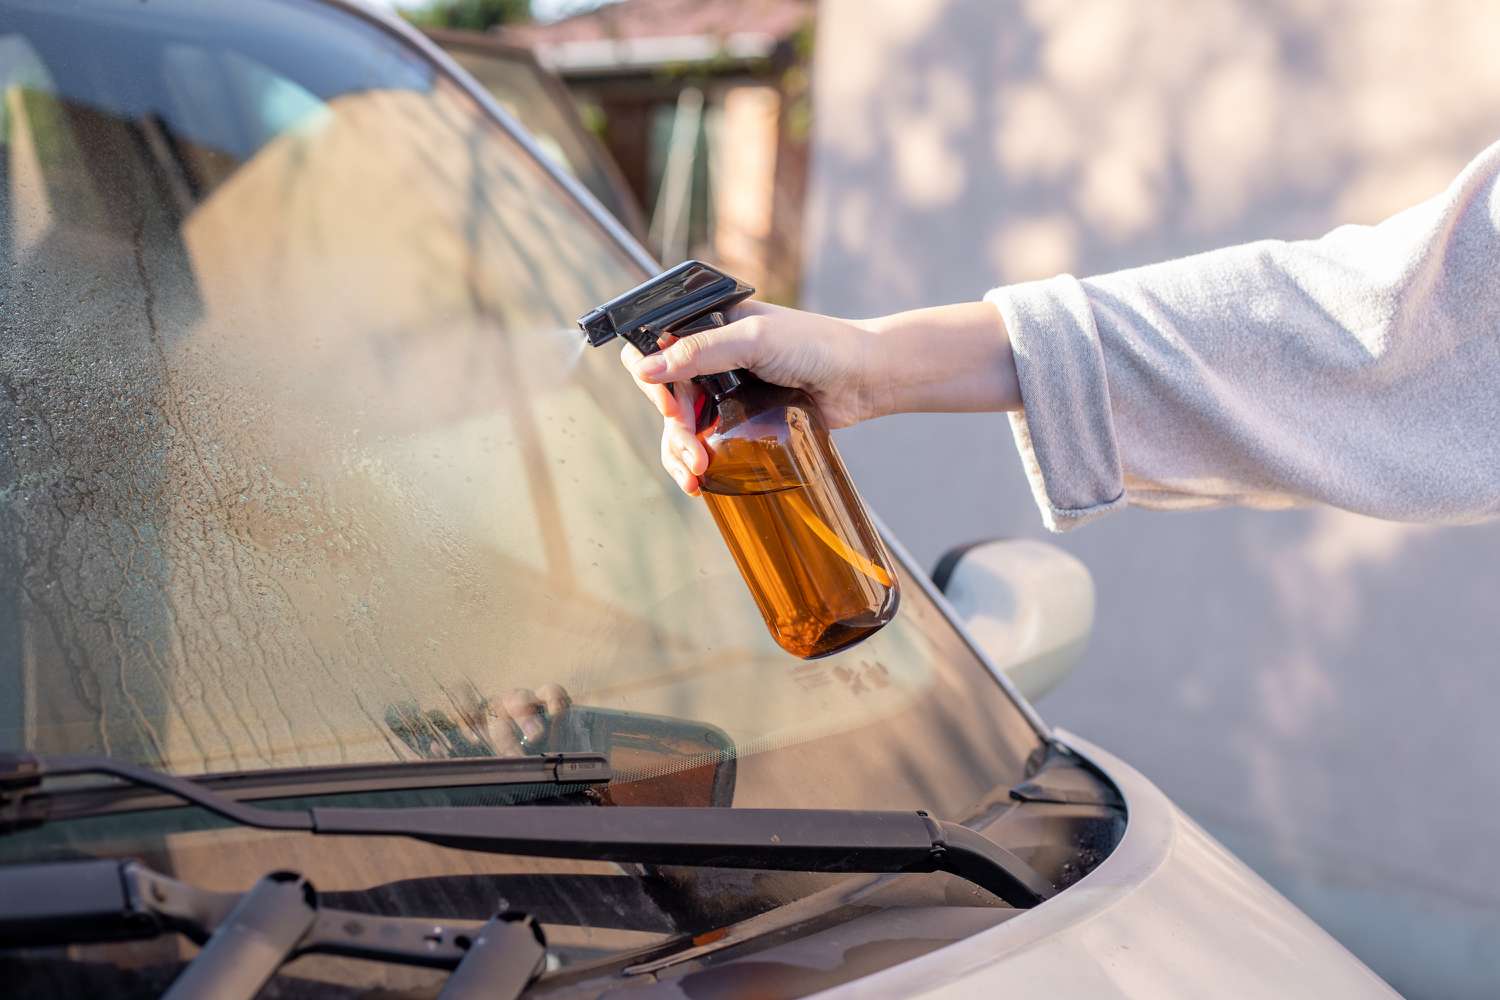
3. Apply the Solution Liberally:
Spray the cleaning solution generously onto the affected areas of the window, ensuring comprehensive coverage of the vape film. Allow the solution to sit for a few minutes to penetrate and soften the residue, making it easier to remove in the subsequent steps.
Read more: How To Remove Haze From Car Windows
4. Avoid Oversaturation:
While it’s important to apply the solution liberally, be mindful of oversaturation, especially around electrical components and mechanisms associated with power windows. Wipe away any excess solution that drips or accumulates to prevent potential damage to sensitive components.
5. Let the Solution Work Its Magic:
Allow the cleaning solution to work on the vape film, giving it sufficient time to break down the residue. This step is crucial in ensuring that the film is adequately softened and ready for the next phase of the cleaning process.
By following these steps to apply the cleaning solution, you set the stage for effectively loosening and preparing the vape film for removal. With the solution in place, you are now ready to proceed to the next step: scrubbing the window to eliminate the stubborn residue and restore clarity to the glass surface.
Step 3: Scrubbing the Window
With the cleaning solution applied and the vape film adequately softened, the next critical step in the process of removing vape film from car windows is the thorough scrubbing of the glass surface. This step aims to dislodge and lift the loosened residue, paving the way for a clear and unobstructed view. Here’s a detailed guide on how to effectively scrub the window to eliminate the stubborn vape film:
1. Use a Microfiber Cloth or Sponge:
Dampen a clean microfiber cloth or sponge with the cleaning solution. The microfiber material is gentle on the glass and is effective in lifting the softened vape film without scratching or damaging the surface.
Read more: How To Remove Wax From Car Windows
2. Apply Gentle Pressure:
Begin scrubbing the window using circular or back-and-forth motions, applying gentle pressure to target the areas with vape film buildup. Focus on thoroughly covering the affected areas to ensure that all residue is effectively dislodged from the glass surface.
3. Address Stubborn Residues:
For particularly stubborn vape film, a plastic razor blade can be used to gently scrape the residue from the glass. Exercise caution and use the razor blade at a shallow angle to prevent scratching, ensuring that the blade glides smoothly over the surface to remove the tough buildup.
4. Reapply the Cleaning Solution as Needed:
If the vape film proves resistant in certain areas, reapply the cleaning solution and allow it to sit for a few additional minutes before resuming the scrubbing process. This ensures that the residue remains adequately softened for effective removal.
5. Check for Uniformity:
Periodically inspect the window to ensure that the scrubbing process has resulted in a uniform removal of vape film across the entire glass surface. Address any remaining residue or streaks by focusing on those areas with targeted scrubbing and reapplication of the cleaning solution as necessary.
By diligently scrubbing the window using the appropriate tools and techniques, you can effectively dislodge and eliminate the stubborn vape film, paving the way for the next crucial step: wiping and drying the window to reveal a pristine and transparent surface. With the residue lifted, you are one step closer to restoring the clarity and cleanliness of your car windows.
Read more: How To Remove Stickers From Car Windows
Step 4: Wiping and Drying
With the vape film effectively dislodged from the car window, the final step in the cleaning process involves thorough wiping and drying to reveal a pristine and transparent glass surface. This crucial phase ensures that any remaining residue and cleaning solution are removed, leaving behind a clean and streak-free window. Here’s a detailed guide on how to effectively wipe and dry the window to achieve optimal results:
1. Use Clean Microfiber Cloths:
Switch to a fresh, clean microfiber cloth to wipe the window and remove the dislodged vape film and cleaning solution. Microfiber cloths are highly absorbent and gentle on the glass, preventing the formation of streaks and ensuring a polished finish.
2. Wipe in a Methodical Pattern:
Begin wiping the window in a methodical pattern, such as horizontal or vertical strokes, to ensure comprehensive coverage and thorough removal of residue. Avoid circular motions, as they can potentially create streaks and hinder the clarity of the glass surface.
3. Address Lingering Residue:
If any residual film or streaks persist, reapply a small amount of the cleaning solution to the affected areas and wipe them with a clean microfiber cloth. This targeted approach helps address any remaining residue, ensuring that the window is free from vape film and streaks.
Read more: How To Remove Chalk From Car Windows
4. Dry the Window:
Once the residue and cleaning solution have been effectively removed, use a separate dry microfiber cloth to thoroughly dry the window. This step ensures that no moisture or streaks are left behind, leaving the glass surface crystal clear and free from any residual cleaning agents.
5. Inspect for Clarity:
After wiping and drying the window, take a moment to inspect the glass surface from various angles to ensure that it is free from vape film, streaks, or any remaining residue. Address any lingering imperfections with targeted wiping and drying to achieve a flawless finish.
By meticulously wiping and drying the window, you can achieve a pristine and transparent glass surface free from vape film and streaks. With the cleaning process now complete, your car windows are restored to their optimal clarity, ensuring unobstructed visibility and a polished aesthetic. With the vape film successfully removed, your vehicle’s windows are ready to provide a clear view of the open road ahead.
Additional Tips and Precautions
While the process of removing vape film from car windows is relatively straightforward, incorporating additional tips and precautions can further enhance the effectiveness and safety of the cleaning process. Here are some valuable tips and precautions to consider when tackling vape film removal:
1. Regular Maintenance:
Consider incorporating regular window cleaning into your vehicle maintenance routine to prevent the accumulation of vape film and other residues. Consistent upkeep can help maintain the clarity and transparency of your car windows, reducing the need for intensive cleaning sessions.
Read more: How To Remove Oxidation From Car Windows
2. Avoid Abrasive Tools:
When addressing vape film buildup, refrain from using abrasive tools or harsh chemicals that can scratch or damage the glass surface. Opt for gentle cleaning solutions and soft materials to ensure that the windows remain free from blemishes and scratches.
3. Test New Cleaning Products:
Prior to using a new cleaning product or method, perform a patch test in an inconspicuous area of the window to assess its compatibility and effectiveness. This precaution helps prevent potential damage and ensures that the product is suitable for removing vape film.
4. Address Interior Residue:
In addition to cleaning the exterior of the windows, consider addressing any interior residue caused by vape film. Use appropriate cleaning solutions and materials to maintain the cleanliness and transparency of the interior glass surfaces.
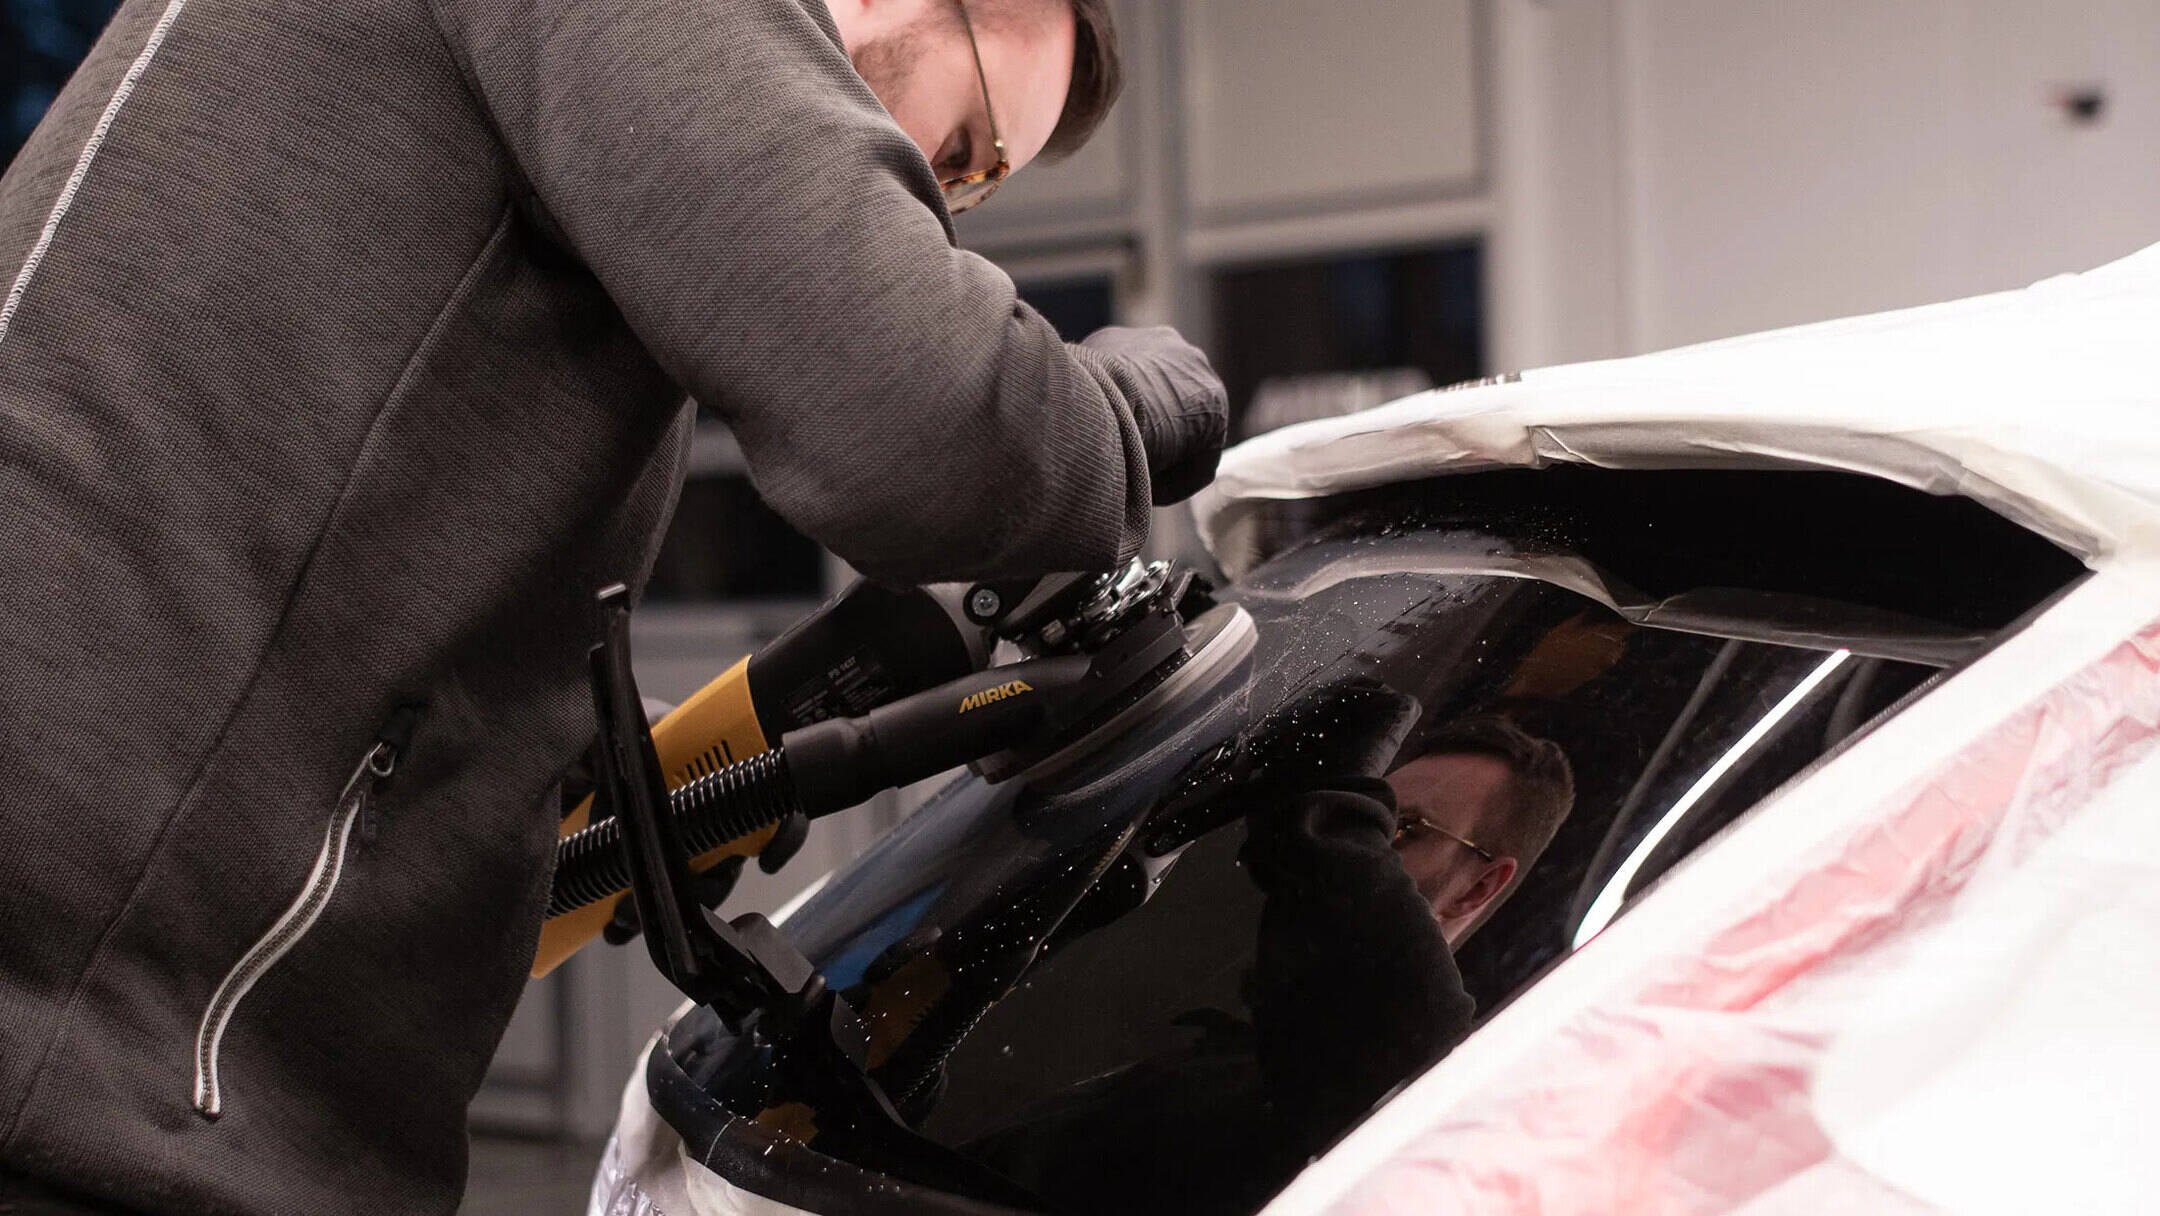
5. Seek Professional Assistance:
If you encounter persistent or extensive vape film buildup that proves challenging to remove, consider seeking professional assistance from auto detailing experts. They possess the expertise and specialized tools to effectively address stubborn residues while safeguarding the integrity of your car windows.
Read more: How To Remove Tint Glue From Car Windows
6. Protect Tinted Windows:
If your car windows are tinted, ensure that the cleaning solutions and methods used are compatible with tinted surfaces. Avoid ammonia-based cleaners, as they can degrade the tint and compromise its appearance and functionality.
7. Safety Precautions:
When working with cleaning solutions and rubbing alcohol, ensure adequate ventilation and wear protective gloves to prevent skin irritation. Additionally, exercise caution when using a plastic razor blade to avoid accidental cuts or damage to the glass.
By incorporating these additional tips and precautions, you can elevate the efficacy and safety of the vape film removal process, ensuring that your car windows remain clear, pristine, and free from stubborn residues. With these considerations in mind, you can maintain the transparency and visual appeal of your vehicle’s windows while promoting safe and unobstructed visibility on the road.
Conclusion
As we conclude this comprehensive guide on removing vape film from car windows, it’s evident that maintaining the transparency and cleanliness of your vehicle’s windows is essential for both aesthetic and safety reasons. Vape film, with its stubborn and hazy residue, can compromise visibility and detract from the overall appeal of your car’s exterior. By following the step-by-step process outlined in this guide and incorporating additional tips and precautions, you can effectively eliminate vape film and restore the clarity of your car windows.
Understanding the nature of vape film and selecting the appropriate tools and materials are fundamental steps in embarking on the cleaning process. From preparing the window and applying the cleaning solution to scrubbing, wiping, and drying, each phase plays a crucial role in achieving optimal cleaning results. Additionally, integrating regular maintenance and exercising caution with cleaning products and methods can contribute to the long-term preservation of your car windows.
By embracing these techniques and best practices, you can ensure that your car windows remain free from vape film, allowing for unobstructed views and a polished exterior appearance. Whether you’re a vaping enthusiast or someone dealing with inherited vape film buildup, the knowledge and insights shared in this guide empower you to take proactive steps in preserving the clarity and transparency of your vehicle’s windows.
As you embark on the journey of removing vape film from your car windows, remember that patience, attention to detail, and a commitment to safety are key elements in achieving successful cleaning outcomes. With the right approach and a focus on maintaining the visual and functional integrity of your car windows, you can revel in the unobstructed view of the open road, free from the haze of vape film.
With the vape film successfully removed and your car windows restored to their optimal clarity, you can take pride in the enhanced visual appeal and safety of your vehicle. As you set out on your next drive, may the unobstructed view through your sparkling clean windows elevate your driving experience and bring a renewed sense of pride in your well-maintained vehicle.
Frequently Asked Questions about How To Remove Vape Film From Car Windows
Was this page helpful?
At Storables.com, we guarantee accurate and reliable information. Our content, validated by Expert Board Contributors, is crafted following stringent Editorial Policies. We're committed to providing you with well-researched, expert-backed insights for all your informational needs.
0 thoughts on “How To Remove Vape Film From Car Windows”