Home>Ideas and Tips>Upgrading Your Home’s Insulation with Spray Foam: A DIY Guide
Ideas and Tips
Upgrading Your Home’s Insulation with Spray Foam: A DIY Guide
Modified: October 31, 2024
Upgrade your home's insulation with our DIY spray foam guide. Learn benefits, step-by-step installation, and tips for a successful project.
(Many of the links in this article redirect to a specific reviewed product. Your purchase of these products through affiliate links helps to generate commission for Storables.com, at no extra cost. Learn more)
Introduction
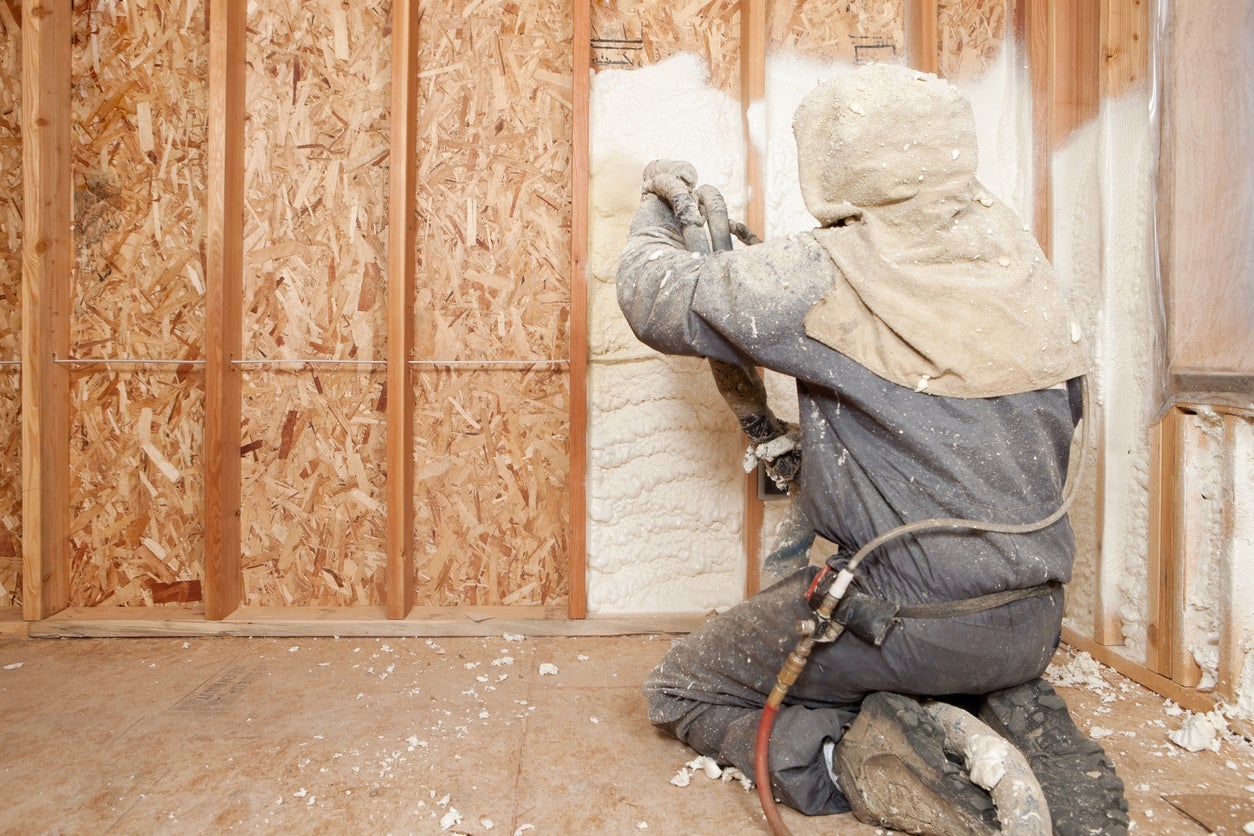
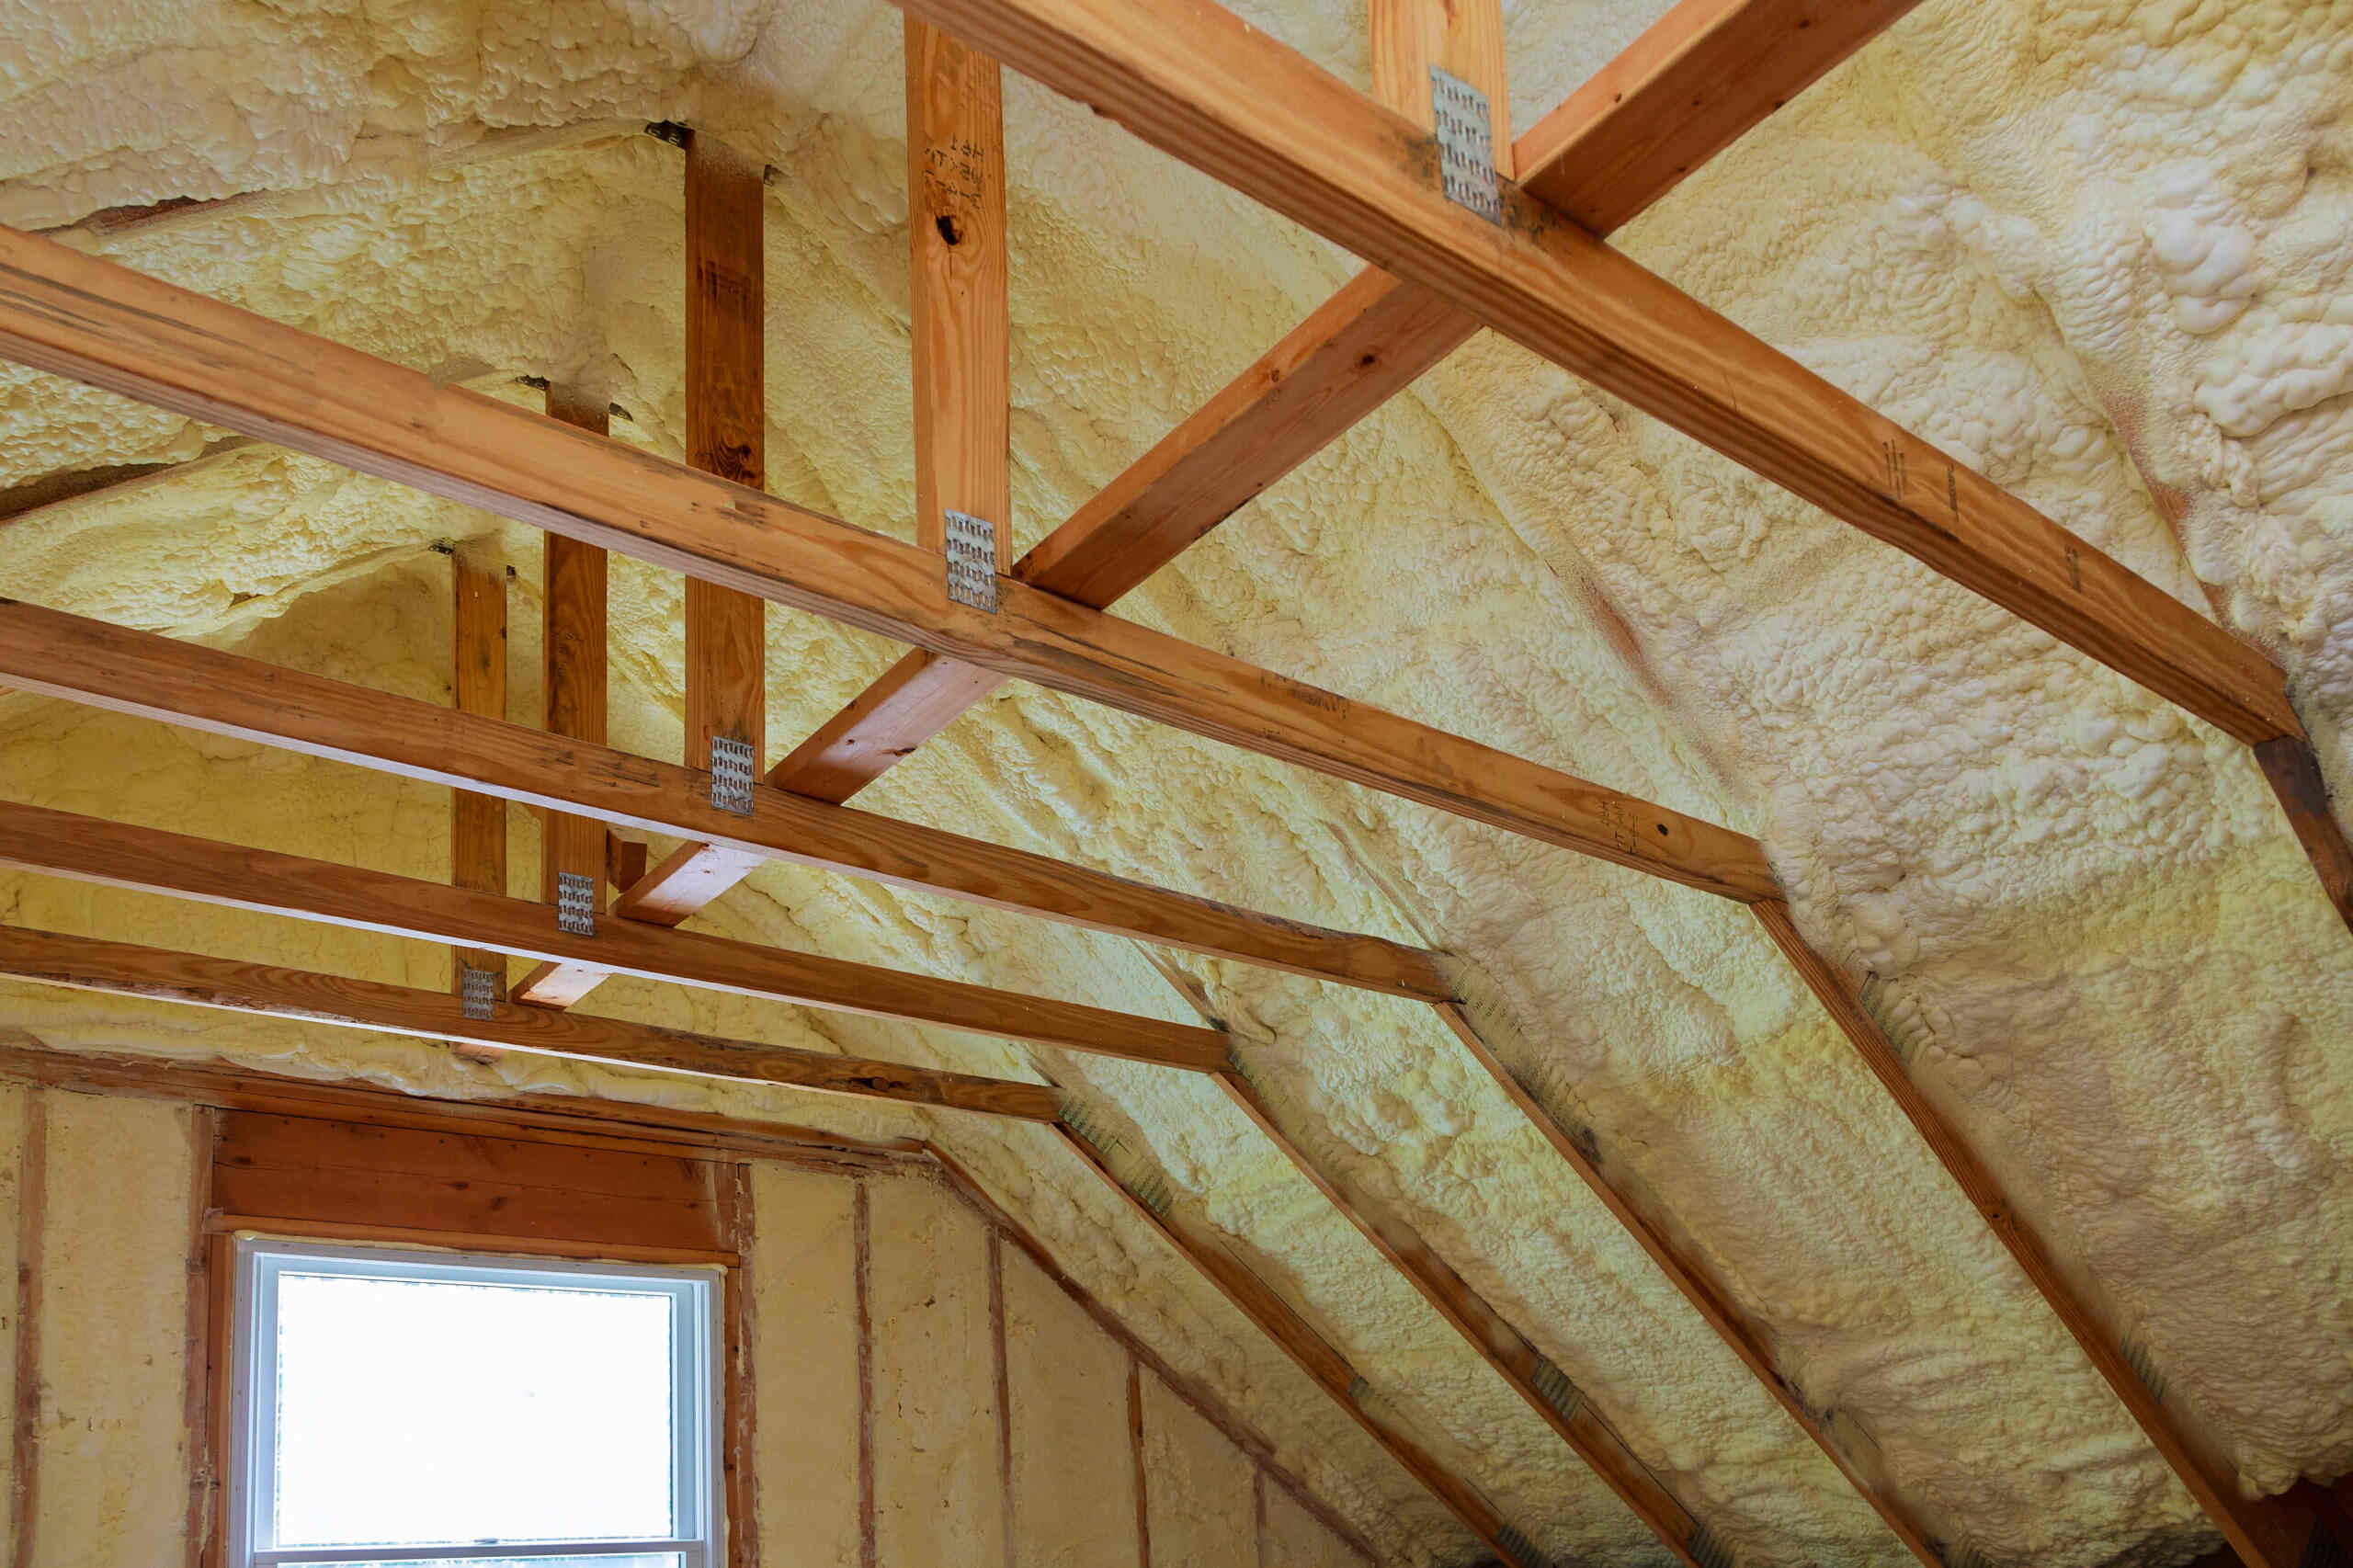
Upgrading your home's insulation is one of the most effective steps you can take to improve energy efficiency and comfort. Traditional fiberglass batt insulation, while common, has its limitations. Spray foam insulation offers a superior alternative, providing an air-tight seal, acting as a moisture barrier, and withstanding extreme temperatures. In this article, we'll delve into the world of spray foam insulation, exploring its benefits, the process of installing it yourself, and addressing common questions and considerations.
Why Choose Spray Foam Insulation?
Spray foam insulation is renowned for its exceptional performance in enhancing home energy efficiency. Here are some key benefits:
-
Air-Tight Seal: Spray foam creates a seamless barrier that minimizes air leaks and drafts, significantly improving indoor air quality by reducing the presence of mold spores and pollen.
-
Moisture Barrier: It acts as an effective moisture barrier, preventing water intrusion and reducing the risk of mold growth.
-
Extreme Temperature Resistance: Spray foam insulation can withstand extreme temperatures, ensuring it remains effective even in the most challenging environmental conditions.
-
Structural Reinforcement: It adds structural reinforcement to walls and floors, enhancing the overall stability of your home.
-
Long-Lasting: Spray foam insulation lasts a lifetime, providing long-term benefits without the need for frequent replacement.
Choosing the Right Type of Spray Foam
There are two primary types of spray foam insulation: open-cell and closed-cell.
-
Open-Cell Spray Foam: This type of foam has a lower R-value (typically around R-3.5 per inch) and is less expensive. It is more flexible and easier to install but may not provide as much insulation as closed-cell foam.
-
Closed-Cell Spray Foam: This type of foam has a higher R-value (typically around R-6 per inch) and is more expensive. It is denser and provides better insulation but can be more challenging to install.
Preparing for the Installation
Before you begin the installation process, it is crucial to prepare your workspace thoroughly.
-
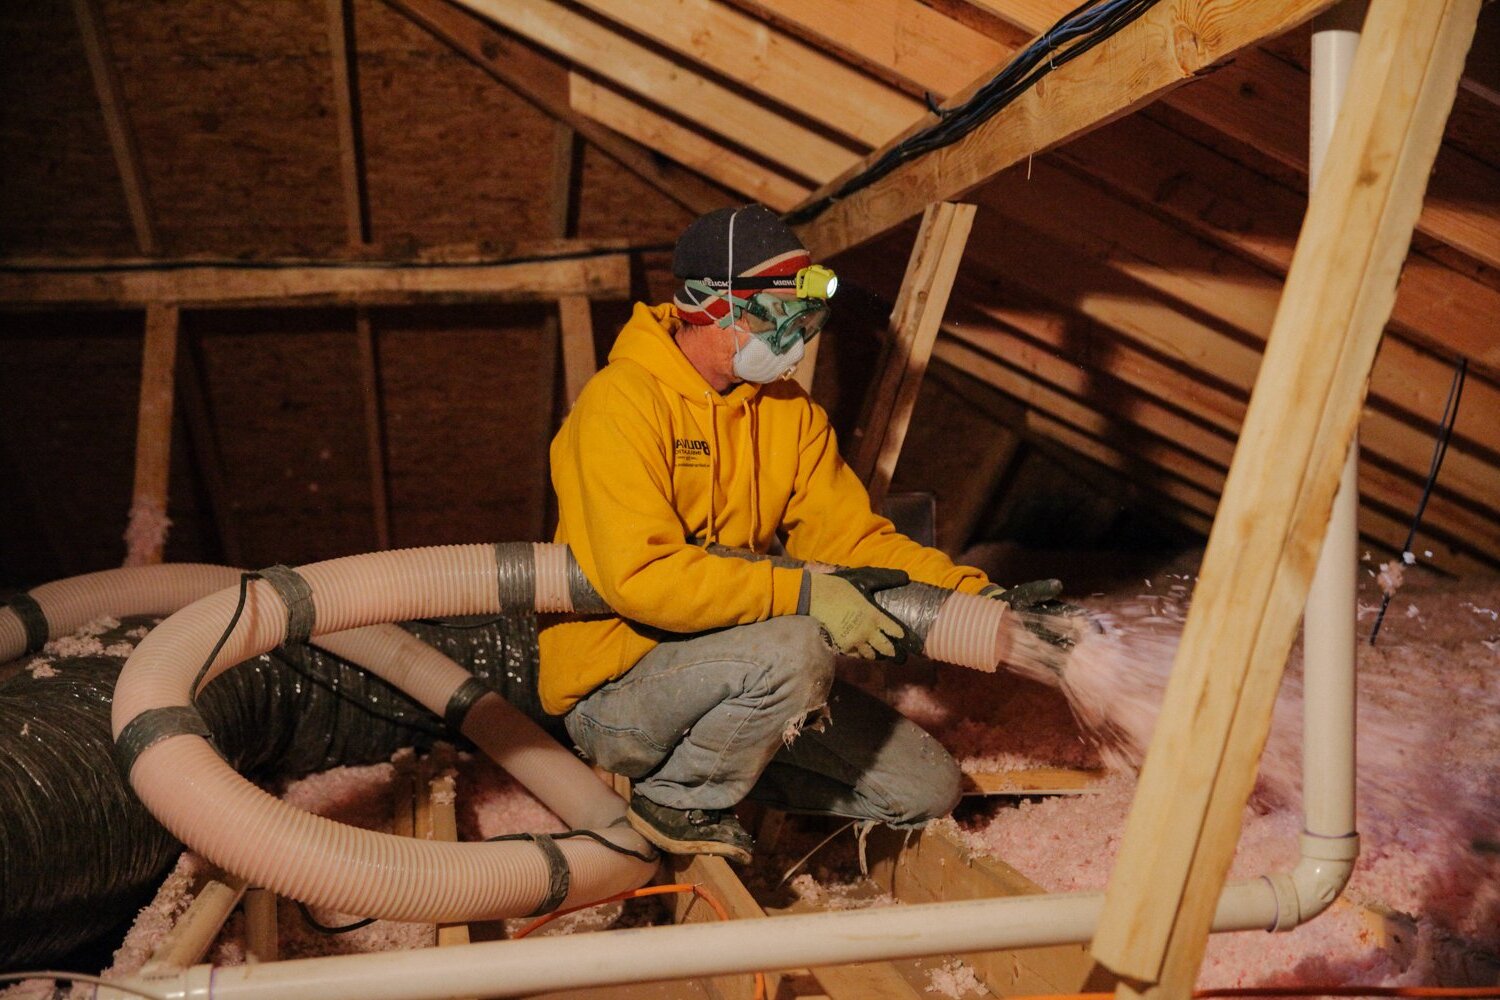
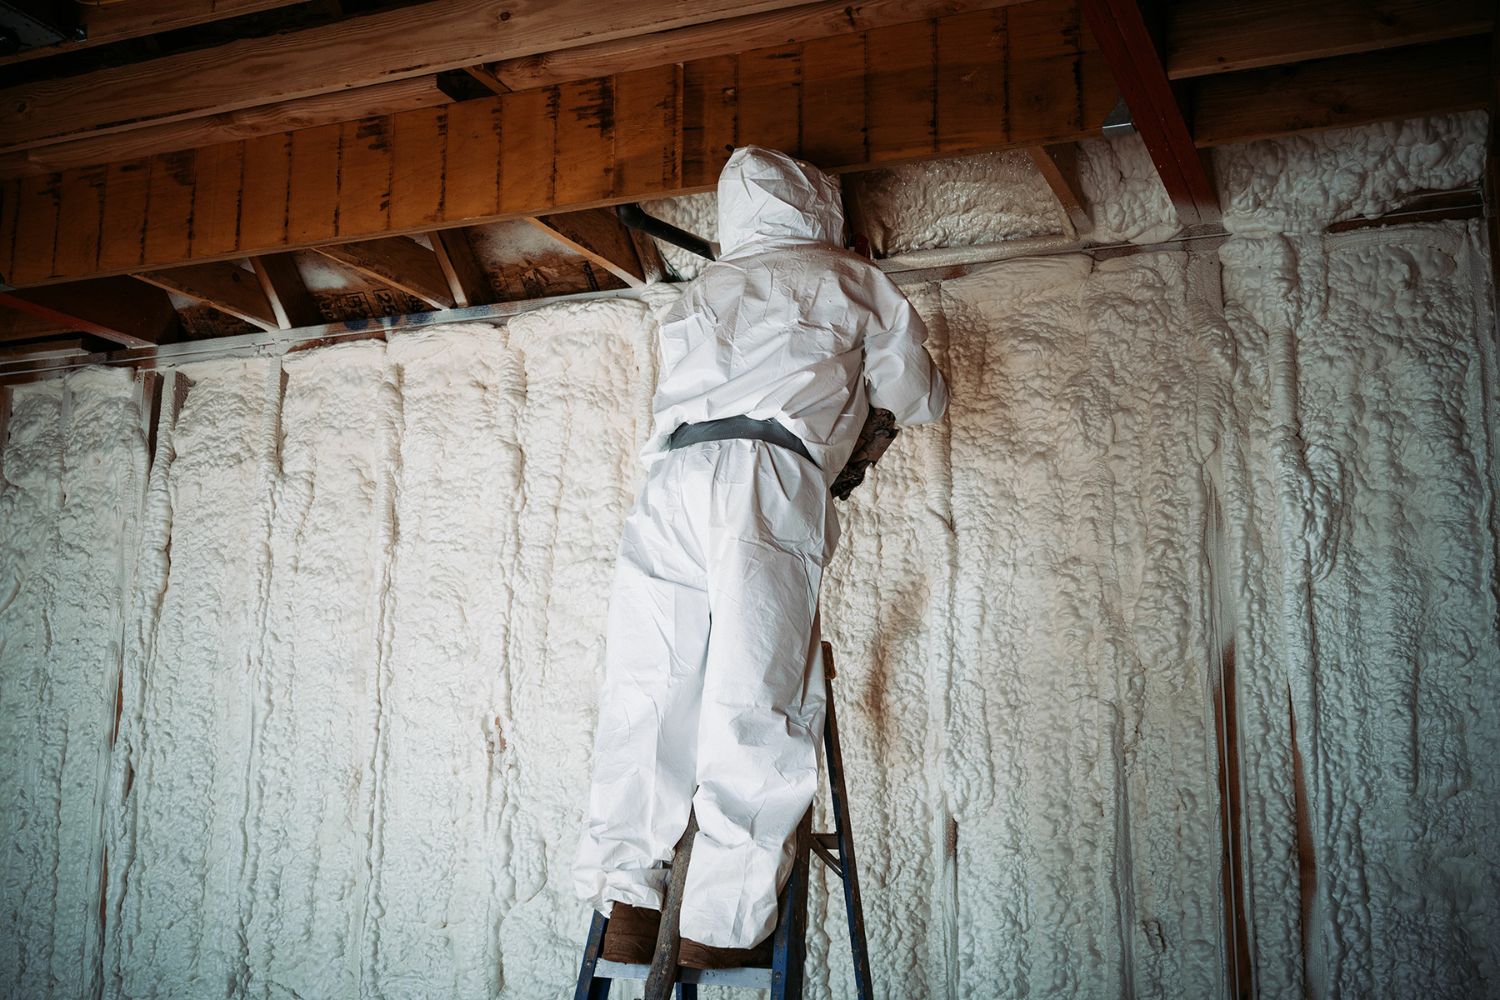
Protective Gear: Wear proper safety equipment including a full PPE suit, chemical-resistant gloves, goggles, and a respirator to protect yourself from the chemicals and potential mess.
-
Covering the Area: Tape plastic over windows, doors, and any other areas you want to protect from overspray. This will make cleanup easier and prevent damage to surfaces.
-
Clear Access: Ensure that the area is clear of any obstructions to allow for easy access to all spaces that need insulation.
Step-by-Step Installation Guide
Step 1: Evaluating Your Energy Needs
Before investing in spray foam insulation, it is essential to understand your energy needs. Conduct a home energy audit to identify areas where heat is escaping and where additional insulation is required.
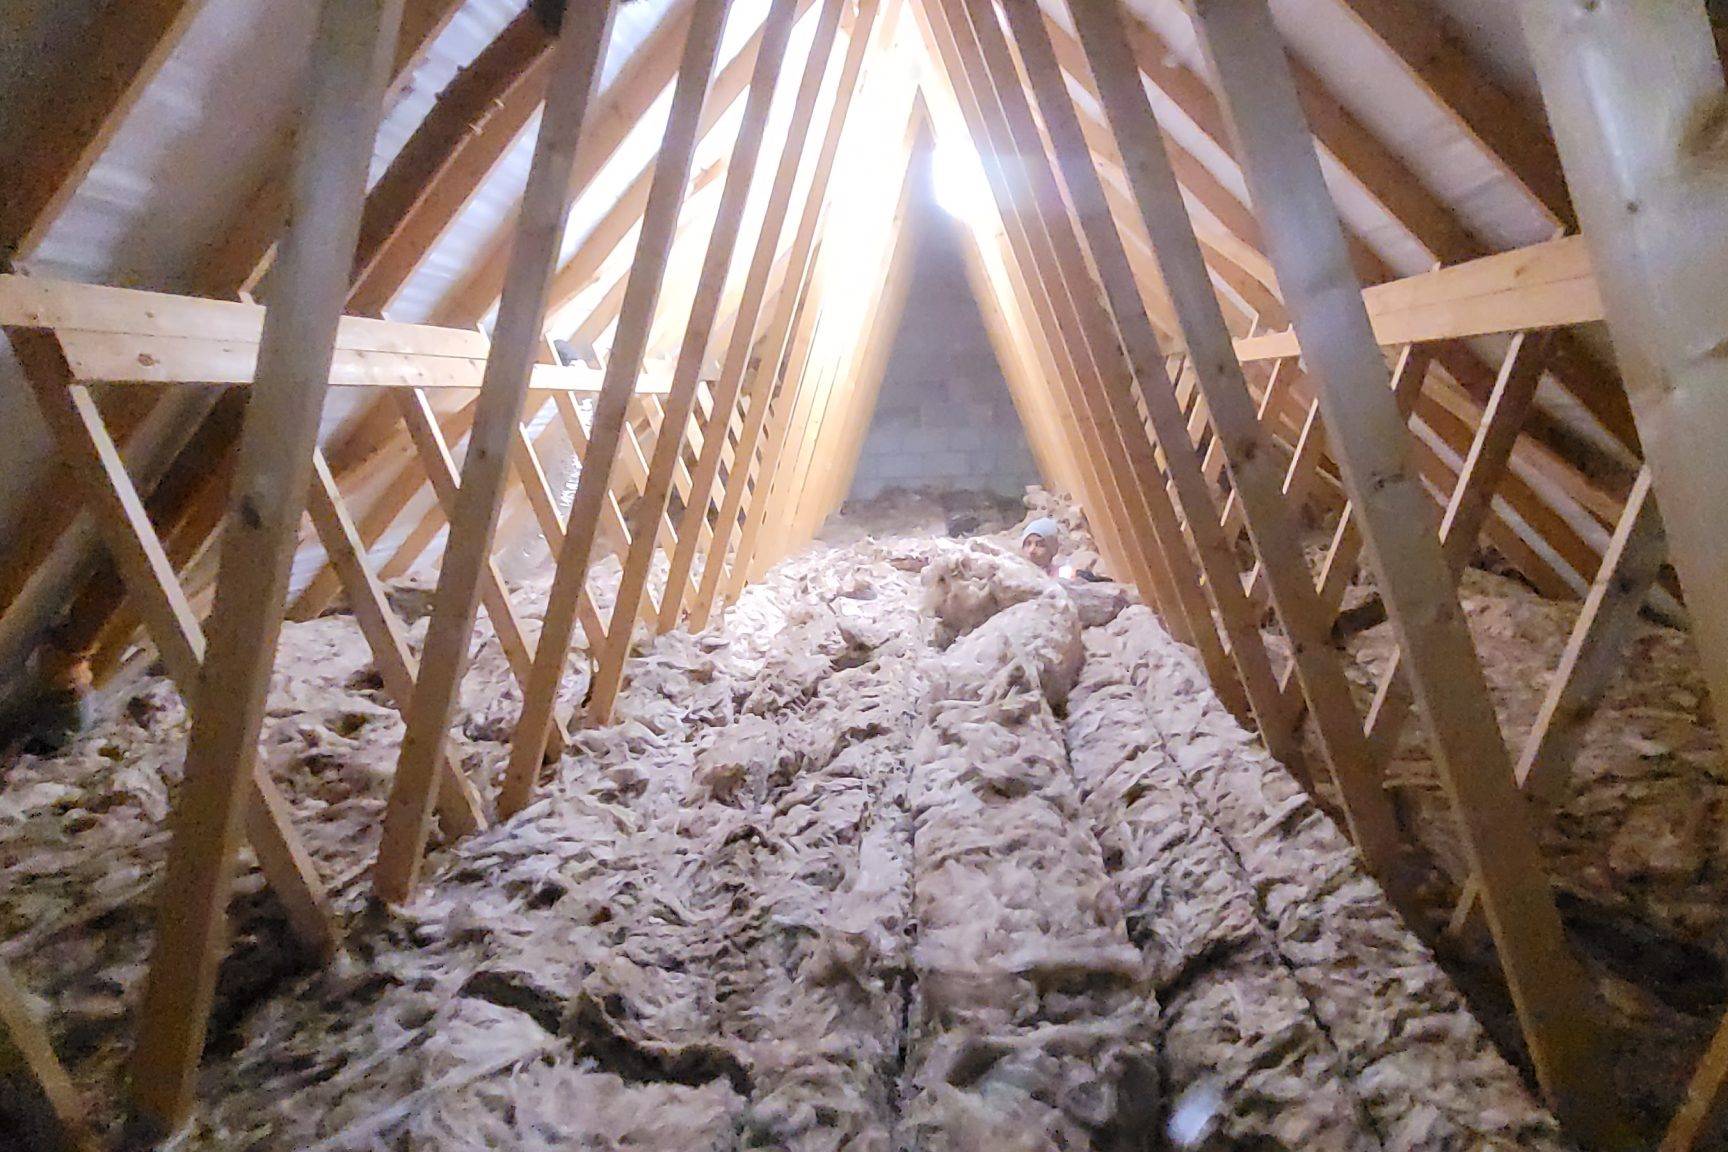
Step 2: Removing Old Insulation
If you are upgrading existing insulation, it is crucial to remove the old insulation first. This ensures that the new spray foam can perform optimally without being compromised by existing materials.
Step 3: Preparing the Surface
Ensure that the surface you are spraying is clean and dry. Any debris or moisture can affect the performance of the spray foam.
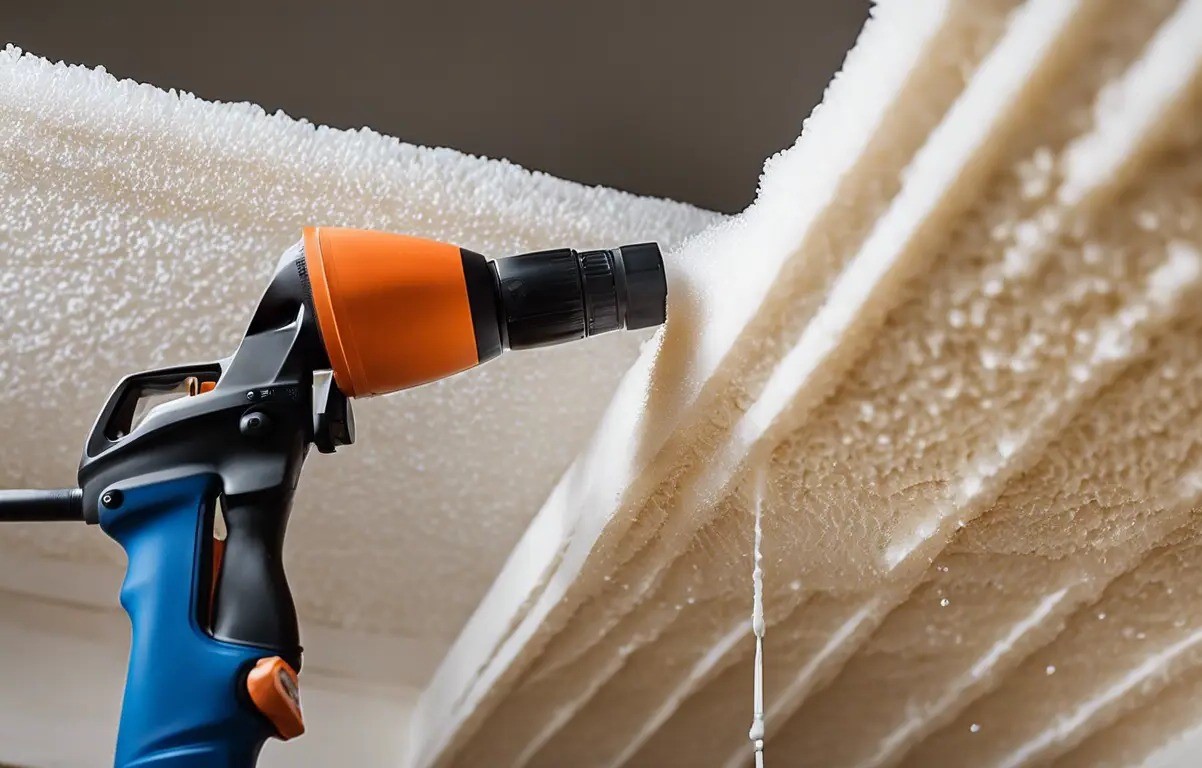
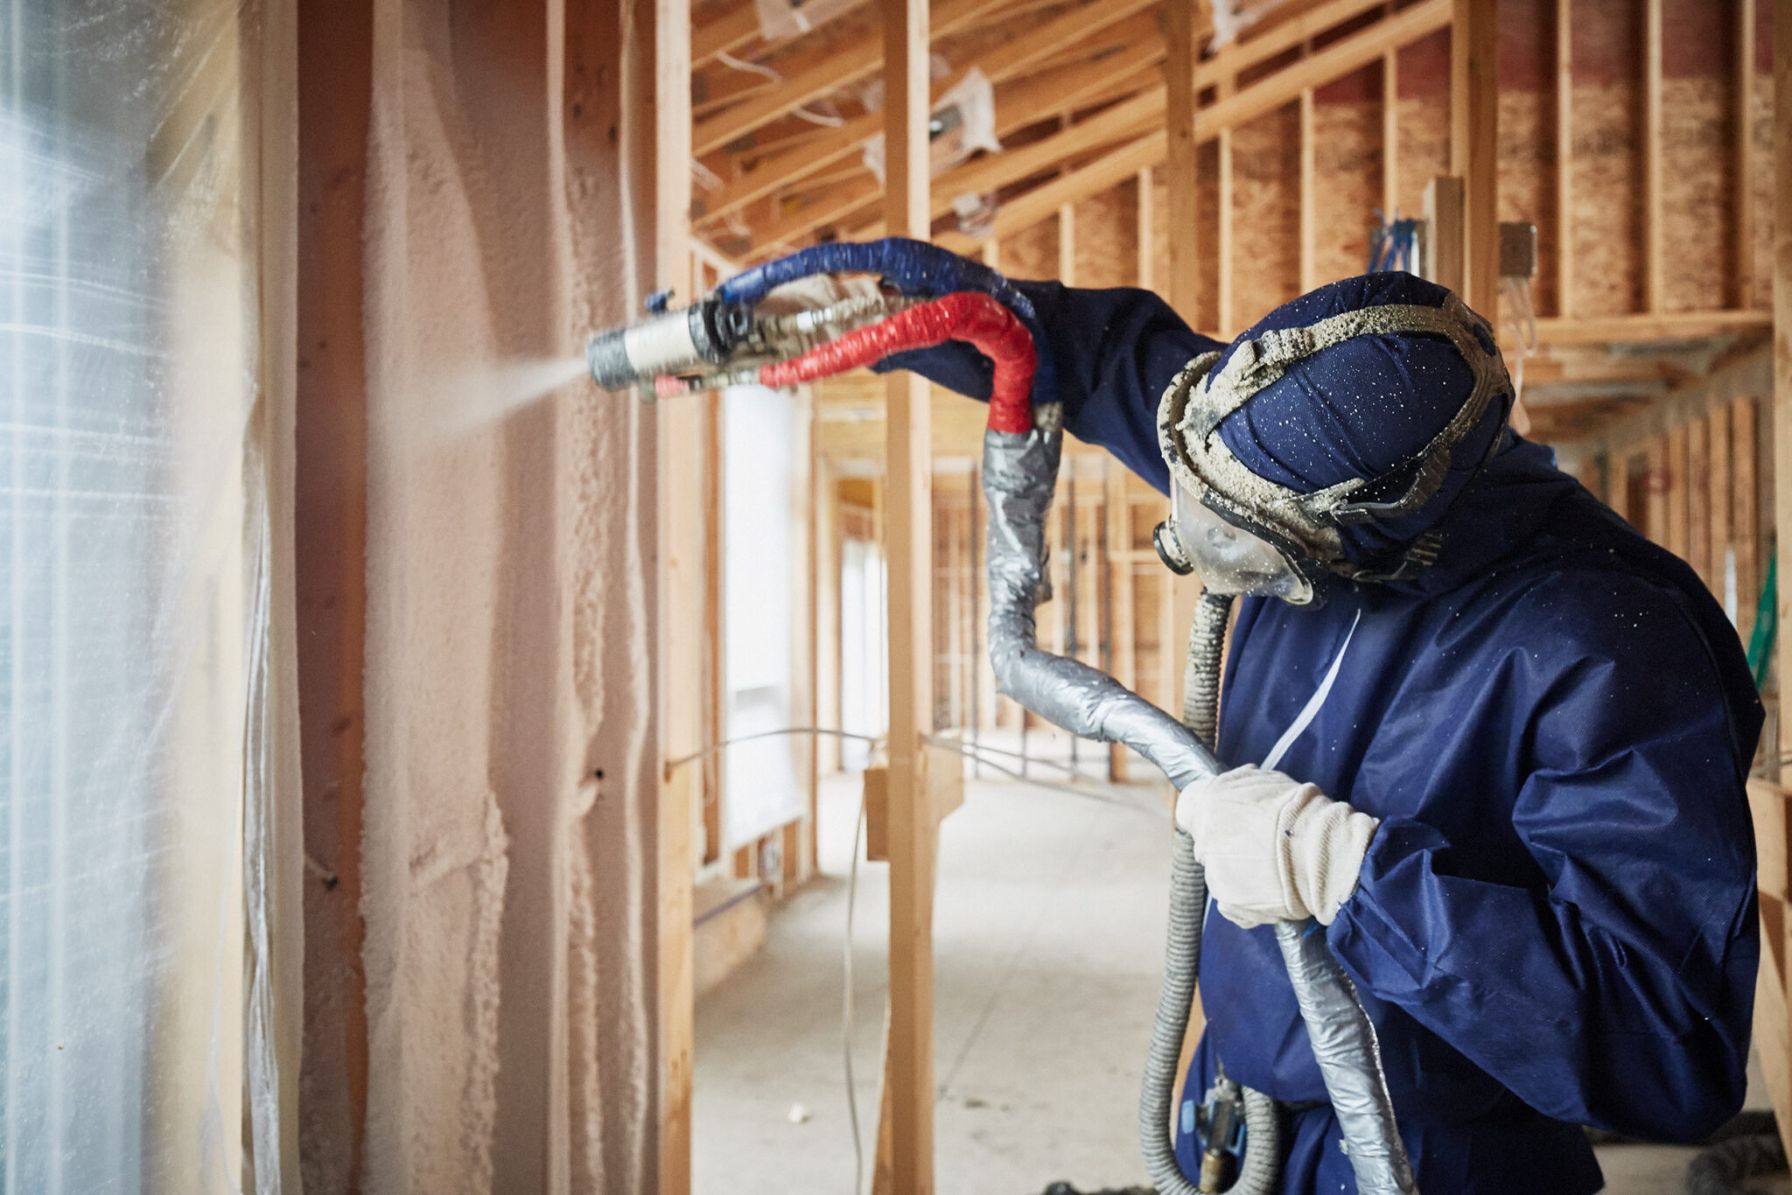
Step 4: Applying the First Layer
Start by spraying a picture frame pattern around each stud or joist space to fill any air gaps. Allow the first layer to cure before adding subsequent layers.
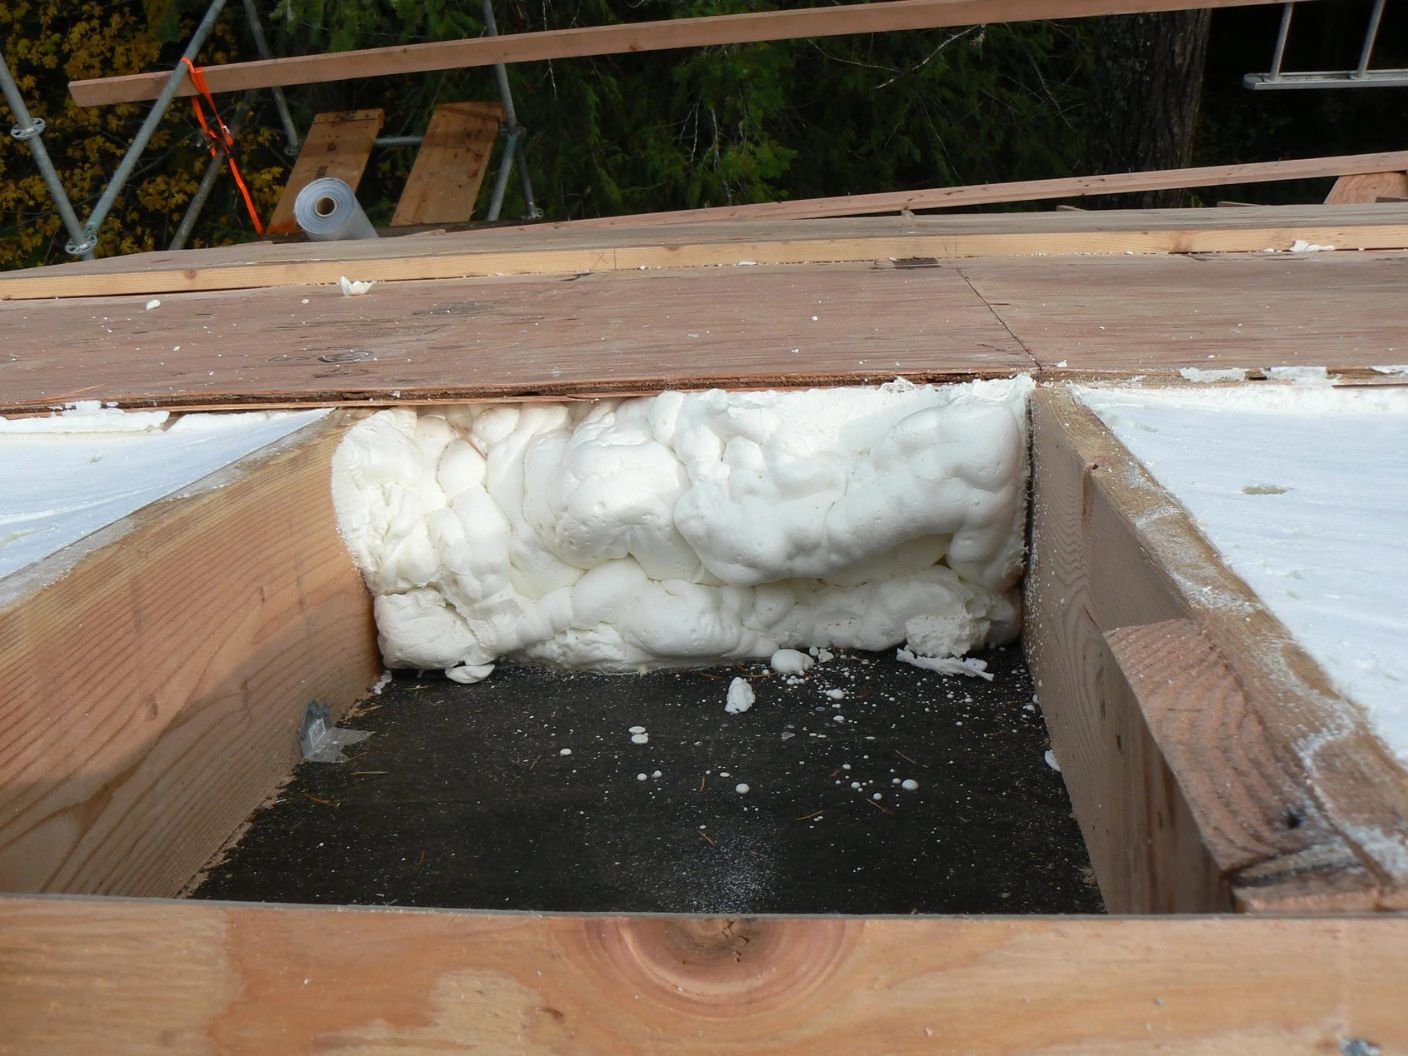
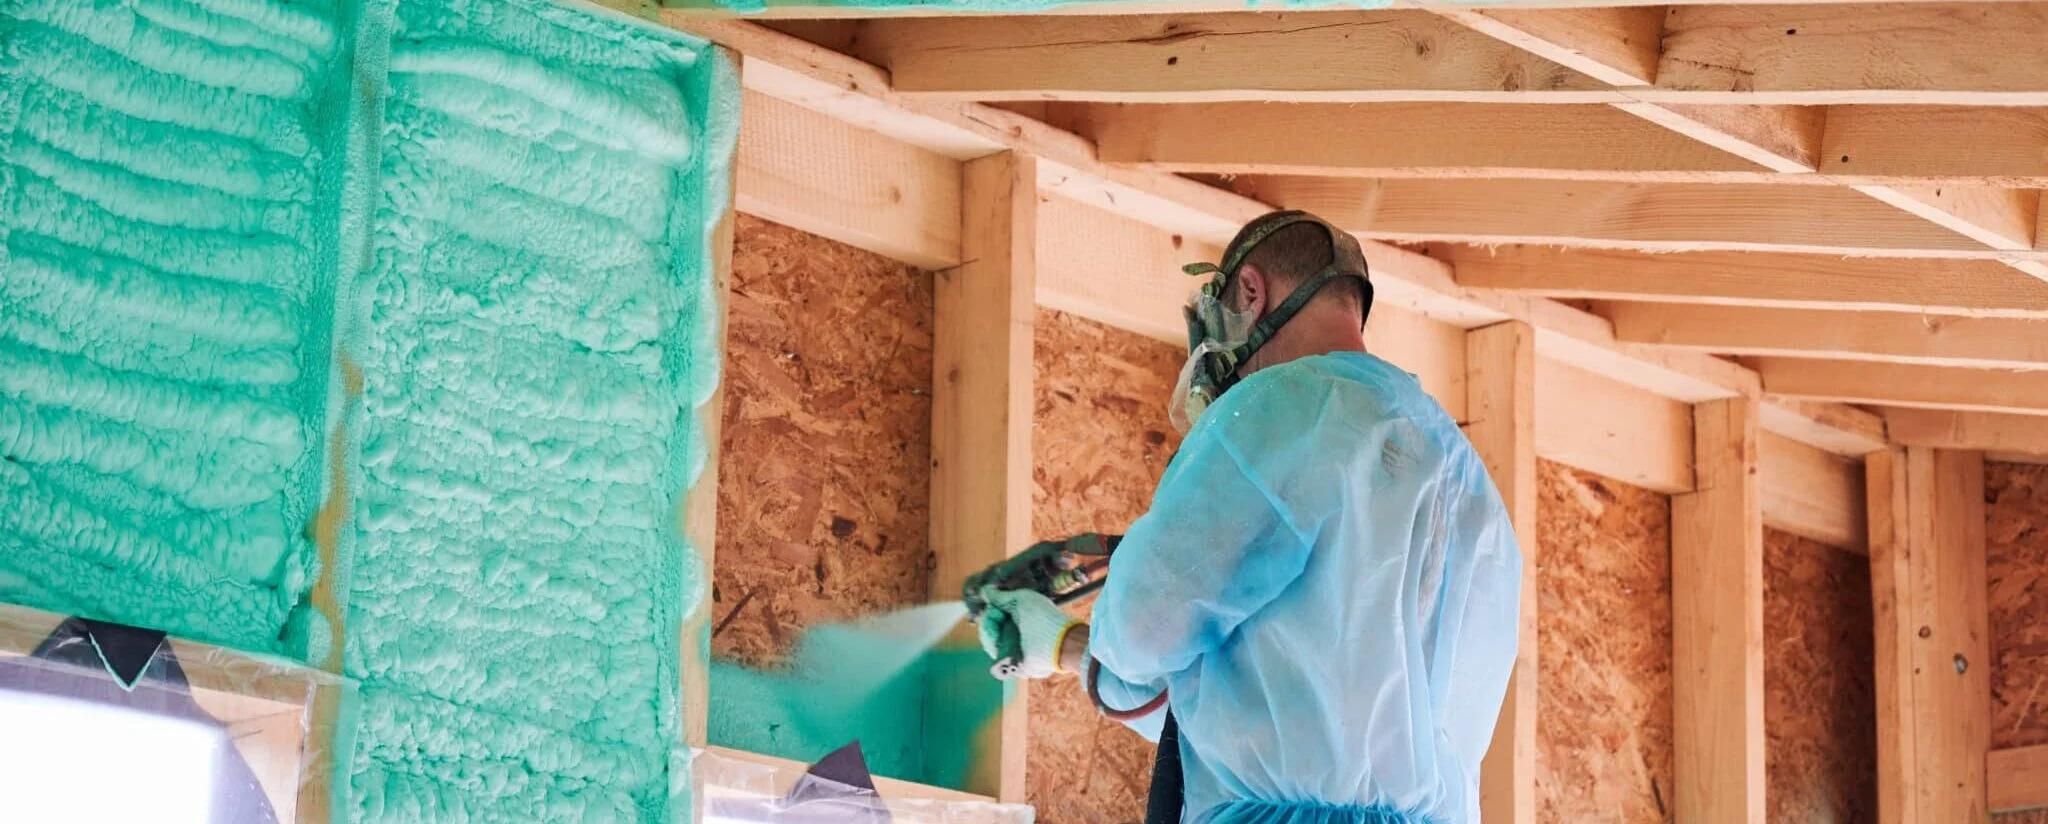
Step 5: Adding Additional Layers
Come back and spray additional layers of foam, allowing each layer to cure before adding more. This process is called "lifting" and ensures that the foam expands evenly and fills all gaps.
Step 6: Cutting Away Excess Foam
Use a foam carving tool to cut away excess foam that extends beyond the studs. Test the depth of the foam by poking through it with a wire or similar object if necessary.
Tips for Successful Installation
-
Temperature Control: Ensure that the canisters are between 75°F and 85°F for optimal performance. If necessary, use heaters to warm up the space before spraying.
-
Surface Temperature: The surface you are spraying should be around 70°F for best results.
-
Test Spray: Perform a test spray on a cardboard box or similar surface to understand how the foam expands and behaves.
-
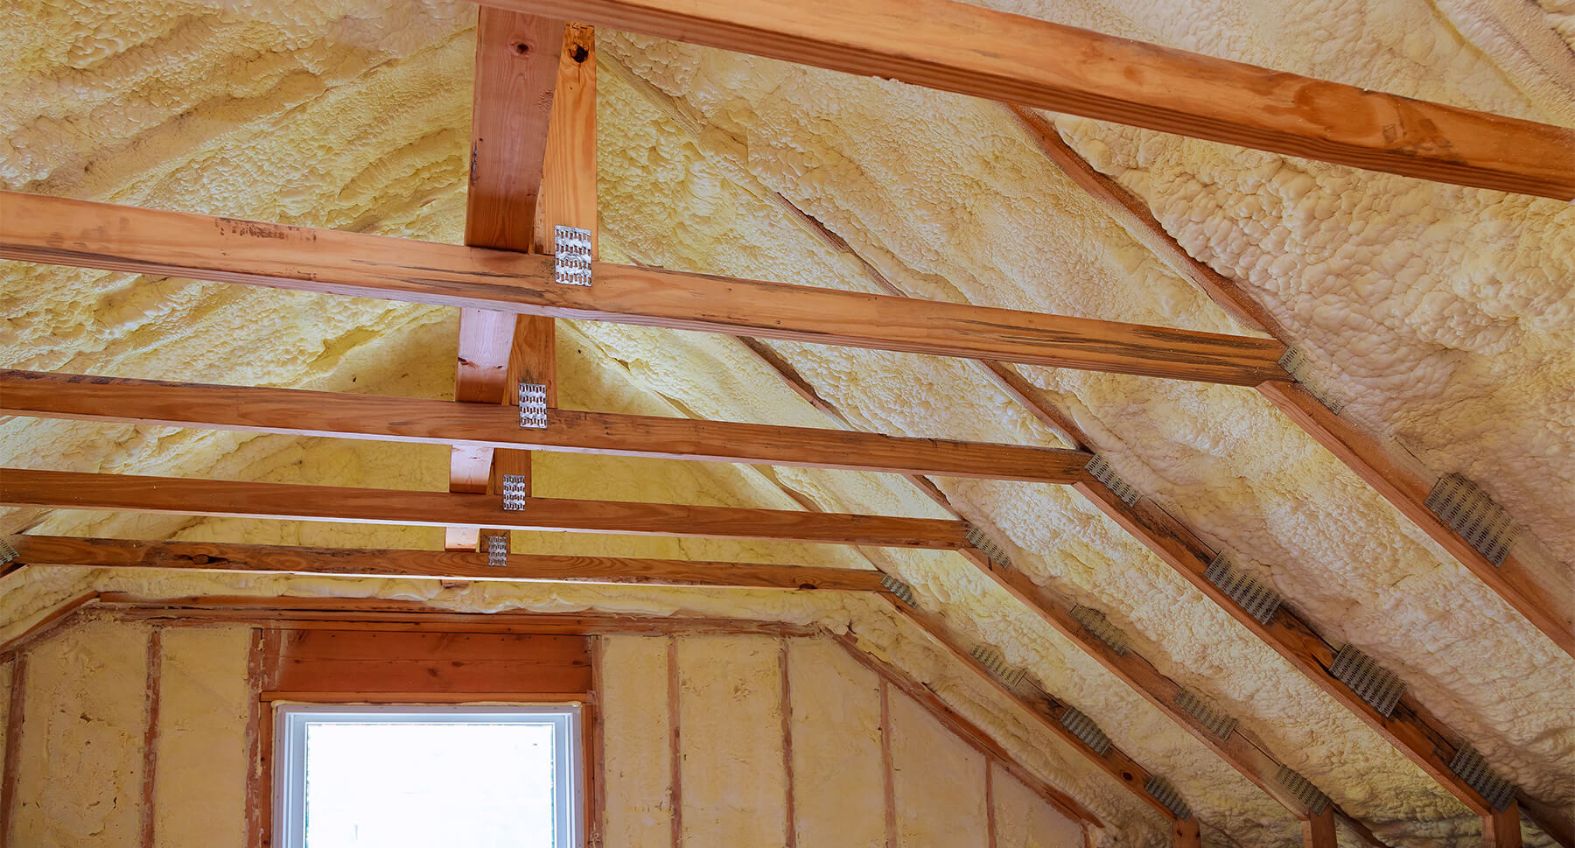
Even Coverage: Spray evenly between the studs and on the backside of exterior sheathing to ensure complete coverage.
-
Safety First: Always follow safety guidelines and wear protective gear to avoid exposure to chemicals and potential mess.
Common Mistakes to Avoid
-
Wet Surfaces: Avoid spraying foam on wet surfaces as it can compromise its effectiveness and create additional problems.
-
Enclosed Spaces: Refrain from spraying foam into enclosed spaces as it can trap heat and create fire hazards.
-
Recessed Light Cans: Keep spray foam away from recessed light cans to prevent heat buildup and potential fires.
DIY vs. Professional Installation
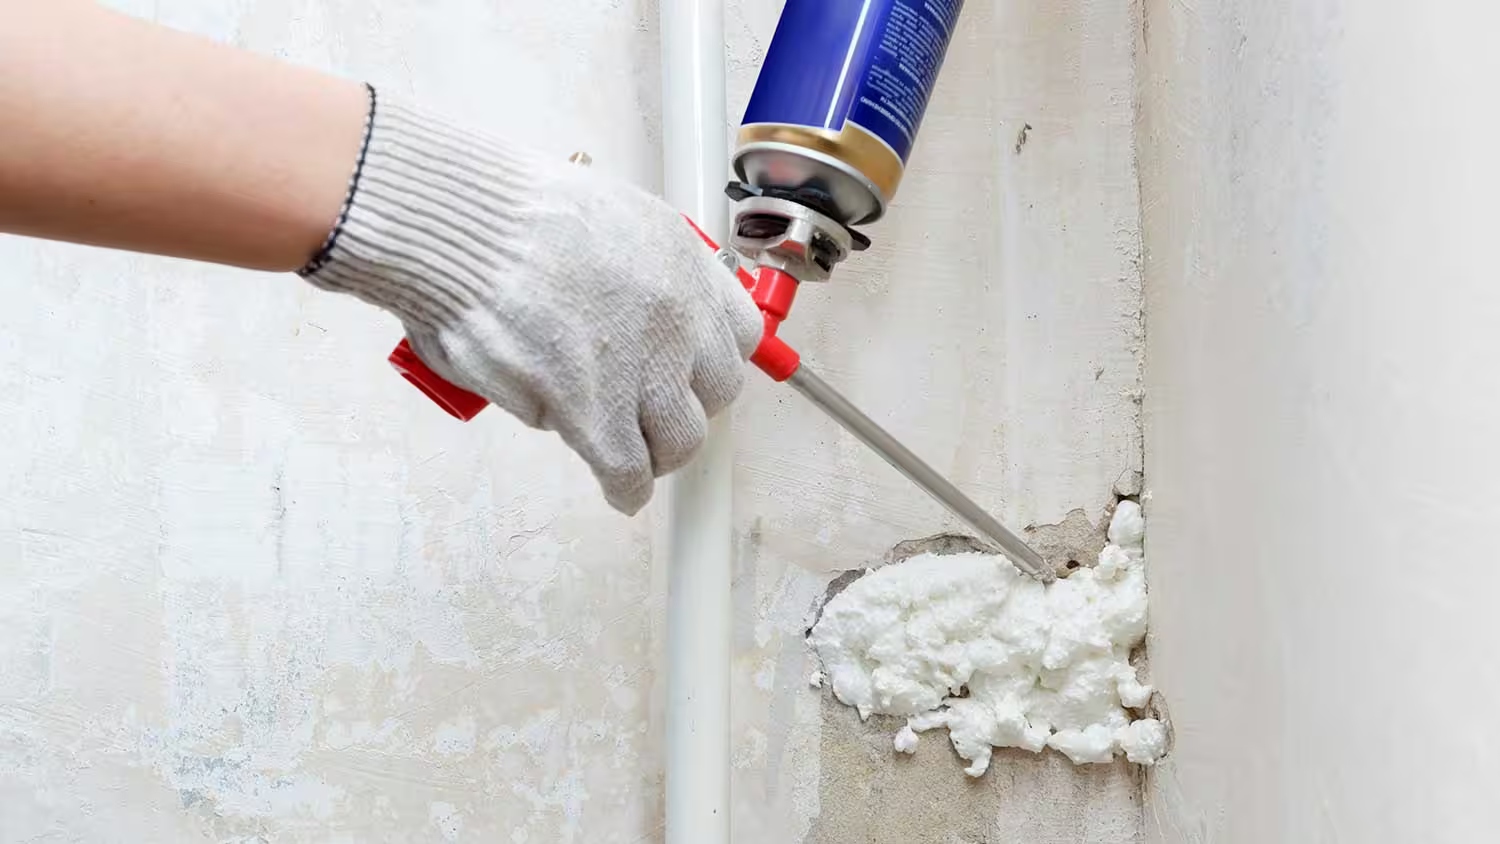
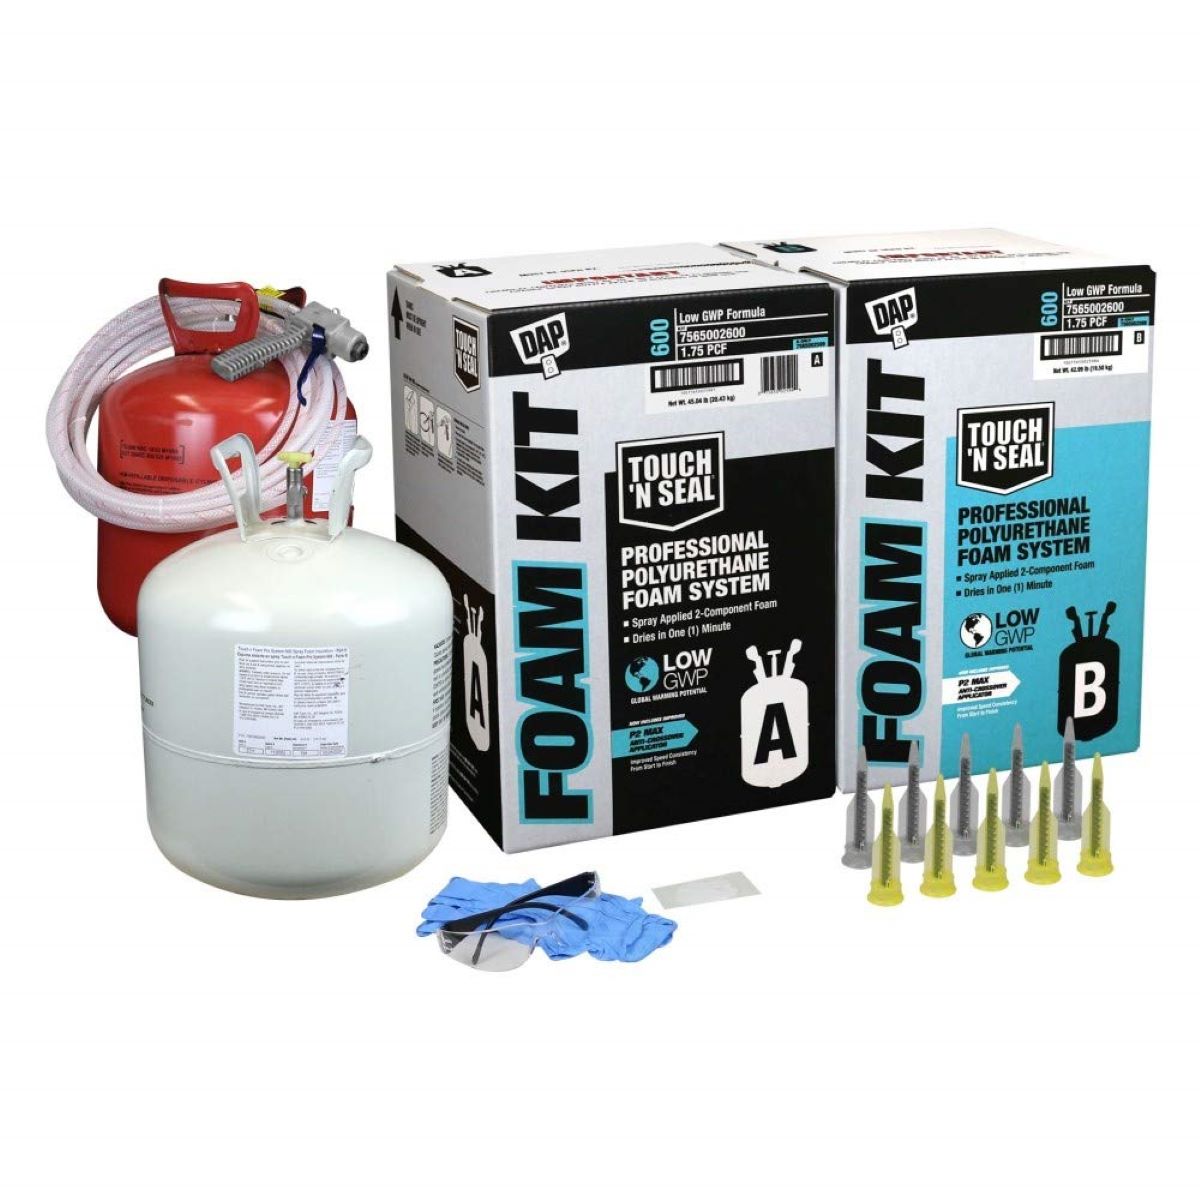
While DIY spray foam insulation kits are available and can be cost-effective for small projects, hiring a professional installer is often recommended for larger spaces or more complex installations. Professionals have the necessary experience and equipment to handle the job efficiently and effectively.
Cost Considerations
The cost of spray foam insulation kits available to DIYers is generally higher than the cost of the same amount of material through a professional installer. However, for small projects, DIY kits can be more cost-effective and convenient.
Conclusion
Upgrading your home's insulation with spray foam is a smart move for enhancing energy efficiency and comfort. By understanding the benefits, preparing properly, and following the step-by-step guide, you can successfully install spray foam insulation yourself. Remember to always prioritize safety and avoid common mistakes to ensure a successful project.
Whether you choose to tackle this project yourself or hire a professional, the long-term benefits of spray foam insulation make it an investment worth considering. With its air-tight seal, moisture barrier properties, and structural reinforcement, spray foam insulation is an excellent choice for anyone looking to improve their home's insulation.
Additional Resources
For more detailed information and resources on DIY spray foam insulation, consider the following:
-
YouTube Tutorials: Watch videos from experts like Stefani and Jon Peters who share their experiences and tips on installing spray foam insulation.
-
HGTV Guide: Refer to HGTV's comprehensive guide on installing spray foam insulation, which covers everything from preparation to application.
-
REenergizeCO Guide: Use the handy guide provided by REenergizeCO for installing spray foam insulation in existing walls, which includes steps for removing old insulation and applying new material.
By following these guidelines and leveraging additional resources, you can confidently upgrade your home's insulation with spray foam and enjoy the numerous benefits it offers.
Was this page helpful?
At Storables.com, we guarantee accurate and reliable information. Our content, validated by Expert Board Contributors, is crafted following stringent Editorial Policies. We're committed to providing you with well-researched, expert-backed insights for all your informational needs.

0 thoughts on “Upgrading Your Home’s Insulation with Spray Foam: A DIY Guide”