Articles
How To Do Spray Foam Insulation Yourself
Modified: August 28, 2024
Learn how to do spray foam insulation yourself with our informative articles. Save money and improve energy efficiency in your home.
(Many of the links in this article redirect to a specific reviewed product. Your purchase of these products through affiliate links helps to generate commission for Storables.com, at no extra cost. Learn more)
Introduction
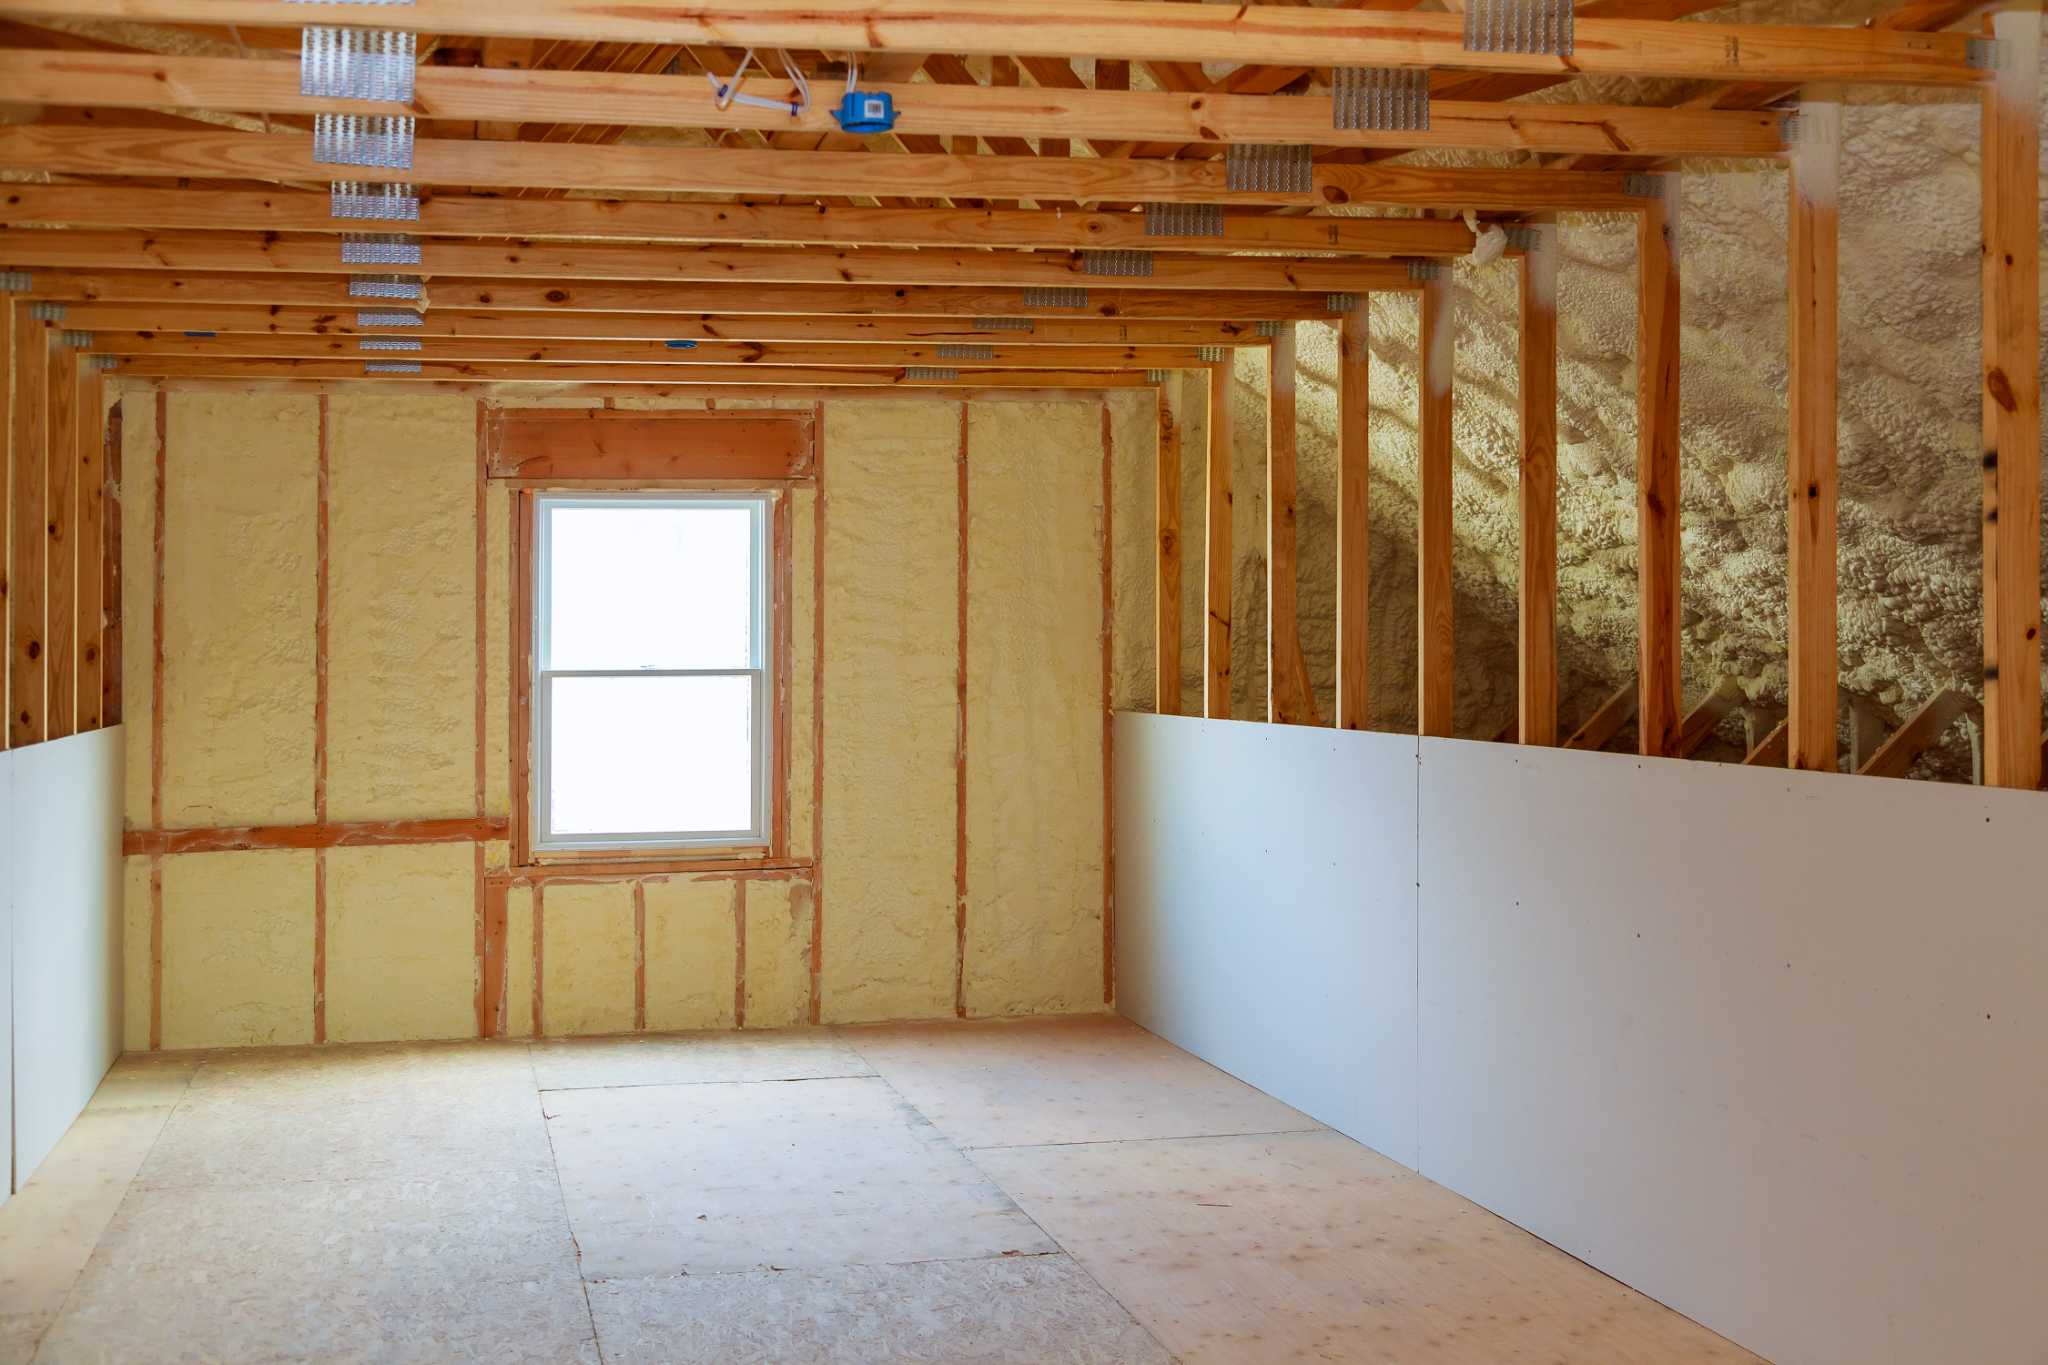
When it comes to insulating your home, spray foam insulation is a popular choice. It provides excellent insulation properties by creating a tight seal, preventing air and moisture infiltration, and reducing energy loss. While hiring a professional to install spray foam insulation can be costly, doing it yourself can save you money. In this article, we will guide you through the process of doing spray foam insulation yourself.
Before we dive into the steps, it’s important to note that spray foam insulation requires careful attention to safety precautions. The materials used can be hazardous if mishandled, and improper installation can lead to health risks. It’s crucial to follow safety guidelines and wear the appropriate protective gear throughout the process.
Now that we’ve covered the importance of safety, let’s take a look at the materials you’ll need to gather before starting the project. Having everything prepared in advance will make the installation process smoother and more efficient.
Key Takeaways:
- Safety First
Prioritize safety when installing spray foam insulation by wearing protective gear, working in a well-ventilated area, and following manufacturer instructions. Take breaks and stay hydrated to prevent fatigue and heat-related illnesses. - DIY Satisfaction
By following the step-by-step guide, you can save money and gain the satisfaction of contributing to a more energy-efficient and comfortable living space. Always refer to the specific instructions provided by the manufacturer for best results.
Read more: How To Clean Spray Foam Insulation
Safety Precautions
Before you begin the process of installing spray foam insulation, it’s essential to prioritize safety. Here are some important safety precautions to follow:
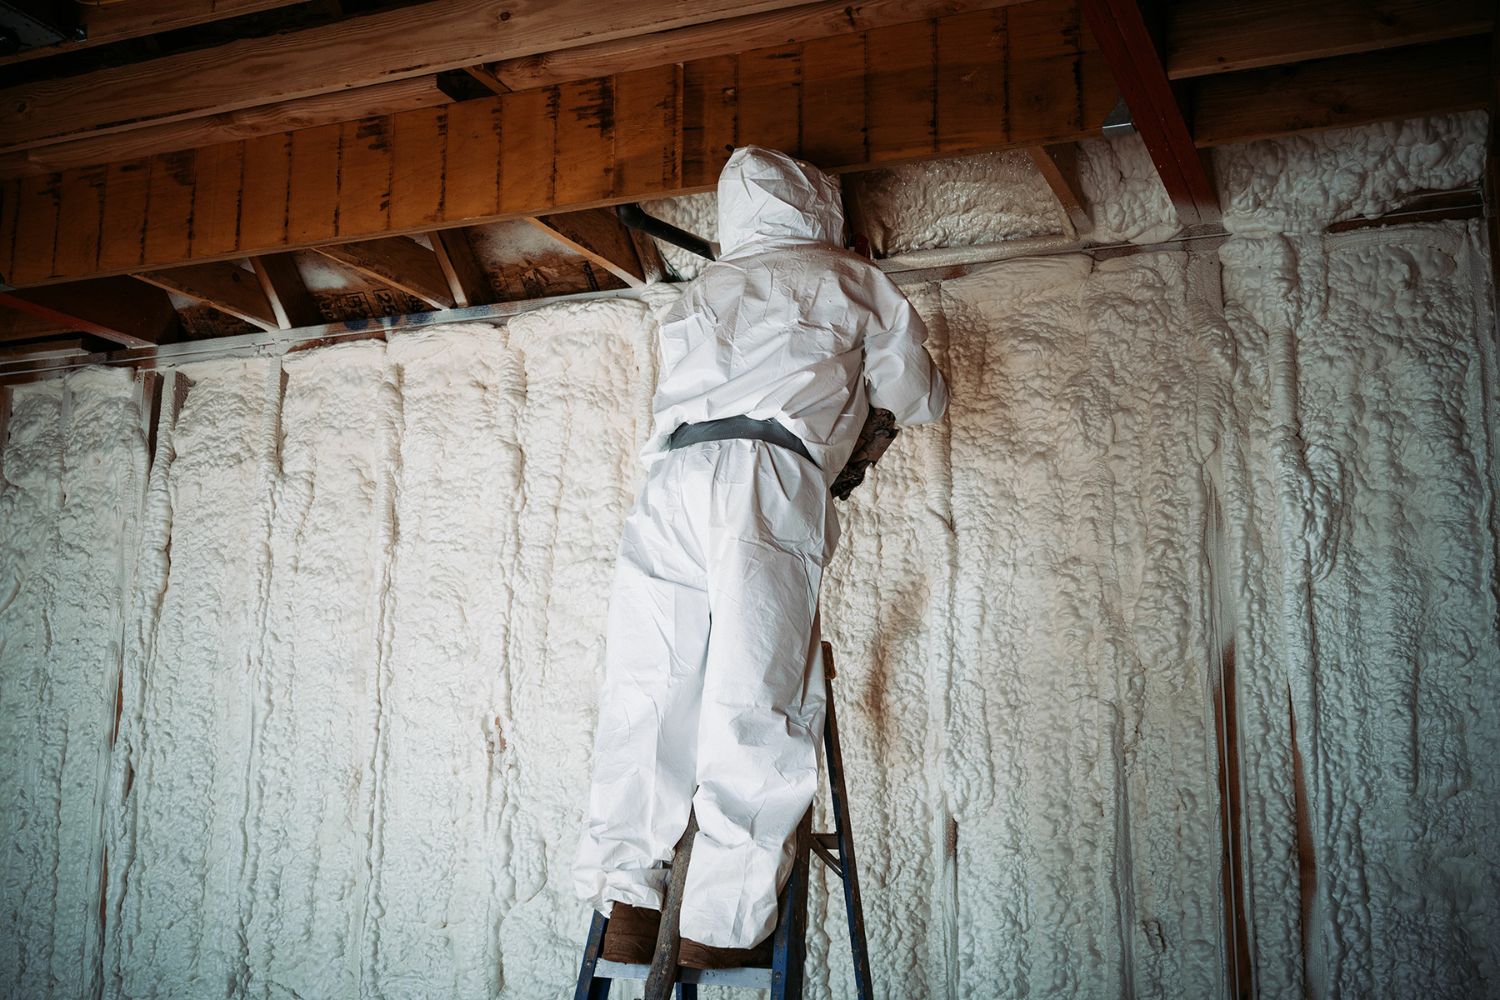
- Wear protective clothing and gear: Always wear safety goggles, gloves, long-sleeved shirts, and pants to protect your skin from coming in direct contact with the insulation material. Use a respirator or face mask to prevent inhalation of fumes or particles.
- Work in a well-ventilated area: Ensure that the area where you’ll be applying the spray foam insulation is well-ventilated. Open windows and doors to increase airflow and prevent the accumulation of fumes.
- Keep a fire extinguisher nearby: Spray foam insulation is flammable during the curing process. Have a fire extinguisher readily available in case of any accidents or emergencies.
- Do not smoke or use open flames: Avoid smoking or using any open flames, such as candles or lighters, in the vicinity of the insulation area. Accidental ignition can lead to fires or explosions.
- Take breaks and stay hydrated: Working with spray foam insulation can be physically demanding. Take regular breaks and stay hydrated to prevent fatigue and heat-related illnesses.
- Follow manufacturer instructions: Read and follow the instructions provided by the manufacturer of the spray foam insulation product. Each product may have specific safety guidelines and usage instructions.
By adhering to these safety precautions, you can minimize the risks associated with handling and installing spray foam insulation. Remember, safety should always be the top priority when working on any DIY project.
Materials Needed
Before you begin the process of installing spray foam insulation, it’s important to gather all the necessary materials. Here’s a list of the basic materials you’ll need:
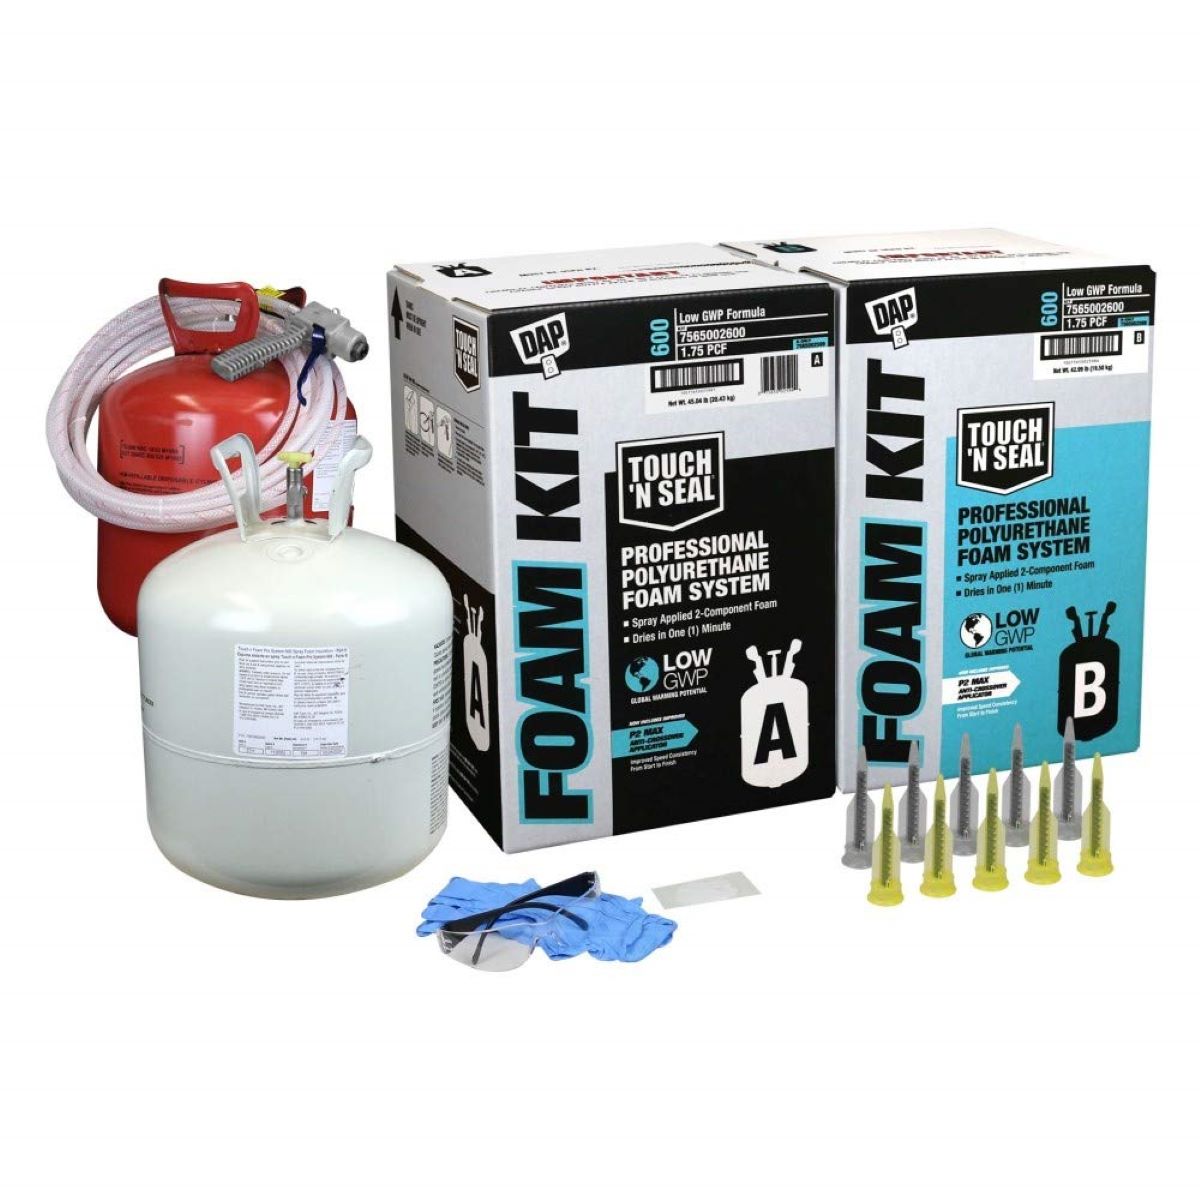
- Spray foam insulation kits: Purchase a spray foam insulation kit from a reputable supplier. These kits typically include both the foam insulation and the dispensing equipment needed for application.
- Protective clothing and gear: Ensure you have the appropriate protective clothing and gear, including safety goggles, gloves, a respirator or face mask, and long-sleeved shirts and pants.
- Drop cloths or plastic sheeting: Use drop cloths or plastic sheeting to protect the surrounding area from overspray and potential damage.
- Utility knife: A utility knife will come in handy for cutting and trimming the foam insulation as needed.
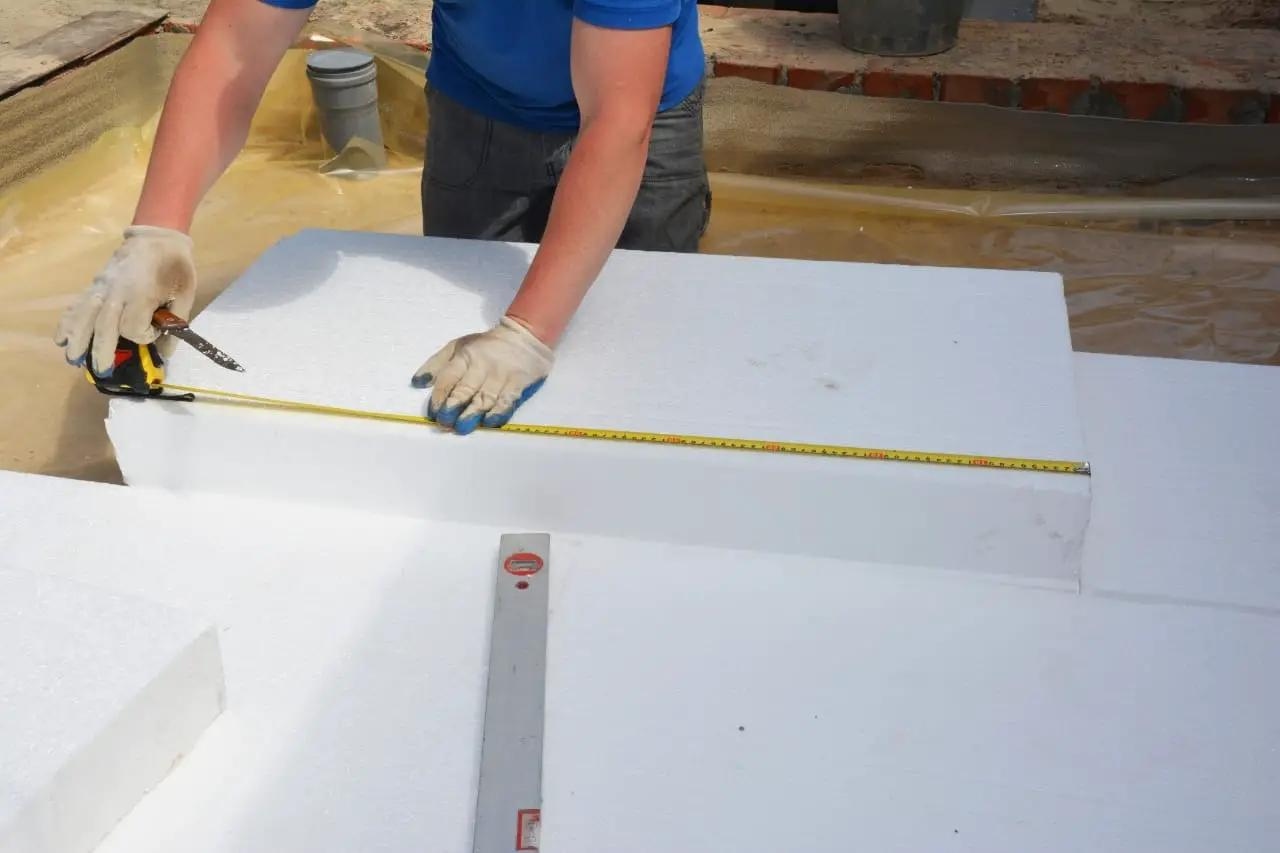
- Measuring tape: Have a measuring tape on hand to ensure accurate application and coverage.
- Extension cords: If necessary, have extension cords available to reach power sources for the spray foam application equipment.
- Fire extinguisher: Keep a fire extinguisher nearby in case of any accidents or emergencies.
- Cleanup supplies: Prepare some rags or paper towels, as well as a cleaning solution, to quickly clean up any spills or drips.
- Appropriate ladder or scaffolding: Depending on the area you’ll be insulating, you may need a ladder or scaffolding to reach high or hard-to-reach places.
Before starting the insulation process, ensure that you have all the necessary materials readily available. This will make the installation process more efficient and minimize any potential delays or interruptions.
Step 1: Preparing the Area
Before you begin applying spray foam insulation, it’s crucial to properly prepare the area where you will be working. Follow these steps to ensure a clean and well-prepared workspace:
- Clean the area: Remove any debris, dust, or loose particles from the area where you will be applying the insulation. Clear away furniture, obstacles, and any items that could be damaged by overspray.
- Seal off adjacent areas: Use drop cloths or plastic sheeting to cover and protect adjacent surfaces that you don’t want to be exposed to the spray foam insulation. This will prevent any unintentional overspray or damage.
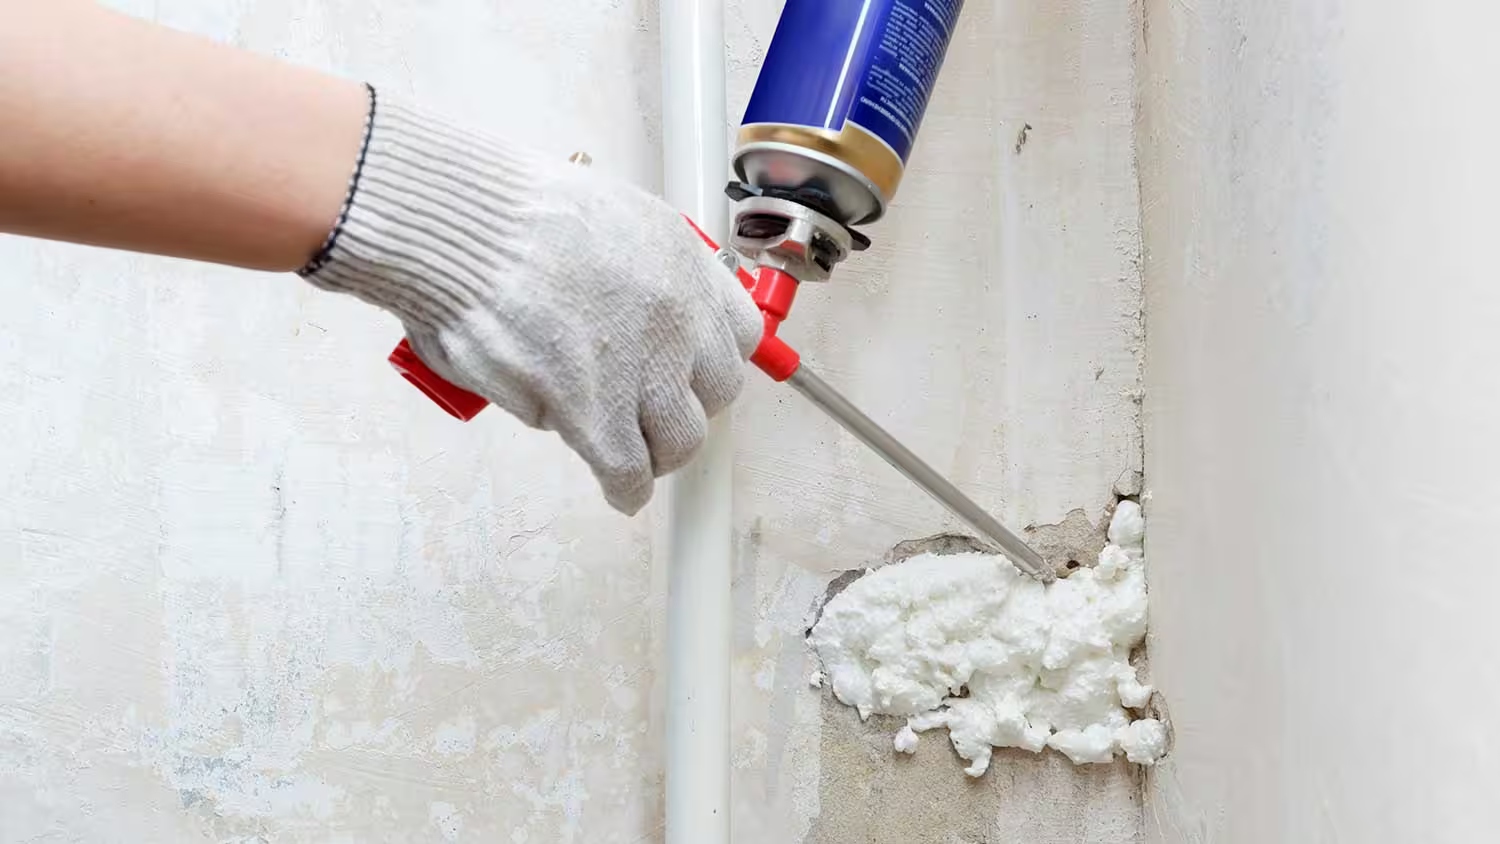
- Close off gaps and openings: Inspect the area for any gaps, cracks, or openings. Use caulk or weatherstripping to seal these gaps to prevent air leakage once the insulation is applied.
- Check for moisture: Ensure that the area is dry before applying the spray foam insulation. Moisture can affect the effectiveness of the insulation and lead to potential issues such as mold growth.
- Protect electrical outlets and fixtures: Cover electrical outlets, switches, and light fixtures with plastic or tape to prevent the insulation from getting into them. This will protect these sensitive areas from any potential damage.
By properly preparing the area, you’ll create a clean and controlled environment for the spray foam insulation application. This will help ensure a more successful and effective insulation process.
Step 2: Donning Protective Gear
Before you begin handling and applying spray foam insulation, it’s crucial to prioritize your safety by wearing the appropriate protective gear. Follow these steps to ensure you are properly protected:
- Safety goggles: Put on a pair of safety goggles to protect your eyes from potential splashes or overspray of the foam insulation. Ensure that the goggles fit securely and provide adequate coverage.
- Gloves: Wear gloves that are resistant to chemicals and have a good grip. These will protect your hands from coming in direct contact with the insulation material and prevent any potential skin irritation or allergic reactions.
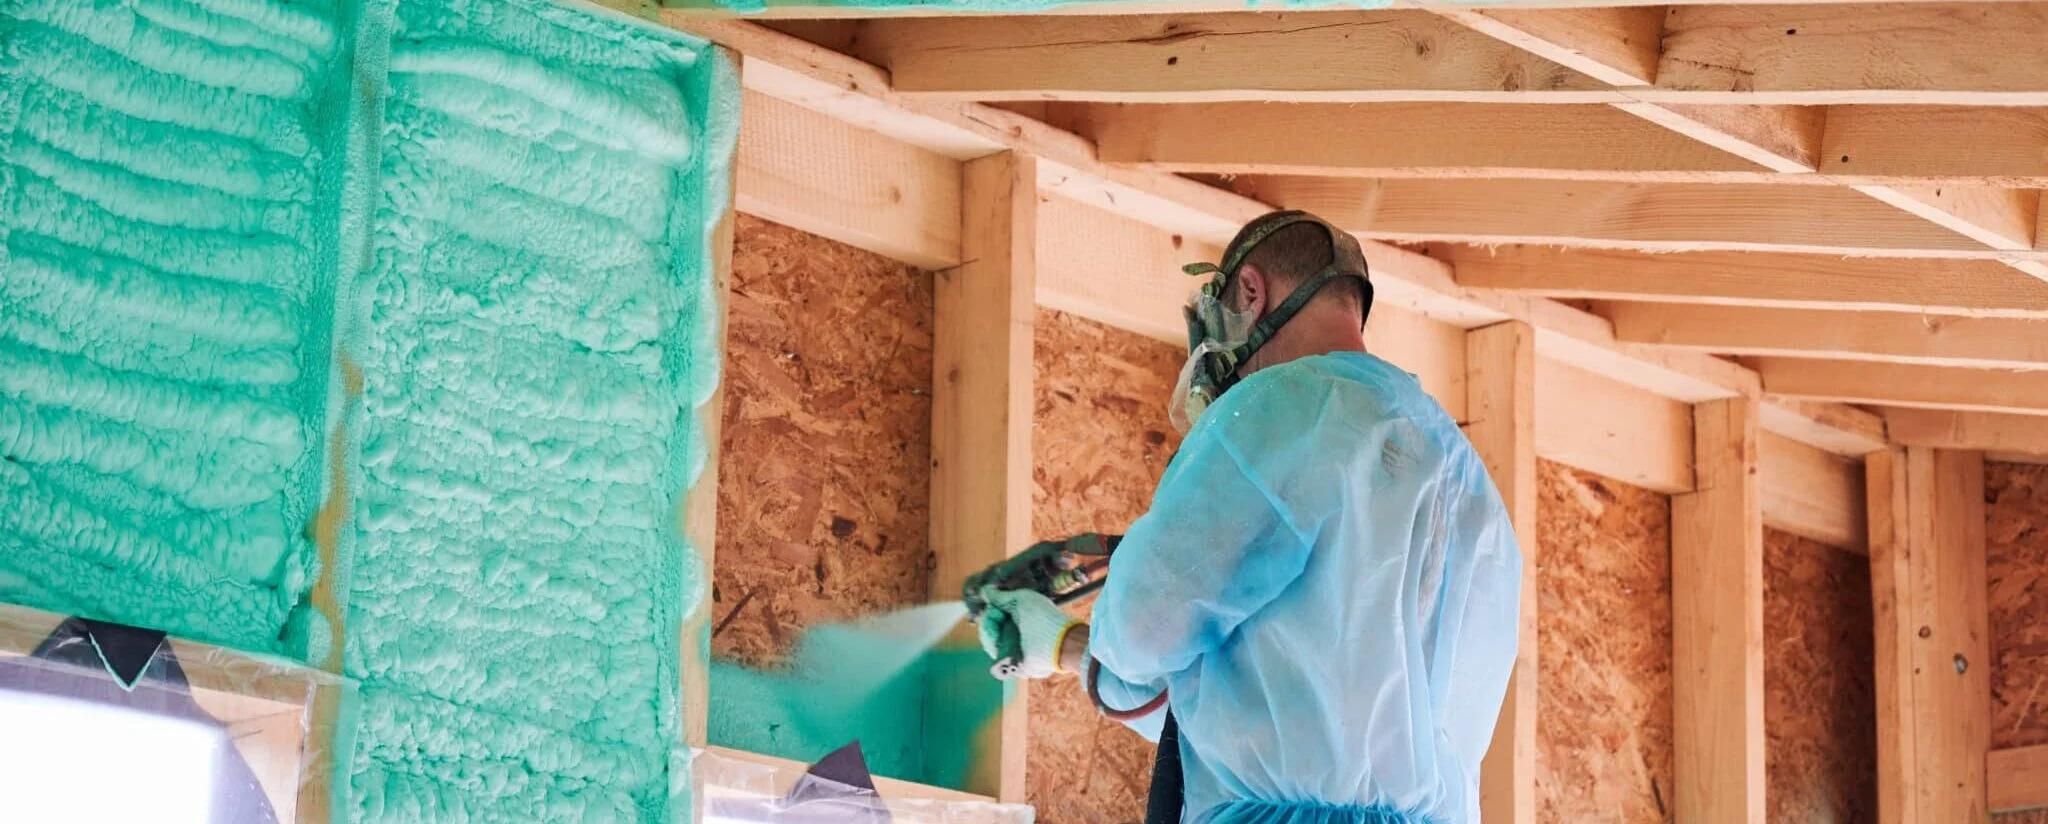
- Respirator or face mask: Use a respirator or face mask to protect your respiratory system from inhaling any fumes or particles that may be released during the insulation process. Choose a respirator that is specifically designed for use with spray foam insulation.
- Long-sleeved shirts and pants: Cover your skin by wearing long-sleeved shirts and pants. This will provide an additional layer of protection against any contact with the spray foam insulation.
It’s important to ensure that all the protective gear fits properly and is in good condition. Check for any damages or wear and replace any items that may be worn out or compromised. Remember to follow the manufacturer’s instructions for each piece of protective gear.
By donning the appropriate protective gear, you reduce the risks associated with handling and applying spray foam insulation. This will help ensure your safety and minimize the potential for any adverse health effects.
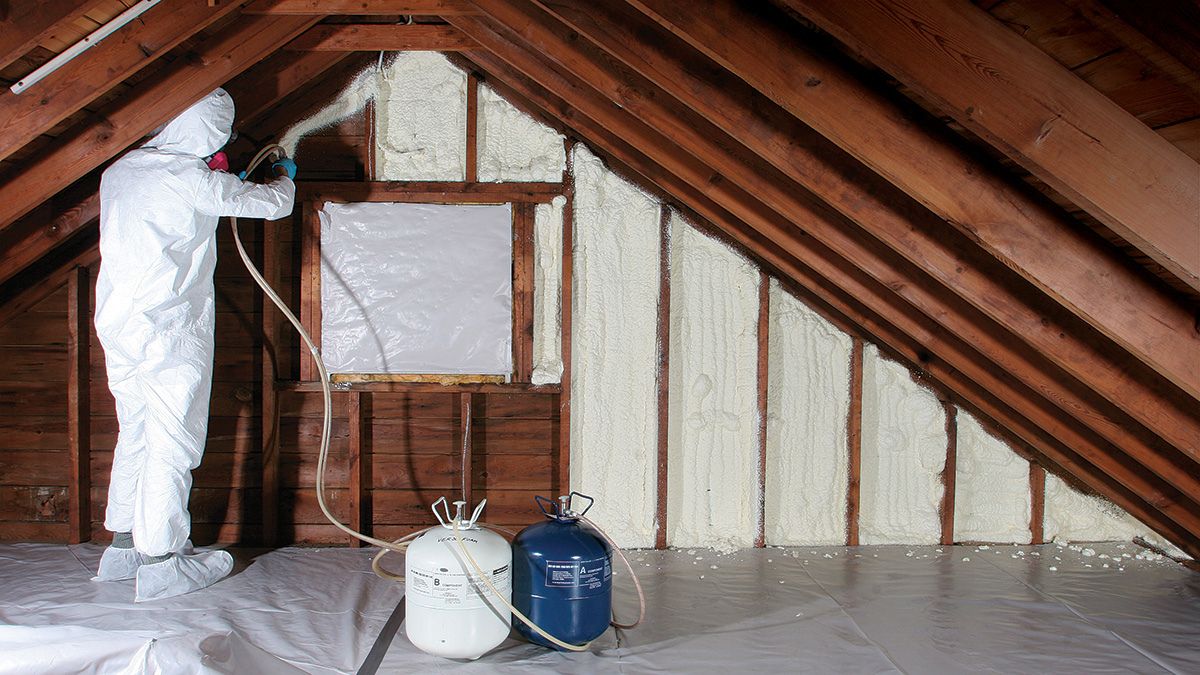
Read more: How To Spray Foam Insulation In Attic
Step 3: Setting up the Spray Foam Equipment
Once you have prepared the area and donned your protective gear, it’s time to set up the spray foam equipment. Follow these steps to ensure the proper setup:
- Read the manufacturer’s instructions: Familiarize yourself with the instructions provided by the manufacturer of the spray foam insulation kit. Each kit may have specific setup instructions and operating guidelines.
- Prepare the foam insulation kit: Follow the manufacturer’s instructions to prepare the foam insulation kit for use. This typically involves attaching the hoses, tanks, and spray gun to the dispensing equipment.
- Ensure proper ventilation: Ensure that the area where you’ll be working is well-ventilated to prevent the buildup of fumes. Open windows and doors or use fans to increase airflow.
- Check the spray gun: Inspect the spray gun for any clogs or blockages. Clean the gun if necessary and ensure that it is in proper working condition.
- Test the equipment: Before applying the spray foam insulation, test the equipment to ensure that it is functioning properly. This includes checking the flow of the foam and adjusting the spray pattern as needed.
- Secure the extension cords: If using extension cords, ensure that they are securely connected and positioned in a way that minimizes the risk of tripping or tangling.
It’s important to carefully follow the manufacturer’s instructions and guidelines for setting up the spray foam equipment. This will ensure the safe and efficient operation of the equipment throughout the insulation process.
Once the spray foam equipment is properly set up and functioning correctly, you’re ready to move on to the next step: applying the spray foam insulation.
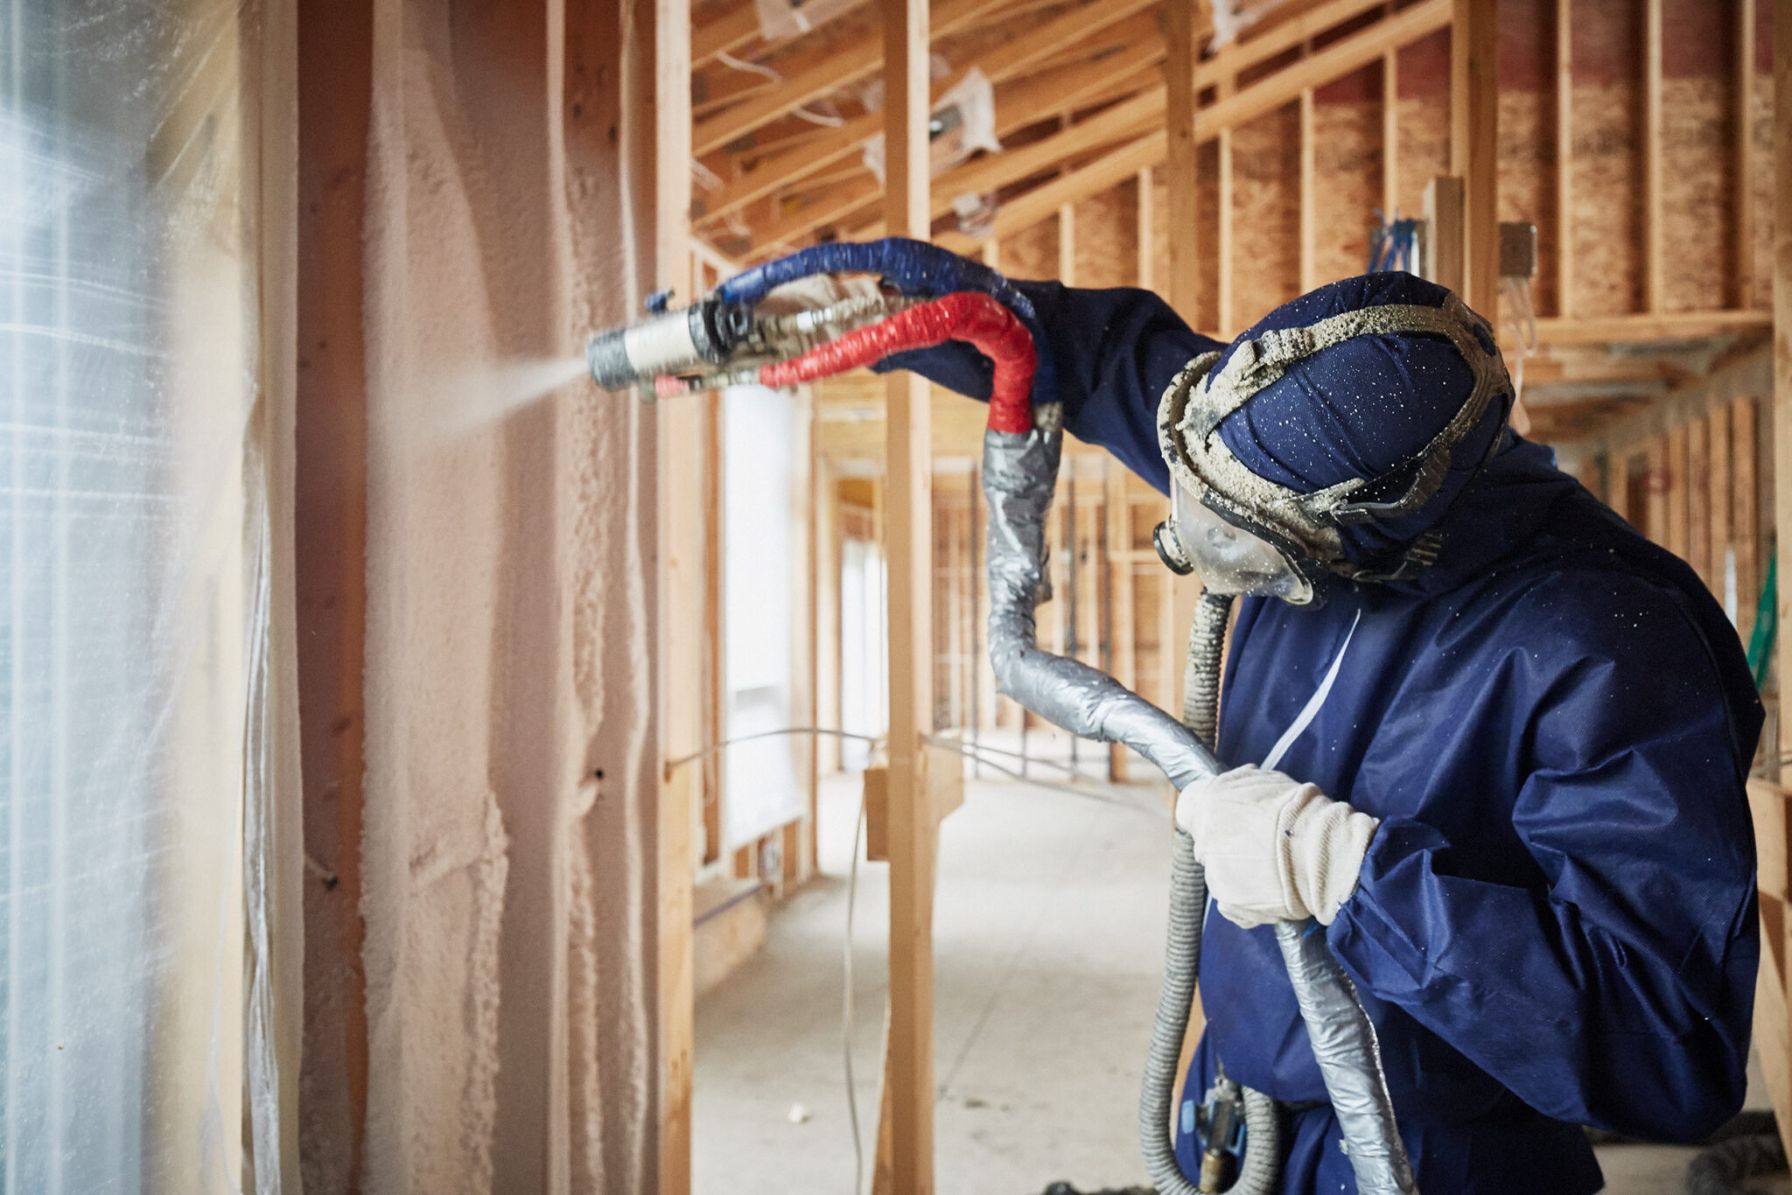
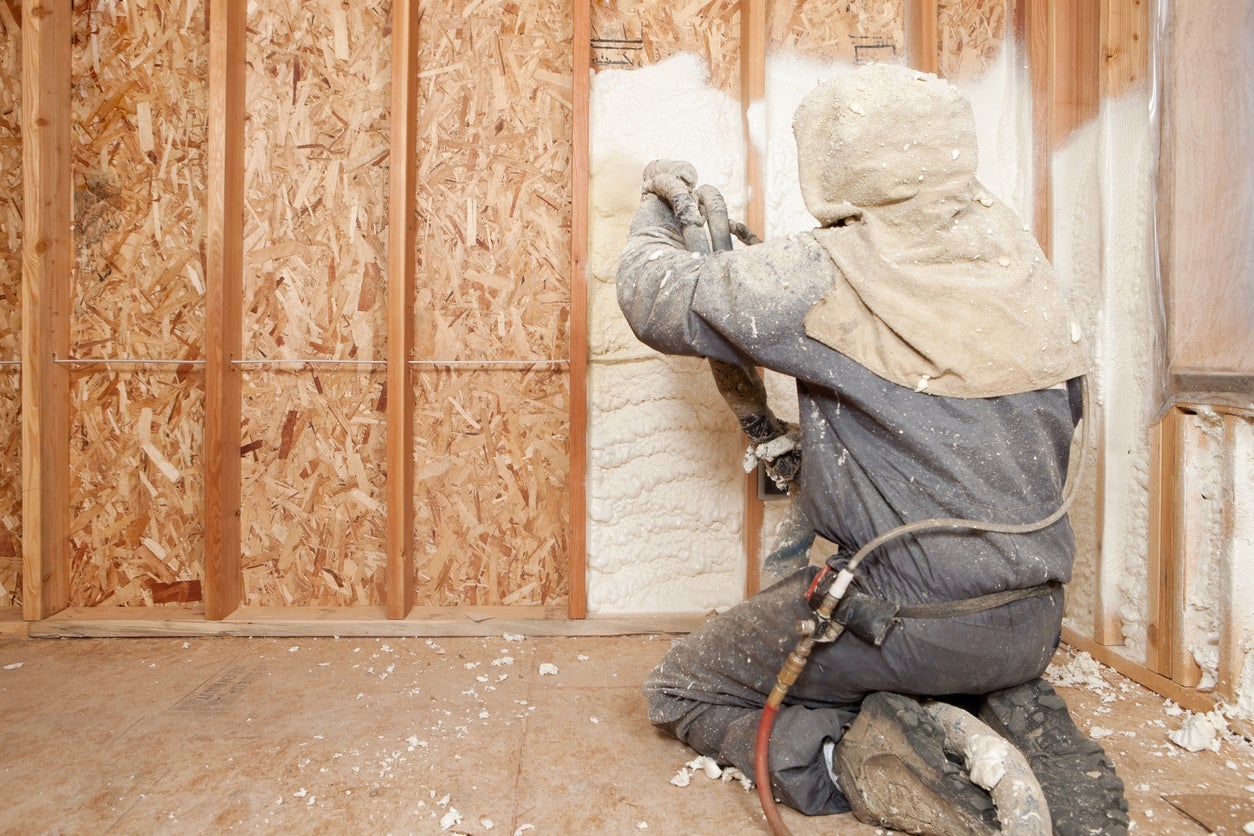
When doing spray foam insulation yourself, make sure to wear protective clothing, gloves, and a respirator to avoid skin irritation and inhalation of fumes.
Step 4: Applying the Spray Foam Insulation
Now that you have your area prepared, protective gear on, and spray foam equipment set up, it’s time to start applying the spray foam insulation. Follow these steps for a successful application:
- Start in the intended area: Begin spraying the foam insulation in the area where you want to start insulating. Work in small sections, moving methodically across the space.
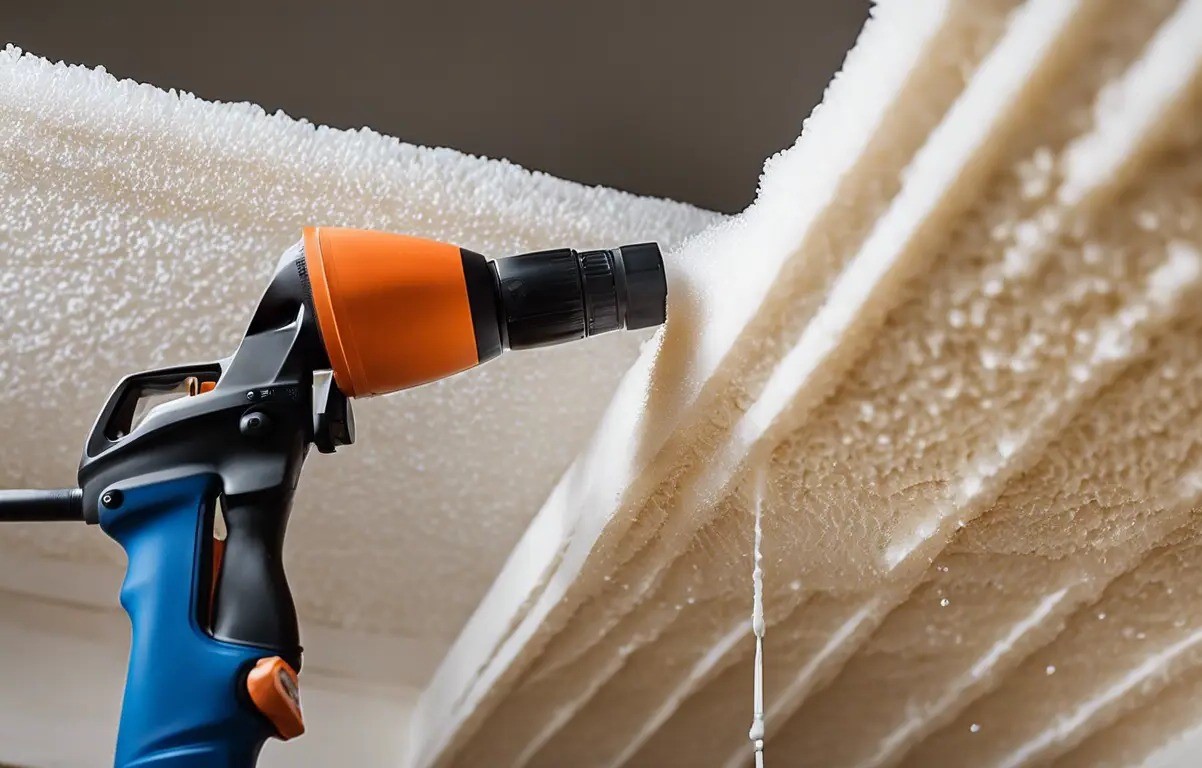
- Hold the spray gun at the correct distance: Hold the spray gun approximately 12-18 inches away from the surface you’re insulating. This allows for optimal coverage and control over the foam application.
- Apply the foam in even strokes: Move the spray gun back and forth in a controlled motion, applying the foam evenly onto the surface. Avoid rapid or jerky movements, as this can lead to uneven coverage or overspray.
- Work from the bottom up: Start applying the foam insulation from the bottom and work your way up. This helps prevent any drips or runs in the foam and ensures proper coverage.
- Overlap previous sections: When moving onto a new section, slightly overlap the previously sprayed foam to ensure a seamless insulation layer.
- Fill gaps and voids: Pay attention to any gaps, cracks, or voids in the area being insulated. Direct the spray foam into these areas to ensure they are properly filled and sealed.
- Monitor the thickness of the foam: Keep an eye on the thickness of the foam as you spray. Don’t apply too thick of a layer at once, as it may not cure properly. Follow the manufacturer’s instructions for the recommended thickness.
Continue these steps until the entire intended area is covered with spray foam insulation. It’s important to work efficiently to prevent the foam from curing before it’s properly applied.
Remember to take breaks as needed and stay hydrated throughout the application process. Installing spray foam insulation can be physically demanding, so listen to your body and avoid overexertion.
Once you have completed the application, move on to the next step: ensuring proper coverage.
Step 5: Ensuring Proper Coverage
After applying the spray foam insulation, it’s important to verify that you have achieved proper coverage to maximize its effectiveness. Follow these steps to ensure proper coverage:
- Inspect the insulation layer: Take a close look at the applied foam insulation layer. Look for any gaps, thin areas, or places where the foam may not have adhered properly. These areas may require additional foam application.
- Check for uniformity: Ensure that the foam insulation is applied uniformly across the entire area. Check for any unevenness or inconsistencies in the foam layer.
- Fill in any gaps or voids: If you notice any gaps, cracks, or voids, use the spray foam insulation to fill them in. Directedly apply foam to these areas to ensure proper sealing and insulation.
- Verify thickness: Confirm that the foam insulation is applied to the recommended thickness as specified by the manufacturer’s instructions. Avoid applying too thick of a layer, as it may not cure properly.
- Make additional passes if necessary: If you find areas that require more foam insulation, make additional passes with the spray gun to achieve the desired coverage and thickness.
By carefully inspecting the applied foam insulation and ensuring proper coverage, you can enhance the insulation’s performance and energy-saving capabilities. Take your time during this step to address any areas that may need extra attention for an effective insulation application.
Once you are satisfied with the coverage and uniformity of the foam insulation layer, it’s time to move on to the next step: allowing the foam to cure.
Step 6: Allowing the Foam to Cure
After applying the spray foam insulation and ensuring proper coverage, it’s crucial to allow the foam to cure. Curing time may vary depending on the specific product and environmental conditions. Follow these steps to ensure proper curing:
- Follow the manufacturer’s instructions: Refer to the manufacturer’s instructions for the recommended curing time. This information will give you an estimate of how long it will take for the foam insulation to fully cure.
- Do not disturb the foam: Avoid touching or disturbing the foam insulation while it cures. Any movement or disturbance can affect the curing process and result in an uneven or less effective insulation layer.
- Keep the area well-ventilated: Maintain proper airflow and ventilation in the area where the foam insulation was applied. This helps facilitate the curing process and prevents the buildup of fumes.
- Monitor the curing progress: Keep an eye on the foam insulation as it cures. Look for any signs of improper curing, such as shrinking, cracking, or discoloration. If you notice any issues, consult the manufacturer’s instructions for troubleshooting guidance.
- Allow sufficient curing time: Depending on the product and environmental conditions, the foam insulation may require several hours or even days to fully cure. Be patient and allow enough time for the insulation to cure before moving on to the next steps of your project.
During the curing process, it’s important to maintain patience and avoid any actions that could compromise the integrity of the foam insulation. By following these steps and allowing sufficient time for the foam to cure, you will ensure a properly sealed and effective insulation layer.
Once the foam insulation has fully cured, you can proceed to the final step: cleaning up and disposing of waste materials.
Read more: How Thick Spray Foam Insulation Do I Need
Step 7: Cleaning up and Disposing of Waste Materials
After completing the installation of spray foam insulation, it’s important to properly clean up and dispose of any waste materials. Follow these steps to ensure a safe and efficient cleanup process:
- Clean the spray foam equipment: Start by cleaning the spray foam equipment according to the manufacturer’s instructions. This typically involves flushing out the hoses and spray gun with an appropriate cleaning solution.
- Dispose of unused foam insulation: If there is any unused foam insulation remaining in the cans or tanks, check the manufacturer’s instructions for proper disposal methods. Follow these guidelines to dispose of the foam insulation in an environmentally responsible manner.
- Remove protective gear: Carefully remove your protective gear, such as safety goggles, gloves, and respirator. Follow proper procedures for cleaning and storing the gear, ensuring that it is ready for future use or disposal.
- Clean up the work area: Remove any drop cloths, plastic sheeting, or other protective coverings from the surrounding area. Dispose of these materials according to local waste management regulations.
- Clean any spills or drips: If there are any foam insulation spills or drips on surfaces that should not have been exposed, clean them up using a cleaning solution recommended by the manufacturer. Use rags or paper towels to wipe away any excess foam carefully.
- Dispose of waste materials: Dispose of used rags, paper towels, and any other waste materials in accordance with local regulations. Separate any hazardous or flammable waste from general waste and dispose of it properly.
- Clean your tools: Clean your tools, such as utility knives or other equipment used during the installation process. Properly store them in a safe and organized manner for future use.
By following these cleanup and waste disposal steps, you ensure a clean and safe environment after completing the spray foam insulation installation. It’s important to dispose of any waste materials responsibly and in compliance with local regulations to minimize environmental impact.
Congratulations! You have successfully completed the installation of spray foam insulation and taken the necessary steps to clean up and dispose of waste materials.
Remember that the specific cleanup and waste disposal requirements may vary depending on your location and the regulations in your area. Always consult local authorities or waste management facilities for specific guidelines and requirements.
With the insulation in place, you can now enjoy the benefits of a well-insulated home, including improved energy efficiency and comfort.
Conclusion
Congratulations on completing the process of installing spray foam insulation yourself! By following the steps outlined in this guide, you have taken a proactive approach towards improved energy efficiency and comfort in your home. Here’s a summary of what you have accomplished:
- You have learned about the importance of safety precautions and taken the necessary steps to protect yourself throughout the insulation process.
- You have gathered all the essential materials needed for the installation, ensuring a smooth and efficient workflow.
- You have properly prepared the area, ensuring a clean workspace free from obstacles and potential damage.
- You have donned the appropriate protective gear, safeguarding yourself from any potential health risks.
- You have successfully set up the spray foam equipment, following the manufacturer’s instructions for proper assembly.
- You have applied the spray foam insulation in a methodical and controlled manner, ensuring even coverage across the intended area.
- You have ensured proper coverage by inspecting the insulation layer, filling any gaps or voids, and verifying the recommended thickness.
- You have allowed the foam insulation sufficient time to cure, following the manufacturer’s instructions and maintaining proper ventilation.
- You have completed the cleanup process, disposing of waste materials responsibly and cleaning up any spills or drips.
By undertaking this DIY project, you have not only saved money but also gained the satisfaction of accomplishing a task that contributes to a more energy-efficient and comfortable living space.
Remember, this guide provides a general overview of the process, and it’s important to refer to the specific instructions and recommendations provided by the manufacturer of your chosen spray foam insulation product. If at any point you feel unsure or uncomfortable, it’s always wise to seek professional assistance.
Thank you for taking the time to learn how to do spray foam insulation yourself. Enjoy the benefits of a well-insulated home and the energy savings it brings!
Frequently Asked Questions about How To Do Spray Foam Insulation Yourself
Was this page helpful?
At Storables.com, we guarantee accurate and reliable information. Our content, validated by Expert Board Contributors, is crafted following stringent Editorial Policies. We're committed to providing you with well-researched, expert-backed insights for all your informational needs.


0 thoughts on “How To Do Spray Foam Insulation Yourself”