Home>Ideas and Tips>Upgrading Your Home’s Windows With DIY Exterior Shutters

Ideas and Tips
Upgrading Your Home’s Windows With DIY Exterior Shutters
Modified: October 27, 2024
Enhance your home's curb appeal and energy efficiency with DIY exterior shutters. Learn how to build and install them with our step-by-step guide.
(Many of the links in this article redirect to a specific reviewed product. Your purchase of these products through affiliate links helps to generate commission for Storables.com, at no extra cost. Learn more)
Introduction
When it comes to enhancing the curb appeal and functionality of your home, few elements can make as significant an impact as exterior shutters. These versatile window treatments not only add a touch of elegance and character to your home's exterior but also serve practical purposes like energy efficiency and weather protection. In this article, we will delve into the world of DIY exterior shutters, exploring their benefits, design considerations, and step-by-step guide on how to build and install them.
Benefits of Exterior Shutters
Exterior shutters have been a staple in home design for centuries, and their popularity endures due to their numerous benefits. Here are some of the key advantages of installing exterior shutters:
-
Enhanced Curb Appeal: Exterior shutters can instantly elevate the aesthetic appeal of your home. They come in a variety of styles and materials, allowing you to choose the perfect fit for your home's architectural style.
-
Energy Efficiency: Quality shutters can help regulate the temperature inside your home by blocking direct sunlight during summer and keeping warmth in during winter. This can lead to lower energy bills and a more comfortable living space.
-
Weather Protection: Shutters provide an additional layer of protection against harsh weather conditions such as strong winds, heavy rains, and extreme temperatures.
-
Resale Value: Well-maintained and stylish shutters can significantly boost your home's resale value. Prospective buyers often look for homes with attractive exteriors, and shutters are a key feature in this regard.
-
Customization: One of the best aspects of DIY shutters is the ability to customize them according to your home's unique needs and style. Whether you prefer classic louvered shutters or modern board and batten designs, there's a style out there for everyone.
Choosing the Right Style
Selecting the right style of exterior shutters is crucial to ensure they complement your home's architecture and personal preferences. Here are some popular styles and their characteristics:
-
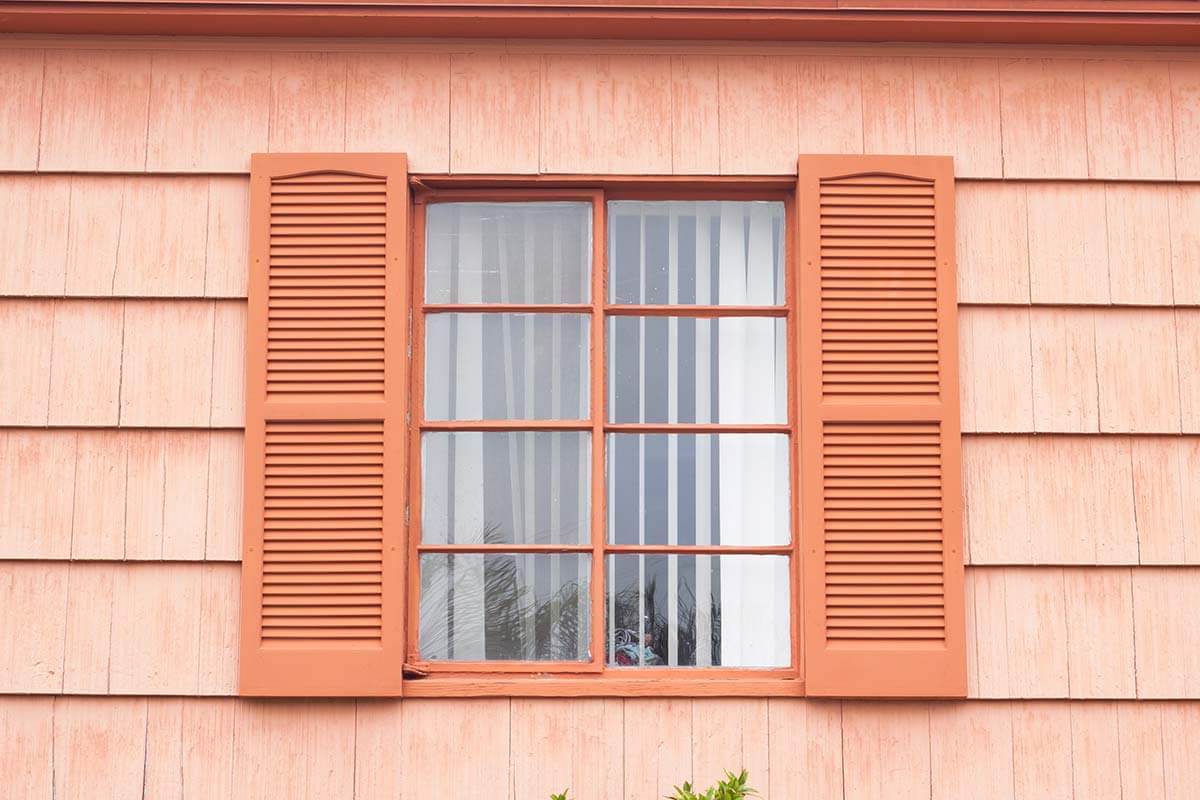
Louvered Shutters: These classic shutters feature horizontal slats that allow for airflow while maintaining privacy. They are ideal for traditional colonial-style homes and can add a touch of elegance to any exterior.
-
Board and Batten Shutters: This style consists of horizontal boards separated by vertical battens. It is a popular choice for modern cottages and farmhouses due to its sleek, minimalistic design.
-
Raised Panel Shutters: These shutters feature raised panels on the front, giving them a more substantial look compared to louvered or board and batten styles. They are often used in traditional homes with a classic design.
-
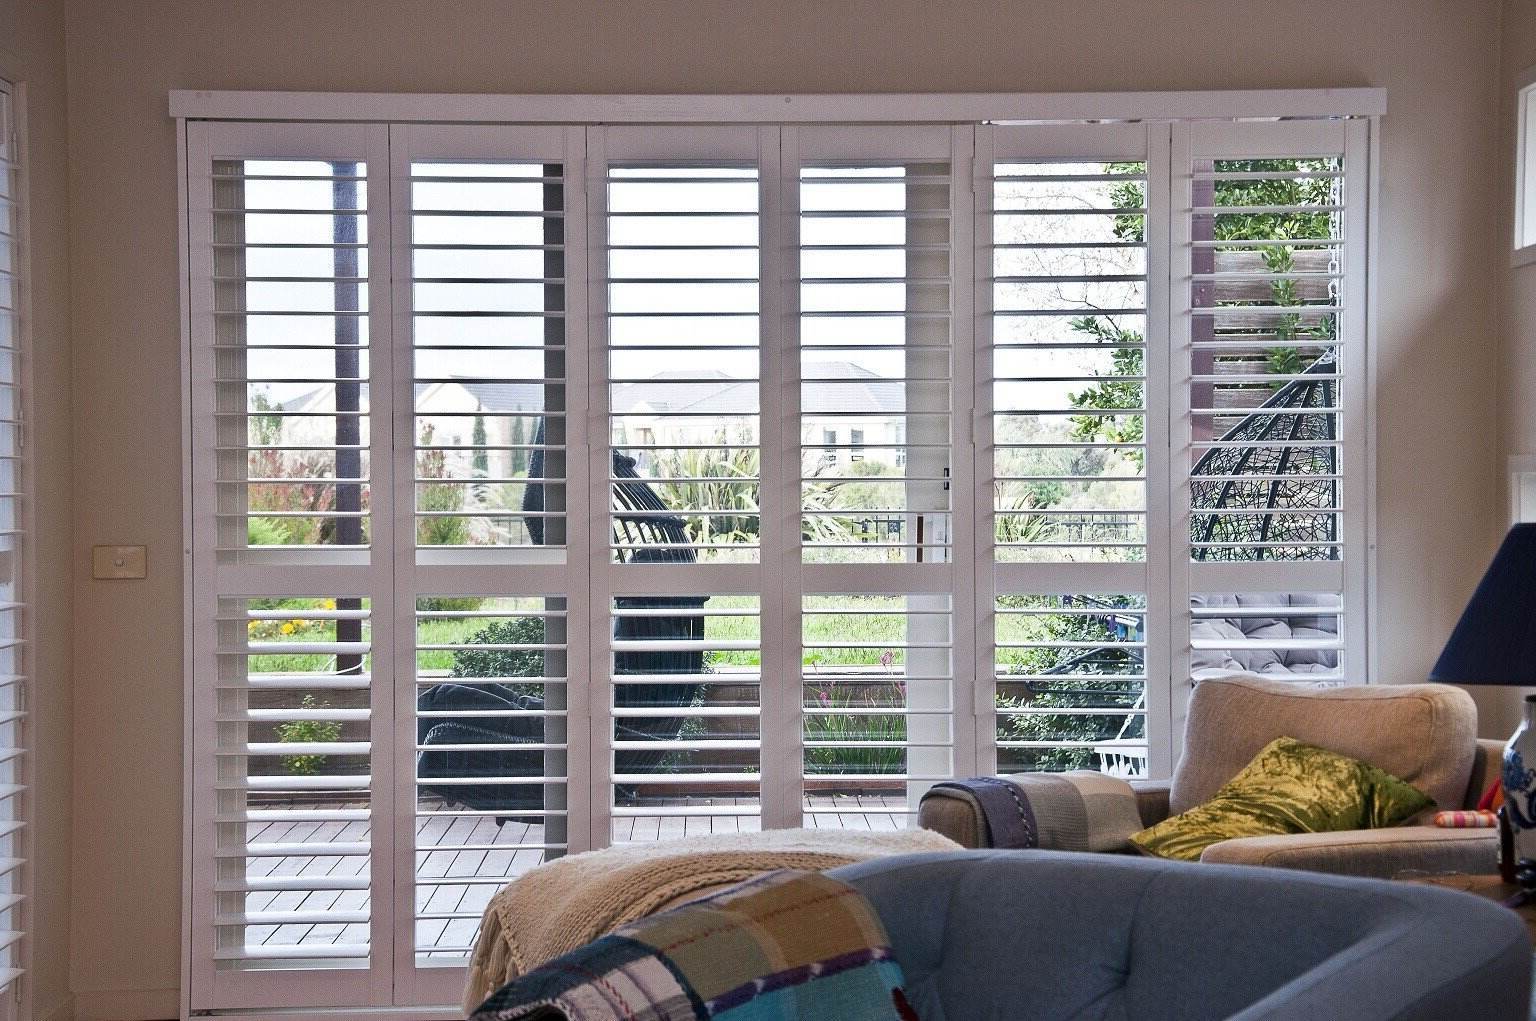
Plantation Shutters: These shutters have wide horizontal slats and are often used in coastal or tropical homes due to their ability to filter sunlight while maintaining a stylish appearance.
Measuring and Planning
Before you start building your DIY shutters, it's essential to measure your windows accurately and plan the project thoroughly. Here are some steps to follow:
-
Measure Your Windows: Measure the width and height of each window to determine the size of your shutters. For less custom shutters, you can use standard sizes like 15 inches wide by the height of the window opening. For more custom shutters, you may want to make them half the width of the window opening.
-
Consider Proportion: Ensure that your shutters are proportionate to your windows. Oversized or undersized shutters can look awkward and out of place.
-
Choose Materials: Decide on the material you want to use for your shutters. Popular options include wood (such as cypress or pine), vinyl, and composite materials.
-
Plan for Functionality: Think about whether you want your shutters to be functional (operable) or decorative. Functional shutters can be opened and closed to control light and airflow, while decorative ones are fixed in place.
Building Your DIY Shutters
Building your own exterior shutters can be a rewarding DIY project if you have basic carpentry skills and access to the necessary tools. Here’s a step-by-step guide:
Tools and Supplies Needed
- Saw: For cutting wood boards.
- Drill: For drilling pilot holes and screwing the shutters into place.
- Pocket Hole Jig: For creating strong joints between boards.
- Sander: For smoothing out the wood surface.
- Hammer Drill (optional): If you're drilling into brick or stone.
- Safety Gear: Glasses and ear protection for safety.
- Masonry Bit (optional): If drilling into brick or stone.
- Paint or Stain: To add color and protection to the wood.
Step-by-Step Instructions
-
Cut Your Boards: Cut all the necessary boards according to your measurements. For board and batten shutters, you'll need vertical boards and horizontal battens.
-
Assemble the Shutters: Use pocket hole screws to assemble the vertical boards first, then attach the horizontal battens using screws and wood glue.
-
Add Details: If desired, add additional details like horizontal boards across the body of the shutter for added texture and visual interest.
-
Drill Pilot Holes: Drill pilot holes in the top and bottom of each shutter to mark where they will be attached to the wall.
-
Mark the Wall: Use a drill bit through the pilot holes to mark where you'll be drilling into the wall.
-
Drill into Wall: If necessary, use a hammer drill to drill into brick or stone. Use masonry screws specifically designed for this purpose.
-
Attach Shutters: Line up the shutters using the pilot holes as guides and screw them into place with masonry screws.
-
Add Finishing Touches: Paint or stain your shutters according to your desired color and finish.
Common Mistakes to Avoid
When building and installing exterior shutters, there are several common mistakes you should avoid:
-
Inaccurate Measurements: Ensure that your measurements are accurate to avoid oversized or undersized shutters.
-
Using Unsuitable Materials: Choose materials suitable for your climate and intended use.
-
Improper Filling or Finishing: Properly fill any gaps between boards and finish the wood surface smoothly to prevent water damage.
-
Incorrect Installation: Follow proper installation techniques to ensure that your shutters are securely attached to the wall.
Reusing Old Shutters
If you have old exterior shutters that are no longer functional or aesthetically pleasing, consider reusing them in creative ways:
-
Create a Bookcase: Use old shutters as the base for a bookcase, adding shelves and decorative elements as needed.
-
Build A Beautiful Closet: Transform old shutters into a unique closet door or room divider.
-
Repurpose as Coffee Table: Use multiple shutters as the base for a coffee table, adding glass or wood tops for functionality.
-
Decorative Wall Art: Hang old shutters on a wall as decorative art pieces, adding paint or stain for color and texture.
Conclusion
Upgrading your home's windows with DIY exterior shutters is a rewarding project that offers numerous benefits in terms of curb appeal, energy efficiency, and resale value. By choosing the right style, measuring accurately, and following proper building and installation techniques, you can create beautiful and functional shutters that enhance your home's exterior while adding a personal touch. Whether you're looking to reuse old shutters creatively or build new ones from scratch, this guide provides you with everything you need to get started on your next DIY project.
Frequently Asked Questions
-
Can I Use Reclaimed or Recycled Materials?
Yes, using reclaimed or recycled materials for DIY exterior shutters is an excellent way to create a unique look while reducing waste. Standard options include salvaged wood or old shutters. -
How Much Do DIY Exterior Shutters Cost Compared to Buying Them Pre-Made?
The cost of DIY exterior shutters varies depending on the materials used, the size and quantity of shutters needed, and the tools required for the project. Making your own shutters can be more cost-effective than buying them pre-made. -
What Are Common Errors to Avoid When Making and Installing Exterior Shutters?
Common mistakes include inaccurate measurements, using unsuitable materials for your climate, improper filling or finishing, and incorrect installation. -
Are There Any Building Codes or Regulations That Apply to Exterior Shutters?
Yes, building codes or regulations may apply to exterior shutters depending on your location and the type of shutter you’re installing. For example, some areas require hurricane-rated shutters in high-wind areas. Always check with your local building department to ensure compliance with relevant codes or regulations.
By following these guidelines and tips, you'll be well on your way to enhancing your home's exterior with beautiful and functional DIY exterior shutters.
Was this page helpful?
At Storables.com, we guarantee accurate and reliable information. Our content, validated by Expert Board Contributors, is crafted following stringent Editorial Policies. We're committed to providing you with well-researched, expert-backed insights for all your informational needs.

0 thoughts on “Upgrading Your Home’s Windows With DIY Exterior Shutters”