Home>Ideas and Tips>Upgrading Your Kitchen Sink and Faucet: DIY Installation
Ideas and Tips
Upgrading Your Kitchen Sink and Faucet: DIY Installation
Published: August 28, 2024
Upgrade your kitchen sink and faucet with our step-by-step DIY installation guide. Enhance functionality and style effortlessly.
(Many of the links in this article redirect to a specific reviewed product. Your purchase of these products through affiliate links helps to generate commission for Storables.com, at no extra cost. Learn more)
Introduction
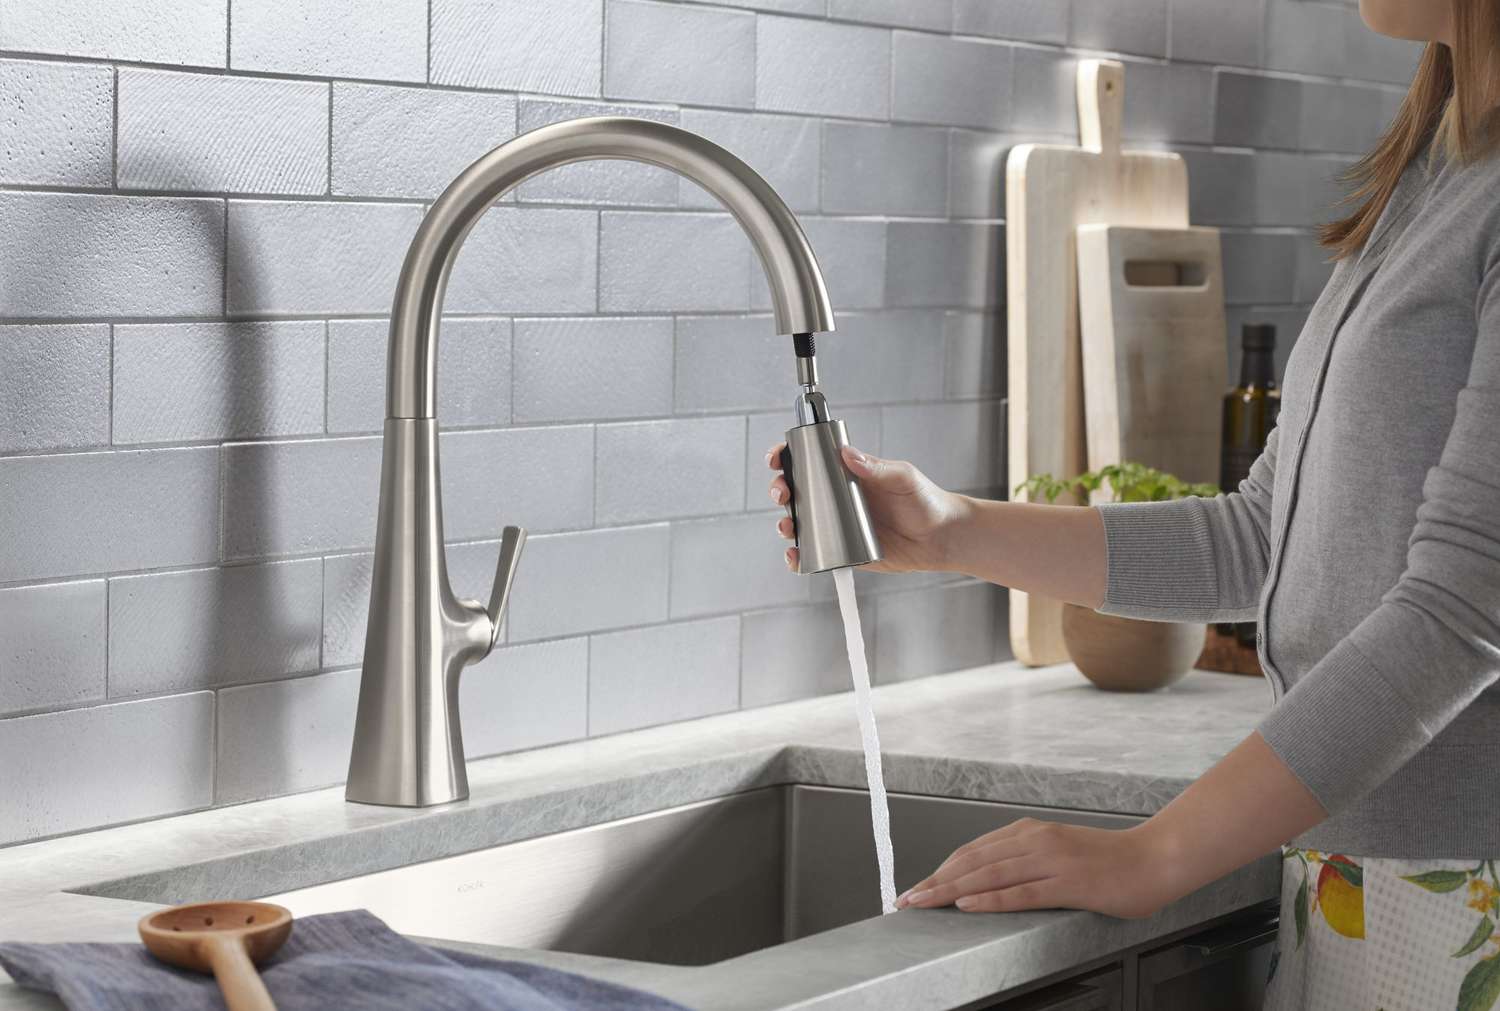
Upgrading your kitchen sink and faucet can significantly enhance the functionality and aesthetic appeal of your kitchen. While hiring a professional plumber can be an option, many homeowners are eager to take on the challenge of a DIY installation. This article will guide you through the process of upgrading your kitchen sink and faucet, providing detailed steps and tips to ensure a successful and stress-free experience.
Tools and Materials Needed
Before diving into the project, it's essential to gather all the necessary tools and materials. Here’s a comprehensive list:
- Sink and Faucet: Choose a new sink and faucet that fit your kitchen's style and needs.
- Wrenches: Adjustable wrench, basin wrench, and channel-type pliers.
- Pliers: Needle-nose pliers for reaching into tight spaces.
- Socket Set: For removing old faucet mounting nuts.
- Teflon Tape: For creating watertight seals.
- Pipe Cutter: For cutting copper or PEX pipes.
- Drill: For making holes in the countertop (if necessary).
- Countertop Drill Bit: A specialized bit for drilling through granite or other hard surfaces.
- Measuring Tape: For precise measurements.
- Level: To ensure the new sink is perfectly level.
- Clamps: For holding the sink in place while securing it.
- Silicone Sealant: For sealing gaps around the sink.
- Gaskets and O-rings: For replacing old gaskets and O-rings.
- Water Shut-off Valves: To shut off the water supply lines.
Preparation
Shut Off the Water Supply
The first step in any plumbing project is to shut off the water supply to your kitchen. Locate the shut-off valves under the sink and turn them clockwise to shut off the water supply. Open the faucet to drain the water from the pipes.
Disconnect the Old Faucet
-
Disconnect the Water Supply Lines:
- Use an adjustable wrench to loosen the nuts holding the water supply lines to the old faucet.
- Once loose, use channel-type pliers to completely remove the nuts.
- Carefully pull out the supply lines from the faucet.
-
Disconnect the Drain Line:
- Use a basin wrench to loosen the slip nuts holding the drain line to the old faucet.
- Once loose, use needle-nose pliers to completely remove the slip nuts.
- Carefully pull out the drain line from the faucet.
-
Remove Old Faucet Mounting Nuts:
- Use a socket set to remove any mounting nuts that hold the old faucet in place.
- Be careful not to damage any surrounding surfaces.
-
Remove Old Faucet:
- Once all connections are disconnected, carefully lift out the old faucet.
Remove Old Sink
-
Disconnect Drain Line:
- If your sink has an integrated drain, you'll need to disconnect it from the old sink.
- Use a basin wrench to loosen any slip nuts holding the drain line to the sink.
- Once loose, use needle-nose pliers to completely remove any remaining parts.
-
Remove Mounting Clips:
- Use a wrench or pliers to remove any mounting clips that hold the old sink in place.
- Be careful not to damage any surrounding surfaces.
-
Lift Out Old Sink:
- Once all connections are disconnected, carefully lift out the old sink.
Installing the New Sink
-
Prepare the Countertop:
- If necessary, drill holes in your countertop for mounting clips or other hardware provided with your new sink.
- Use a countertop drill bit for drilling through granite or other hard surfaces.
-
Mount New Sink:
- Place the new sink into position and ensure it is perfectly level using a level tool.
- Use clamps to hold the sink in place while securing it with mounting clips or other hardware provided.
-
Secure Sink with Mounting Clips:
- Tighten the mounting clips securely but avoid over-tightening which could damage the countertop.
-
Seal Gaps Around Sink:
- Apply silicone sealant around the edges of the sink to prevent water from seeping underneath.
Installing the New Faucet
-
Connect Water Supply Lines:
- Attach the water supply lines to the new faucet using Teflon tape on threaded connections.
- Tighten the nuts securely but avoid over-tightening which could damage the connections.
-
Connect Drain Line:
- Attach the drain line to the new faucet using slip nuts and Teflon tape on threaded connections.
- Tighten the slip nuts securely but avoid over-tightening which could damage the connections.
-
Mount New Faucet:
- Place the new faucet into position and ensure it is perfectly level using a level tool.
- Use mounting nuts provided with your faucet kit to secure it in place.
-
Tighten Mounting Nuts:
- Tighten the mounting nuts securely but avoid over-tightening which could damage surrounding surfaces.
-
Test Connections:
- Turn on the water supply and check for leaks at all connections.
Final Touches
-
Replace Gaskets and O-rings:
- Replace any old gaskets or O-rings with new ones provided with your faucet kit.
-
Apply Silicone Sealant (if necessary):
- Apply additional silicone sealant around any remaining gaps or joints.
-
Test Faucet Functionality:
- Turn on the faucet and check for proper water flow and temperature control.
-
Dispose of Old Materials:
- Dispose of any old materials such as the old sink and faucet responsibly.
Conclusion
Upgrading your kitchen sink and faucet can be a rewarding DIY project if approached correctly. By following these steps and tips, you can achieve professional-looking results without breaking the bank. Remember to always turn off the water supply before starting any plumbing project, and take your time to ensure all connections are secure and watertight. With patience and attention to detail, you'll be enjoying your new kitchen sink and faucet in no time!
Additional Tips
- Measure Twice, Drill Once: Double-check all measurements before drilling holes in your countertop.
- Use Protective Gear: Wear protective gloves and safety glasses when working with tools.
- Consult Instructions: Refer to manufacturer instructions for specific installation requirements of your new sink and faucet.
- Seek Professional Help: If you're unsure about any part of the process, consider seeking help from a professional plumber.
By following these guidelines, you'll be well on your way to upgrading your kitchen sink and faucet with confidence and success. Happy DIY-ing
Was this page helpful?
At Storables.com, we guarantee accurate and reliable information. Our content, validated by Expert Board Contributors, is crafted following stringent Editorial Policies. We're committed to providing you with well-researched, expert-backed insights for all your informational needs.


0 thoughts on “Upgrading Your Kitchen Sink and Faucet: DIY Installation”