Home>Interior Design>How To Make A Reed Diffuser With Essential Oils
Interior Design
How To Make A Reed Diffuser With Essential Oils
Modified: December 7, 2023
Learn how to create a refreshing and aromatic reed diffuser for your home with essential oils. Enhance your interior design with this simple and effective DIY project.
(Many of the links in this article redirect to a specific reviewed product. Your purchase of these products through affiliate links helps to generate commission for Storables.com, at no extra cost. Learn more)
Introduction
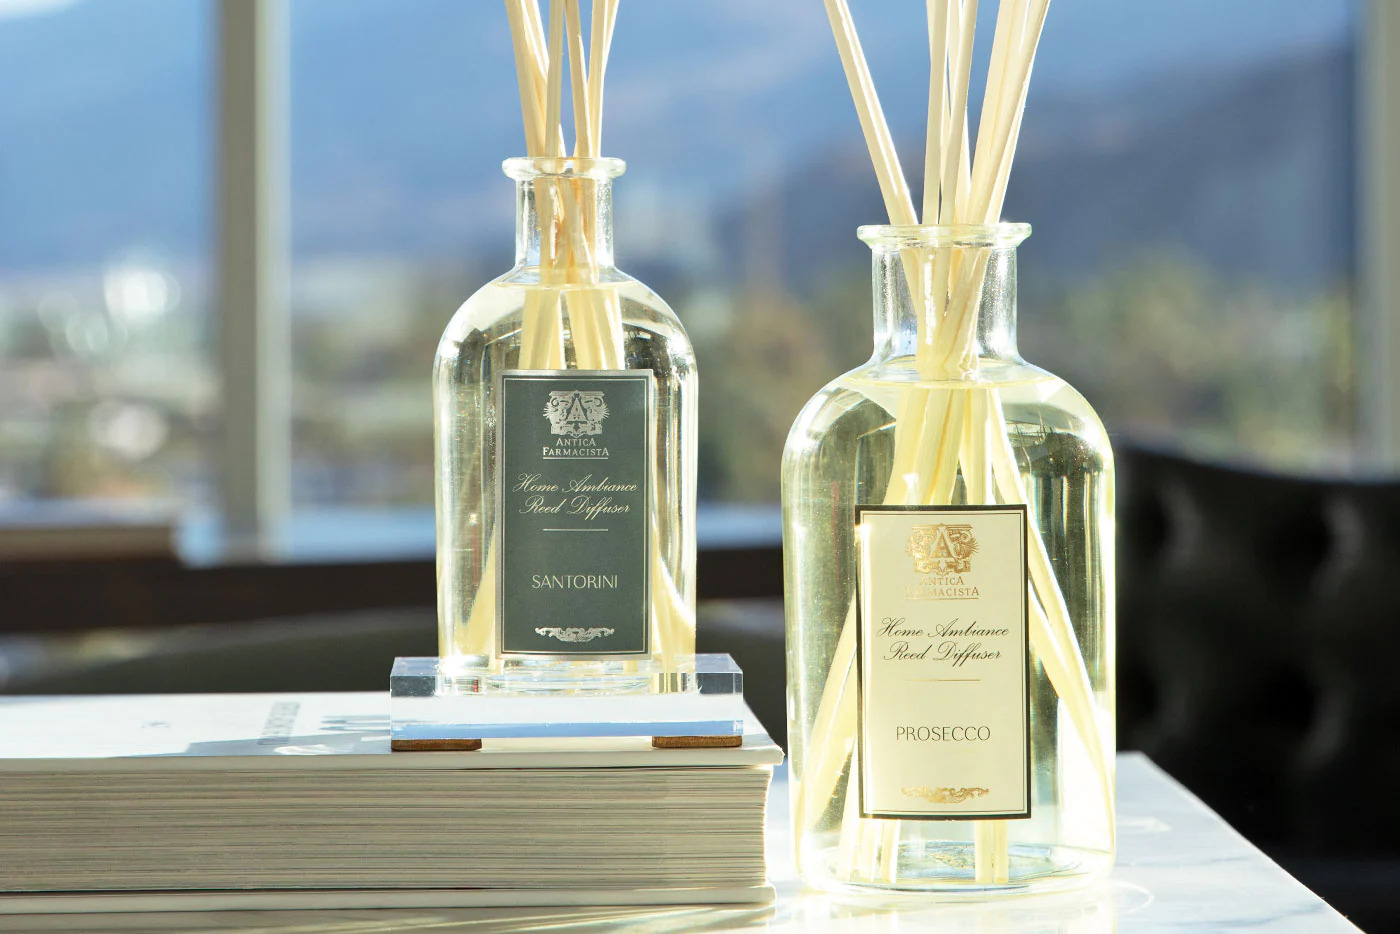
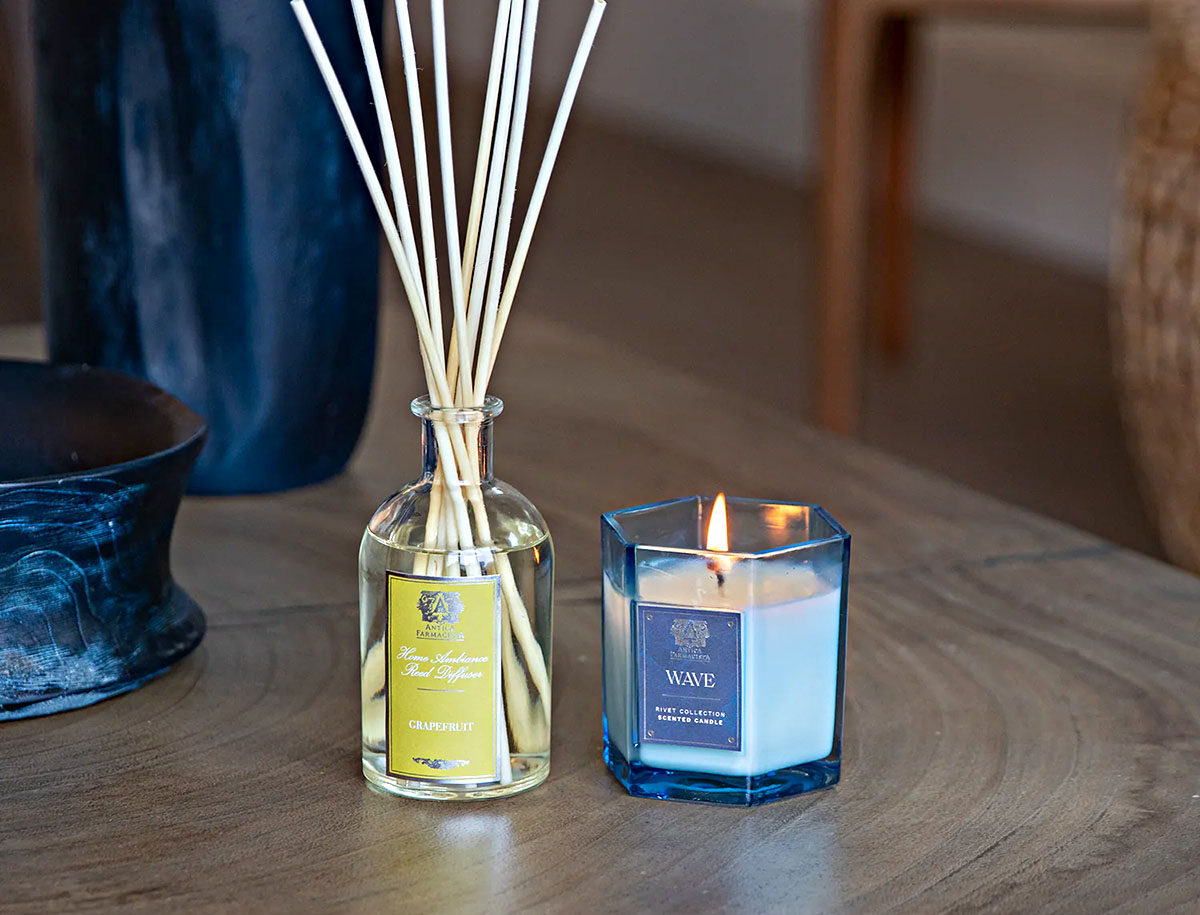
Reed diffusers are a popular and stylish way to add a pleasant aroma to your home. These decorative objects consist of a glass container filled with a scented liquid and reed sticks that absorb the fragrance and release it into the air. The best part is that they are easy to make yourself, allowing you to customize the scent and match it to your personal preference.
In this article, we will guide you through the process of making your own reed diffuser using essential oils. We will provide step-by-step instructions, helpful tips, and valuable insights to ensure that your homemade diffuser is not only effective but also visually appealing.
But before we dive into the DIY process, let’s talk about the materials you will need to gather.
Key Takeaways:
- Create a personalized reed diffuser with essential oils to add a delightful aroma and stylish touch to your home decor. Experiment with different scents and decorative elements for a unique and inviting atmosphere.
- Carefully select base oils and essential oils to craft a homemade reed diffuser that suits your preferences. Follow the step-by-step process and helpful tips to enjoy the benefits of aromatherapy in your living space.
Read more: How To Dispose Of Reed Diffuser Oil
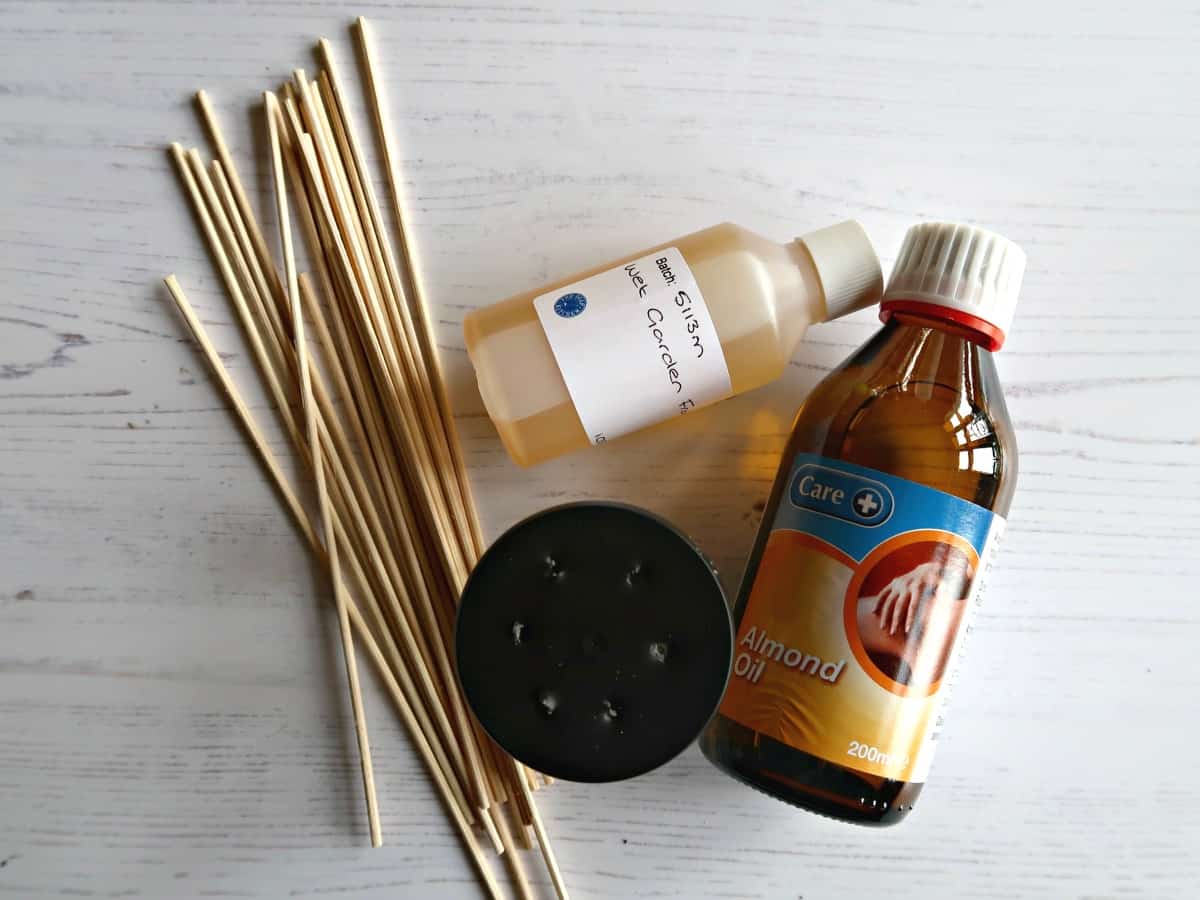
Materials Needed
- A glass container or vase with a narrow opening
- Reed sticks or bamboo skewers
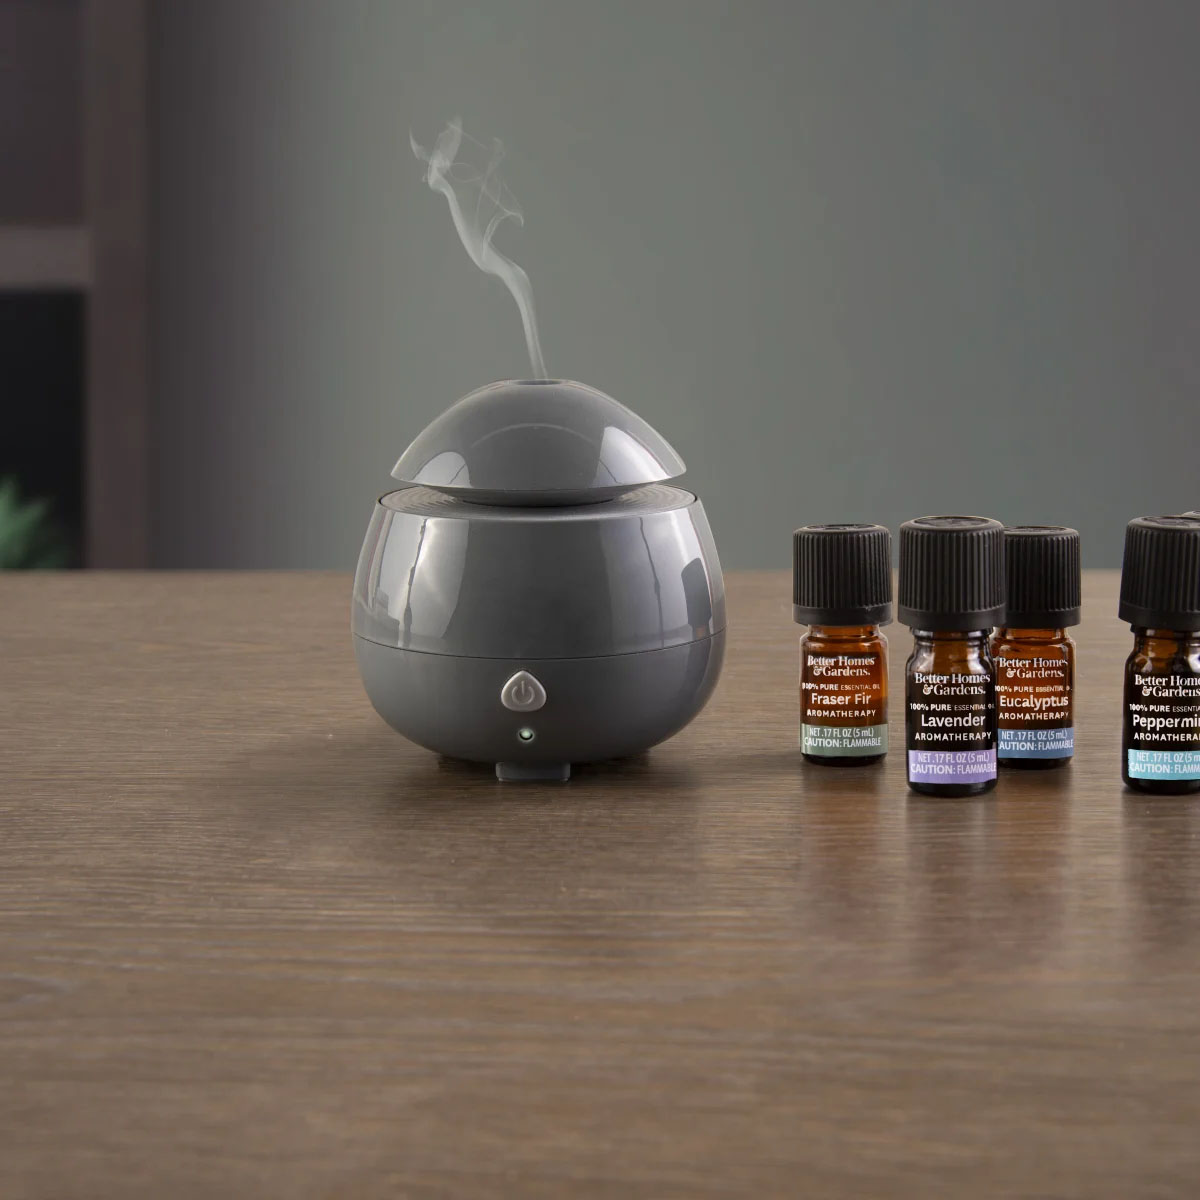
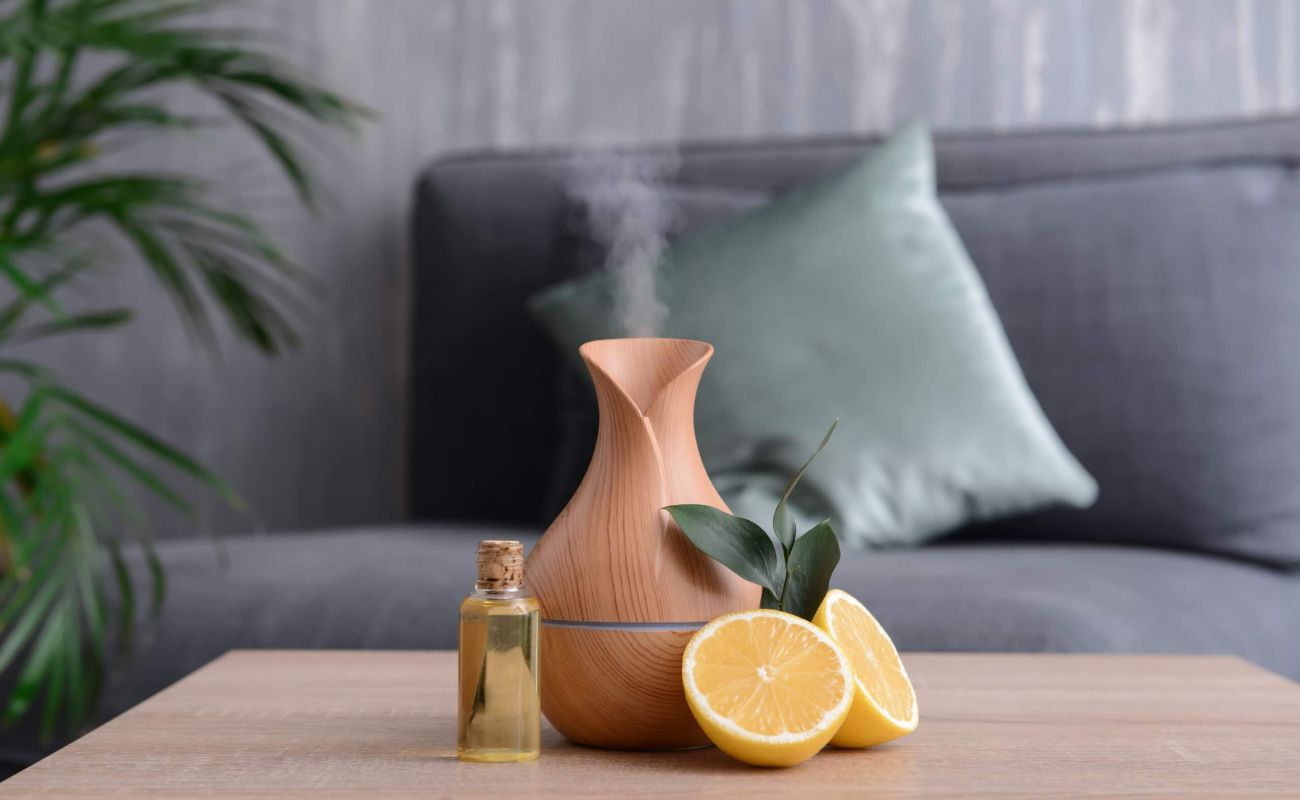
- Essential oils of your choice
- A base or carrier oil (such as fractionated coconut oil or sweet almond oil)
- A funnel
- Decorative elements (optional, such as dried flowers or gemstones)
These materials are readily available at craft stores or online, and you may even have some of them already sitting at home. The glass container or vase is an essential component, as it holds the fragrance liquid and serves as a decorative element. It’s important to choose a container with a narrow opening, as this will prevent the liquid from evaporating too quickly and ensure a long-lasting scent.
Reed sticks or bamboo skewers are used to draw the fragrance liquid up and release it into the air. Reed sticks are specifically designed for this purpose, but bamboo skewers can be a more affordable alternative. Whichever option you choose, ensure that they are long enough to extend above the rim of the container.
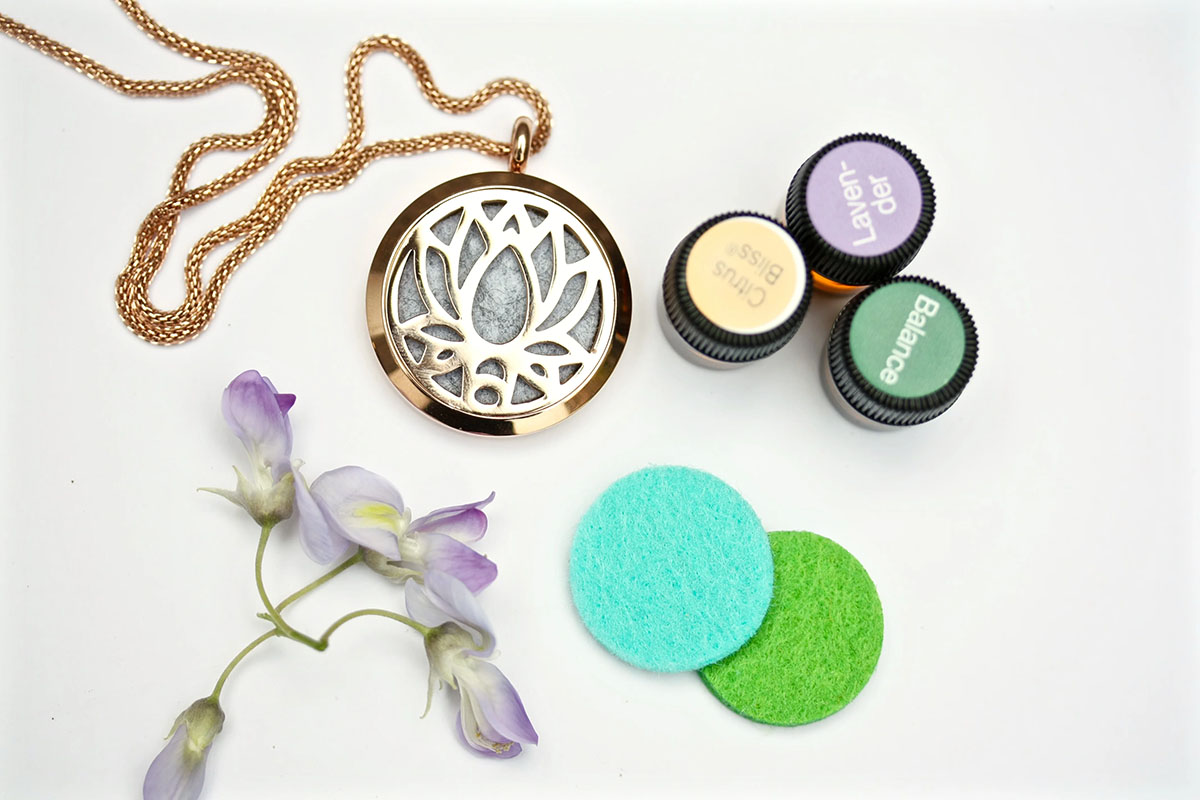
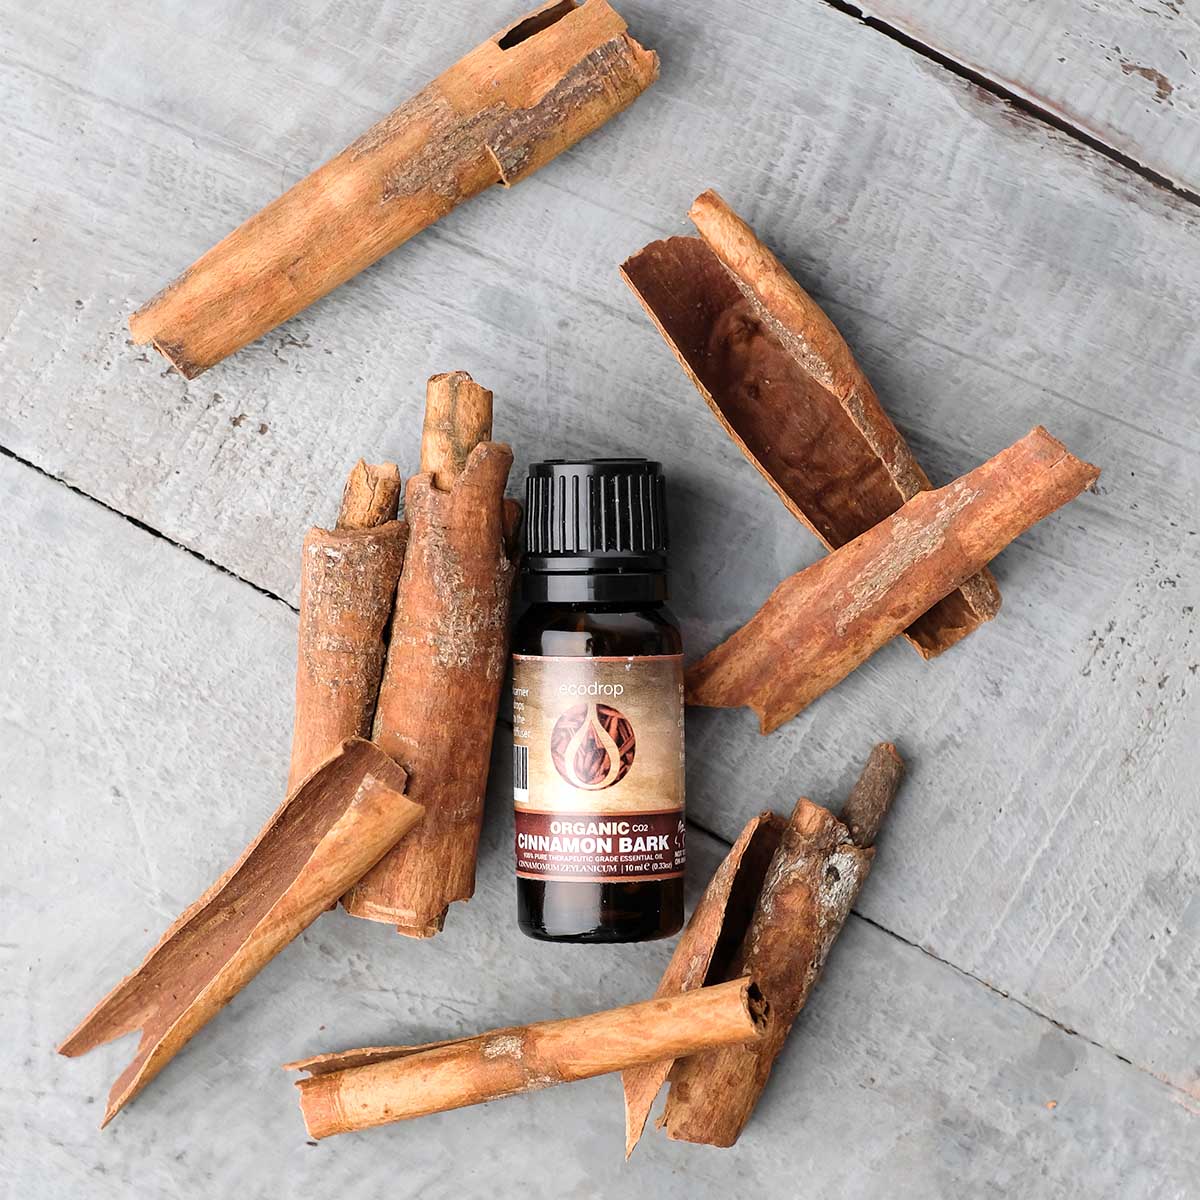
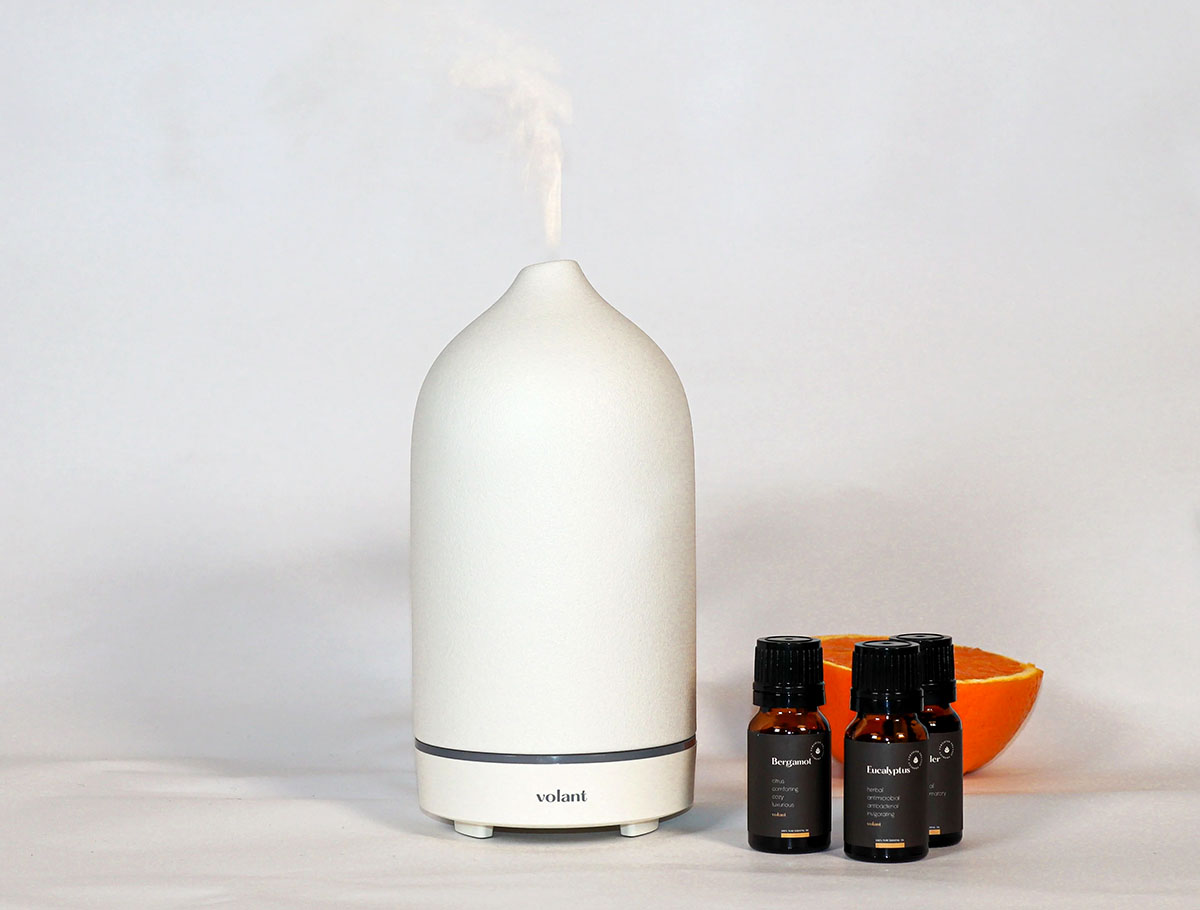
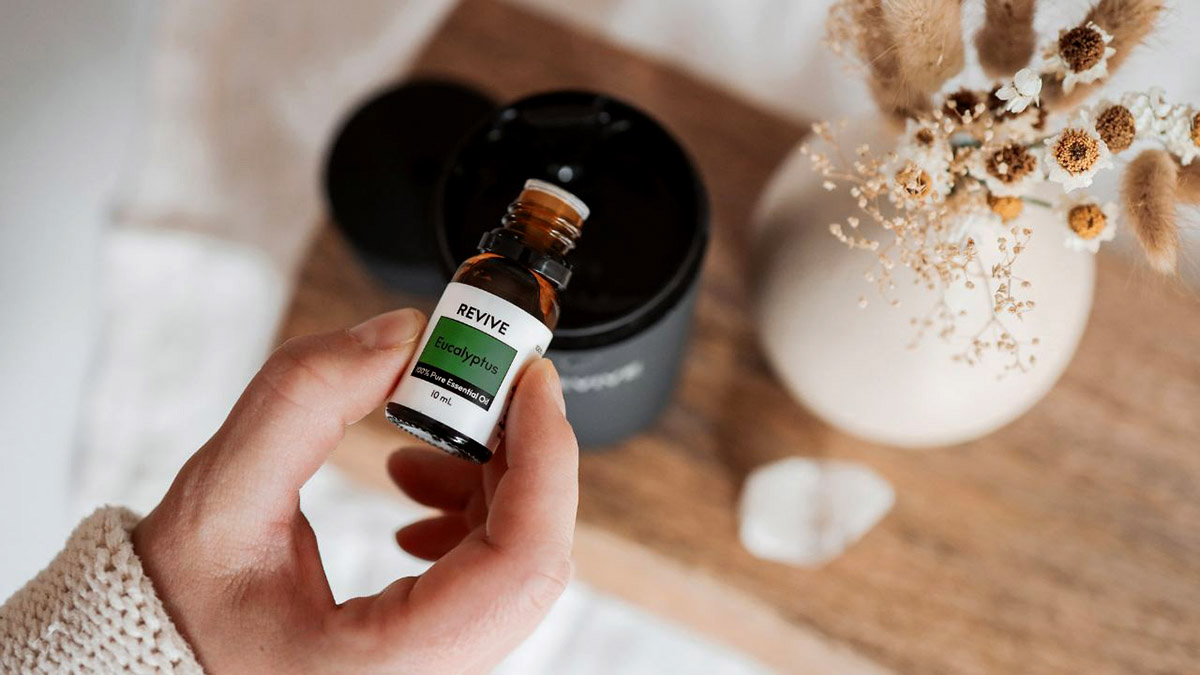
Essential oils are the key ingredient that will provide the scent for your diffuser. Choose oils that you find appealing and that complement the ambiance of your space. Some popular options include lavender for relaxation, citrus oils for an invigorating atmosphere, or floral scents for a calming environment.
A base or carrier oil is necessary to dilute the essential oils and enable them to be carried up the reed sticks. Fractionated coconut oil and sweet almond oil are commonly used carrier oils, as they are odorless and have a long shelf life. A funnel will also come in handy for pouring the oils into the container without any spills.
Lastly, if you want to add a personal touch to your reed diffuser, consider incorporating decorative elements. Dried flowers, gemstones, or even ribbons can enhance the visual appeal of the diffuser and make it a beautiful addition to your home decor.
Now that you have all the necessary materials, let’s move on to the step-by-step process of making your own reed diffuser with essential oils.
Step 1: Selecting the Base Oil
The base oil plays a crucial role in reed diffusers as it helps to dilute and carry the essential oils up the reeds, ensuring a steady and consistent release of fragrance into the air. When choosing a base oil, it’s important to consider its scent, viscosity, and longevity.
Two popular options for base oils are fractionated coconut oil and sweet almond oil.
Fractionated coconut oil is a clear, odorless, and lightweight oil that is derived from coconut oil. It has a long shelf life and doesn’t go rancid easily. This base oil is a great choice if you want a neutral scent that won’t overpower the essential oils you choose for your diffuser. Its thin consistency allows it to travel up the reed sticks efficiently, releasing the fragrance evenly.
Sweet almond oil, on the other hand, has a slightly nutty, sweet aroma that can add depth to the scent of your diffuser. It is also a lightweight oil that absorbs well into reed sticks, ensuring a good scent throw. Sweet almond oil has a longer shelf life compared to other carrier oils and can help preserve the quality of the essential oils in your diffuser over time.
When deciding between these base oils, consider your personal preferences and the scent characteristics you want to achieve. If you prefer a neutral fragrance, opt for fractionated coconut oil. If you want a subtle nutty aroma, sweet almond oil could be the ideal choice.
Once you have selected your base oil, you are ready to move on to the next step: choosing the essential oils for your reed diffuser.
Step 2: Choosing the Essential Oils
The selection of essential oils for your reed diffuser will determine the scent profile and the overall ambiance it creates in your space. When choosing essential oils, consider your personal preferences, the purpose of the diffuser, and the desired mood you want to achieve.
Here are a few popular essential oils and their associated benefits:
- Lavender: Known for its calming and relaxing properties, lavender essential oil is an excellent choice for promoting a peaceful atmosphere in your home.
- Citrus oils (such as orange, lemon, or grapefruit): These oils have uplifting and energizing effects, making them perfect for creating a vibrant and refreshing environment.
- Peppermint: With its invigorating and cooling properties, peppermint essential oil is a great option for enhancing focus and mental clarity.
- Sandalwood: Known for its warm and woody scent, sandalwood essential oil can create a soothing and grounding atmosphere.
- Rose: Rose essential oil has a sweet and floral scent that promotes feelings of love and relaxation, making it a popular choice for creating a romantic ambiance.
Feel free to experiment and blend different oils to create unique and personalized scents. It’s important to note that essential oils are highly concentrated, so a few drops can go a long way. Start with 10-15 drops of essential oil for every 1/4 cup of base oil and adjust the ratio to your preference.
If you are unsure about which essential oils to choose or how to create a well-balanced blend, consider researching recommended oil combinations or consulting a certified aromatherapist for guidance.
Now that you have selected your base oil and essential oils, it’s time to move on to the next step: preparing the reed sticks for your diffuser.
Step 3: Preparing the Reed Sticks
Preparing the reed sticks is an essential step in ensuring the proper diffusion of fragrance in your reed diffuser. Follow these steps to get your reed sticks ready:
- Start by removing any dust or debris from the reed sticks. Gently wipe them with a clean cloth or paper towel.
- If your reed sticks have a pointy end, you can trim it to ensure an even absorption of the liquid. Use a pair of scissors or a sharp knife to cut the sticks to your desired length. Keep in mind that the length of the sticks should be slightly taller than the height of the container.
- Once you have trimmed the sticks, flip them over so that the cut end is facing upwards. This will help the sticks absorb the liquid more effectively.
- If you want to enhance the scent throw, you can flip the reed sticks every few days to refresh the fragrance. However, be careful not to touch the saturated end with your hands to avoid transferring any oils onto your skin.
Now that your reed sticks are prepared, it’s time to move on to the next step: mixing the oils for your reed diffuser.
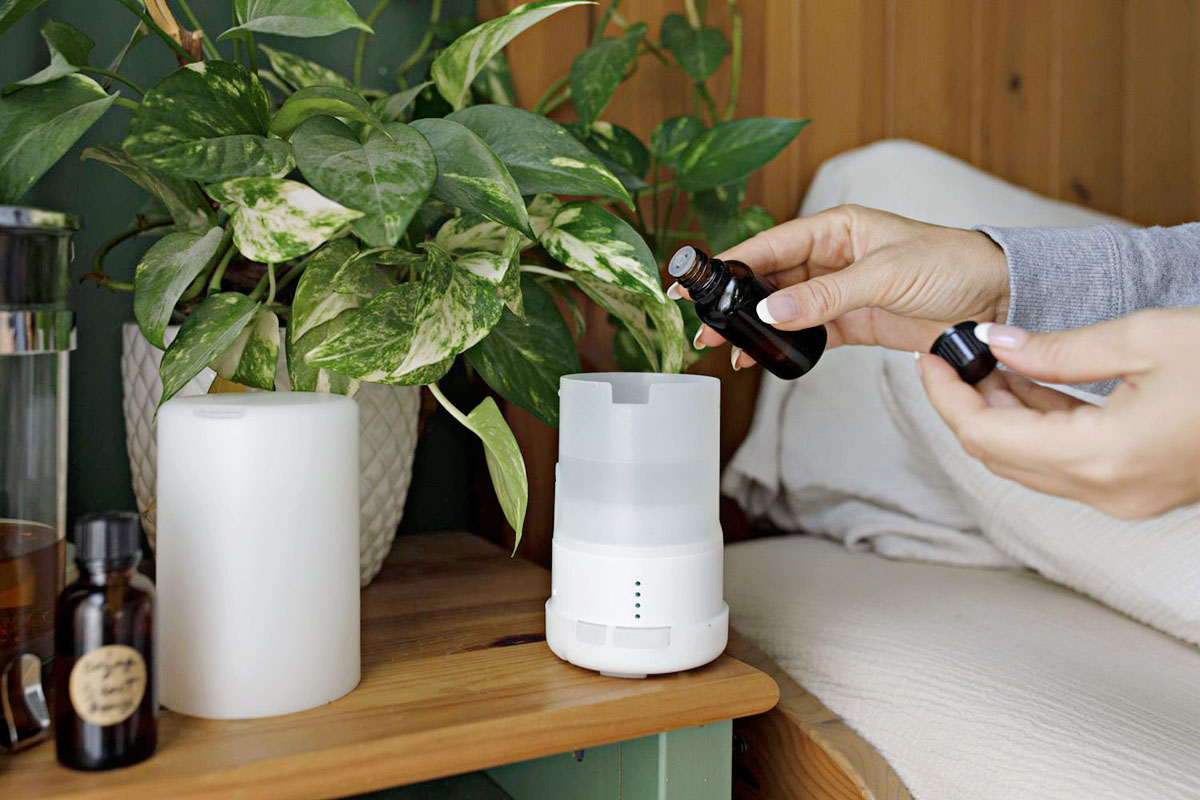
When making a reed diffuser with essential oils, use a carrier oil like almond or safflower to dilute the essential oils and help them disperse through the reeds more effectively.
Step 4: Mixing the Oils
Mixing the oils for your reed diffuser is a crucial step in creating a well-balanced and fragrant scent. Follow these steps to achieve the perfect oil blend:
- Start by using a funnel to pour the desired amount of base oil into your glass container. Remember that the amount will depend on the size of your container and the desired strength of the scent. Start with about 3/4 full and adjust as needed.
- Add your chosen essential oils to the base oil. Start with a small number of drops and gradually increase until you achieve the desired scent intensity. Remember that essential oils are potent, so a little goes a long way. Aim for a total of 10-15 drops of essential oil per 1/4 cup of base oil.
- After adding the essential oils, gently swirl the mixture in the container to ensure they are well blended with the base oil. Avoid vigorous shaking, as this can create air bubbles that can affect the diffusion process.
- At this point, you can also add any additional decorative elements to the mixture if desired. Dried flowers, gemstones, or even a few drops of food coloring can add visual appeal to your reed diffuser.
Once you have mixed the oils thoroughly, it’s time to proceed to the next step: assembling the reed diffuser.
Step 5: Assembling the Reed Diffuser
Assembling the reed diffuser is the final step before you can start enjoying the pleasant aroma wafting through your space. Follow these steps to properly assemble your reed diffuser:
- Carefully insert the prepared reed sticks or bamboo skewers into the container. Make sure the saturated end is submerged in the oil mixture while the dry end extends above the rim.
- Arrange the reed sticks in a fanned-out or crisscross pattern to allow maximum fragrance release.
- Position the reed diffuser in a well-ventilated area away from direct sunlight and heat sources. This will prevent the oils from evaporating too quickly and prolong the lifespan of your diffuser.
- For optimal diffusion, consider placing the reed diffuser near doorways, windowsills, or corners where air circulation is more prominent.
Remember to always handle the reed diffuser with care to avoid any spills or accidents. If you accidentally spill any oil, clean it up immediately to prevent any damage to surfaces or materials.
Now that your reed diffuser is assembled and in place, it’s time to move on to the final step: enjoying the delightful aroma it brings to your home.
Step 6: Placing the Diffuser in Your Home
Now that you have assembled your reed diffuser, it’s time to decide where to place it in your home. The location you choose will have a significant impact on the diffusion of fragrance and the overall ambiance it creates. Consider the following tips when deciding where to place your reed diffuser:
- Choose an area that is well-ventilated. Good air circulation will help the scent travel throughout the room more effectively.
- Avoid placing the reed diffuser near electronics or heat sources, as this can speed up the evaporation process and diminish the lifespan of the oils.
- Consider placing the diffuser in an area where people tend to gather, such as the living room, dining area, or entryway. This will allow everyone to enjoy the fragrance as they enter the space.
- If you have multiple rooms or open-concept living spaces, you may want to consider placing diffusers in different areas to create a cohesive aroma throughout your home.
- Experiment with different locations until you find the spot that optimally distributes the fragrance. You may find that moving the diffuser closer to a source of airflow, such as an open window or air vent, enhances the diffusion.
Remember that the strength of the scent can be adjusted by adding or removing reed sticks. If you find the fragrance too intense, remove a few sticks. Conversely, if you want a stronger scent, add more sticks to the container.
Lastly, it’s important to periodically check and refill your reed diffuser as the oil evaporates. Some diffusers may last up to several months, while others may require more frequent refills depending on the environment and the oil mixture used.
With your reed diffuser in its designated spot, all that’s left to do is to enjoy the lovely aroma and the inviting atmosphere it creates in your home.
Tips and Tricks
Here are some additional tips and tricks to help you get the most out of your homemade reed diffuser:
- Consider using rattan reeds instead of bamboo skewers. Rattan reeds are specifically designed for diffusing fragrance and can provide better scent throw and longevity.
- If you find that the scent is too strong, you can flip fewer reed sticks or trim them slightly to reduce the amount of fragrance released.
- To refresh the scent of your diffuser, flip the reed sticks or replace them with fresh ones every few weeks.
- Experiment with different combinations of essential oils to create unique and personalized scents that suit your preferences.
- Keep in mind that essential oils have different evaporation rates. Some oils, like citrus oils, tend to evaporate more quickly, so you may need to add a few extra drops periodically.
- If you have pets, ensure that the essential oils you choose are safe for them. Some oils can be toxic to animals, so it’s important to do your research and consult with a veterinarian if necessary.
- Regularly clean the container and reed sticks to prevent any buildup of residue or mold that may affect the performance of your diffuser. Simply rinsing them with warm, soapy water and allowing them to dry before refilling can help maintain their effectiveness.
- If you prefer a stronger scent, you can add a cotton ball or diffuser reed to the container to increase the surface area for better absorption.
- Personalize your diffuser by adding decorative elements such as ribbons, charms, or labels to the container. This will make it a stylish and unique addition to your home decor.
- Experiment with different container shapes and sizes to create a variety of diffusers for different rooms or occasions.
By following these tips and tricks, you can ensure that your reed diffuser not only fills your home with a pleasant aroma but also adds a touch of elegance to your living space.
Read more: What Oil To Use For Reed Diffuser
Conclusion
Creating your own reed diffuser with essential oils is not only a fun and creative project but also a wonderful way to add a personalized touch to your home decor. By carefully selecting base oils, choosing the perfect combination of essential oils, and assembling the diffuser with care, you can create a fragrant and inviting atmosphere that suits your taste and preferences.
Remember to consider the size and layout of the room when deciding where to place your diffuser. Keep an eye on the fragrance levels and refill as needed to ensure a consistent scent experience. With a little experimentation and creativity, you can enjoy the benefits of a beautiful and customized reed diffuser in your home.
Don’t hesitate to explore different essential oil blends and decorative options to match the ambiance you desire. Whether you want to create a relaxing spa-like environment, invigorate your space with refreshing citrus scents, or set the mood for a romantic evening, the possibilities are endless.
So why not embark on this delightful DIY project and enjoy the benefits of a homemade reed diffuser? Unleash your creativity, experiment with different scents, and let the enticing fragrances enhance your living space. Discover the power of aromatherapy and bring a sense of serenity and relaxation to your home with your very own handcrafted reed diffuser.
Frequently Asked Questions about How To Make A Reed Diffuser With Essential Oils
Was this page helpful?
At Storables.com, we guarantee accurate and reliable information. Our content, validated by Expert Board Contributors, is crafted following stringent Editorial Policies. We're committed to providing you with well-researched, expert-backed insights for all your informational needs.


0 thoughts on “How To Make A Reed Diffuser With Essential Oils”