Home>Interior Design>How To Wash Shoes In A Washing Machine
Interior Design
How To Wash Shoes In A Washing Machine
Modified: August 21, 2024
Learn how to wash your shoes in a washing machine with our expert tips and tricks. Keep your interior design looking fresh and clean.
(Many of the links in this article redirect to a specific reviewed product. Your purchase of these products through affiliate links helps to generate commission for Storables.com, at no extra cost. Learn more)
Introduction
Welcome to our guide on how to wash shoes in a washing machine! Keeping your shoes clean and fresh is essential for both their appearance and longevity. While handwashing may be suitable for some shoes, using a washing machine can be a convenient and effective way to clean various types of footwear.
In this article, we will provide you with step-by-step instructions on how to properly wash your shoes in a washing machine. We will help you prepare your shoes, select the appropriate detergent and washing cycle, and protect your shoes during the wash. By following these guidelines, you can ensure that your shoes come out clean without damaging their quality.
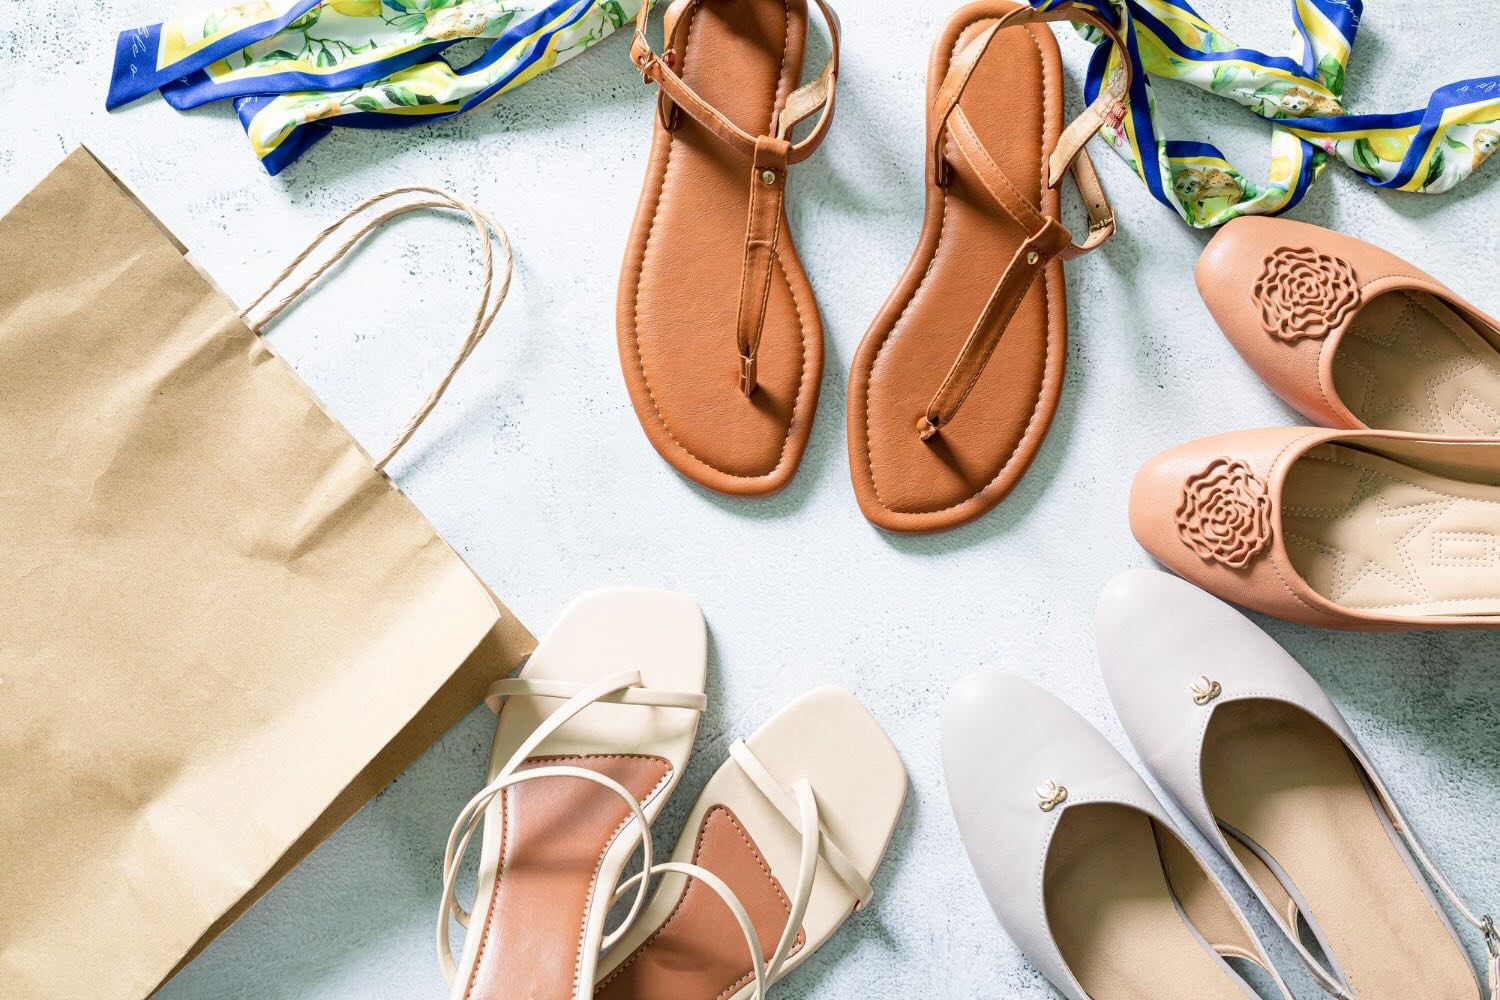
Before we dive into the process, it is important to note that not all shoes are suitable for machine washing. Delicate materials, such as leather or suede, may require specialized cleaning methods. It is always best to refer to the manufacturer’s instructions for specific shoe care recommendations. Additionally, it is recommended to remove any removable parts, such as laces or insoles, before washing your shoes to prevent any damage.
Now, let’s get started with the first step of washing shoes in a washing machine!
Key Takeaways:
- Keep your shoes clean and fresh by following these step-by-step instructions for washing them in a washing machine. Proper preparation, suitable detergent, and gentle care will ensure clean and undamaged shoes.
- Protect your shoes during the washing process by using a mesh laundry bag, selecting the right washing cycle, and air drying them properly. Following these guidelines will help maintain the quality and longevity of your footwear.
Step 1: Preparation
The first step in washing shoes in a washing machine is to properly prepare them for the cleaning process. Here are a few key things to consider:
- Gather the necessary supplies: Before you start, gather all the supplies you’ll need, including a mesh laundry bag or pillowcase, a soft-bristle brush, a gentle detergent, and a clean towel.
- Inspect the shoes: Take a close look at your shoes and inspect them for any loose dirt, debris, or stains. Use the soft-bristle brush to gently remove any excess dirt from the surface. This step will help prevent any dirt from getting trapped in the washer and potentially ruining your shoes or the machine.
- Shake out the shoes: In addition to brushing off the surface dirt, give your shoes a good shake to remove any debris that may be inside. This is especially important if you’ve recently worn your shoes outdoors.
- Remove laces and insoles: If your shoes have laces or removable insoles, take them out before washing. This will ensure a more thorough cleaning and prevent them from getting tangled or damaged during the washing process. You can wash the laces separately by placing them in a mesh bag or pillowcase.
- Check the shoe materials: Different shoe materials require varying care. Check the labels or manufacturer’s guidelines to determine if your shoes are suitable for machine washing. Some delicate materials like leather, suede, or satin may need to be cleaned using other methods to avoid damage.
By following these preparatory steps, you’ll be setting the foundation for a successful and effective shoe washing process. Now, move on to the next step: removing excess dirt from your shoes.
Step 2: Remove Excess Dirt
Before tossing your shoes into the washing machine, it’s important to remove any excess dirt or debris from the surface. This step will help prevent the dirt from spreading throughout the machine or causing damage to your shoes during the wash cycle. Here’s how to remove excess dirt from your shoes:
- Use a soft-bristle brush: Start by gently brushing the surface of the shoes with a soft-bristle brush. This will loosen any dirt or mud that may be stuck on the exterior. Be sure to brush all areas of the shoes, including the soles and any textured areas.
- Tap the shoes together: Once you’ve loosened the dirt with the brush, tap the shoes together to shake off any loose particles. This will help dislodge any remaining debris.
- Use a damp cloth: If there are still stubborn dirt stains on your shoes, dampen a clean cloth with water and gently wipe the affected areas. Be careful not to saturate the shoes or use excessive force, as this can damage certain materials.
- Let the shoes dry: After removing the excess dirt, allow the shoes to air dry completely before moving on to the next step. This will prevent any moisture from lingering inside the shoes during the washing process.
By taking the time to remove excess dirt from your shoes, you’ll ensure that the washing machine can do its job effectively. Plus, it will help prevent any potential damage or staining caused by dirt particles during the wash cycle.
Once your shoes are free from excess dirt, it’s time to move on to the next step: checking the shoe materials to determine their suitability for machine washing.
Step 3: Check the Shoe Materials
Before proceeding with machine washing, it’s important to determine whether your shoes are suitable for this cleaning method. Different shoe materials require different care, and some may not be suitable for machine washing. Here’s how to check the shoe materials:
- Consult the manufacturer’s guidelines: The first step is to refer to the manufacturer’s instructions or care label that typically comes with the shoes. Many shoe manufacturers provide specific recommendations on how to clean their products, including whether they are machine washable or require alternative cleaning methods.
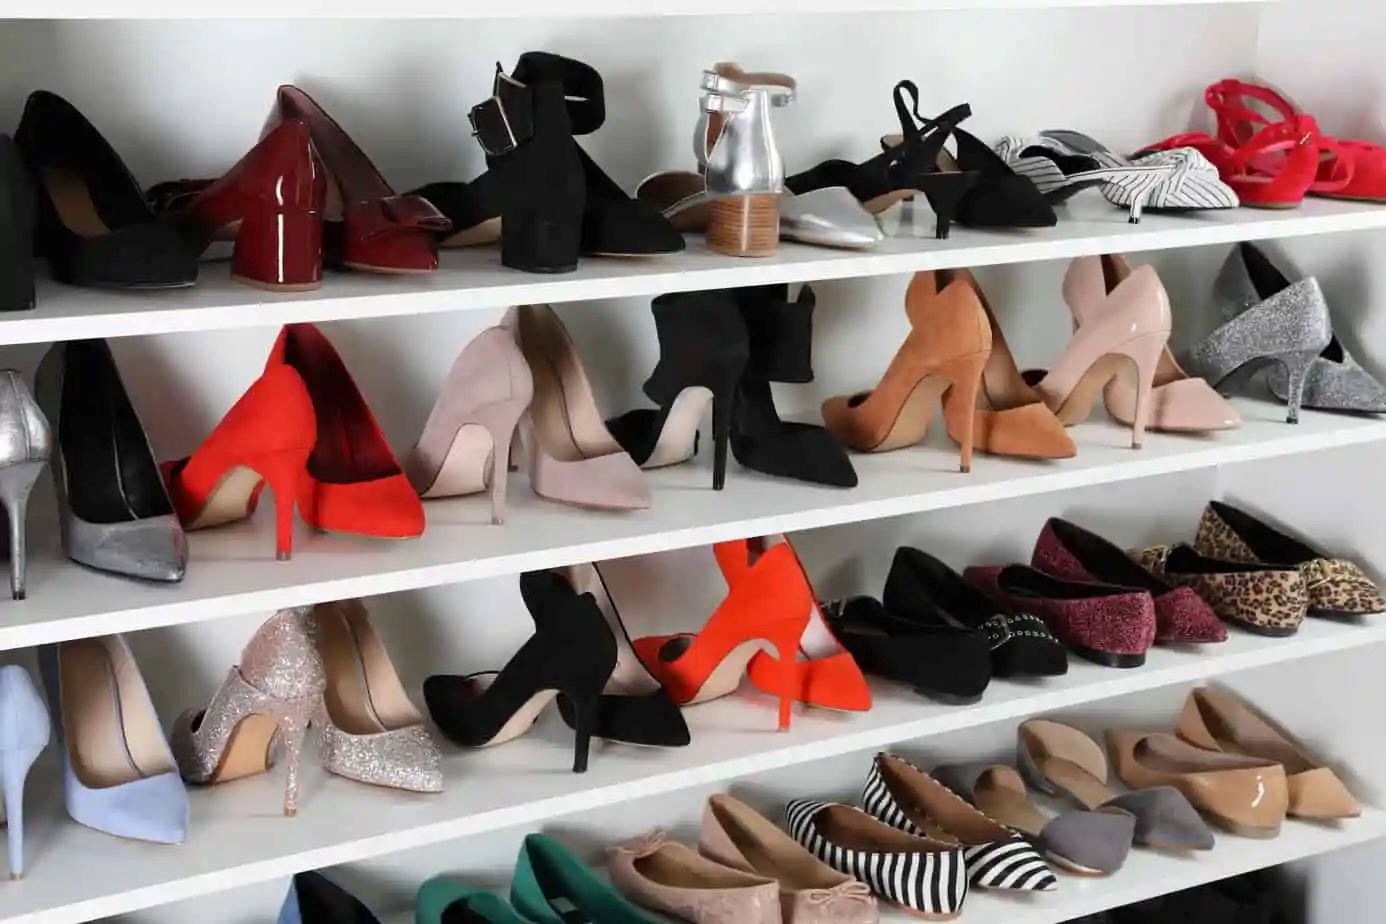
- Consider the shoe construction: Even if there are no explicit instructions, you can assess the shoe construction to make an informed decision. Shoes made of durable materials such as canvas, nylon, polyester, or synthetic blends are more likely to be machine washable. On the other hand, shoes made of delicate materials like leather, suede, or satin should generally be cleaned using other methods to avoid damage.
- Test a small hidden area: If you’re uncertain about the suitability of a specific material, it’s a good idea to conduct a spot test on a small, inconspicuous area of the shoe. Dampen a cloth with water and gently rub the area to see how the material reacts. If there are any adverse effects, such as discoloration or texture change, avoid machine washing the shoes.
It’s crucial to exercise caution and follow the manufacturer’s guidelines when it comes to cleaning specific shoe materials. Using the wrong cleaning method can result in irreparable damage to your shoes. If in doubt, it’s always safer to opt for alternative cleaning methods or seek professional shoe cleaning services.
Once you have determined that your shoes are suitable for machine washing, you can move on to the next step: placing the shoes in the washing machine.
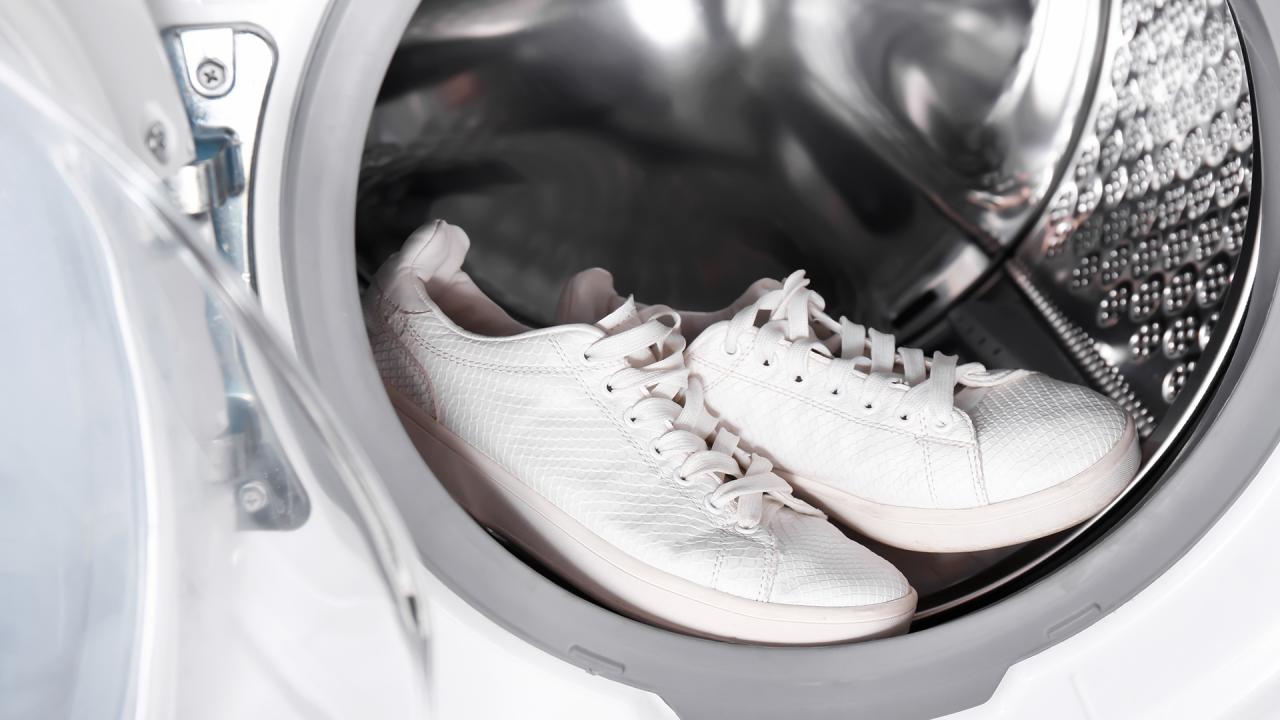
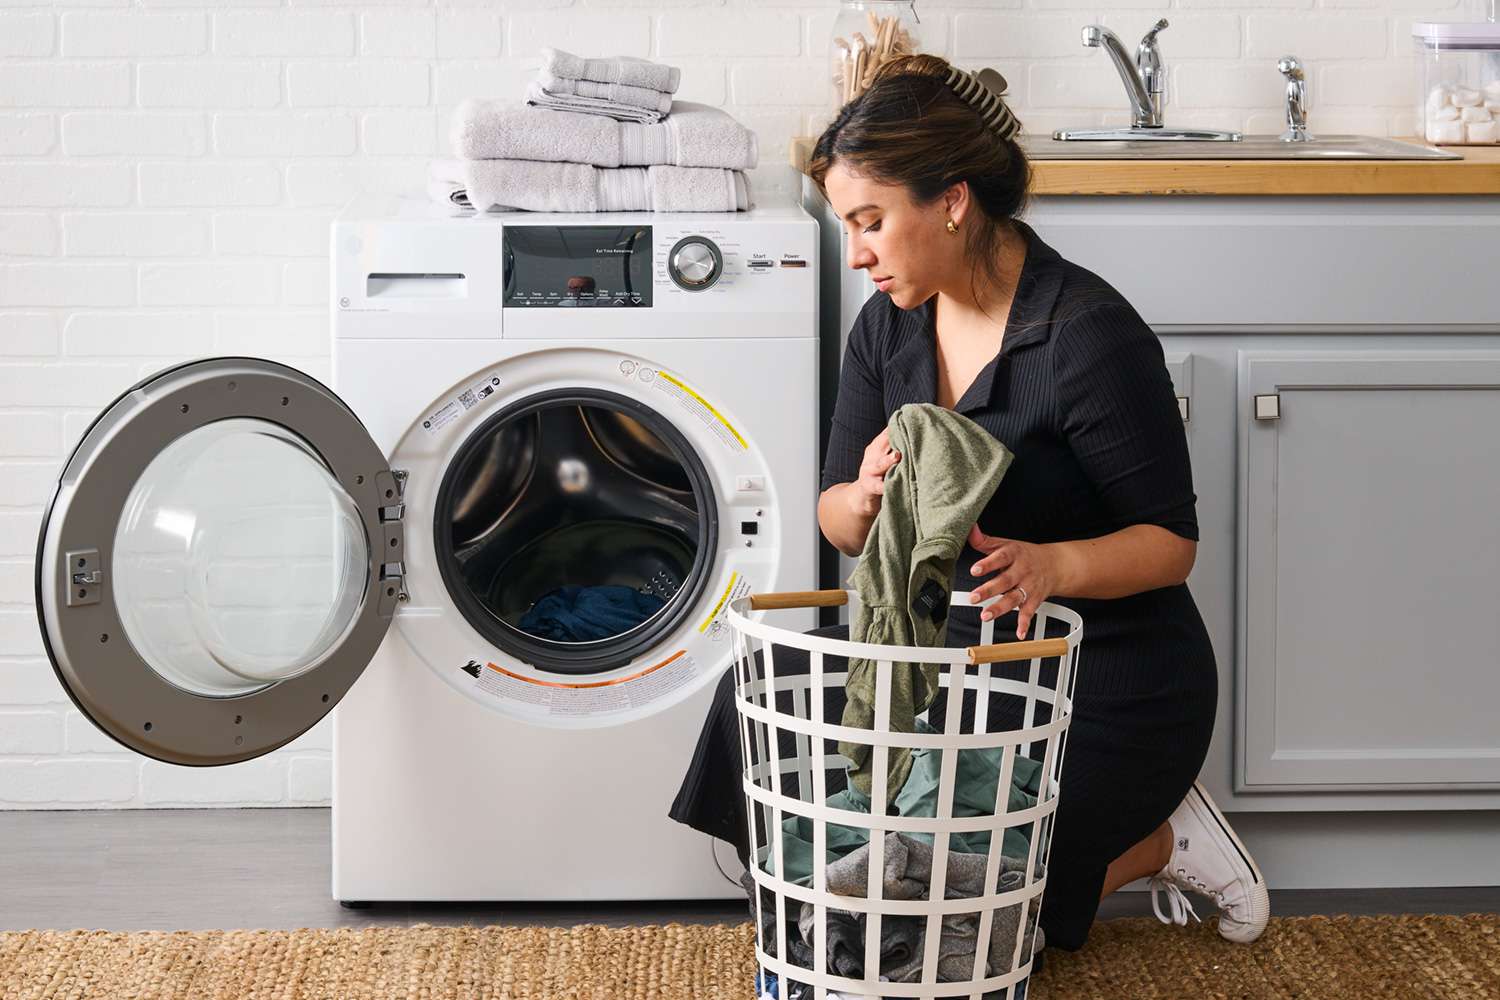
Step 4: Place Shoes in the Washing Machine
Now that you have prepared your shoes and confirmed their suitability for machine washing, it’s time to carefully place them in the washing machine. Follow these steps to ensure proper placement:
- Use a mesh laundry bag or pillowcase: To protect your shoes and prevent them from getting tangled or damaged during the wash cycle, it’s recommended to place them in a mesh laundry bag or pillowcase. This will provide a barrier that allows water and detergent to flow through while keeping your shoes contained.
- Insert other laundry items: For added stability and protection, consider adding some towels or other soft items to the washing machine along with your shoes. This will cushion the shoes and prevent them from banging around during the wash cycle.
- Balance the load: It’s important to maintain a balanced load in the washing machine to prevent excessive shaking or spinning. If you’re washing only a single pair of shoes, add some towels or similar items to create a balanced load.
- Avoid overcrowding: While it may be tempting to fit multiple pairs of shoes in one wash cycle, overcrowding can hinder proper cleaning and potentially damage the shoes. Allow enough space for water and detergent to circulate freely around each shoe.
Once you have placed your shoes in the washing machine, double-check that all removable parts, such as laces or insoles, have been taken out. This will prevent any tangling or damage during the wash cycle.
With your shoes safely positioned in the washing machine, you’re ready to move on to the next step: adding the right detergent for cleaning.
Before washing your shoes in a washing machine, remove any excess dirt and debris. Place the shoes in a mesh laundry bag to protect them during the wash cycle. Use a gentle detergent and wash on a delicate cycle with cold water. Air dry the shoes, avoiding direct sunlight or heat sources.
Read more: How To Wash Ugg Boots In The Washing Machine
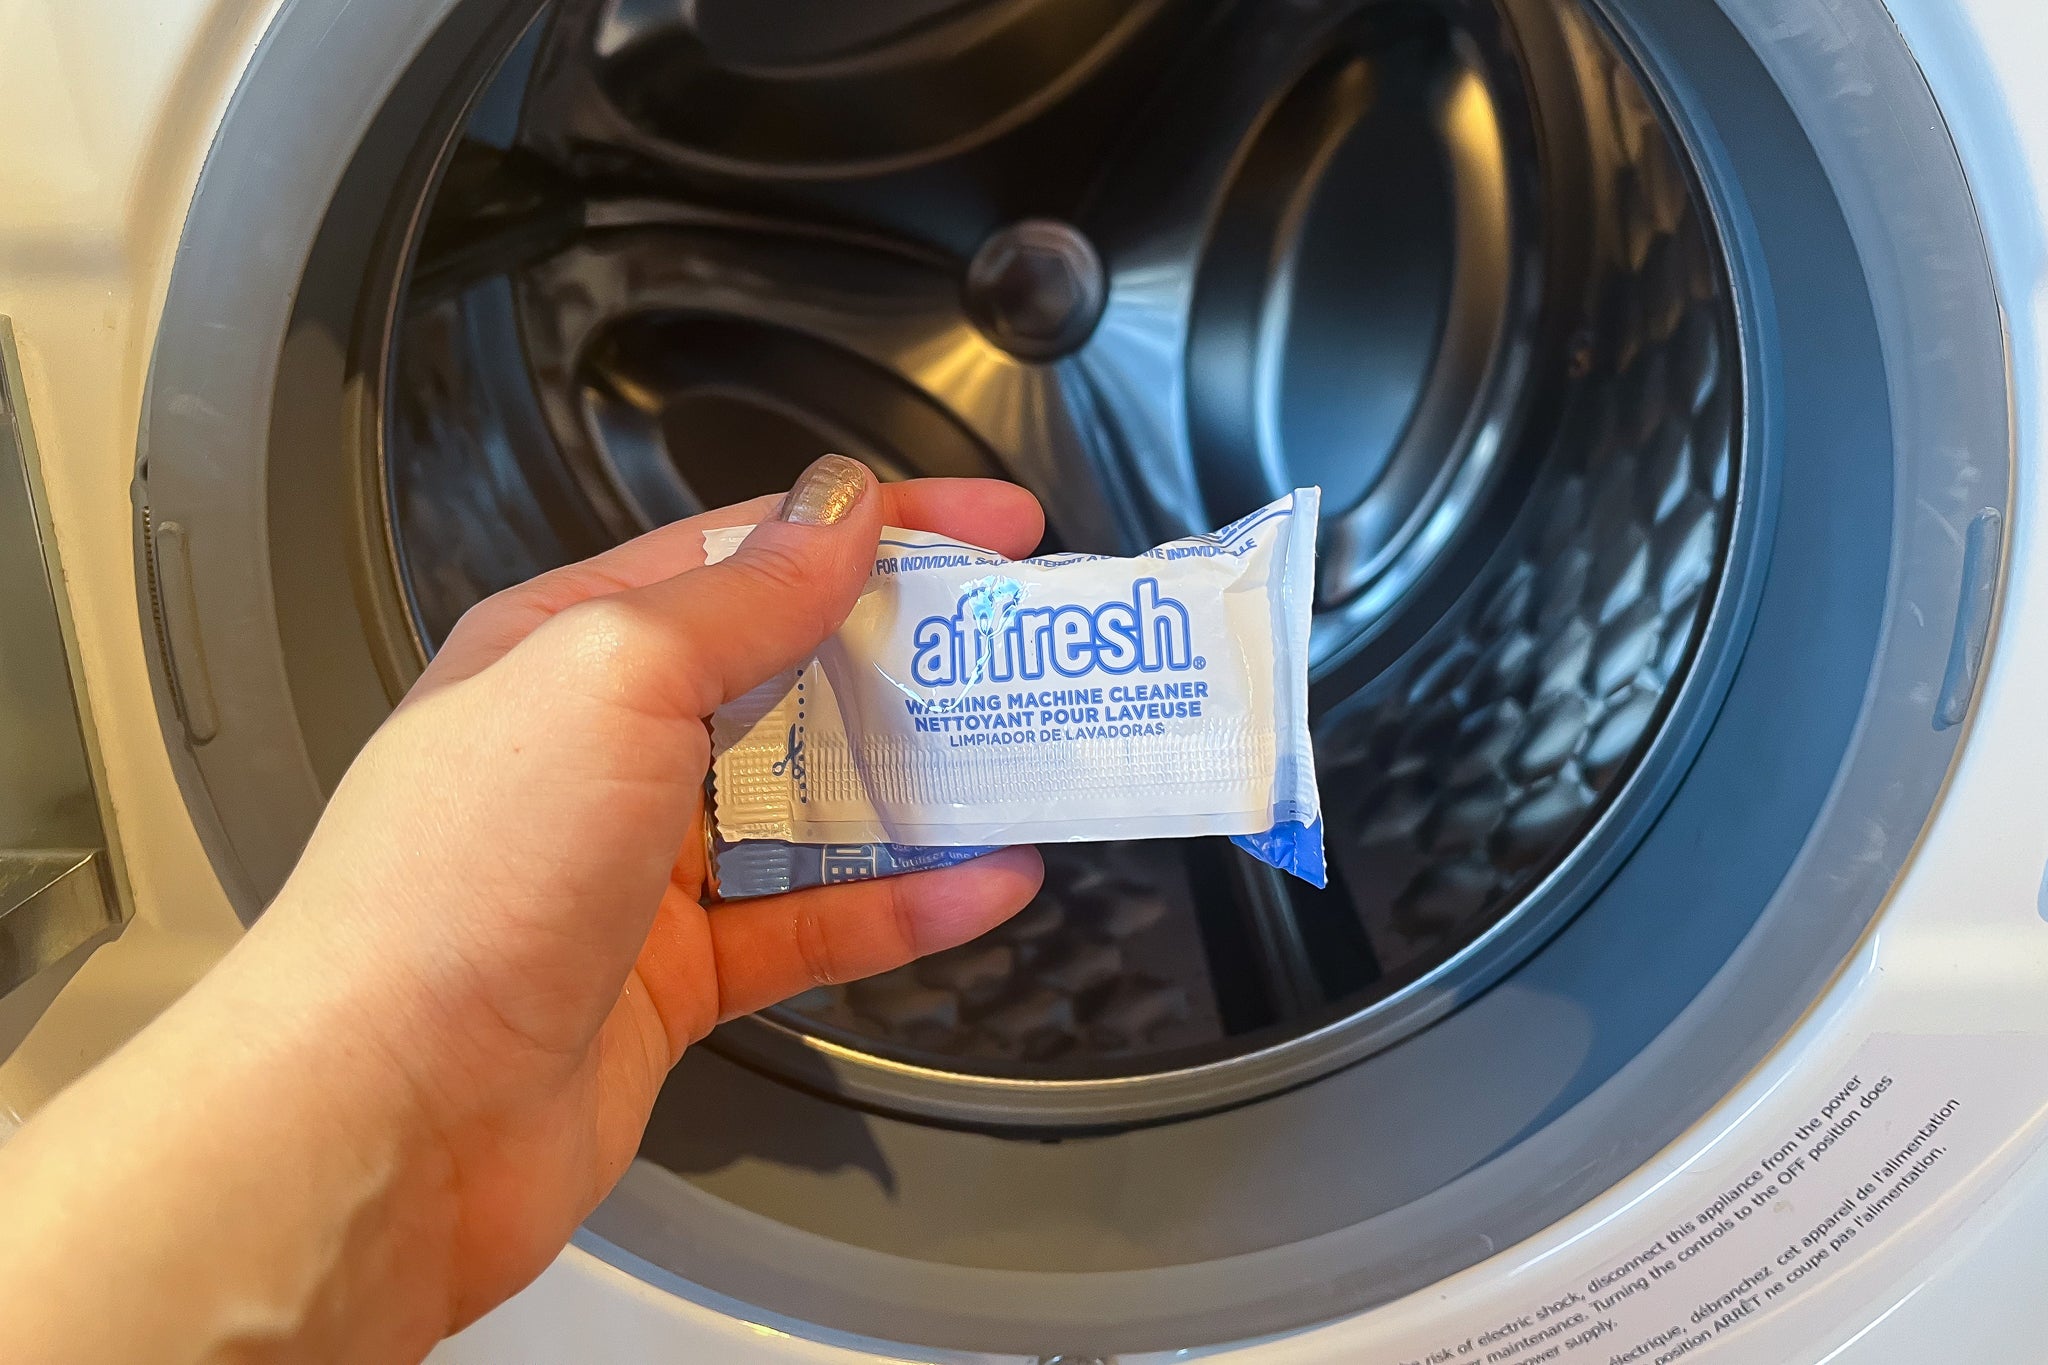
Step 5: Add the Right Detergent
Choosing the right detergent is crucial for effectively cleaning your shoes in the washing machine. It’s important to use a gentle detergent that is suitable for the shoe materials and will not cause any damage. Here are some key considerations when adding detergent:
- Check the shoe material: Different shoe materials require different types of detergents. For most shoes, a mild liquid detergent or a specialized shoe cleaner will work well. Avoid using harsh chemicals or bleach, as they can damage the shoe materials.
- Follow manufacturer’s guidelines: Refer to the manufacturer’s recommendations for the appropriate detergent to use. Some shoe manufacturers provide specific cleaning instructions and may suggest using a particular type of detergent for optimal results.
- Measure the detergent: It’s important not to use too much detergent as it can leave residue on your shoes. Follow the instructions on the detergent packaging and use the recommended amount based on your load size. If in doubt, use a little less detergent rather than too much.
- Avoid fabric softeners: While fabric softeners can leave your clothes feeling soft and fresh, they are not recommended for use with shoes. Fabric softeners can leave a residue that may alter the appearance or texture of the shoe materials. Stick to detergent alone for cleaning your shoes.
Once you have selected the appropriate detergent, add it to the washing machine according to the manufacturer’s instructions. Remember to close the detergent compartment securely to prevent any leaks or spills during the wash cycle.
With the right detergent added, you’re ready to move on to the next step: selecting the appropriate washing cycle for your shoes.
Step 6: Select the Appropriate Washing Cycle
Choosing the correct washing cycle is crucial to ensure that your shoes are cleaned effectively without causing any damage. Different shoes may require different settings based on their materials and level of dirtiness. Follow these steps to select the appropriate washing cycle:
- Refer to the manufacturer’s instructions: Check if the shoe manufacturer provides specific recommendations on the ideal washing cycle for their products. They may suggest a gentle or delicate cycle to prevent damage to the shoes.
- Consider shoe materials: The shoe materials and their durability will determine the appropriate washing cycle. For most shoes, a gentle or delicate cycle will be suitable. However, for heavily soiled athletic shoes, a regular or even a slightly more robust cycle may be needed.
- Adjust the water temperature: Depending on the shoe materials and the level of dirtiness, adjust the water temperature accordingly. Warm or cold water is usually recommended to prevent any damage to the shoes. Avoid using hot water, as it can cause shrinkage or warping of certain materials.
- Choose the appropriate spin speed: For delicate shoes, opt for a lower spin speed to minimize the stress on the materials. Higher spin speeds may be suitable for sturdier shoes that can withstand the extra agitation.
- Consider the shoe type: Different types of shoes may require specific considerations. For example, running shoes may benefit from an extra rinse cycle to thoroughly remove any detergent residue. In contrast, shoes with leather or suede may need a more gentle cycle to preserve their texture and appearance.
Once you have selected the appropriate washing cycle, double-check the settings on your washing machine to ensure they align with the recommendations. This will help protect your shoes and ensure a thorough cleaning process.
With the washing cycle properly set, you’re ready to move on to the next step: protecting your shoes during the wash.
Step 7: Protect Shoes During the Wash
Protecting your shoes during the wash cycle is essential to prevent any damage or distortion. Here are some measures you can take to ensure that your shoes are well-protected throughout the washing process:
- Use a gentle cycle: Selecting a gentle or delicate wash cycle will minimize the impact on your shoes. This cycle typically involves slower agitation and shorter spin cycles, reducing the risk of damage.
- Use a mesh laundry bag or pillowcase: As mentioned earlier, placing your shoes in a mesh laundry bag or pillowcase provides an extra layer of protection. Securely fasten the bag or pillowcase to prevent the shoes from coming loose and getting tangled.
- Avoid overcrowding: It’s important not to overload the washing machine. Overcrowding can lead to excessive wrangling and banging of the shoes, increasing the risk of damage. Leave enough space for the shoes to move freely during the wash cycle.
- Choose a shorter wash cycle: If your shoes aren’t excessively dirty, opt for a shorter wash cycle to minimize the time they spend in the machine. This can help reduce the stress on the materials and preserve their quality.
- Avoid using bleach: Bleach can be harsh on shoes and cause discoloration or damage to certain materials. Stick to using a gentle detergent instead, as mentioned in Step 5.
By taking these steps to protect your shoes during the wash, you can prolong their lifespan and ensure that they come out looking refreshed and clean.
After the wash cycle is complete, it’s important to transition to the next step: air drying your shoes.
Step 8: Air Dry the Shoes
Properly drying your shoes after washing is crucial to maintain their shape, prevent shrinkage, and avoid any potential damage. Follow these steps to effectively air dry your shoes:
- Remove the shoes from the washing machine: Once the wash cycle is complete, carefully remove your shoes from the washing machine. Take them out of the mesh laundry bag or pillowcase, and give them a gentle shake to get rid of any excess water.
- Stuff the shoes with newspaper or towels: To help maintain the shape of your shoes and absorb moisture, stuff them with crumpled newspaper or clean towels. This will help them retain their form as they dry, especially if they have a tendency to shrink or lose their shape.
- Avoid direct sunlight or heat sources: Place your shoes in a well-ventilated area away from direct sunlight or heat sources, as these can cause the materials to warp, fade, or crack. Opt for a cool and dry spot to facilitate proper drying.
- Allow sufficient drying time: The drying time required will depend on several factors, including the shoe material and the level of saturation. It’s best to give your shoes ample time to air dry naturally, which may take anywhere from a few hours to a full day. Avoid using a hairdryer or any artificial heat sources, as they can damage the shoes.
- Check for dryness: Before wearing or storing your shoes, ensure that they are completely dry. Press your hand against different parts of the shoe to check for any residual dampness. If they still feel damp, continue air drying until they are fully dry.
Remember, patience is key when air drying your shoes. Rushing the drying process may lead to undesirable results, such as misshapen shoes or unpleasant odors. By allowing them to dry naturally, you’ll help maintain their quality and prolong their lifespan.
Congratulations! You have successfully completed all the steps necessary to wash and dry your shoes in a washing machine. By following these guidelines, you can keep your shoes looking fresh and clean for years to come.
Now that you have clean, dry shoes, it’s time to put them back on and enjoy their renewed freshness!
Read more: How To Make High Heels Non-Slip
Conclusion
Washing your shoes in a washing machine can be a convenient and effective way to keep them clean and fresh. By following the step-by-step instructions in this guide, you can ensure that your shoes are properly prepared, cleaned, and protected during the washing process.
Remember to always check the shoe materials and refer to the manufacturer’s guidelines before machine washing. Delicate materials like leather or suede may require alternative cleaning methods to avoid damage.
Throughout the washing process, take precautions to protect your shoes. Use a mesh laundry bag or pillowcase, avoid overcrowding the washing machine, and select the appropriate washing cycle and detergent based on the shoe materials and level of dirtiness.
After washing, proper air drying is crucial to preserve the shape and quality of your shoes. Allow them to dry naturally in a well-ventilated area, away from direct sunlight or heat sources. Check for complete dryness before wearing or storing your shoes.
By following these guidelines, you can keep your shoes looking clean, fresh, and in top condition. Regular washing and proper care will ensure that your shoes not only look great but also last longer.
Remember, it’s always best to refer to the manufacturer’s instructions for specific shoe care recommendations. Additionally, if you have any doubts about machine washing your shoes, it’s wise to consult a professional shoe cleaning service for expert advice.
So go ahead, confidently toss your shoes into the washing machine and enjoy the satisfaction of having clean and refreshed footwear!
Frequently Asked Questions about How To Wash Shoes In A Washing Machine
Was this page helpful?
At Storables.com, we guarantee accurate and reliable information. Our content, validated by Expert Board Contributors, is crafted following stringent Editorial Policies. We're committed to providing you with well-researched, expert-backed insights for all your informational needs.

0 thoughts on “How To Wash Shoes In A Washing Machine”