Home>Kitchen & Cooking>Kitchen Gadgets & Utensils>How To Clean A Kettle With Baking Soda

Kitchen Gadgets & Utensils
How To Clean A Kettle With Baking Soda
Published: January 21, 2024
Learn how to effectively clean your kitchen gadgets and utensils with baking soda. Keep your kettle sparkling and free from limescale buildup with these simple steps. Say goodbye to stubborn stains and odors!
(Many of the links in this article redirect to a specific reviewed product. Your purchase of these products through affiliate links helps to generate commission for Storables.com, at no extra cost. Learn more)
Introduction
Welcome to the ultimate guide on cleaning a kettle with baking soda! If you’re a tea or coffee enthusiast, you know the importance of a clean kettle for making the perfect brew. Over time, mineral deposits and stains can build up inside the kettle, affecting the taste and quality of your hot beverages. Fortunately, with a simple and natural ingredient like baking soda, you can restore your kettle to its pristine condition without the use of harsh chemicals. In this comprehensive tutorial, we’ll walk you through the step-by-step process of using baking soda to clean your kettle, leaving it sparkling and ready to brew your favorite drinks with pure, untainted flavor.
Key Takeaways:
- Easily clean your kettle with baking soda, water, and a soft cloth. Let the mixture sit, then gently scrub and rinse for a spotless, odor-free kettle ready for brewing your favorite hot beverages.
- Harness the natural cleaning power of baking soda to remove stains and mineral deposits from your kettle without harsh chemicals. Enjoy pure, untainted flavor with each brew.
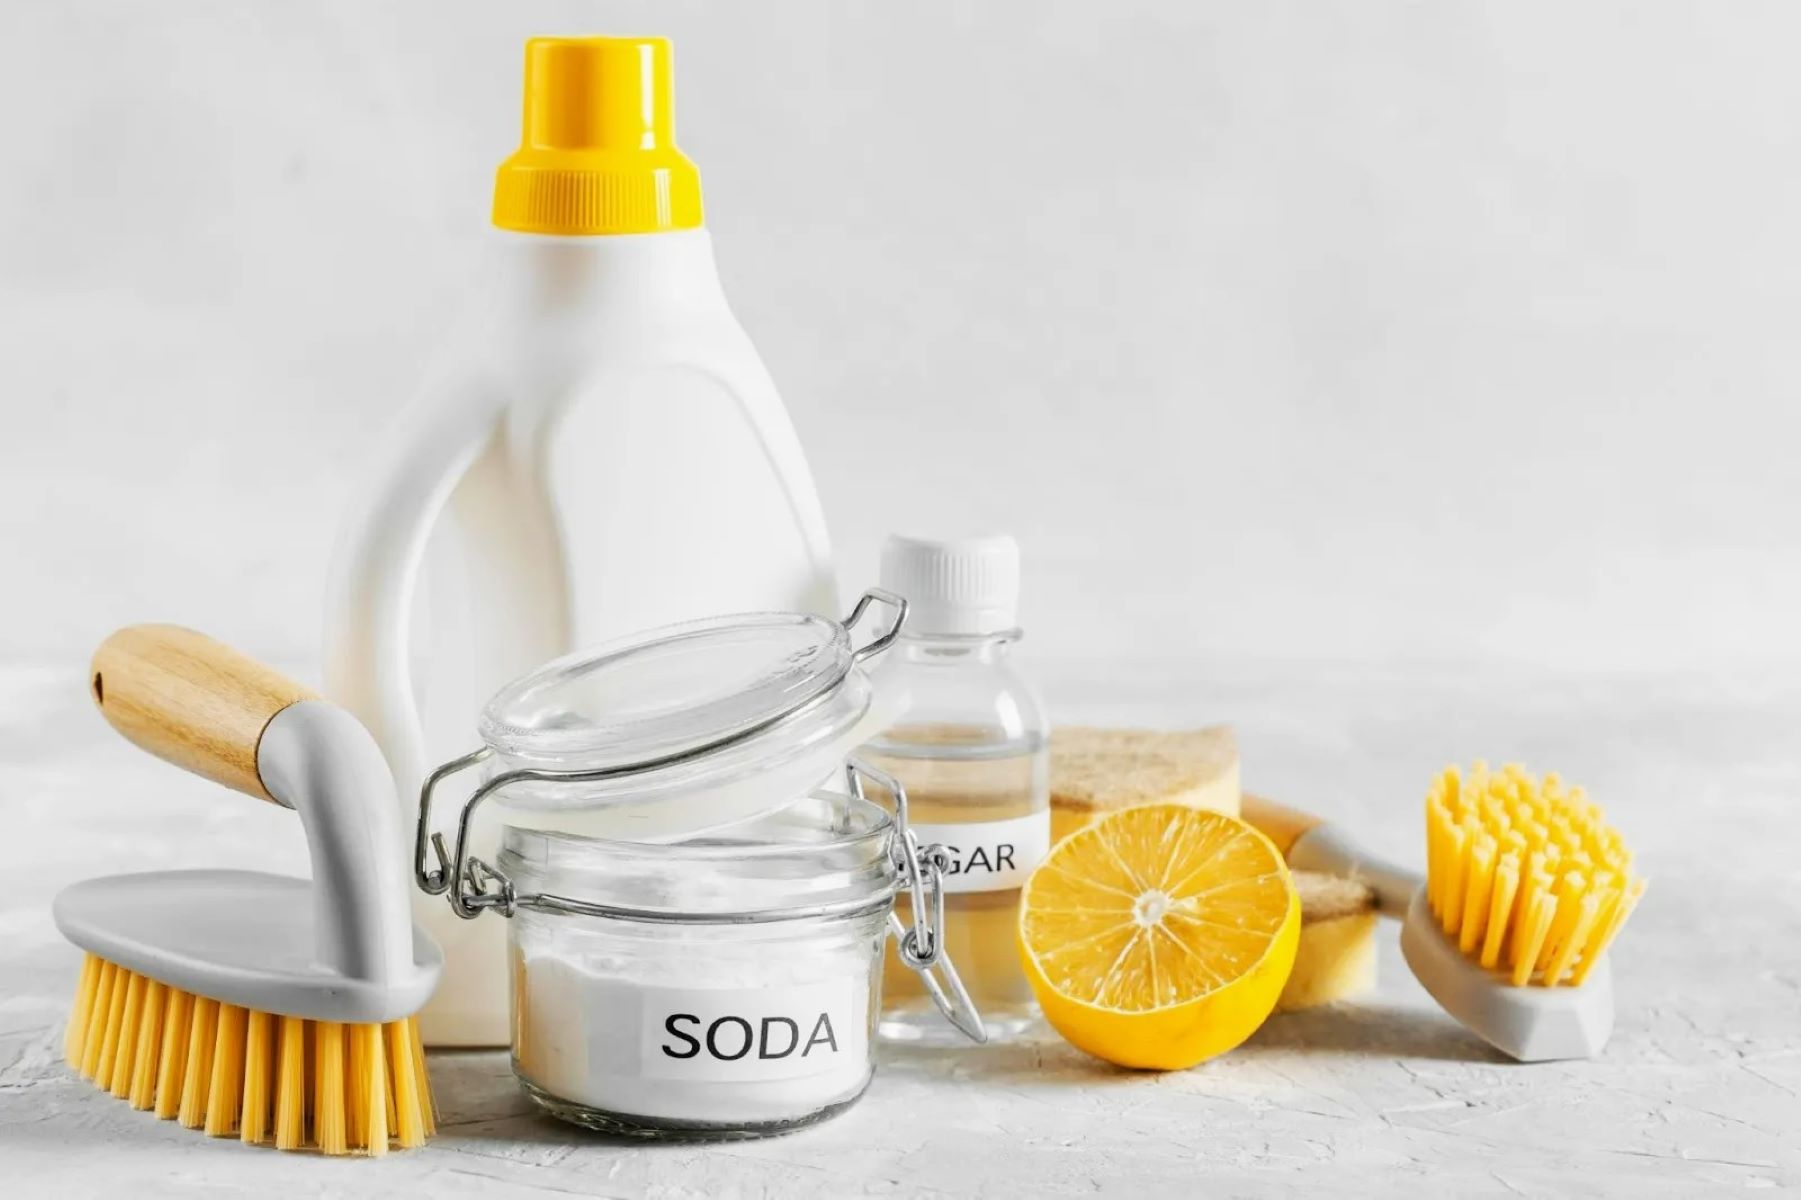
Materials Needed
Before diving into the cleaning process, gather the following materials to ensure a successful and effective cleaning experience:
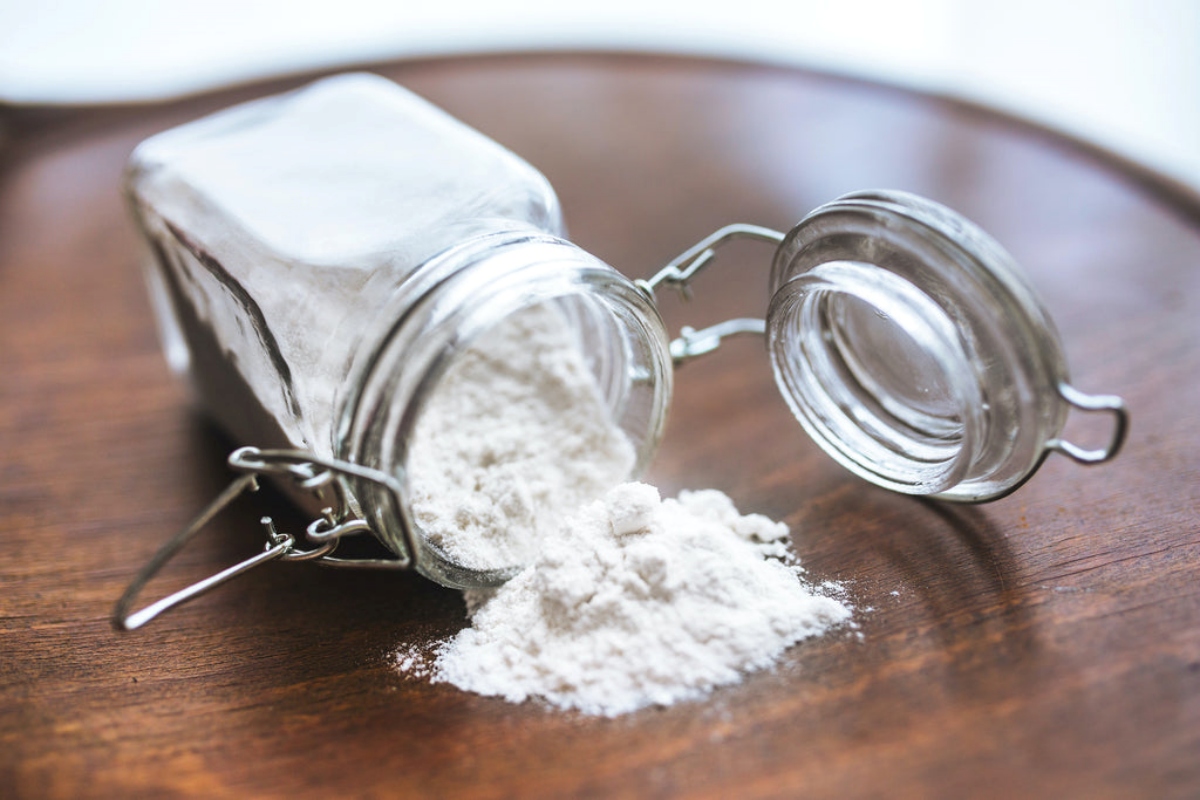
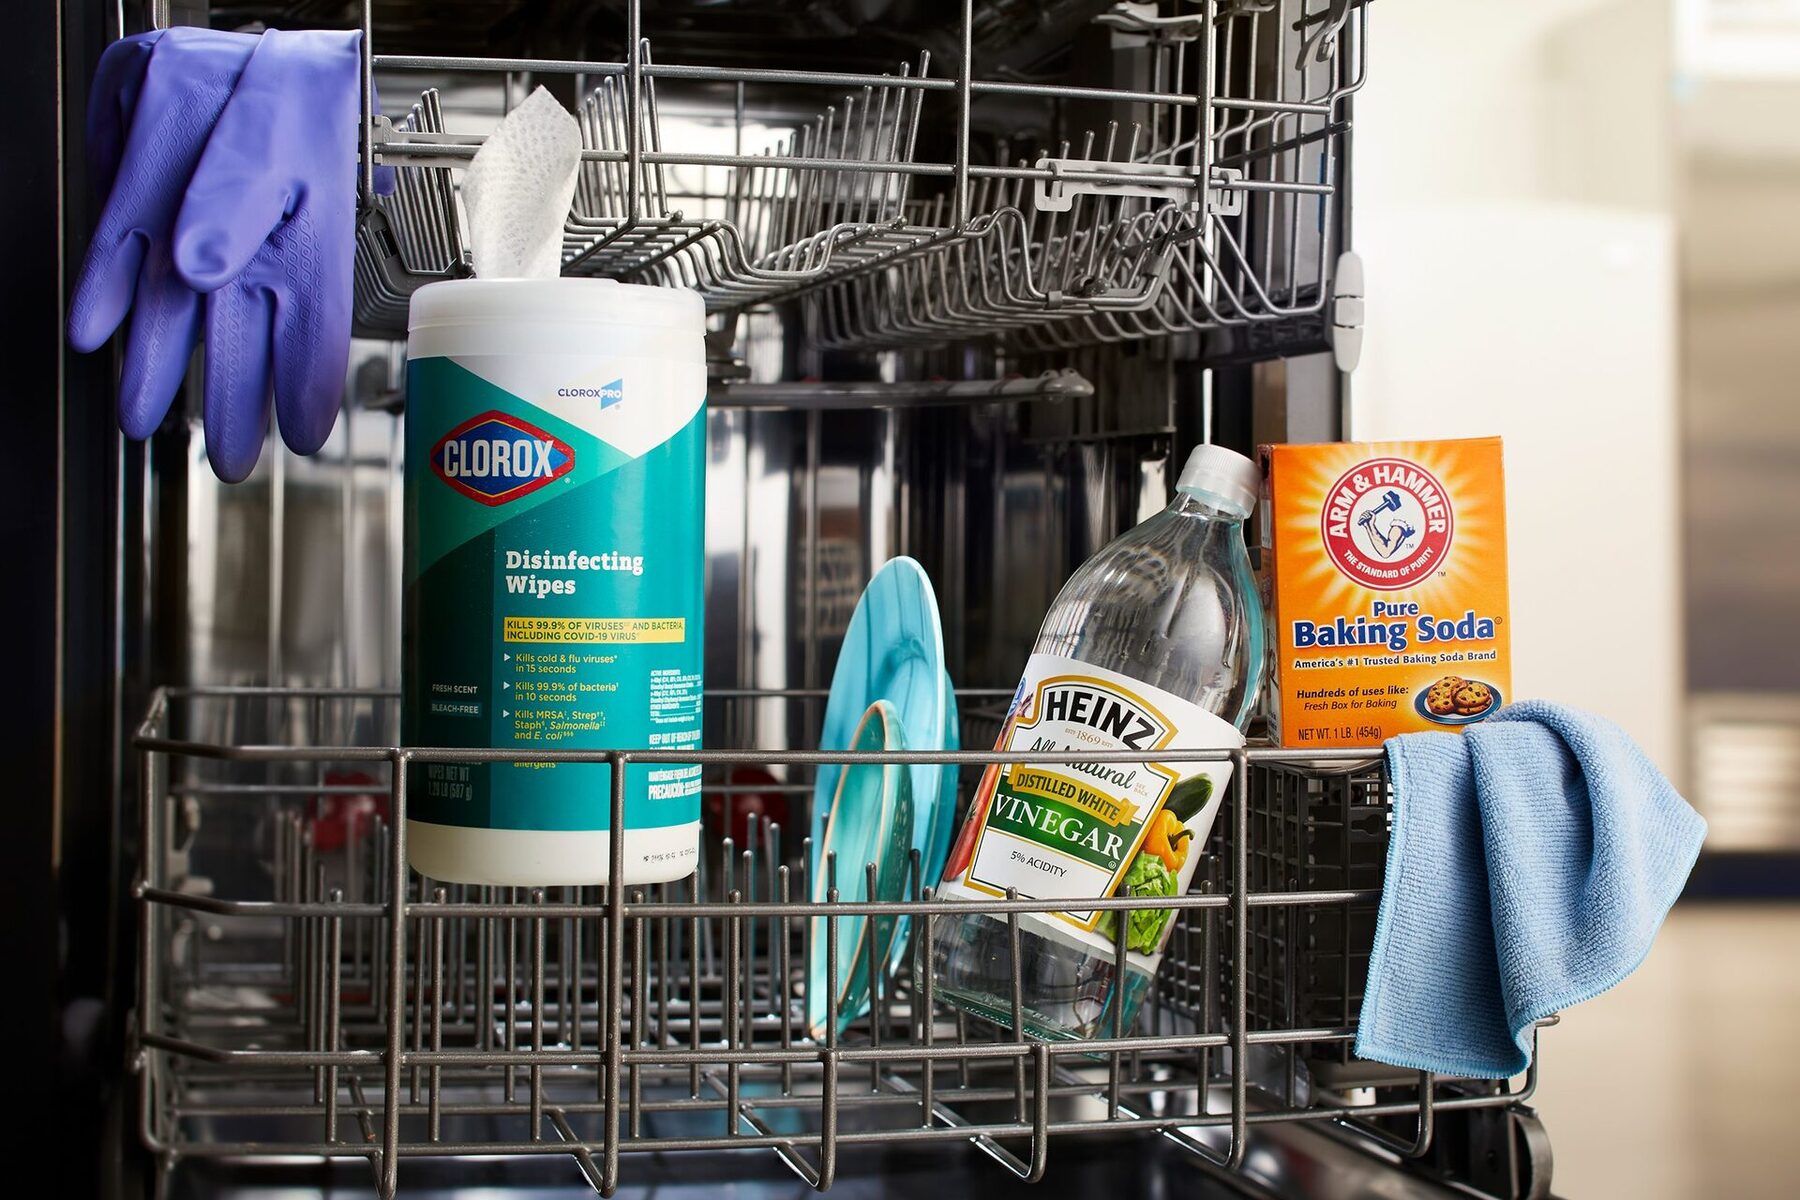
- Baking Soda: This versatile household staple acts as a gentle abrasive cleaner and odor absorber, making it ideal for removing stains and residue from the kettle’s interior.
- Water: You’ll need water to create a cleaning solution with the baking soda, as well as for rinsing the kettle after cleaning.
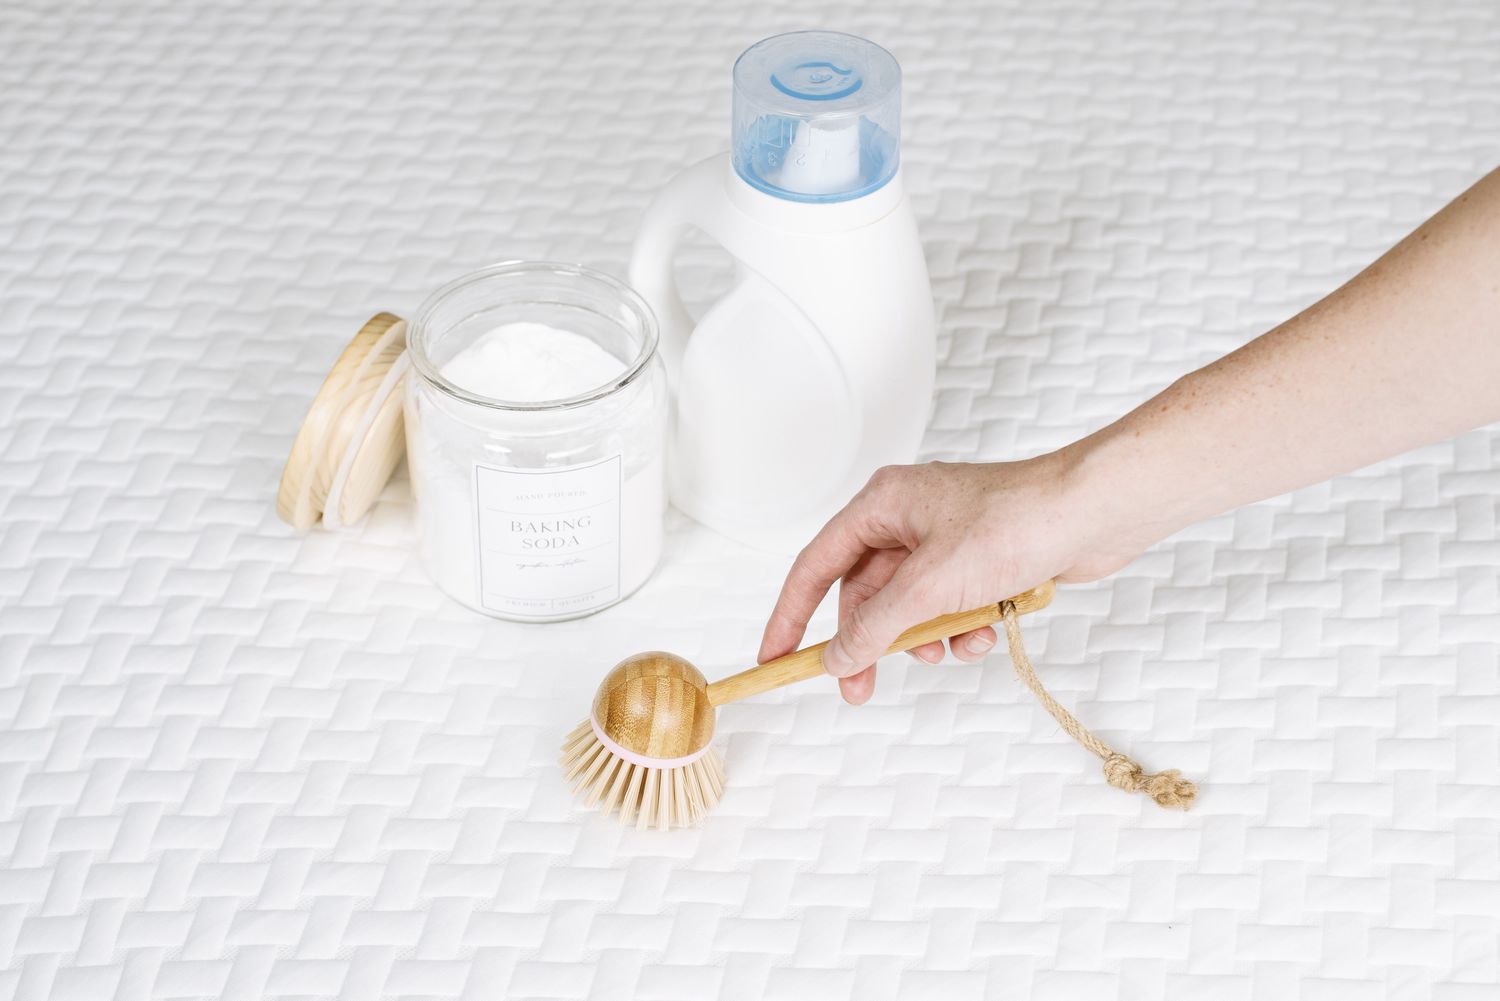
- Soft Cloth or Sponge: Use a soft cloth or sponge to apply the baking soda mixture to the kettle and to gently scrub away any buildup without scratching the interior surface.
- Kettle Brush (Optional): If your kettle has difficult-to-reach areas, a specialized kettle brush can be helpful for thorough cleaning.
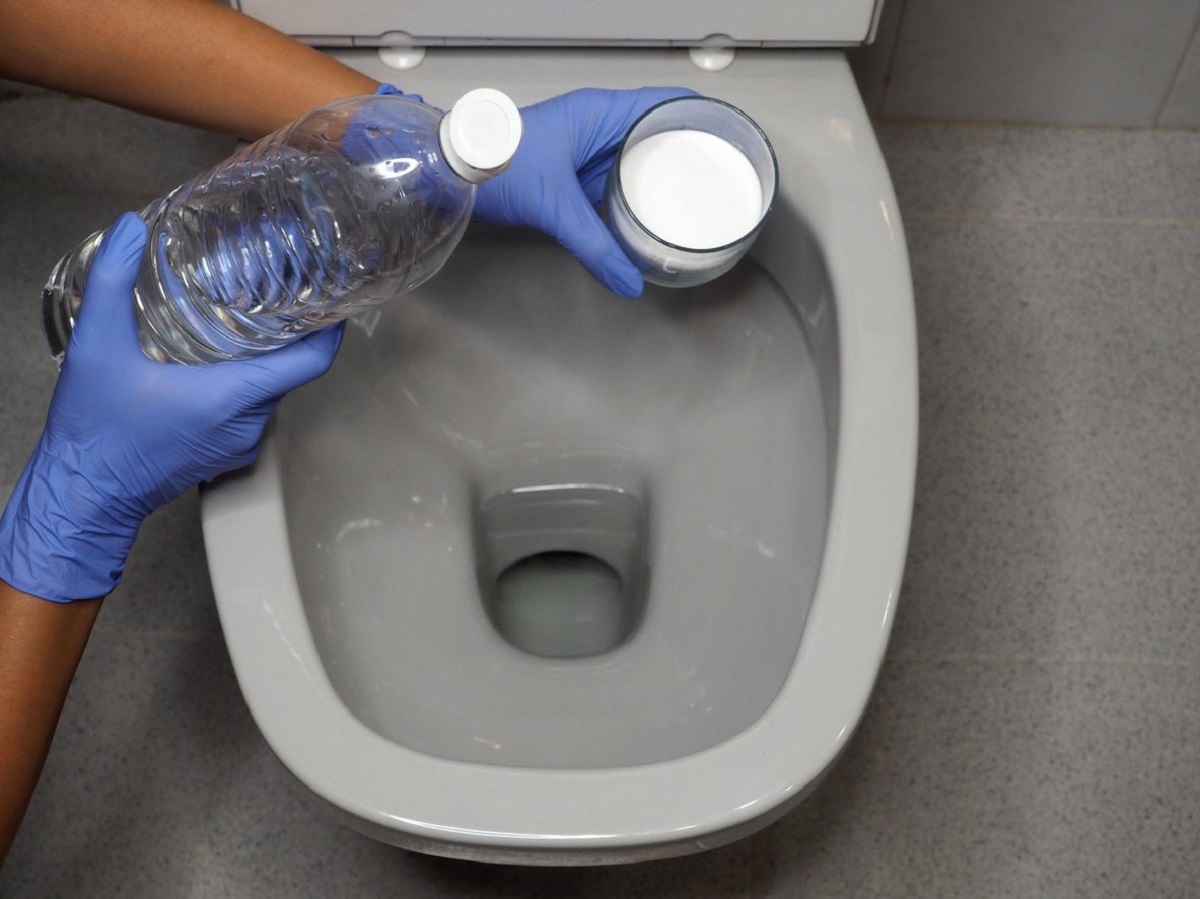
- Vinegar (Optional): In case your kettle has stubborn mineral deposits, vinegar can be used in combination with baking soda for enhanced cleaning power.
- Dish Soap: If your kettle requires a final wash after the baking soda treatment, a mild dish soap can be used to ensure all residue is removed.
- Clean Towel: Have a clean, dry towel on hand for drying the kettle after the cleaning process.
With these essential materials at your disposal, you’re ready to embark on the journey to a spotless, odor-free kettle using the power of baking soda.
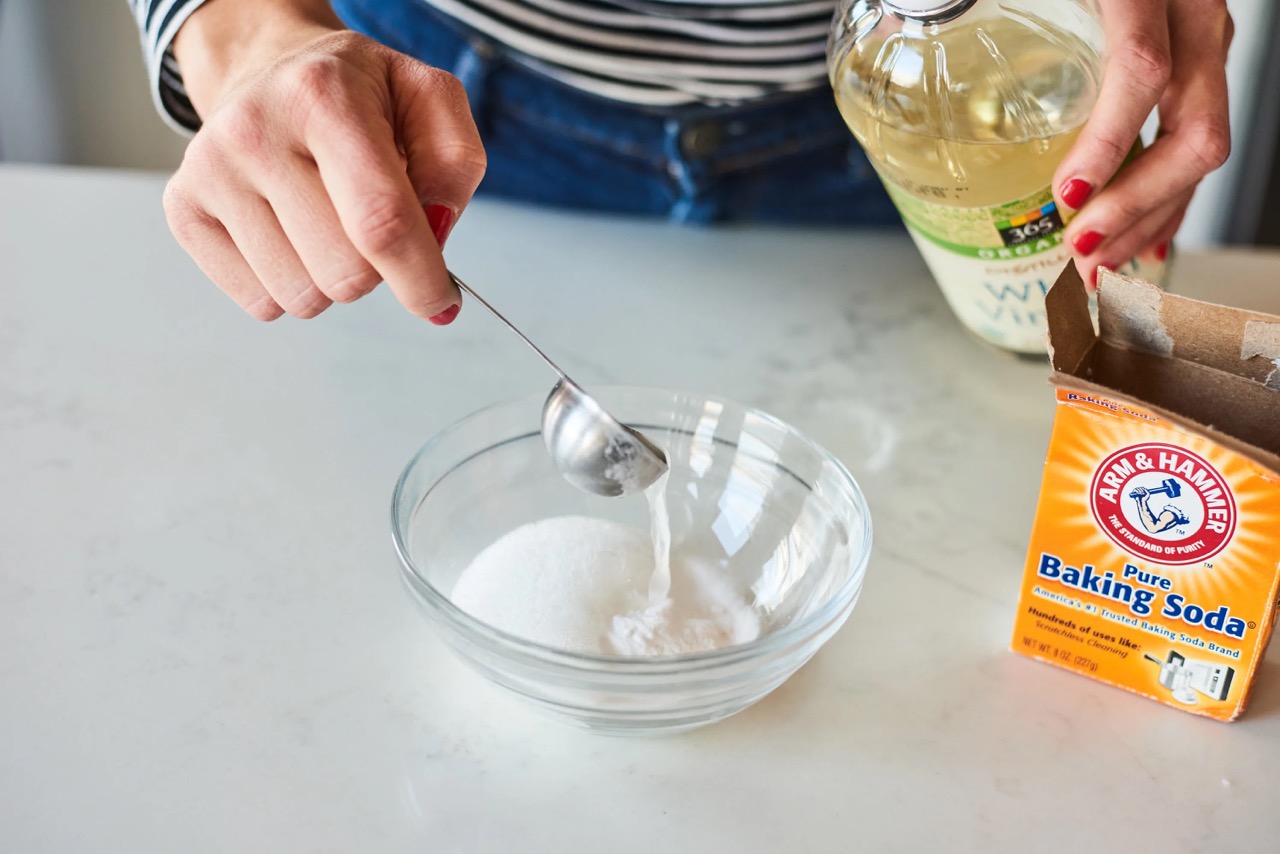
Step 1: Mix Baking Soda and Water
The first step in cleaning your kettle with baking soda is to create a gentle yet effective cleaning solution. Start by filling the kettle with water, ensuring that you do not exceed its maximum capacity. For a standard-sized kettle, a mixture of equal parts water and baking soda is typically sufficient to tackle built-up residue and stains.
Depending on the severity of the stains and mineral deposits, you can adjust the proportions of baking soda and water. A couple of tablespoons of baking soda mixed with water should work well for most cases. The goal is to form a paste-like consistency that can adhere to the interior of the kettle, allowing the baking soda to work its magic on the stubborn buildup.
Once the baking soda and water are combined, use a spoon or utensil to thoroughly mix the solution, ensuring that the baking soda is fully dissolved and evenly distributed. The resulting mixture is the key to breaking down residue and restoring the kettle to its original luster.
By preparing the baking soda and water solution, you’re one step closer to revitalizing your kettle and enjoying a fresh, clean surface for brewing your favorite hot beverages.
Step 2: Apply the Mixture to the Kettle
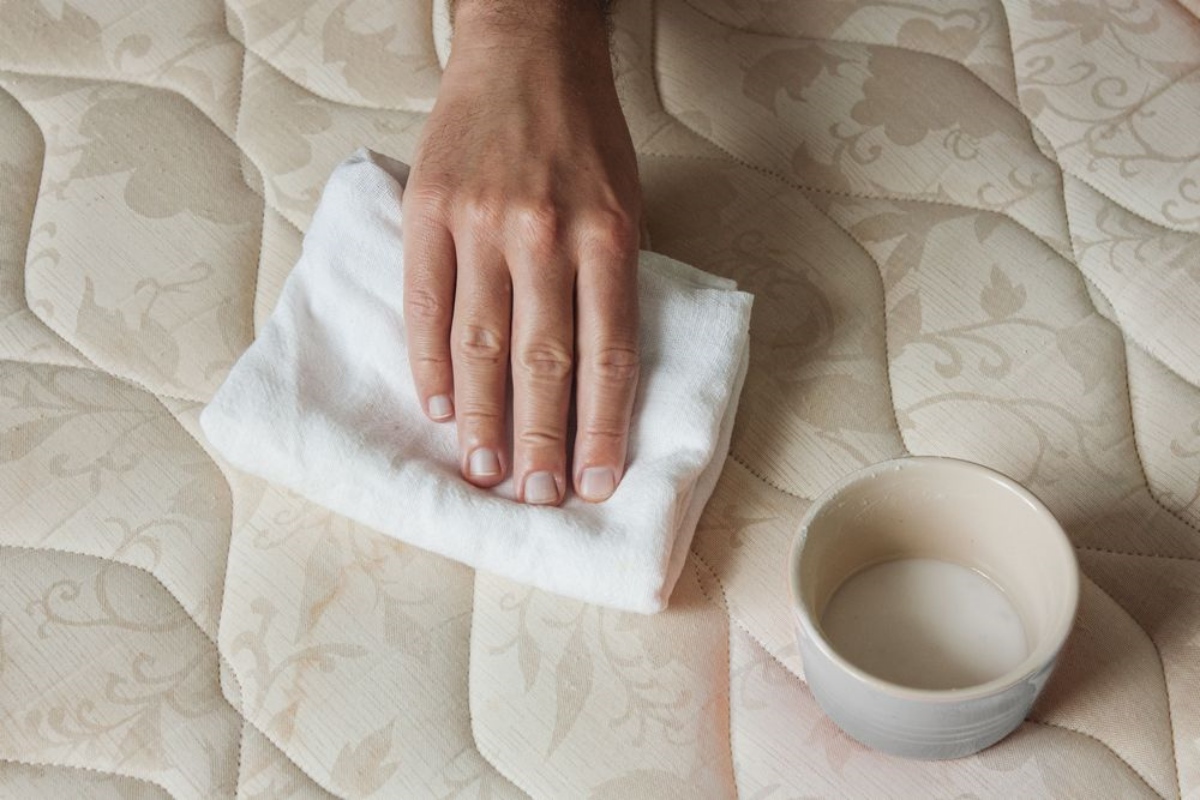
With the baking soda and water solution prepared, it’s time to apply it to the interior of the kettle. Carefully pour or spoon the mixture into the kettle, ensuring that it coats the entire interior surface, especially the areas with visible stains or mineral deposits. If your kettle has a particularly stubborn buildup, use a soft cloth or sponge to spread the mixture evenly, ensuring that it adheres to the affected areas.
For areas with heavy stains or deposits, consider allowing the baking soda mixture to sit for a few minutes to penetrate and loosen the buildup. This will make the subsequent cleaning process more effective, especially for stubborn or older stains that require a bit more attention.
As you apply the baking soda mixture, take note of any specific areas that require extra attention. By ensuring thorough coverage and targeted application, you can maximize the cleaning power of the baking soda and achieve a more comprehensive restoration of your kettle’s interior.
By applying the baking soda and water mixture to the interior of the kettle, you’re taking a crucial step toward breaking down and loosening the stubborn residue that detracts from the purity of your hot beverages. With the solution in place, you’re ready to let it work its magic before moving on to the next step in the cleaning process.
Mix 2 tablespoons of baking soda with water to form a paste. Apply the paste to the inside of the kettle and let it sit for 15 minutes. Scrub with a brush, then rinse thoroughly.
Step 3: Let the Mixture Sit
After applying the baking soda and water mixture to the interior of the kettle, it’s essential to allow it time to work its cleansing magic. Allowing the mixture to sit inside the kettle gives the baking soda an opportunity to break down the accumulated residue and stains, making them easier to remove during the subsequent scrubbing phase.
For minor stains and buildup, letting the mixture sit for 15 to 30 minutes is often sufficient to achieve effective results. However, for more stubborn or older stains, you may opt to extend the waiting period to up to an hour to ensure that the baking soda thoroughly penetrates and loosens the deposits.
During this waiting period, the natural cleansing properties of baking soda work to dissolve mineral deposits and stains, making them easier to remove without the need for harsh chemicals or abrasive scrubbing. This gentle yet effective approach ensures that your kettle is restored to its optimal condition without causing damage to its interior surface.
As the baking soda and water mixture works its magic, you can use this time to prepare for the next step in the cleaning process. Whether it’s gathering additional cleaning materials or simply enjoying a brief break, allowing the mixture to sit is a crucial part of the overall cleaning ritual that leads to a sparkling, odor-free kettle.
By letting the baking soda and water solution sit inside the kettle, you’re harnessing the natural cleaning power of baking soda to tackle the accumulated residue and stains, setting the stage for a thorough and effective cleaning process.
Read more: How To Clean A Sink With Baking Soda
Step 4: Scrub the Kettle
Once the baking soda and water mixture has had sufficient time to work its magic, it’s time to gently scrub the interior of the kettle to remove the loosened residue and stains. Using a soft cloth or sponge, begin to scrub the interior surface, focusing on areas with visible buildup or discoloration. The gentle abrasive nature of baking soda, combined with the soft texture of the cloth or sponge, allows for effective cleaning without scratching or damaging the kettle’s interior.
When scrubbing, pay special attention to areas where mineral deposits are most prevalent, such as the bottom and around the spout. By using circular or back-and-forth motions, you can effectively dislodge the loosened residue, revealing the pristine surface beneath. For particularly stubborn stains, you may need to apply a bit more pressure while ensuring that you do not compromise the integrity of the kettle’s interior finish.
As you scrub, periodically rinse the cloth or sponge to remove dislodged residue and refresh it with the baking soda mixture, ensuring that the cleaning process remains effective and thorough. Take your time to methodically work through the interior of the kettle, focusing on achieving an even and consistent cleaning outcome.
If your kettle features difficult-to-reach areas, such as narrow spouts or intricate designs, consider using a specialized kettle brush to access these spaces and ensure comprehensive cleaning. The goal is to leave no area untouched, ensuring that the entire interior surface is restored to its original cleanliness and luster.
By gently scrubbing the interior of the kettle, you’re actively removing the loosened residue and stains, revealing a refreshed and revitalized surface that’s ready to brew your favorite hot beverages with pure, unadulterated flavor.
Step 5: Rinse the Kettle
With the scrubbing phase complete, it’s time to thoroughly rinse the interior of the kettle to remove any remaining baking soda residue and dislodged buildup. Begin by emptying the kettle of the baking soda and water mixture, ensuring that all visible residue is flushed out. Next, fill the kettle with clean water, swishing it around to dislodge any lingering particles and ensure a comprehensive rinse.
After swishing the water around, pour it out of the kettle and inspect the interior to ensure that all traces of the baking soda mixture and dislodged residue have been effectively removed. If any residue remains, repeat the rinsing process until the water runs clear, indicating that the interior of the kettle is free from any remaining cleaning solution or debris.
Once the interior is thoroughly rinsed, use a clean towel to dry the kettle, ensuring that all moisture is removed from the interior and exterior surfaces. Pay special attention to any moisture-prone areas, such as the lid and spout, to prevent the formation of water spots or potential mineral buildup from hard water.
After drying the kettle, take a moment to inspect the interior, appreciating the revitalized and pristine surface that’s now free from the stains and residue that once detracted from its appearance and functionality. With the cleaning process complete, your kettle is now ready to brew your favorite hot beverages with the assurance of pure, untainted flavor.
By thoroughly rinsing the interior of the kettle, you’re ensuring that all traces of the baking soda mixture and dislodged residue are removed, leaving behind a clean and refreshed surface that’s primed for brewing delicious, flavorful beverages.
Conclusion
Cleaning a kettle with baking soda is a simple yet powerful way to restore its interior to a pristine, odor-free state. By harnessing the natural cleaning properties of baking soda, you can effectively remove mineral deposits, stains, and residue without the need for harsh chemicals or abrasive cleaners. The step-by-step process outlined in this guide empowers you to revitalize your kettle, ensuring that it remains a reliable companion for brewing your favorite hot beverages.
From creating a gentle yet effective cleaning solution to gently scrubbing and thoroughly rinsing the interior, each step in the process contributes to the overall restoration of your kettle’s cleanliness and functionality. The use of common household materials, such as baking soda and water, underscores the simplicity and accessibility of this cleaning method, making it a practical and eco-friendly solution for maintaining your kettle.
Upon completing the cleaning process, take a moment to appreciate the refreshed and revitalized interior of your kettle, free from the stains and residue that once detracted from its appearance and performance. With regular cleaning using baking soda, you can ensure that your kettle consistently delivers pure, untainted flavor with each brew, enhancing your overall hot beverage experience.
By incorporating this natural and effective cleaning method into your kitchen routine, you can extend the lifespan of your kettle while preserving the quality and flavor of your favorite hot drinks. With minimal effort and the power of baking soda, you can enjoy the satisfaction of a spotless, odor-free kettle that’s always ready to elevate your tea or coffee enjoyment.
Embrace the transformative potential of baking soda as you embark on the journey to a cleaner, fresher kettle, and savor the delightful results with every perfectly brewed cup of your favorite hot beverage.
Frequently Asked Questions about How To Clean A Kettle With Baking Soda
Was this page helpful?
At Storables.com, we guarantee accurate and reliable information. Our content, validated by Expert Board Contributors, is crafted following stringent Editorial Policies. We're committed to providing you with well-researched, expert-backed insights for all your informational needs.


0 thoughts on “How To Clean A Kettle With Baking Soda”