Home>Kitchen & Cooking>Kitchen Gadgets & Utensils>How To Get Cork Off Of A Corkscrew
Kitchen Gadgets & Utensils
How To Get Cork Off Of A Corkscrew
Modified: March 2, 2024
Learn how to easily remove cork from a corkscrew with our simple kitchen gadgets and utensils tips. Master the art of cork removal effortlessly!
(Many of the links in this article redirect to a specific reviewed product. Your purchase of these products through affiliate links helps to generate commission for Storables.com, at no extra cost. Learn more)
Introduction
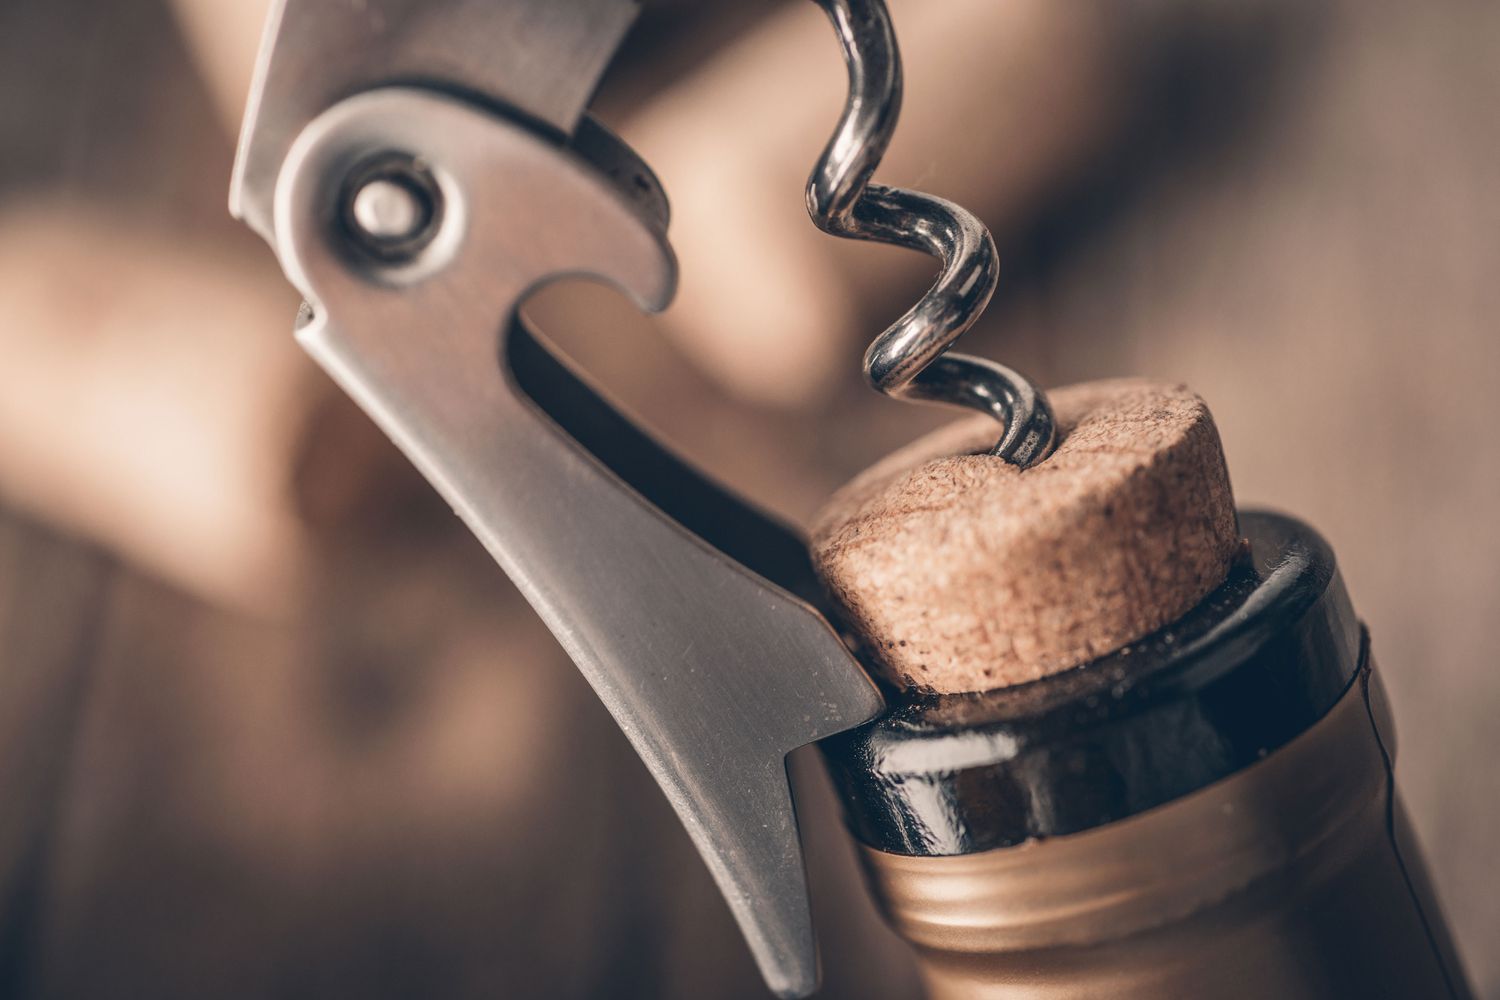
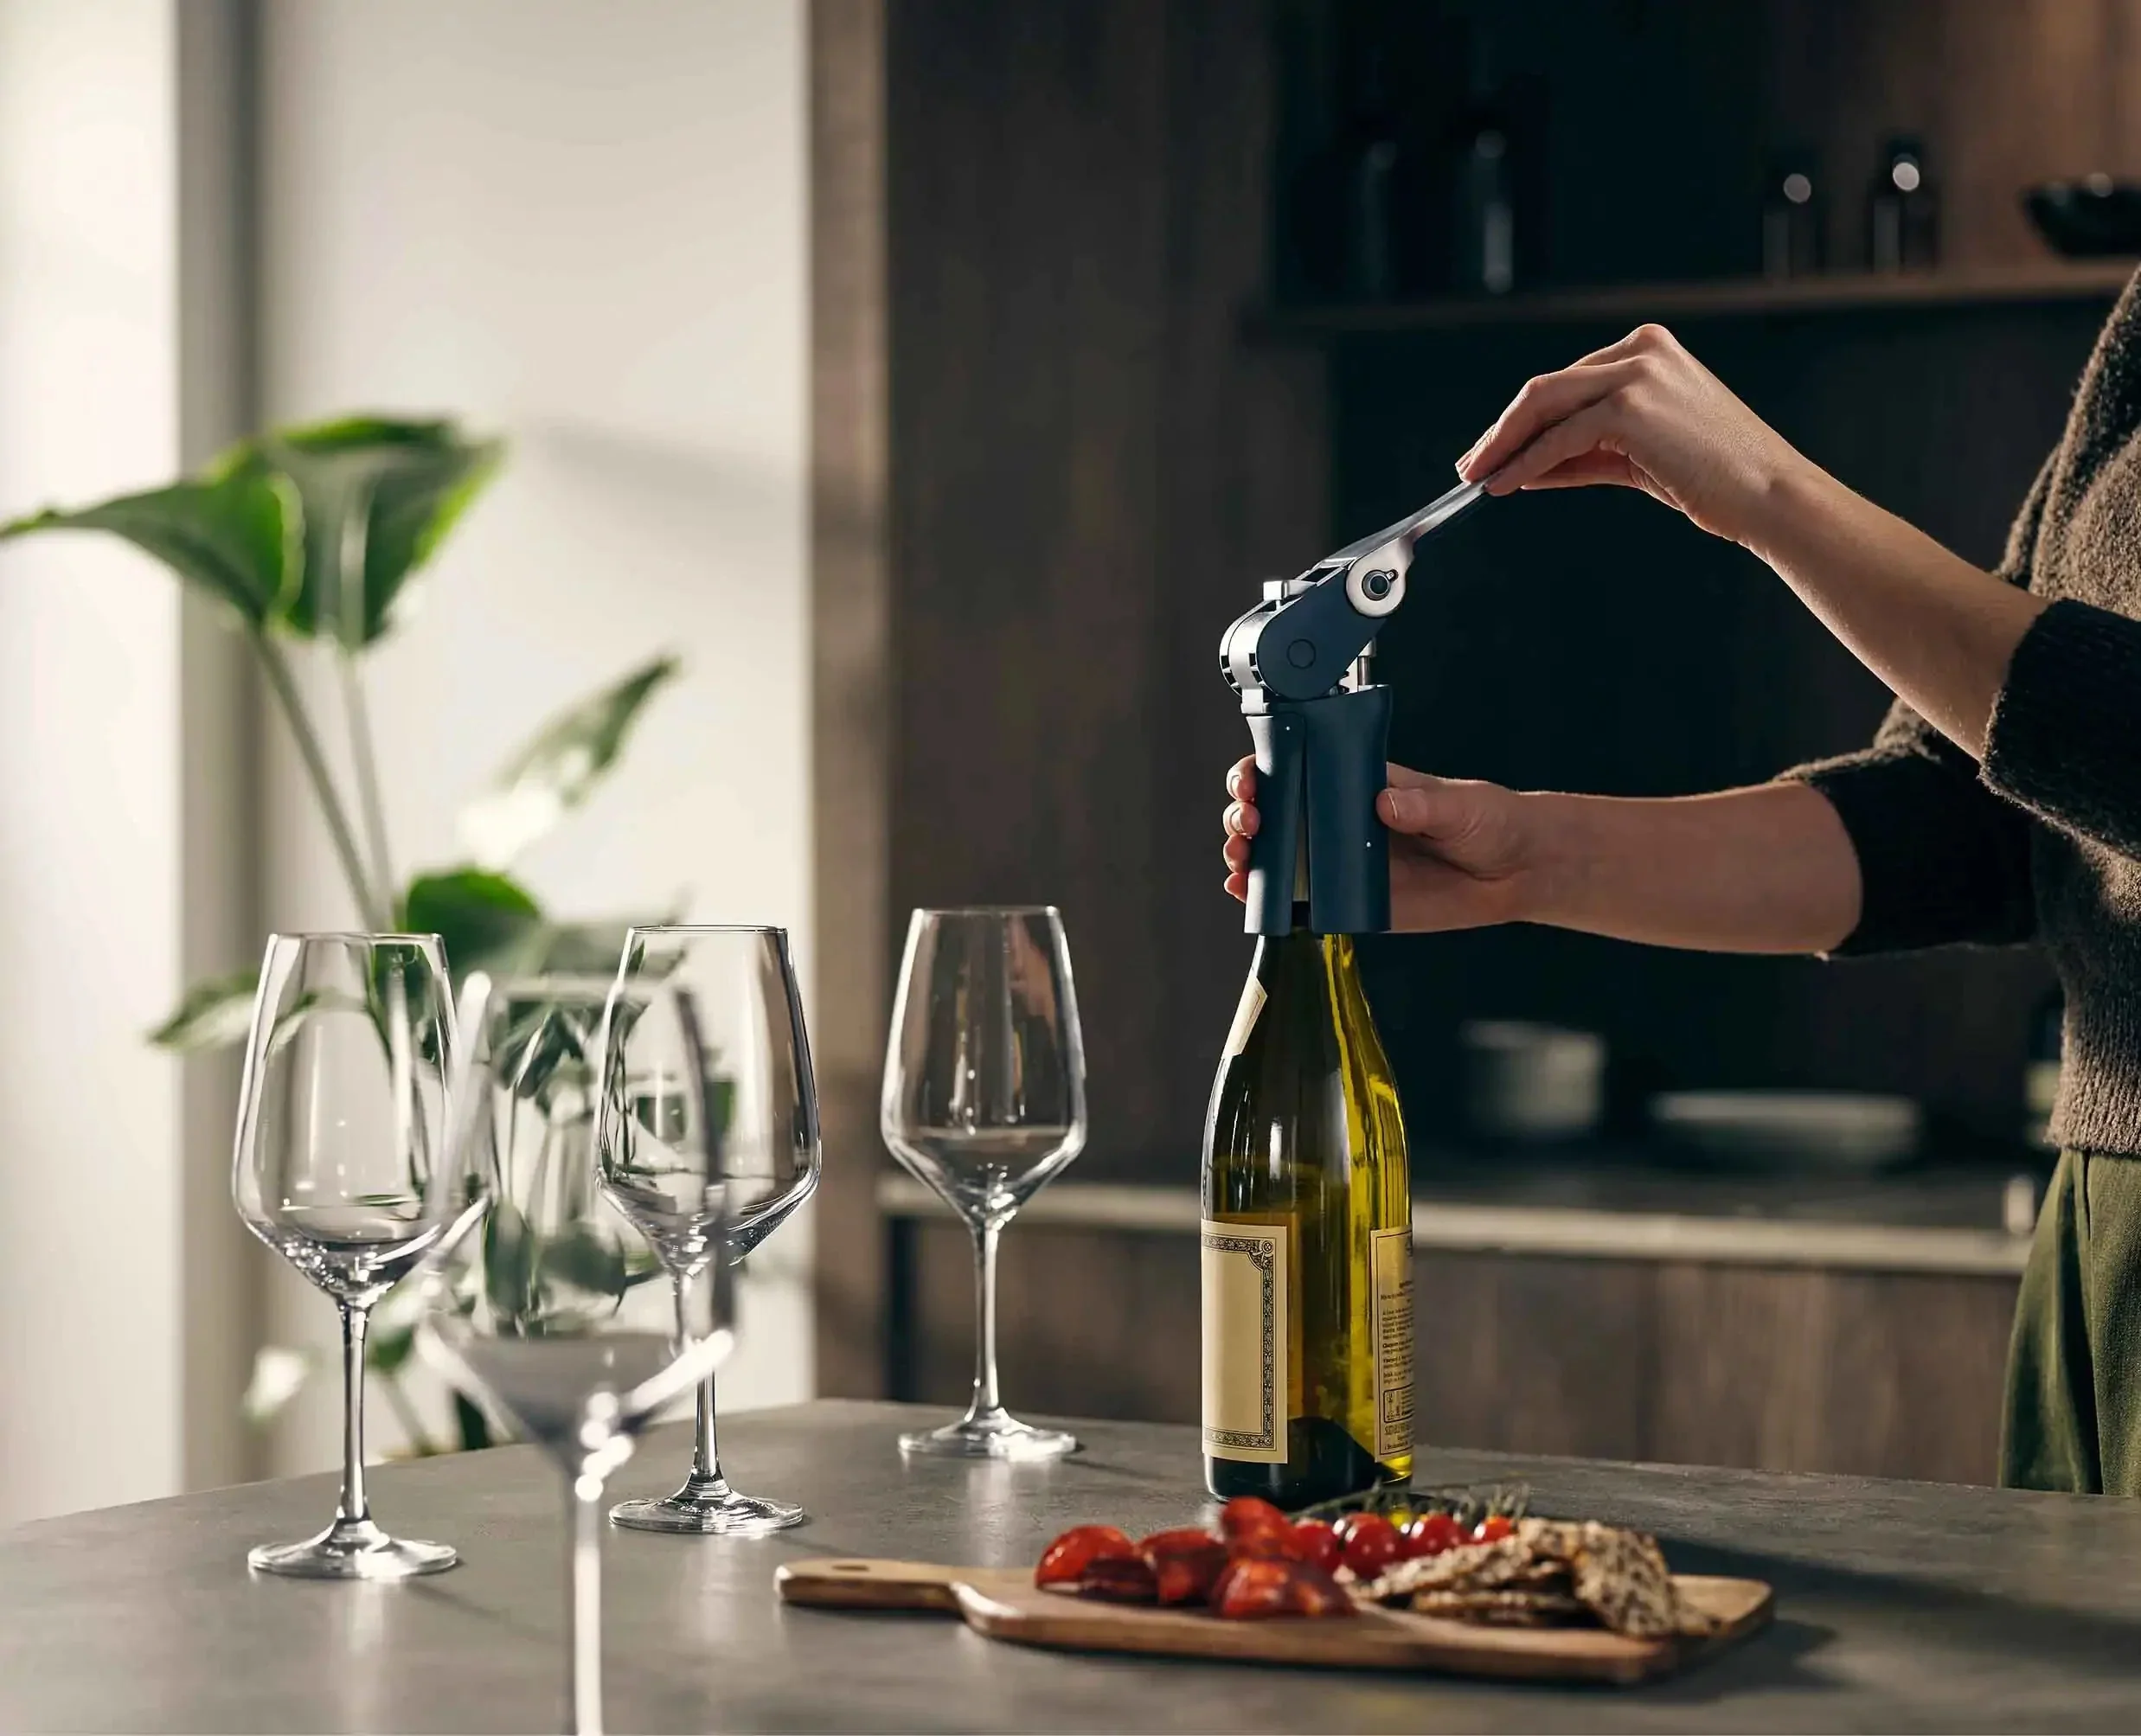
Opening a bottle of wine can be an enjoyable experience, but it can quickly turn frustrating if the cork gets stuck on the corkscrew. We've all been there – struggling to remove a stubborn cork while trying to maintain our composure. However, fear not, as there are various techniques and tools that can help you get that pesky cork off of the corkscrew with ease.
In this guide, we'll explore different methods and specialized corkscrews designed to tackle this common issue. Whether you're a wine enthusiast, a casual drinker, or someone hosting a gathering, knowing how to handle a stuck cork can save the day and ensure that the wine flows smoothly.
So, if you've ever found yourself in a battle with a stubborn cork, fret not. By the end of this article, you'll be equipped with the knowledge and tools to effortlessly remove a cork from a corkscrew, allowing you to savor your favorite bottle of wine without any unnecessary hassle. Let's dive into the steps and specialized corkscrews that can make this process a breeze.
Key Takeaways:
- Don’t let a stubborn cork ruin your wine experience! Assess the situation and use specialized corkscrews with features like double hinge, foil cutter, and Teflon-coated worm to effortlessly remove stuck corks.
- Specialized corkscrews with features like wide worm, bell, cork release, and built-in stand provide practical solutions for tackling stubborn corks. Transform the uncorking process into a smooth and hassle-free experience.
Step 1: Assess the Situation
Before attempting to remove the cork from the corkscrew, it's essential to assess the situation to determine the best approach. Here are some factors to consider when assessing the stuck cork:
-
Cork Condition: Take a moment to inspect the condition of the cork. Is it intact, or has it started to crumble? If the cork is fragile or crumbling, extra care will be needed to avoid getting cork debris in the wine.
-
Corkscrew Type: Consider the type of corkscrew you're using. Is it a traditional waiter's corkscrew, a winged corkscrew, or an electric corkscrew? Different corkscrew designs may require different techniques for removing a stuck cork.
-
Cork Depth: Assess how deeply the cork is inserted into the bottle. If the cork is only partially removed, it may require a different approach compared to a cork that has been fully extracted.
-
Bottle Material: Take note of the bottle material. Is it a standard glass wine bottle, or is it a softer material, such as plastic? The bottle material can impact the amount of force that can be safely applied when removing the cork.
By carefully evaluating these factors, you can determine the best course of action for safely and effectively removing the stuck cork. This initial assessment sets the stage for the subsequent steps, ensuring that you approach the task with a clear understanding of the specific challenges posed by the stuck cork.
Once you've assessed the situation, you'll be ready to proceed with the appropriate method for removing the cork from the corkscrew, whether it involves using specialized corkscrews or employing specific techniques tailored to the unique characteristics of the stuck cork and the corkscrew in use.
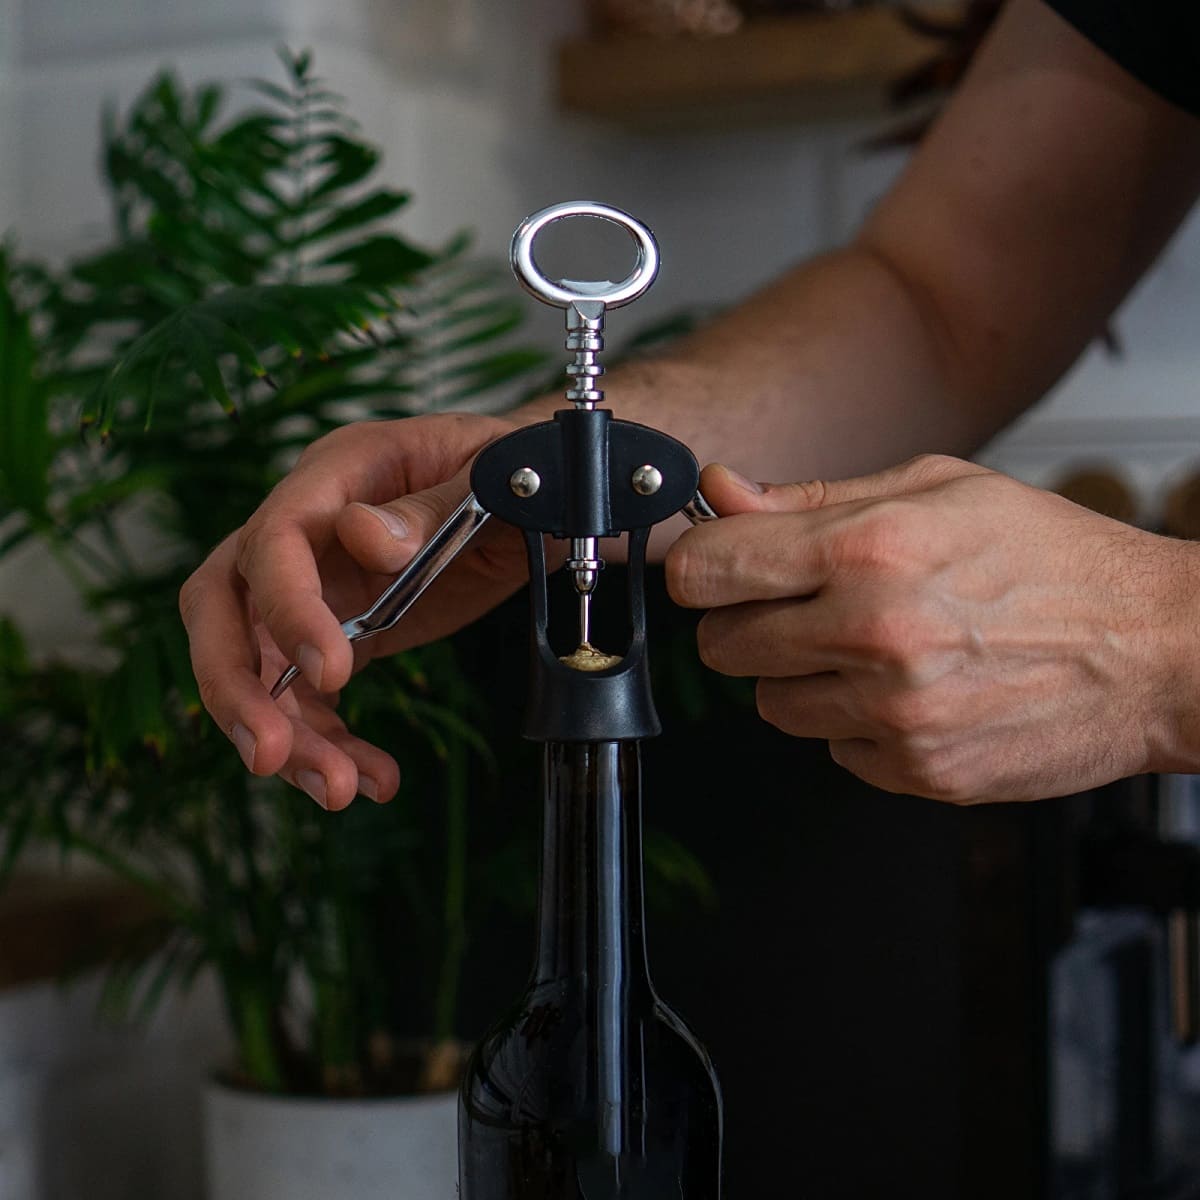
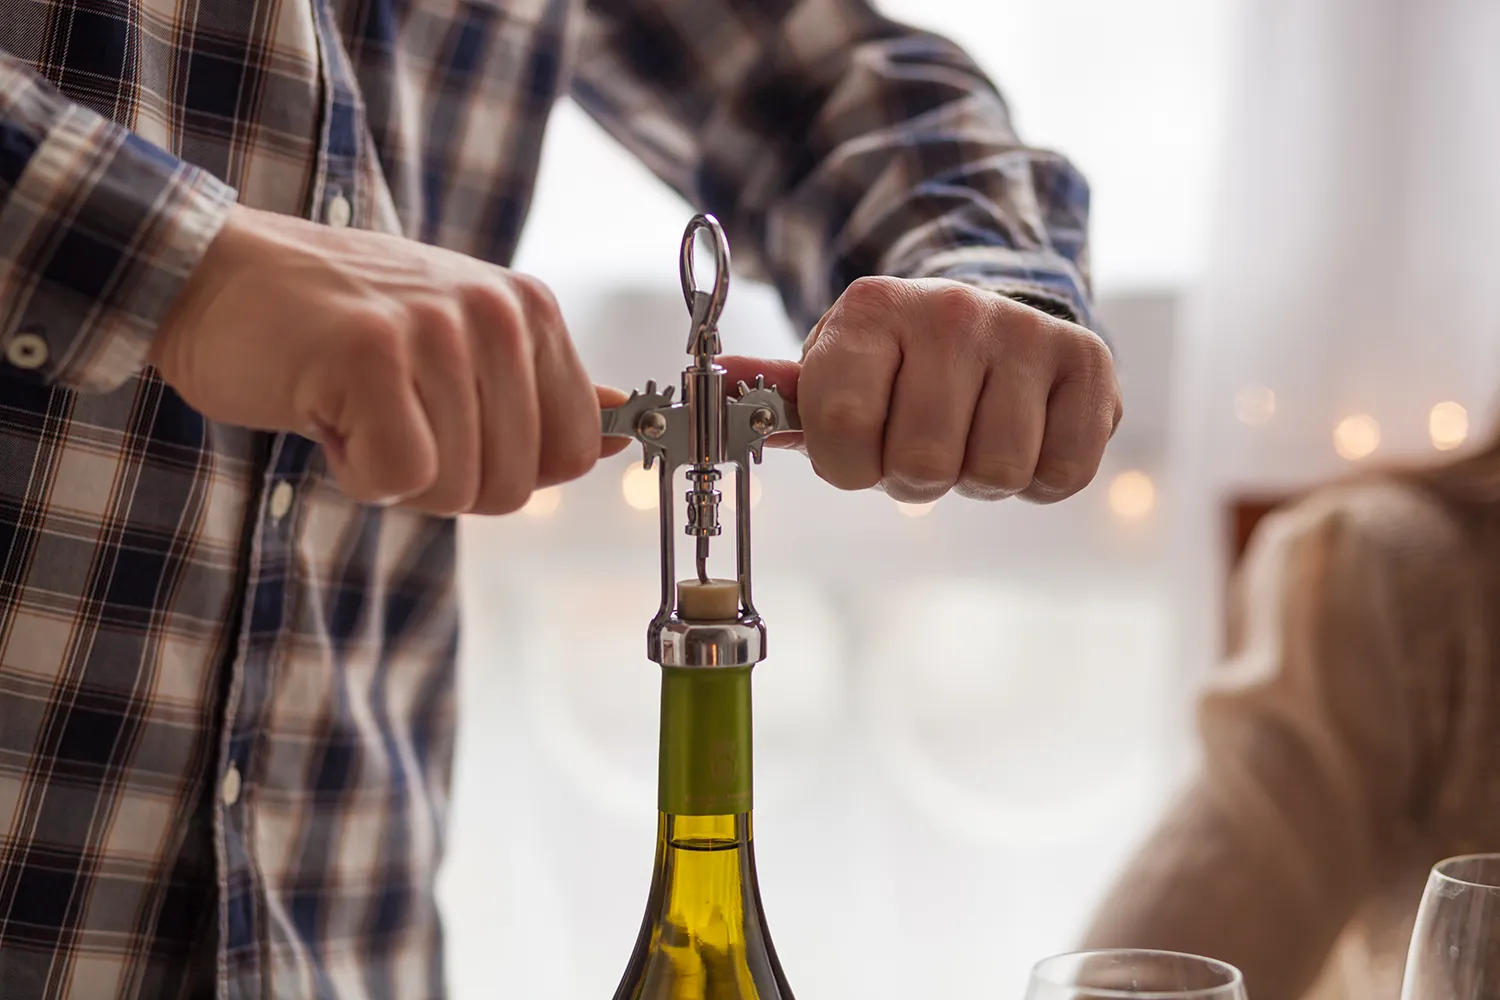
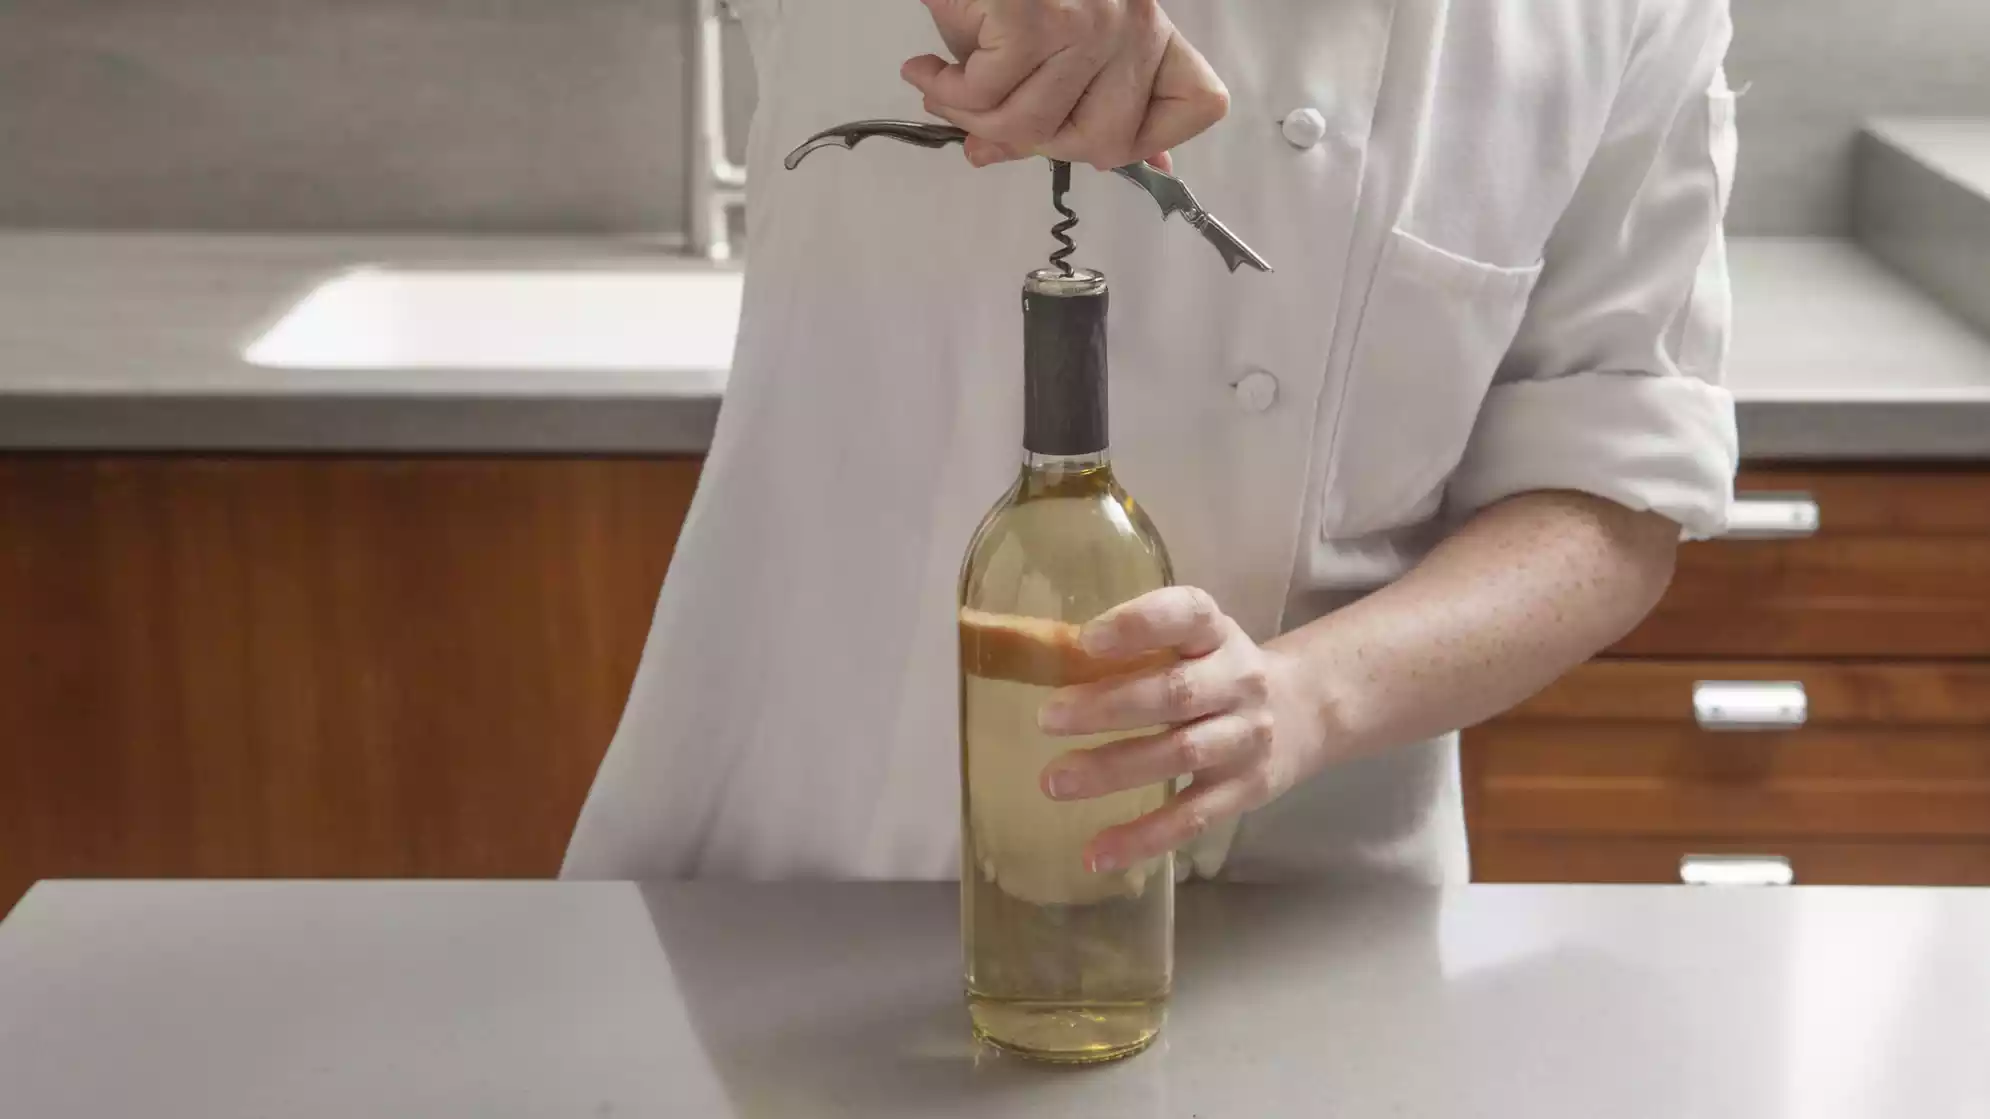
Step 2: Use a Corkscrew with a Double Hinge
When faced with a stubborn cork that refuses to budge, using a corkscrew with a double hinge can be a game-changer. This innovative design provides enhanced leverage, making it easier to extract the cork from the bottle without undue effort or frustration.
The double-hinged corkscrew, also known as a double lever corkscrew, features two pivot points, allowing for a two-stage extraction process. This design significantly reduces the force required to remove the cork, making it an ideal choice for dealing with challenging corks.
To use a corkscrew with a double hinge effectively, follow these steps:
-
Initial Positioning: Begin by positioning the corkscrew at the center of the cork, ensuring that the worm, or the spiral metal part, is aligned with the cork's center. The double hinge should be in the closed position at this stage.
-
First Lever Action: With the corkscrew in position, gently insert the worm into the cork by twisting it in a clockwise direction. Once the worm is securely embedded in the cork, engage the first hinge by lifting the first lever upwards. This action will create initial leverage, helping to partially extract the cork from the bottle.
-
Second Lever Action: After the first lever has been engaged, lower it back down, and then lift the second lever, located closer to the handle. This second lever action provides additional leverage, allowing you to smoothly and effortlessly complete the cork extraction process.
The double-hinged corkscrew's unique design minimizes the physical exertion required, making it an excellent choice for individuals who may have difficulty using traditional corkscrews. Whether you're dealing with an older, fragile cork or a particularly stubborn one, the double hinge design can make the cork removal process more manageable and less strenuous.
By incorporating a corkscrew with a double hinge into your wine tool collection, you can confidently tackle stuck corks, knowing that the enhanced leverage provided by the double hinge design will simplify the task and help you avoid the frustration often associated with stubborn corks.
In summary, when faced with a challenging cork, consider using a corkscrew with a double hinge to take advantage of its efficient two-stage extraction process and reduced physical effort. This approach can transform the task of removing a stuck cork into a smooth and satisfying experience, allowing you to focus on enjoying the contents of the bottle without any unnecessary hassle.
Step 3: Use a Corkscrew with a Built-in Foil Cutter
When it comes to dealing with a stubborn cork, having the right tools at your disposal can make all the difference. A corkscrew with a built-in foil cutter is a versatile and practical solution that simplifies the process of removing a stuck cork while also addressing the initial step of preparing the bottle for uncorking.
The built-in foil cutter, a feature commonly found on modern corkscrew designs, serves a dual purpose by allowing you to effortlessly remove the foil or plastic seal that covers the top of the wine bottle. This integrated functionality streamlines the uncorking process, eliminating the need for a separate foil cutter and ensuring a seamless transition from preparing the bottle to extracting the cork.
To utilize a corkscrew with a built-in foil cutter effectively, follow these steps:
-
Foil Removal: Begin by using the built-in foil cutter to score and remove the foil or plastic capsule from the top of the wine bottle. Position the cutter over the bottle's neck, apply gentle pressure, and rotate the corkscrew to make a clean, circular incision. Once the incision is complete, lift the foil cutter away to reveal the cork's top and ensure a clear path for the corkscrew.
-
Cork Extraction: With the foil removed, proceed to insert the corkscrew's worm into the center of the cork, ensuring a secure grip. Using the handle, twist the corkscrew in a clockwise direction, allowing the worm to penetrate the cork. Once the worm is fully embedded, employ the corkscrew's leverage to extract the cork smoothly and steadily, taking advantage of the integrated design that combines the foil cutter and corkscrew functionalities.
A corkscrew with a built-in foil cutter offers a convenient and efficient approach to uncorking wine bottles, particularly when dealing with a stuck cork. By seamlessly integrating the foil removal and cork extraction processes, this type of corkscrew simplifies the overall uncorking experience, saving time and effort while ensuring a smooth transition from bottle preparation to enjoying the contents.
In summary, incorporating a corkscrew with a built-in foil cutter into your wine tool collection provides a practical and user-friendly solution for handling stuck corks. The integrated design streamlines the uncorking process, allowing you to tackle the initial foil removal and cork extraction with ease and precision. With this versatile tool at your disposal, you can confidently address the challenges posed by stubborn corks, knowing that the built-in foil cutter will facilitate a seamless and enjoyable uncorking experience.
Step 4: Use a Corkscrew with a Teflon-Coated Worm
When confronted with a stubborn cork, employing a corkscrew with a Teflon-coated worm can significantly enhance the uncorking process. The Teflon coating, known for its non-stick properties and durability, provides several advantages when it comes to extracting stuck corks from wine bottles.
The Teflon-coated worm, the helical metal part of the corkscrew that penetrates the cork, offers a smooth and friction-reducing surface that facilitates seamless cork extraction. This non-stick characteristic minimizes the likelihood of the worm getting caught or creating resistance as it enters the cork, allowing for a more effortless and controlled insertion.
To effectively utilize a corkscrew with a Teflon-coated worm, follow these steps:
-
Initial Positioning: Begin by aligning the Teflon-coated worm at the center of the cork, ensuring a straight and steady insertion angle. The non-stick nature of the Teflon coating reduces the risk of the worm veering off course or encountering undue resistance during the initial penetration.
-
Gentle Insertion: With the corkscrew positioned over the cork, apply gentle downward pressure while twisting the handle in a clockwise direction. The Teflon-coated worm's smooth surface allows for a controlled and gradual insertion, minimizing the likelihood of the cork fragmenting or becoming dislodged prematurely.
-
Steady Extraction: Once the Teflon-coated worm is fully embedded in the cork, utilize the corkscrew's leverage to steadily extract the cork from the bottle. The non-stick properties of the Teflon coating contribute to a smooth and consistent extraction process, reducing the risk of the cork breaking or causing resistance as it is removed.
Incorporating a corkscrew with a Teflon-coated worm into your wine tool collection equips you with a reliable and effective solution for addressing stuck corks. The Teflon coating's non-stick attributes minimize friction and resistance, allowing for a more controlled and seamless cork extraction experience. Whether dealing with an older, fragile cork or a particularly stubborn one, the Teflon-coated worm can streamline the uncorking process, ensuring that you can enjoy your favorite bottle of wine without unnecessary hassle.
In summary, the Teflon-coated worm enhances the functionality of the corkscrew, providing a non-stick surface that promotes smooth and controlled cork extraction. By leveraging the benefits of a Teflon-coated worm, you can confidently tackle stuck corks, knowing that the non-stick properties will facilitate a seamless and frustration-free uncorking experience.
To get cork off a corkscrew, gently twist and pull the corkscrew out of the cork. If the cork is stuck, use a firm grip and twist while pulling.
Read more: How To Pop A Wine Cork Without A Corkscrew
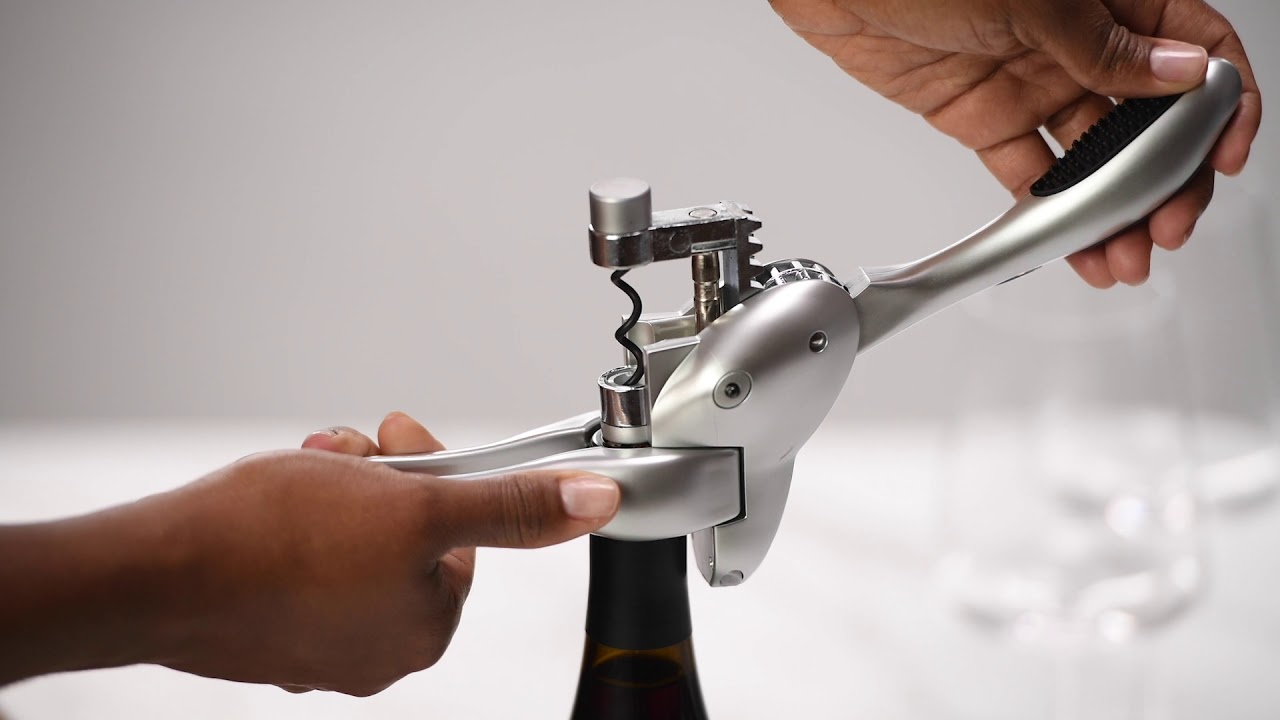
Step 5: Use a Corkscrew with a Wide Worm
When faced with the challenge of removing a stubborn cork from a wine bottle, utilizing a corkscrew with a wide worm can offer a practical and effective solution. The wide worm, also known as the spiral metal part of the corkscrew, plays a pivotal role in penetrating the cork and facilitating its extraction. This specialized design provides distinct advantages when dealing with stuck corks, making the uncorking process more manageable and less prone to complications.
The wide worm's enhanced diameter and sturdy construction contribute to its effectiveness in addressing stuck corks. By offering a broader surface area and increased stability during insertion, the wide worm minimizes the risk of the cork crumbling or breaking apart, providing a reliable grip that promotes a smooth and controlled extraction process.
To effectively utilize a corkscrew with a wide worm, follow these steps:
-
Initial Positioning: Begin by aligning the wide worm at the center of the cork, ensuring that it is perpendicular to the bottle's opening. The wide diameter of the worm provides a stable foundation for insertion, reducing the likelihood of the cork fragmenting or becoming dislodged prematurely.
-
Steady Insertion: With the corkscrew positioned over the cork, apply gentle downward pressure while twisting the handle in a clockwise direction. The wide worm's robust construction and increased surface area allow for a controlled and gradual insertion, minimizing the risk of resistance or instability during the penetration process.
-
Smooth Extraction: Once the wide worm is fully embedded in the cork, utilize the corkscrew's leverage to steadily extract the cork from the bottle. The wide worm's broad diameter and secure grip facilitate a smooth and consistent extraction process, reducing the likelihood of the cork breaking or causing complications as it is removed.
Incorporating a corkscrew with a wide worm into your wine tool collection equips you with a reliable and practical solution for addressing stuck corks. The wide worm's enhanced stability and secure grip minimize the risk of cork-related issues, allowing for a more controlled and seamless uncorking experience. Whether dealing with an older, delicate cork or a particularly stubborn one, the wide worm design can simplify the uncorking process, ensuring that you can enjoy your favorite bottle of wine without unnecessary hassle.
In summary, the wide worm's robust construction and increased surface area make it an invaluable feature of specialized corkscrews designed to handle stuck corks. By leveraging the benefits of a corkscrew with a wide worm, you can confidently tackle challenging uncorking situations, knowing that the wide worm's stability and secure grip will facilitate a smooth and frustration-free experience.
Step 6: Use a Corkscrew with a Bell
When encountering a stubborn cork that seems determined to resist extraction, employing a corkscrew with a bell can provide a practical and effective solution. The inclusion of a bell, a distinctive feature found in specialized corkscrew designs, enhances the uncorking process by offering unique advantages that address the challenges posed by stuck corks.
The bell, situated at the base of the corkscrew's worm, serves as a stabilizing platform during the cork extraction process. Its purpose is to provide additional support and leverage, ensuring a controlled and steady removal of the cork from the bottle. This innovative design feature minimizes the risk of the cork crumbling or becoming dislodged prematurely, allowing for a more seamless and frustration-free uncorking experience.
To effectively utilize a corkscrew with a bell, follow these steps:
-
Initial Positioning: Begin by aligning the bell-equipped corkscrew at the center of the cork, ensuring that the worm is perpendicular to the bottle's opening. The presence of the bell provides a stable foundation for insertion, reducing the likelihood of the cork fragmenting or causing complications during the extraction process.
-
Controlled Insertion: With the corkscrew positioned over the cork, apply gentle downward pressure while twisting the handle in a clockwise direction. The bell's stabilizing effect and additional support contribute to a controlled and gradual insertion, minimizing the risk of resistance or instability during the penetration process.
-
Steady Extraction: Once the worm is fully embedded in the cork, utilize the corkscrew's leverage to steadily extract the cork from the bottle. The bell's stabilizing influence ensures a smooth and consistent extraction process, reducing the likelihood of the cork breaking or causing complications as it is removed.
Incorporating a corkscrew with a bell into your wine tool collection equips you with a reliable and practical solution for addressing stuck corks. The bell's stabilizing effect and additional support minimize the risk of cork-related issues, allowing for a more controlled and seamless uncorking experience. Whether dealing with an older, delicate cork or a particularly stubborn one, the inclusion of a bell in the corkscrew design can simplify the uncorking process, ensuring that you can enjoy your favorite bottle of wine without unnecessary hassle.
In summary, the bell-equipped corkscrew offers a unique and effective approach to handling stuck corks, providing additional support and stability during the extraction process. By leveraging the benefits of a corkscrew with a bell, you can confidently tackle challenging uncorking situations, knowing that the bell's stabilizing influence will facilitate a smooth and frustration-free experience.
Step 7: Use a Corkscrew with a Cork Release
When contending with a stubborn cork that seems determined to thwart your uncorking efforts, employing a corkscrew with a cork release mechanism can provide a practical and effective solution. The inclusion of a cork release feature, a distinctive attribute found in specialized corkscrew designs, enhances the uncorking process by offering unique advantages that address the challenges posed by stuck corks.
The cork release mechanism, typically integrated into the corkscrew's handle or body, serves as a convenient and reliable means of disengaging the extracted cork from the worm after it has been removed from the bottle. This innovative design feature minimizes the need for manual manipulation or additional tools to free the cork from the corkscrew, streamlining the overall uncorking experience and reducing the risk of cork-related complications.
To effectively utilize a corkscrew with a cork release, follow these steps:
-
Initial Extraction: Begin by aligning the corkscrew at the center of the cork and inserting the worm into the cork by twisting it in a clockwise direction. Once the worm is securely embedded in the cork, utilize the corkscrew's leverage to extract the cork from the bottle, taking advantage of the cork release mechanism's presence.
-
Cork Release Activation: After the cork has been successfully extracted, engage the cork release mechanism by following the specific instructions provided by the corkscrew's design. This may involve a simple button or lever that disengages the cork from the worm, allowing for effortless and convenient cork removal without the need for manual intervention.
-
Smooth Disengagement: With the cork release mechanism activated, gently disengage the extracted cork from the corkscrew, ensuring a smooth and controlled release. The cork release feature simplifies the process of freeing the cork from the corkscrew, minimizing the risk of cork breakage or unintended displacement.
Incorporating a corkscrew with a cork release into your wine tool collection equips you with a reliable and practical solution for addressing stuck corks. The cork release mechanism's convenience and efficiency streamline the uncorking process, allowing for a more seamless and frustration-free experience. Whether dealing with an older, delicate cork or a particularly stubborn one, the inclusion of a cork release feature in the corkscrew design can simplify the uncorking process, ensuring that you can enjoy your favorite bottle of wine without unnecessary hassle.
In summary, the cork release-equipped corkscrew offers a convenient and effective approach to handling stuck corks, providing a streamlined method for disengaging the extracted cork from the corkscrew. By leveraging the benefits of a corkscrew with a cork release, you can confidently tackle challenging uncorking situations, knowing that the cork release mechanism will facilitate a smooth and frustration-free experience.
Step 8: Use a Corkscrew with a Built-in Corkscrew Stand
When faced with the task of removing a stubborn cork from a wine bottle, utilizing a corkscrew with a built-in corkscrew stand can offer a practical and efficient solution. The incorporation of a built-in stand, a distinctive feature found in specialized corkscrew designs, enhances the uncorking process by providing unique advantages that address the challenges posed by stuck corks.
The built-in corkscrew stand serves as a stabilizing platform that supports the corkscrew during the cork extraction process. Its purpose is to provide additional stability and leverage, ensuring a controlled and steady removal of the cork from the bottle. This innovative design feature minimizes the risk of the corkscrew slipping or causing instability during the extraction process, allowing for a more seamless and frustration-free uncorking experience.
To effectively utilize a corkscrew with a built-in corkscrew stand, follow these steps:
-
Initial Positioning: Begin by aligning the corkscrew at the center of the cork, ensuring that the stand is firmly positioned on a flat surface. The built-in stand provides a stable foundation for insertion, reducing the likelihood of the corkscrew slipping or causing complications during the extraction process.
-
Controlled Insertion: With the corkscrew positioned over the cork, apply gentle downward pressure while twisting the handle in a clockwise direction. The built-in stand's stabilizing effect and additional support contribute to a controlled and gradual insertion, minimizing the risk of instability during the penetration process.
-
Steady Extraction: Once the worm is fully embedded in the cork, utilize the corkscrew's leverage to steadily extract the cork from the bottle. The built-in stand's stabilizing influence ensures a smooth and consistent extraction process, reducing the likelihood of the cork causing complications as it is removed.
Incorporating a corkscrew with a built-in corkscrew stand into your wine tool collection equips you with a reliable and practical solution for addressing stuck corks. The stand's stabilizing effect and additional support minimize the risk of corkscrew-related issues, allowing for a more controlled and seamless uncorking experience. Whether dealing with an older, delicate cork or a particularly stubborn one, the inclusion of a built-in stand in the corkscrew design can simplify the uncorking process, ensuring that you can enjoy your favorite bottle of wine without unnecessary hassle.
In summary, the built-in corkscrew stand offers a unique and effective approach to handling stuck corks, providing additional support and stability during the extraction process. By leveraging the benefits of a corkscrew with a built-in stand, you can confidently tackle challenging uncorking situations, knowing that the stand's stabilizing influence will facilitate a smooth and frustration-free experience.
Conclusion
In conclusion, dealing with a stuck cork can be a frustrating experience, but with the right techniques and specialized corkscrews, the process can be transformed into a seamless and enjoyable endeavor. By assessing the situation, utilizing innovative corkscrew designs, and incorporating practical methods, individuals can confidently address the challenges posed by stubborn corks, ensuring that the uncorking process remains a smooth and hassle-free experience.
The initial assessment of the cork's condition, corkscrew type, cork depth, and bottle material sets the stage for determining the most suitable approach for removing the stuck cork. This critical evaluation provides valuable insights that guide the subsequent steps, ensuring that the uncorking process is tailored to the unique characteristics of the cork and the corkscrew in use.
The utilization of specialized corkscrews, such as those equipped with a double hinge, built-in foil cutter, Teflon-coated worm, wide worm, bell, cork release, and built-in corkscrew stand, offers practical solutions for addressing stuck corks. Each of these innovative features provides distinct advantages, including enhanced leverage, non-stick properties, additional stability, and streamlined functionality, all of which contribute to a more efficient and controlled cork extraction process.
By incorporating these specialized corkscrews into their wine tool collection, individuals can confidently tackle stuck corks, knowing that they have access to reliable and effective tools designed to simplify the uncorking experience. Whether dealing with older, fragile corks or particularly stubborn ones, these innovative corkscrew designs offer practical solutions that minimize the risk of cork-related complications and ensure a seamless transition from bottle preparation to enjoying the contents.
In essence, the combination of thoughtful assessment, innovative corkscrew designs, and practical techniques empowers individuals to overcome the challenges posed by stuck corks, allowing them to savor their favorite bottles of wine without unnecessary hassle. By embracing these approaches and incorporating specialized corkscrews into their wine tool collection, individuals can transform the task of removing a stuck cork into a smooth and satisfying experience, ensuring that the wine flows effortlessly and the enjoyment remains uninterrupted.
Frequently Asked Questions about How To Get Cork Off Of A Corkscrew
Was this page helpful?
At Storables.com, we guarantee accurate and reliable information. Our content, validated by Expert Board Contributors, is crafted following stringent Editorial Policies. We're committed to providing you with well-researched, expert-backed insights for all your informational needs.

0 thoughts on “How To Get Cork Off Of A Corkscrew”