Home>Others>Specialized Home Improvement Topics>How To Tint Car Windows Yourself
Specialized Home Improvement Topics
How To Tint Car Windows Yourself
Modified: February 14, 2024
Learn how to tint car windows yourself with our specialized home improvement topics. Save money and get professional results with our step-by-step guide.
(Many of the links in this article redirect to a specific reviewed product. Your purchase of these products through affiliate links helps to generate commission for Storables.com, at no extra cost. Learn more)
Introduction
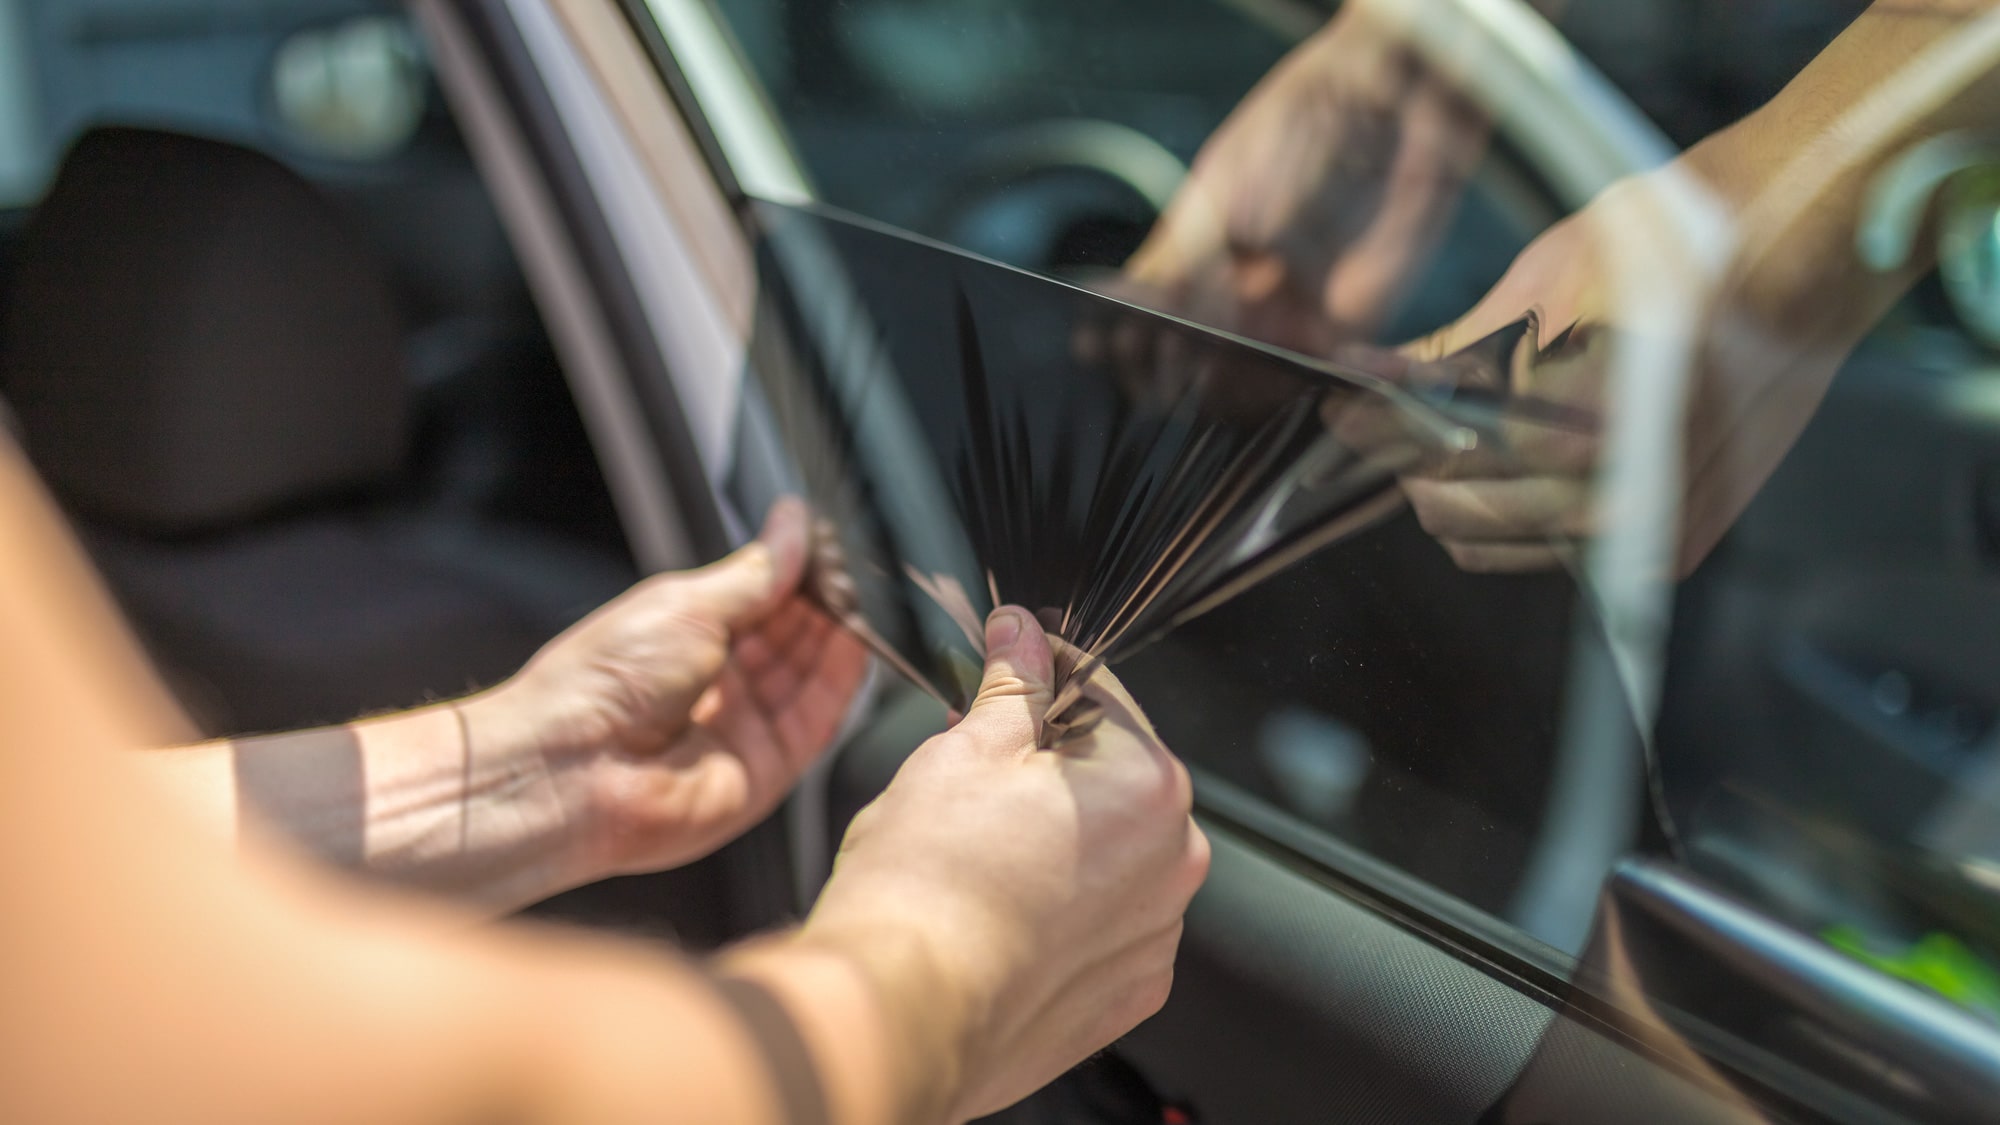
So, you've decided that you want to add a touch of style and functionality to your car by tinting its windows. Congratulations! Window tinting not only enhances the aesthetic appeal of your vehicle but also offers practical benefits such as UV protection, heat reduction, and increased privacy.
In this comprehensive guide, we'll walk you through the process of tinting your car windows yourself. While professional tinting services are widely available, taking on this project as a DIY endeavor can be a rewarding and cost-effective experience. By understanding the fundamentals of window tinting, selecting the right tint, and following the proper application techniques, you can achieve professional-quality results while personalizing your car to your preferences.
Throughout this guide, we'll delve into the intricacies of window tinting, providing you with valuable insights and practical tips to ensure a successful and satisfying outcome. Whether you're a seasoned DIY enthusiast or a novice looking to embark on your first automotive project, this article will equip you with the knowledge and confidence to tackle the task of tinting your car windows with finesse.
So, roll up your sleeves, gather your materials, and let's dive into the art of DIY car window tinting. By the end of this journey, you'll not only have a beautifully tinted vehicle but also a sense of accomplishment that comes with mastering a new skill. Let's get started!
Key Takeaways:
- Tinting car windows yourself can be rewarding and cost-effective. Understand the tinting process, choose the right tint, and prepare your car meticulously for a successful DIY project.
- Applying the tint with precision and attention to detail is crucial. After completion, attend to finishing touches for a professional, polished look, and enjoy the enhanced comfort and style of your personalized vehicle.
Read more: How To Tint Windows On Car
Understanding Window Tinting
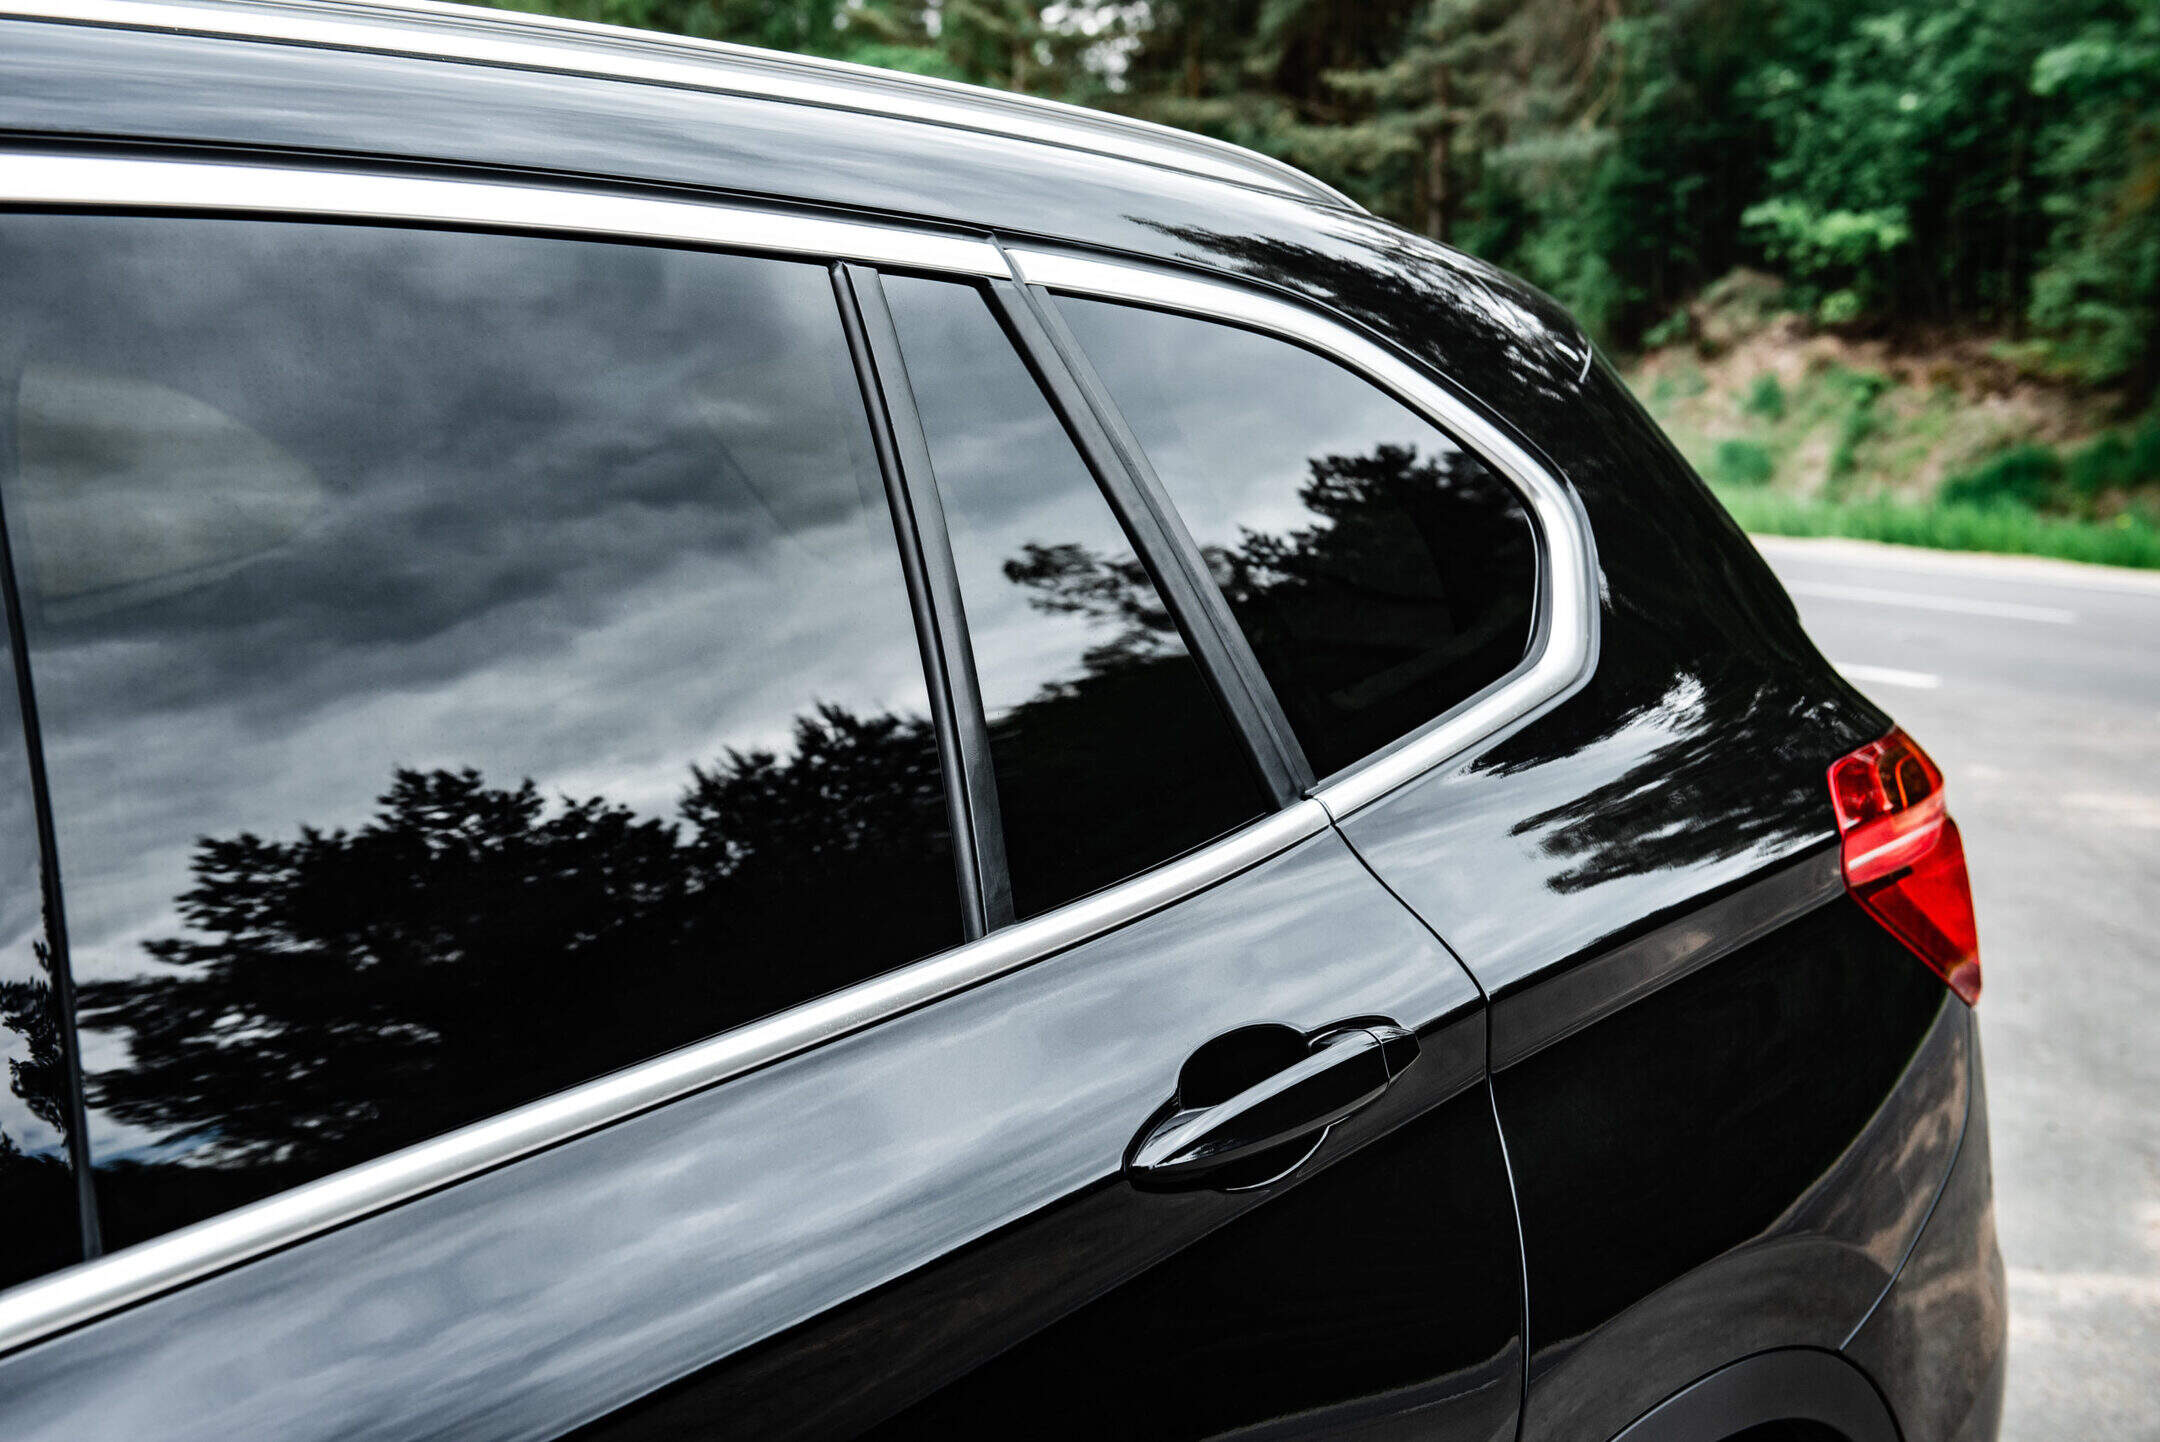
Before delving into the practical aspects of tinting your car windows, it’s essential to grasp the underlying principles of window tinting. Window tinting involves applying a thin, transparent film to the interior surface of the vehicle’s windows. This film is designed to reduce the amount of visible light, infrared radiation, and ultraviolet (UV) rays that penetrate through the glass, thereby altering the properties of the window.
When selecting a window tint, you’ll encounter the concept of Visible Light Transmission (VLT), which refers to the percentage of visible light that the tint allows to pass through the glass. Lower VLT percentages indicate darker tints, providing increased privacy and glare reduction. Additionally, window tints are rated for their ability to block UV rays and solar heat, contributing to a cooler and more comfortable interior environment.
Understanding the legal regulations pertaining to window tinting is crucial, as these regulations vary by location. Before proceeding with your DIY tinting project, familiarize yourself with the permissible VLT percentages and any restrictions on tint colors in your area. Adhering to these regulations will not only ensure compliance with the law but also prevent potential issues during vehicle inspections or law enforcement encounters.
Moreover, it’s important to recognize that different types of window tint films offer varying benefits. Dyed films provide a sleek appearance and heat reduction, while metalized films offer improved UV protection and durability. Meanwhile, ceramic films excel in heat rejection without interfering with electronic signals, making them an ideal choice for modern vehicles equipped with advanced technology.
By understanding the technical aspects of window tinting and familiarizing yourself with the diverse range of tinting options available, you can make informed decisions when choosing the most suitable tint for your car. This knowledge will empower you to optimize the aesthetics, functionality, and performance of your window tint, ensuring that it aligns with your specific preferences and requirements.
Choosing the Right Tint
When it comes to selecting the right tint for your car windows, several factors come into play, each influencing the overall appearance and performance of the tint. As you navigate through the myriad of options, consider the following aspects to make an informed decision:
- Legal Compliance: Begin by familiarizing yourself with the legal regulations governing window tinting in your area. Check the permissible Visible Light Transmission (VLT) percentages and any restrictions on tint colors to ensure that your chosen tint aligns with the local laws.
- Desired Appearance: Determine the aesthetic effect you wish to achieve with your window tint. Whether you prefer a subtle enhancement or a bold, dramatic transformation, understanding your desired look will guide you in selecting the appropriate VLT percentage and tint color.
- Functional Benefits: Assess the functional advantages you seek from the window tint. If UV protection and heat reduction are your primary concerns, opt for a tint with high UV-blocking capabilities and infrared rejection properties. Alternatively, if glare reduction and privacy are your priorities, consider a darker tint with a lower VLT percentage.
- Material Quality: Evaluate the quality and composition of the tint films available. Look for reputable brands that offer durable, high-performance films with features such as scratch resistance, color stability, and advanced heat-rejection technology.
- Technology Compatibility: If your vehicle is equipped with electronic devices such as GPS, mobile phone signal boosters, or keyless entry systems, consider opting for a non-metalized ceramic tint. These films provide excellent heat rejection without interfering with electronic signals, preserving the functionality of your vehicle’s technology.
Once you’ve considered these factors, explore the diverse range of window tint products on the market, comparing their specifications and benefits. Many manufacturers offer sample swatches or displays that allow you to visualize how different tints will appear on your car’s windows. Take advantage of these resources to assess the visual impact and performance attributes of various tints before making your selection.
By carefully weighing these considerations and conducting thorough research, you can confidently choose a window tint that not only enhances the visual appeal of your car but also delivers the functional benefits that align with your lifestyle and driving preferences. With the right tint in hand, you’ll be well-equipped to embark on the next steps of your DIY car window tinting journey.
Preparing Your Car
Before diving into the application of the window tint, it’s crucial to prepare your car thoroughly to ensure a smooth and successful tinting process. By following these preparatory steps, you can create an optimal environment for applying the tint and maximize the longevity and effectiveness of the finished result:
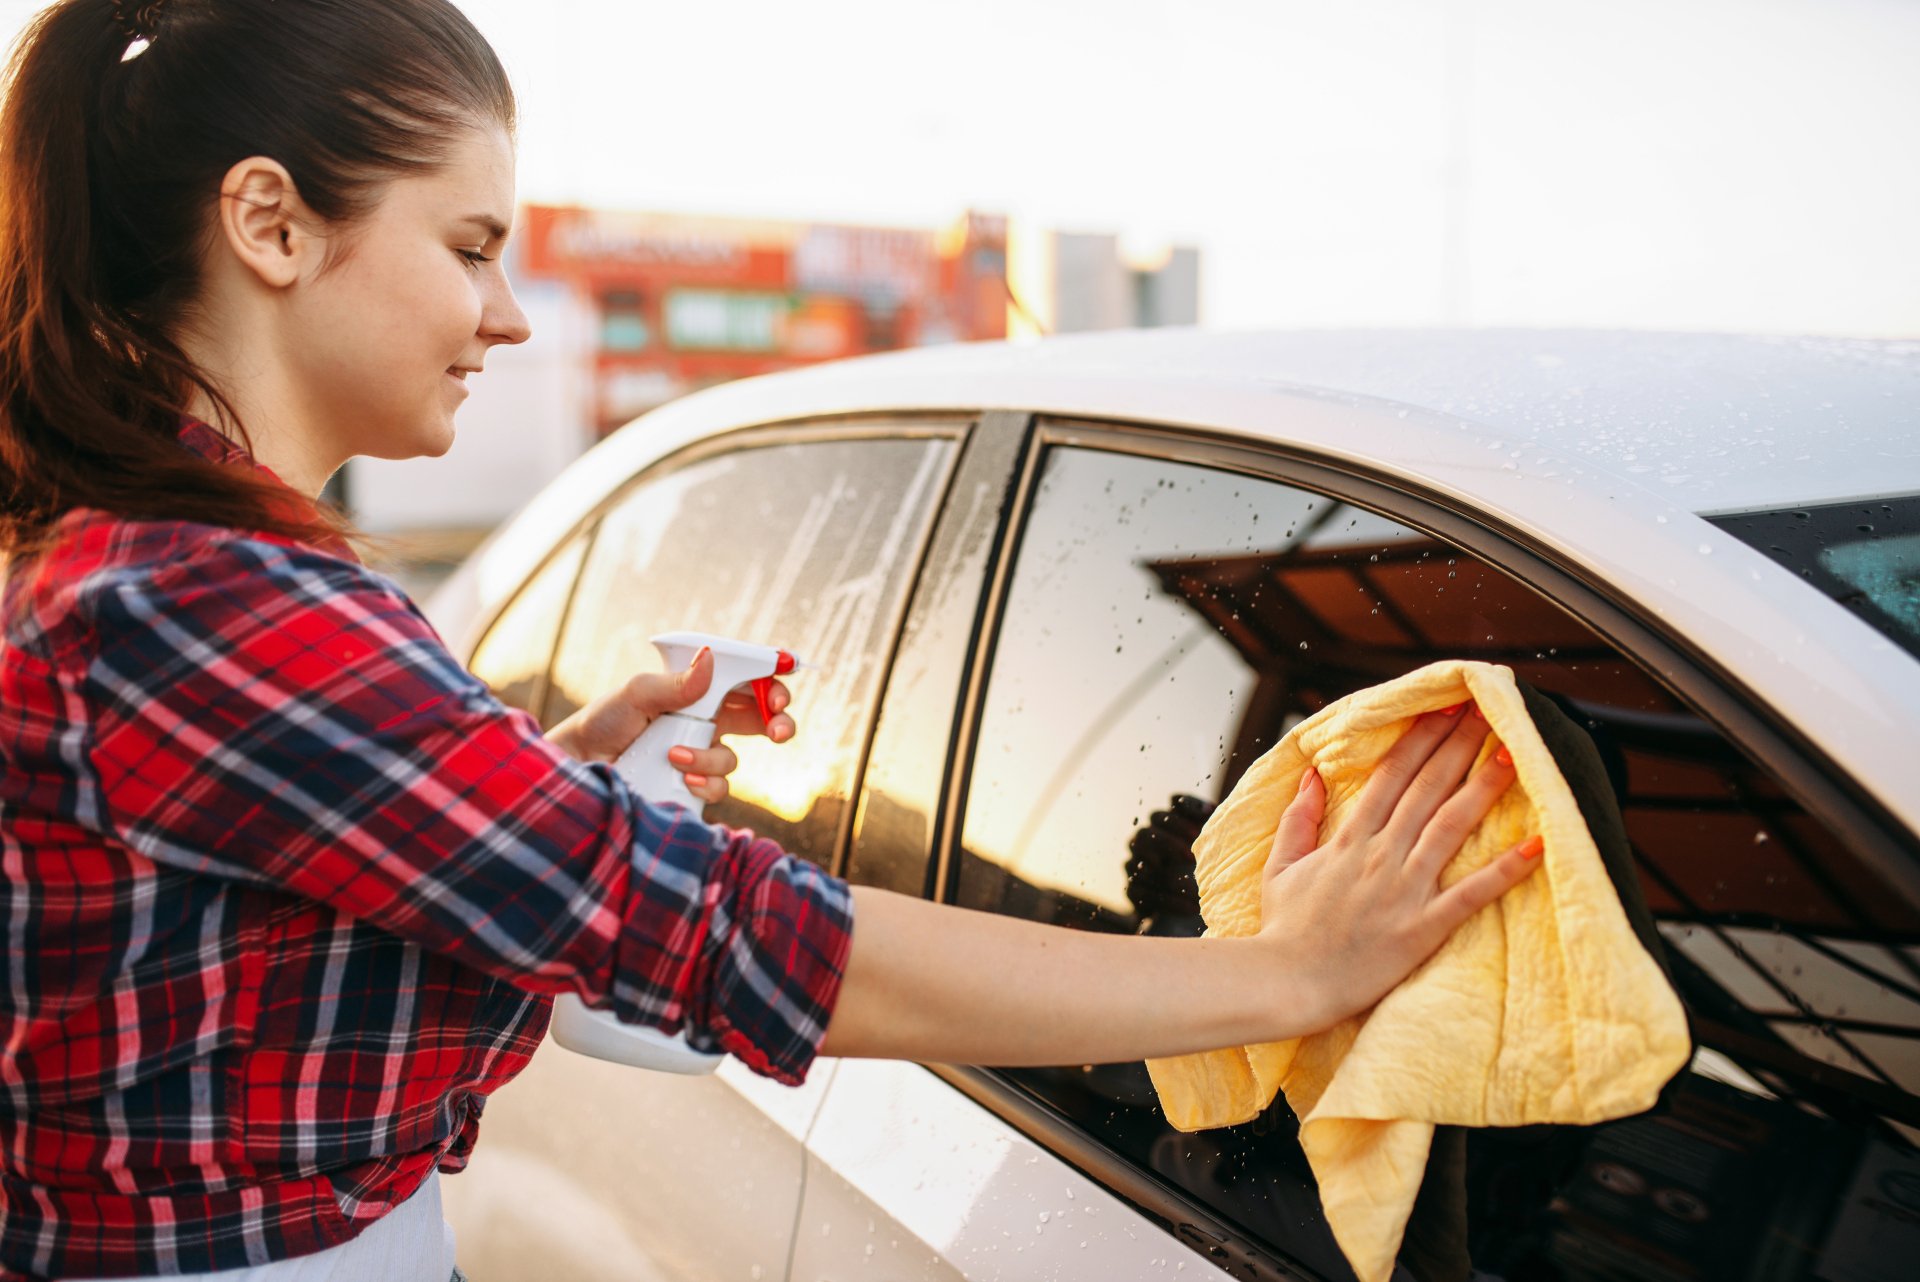
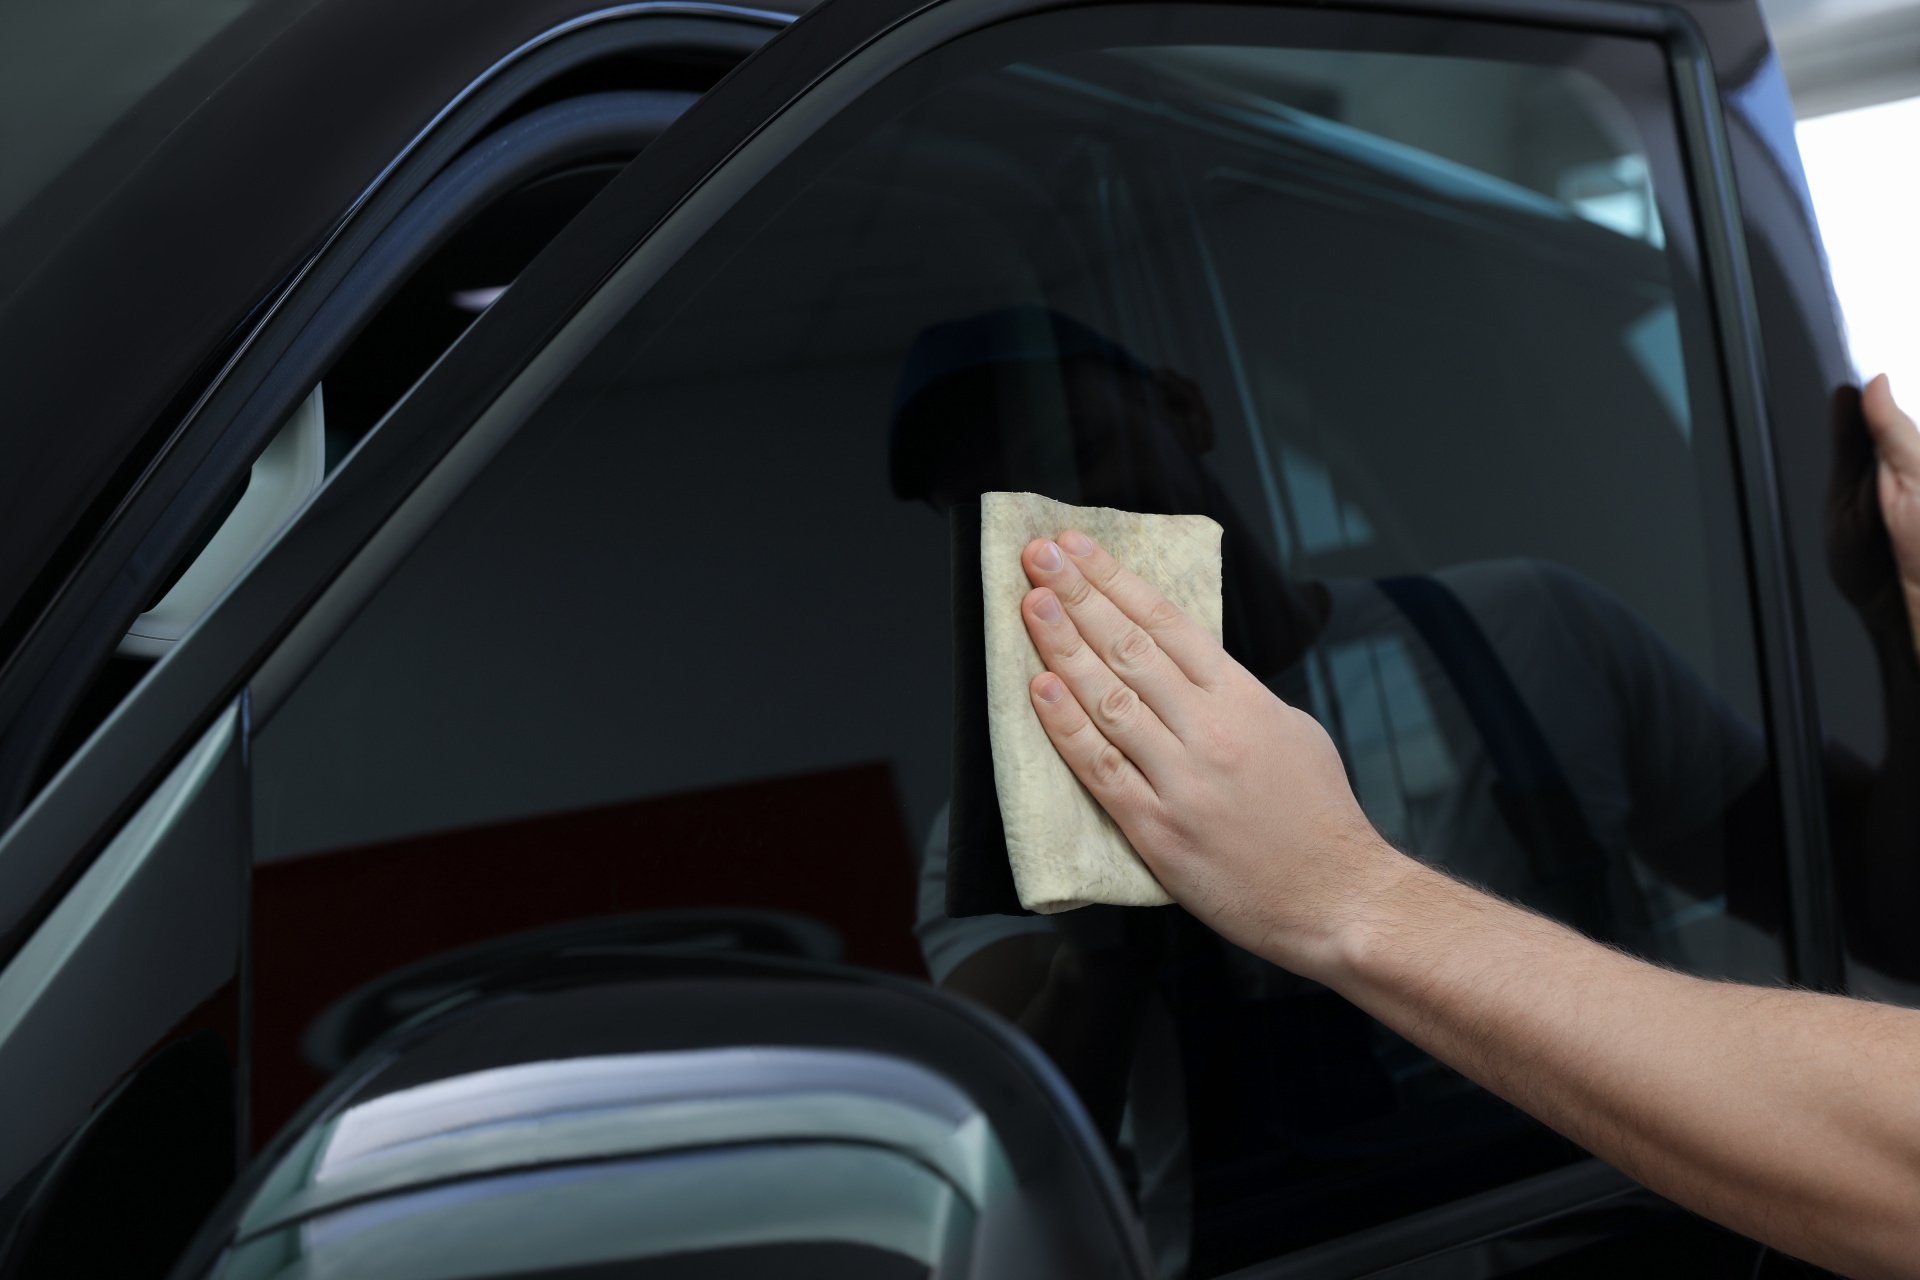
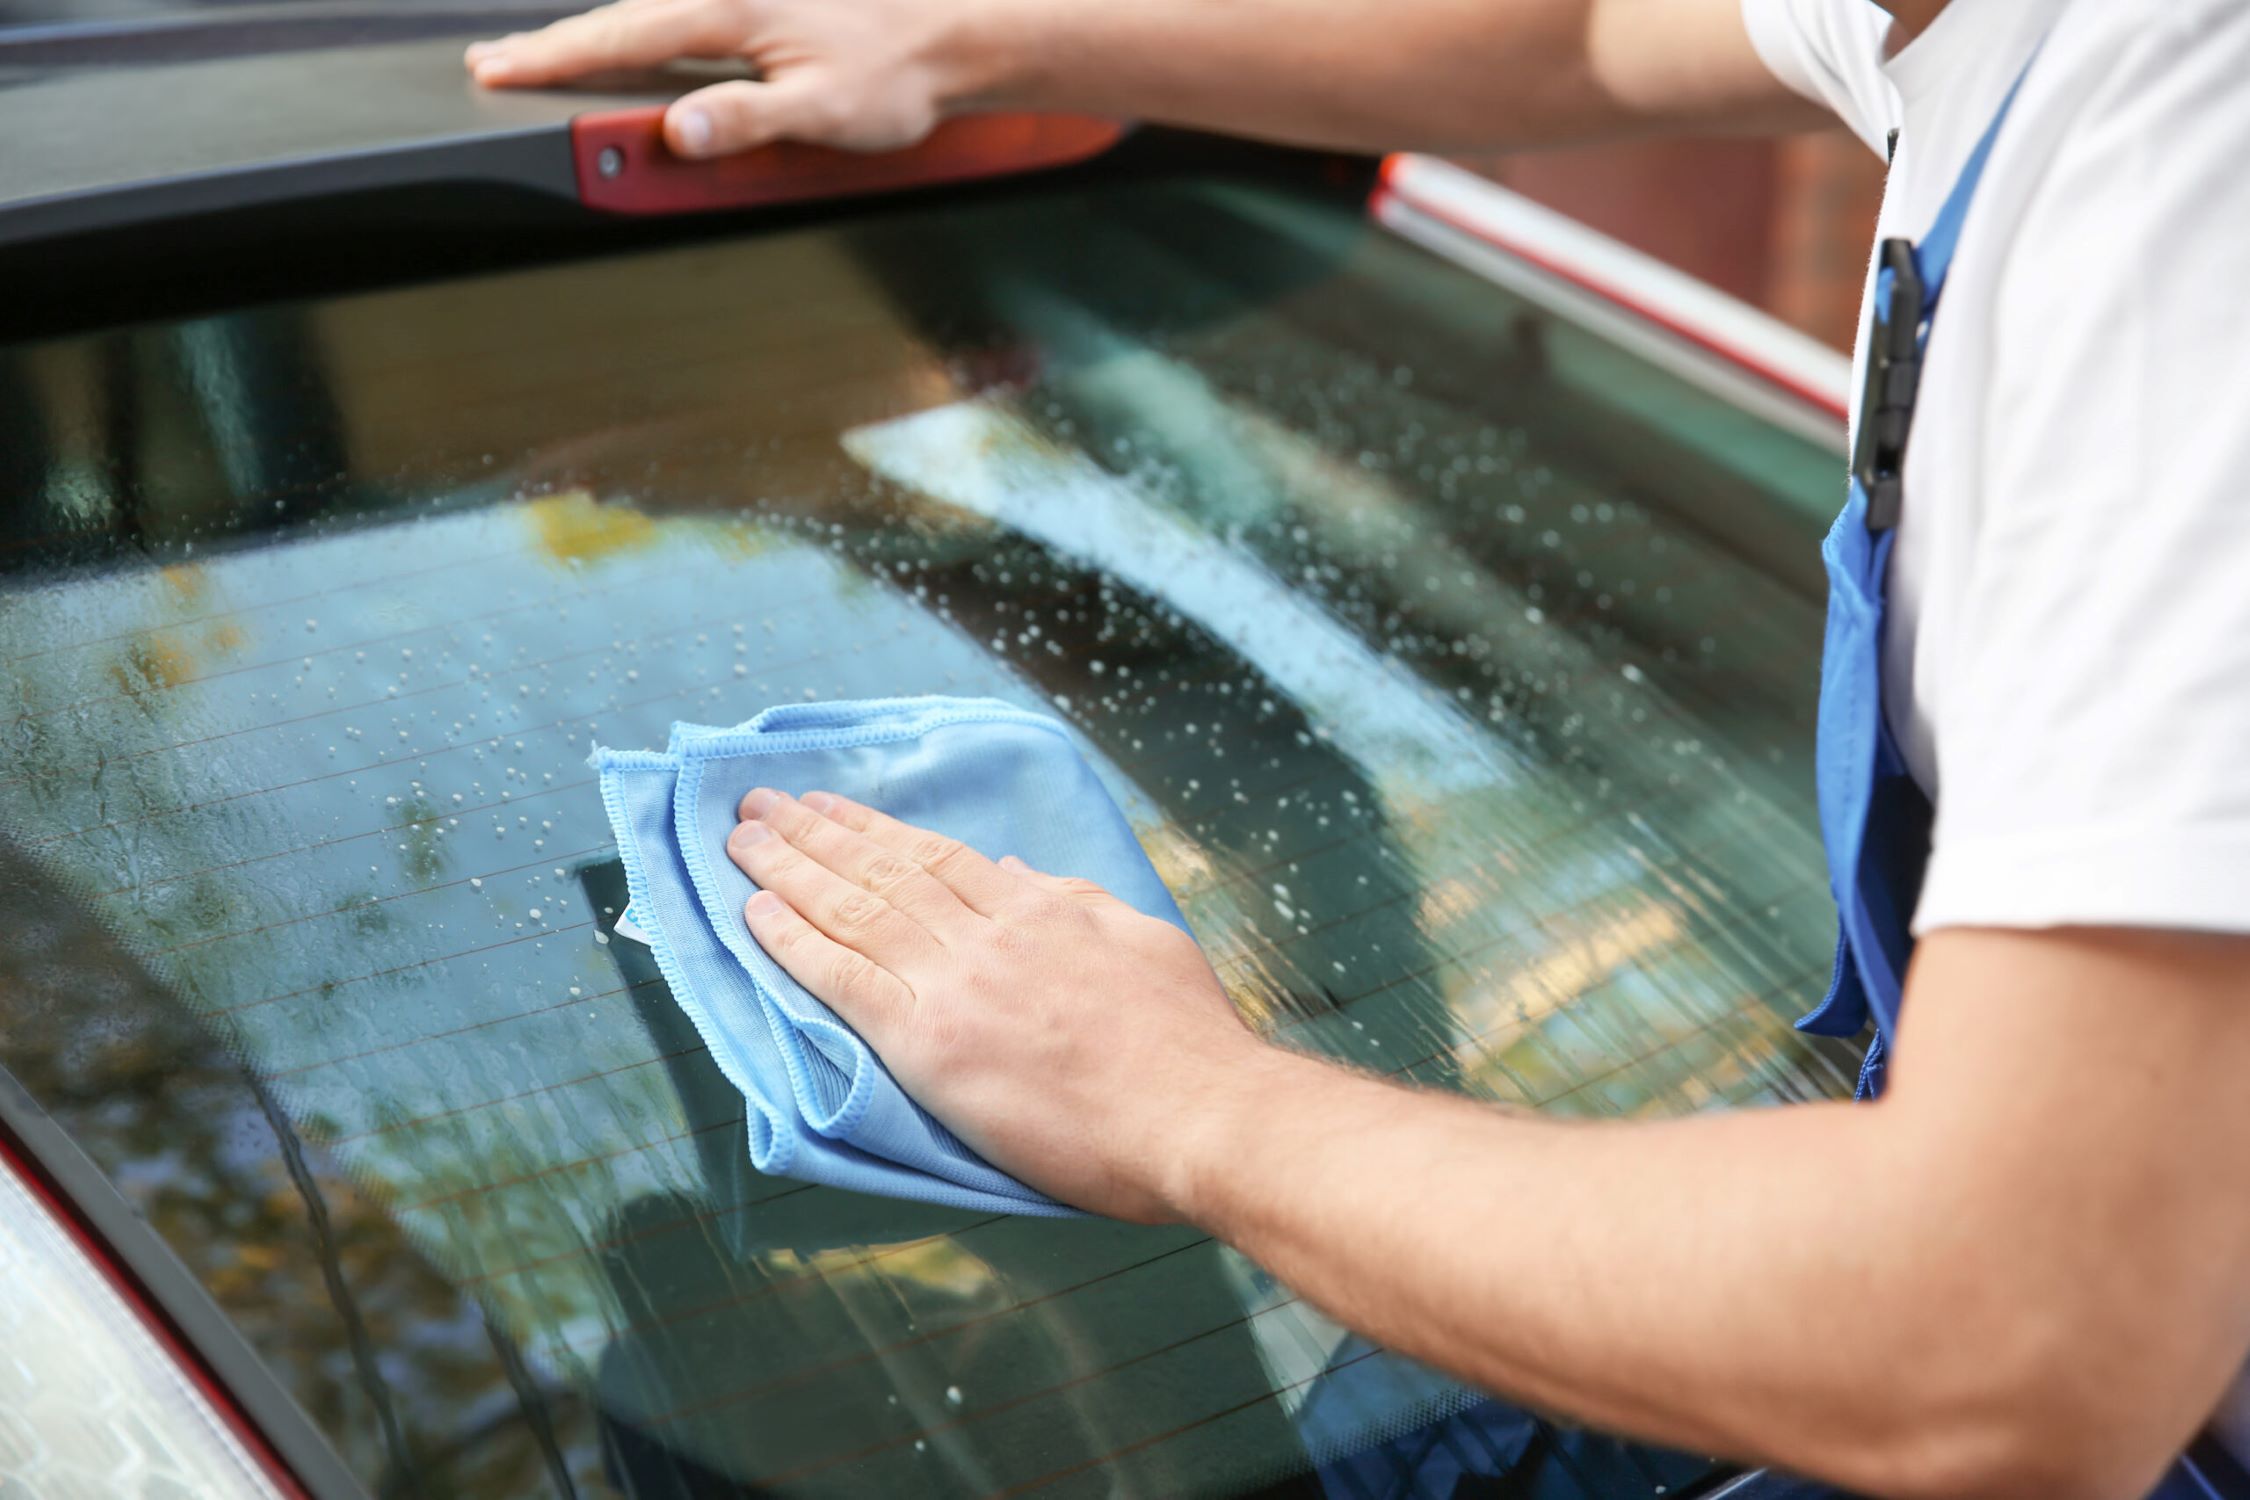
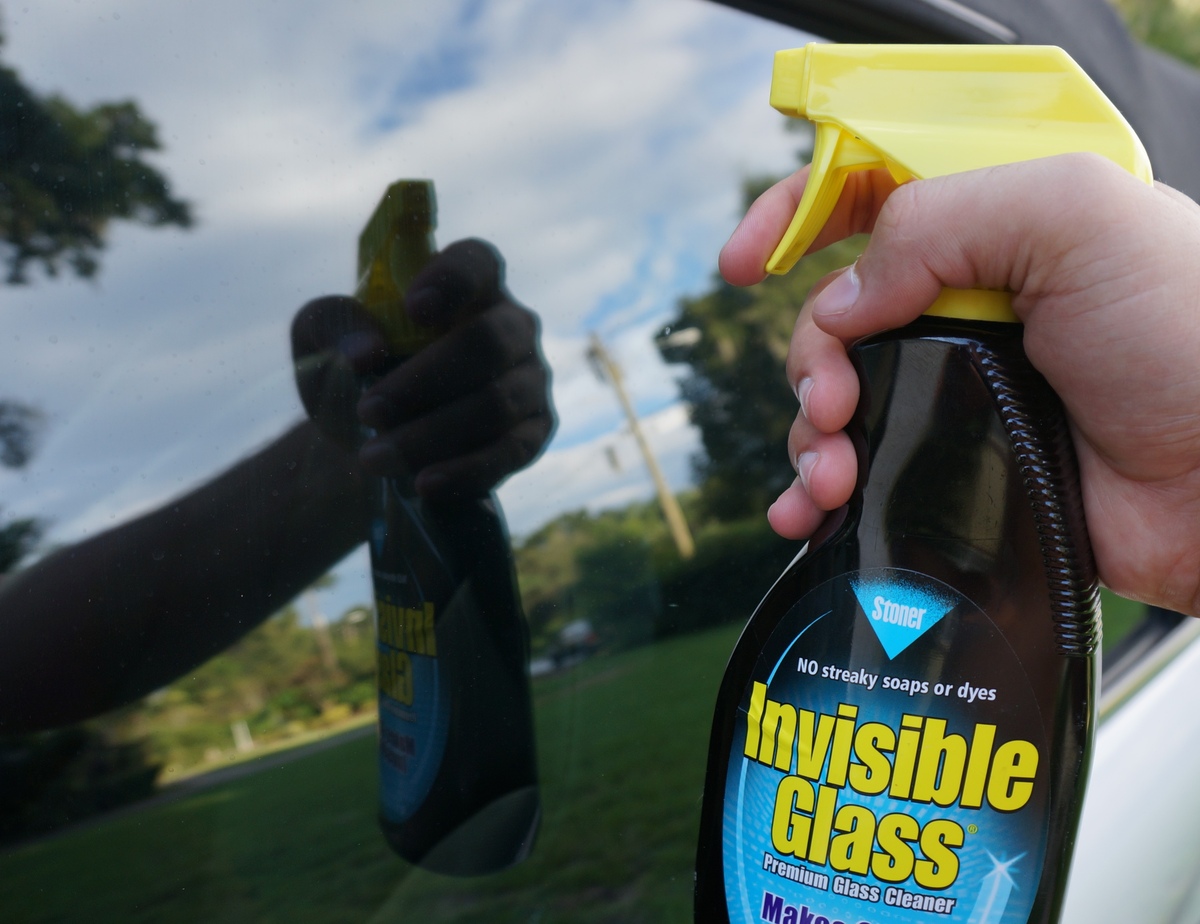
- Clean the Windows: Start by thoroughly cleaning the interior surface of the windows using a mild, ammonia-free glass cleaner. Remove any dirt, dust, or residue, paying particular attention to the edges and corners of the windows. A clean surface will promote proper adhesion of the tint film and minimize the risk of imperfections.
- Remove Obstructions: Clear the interior of the car, removing any objects that obstruct access to the windows. This includes items such as sunshades, air fresheners, and any personal belongings near the windows. Clearing the workspace will allow for unobstructed application of the tint and prevent potential damage to the film.
- Protect Interiors: Safeguard the interior components of your car, such as the dashboard, seats, and door panels, from accidental exposure to water or cleaning solutions. Cover these areas with protective materials or towels to prevent moisture or cleaning agents from seeping into the vehicle’s interior during the cleaning and tinting process.
- Ensure Adequate Ventilation: Work in a well-ventilated area to facilitate the drying process and prevent the accumulation of fumes from cleaning agents or adhesive solutions. If possible, perform the tinting process in a shaded, dust-free environment to minimize the risk of debris or contaminants adhering to the tint film during application.
- Inspect for Damage: Prior to applying the tint, inspect the windows for any signs of damage, such as scratches, chips, or cracks. Addressing these issues beforehand will prevent the tint from accentuating existing imperfections and ensure a seamless, professional finish.
By meticulously preparing your car for the window tinting process, you’ll create an ideal foundation for achieving impeccable results. These preparatory measures not only contribute to the visual appeal of the finished tint but also optimize the functionality and longevity of the tint film, allowing you to enjoy its benefits for years to come.
With your car primed and ready, you’re now poised to embark on the exciting phase of applying the window tint, bringing your vision of a personalized and stylish vehicle one step closer to reality.
When tinting car windows yourself, make sure to thoroughly clean the windows and use a high-quality tint film to ensure a smooth and long-lasting application.
Applying the Tint
As you venture into the application phase of tinting your car windows, it’s essential to approach this process with precision and care. By following these step-by-step guidelines, you can navigate the application of the tint film with confidence and achieve professional-quality results:
- Measure and Cut: Begin by measuring the dimensions of each window and cutting the tint film to the appropriate size, allowing for a slight overlap around the edges. Use a sharp utility knife and a cutting mat to ensure clean, accurate cuts that match the contours of the windows.
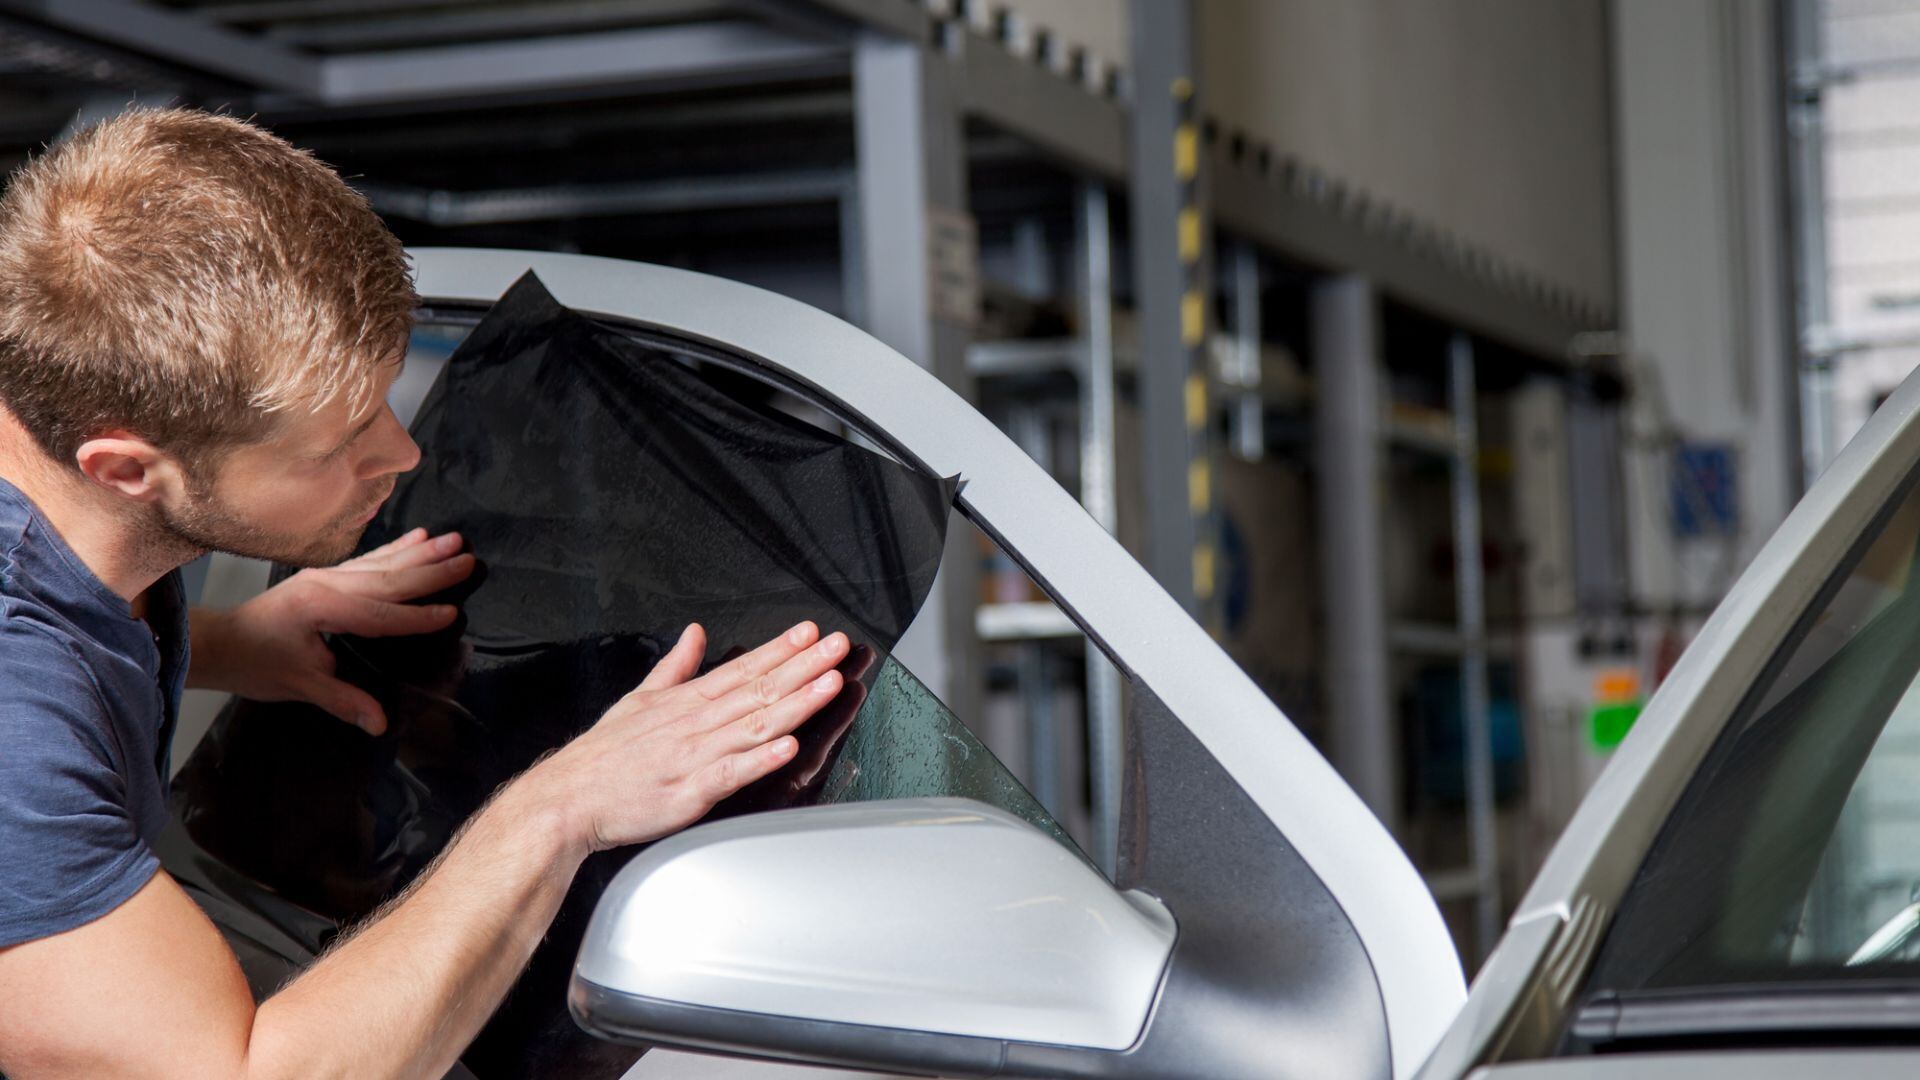
- Prepare the Tint: Lay the precut tint film on a clean, flat surface, and gradually remove the protective liner to expose the adhesive side of the film. As you peel away the liner, mist the adhesive side with a solution of water and a mild application solution to facilitate the positioning and adhesion of the tint.
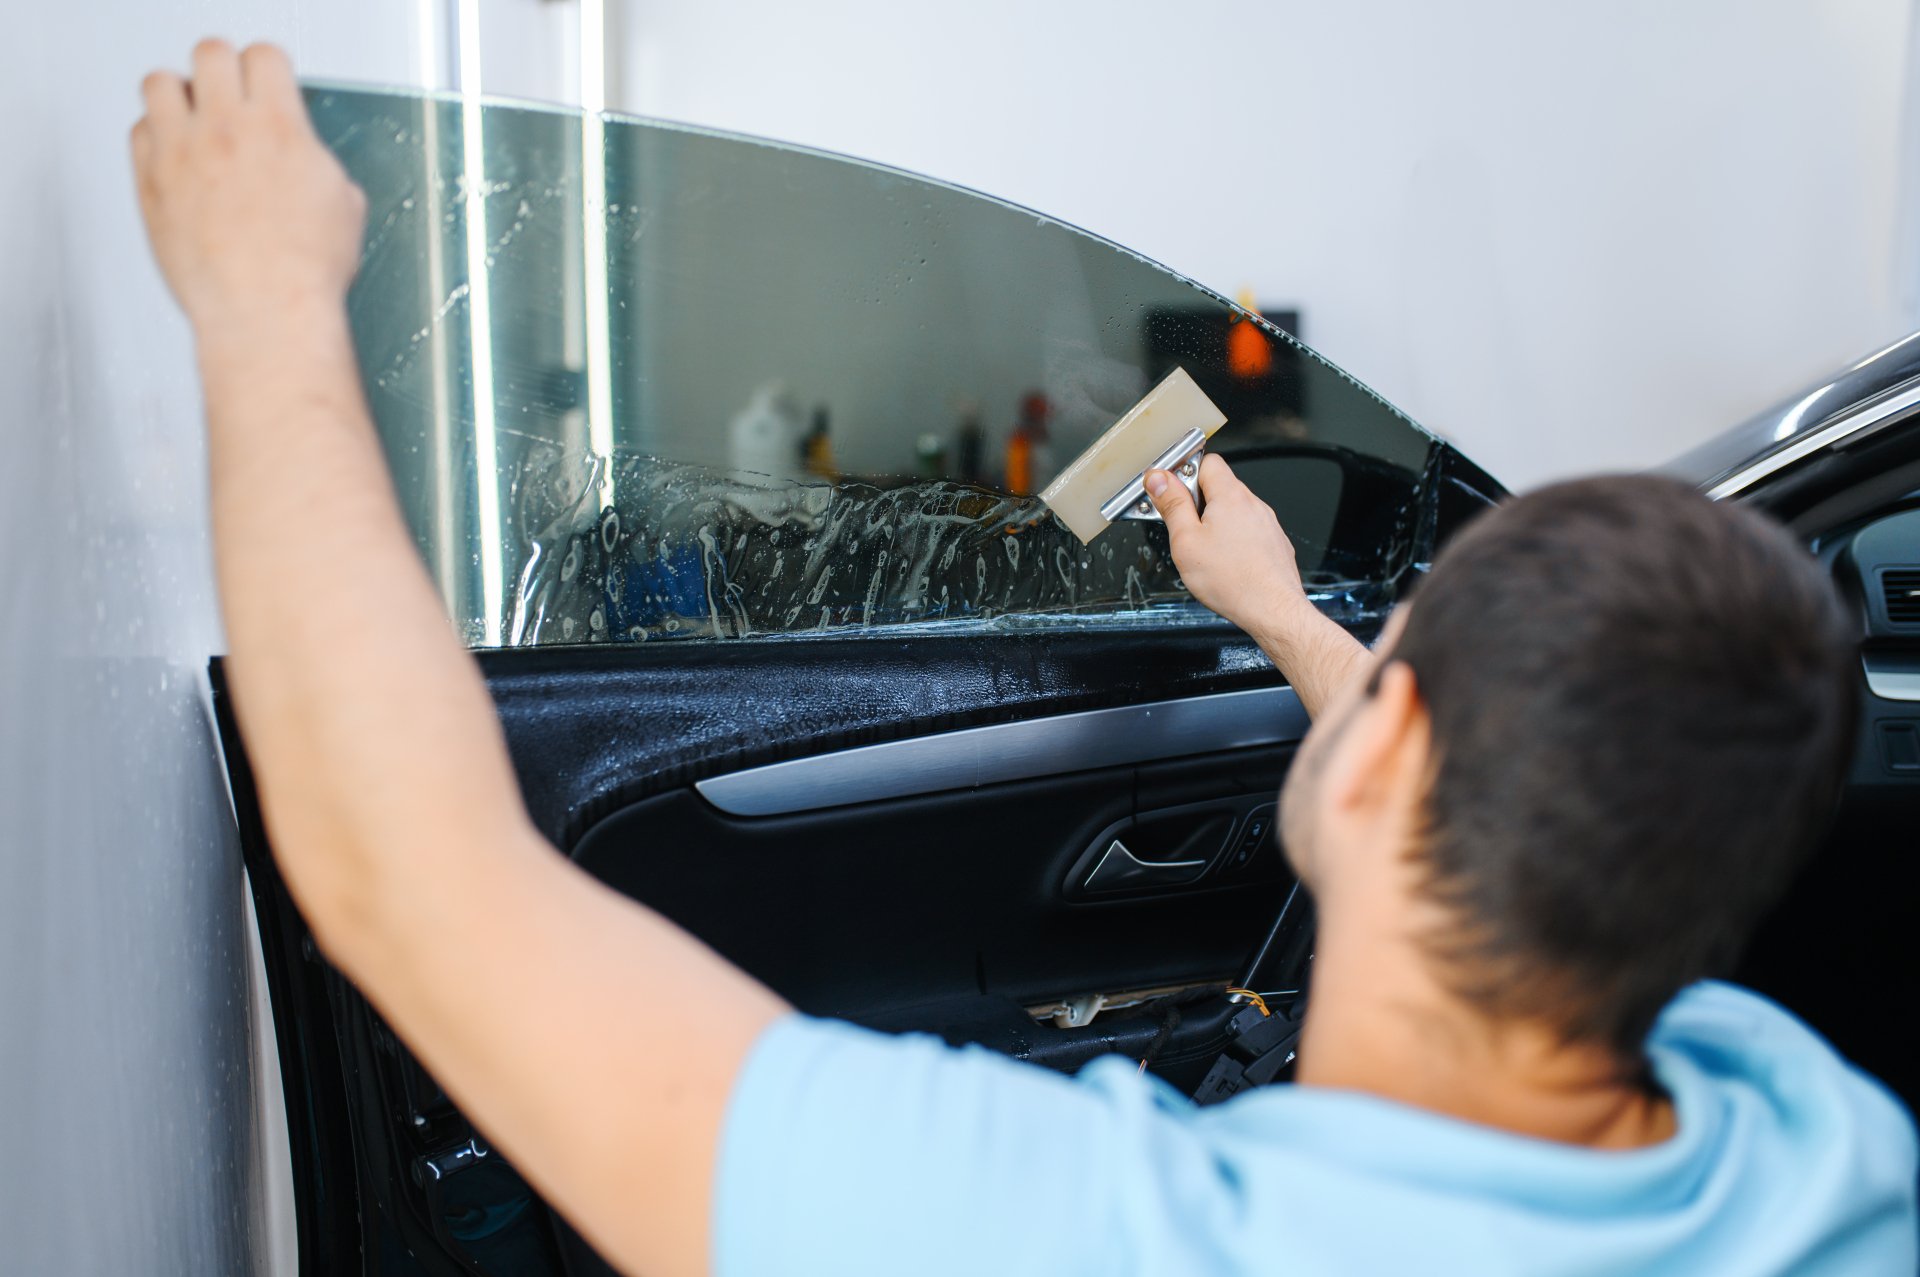
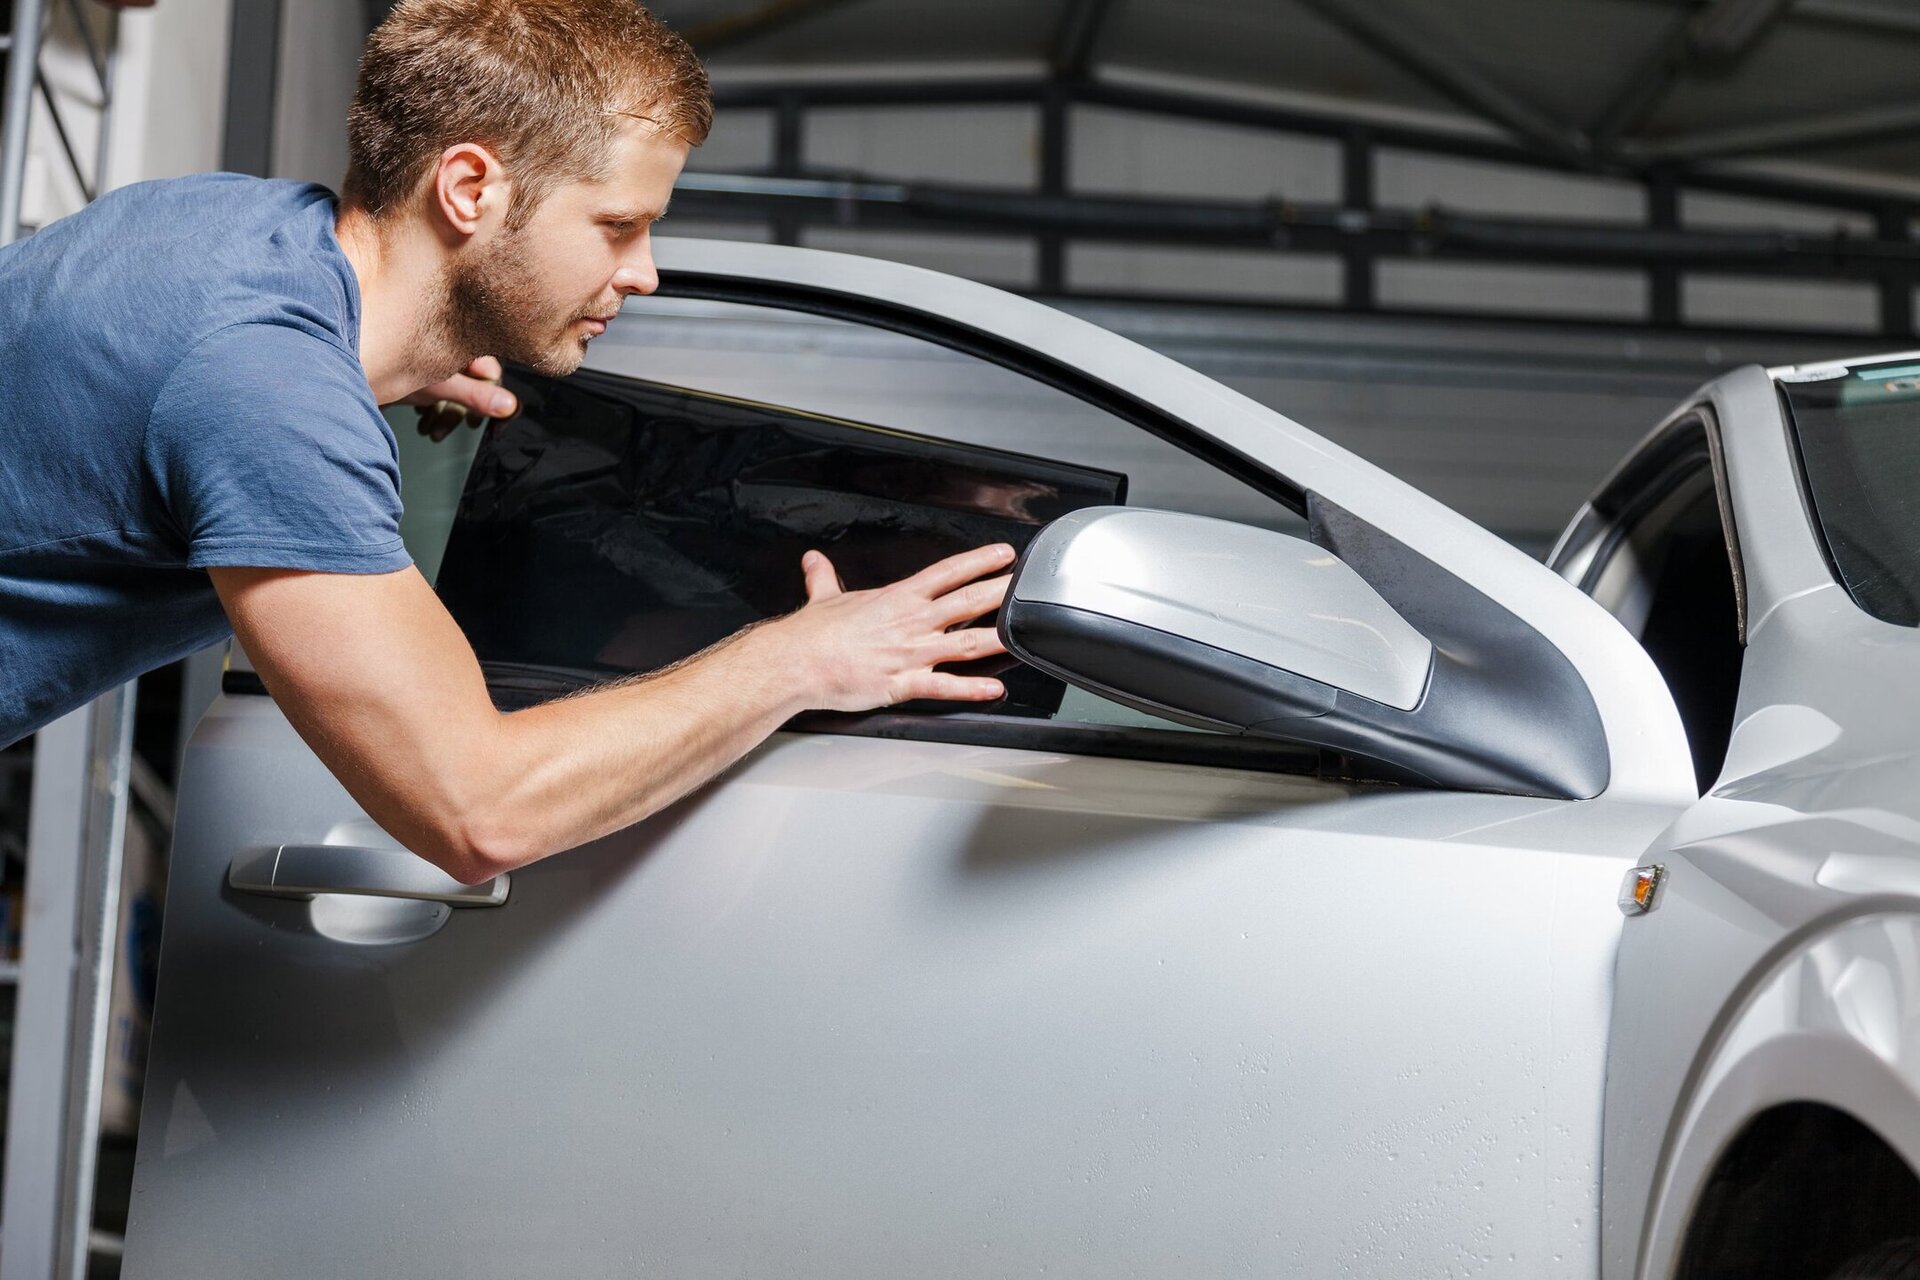
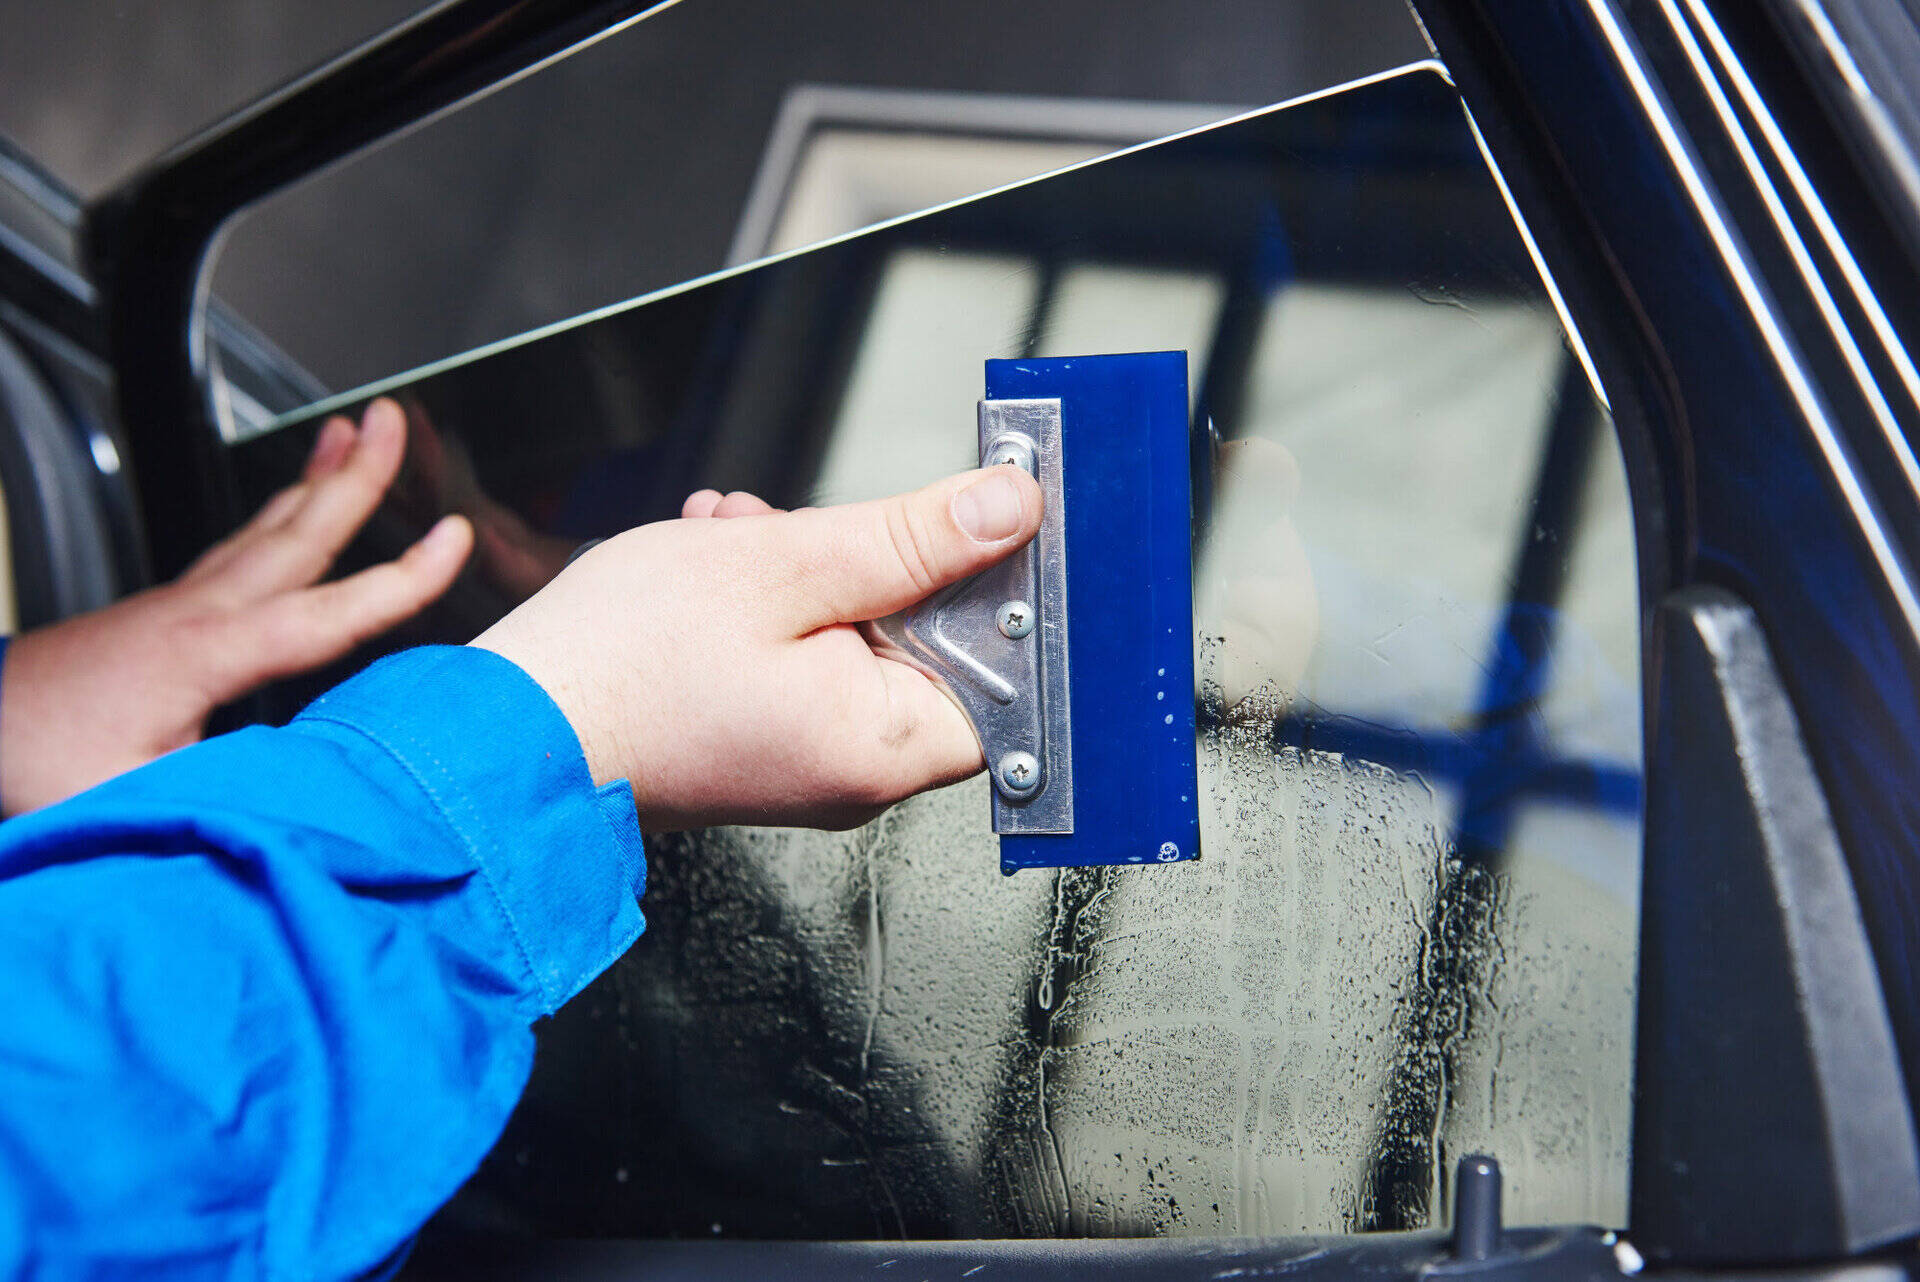
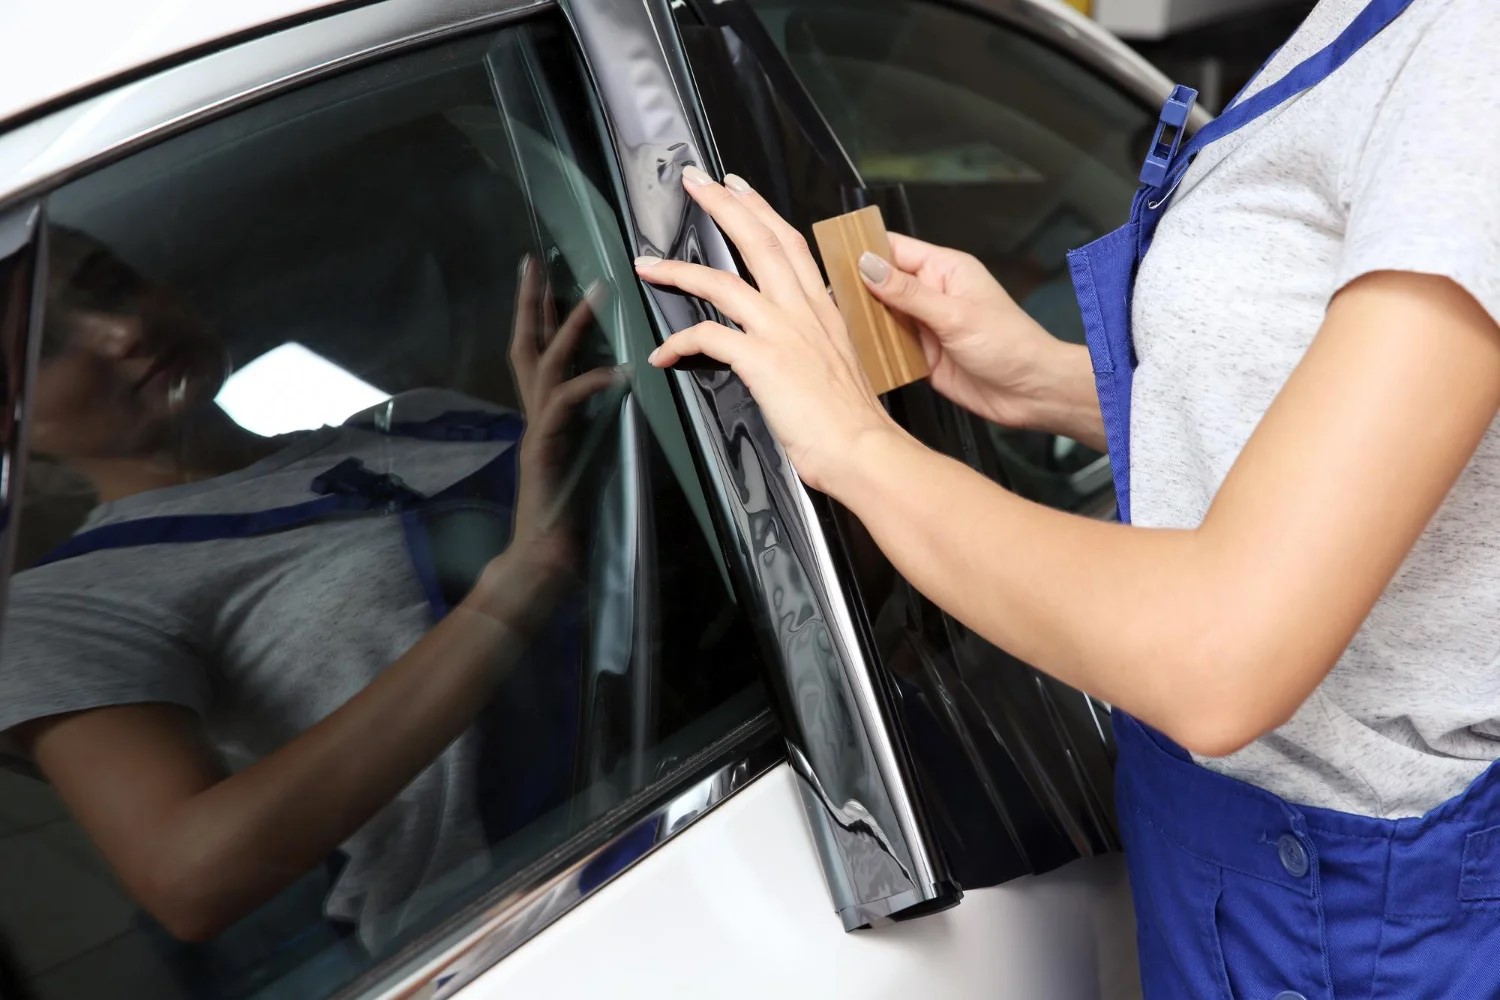
- Position the Tint: With the adhesive side of the tint film moistened, carefully position it on the interior surface of the window, aligning it with the edges and contours. Use a squeegee to gently maneuver the tint into place, smoothing out any air bubbles or wrinkles as you work from the center towards the edges.
- Squeegee and Trim: Once the tint is positioned, use the squeegee to press out any remaining air bubbles and excess moisture, ensuring a secure bond between the film and the window. Trim the edges of the tint with the utility knife, following the outline of the window, and create a clean, precise finish.
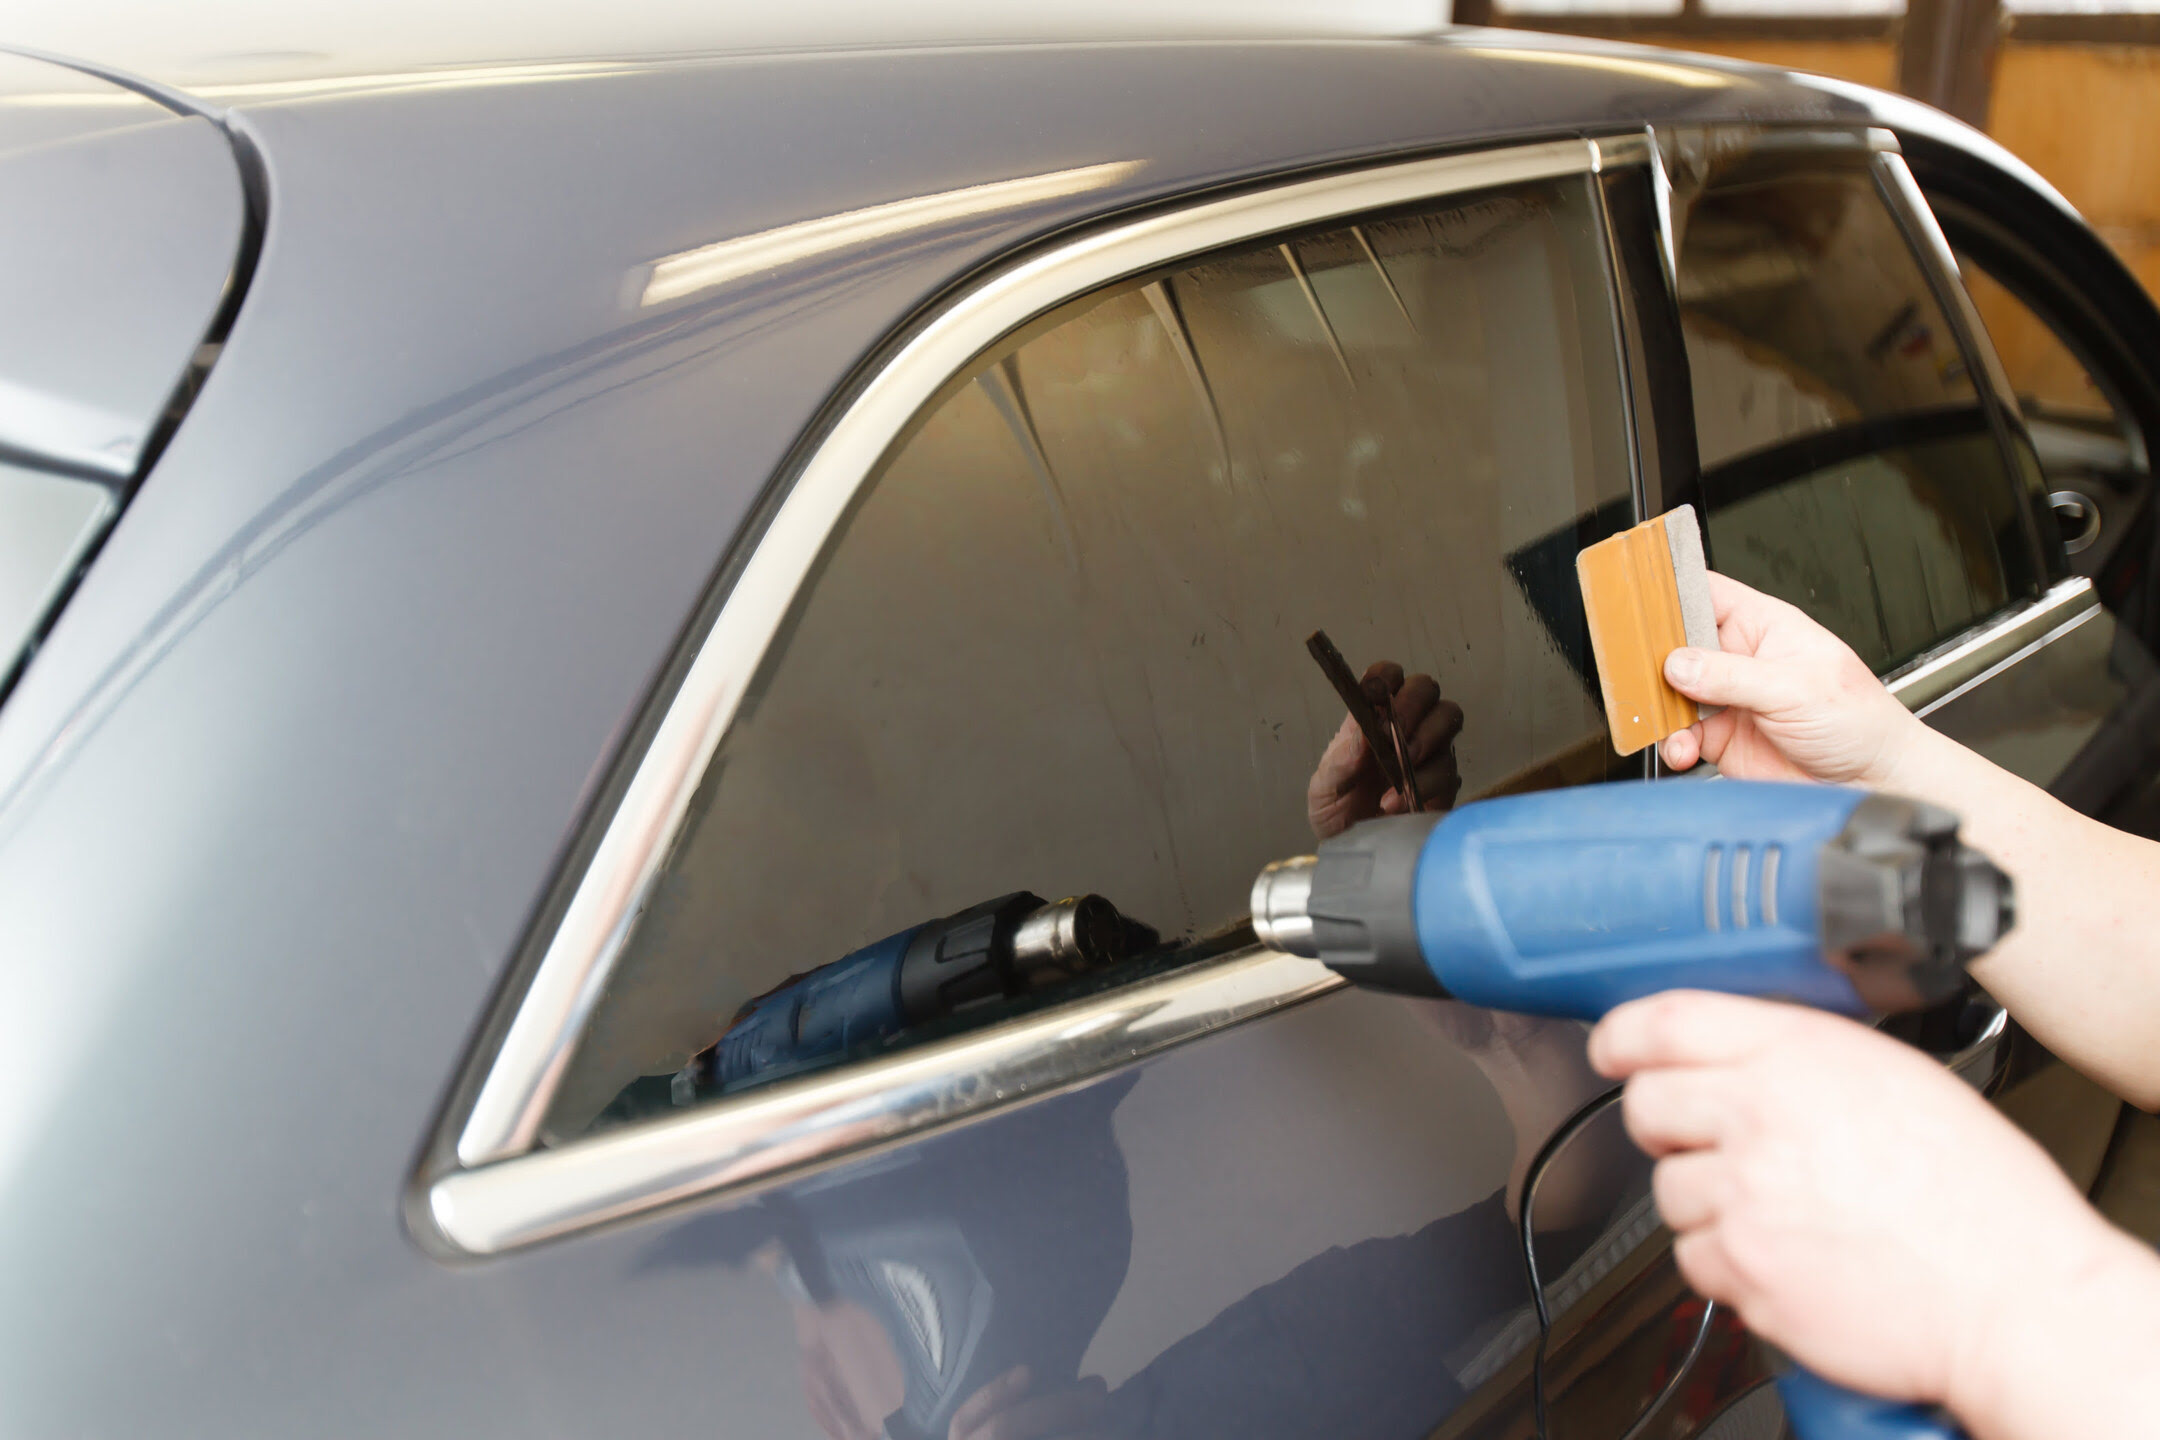
- Finalize the Application: After applying the tint to all windows, use a heat gun or hairdryer to gently heat the film, which will aid in the adhesion process and eliminate any residual moisture or imperfections. This step contributes to a smooth, professional finish and enhances the durability of the tint.
Throughout the application process, maintain a patient and meticulous approach, paying close attention to detail and ensuring that the tint adheres evenly and securely to the windows. By adhering to these guidelines and exercising care during the application, you’ll achieve a flawless, custom tint that elevates the appearance and functionality of your car.
With the tint securely in place, you’re now ready to add the finishing touches that will complete the transformation of your car’s windows and culminate in a stunning, personalized aesthetic that reflects your unique style and preferences.
Read more: How To Apply Tint To Car Windows
Finishing Touches
As you near the completion of your DIY car window tinting project, it’s time to focus on the finishing touches that will elevate the overall outcome and ensure that your tinted windows exude a polished, professional appearance. By attending to these final details, you can perfect the visual impact and functionality of the tint, creating a result that reflects your meticulous attention to detail and commitment to excellence.
- Inspect for Imperfections: Carefully scrutinize each tinted window for any remaining air bubbles, creases, or imperfections. If any issues are detected, use a heat gun or hairdryer to gently warm the affected areas and smooth out the imperfections using a squeegee, ensuring a flawless finish.
- Allow for Cure Time: After the tint application is complete, allow sufficient time for the adhesive to cure and the tint to fully adhere to the windows. This curing period may vary based on the specific tint film used, so refer to the manufacturer’s guidelines for recommended cure times before exposing the tinted windows to moisture or cleaning.
- Reassemble Interior Components: Once the tint has fully cured, reassemble any interior components that were removed or protected during the tinting process. Restore items such as sunshades, rearview mirrors, and other accessories to their original positions, ensuring that they do not come into contact with the newly tinted windows.
- Perform a Final Cleaning: With the tint fully cured and the interior components reinstalled, perform a final cleaning of the interior windows to remove any residual cleaning agents, fingerprints, or smudges. Use a soft, lint-free cloth and a mild glass cleaner to achieve a pristine, streak-free finish.
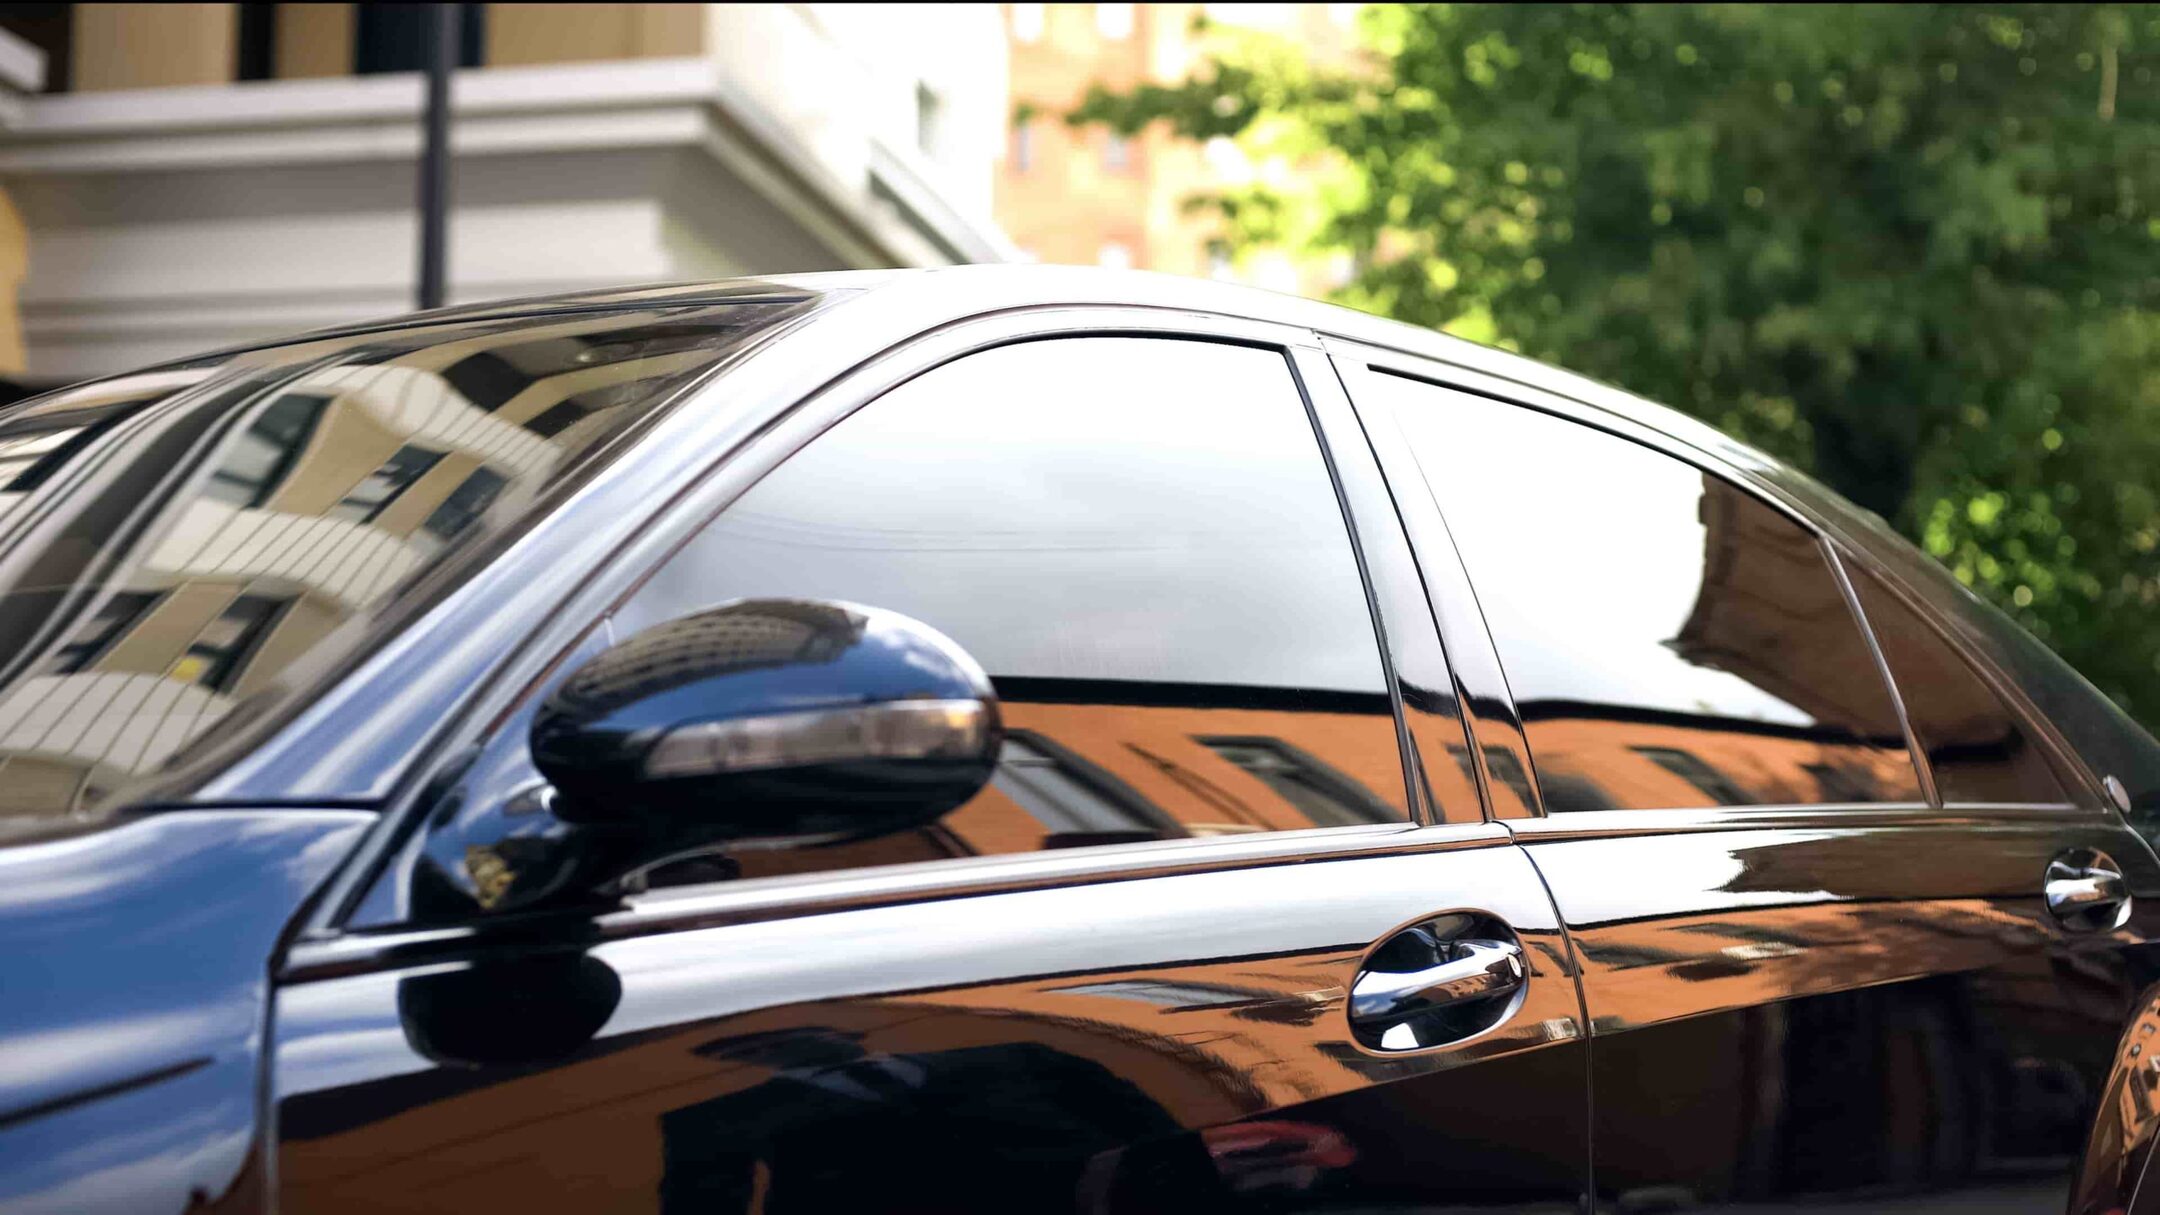
- Admire the Results: Step back and admire the transformation of your car’s windows. Revel in the enhanced aesthetic appeal, the heightened privacy, and the functional benefits that the tint provides. Take pride in the fact that you’ve successfully completed a DIY project that has personalized and elevated your vehicle.
By attending to these finishing touches, you’ll ensure that your newly tinted windows exude a professional, refined appearance while delivering the practical advantages that make the tint a valuable addition to your car. With the project now concluded, you can look forward to enjoying the enhanced comfort, style, and privacy that your DIY window tinting endeavor has brought to your driving experience.
Conclusion
Congratulations on successfully completing your DIY car window tinting project! By embarking on this endeavor, you’ve not only personalized and enhanced the aesthetic appeal of your vehicle but also gained valuable insights and skills in the art of window tinting. As you reflect on the journey from the initial decision to the meticulous application and finishing touches, take pride in the accomplishment and the transformation that your car has undergone.
Through this comprehensive guide, you’ve delved into the intricacies of window tinting, understanding its principles, selecting the right tint, and navigating the application process with precision and care. By embracing the DIY approach, you’ve not only saved on professional installation costs but also cultivated a sense of ownership and pride in the results you’ve achieved.
As you admire the sleek, customized appearance of your tinted windows and revel in the practical benefits they provide, take a moment to appreciate the newfound comfort, privacy, and style that your car now embodies. The investment of time and effort in this project has undoubtedly paid off, enriching your driving experience and leaving a lasting impression on your vehicle’s aesthetics and functionality.
Furthermore, the knowledge and skills you’ve acquired through this experience will serve you well in the future, whether you choose to undertake additional DIY projects or share your expertise with others. The confidence and proficiency you’ve gained in window tinting can open the door to further automotive customization endeavors, allowing you to continue personalizing your vehicle to your exact preferences and specifications.
As you conclude this chapter of your DIY journey, remember that the satisfaction and pride derived from a hands-on, skillfully executed project are invaluable. Your car now stands as a testament to your creativity, attention to detail, and commitment to achieving outstanding results through your own efforts.
So, as you set out on the road with your newly tinted windows, take pride in the fact that you’ve not only transformed your car but also enriched your own skills and capabilities. Embrace the sense of accomplishment and the enhanced driving experience that your DIY window tinting project has brought, knowing that you’ve truly made your vehicle your own.
Frequently Asked Questions about How To Tint Car Windows Yourself
Was this page helpful?
At Storables.com, we guarantee accurate and reliable information. Our content, validated by Expert Board Contributors, is crafted following stringent Editorial Policies. We're committed to providing you with well-researched, expert-backed insights for all your informational needs.

0 thoughts on “How To Tint Car Windows Yourself”