Home>Others>Specialized Home Improvement Topics>What Do I Need To Tint My Car Windows
Specialized Home Improvement Topics
What Do I Need To Tint My Car Windows
Modified: January 14, 2024
Find out everything you need to know about tinting your car windows, from materials and tools to step-by-step instructions. Expert advice on specialized home improvement topics.
(Many of the links in this article redirect to a specific reviewed product. Your purchase of these products through affiliate links helps to generate commission for Storables.com, at no extra cost. Learn more)
Introduction
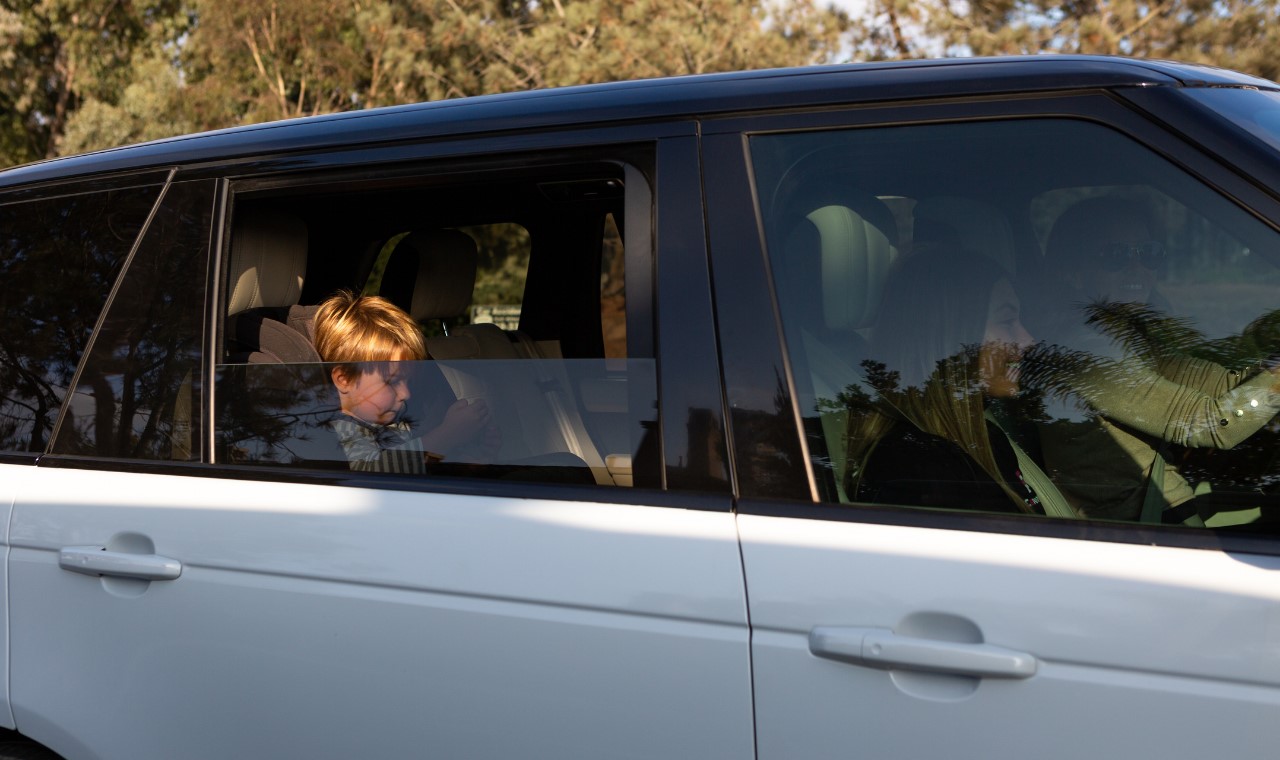
Are you considering tinting your car windows? Window tinting not only enhances the aesthetic appeal of your vehicle but also offers several practical benefits. From reducing glare and heat to providing privacy and UV protection, tinted windows can significantly enhance your driving experience. However, before embarking on this project, it's crucial to understand the legal regulations, types of window tint available, the necessary tools and materials, the preparation process, the application steps, and the maintenance requirements.
In this comprehensive guide, we will delve into the intricacies of car window tinting, providing you with valuable insights and practical tips to ensure a successful and satisfying tinting experience. Whether you're a seasoned DIY enthusiast or a novice looking to explore the world of automotive customization, this guide is designed to equip you with the knowledge and confidence to tackle this project with precision and finesse.
So, let's embark on this enlightening journey and unravel the secrets of achieving the perfect tint for your car windows. Whether you're aiming for a sleek, sophisticated look or prioritizing functionality and protection, this guide will serve as your trusted companion, offering expert advice and step-by-step instructions to help you achieve your desired results. Let's dive into the fascinating realm of car window tinting and unlock the potential to elevate your driving experience to new heights.
Key Takeaways:
- Legal regulations for car window tinting vary by location and must be followed to avoid fines and legal issues. Understanding the rules ensures a safe and compliant tinting process.
- Choosing the right type of window tint, preparing the necessary tools and materials, and following a meticulous application process are crucial for achieving professional-grade results.
Read more: What To Do After Tinting Car Windows
Legal Regulations
Before delving into the process of tinting your car windows, it’s crucial to familiarize yourself with the legal regulations governing window tinting in your area. These regulations vary from state to state and country to country, and they typically dictate the allowable percentage of light transmission for tinted windows. The objective of these regulations is to ensure that tinted windows do not compromise driver visibility or impede law enforcement officers’ ability to assess the interior of a vehicle during traffic stops.
When considering window tinting, it’s essential to research and understand the specific laws and regulations applicable to your location. This includes familiarizing yourself with the permissible Visible Light Transmission (VLT) percentage for each window of your car, including the front windshield, front side windows, rear side windows, and rear windshield. Additionally, some regions impose restrictions on the types of tinting materials and colors that can be used, so it’s imperative to adhere to these guidelines to avoid potential legal repercussions.
Failure to comply with the stipulated tinting regulations can result in fines, citations, and the requirement to remove or modify the tint to meet the legal standards. Therefore, it’s advisable to consult local authorities, such as the Department of Motor Vehicles or relevant law enforcement agencies, to obtain accurate and up-to-date information regarding window tinting regulations in your area. By ensuring compliance with these regulations, you can enjoy the benefits of tinted windows while staying on the right side of the law.
Understanding and adhering to the legal regulations not only safeguards you from potential legal issues but also demonstrates your commitment to responsible and law-abiding vehicle customization. With this foundational knowledge in place, you can proceed with confidence, knowing that your window tinting project aligns with the established legal parameters, allowing you to enjoy the advantages of tinted windows without compromising safety or legal compliance.
Types of Window Tint
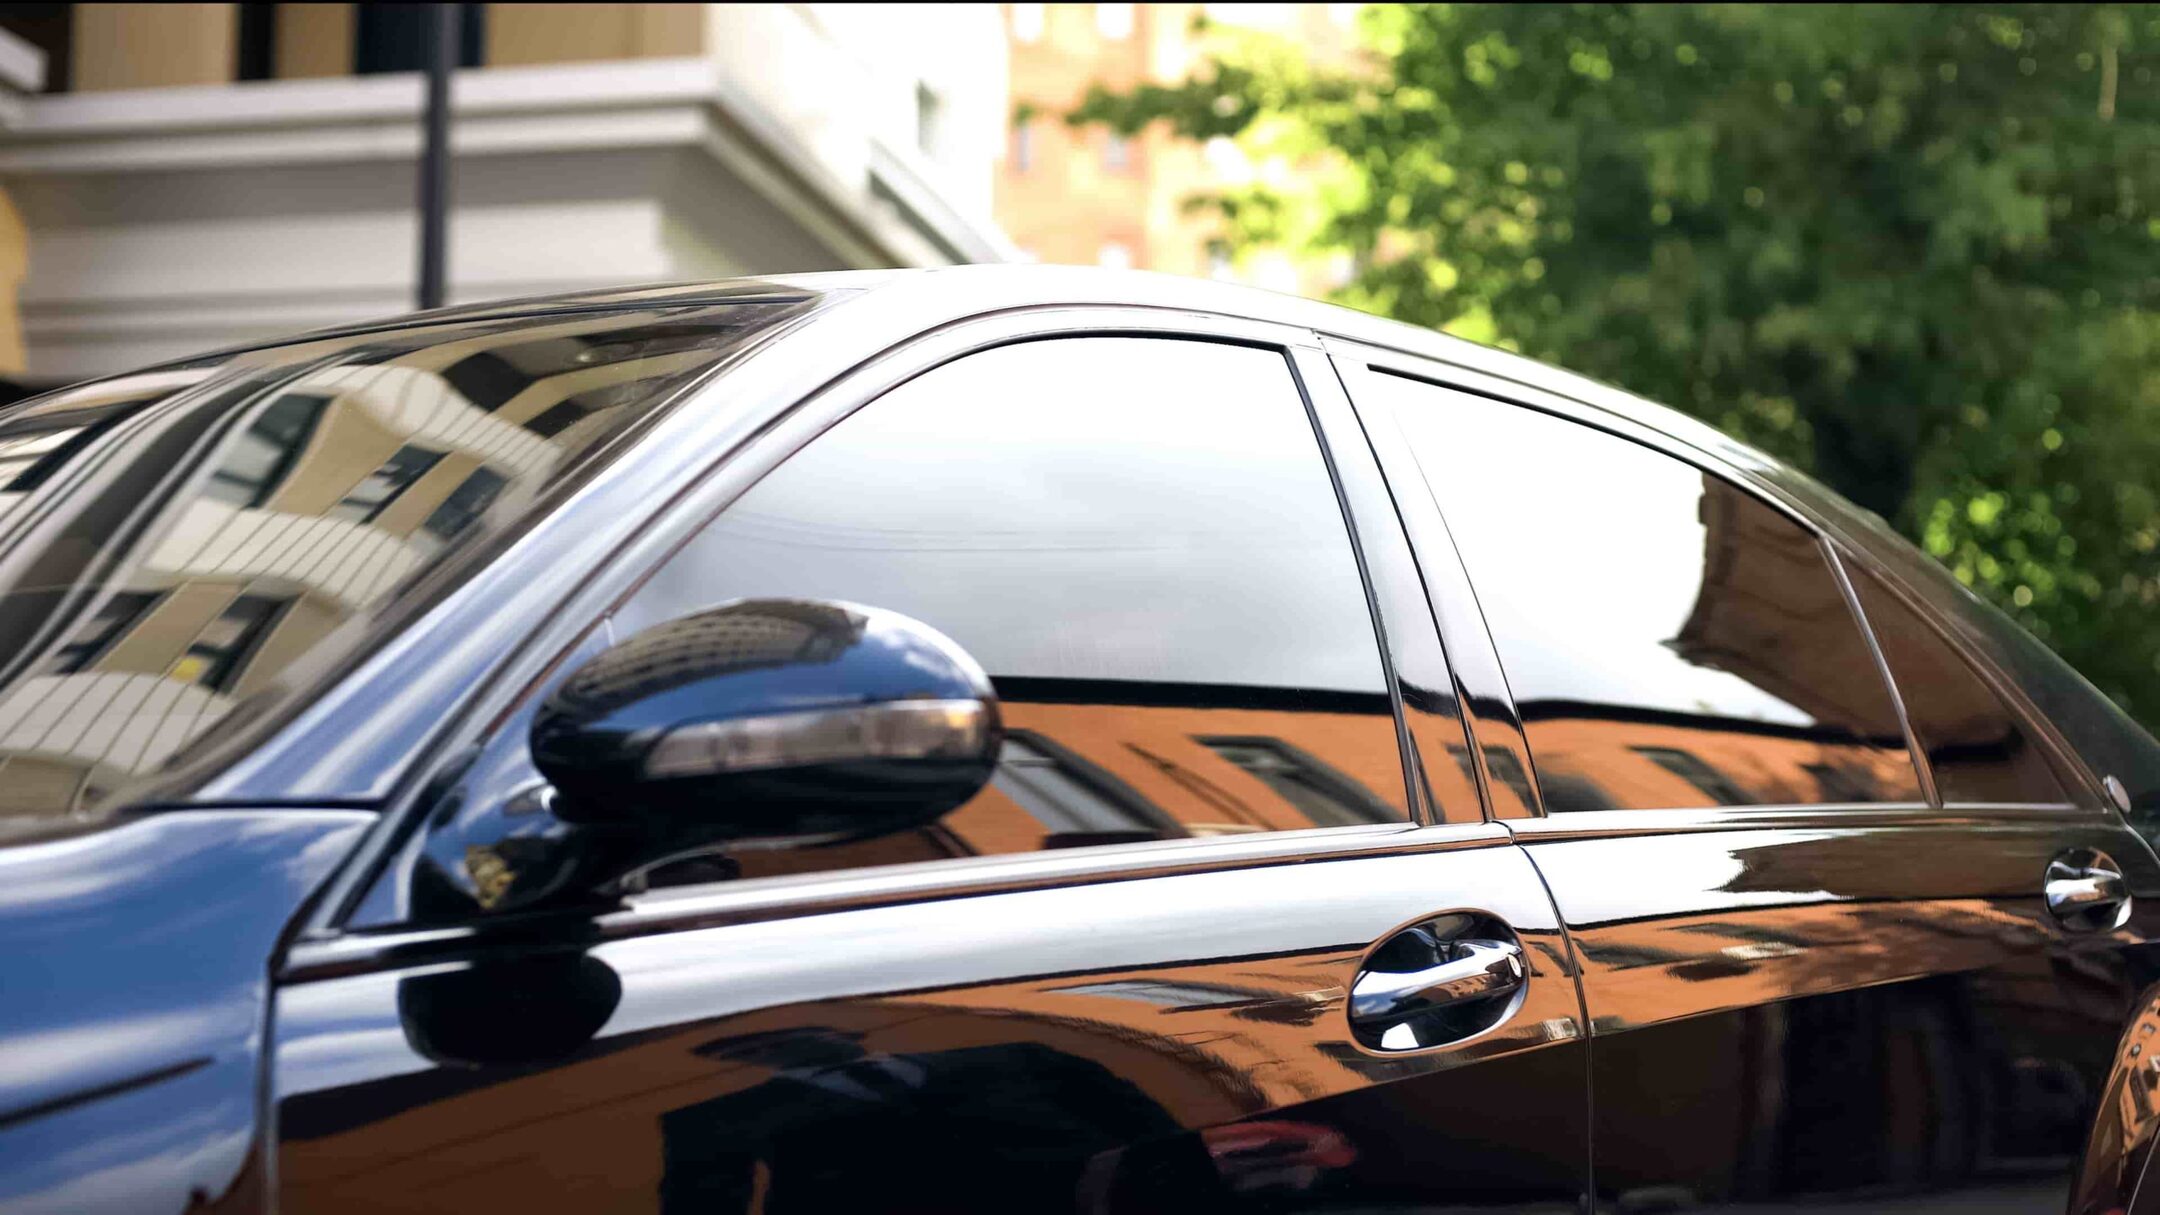
When it comes to window tinting for cars, there are several types of tint film available, each offering distinct characteristics and benefits. Understanding the differences between these types can help you make an informed decision based on your preferences and specific requirements.
1. Dyed Window Tint: Dyed window tint is a popular choice known for its ability to reduce glare and absorb heat. It contains a layer of dye that effectively blocks a significant amount of sunlight. While dyed tint provides enhanced privacy and a sleek appearance, it is important to note that it may not offer as much heat rejection as other types of tint.
2. Metalized Window Tint: Metalized tint is constructed with tiny metallic particles embedded in the film. This type of tint is highly effective in blocking heat and UV rays, making it a practical choice for individuals seeking superior heat reduction and UV protection. Additionally, metalized tint offers enhanced durability and scratch resistance, contributing to its longevity and performance.
3. Carbon Window Tint: Carbon window tint is renowned for its exceptional heat-rejecting properties and its ability to maintain a cool interior environment. This type of tint contains carbon particles that effectively block infrared light, reducing heat buildup inside the vehicle. Carbon tint is also valued for its non-reflective finish, which provides a sophisticated and elegant appearance.
4. Ceramic Window Tint: Ceramic tint is considered a premium option due to its advanced technology and superior performance. Constructed with ceramic particles, this tint offers outstanding heat rejection, UV protection, and glare reduction without interfering with electronic signals such as GPS, keyless entry, and cell phone reception. Ceramic tint is highly sought after for its clarity, durability, and ability to maintain a comfortable cabin environment.
Each type of window tint presents unique advantages, and the choice ultimately depends on your priorities, budget, and desired aesthetic appeal. By exploring the characteristics of these tint options, you can make an informed decision that aligns with your specific preferences and expectations, ensuring that your car window tint fulfills both functional and visual requirements.
Tools and Materials
Embarking on a car window tinting project requires the use of specific tools and materials to ensure a precise and professional outcome. Equipping yourself with the following items will facilitate a seamless tinting process and contribute to the overall quality of the results:
1. Window Tint Film: Selecting high-quality tint film suited to your preferences and local regulations is essential. Consider the type of tint (dyed, metalized, carbon, or ceramic) and ensure that it complies with the permissible Visible Light Transmission (VLT) percentage mandated by the law.
2. Spray Bottle with Application Solution: A spray bottle filled with a dedicated application solution, typically consisting of water and a small amount of mild baby shampoo, serves as a crucial tool for facilitating the film application process. The solution helps lubricate the film, allowing it to be repositioned and smoothed out during installation.
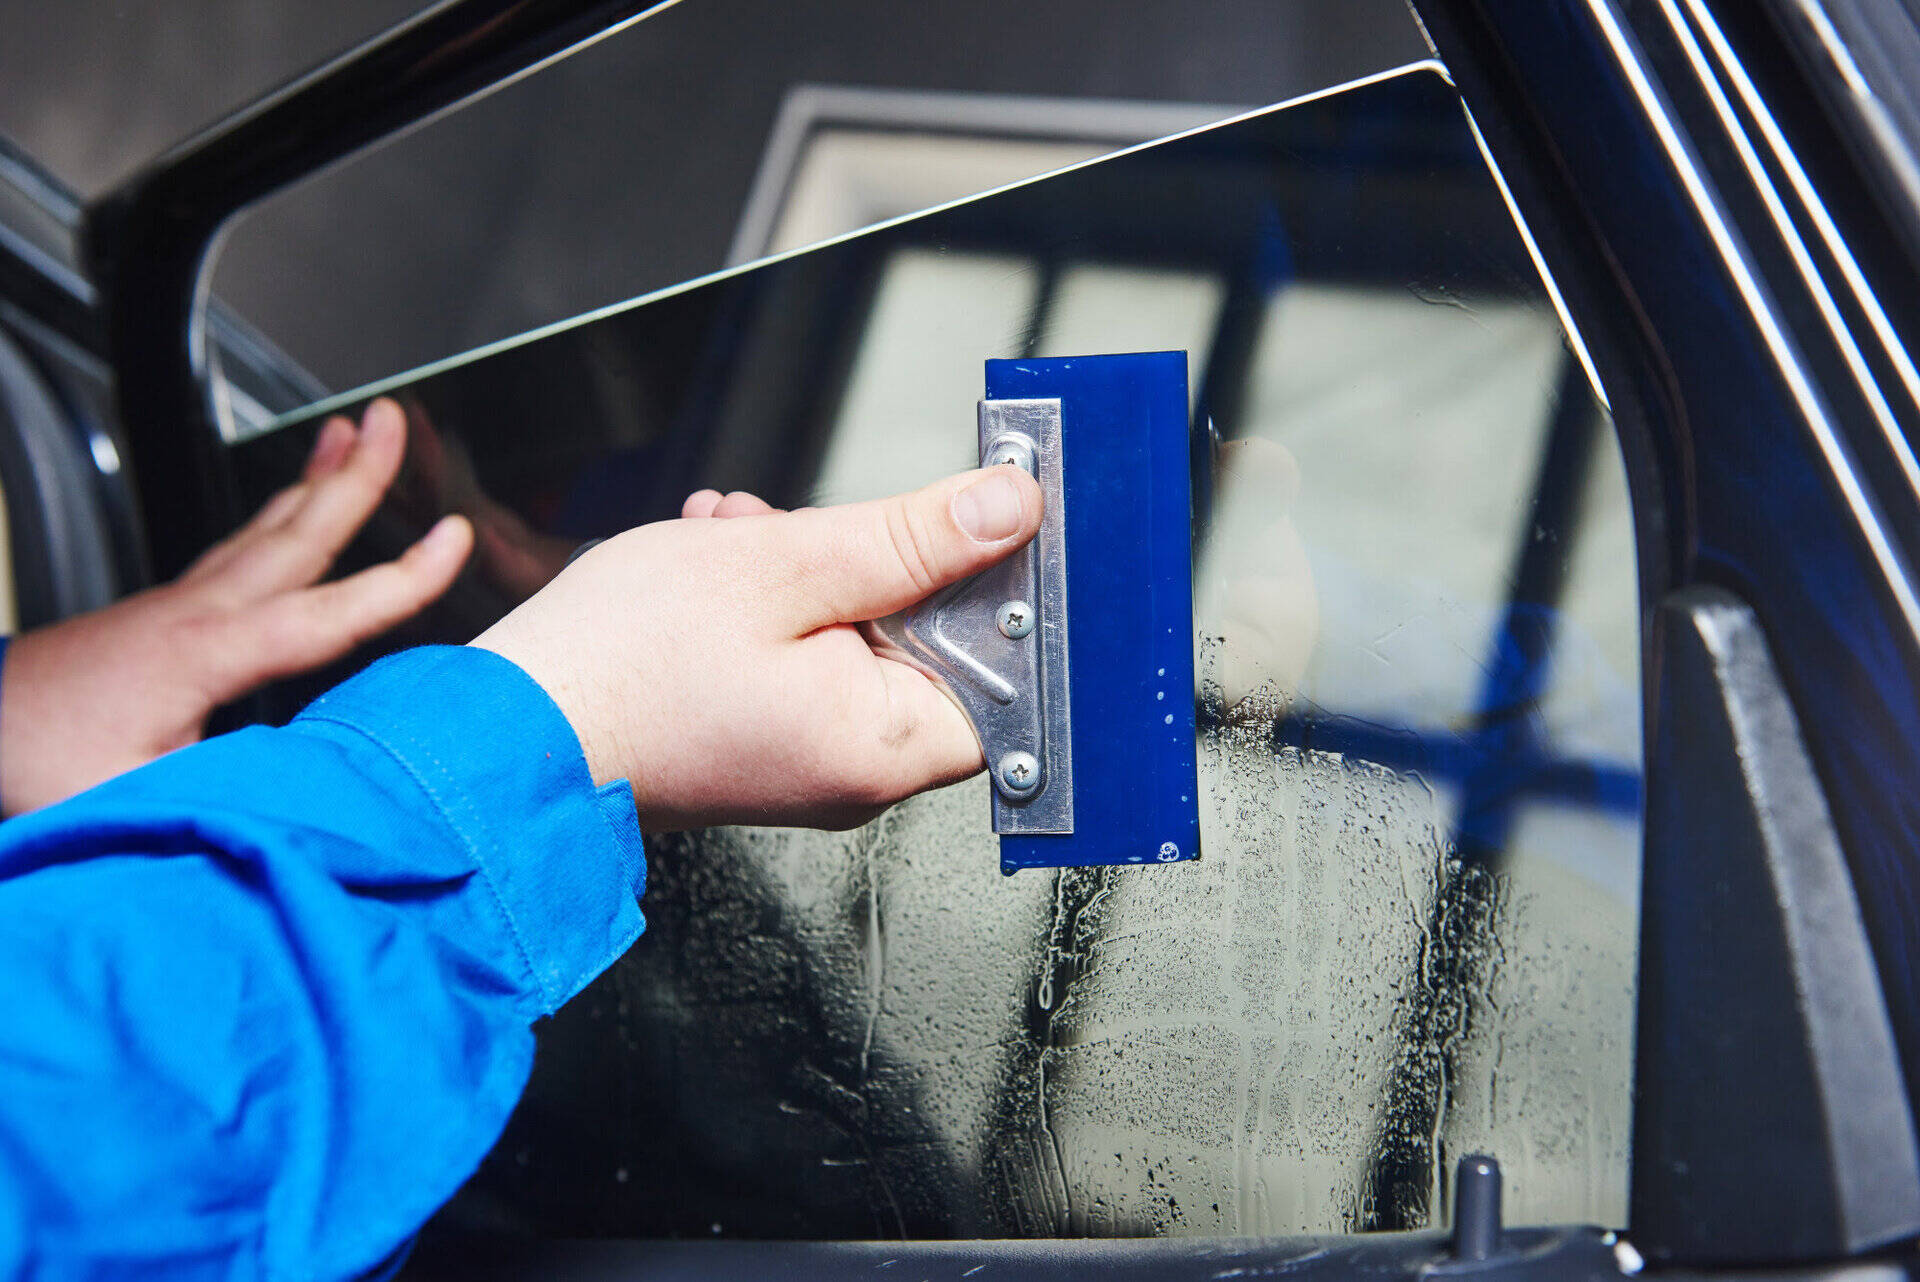
3. Squeegee: A high-quality, flexible squeegee is indispensable for removing air bubbles and excess application solution from underneath the tint film. Opt for a squeegee specifically designed for window tinting to ensure optimal results and minimize the risk of damaging the film.
4. Utility Knife with Snap-Off Blades: A sharp utility knife equipped with snap-off blades enables precise trimming of the tint film to fit the dimensions of each window. This tool is instrumental in achieving clean and accurate cuts, contributing to a professional-looking finish.
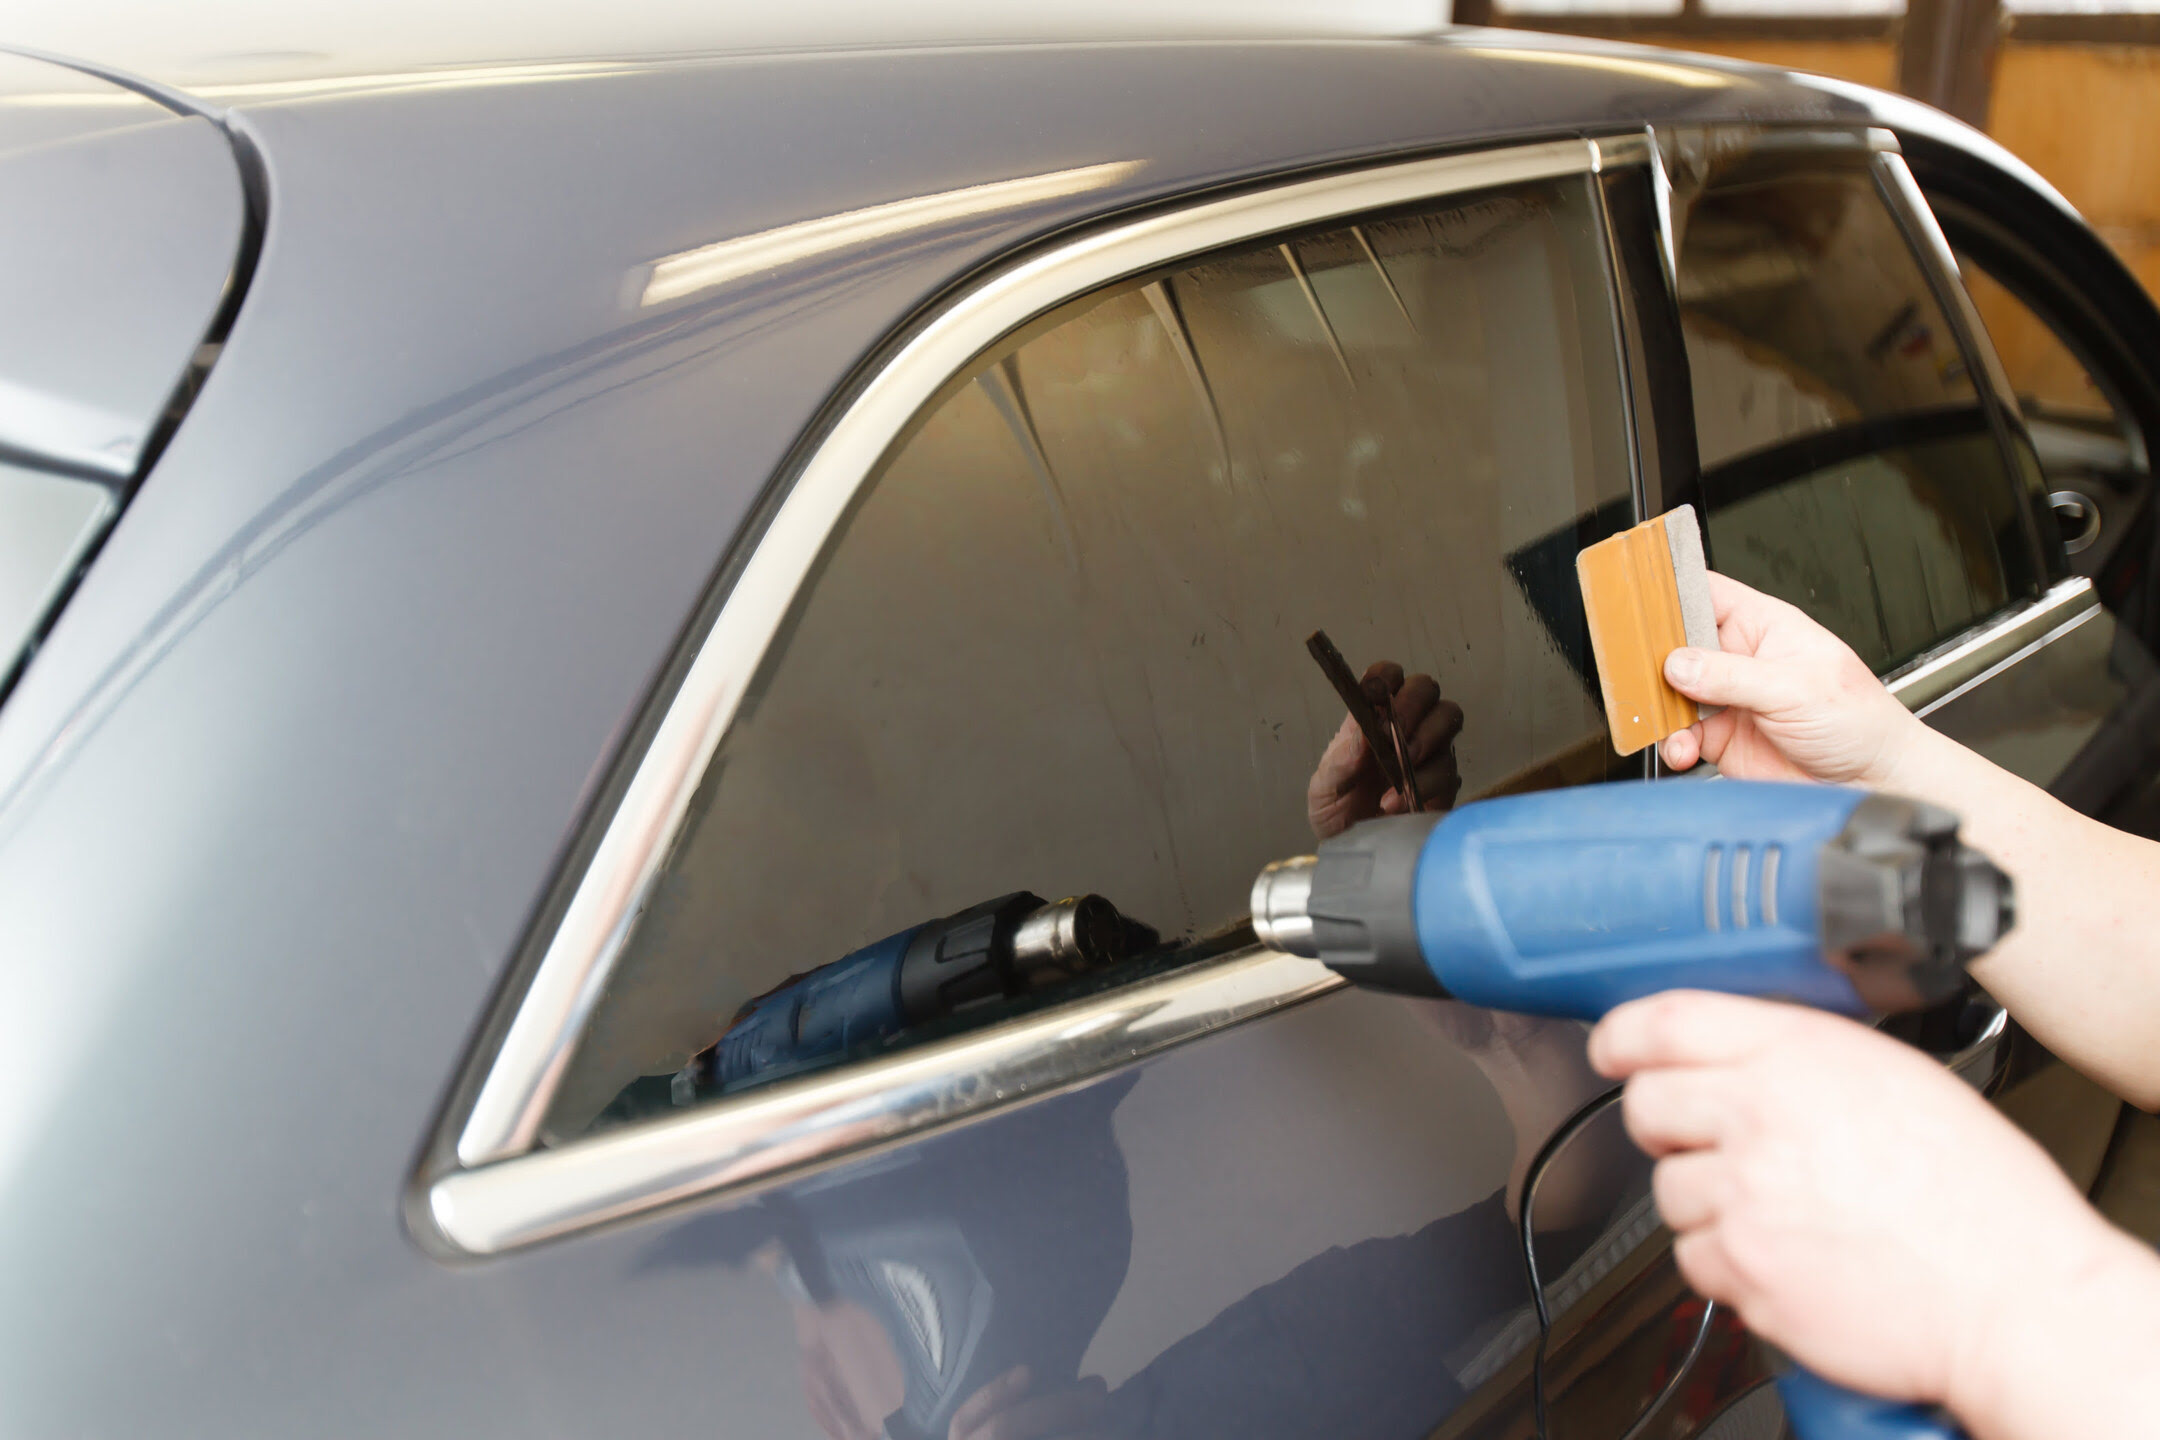
5. Heat Gun or Hair Dryer: A heat gun or hair dryer can aid in shrinking the tint film to conform to complex curves and contours of the windows. This step is crucial for achieving a seamless and snug fit, ensuring that the tint adheres uniformly to the glass surface.
6. Microfiber Cloths: Lint-free microfiber cloths are essential for cleaning the window surfaces before applying the tint film. They help remove dust, debris, and smudges, creating an optimal surface for the film to adhere to without imperfections.
7. Cutting Mat and Straight Edge: A cutting mat and straight edge facilitate precise cutting of the tint film, enabling you to create accurate patterns and dimensions tailored to each window’s size and shape.
By assembling these essential tools and materials, you can set the stage for a successful and efficient window tinting process. Ensuring that you have the right equipment and supplies at your disposal enhances your ability to achieve professional-grade results and elevates the overall satisfaction derived from customizing your car’s windows.
When tinting your car windows, you will need tint film, a squeegee, a heat gun, a razor blade, and a spray bottle with soapy water. Make sure to clean the windows thoroughly before applying the tint for best results.
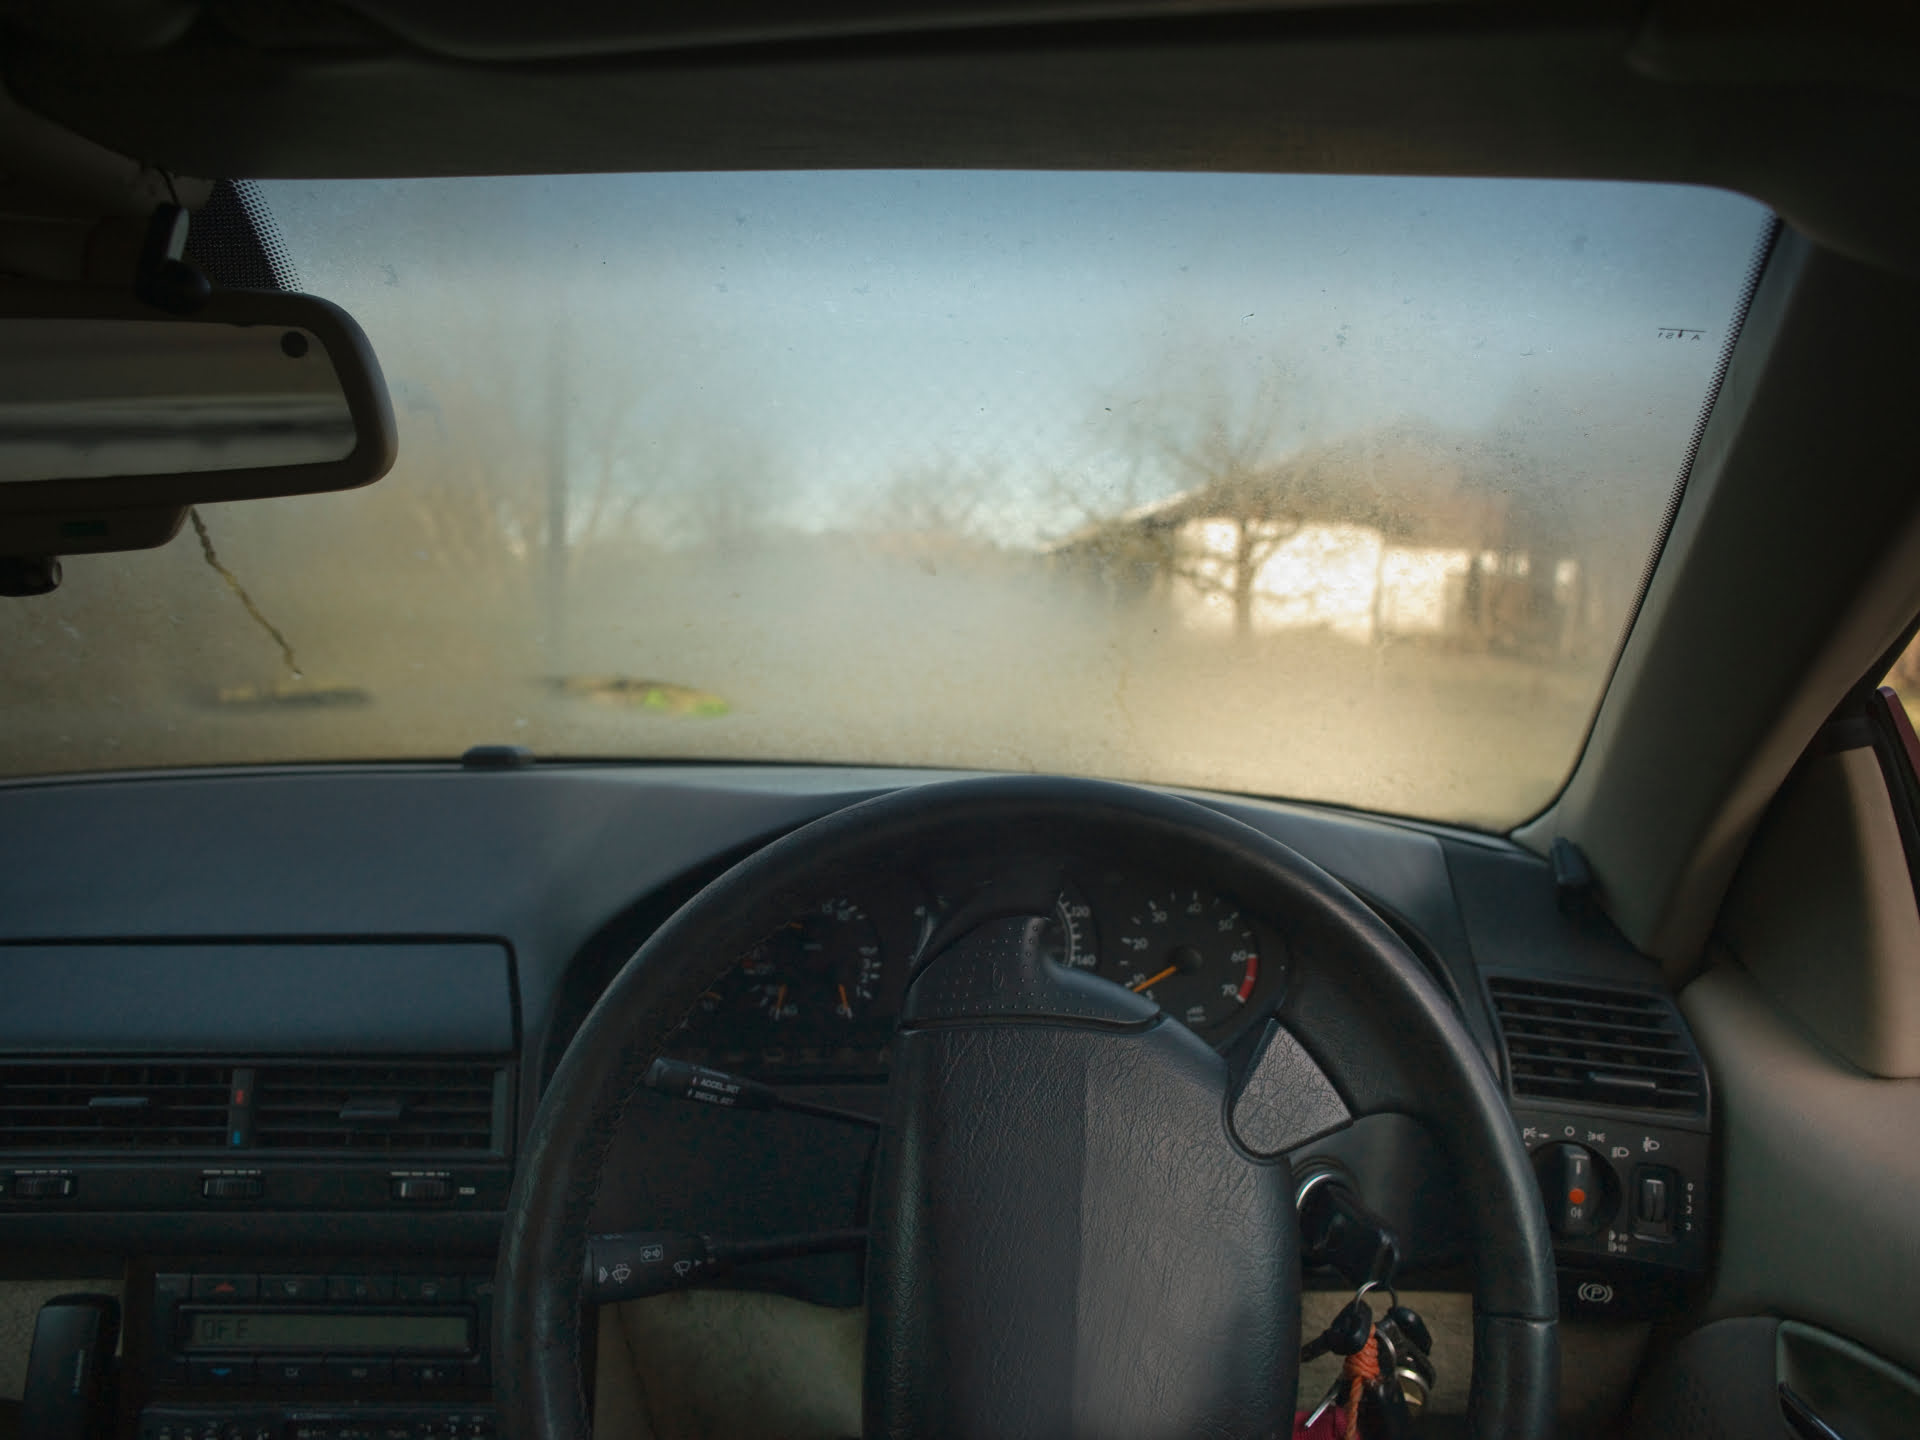
Preparation
Effective preparation is integral to the success of a car window tinting project, laying the foundation for a seamless and professional installation process. Prior to applying the tint film, it’s essential to undertake thorough preparation to optimize the adherence, appearance, and longevity of the tint. Here are the key steps involved in preparing for the window tinting process:
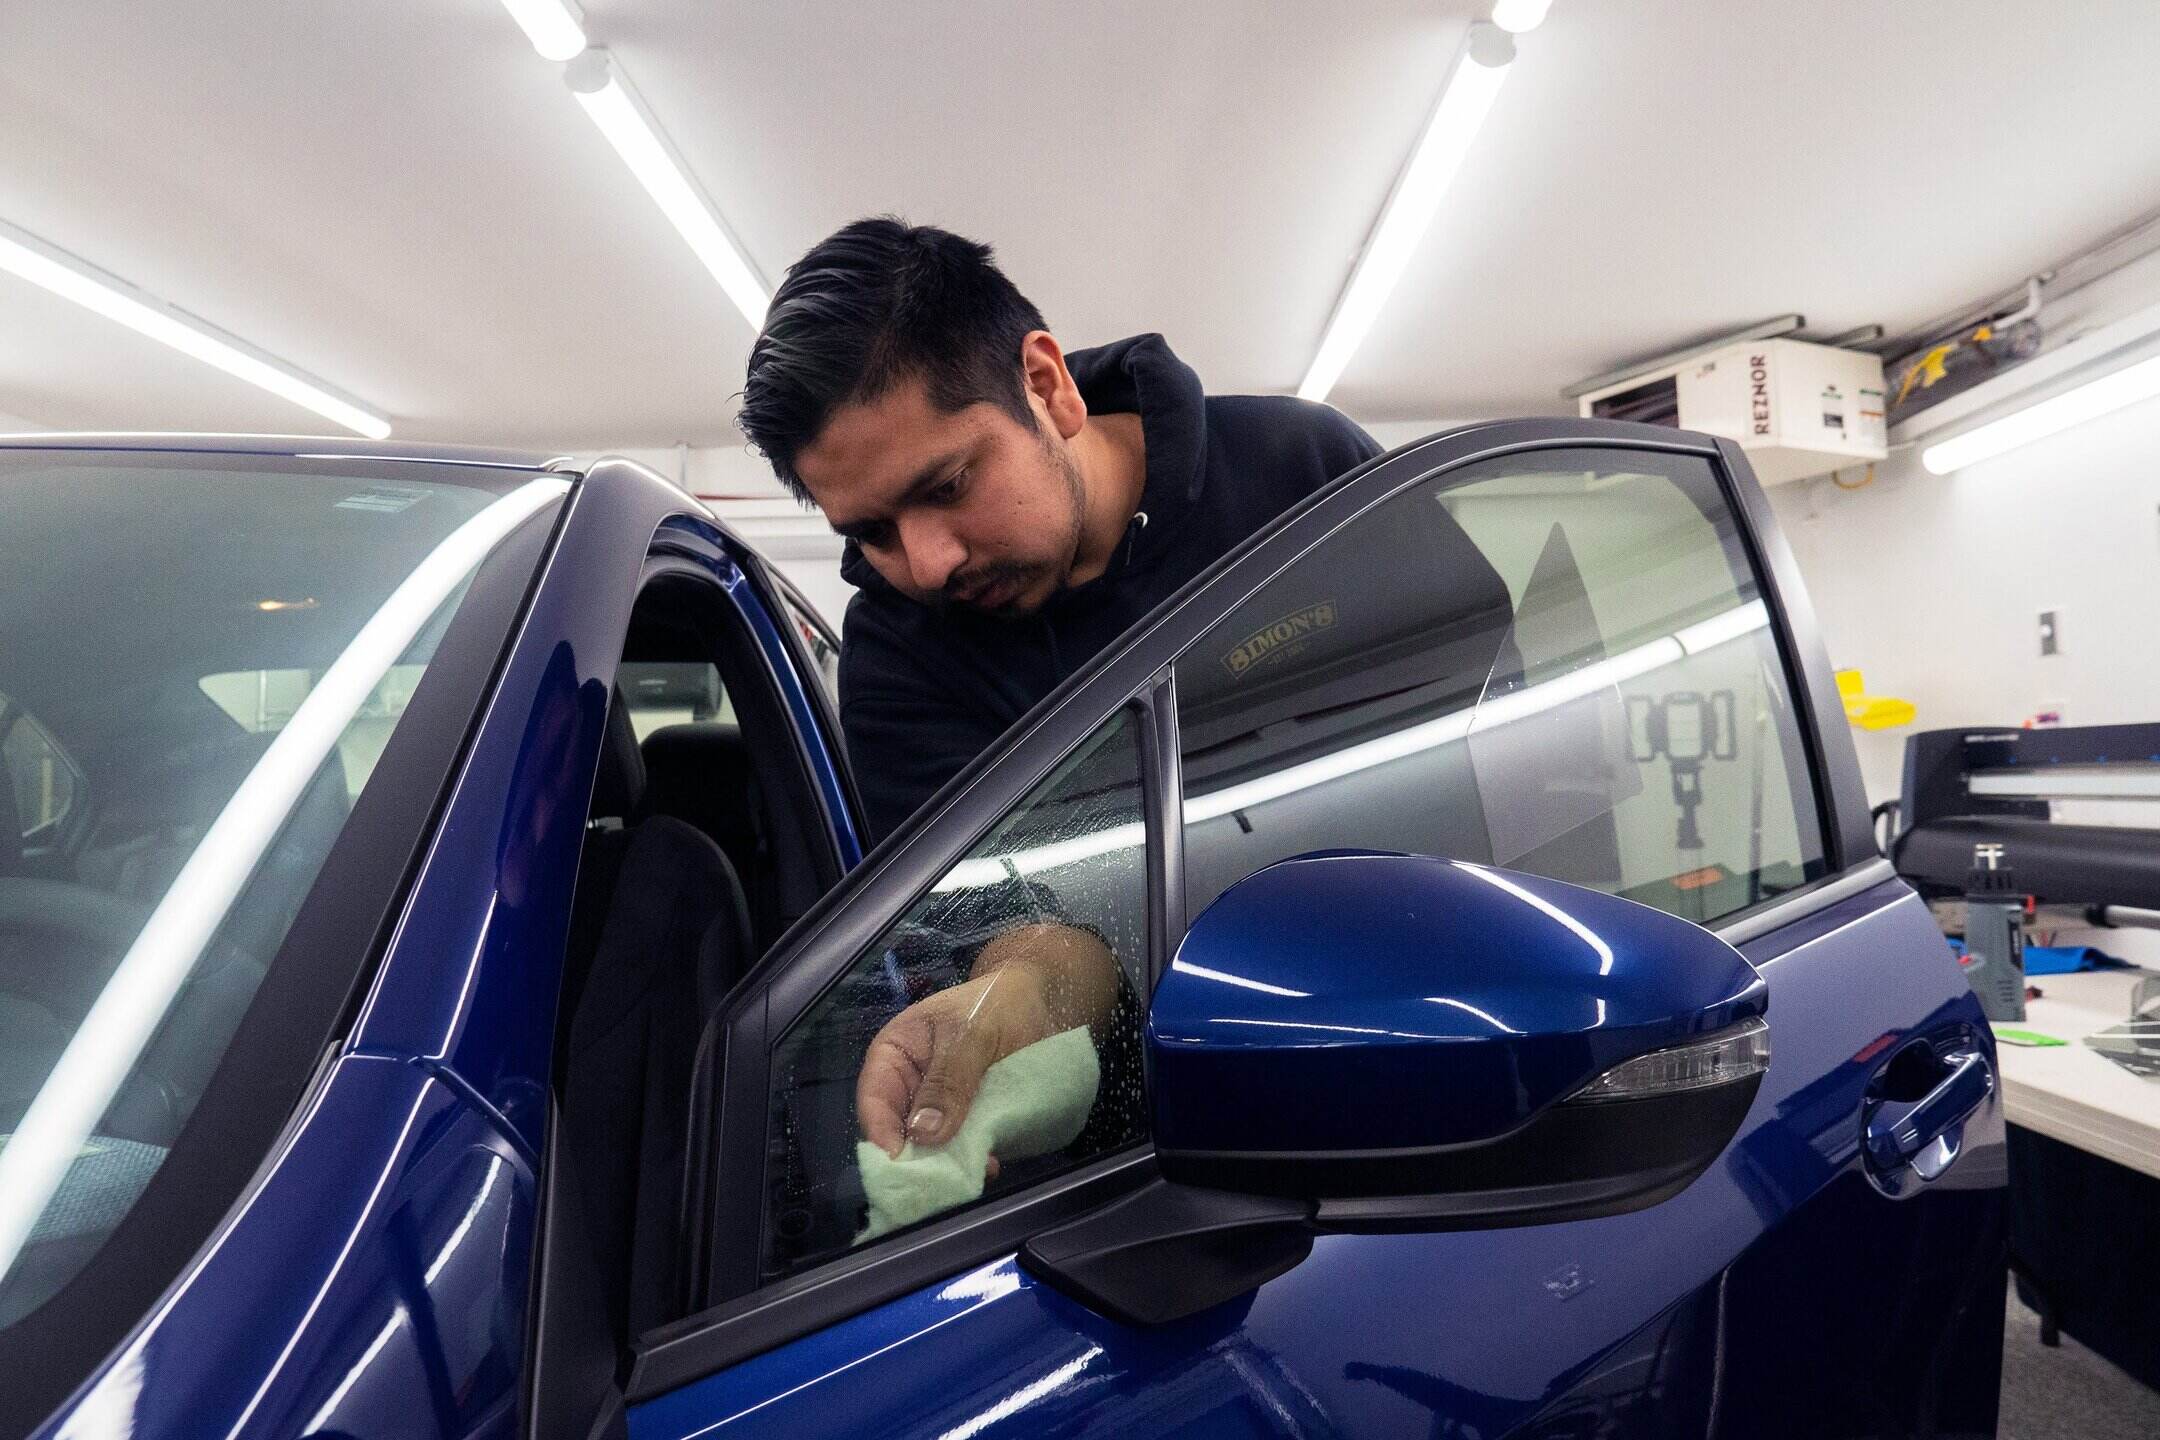
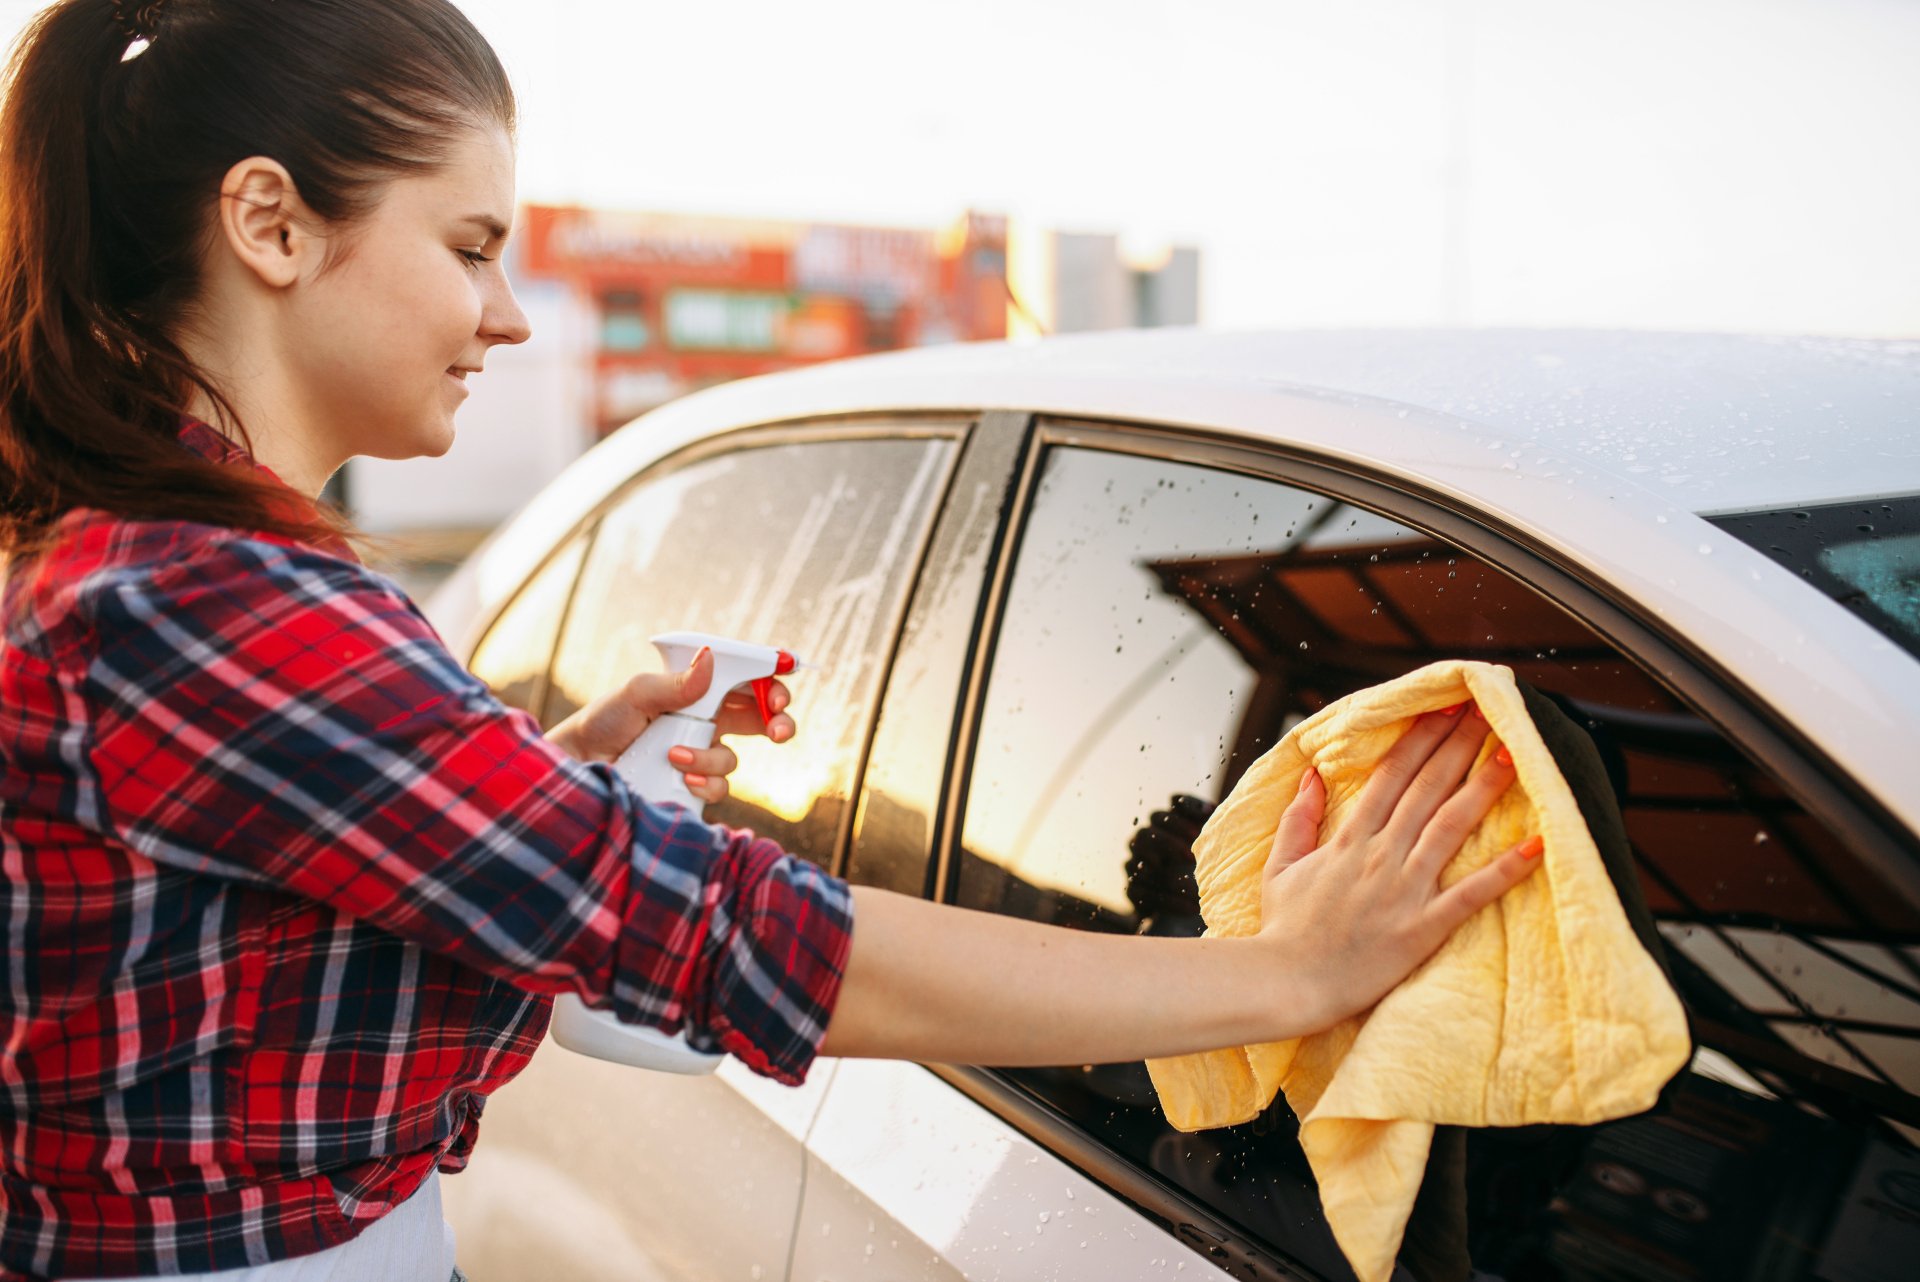
1. Clean the Windows: Begin by meticulously cleaning the interior surface of the windows to be tinted. Use a high-quality glass cleaner and lint-free microfiber cloths to remove any dirt, dust, and residue from the glass. Ensuring that the windows are impeccably clean creates an ideal foundation for the tint film to adhere to, minimizing the risk of imperfections or blemishes.
2. Measure and Cut the Tint Film: Measure the dimensions of each window, accounting for any curves or irregularities, and cut the tint film to the appropriate size using a cutting mat and straight edge. It’s crucial to exercise precision during this step to ensure that the film fits each window accurately, minimizing the need for excessive trimming during the application process.
3. Create a Controlled Work Environment: To facilitate a smooth installation process, work in a clean and controlled environment with minimal dust and airflow. Choosing an indoor space with adequate lighting and ventilation can contribute to a more comfortable and efficient tinting experience, allowing you to focus on achieving optimal results without external disruptions.
4. Mix the Application Solution: Prepare the application solution by combining water with a small amount of mild baby shampoo in a spray bottle. The solution should be lightly soapy, enabling the tint film to be repositioned and maneuvered during installation while promoting adhesion to the glass surface.
5. Familiarize Yourself with the Tint Film: Take the time to familiarize yourself with the specific characteristics and handling requirements of the tint film you’ve selected. Understanding its properties, such as flexibility, adhesion, and heat-shrinking capabilities, can enhance your confidence and proficiency during the application process.
By diligently completing these preparatory steps, you can set the stage for a streamlined and effective window tinting endeavor. Thorough preparation not only optimizes the application process but also contributes to the overall quality and durability of the tint, ensuring a visually appealing and long-lasting enhancement to your vehicle’s windows.
Read more: What Is The Best Tint For Car Windows
Application Process
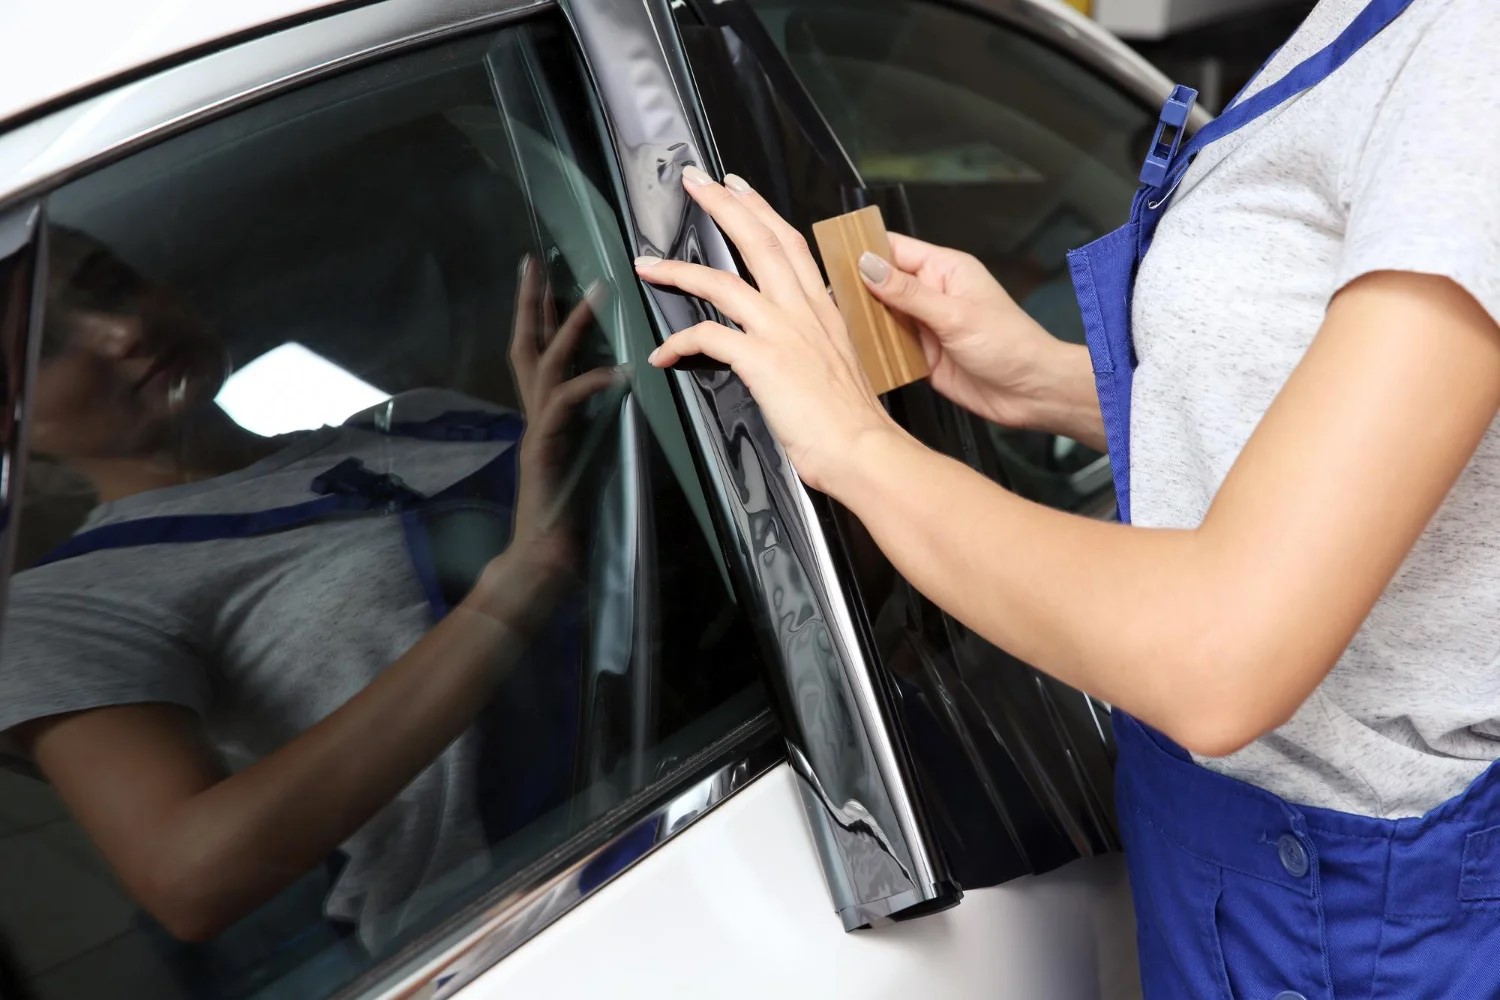
Embarking on the application of window tint film demands precision, patience, and attention to detail to achieve a flawless and professional outcome. Following a systematic approach and adhering to best practices can elevate the quality of the installation and contribute to the longevity and visual appeal of the tint. Here’s a step-by-step guide to the application process:
1. Prepare the Window Surface: Spray the interior surface of the window with the application solution to create a lubricated base for the tint film. This step facilitates repositioning and smoothing of the film during installation, minimizing the risk of air bubbles and imperfections.
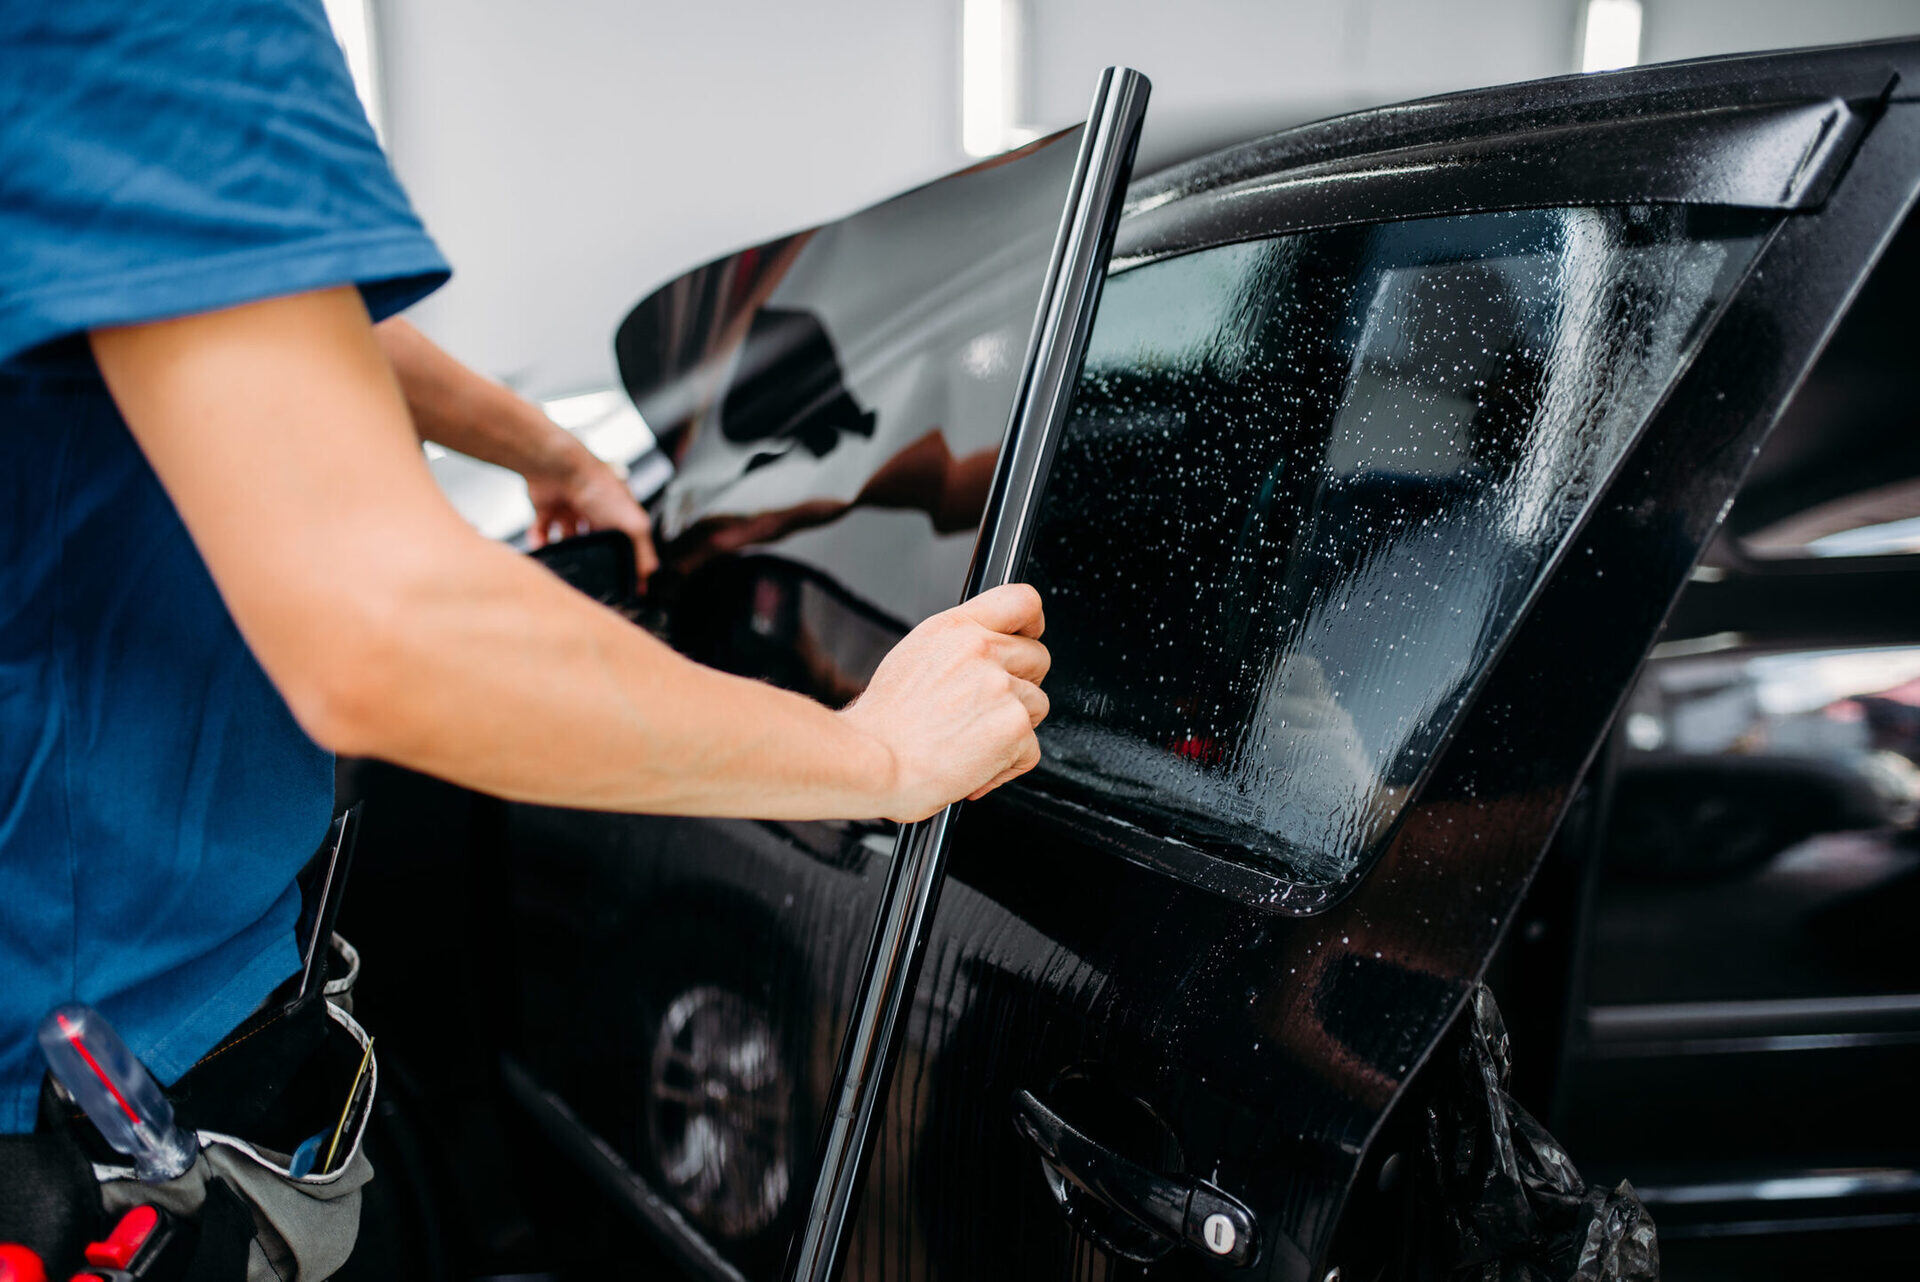
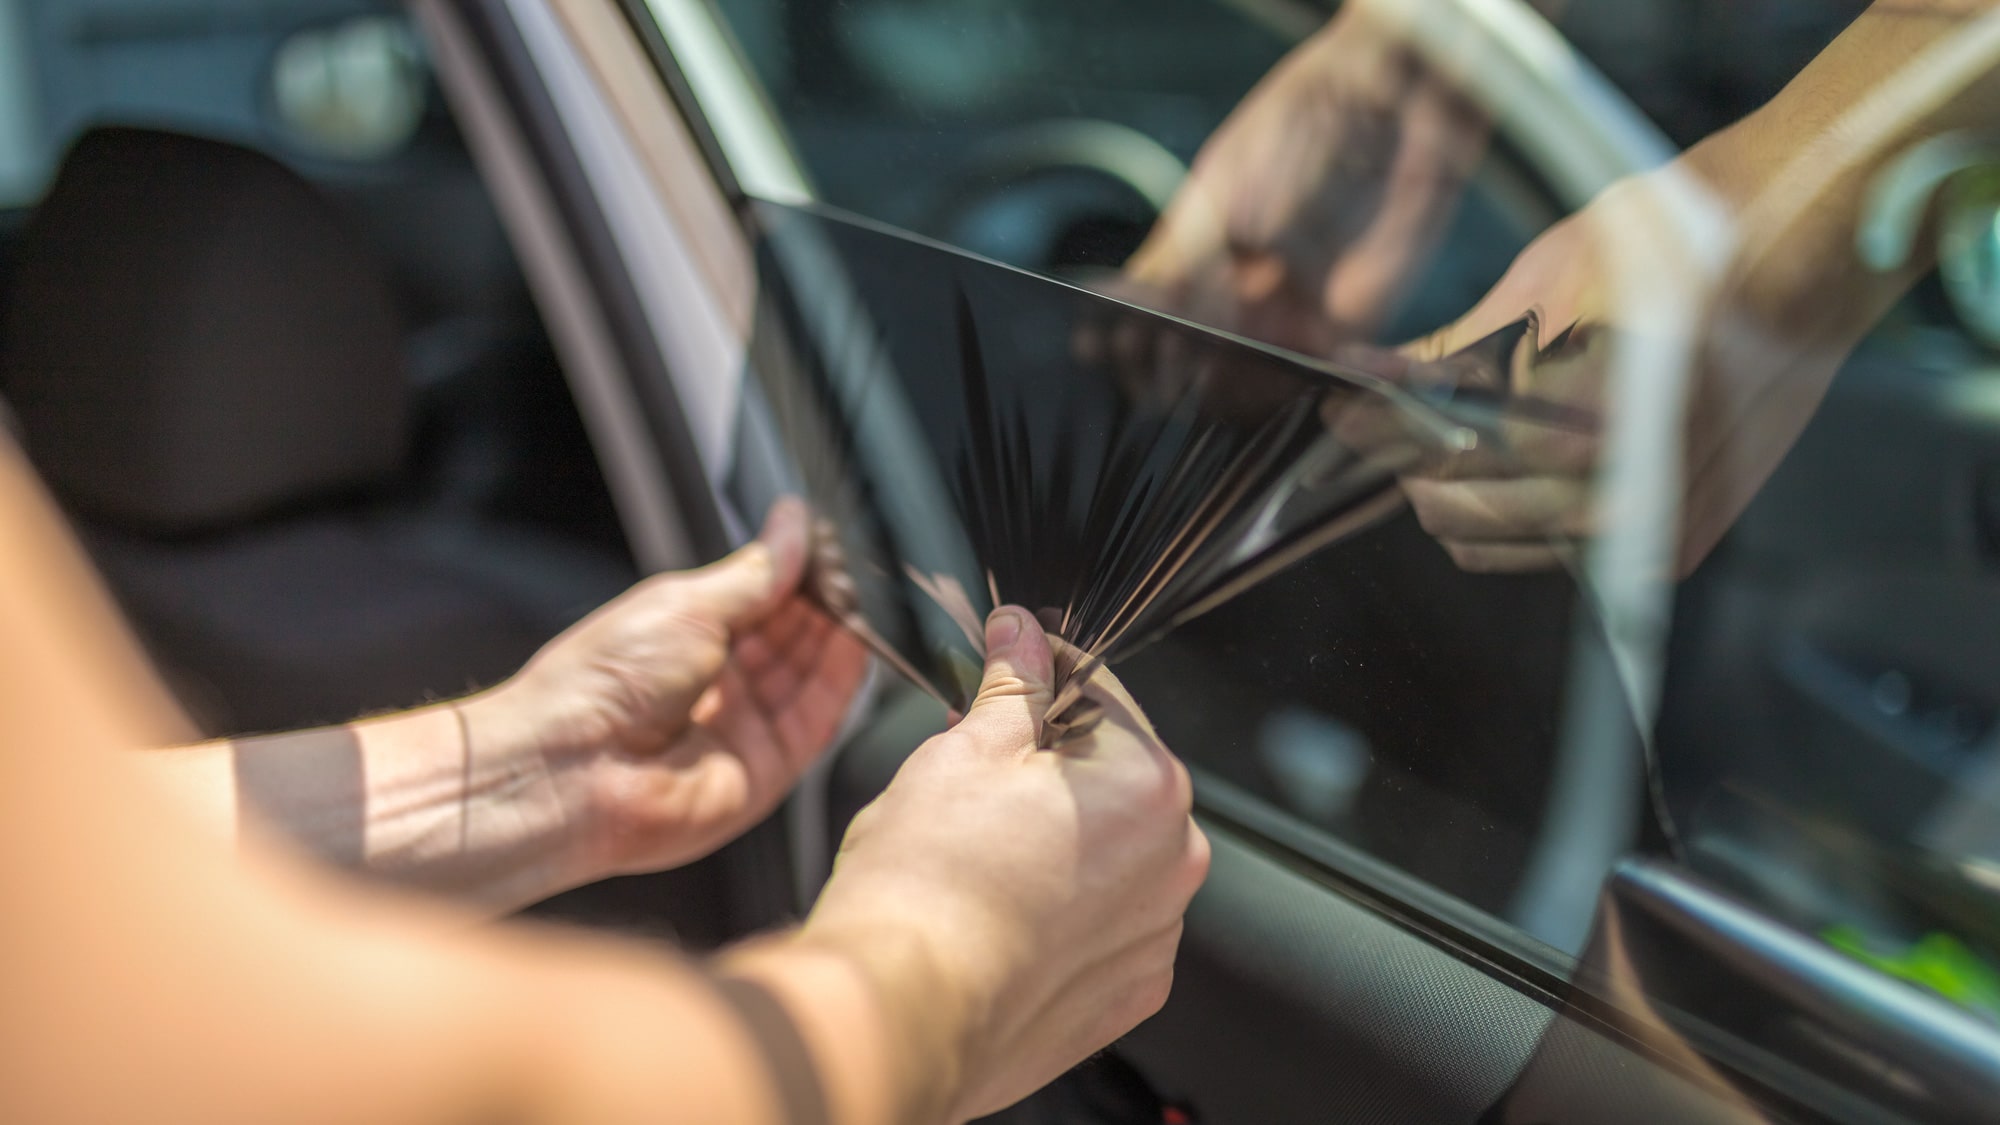
2. Position the Tint Film: Carefully place the pre-cut tint film onto the prepared window, ensuring that it aligns with the edges and contours of the glass. The application solution allows you to maneuver the film into the desired position without it adhering prematurely.
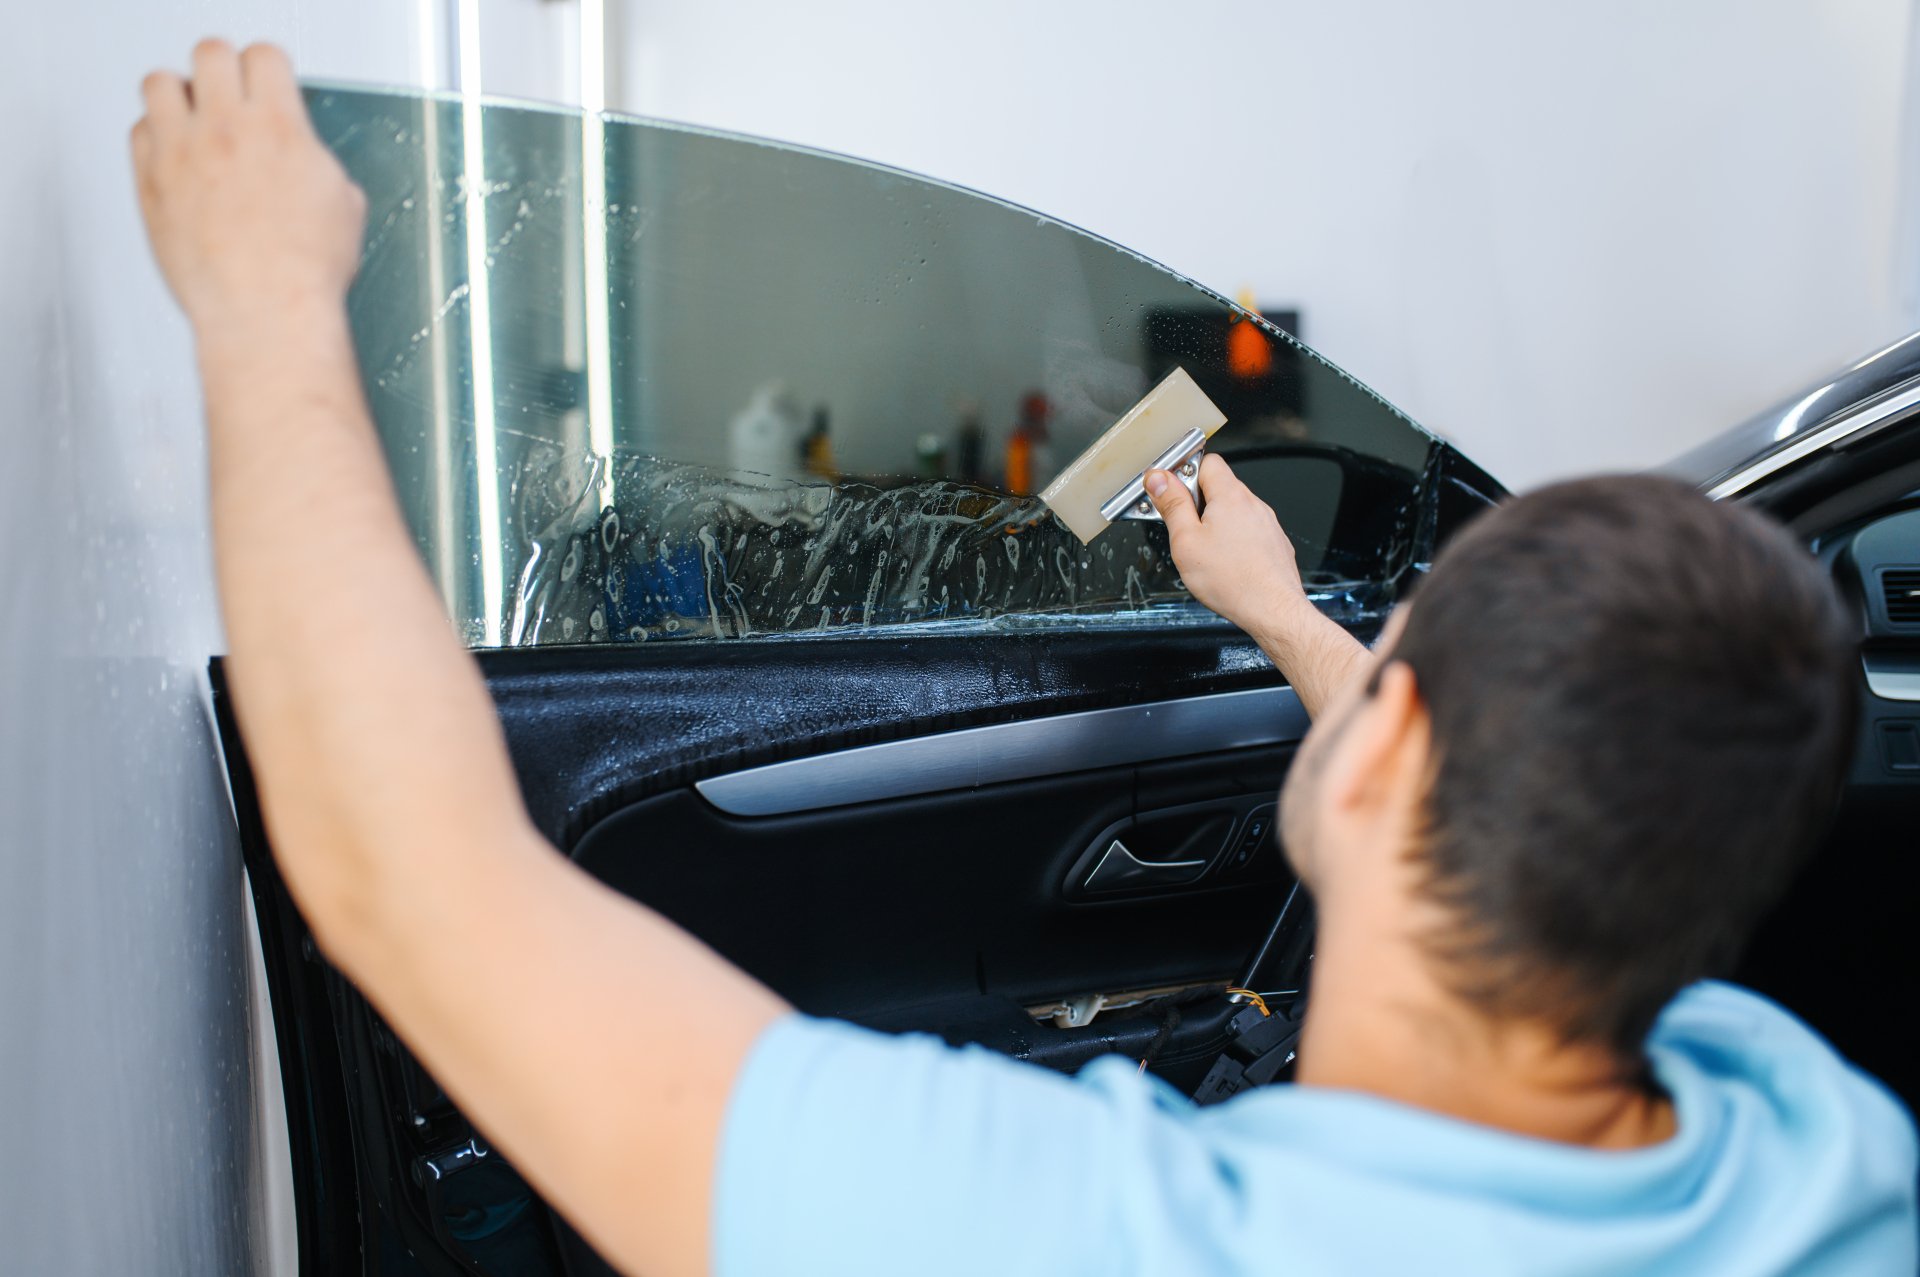
3. Squeegee and Smooth Out the Film: Using a squeegee, gently smooth out the tint film, starting from the center and working towards the edges. This process helps remove excess application solution and air bubbles trapped underneath the film, promoting a uniform and secure adhesion to the glass surface.
4. Trim Excess Film: With the tint film in place, use a sharp utility knife to trim any excess material along the edges of the window. Exercise caution and precision during this step to achieve clean and accurate cuts, ensuring a neat and professional finish.
5. Heat-Shrink the Film: If the tint film exhibits any ripples or creases, utilize a heat gun or hair dryer to gently heat-shrink the film, encouraging it to conform to the curves and contours of the window. This process contributes to a snug and seamless fit, enhancing the overall appearance and performance of the tint.
6. Repeat for Each Window: Repeat the aforementioned steps for each window being tinted, ensuring consistent attention to detail and thoroughness throughout the application process. Approach each window with care and precision, adapting the techniques as necessary to accommodate variations in size and shape.
By methodically following these steps and exercising patience and precision, you can achieve a professional-grade application of window tint film, elevating the aesthetic appeal and functionality of your vehicle’s windows. The application process, when executed with diligence and expertise, yields remarkable results that enhance both the visual allure and practical benefits of tinted windows.
Maintenance and Care
After successfully applying tint to your car windows, it’s essential to prioritize maintenance and care to preserve the tint’s appearance, functionality, and longevity. By implementing proactive measures and adhering to best practices, you can safeguard the quality and performance of the tint, ensuring that it continues to enhance your driving experience for years to come. Here are valuable maintenance tips to uphold the integrity of your car window tint:
1. Initial Drying Period: Following the tint installation, allow an initial drying period before operating the windows. This typically ranges from a few days to a week, depending on the climate and humidity levels. Avoid rolling down the windows during this period to prevent premature damage to the tint film.
2. Gentle Cleaning Techniques: When cleaning tinted windows, opt for mild, ammonia-free glass cleaners and soft, non-abrasive cloths or microfiber towels. Harsh chemicals and rough cleaning implements can compromise the tint’s appearance and adhesion, leading to potential damage or discoloration over time.
3. Avoid Abrasive Materials: Refrain from using abrasive materials such as rough sponges or brushes when cleaning the tinted windows. These materials can scratch or abrade the tint film, detracting from its visual appeal and diminishing its effectiveness.
4. Preventive Measures for Interior Surfaces: Implement protective measures to minimize the risk of damage to the interior surfaces of the tinted windows. This includes using sunshades or window visors to reduce direct sun exposure and mitigate the potential for heat-related issues that could affect the tint’s integrity.
5. Regular Inspection: Periodically inspect the tinted windows for any signs of peeling, bubbling, or discoloration. Promptly addressing these issues by consulting a professional tint installer can prevent further deterioration and preserve the aesthetic and functional benefits of the tint.
6. Professional Maintenance and Repairs: Entrust professional tint installers with any maintenance or repair needs to ensure that the tint receives expert care and attention. Professional intervention can address issues such as bubbling, peeling, or imperfections, prolonging the lifespan and appeal of the tint.
By incorporating these maintenance practices into your routine, you can uphold the pristine condition and performance of your car window tint, maximizing its visual impact and functional advantages. Prioritizing proper care and maintenance not only safeguards your investment in window tinting but also ensures a continued enhancement of your driving environment through the benefits of tinted windows.
Conclusion
Embarking on the journey of car window tinting unveils a realm of possibilities, allowing you to personalize your vehicle while reaping a myriad of practical benefits. From enhancing privacy and reducing heat to safeguarding your interior and elevating the aesthetic allure of your car, tinted windows serve as a versatile and impactful customization option. As you navigate through the process of window tinting, it’s essential to prioritize meticulous preparation, adherence to legal regulations, and proactive maintenance to ensure a rewarding and enduring outcome.
By familiarizing yourself with the legal regulations governing window tinting in your area, selecting the appropriate type of tint film, and acquiring the essential tools and materials, you set the stage for a successful and gratifying tinting experience. The meticulous application process, characterized by precision, patience, and attention to detail, culminates in the transformation of your car’s windows, enhancing both form and function.
As you revel in the allure of your newly tinted windows, maintaining a commitment to proper care and maintenance becomes paramount. By implementing gentle cleaning techniques, safeguarding the tint from potential damage, and seeking professional assistance when needed, you safeguard the integrity and appeal of the tint, ensuring that it continues to enrich your driving environment for years to come.
Ultimately, the journey of car window tinting transcends mere customization; it encapsulates a fusion of style, functionality, and personal expression. Whether you prioritize the sleek aesthetic of your vehicle or seek to optimize comfort and protection, the art of window tinting empowers you to realize your vision and enhance your driving experience.
As you immerse yourself in the world of automotive customization, the allure of tinted windows beckons, offering a canvas for self-expression and an avenue for elevating the allure and functionality of your vehicle. Embrace the transformative potential of car window tinting, and revel in the enduring benefits and visual allure it bestows upon your cherished automobile.
Frequently Asked Questions about What Do I Need To Tint My Car Windows
Was this page helpful?
At Storables.com, we guarantee accurate and reliable information. Our content, validated by Expert Board Contributors, is crafted following stringent Editorial Policies. We're committed to providing you with well-researched, expert-backed insights for all your informational needs.


0 thoughts on “What Do I Need To Tint My Car Windows”