Home>Home Appliances>Bathroom Appliances>How To Remove Window Tint With A Hair Dryer
Bathroom Appliances
How To Remove Window Tint With A Hair Dryer
Modified: August 17, 2024
Learn how to easily remove window tint using a hair dryer with our step-by-step guide. Say goodbye to old tint with this simple bathroom appliance method!
(Many of the links in this article redirect to a specific reviewed product. Your purchase of these products through affiliate links helps to generate commission for Storables.com, at no extra cost. Learn more)
Introduction
Welcome to the ultimate guide on how to remove window tint using a hair dryer! Over time, window tint can become faded, bubbled, or simply outdated, prompting the need for removal. While this task may seem daunting, with the right tools and techniques, you can effectively restore your windows to their former clarity and transparency.
In this comprehensive guide, we will walk you through the step-by-step process of removing window tint using a hair dryer, a method known for its simplicity and effectiveness. By following these instructions, you can achieve professional-quality results without the need for expensive professional services.
Whether you're looking to replace old tint with a fresh application or simply desire clear, unobstructed windows, this DIY approach will empower you to tackle the task with confidence. So, gather your materials and let's embark on this journey to restore the clarity and aesthetics of your windows!
Key Takeaways:
- Say goodbye to old, faded window tint by using a hair dryer to heat and peel it off. With some patience and the right tools, you can restore your windows to their former clarity and transparency.
- By following the steps in this guide, you can remove window tint like a pro without expensive professional services. Enjoy the satisfaction of a job well done and the clear, unobstructed views you’ve achieved!
Read more: How To Remove Tint Glue From Car Windows
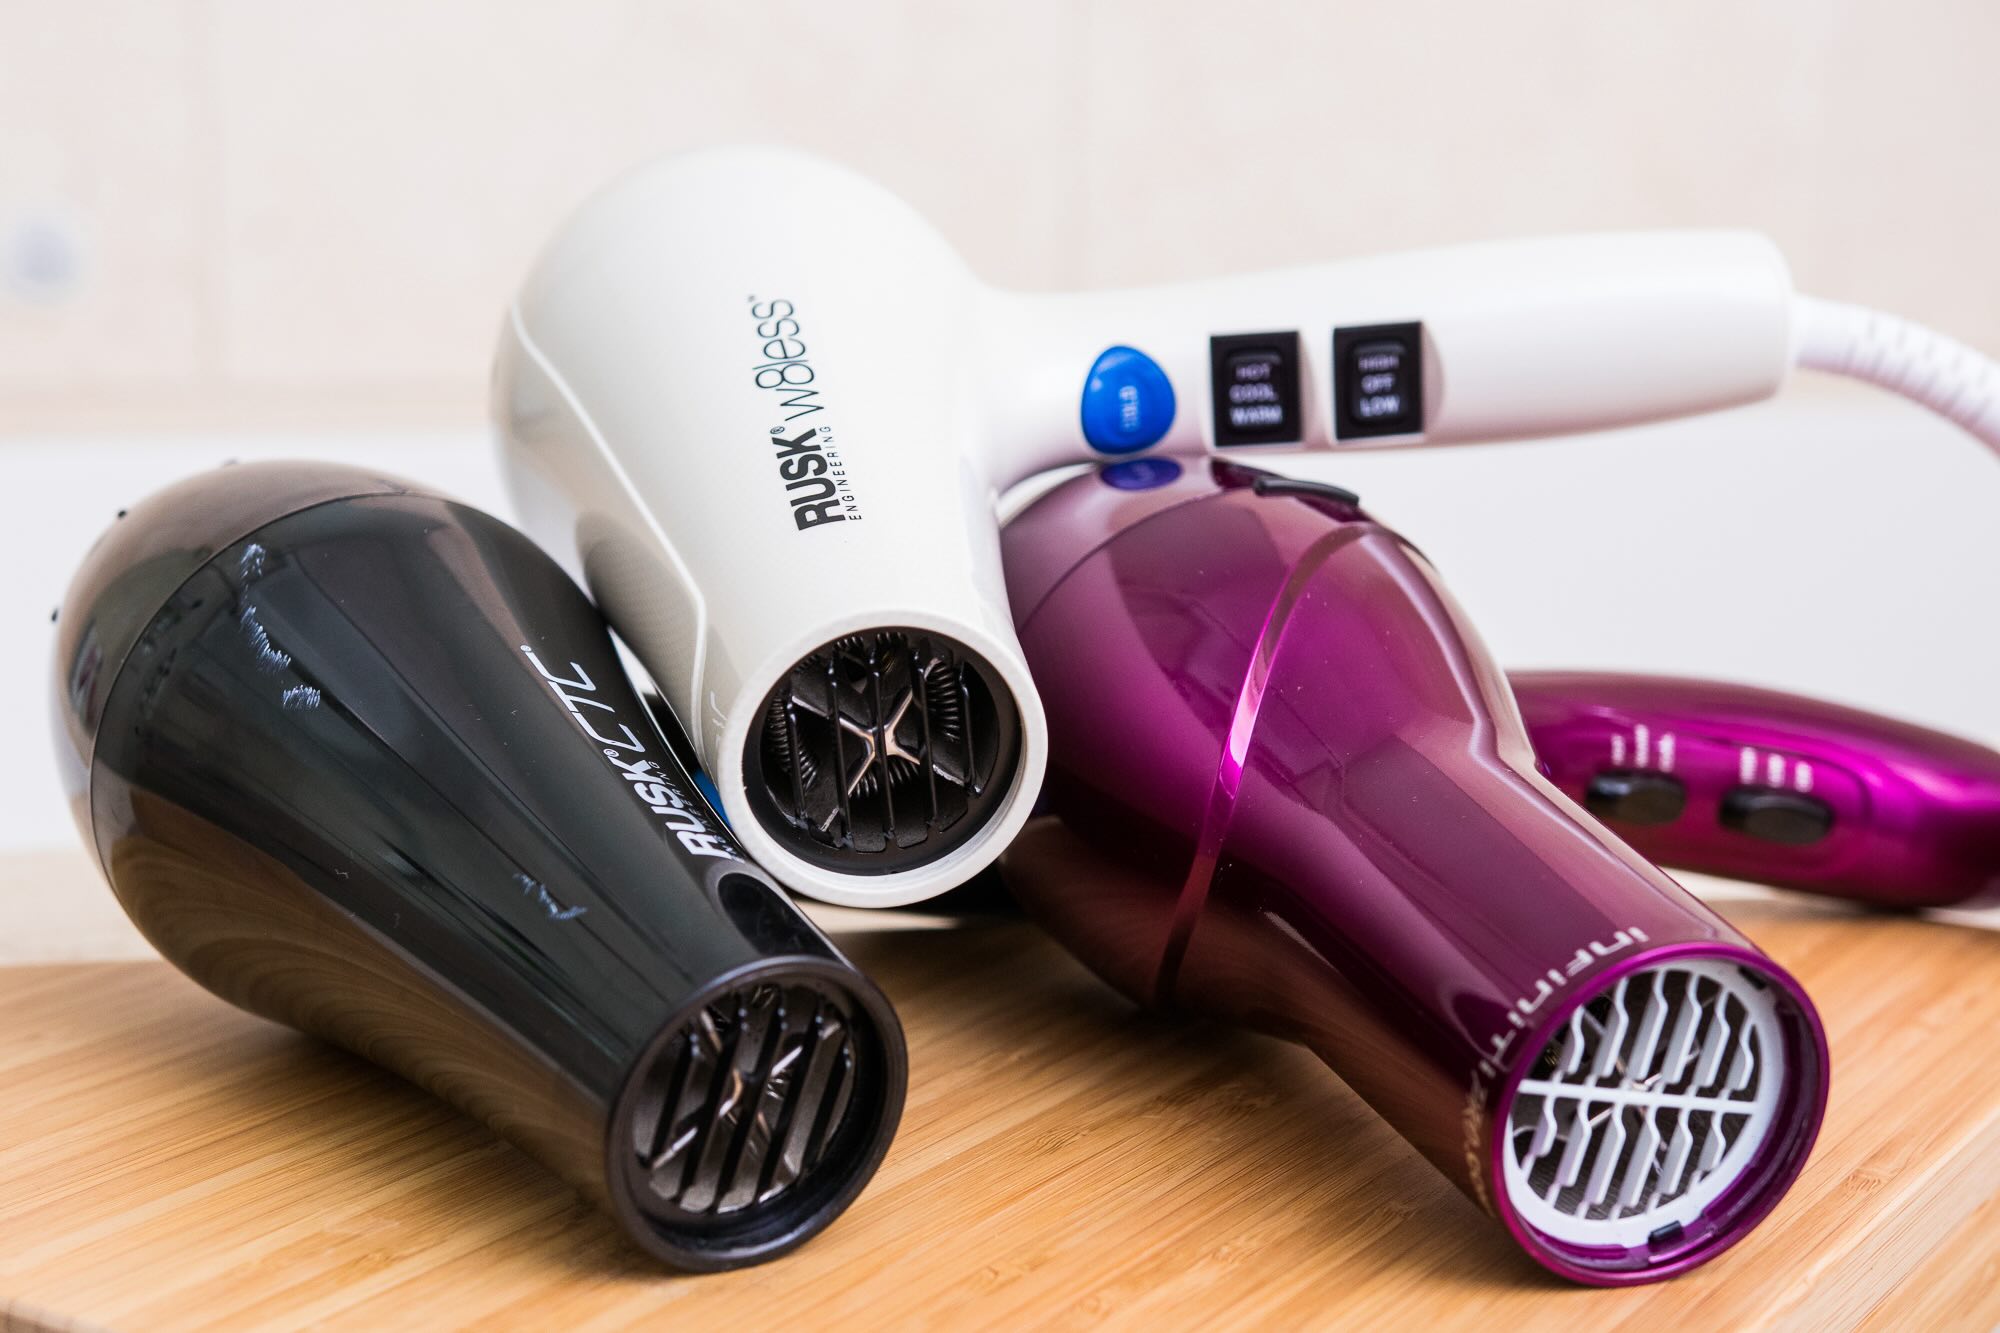
Materials Needed
Before embarking on the window tint removal process, it’s essential to gather the necessary materials. Here’s what you’ll need:
- Quality hair dryer: Ensure that the hair dryer you use has a high heat setting to effectively heat the adhesive behind the window tint.
- Razor blade or utility knife: This will be used to carefully lift and remove the tint from the window.
- Clean, lint-free cloth: Having a soft, lint-free cloth on hand is crucial for wiping the window and ensuring a clean, clear surface once the tint is removed.
- Glass cleaner: After the tint is removed, a reliable glass cleaner will help eliminate any remaining adhesive residue and leave the window sparkling clean.
- Plastic scraper or credit card: This tool will aid in gently scraping off the tint without damaging the window.
- Mild soap and water solution: Prepare a solution of mild soap and water to clean the window before and after removing the tint.
- Protective gloves: It’s advisable to wear protective gloves to shield your hands from any sharp edges when working with the razor blade or utility knife.
- Protective eyewear: Safety should always be a priority, so wearing protective eyewear is recommended, especially when using sharp tools.
By ensuring you have these materials at your disposal, you’ll be well-equipped to undertake the window tint removal process efficiently and safely.
Step 1: Prepare the Window
Before diving into the window tint removal process, it’s crucial to prepare the window and its surroundings for the task at hand. Here’s how to get started:
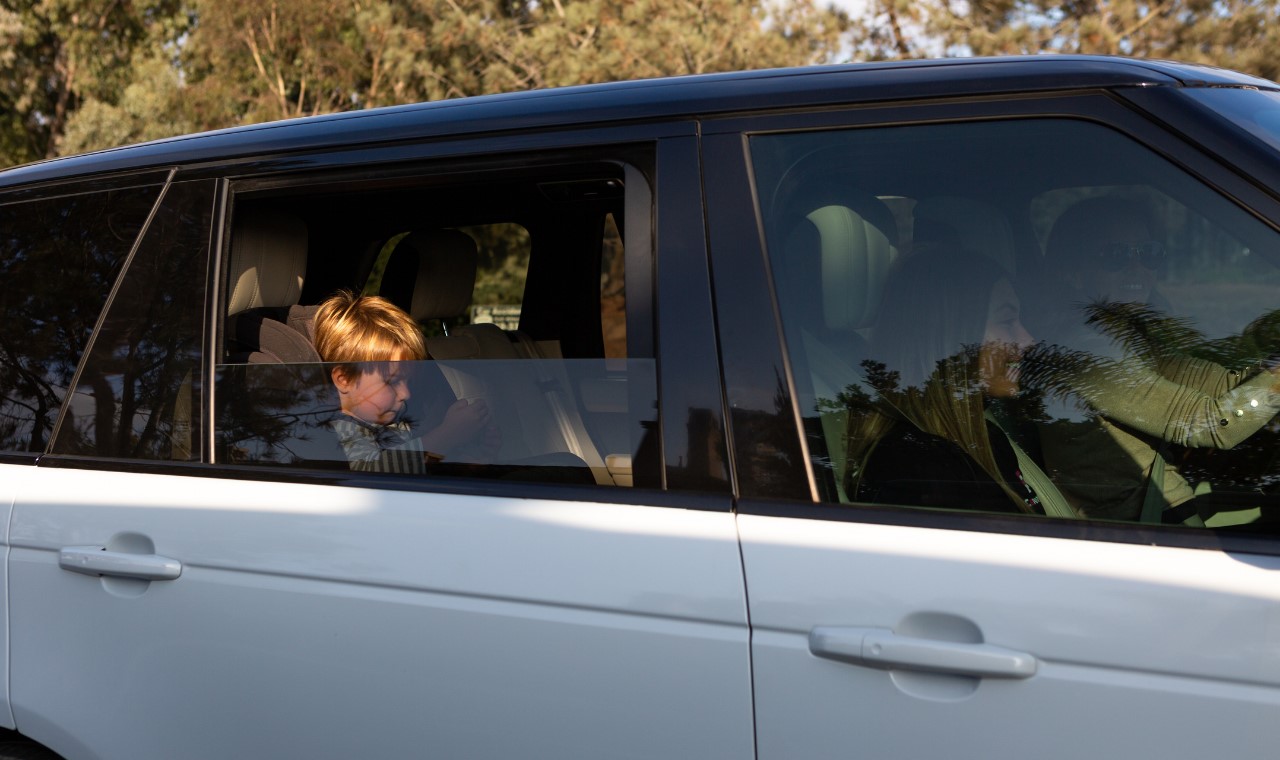
First, park your vehicle or position yourself in a well-lit area where you can comfortably work on the window without any obstructions. Adequate lighting will allow you to clearly see the tint and ensure precision during the removal process.
Next, roll down the window slightly to expose the top edge of the tint. If you’re working on a stationary window, ensure that the surrounding area is clear of any obstructions, and consider placing a drop cloth or protective covering beneath the window to catch any debris or water used during the removal process.
It’s also advisable to clean the window’s exterior and interior surfaces using a mild soap and water solution. This will help remove any dirt, dust, or grime that could interfere with the tint removal process. Once the window is clean, dry it thoroughly using a clean, lint-free cloth.
Lastly, put on your protective gloves and eyewear to ensure your safety throughout the process. By taking these preparatory steps, you’ll create an optimal environment for effectively removing the window tint without encountering unnecessary obstacles.
With the window prepared and your safety gear in place, you’re now ready to move on to the next step in the window tint removal process.
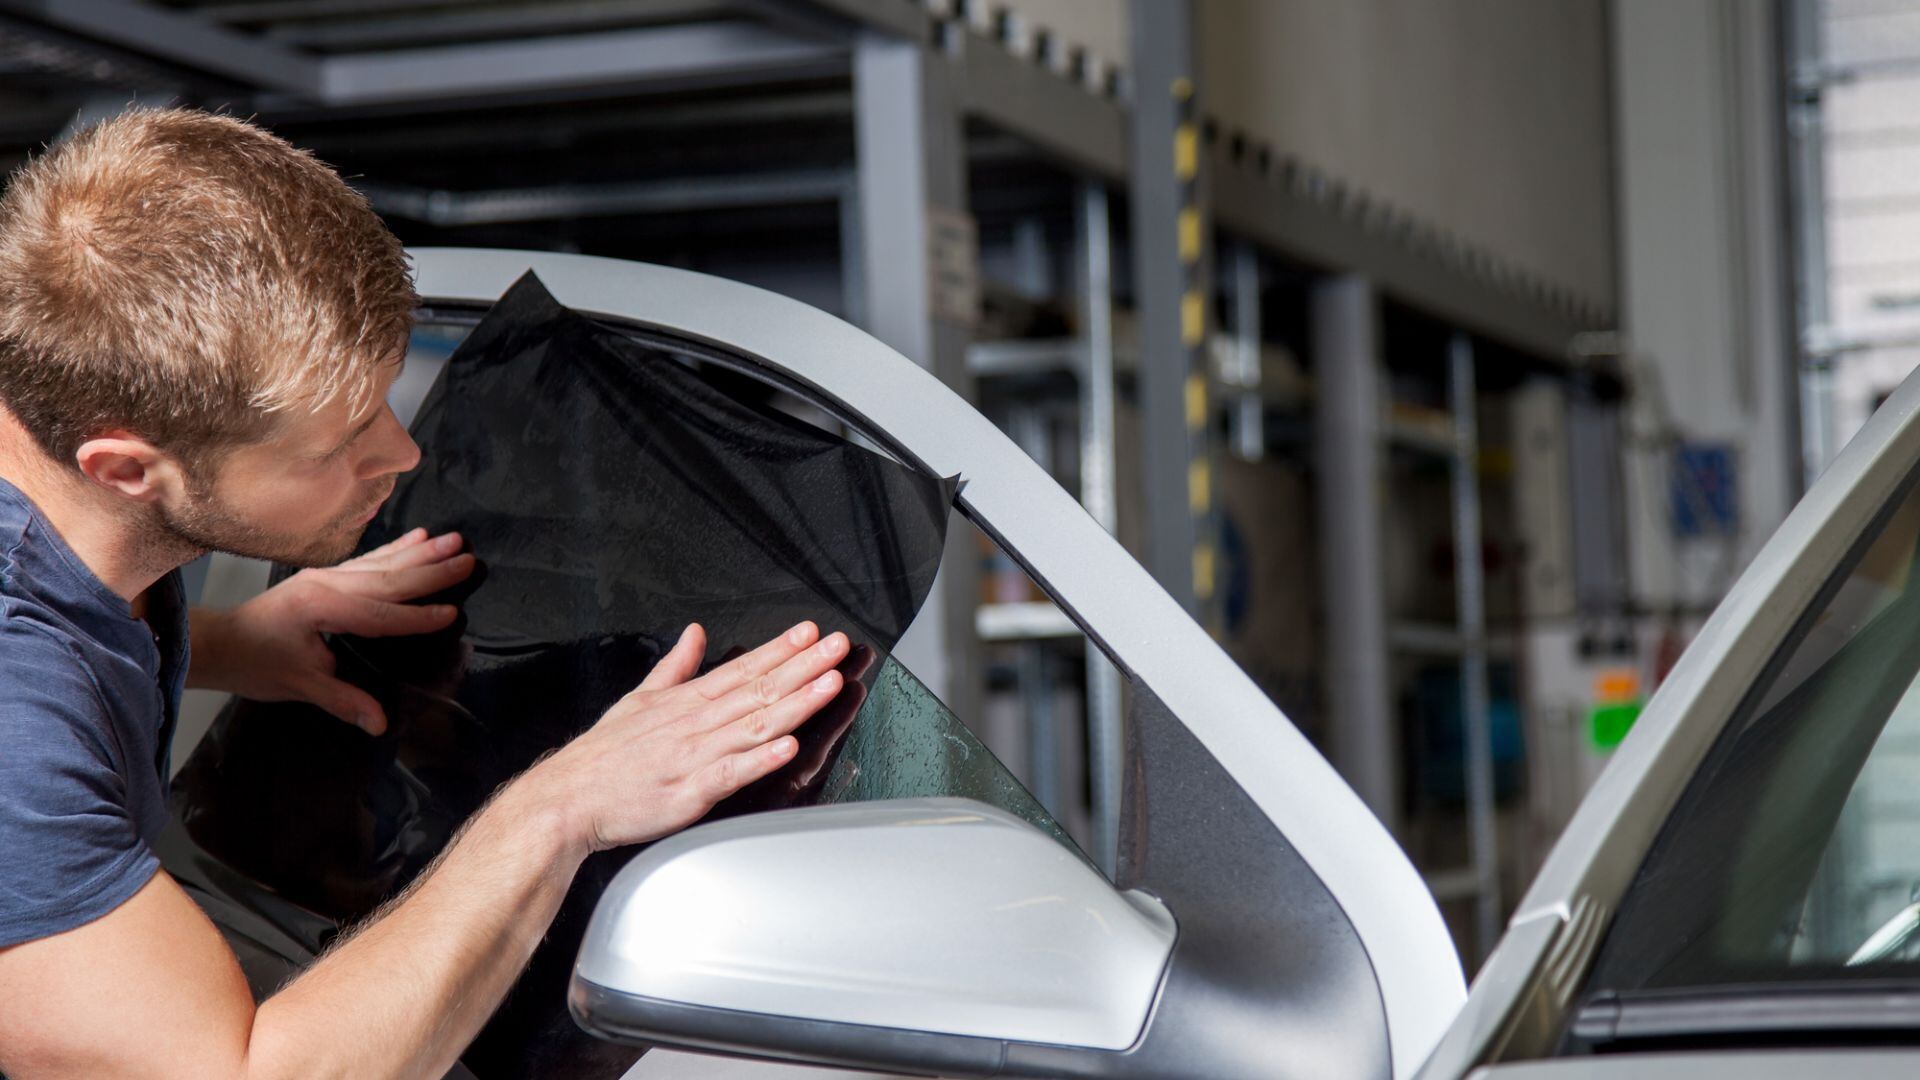
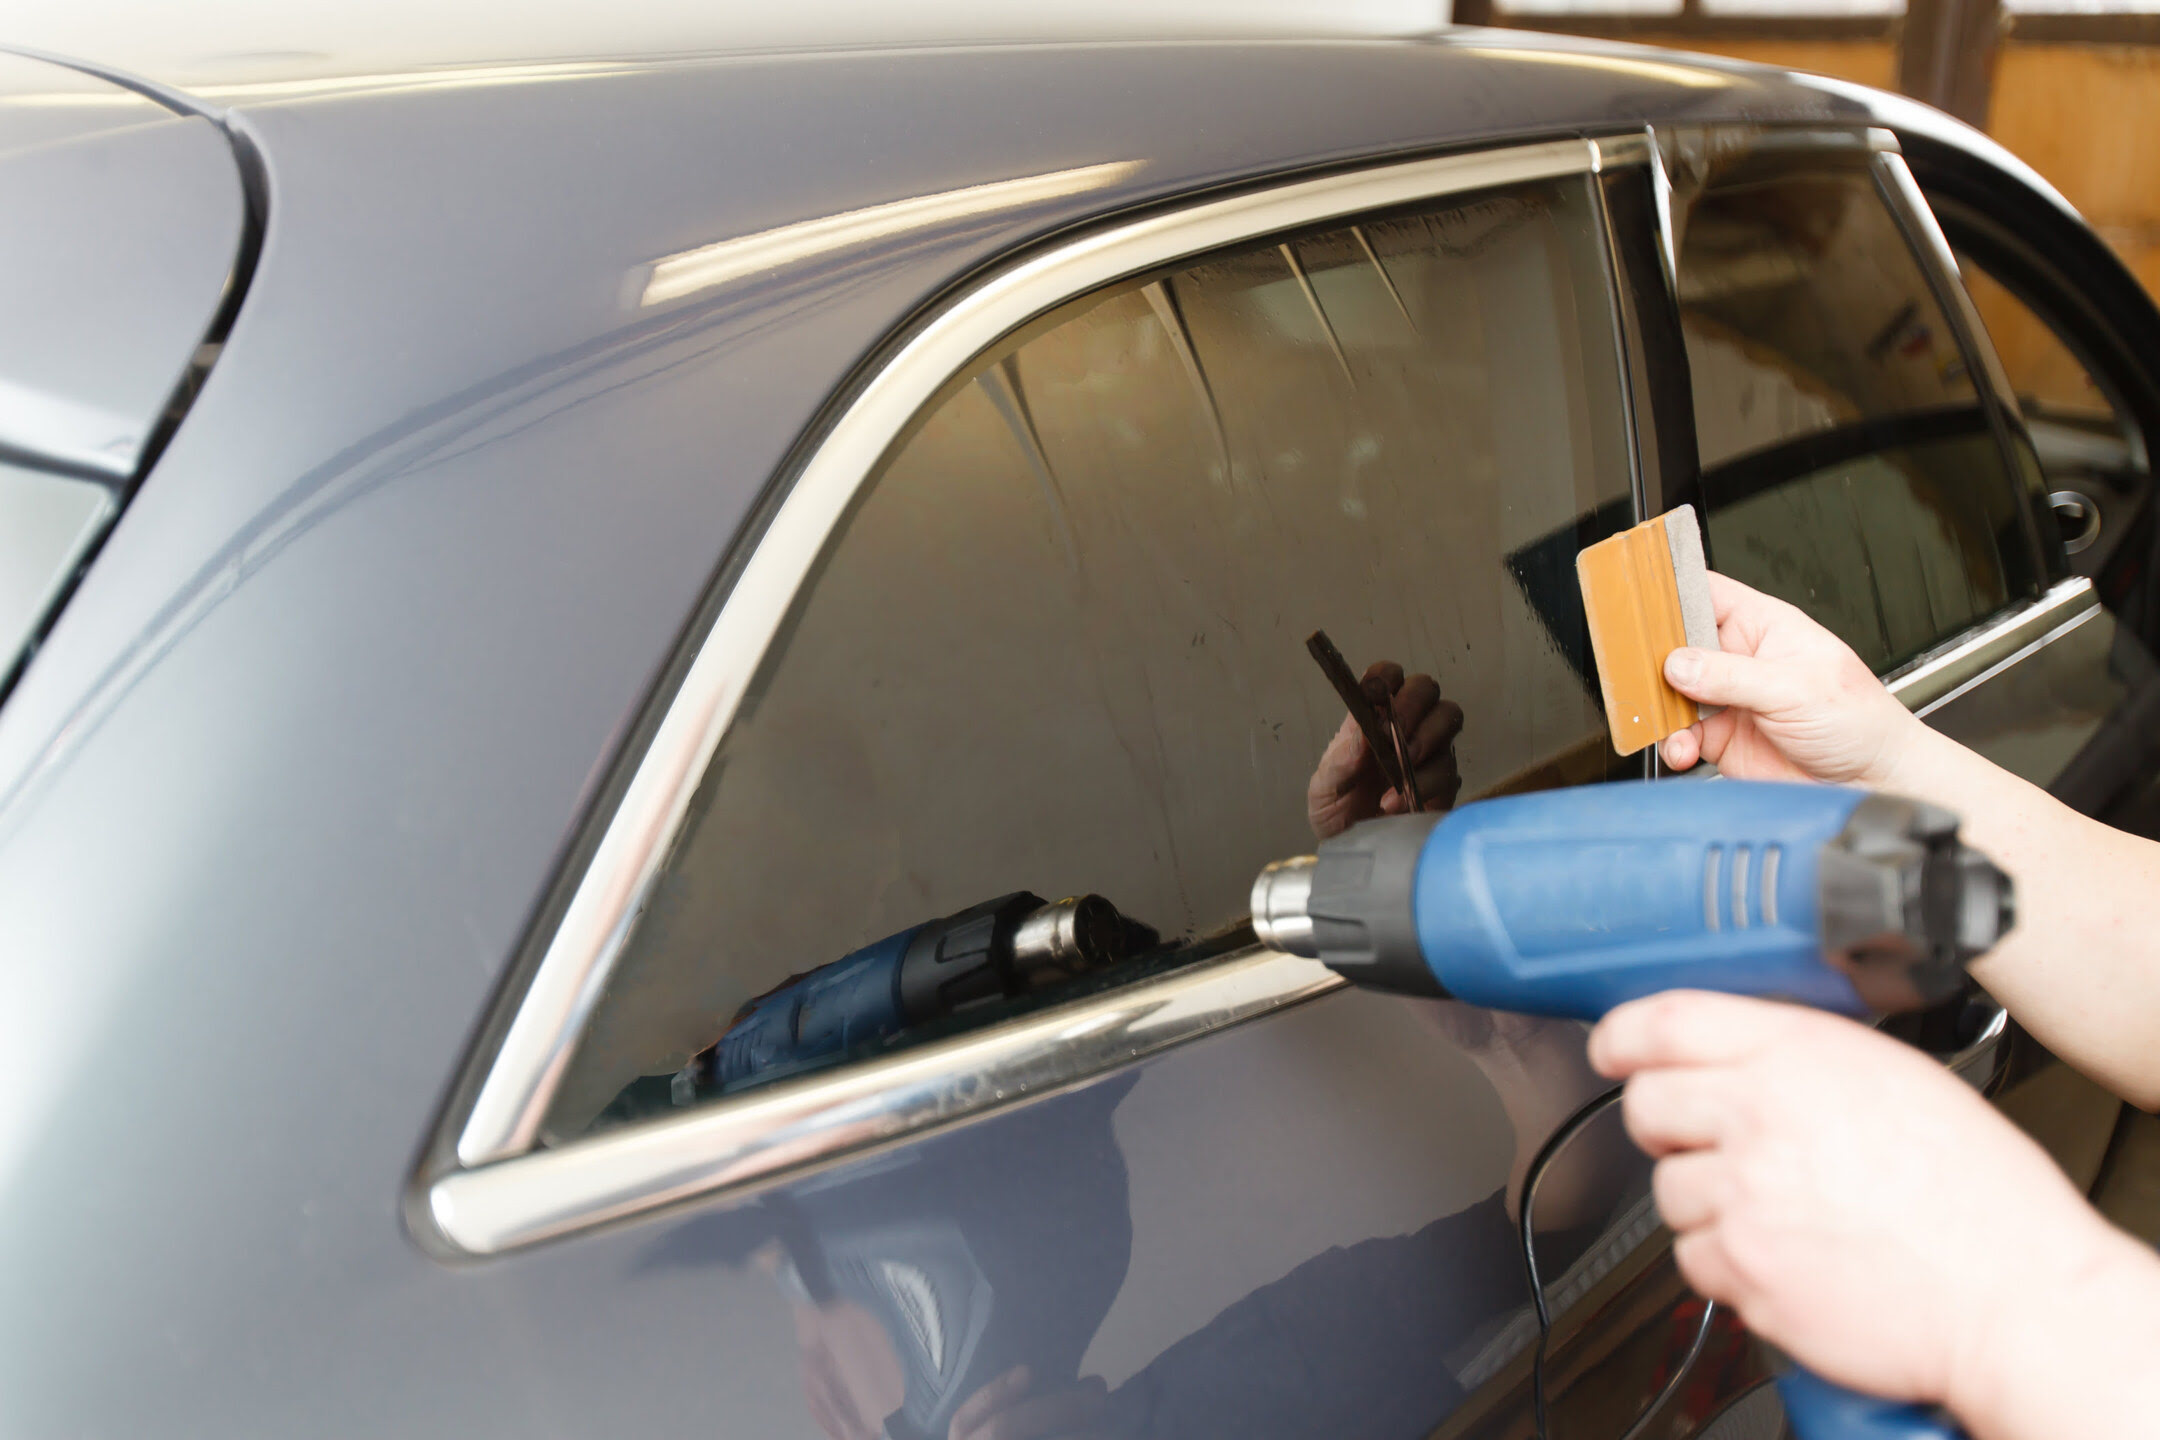
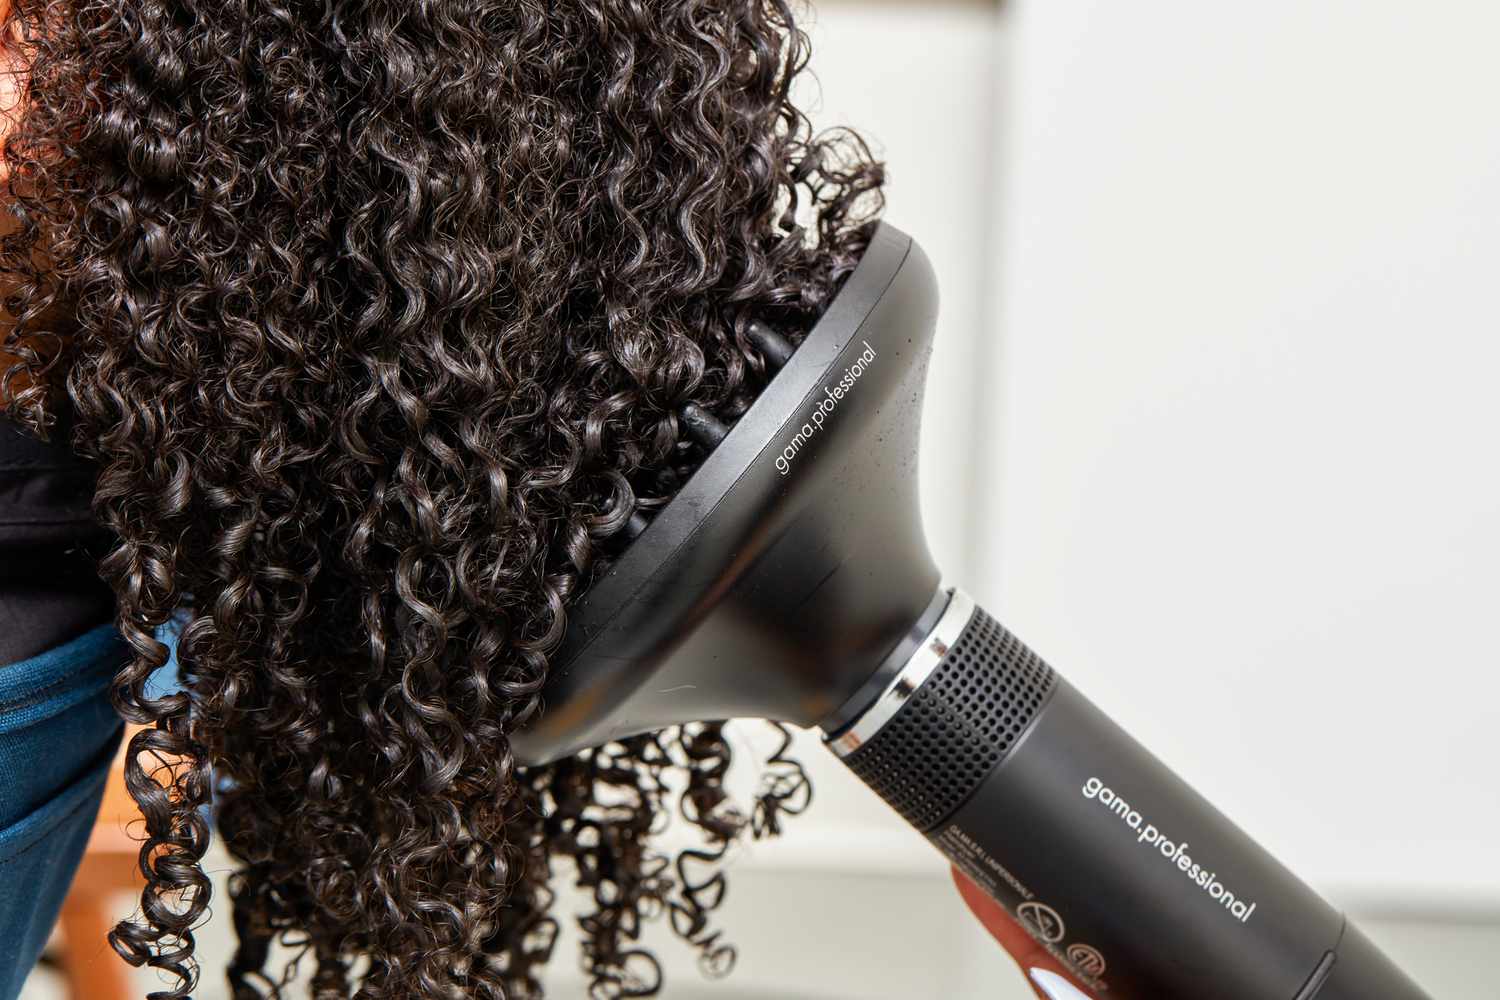
Step 2: Use the Hair Dryer to Heat the Tint
Now that the window is prepared, it’s time to employ the hair dryer to heat the tint, making it easier to remove. Follow these steps to effectively use the hair dryer in this process:
Begin by selecting the highest heat setting on your hair dryer. Holding the dryer approximately 2-3 inches away from the tinted area, start heating the top corner of the tint. Move the hair dryer in a sweeping motion, ensuring that the heat is evenly distributed across the tinted surface. The goal is to warm the adhesive behind the tint, causing it to soften and become more pliable.
As you heat the tint, be mindful of the duration to prevent overheating. Keep the hair dryer in motion to avoid concentrating heat in one spot for too long, which could potentially damage the window or surrounding components. It’s essential to maintain a consistent distance between the hair dryer and the tinted area to achieve uniform heating.
After a few minutes of heating, gently test the corner of the tint using your fingers. If the tint begins to lift or peel easily, it’s an indication that the adhesive has sufficiently softened. If the tint remains firmly attached, continue heating the area for a bit longer until it becomes more responsive to peeling.
Once the tint is adequately heated and pliable, you’re ready to proceed to the next step of peeling it off. The careful application of heat using a hair dryer is a crucial step in the window tint removal process, as it facilitates the safe and efficient removal of the tint without causing damage to the underlying window surface.
With the tint now heated and ready for removal, let’s move on to the next step in the process.
Use a hair dryer to heat the tint, then peel it off slowly. If it’s stubborn, use a razor blade to lift the edge and continue heating.
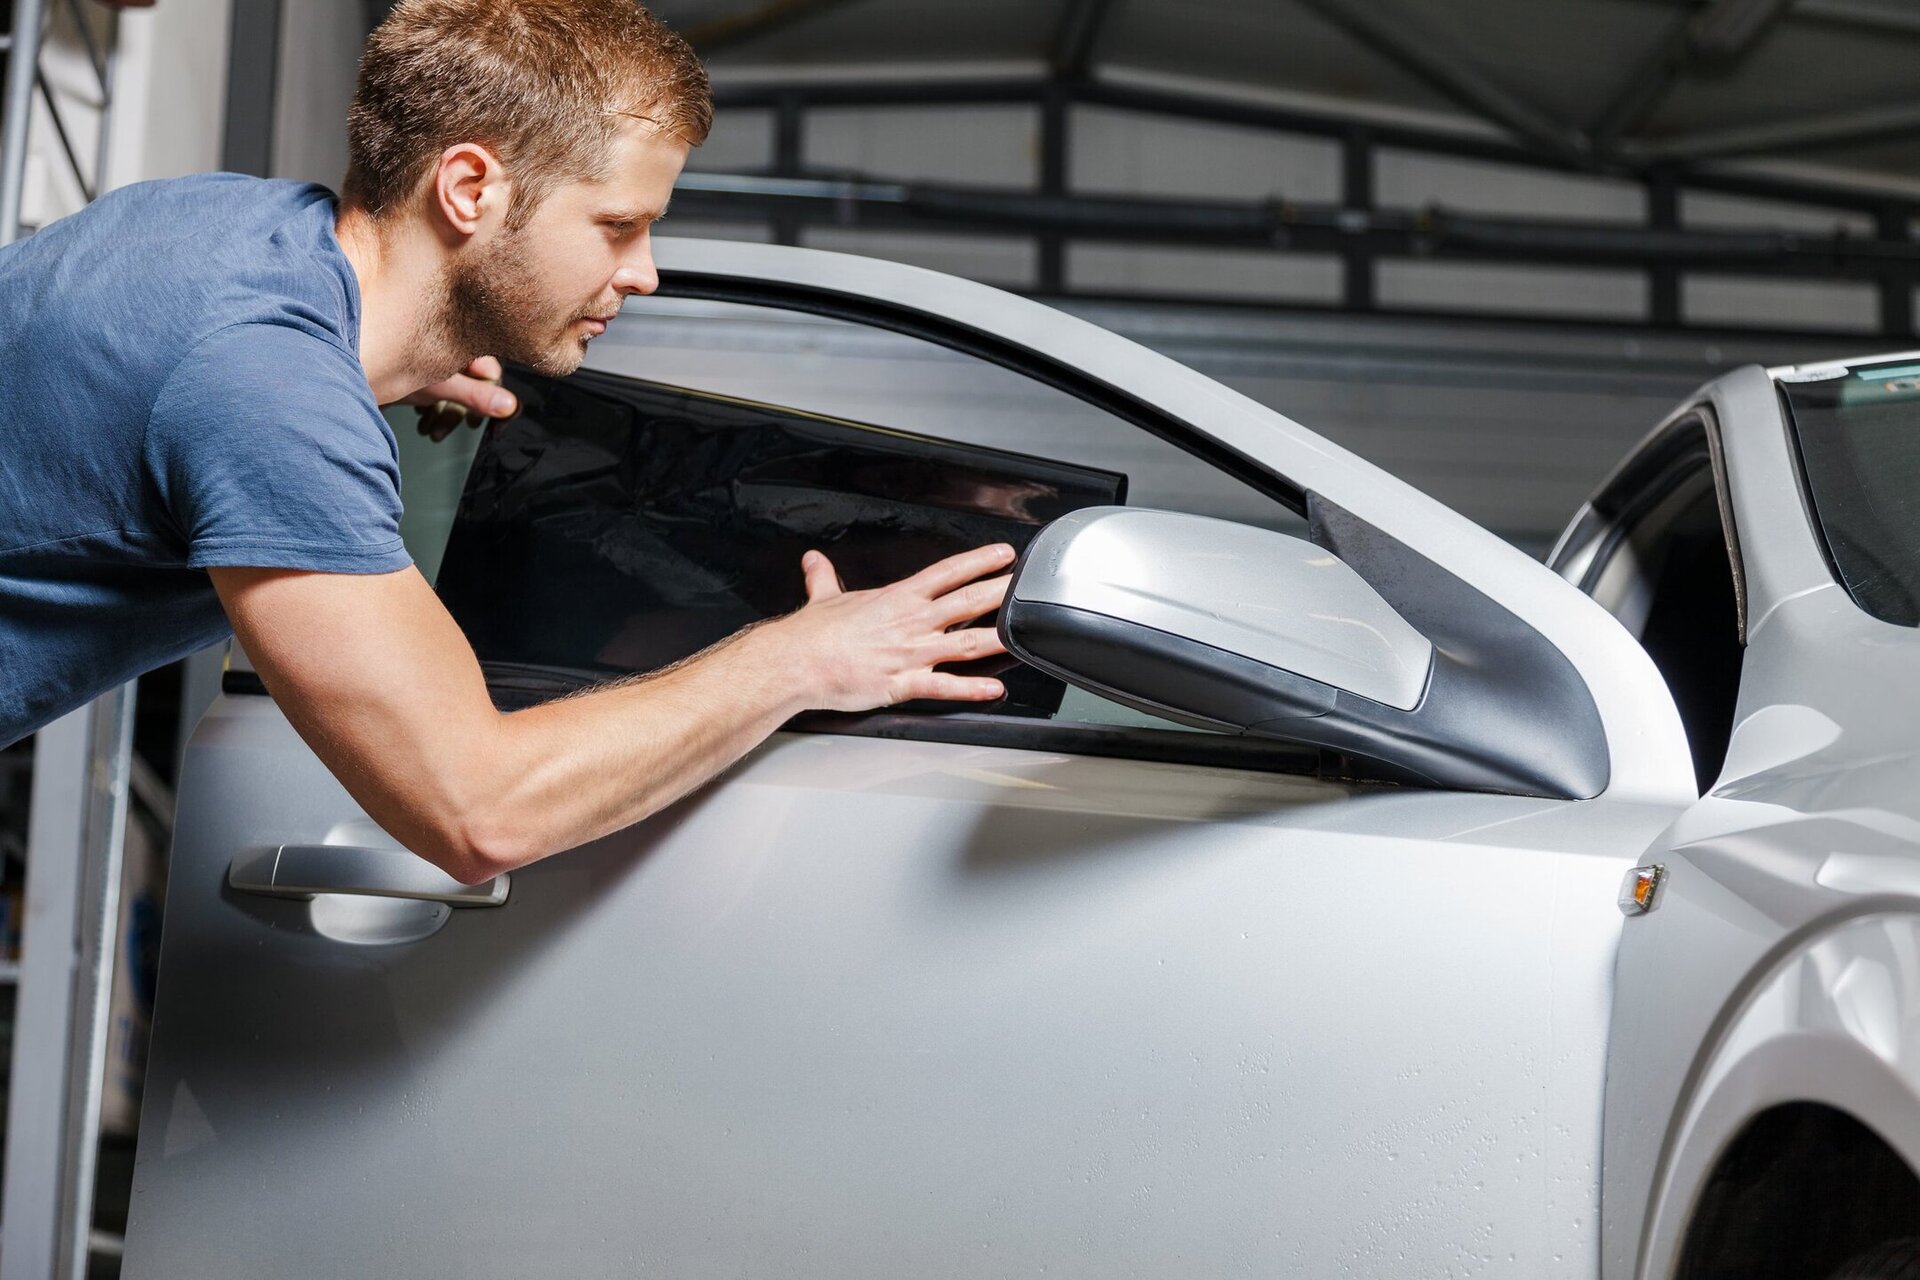
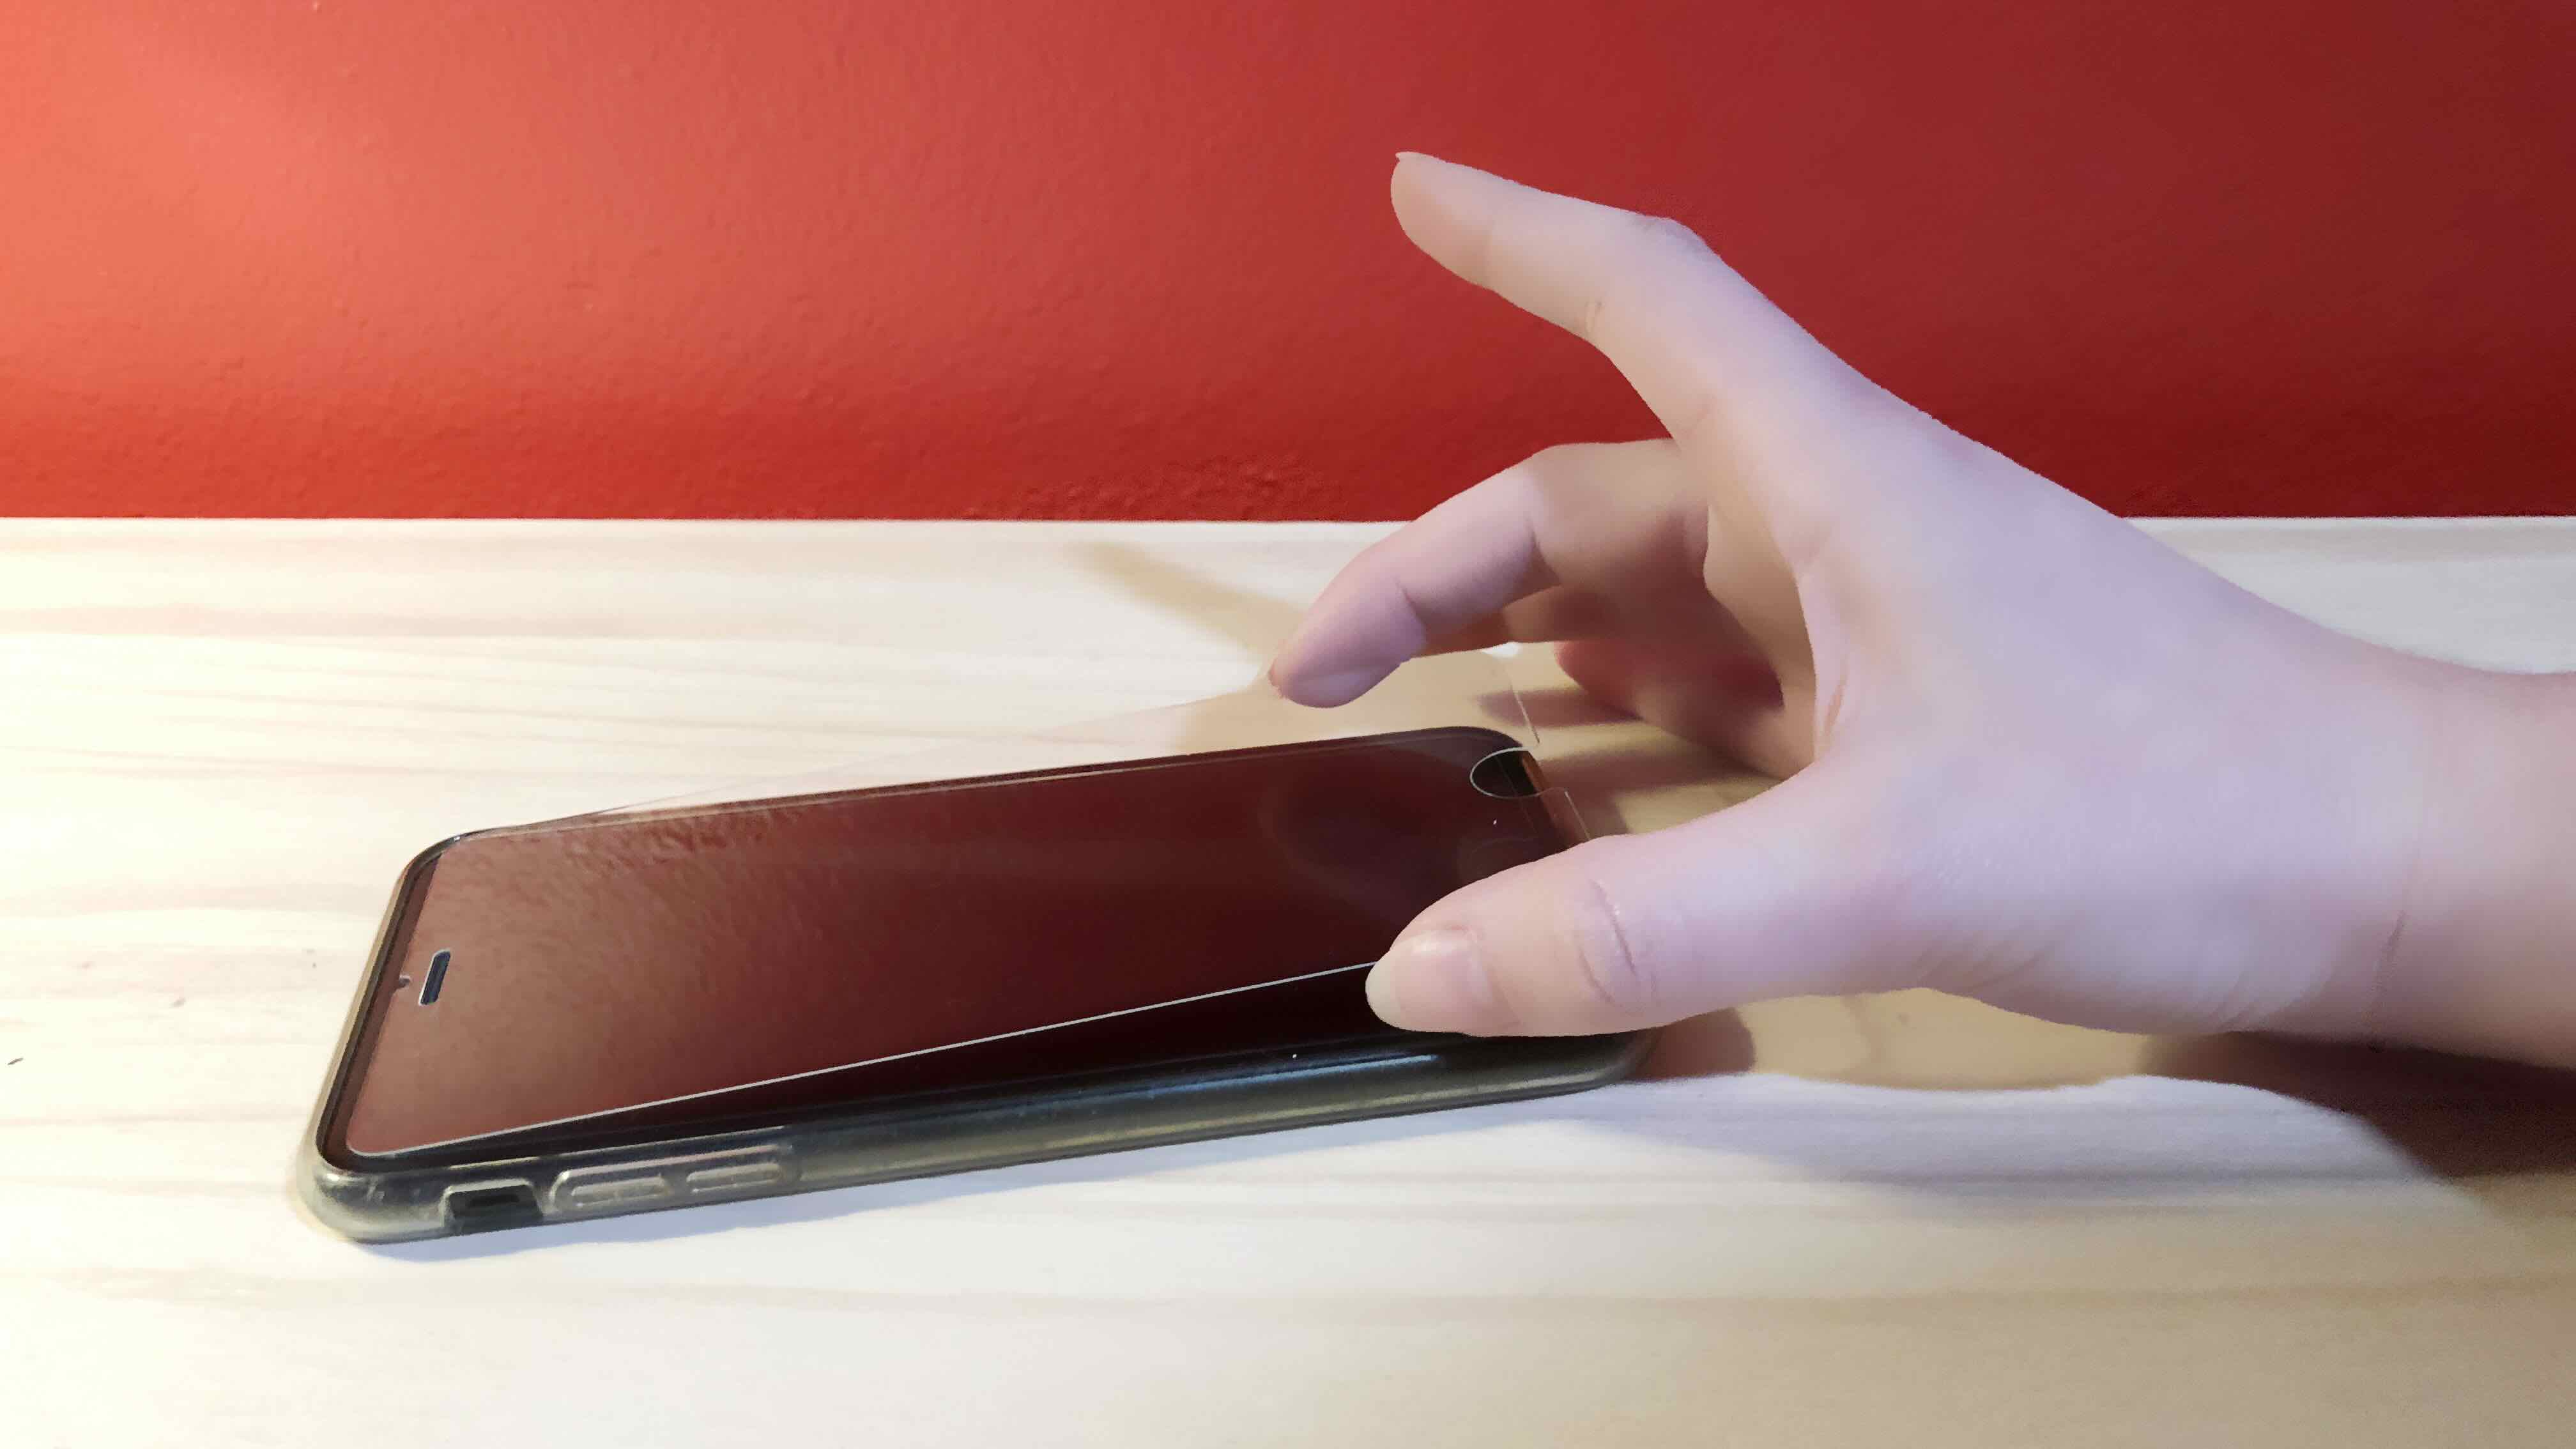
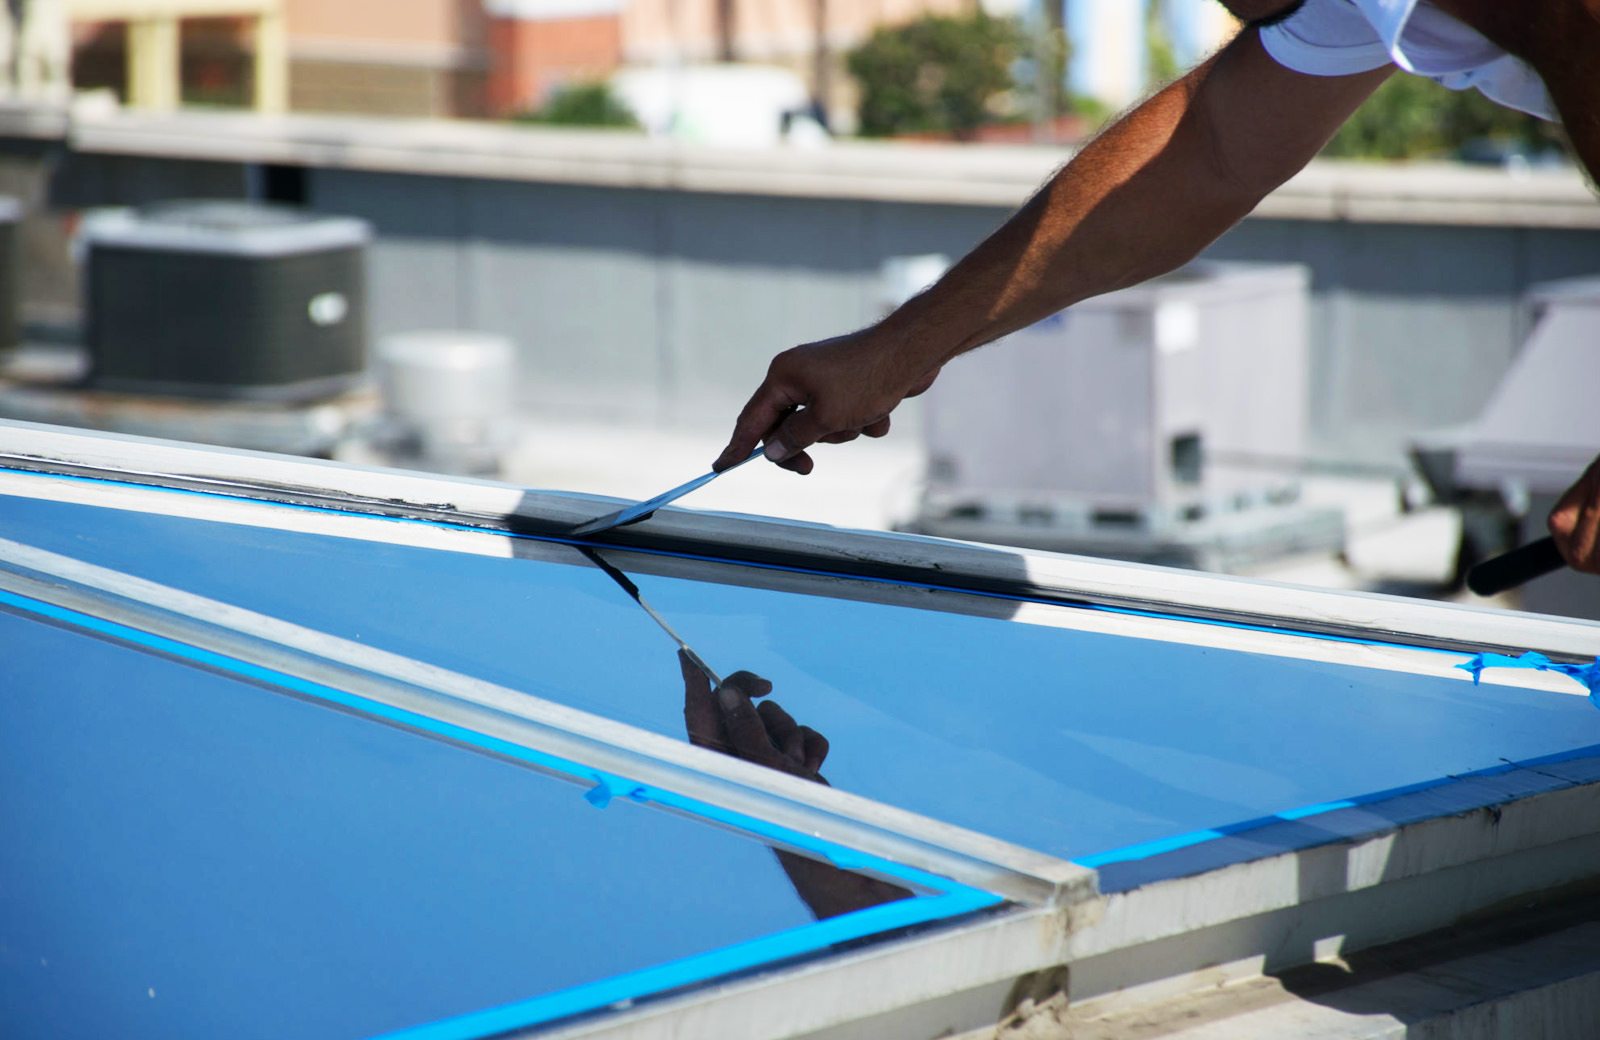
Step 3: Peel off the Tint
With the tint thoroughly heated and pliable, it’s time to carefully peel it off the window. Follow these steps to effectively remove the tint:
Using a razor blade or utility knife, gently lift the heated corner of the tint. Take care to begin at the top edge of the tint, as this is where it’s most likely to separate from the window. As you lift the corner, maintain a slow and steady motion to avoid tearing the tint or leaving behind adhesive residue.
Once the corner is lifted, slowly and evenly peel the tint downward, applying minimal force to prevent it from tearing. As you peel, continue using the hair dryer to warm the area directly in front of the peeling action. The additional heat will help soften the adhesive, making it easier to detach the tint from the window.
If the tint encounters resistance or begins to tear, halt the peeling process and reapply heat using the hair dryer. By ensuring that the tint remains pliable throughout the removal process, you can minimize the risk of leaving behind stubborn adhesive residue or damaging the window surface.
As you peel off the tint, take your time and exercise patience to achieve a clean and smooth removal. If any small sections of tint remain stuck to the window, use a plastic scraper or credit card to gently lift and remove them, being cautious not to scratch the window surface.
Once the tint is completely removed, inspect the window for any remaining adhesive residue. If any adhesive remains, use a mild soap and water solution along with the plastic scraper to gently remove it. Avoid using excessive force or harsh chemicals that could damage the window.
By following these steps, you can effectively peel off the tint, leaving the window surface clean and free of obstruction. With the tint successfully removed, it’s time to proceed to the next crucial step: cleaning the window to ensure a pristine, transparent finish.
Read more: How To Apply Tint To Car Windows
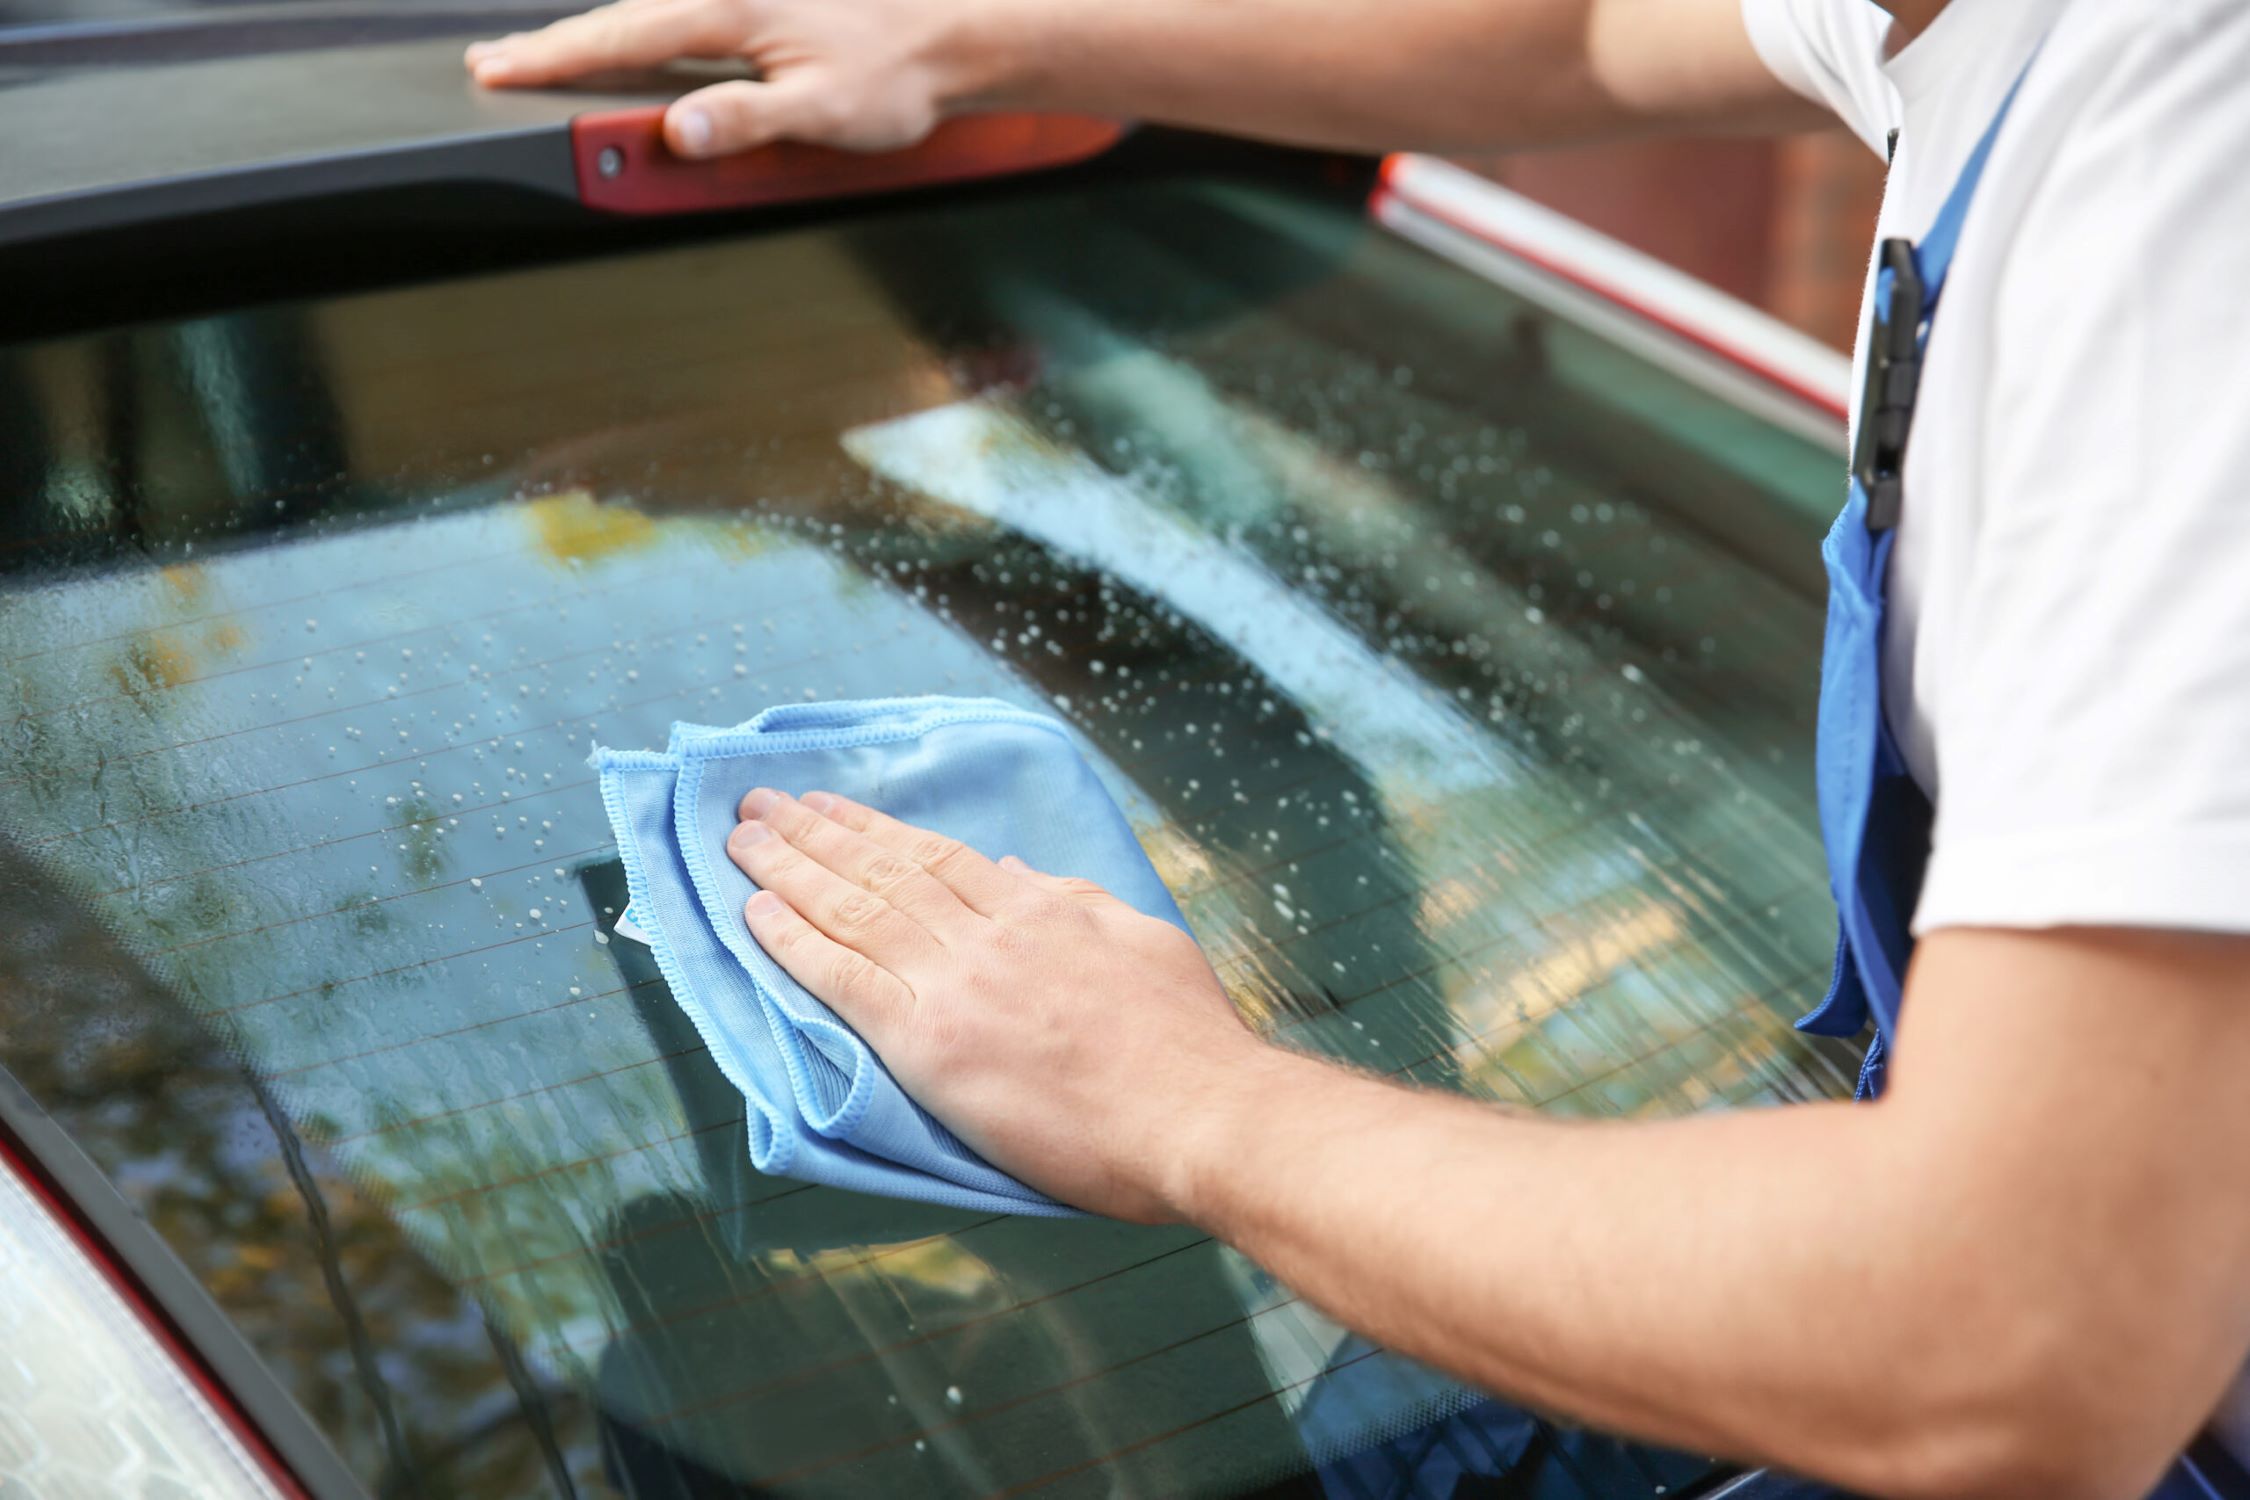
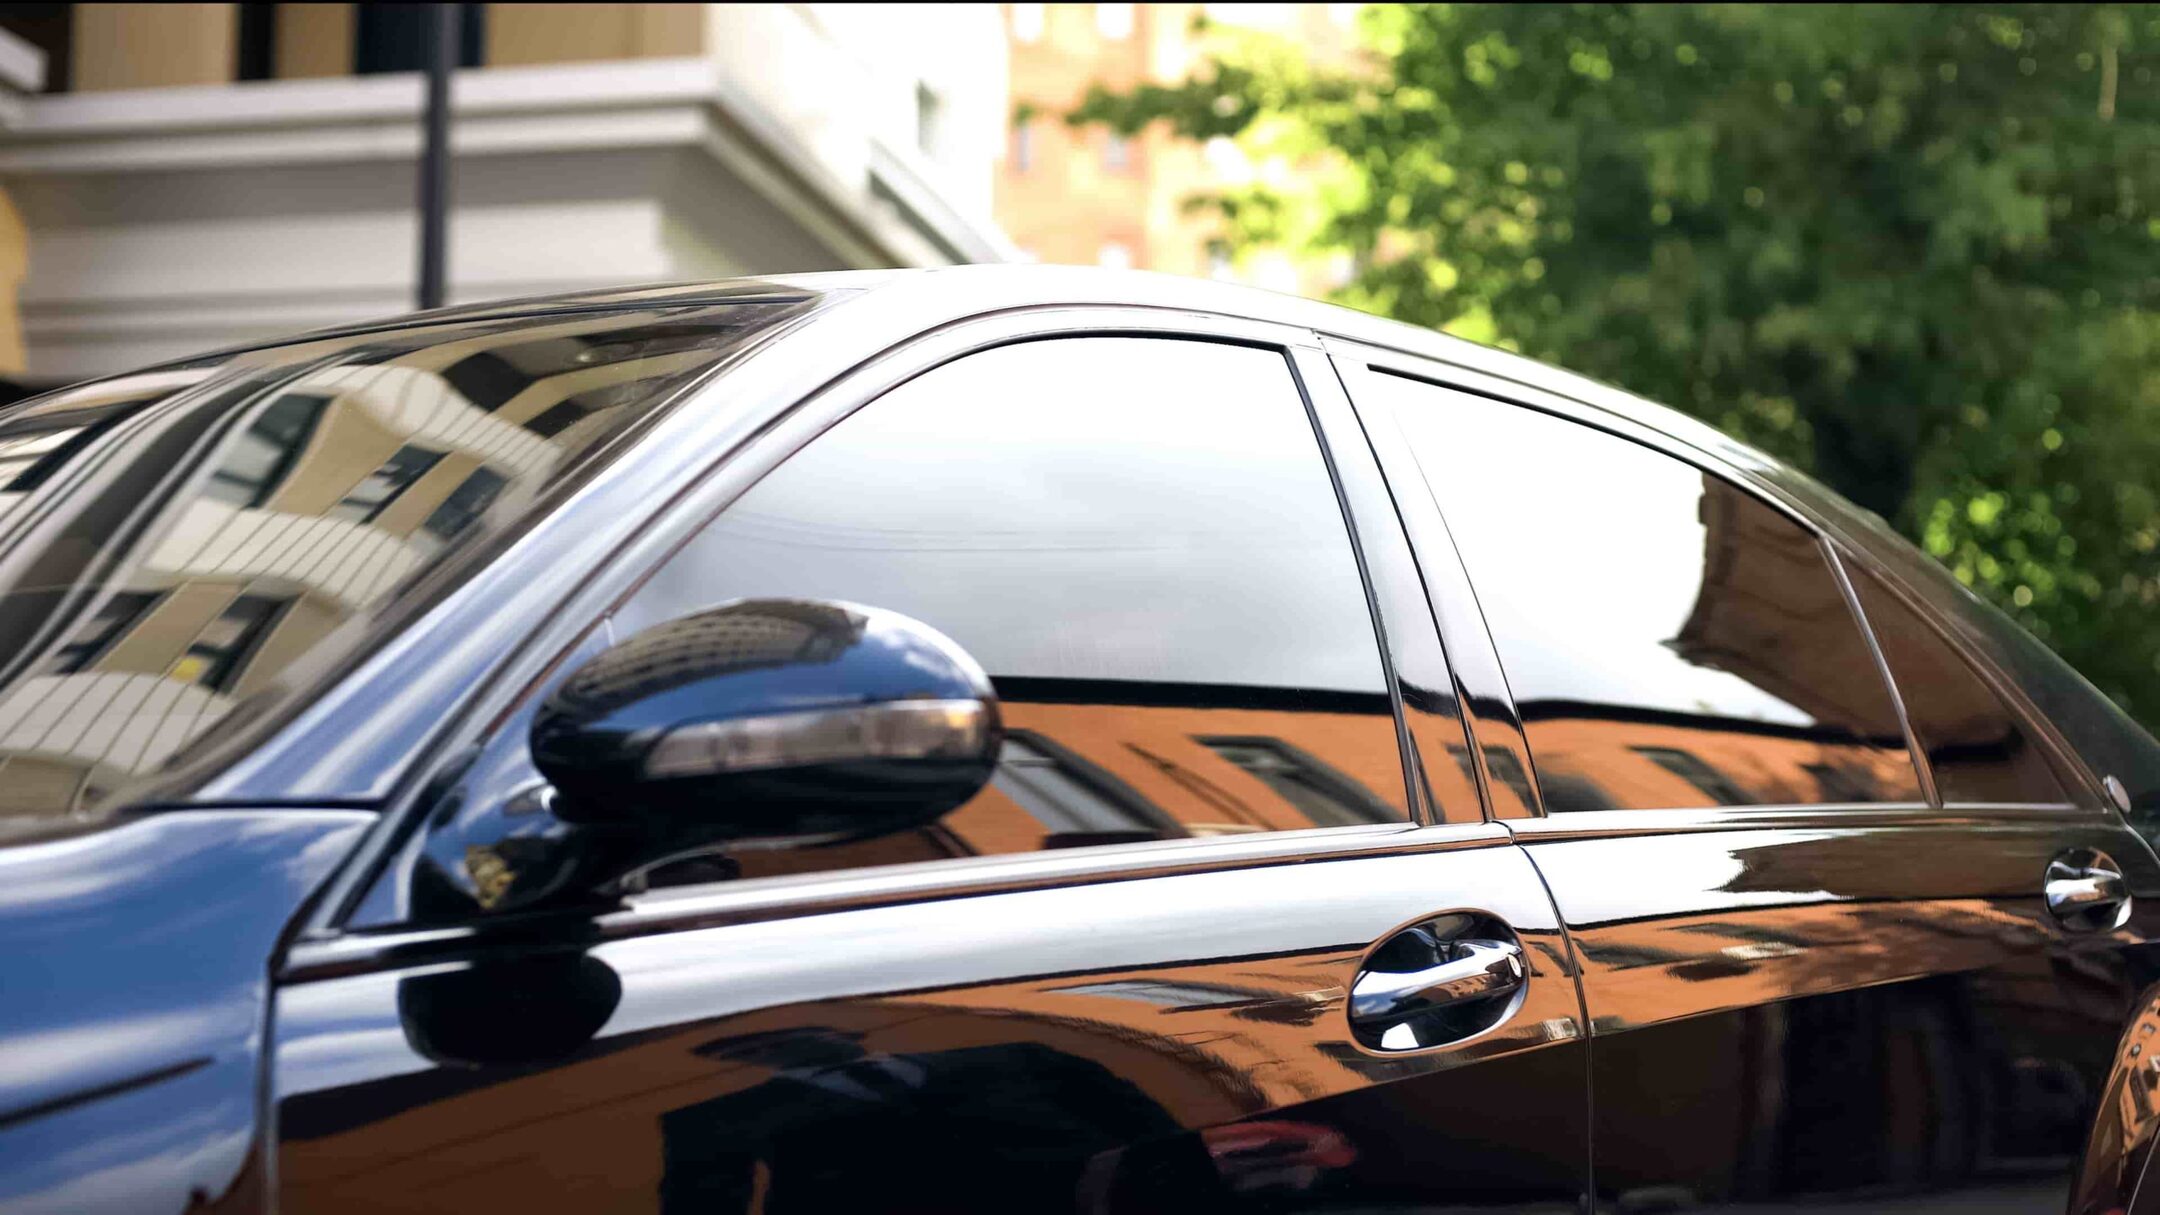
Step 4: Clean the Window
After successfully removing the window tint, it’s essential to thoroughly clean the window to restore its clarity and transparency. Follow these steps to achieve a pristine, clean finish:
Begin by spraying a quality glass cleaner onto the interior and exterior surfaces of the window. Ensure that the cleaner is applied generously to effectively remove any remaining adhesive residue and achieve a streak-free shine.
Using a clean, lint-free cloth, thoroughly wipe the window in a circular motion, ensuring that all areas are covered. Pay particular attention to any spots where adhesive residue was present, as these areas may require additional cleaning to achieve a completely clear surface.
If stubborn adhesive residue persists, dampen a corner of the cloth with the glass cleaner and focus on gently scrubbing the affected areas. Take care to avoid using excessive force, as this could potentially scratch the window surface. Instead, apply consistent, gentle pressure to gradually lift and remove any remaining residue.
Once the window is free of adhesive residue and dirt, use a dry section of the cloth to buff the glass to a sparkling, streak-free finish. Inspect the window from various angles to ensure that it is completely clean and transparent, devoid of any smudges or streaks.
For any persistent residue that proves challenging to remove, consider using a dedicated adhesive remover specifically formulated for use on glass surfaces. Follow the manufacturer’s instructions carefully to safely and effectively eliminate any remaining stubborn adhesive.
With the window now clean and free of residue, take a moment to appreciate the revitalized clarity and transparency it offers. The thorough cleaning process ensures that your window is restored to its optimal condition, free from the remnants of the removed tint.
With the window now clean and free of residue, take a moment to appreciate the revitalized clarity and transparency it offers. The thorough cleaning process ensures that your window is restored to its optimal condition, free from the remnants of the removed tint.
Conclusion
Congratulations! You’ve successfully navigated the process of removing window tint using a hair dryer, restoring your window to its pristine, transparent state. By following the steps outlined in this guide, you’ve taken a proactive approach to rejuvenating your window’s appearance without the need for professional assistance.
Through careful preparation, the skillful use of a hair dryer to heat the tint, and the methodical peeling and cleaning process, you’ve achieved professional-quality results with a DIY approach. Not only have you revitalized the aesthetics of your window, but you’ve also saved on the costs associated with professional tint removal services.
As you reflect on the journey from preparing the window to achieving a clean, transparent finish, take pride in your accomplishment. The meticulous attention to detail and the careful execution of each step have led to a successful outcome, demonstrating your ability to tackle home improvement tasks with confidence and skill.
With your window now free of tint and restored to its former clarity, take a moment to appreciate the unobstructed view and enhanced visual appeal it provides. Whether in a vehicle or a residential setting, the clear, transparent window serves as a testament to your dedication to maintaining a clean and welcoming environment.
Should you ever need to remove window tint in the future, you can draw upon the knowledge and experience gained from this process, further enhancing your DIY capabilities and empowering you to tackle similar tasks with ease.
Thank you for embarking on this window tint removal journey with us. We hope this guide has equipped you with the confidence and know-how to achieve outstanding results. Here’s to clear, unobstructed views and the satisfaction of a job well done!
Frequently Asked Questions about How To Remove Window Tint With A Hair Dryer
Was this page helpful?
At Storables.com, we guarantee accurate and reliable information. Our content, validated by Expert Board Contributors, is crafted following stringent Editorial Policies. We're committed to providing you with well-researched, expert-backed insights for all your informational needs.


0 thoughts on “How To Remove Window Tint With A Hair Dryer”