Home>Renovation & DIY>Tools & Equipment>How To Fix A Measuring Tape
Tools & Equipment
How To Fix A Measuring Tape
Modified: December 21, 2023
Learn how to fix a measuring tape and keep your tools and equipment in top condition. Follow our step-by-step guide to ensure accurate measurements every time.
(Many of the links in this article redirect to a specific reviewed product. Your purchase of these products through affiliate links helps to generate commission for Storables.com, at no extra cost. Learn more)
Introduction
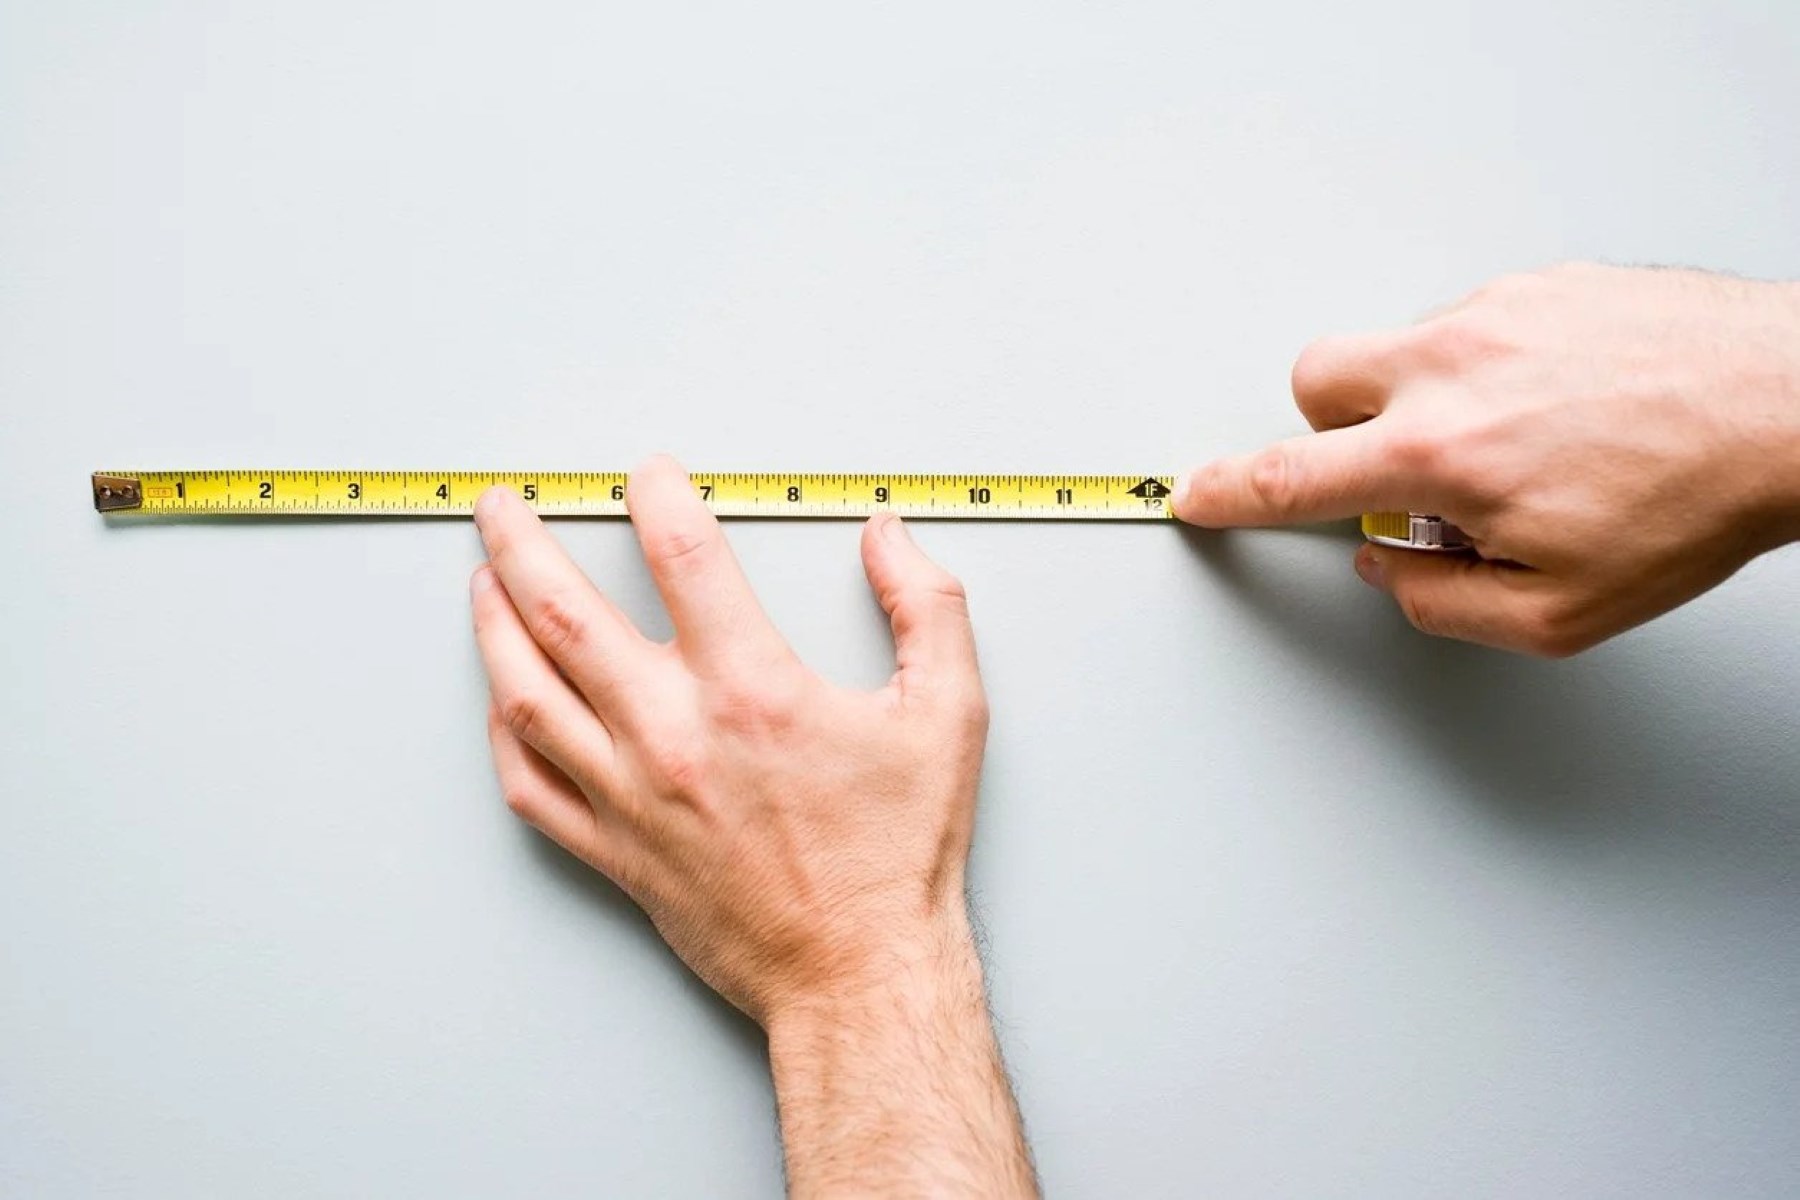
Welcome to the comprehensive guide on fixing a measuring tape. A measuring tape is an essential tool for various tasks, from carpentry and construction to sewing and crafting. However, over time, these trusty companions can encounter issues such as inaccurate measurements, tape breakage, or jammed retraction. Before you consider replacing your measuring tape, it's worth exploring some simple yet effective solutions to restore its functionality.
In this article, we will delve into the common issues that may arise with a measuring tape and provide a step-by-step guide to troubleshooting and fixing them. Whether you're a DIY enthusiast, a professional tradesperson, or someone who simply wants to extend the lifespan of their measuring tape, this guide is designed to equip you with the knowledge and techniques needed to address these issues.
By understanding the inner workings of a measuring tape and learning how to perform basic maintenance and repairs, you can potentially save time and money while prolonging the usability of this indispensable tool. So, let's roll up our sleeves and embark on a journey to revive and rejuvenate your measuring tape!
Key Takeaways:
- Keep your measuring tape in top shape by cleaning, lubricating, and adjusting tension regularly. This ensures accurate measurements and extends its lifespan for all your projects.
- If your measuring tape has issues, inspect for damage, clean, lubricate, adjust tension, and replace the spring if needed. Proactive maintenance saves time and money.
Read more: How To Read Measuring Tape
Understanding the Problem
Before diving into the fix, it’s crucial to identify the potential issues that may plague your measuring tape. Some common problems include inaccurate measurements, a stuck or jammed tape, a broken or frayed tape, or a lack of retraction tension. Understanding the specific problem with your measuring tape is the first step toward finding the most effective solution.
If you notice that the measurements provided by your tape seem inconsistent or inaccurate, it could be due to a variety of factors. Dust, debris, or moisture accumulation within the tape housing can interfere with the smooth extension and retraction of the tape, leading to irregular measurements. Additionally, overuse or accidental damage may cause the tape to become stretched or distorted, resulting in unreliable readings.
A jammed or stuck tape is another common issue, often caused by dirt, rust, or a misaligned internal mechanism. When the tape fails to retract properly or becomes difficult to pull out, it can impede your work and compromise the accuracy of your measurements. Similarly, a broken or frayed tape can occur over time, particularly if the tape has been subjected to heavy use or exposed to harsh conditions.
Furthermore, a lack of tension in the tape’s retraction mechanism can lead to a sluggish or incomplete return of the tape into the housing. This can be attributed to a worn-out or damaged spring within the casing, reducing the overall functionality of the measuring tape.
By recognizing these potential issues, you can narrow down the root cause of the problem and proceed with the appropriate troubleshooting steps. In the following sections, we will explore the tools and materials needed to address these issues and guide you through a series of practical solutions to revive your measuring tape.
Tools and Materials Needed
Before embarking on the journey to fix your measuring tape, it’s essential to gather the necessary tools and materials. Having the right equipment at your disposal will streamline the troubleshooting process and ensure that you can address the specific issues affecting your measuring tape effectively.
Here’s a list of tools and materials you’ll need:
- Clean cloth or sponge: Use a soft, lint-free cloth or sponge to wipe down the measuring tape and remove any dirt, debris, or residue that may be affecting its functionality.
- Mild detergent or cleaning solution: If the measuring tape is particularly dirty or sticky, a gentle cleaning solution can help to dislodge stubborn grime and restore smooth operation.
- Lubricating oil or silicone spray: A high-quality lubricant specifically designed for tools and equipment can be used to lubricate the internal components of the measuring tape, ensuring smooth extension and retraction.
- Small screwdriver: Depending on the design of your measuring tape, a small screwdriver may be required to access and adjust the internal components.
- Replacement spring (if necessary): If the tension in the tape’s retraction mechanism is compromised due to a damaged or worn-out spring, having a replacement spring on hand will allow you to address this issue effectively.
- Tweezers or small pliers: These tools can be useful for handling small components or extracting debris from the tape housing.
- Replacement tape (if necessary): In the event of a severely damaged or frayed tape, having a replacement tape of the appropriate length and width will enable you to restore the measuring tape to full functionality.
By ensuring that you have these tools and materials readily available, you’ll be well-prepared to tackle the specific issues affecting your measuring tape. With these essentials at your disposal, you can proceed with confidence as we delve into the step-by-step process of troubleshooting and fixing your measuring tape.
Step 1: Checking for Damage
Before proceeding with any repairs or adjustments, it’s important to conduct a thorough inspection of your measuring tape to assess the extent of any damage or issues affecting its functionality. Begin by extending the tape fully and visually examining the entire length for any signs of wear, tear, or distortion. Pay close attention to the markings on the tape, ensuring that they are legible and free from damage that could compromise the accuracy of measurements.
Next, inspect the housing and casing of the measuring tape for any visible damage, such as cracks, dents, or rust. Any structural damage to the housing can impact the smooth operation of the tape and may require professional repair or replacement.
If the tape appears to be in good condition externally, proceed to retract it fully into the housing and observe the retraction mechanism for any signs of resistance or irregular movement. A smooth and consistent retraction is indicative of a well-functioning mechanism, while jerky or sluggish retraction may point to internal issues that need to be addressed.
Additionally, listen for any unusual sounds, such as grinding or clicking, when extending or retracting the tape, as these may signal underlying mechanical problems. If you encounter resistance, uneven movement, or concerning noises during this inspection, it’s advisable to proceed to the subsequent steps to diagnose and resolve these issues effectively.
By conducting a meticulous assessment of your measuring tape’s condition, you can gain valuable insights into the nature of the problem and determine the appropriate course of action. This proactive approach sets the stage for targeted troubleshooting and ensures that the subsequent steps are tailored to address the specific issues affecting your measuring tape.
Step 2: Cleaning the Measuring Tape
Cleaning the measuring tape is a fundamental step in restoring its functionality and prolonging its lifespan. Over time, dust, debris, and residue can accumulate on the tape’s surface and within the housing, impeding its smooth operation and accuracy. By following these simple cleaning procedures, you can effectively eliminate these obstructions and improve the overall performance of your measuring tape.
1. Surface Cleaning: Begin by using a clean, damp cloth or sponge to gently wipe down the entire length of the measuring tape. If the tape is particularly dirty or sticky, a mild detergent or cleaning solution diluted in water can be used to dislodge stubborn grime. Ensure that the tape is fully extended during this process to access its entire surface, and then wipe it dry with a lint-free cloth to prevent moisture accumulation.
2. Housing and Internal Components: To address debris and residue within the tape housing, use a soft brush or compressed air to dislodge and remove any particles that may be obstructing the smooth extension and retraction of the tape. Pay attention to the edges and corners of the housing, as these areas are prone to accumulating dirt and debris. Additionally, a small amount of lubricating oil or silicone spray can be applied to the internal components to facilitate smooth movement and prevent future buildup.
3. Markings and Graduations: Carefully inspect the numerical markings and graduations on the measuring tape for any signs of fading, smudging, or damage. If necessary, use a mild cleaning solution and a soft brush to gently remove any dirt or residue from the markings, ensuring that they remain clear and legible for accurate measurements.
By meticulously cleaning the surface, housing, and internal components of your measuring tape, you can eliminate the factors that contribute to inaccurate measurements and mechanical issues. This proactive maintenance not only restores the tape’s functionality but also contributes to its longevity, ensuring that it remains a reliable tool for your projects and endeavors.
To fix a measuring tape, first try cleaning the tape with a damp cloth and then drying it thoroughly. If the tape is still not retracting properly, try applying a small amount of lubricant to the mechanism to help it move smoothly.
Read more: How To Use A Laser Measuring Tape
Step 3: Lubricating the Tape
Lubrication is a critical aspect of maintaining the smooth operation and longevity of a measuring tape. Over time, the internal components of the tape housing may experience friction and wear, leading to sluggish extension and retraction. By applying the appropriate lubricant, you can mitigate these issues and ensure that the tape functions effortlessly and accurately.
Choosing the Right Lubricant: Select a high-quality lubricating oil or silicone spray specifically designed for tools and equipment. Avoid using general-purpose oils or greases, as these may attract dust and debris, exacerbating the issues you’re trying to resolve. The chosen lubricant should provide long-lasting protection against friction and corrosion while maintaining the integrity of the tape’s internal mechanism.
Application Process: Begin by extending the measuring tape fully to expose the internal components within the housing. Apply a small amount of the selected lubricant along the length of the tape, focusing on the areas where the tape interacts with the internal guides and spindles. Use a clean cloth or sponge to distribute the lubricant evenly and ensure comprehensive coverage of the moving parts.
After lubricating the tape, retract it into the housing and extend it several times to facilitate the distribution of the lubricant and allow it to penetrate the internal components. This process helps to reduce friction, minimize wear, and restore the smooth, consistent movement of the tape during operation.
It’s important to note that excessive lubrication should be avoided, as it can attract dirt and debris, leading to potential malfunctions. A moderate and even application of the lubricant is sufficient to achieve the desired effect without compromising the cleanliness and functionality of the measuring tape.
By incorporating regular lubrication into your maintenance routine, you can prolong the life of your measuring tape and ensure that it continues to deliver accurate measurements and reliable performance. This simple yet effective step can make a significant difference in the overall functionality and usability of your measuring tape, allowing you to work with confidence and precision.
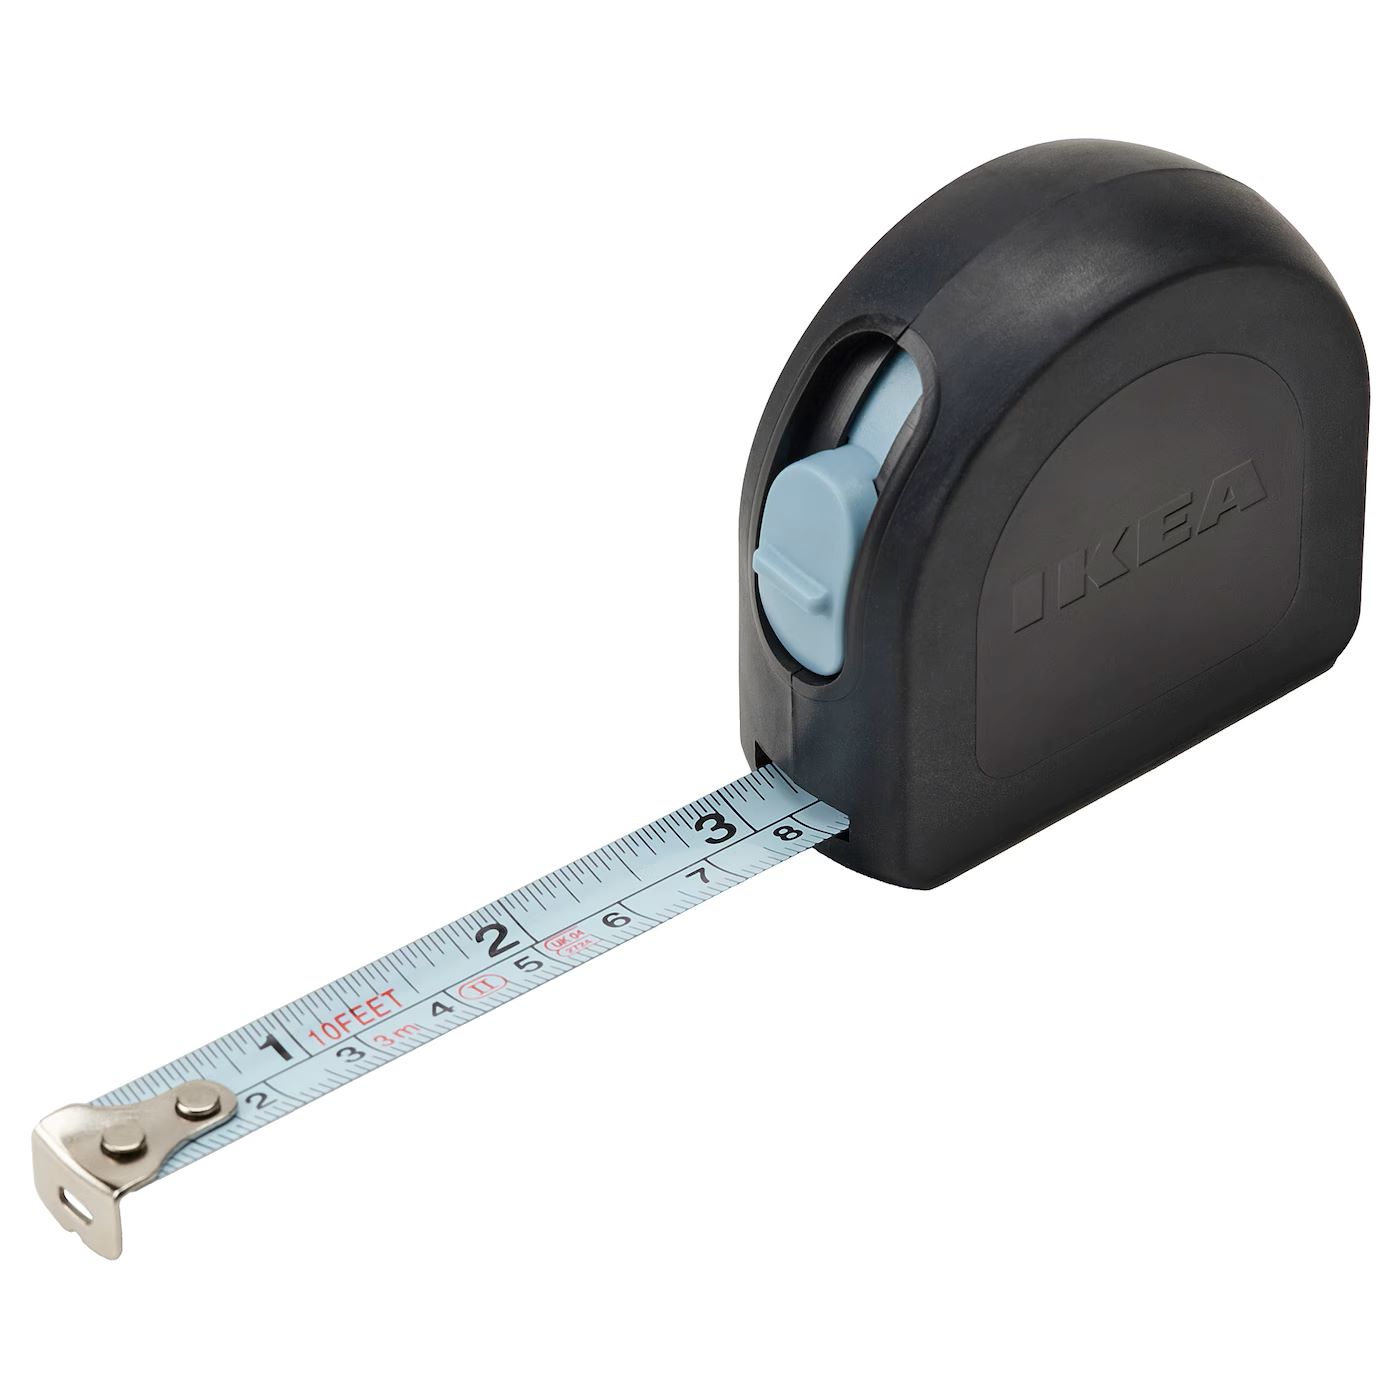
Step 4: Adjusting the Tension
Proper tension in the retraction mechanism is essential for the smooth and consistent operation of a measuring tape. If you notice that the tape exhibits sluggish or uneven retraction, adjusting the tension can help restore its functionality. This step involves accessing the internal components of the tape housing to make precise adjustments, ensuring that the tape retracts effortlessly and securely.
Accessing the Retraction Mechanism: Depending on the design of your measuring tape, you may need to remove screws or access panels to reach the retraction mechanism. Use a small screwdriver to carefully disassemble the housing, taking note of the arrangement and orientation of the internal components for reassembly.
Adjusting the Spring Tension: Once you have access to the retraction mechanism, locate the spring responsible for controlling the tension of the tape. Using a small screwdriver or a dedicated tension adjustment mechanism, carefully make incremental adjustments to the spring tension. Test the tape’s retraction after each adjustment to gauge the impact on its smoothness and consistency.
It’s important to exercise caution and precision during this process, as excessive tension adjustments can lead to over-retraction or potential damage to the internal components. Aim for a balanced tension that allows the tape to retract smoothly without excessive resistance or slack.
Reassembly and Testing: After making the necessary tension adjustments, reassemble the housing, ensuring that all components are securely in place. Extend and retract the tape several times to evaluate the impact of the tension adjustments on its operation. A well-adjusted tension should result in effortless extension and reliable retraction, providing you with accurate measurements and optimal usability.
By fine-tuning the tension of the retraction mechanism, you can address issues related to sluggish or uneven tape retraction, enhancing the overall functionality of your measuring tape. This proactive approach to maintenance ensures that your measuring tape remains a dependable tool for a wide range of projects and applications.
Step 5: Replacing the Spring
If your measuring tape exhibits persistent issues with retraction tension despite adjustments, it may be necessary to replace the spring within the retraction mechanism. Over time, springs can lose their elasticity or become damaged, leading to diminished retraction force and compromised functionality. By replacing the spring with a new, properly sized component, you can restore the optimal tension and ensure the smooth and reliable operation of your measuring tape.
Identifying the Correct Replacement Spring: Begin by determining the specific type and size of the spring required for your measuring tape. Consult the manufacturer’s guidelines, if available, to obtain the exact specifications for the replacement spring. Alternatively, measure the dimensions and characteristics of the existing spring to guide your selection of a suitable replacement.
Disassembling the Housing: Access the retraction mechanism by disassembling the housing of the measuring tape, following the appropriate procedure for your specific model. Exercise care and attention to detail during this process, ensuring that all components are handled and stored securely to prevent misplacement or damage.
Removing the Old Spring: Once the internal components are accessible, carefully remove the old spring from its position within the retraction mechanism. Take note of its orientation and attachment points to facilitate the installation of the replacement spring.
Installing the Replacement Spring: Position the new spring in alignment with the designated attachment points within the retraction mechanism. Ensure that the spring is securely anchored and that its tension aligns with the intended functionality of the measuring tape. Exercise caution to prevent damage to the new spring during installation.
Reassembling and Testing: After installing the replacement spring, reassemble the housing, ensuring that all components are securely in place. Test the tape’s retraction to assess the impact of the new spring on its tension and smoothness of operation. A properly installed and calibrated replacement spring should restore the optimal retraction force, providing reliable and consistent functionality.
By replacing a worn-out or damaged spring, you can address persistent issues related to retraction tension and ensure that your measuring tape maintains its accuracy and usability. This proactive maintenance approach prolongs the lifespan of your measuring tape, allowing you to rely on it for precise measurements and seamless operation in various projects and tasks.
Conclusion
Congratulations on successfully troubleshooting and reviving your measuring tape! By following the comprehensive steps outlined in this guide, you have taken proactive measures to address common issues such as inaccurate measurements, sluggish retraction, and compromised functionality. Through careful inspection, cleaning, lubrication, tension adjustments, and potential spring replacement, you have restored your measuring tape to optimal working condition, ensuring its reliability for future projects and tasks.
It’s important to recognize the value of regular maintenance and proactive troubleshooting in prolonging the lifespan of your tools and equipment. By investing time and effort in addressing issues as they arise, you not only extend the usability of your measuring tape but also optimize its performance, accuracy, and overall functionality.
As you continue to utilize your measuring tape in various projects, remember to incorporate periodic maintenance and inspections into your routine. This proactive approach can help identify potential issues early on, allowing you to address them promptly and prevent more significant problems from arising.
Furthermore, sharing your newfound knowledge with others in your DIY or professional circles can contribute to a culture of proactive tool maintenance and care. By exchanging tips, experiences, and best practices, you can collectively enhance the longevity and effectiveness of essential tools, benefiting everyone involved.
With your revitalized measuring tape by your side, you can approach your future projects with confidence, precision, and efficiency. Whether you’re embarking on woodworking endeavors, home improvement projects, or creative pursuits, your reliable measuring tape will be an indispensable companion, providing accurate measurements and contributing to the success of your endeavors.
Thank you for embarking on this journey to fix and rejuvenate your measuring tape. Your commitment to maintaining and optimizing your tools sets a commendable example, and your dedication to quality workmanship is sure to yield impressive results in all your future undertakings.
Frequently Asked Questions about How To Fix A Measuring Tape
Was this page helpful?
At Storables.com, we guarantee accurate and reliable information. Our content, validated by Expert Board Contributors, is crafted following stringent Editorial Policies. We're committed to providing you with well-researched, expert-backed insights for all your informational needs.


0 thoughts on “How To Fix A Measuring Tape”