Home>Renovation & DIY>Tools & Equipment>How To Make A Slap Bracelet Without A Measuring Tape
Tools & Equipment
How To Make A Slap Bracelet Without A Measuring Tape
Modified: December 21, 2023
Learn how to make a slap bracelet without a measuring tape using simple tools and equipment. Create stylish and personalized accessories effortlessly.
(Many of the links in this article redirect to a specific reviewed product. Your purchase of these products through affiliate links helps to generate commission for Storables.com, at no extra cost. Learn more)
Introduction
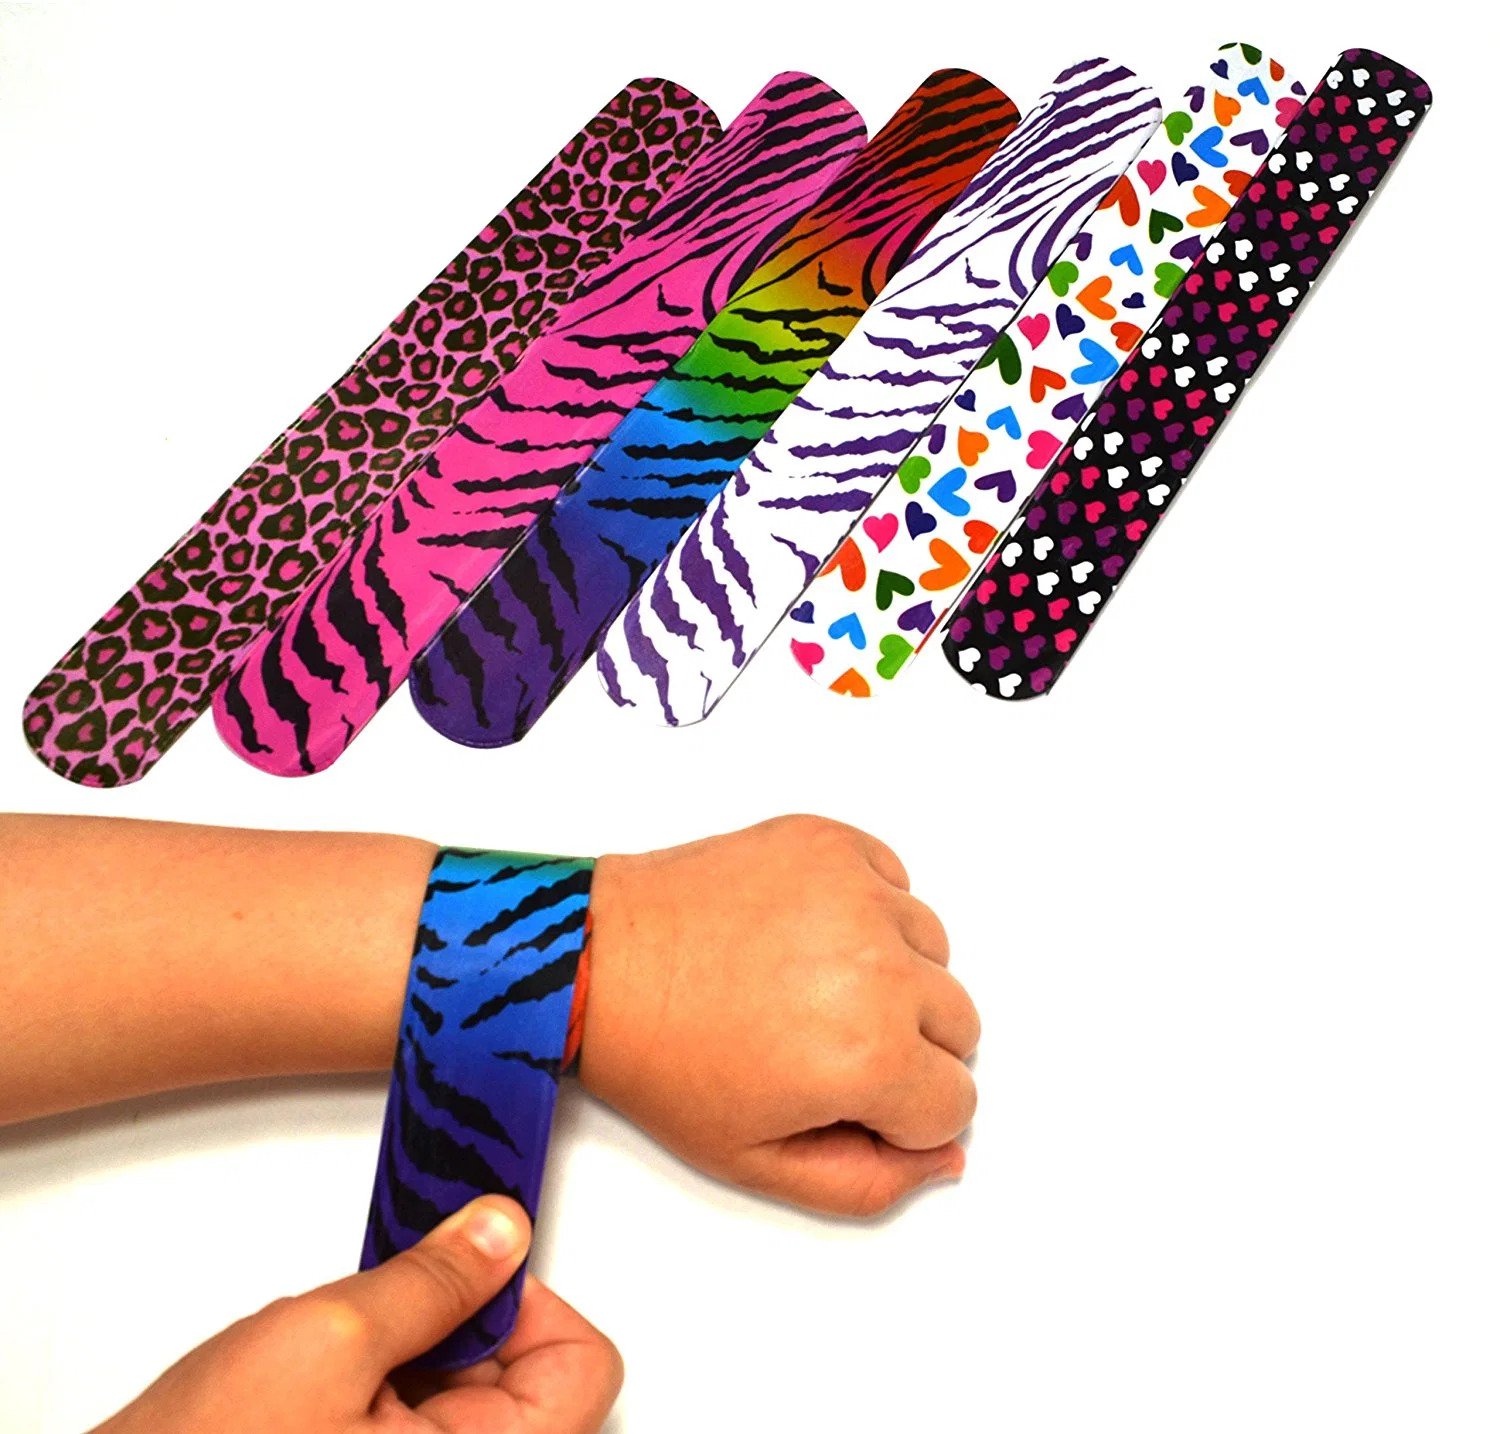
Slap bracelets are a fun and fashionable accessory that have been popular for decades. Originally invented in the late 1980s, these bracelets quickly gained popularity among kids and adults alike. They are known for their unique design that wraps around the wrist with a satisfying “slap” action, making them easy to put on and take off.
If you’ve ever wanted to make your own slap bracelet but don’t have a measuring tape handy, don’t worry! In this article, we will guide you through the process of making a slap bracelet without a measuring tape. With a few simple materials and some basic measurements, you’ll be able to create your very own custom slap bracelet in no time.
Whether you want to make a personalized bracelet for yourself or create a handmade gift for a friend, this DIY project is perfect for unleashing your creativity and expressing your personal style. So let’s gather our materials and get started on making a slap bracelet that’s as unique as you are!
Key Takeaways:
- Create a personalized slap bracelet without a measuring tape using fabric, scissors, and a fastening mechanism. Add flair with decorative accessories for a unique, handmade accessory.
- Unleash your creativity by customizing your slap bracelet with rhinestones, fabric markers, embroidery, or fabric patches. Express your style and make a fashion statement.
Materials Needed
Before we begin, let’s gather the materials you’ll need to make a slap bracelet without a measuring tape:
- Fabric or ribbon: Choose a fabric or ribbon that is flexible and sturdy enough to withstand the bending and slapping action of the bracelet. You can opt for colorful patterns, solid colors, or even experiment with different textures for a unique look.
- Scissors: A pair of sharp scissors will be necessary for cutting the fabric to the desired length and shape.
- Fastening mechanism: You will need a fastening mechanism to secure the bracelet around your wrist. This can be a strip of Velcro, snaps, or even adhesive hooks and loops.
- Optional: Decorative accessories: If you wish to personalize your slap bracelet further, you can gather rhinestones, fabric markers, or any other decorative accessories to add a touch of flair.
With these materials in hand, you’re ready to start creating your own slap bracelet without a measuring tape. Let’s move on to the next step!
Step 1: Gather Necessary Supplies
Before you begin making your slap bracelet, it’s essential to gather all the necessary supplies in one place. This will ensure that you have everything you need within reach, making the process smoother and more enjoyable.
First, find a clean, well-lit workspace where you can comfortably work on your project. Lay down a protective covering, such as a tablecloth or cutting mat, to prevent any accidental cuts or damage to your work surface.
Next, gather your chosen fabric or ribbon, making sure it is long enough to wrap around your wrist with a bit of overlap. You can choose a standard width of around 1 inch (2.5 cm) or experiment with different widths for a unique look.
Grab a pair of sharp scissors. The sharper the scissors, the cleaner your cuts will be. Make sure they are clean and well-maintained for optimal results.
Lastly, gather the fastening mechanism you have chosen. This could be a strip of Velcro, snaps, or adhesive hooks and loops. Make sure it is wide enough to securely hold the ends of the bracelet together.
With all your supplies gathered and ready, you’re now prepared to move on to the next step: measuring your wrist length. Let’s continue creating your slap bracelet without a measuring tape!
Step 2: Measure Your Wrist Length
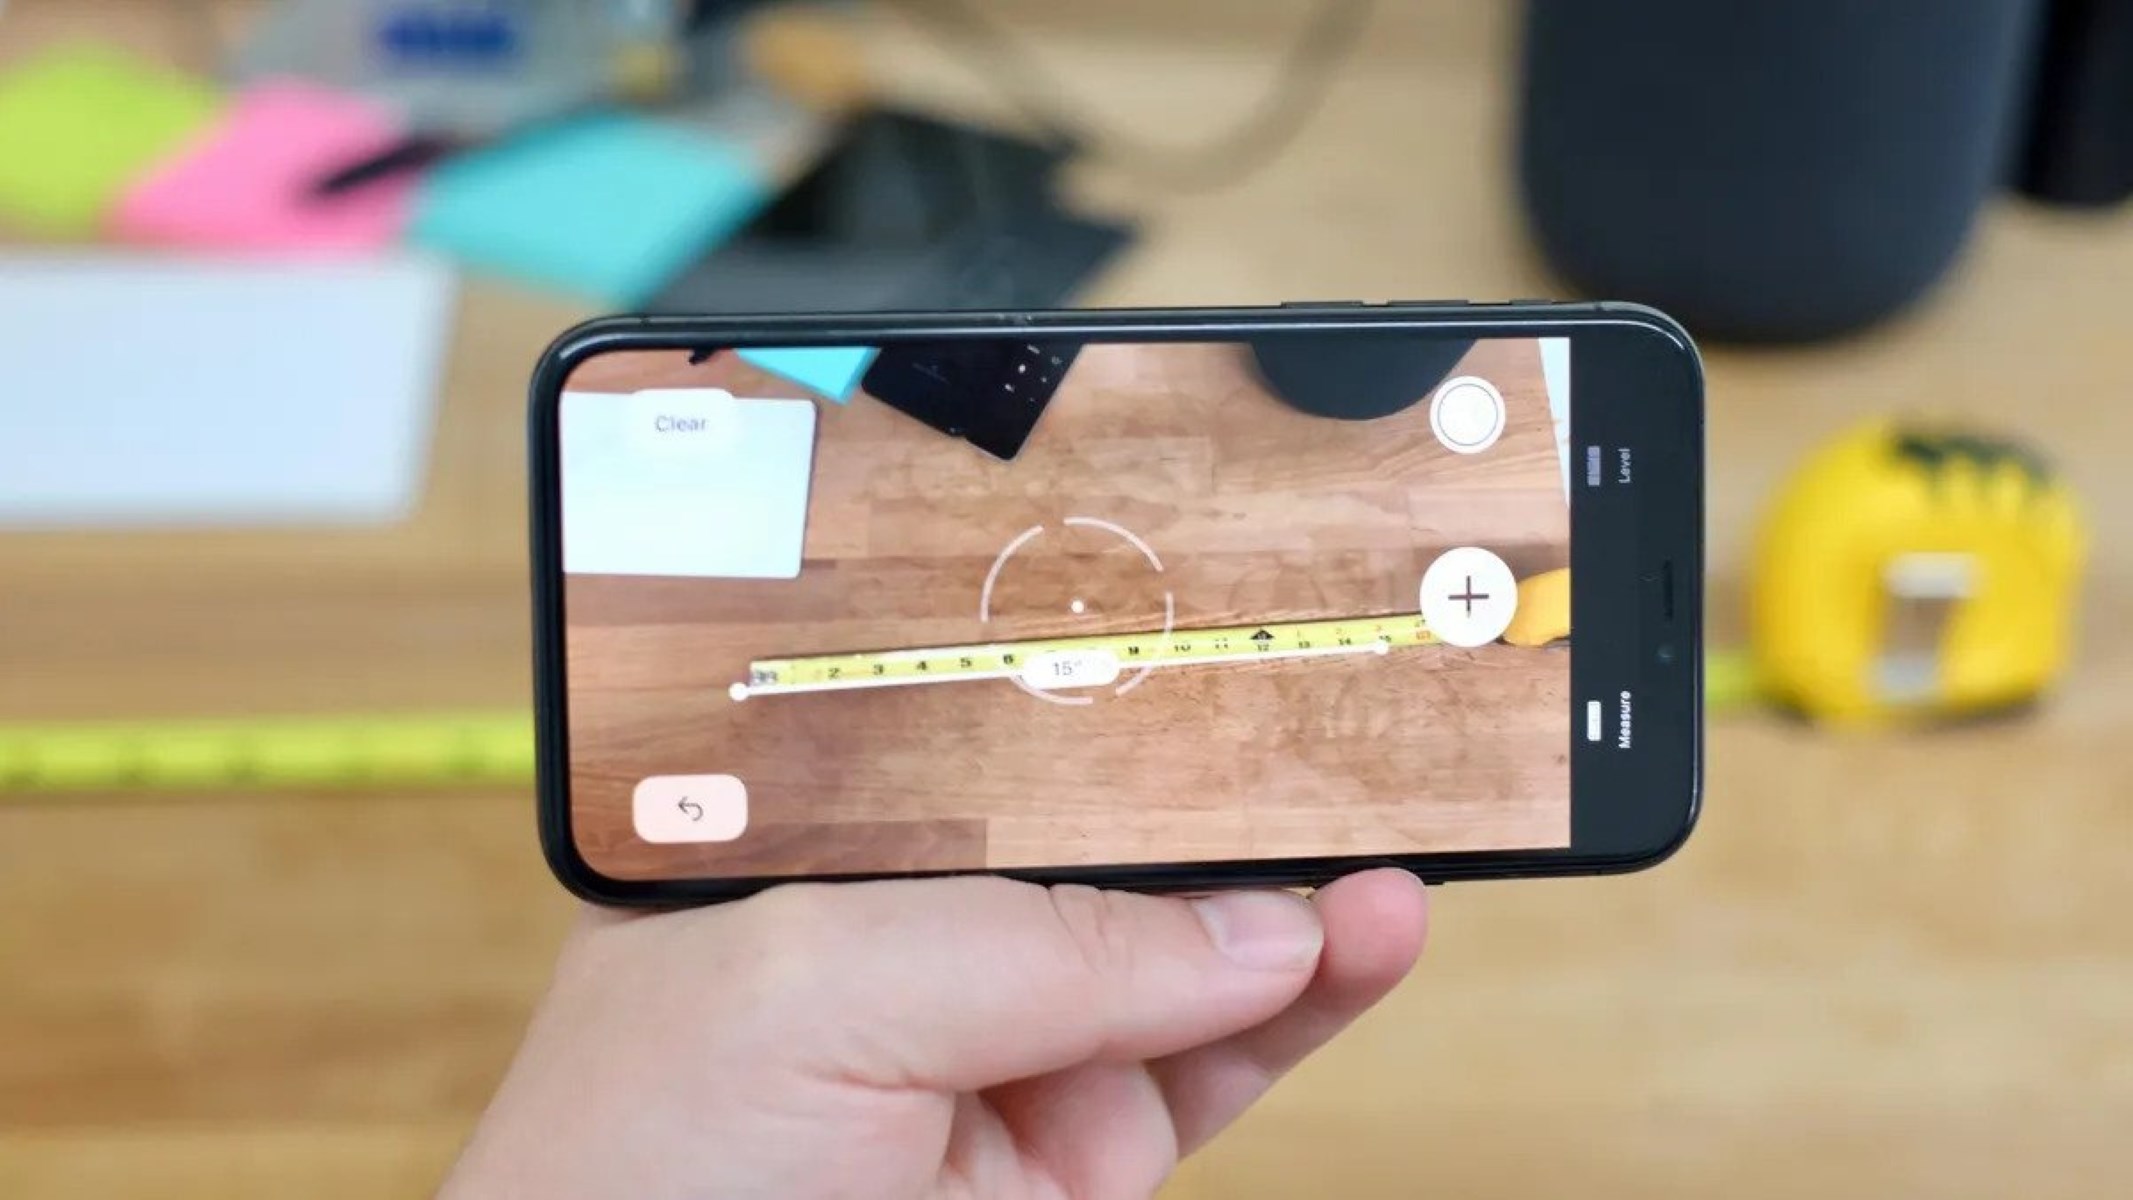
To ensure a proper fit for your slap bracelet, it’s important to measure your wrist length accurately. Although we don’t have a measuring tape, there are alternative methods you can use to get an approximate measurement.
One simple way to measure your wrist is by using a piece of string or a strip of paper. Wrap the string or paper around your wrist, making sure it’s snug but not too tight. Mark the point where the string or paper overlaps with a pen or a small piece of tape.
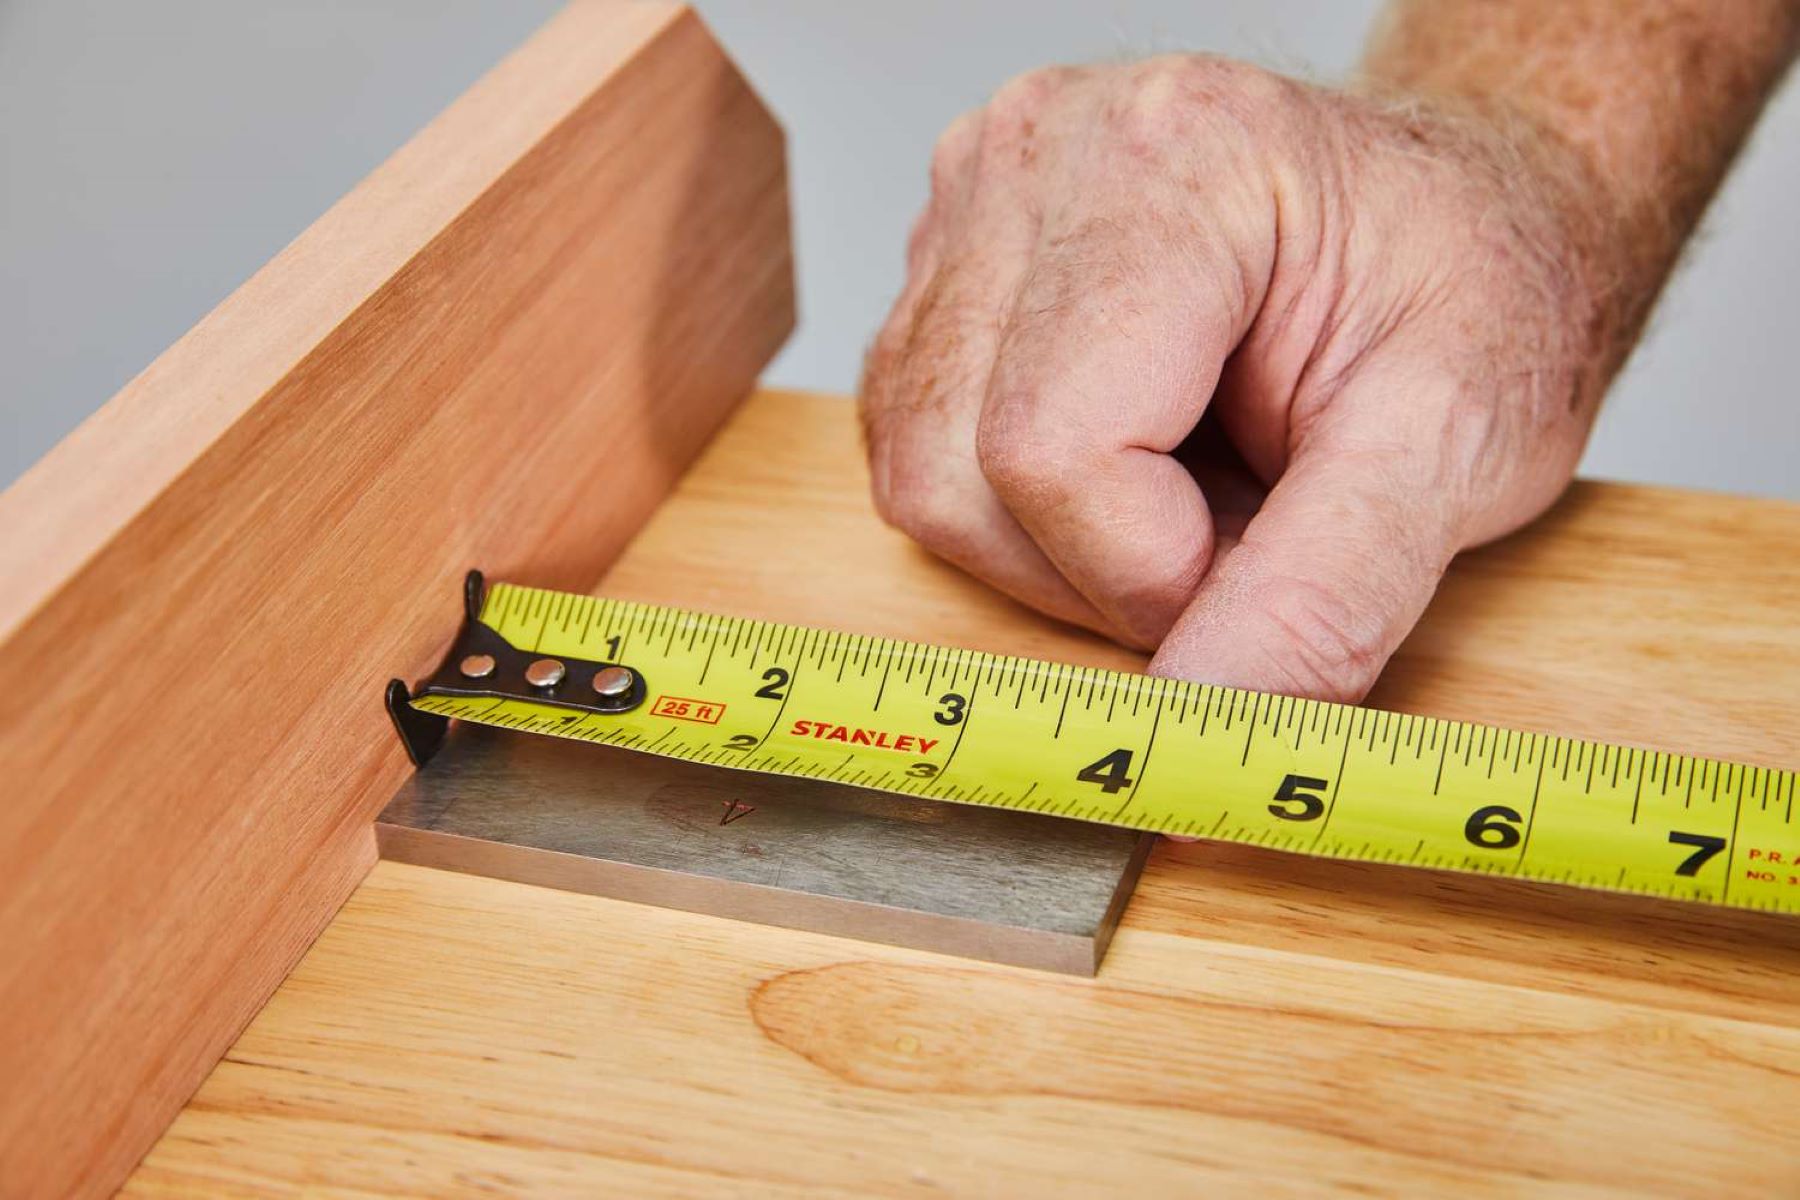
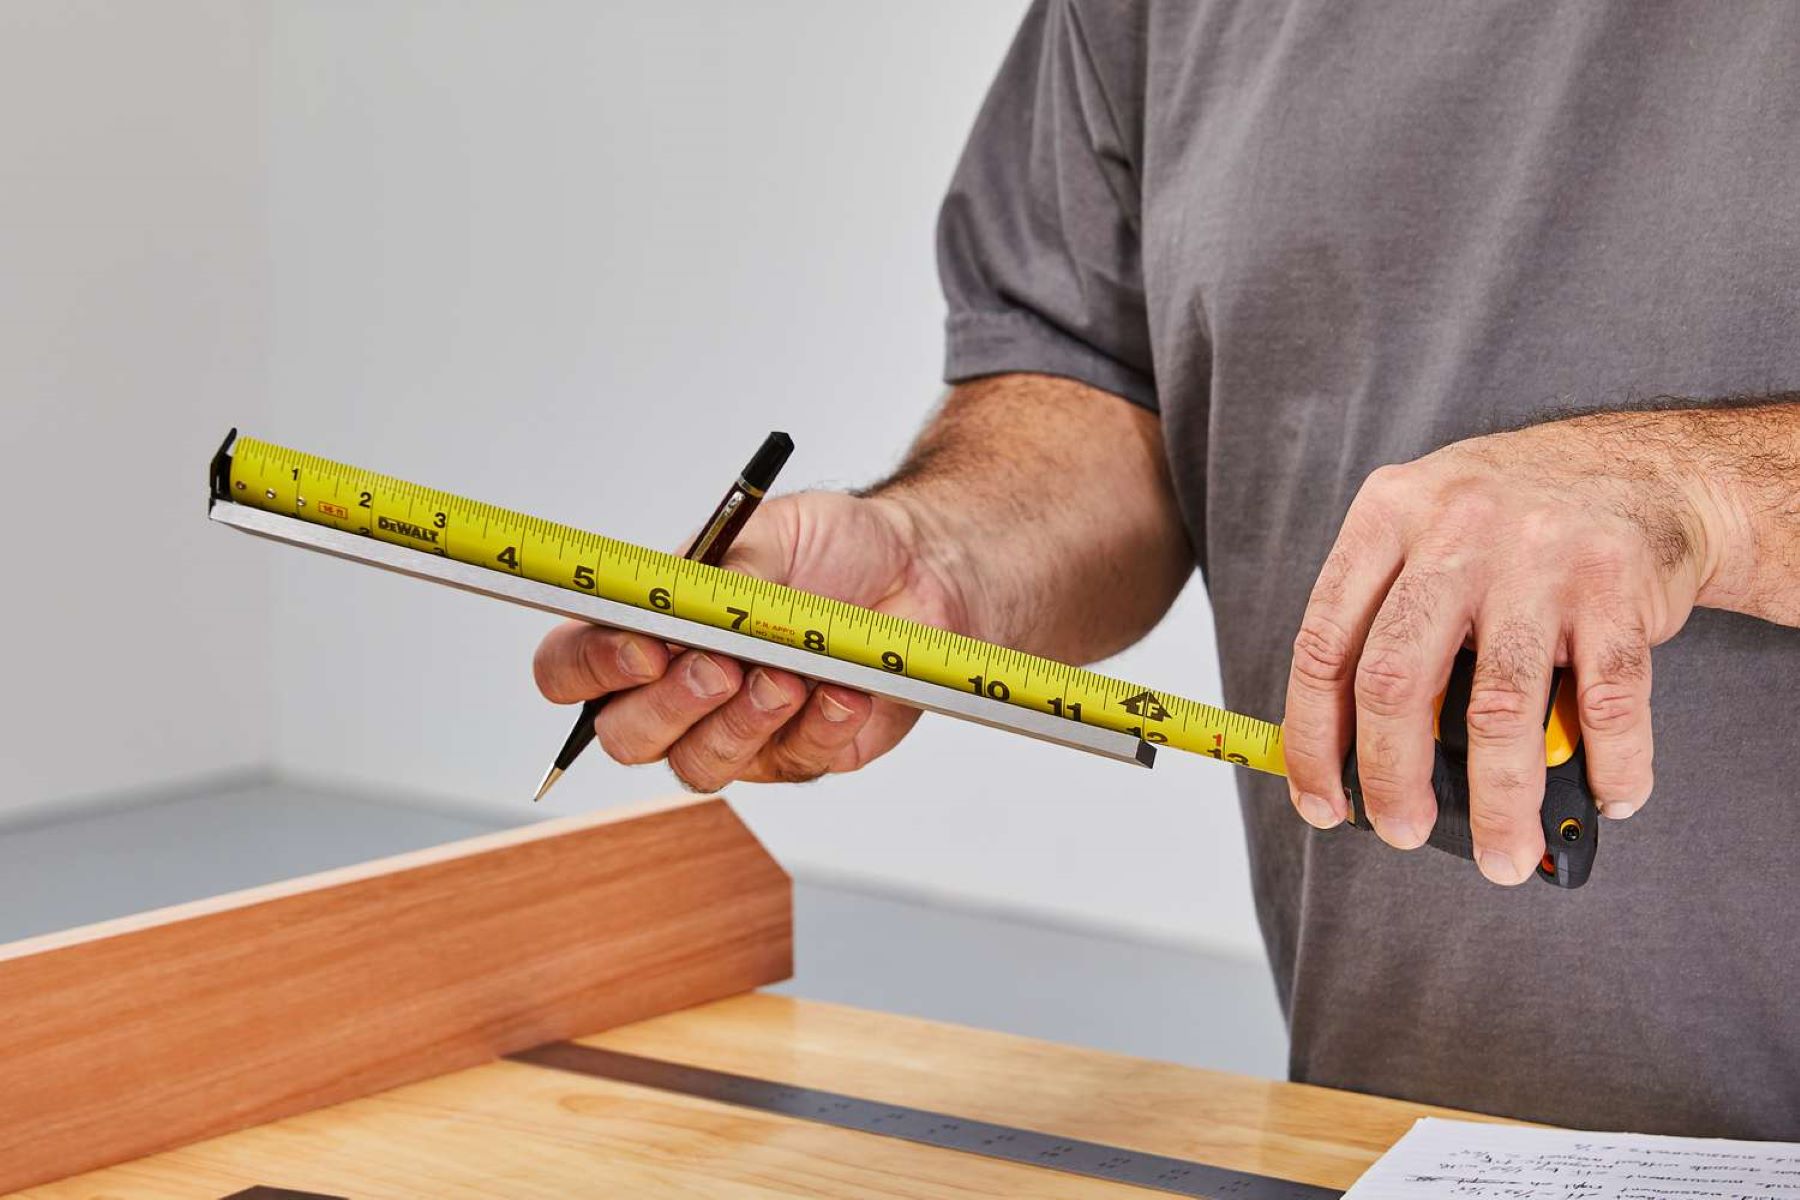
Once you have marked the overlapped point, remove the string or paper from your wrist. Lay it flat on a ruler or a flat surface and measure the length using a ruler or a measuring tool. This measurement will give you a rough estimate of your wrist length.
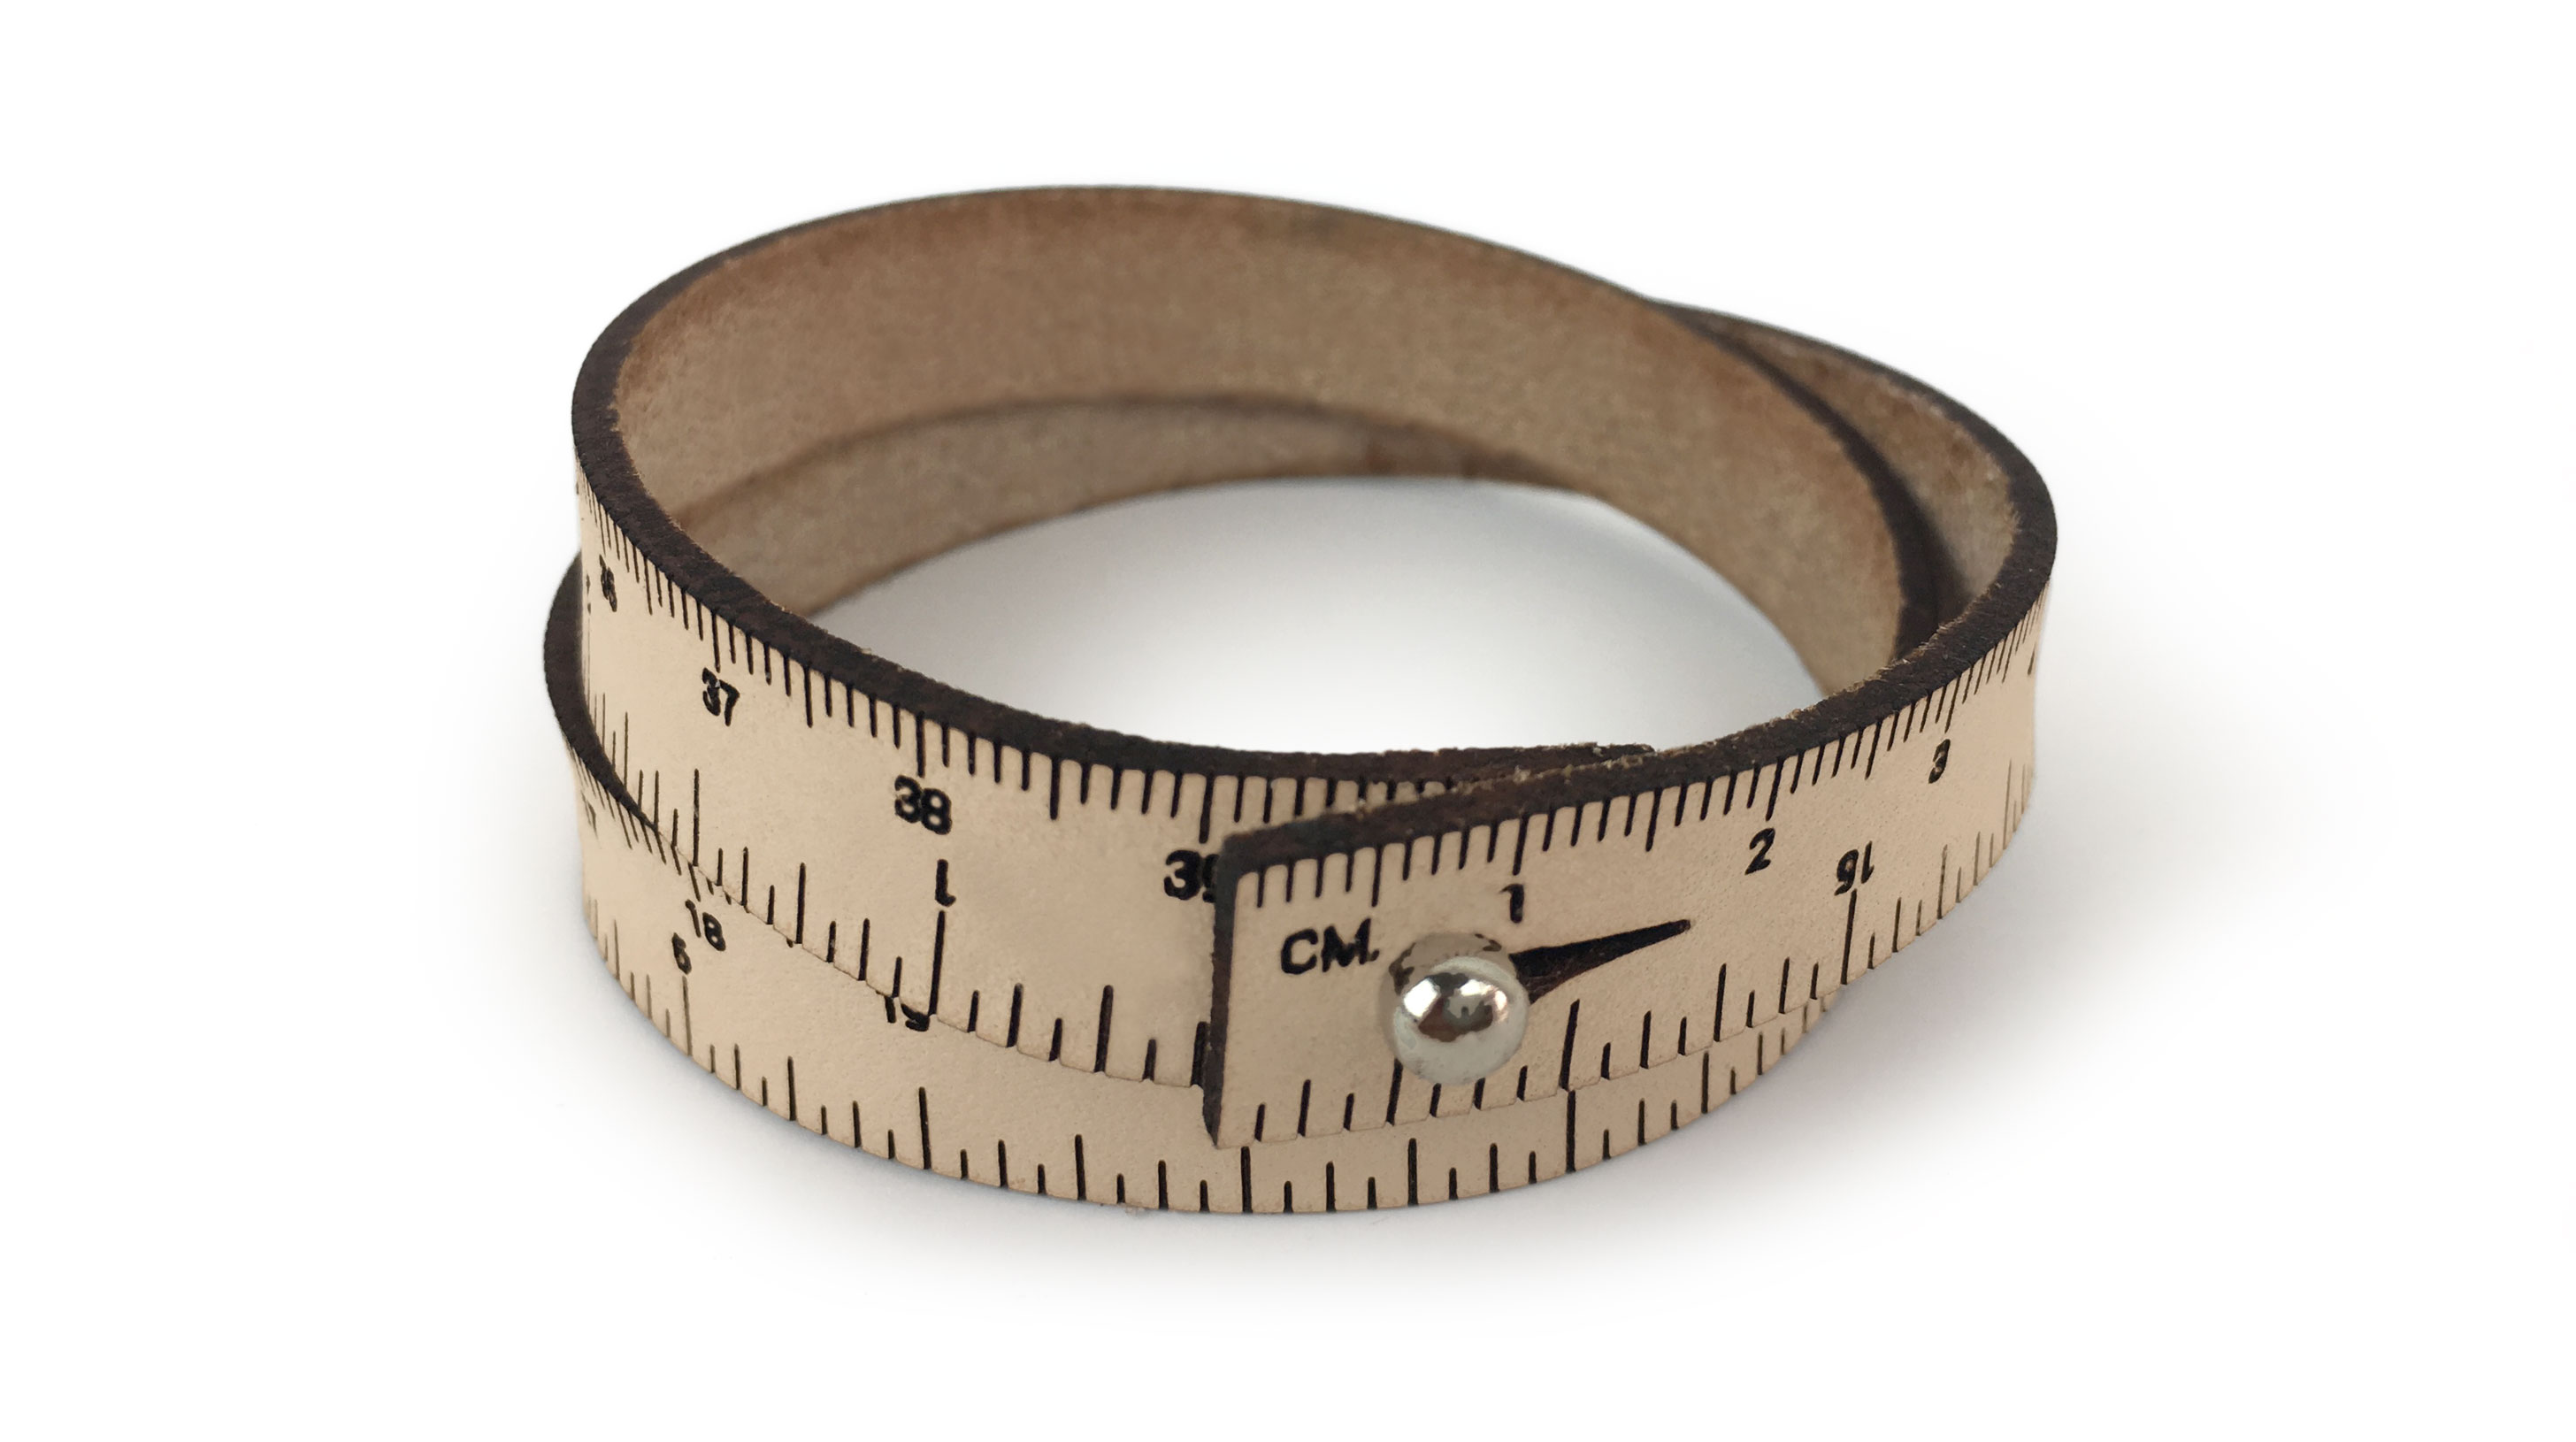
Alternatively, if you have a bracelet or wristband that fits you comfortably, you can use it as a reference. Place the bracelet or wristband flat on a ruler or measuring tool and note the length. This will give you an approximate measurement that you can use for making your slap bracelet.
Remember, it’s better to slightly overestimate the length of your wrist to ensure a comfortable fit. You can always trim the excess fabric or ribbon later on if needed.
Now that you have an approximate measurement of your wrist length, it’s time to move on to the next step: cutting the fabric for your slap bracelet!
Step 3: Cut the Material
Now that you have measured your wrist length, it’s time to cut the fabric or ribbon for your slap bracelet. Using your approximate measurement as a guide, follow these steps to ensure a precise cut:
- Place the fabric or ribbon on a clean and flat surface, such as a cutting mat or table.
- Using your scissors, carefully cut the fabric or ribbon to the desired length. Remember to add a little extra length for overlap to ensure a comfortable fit.
- Make sure the edges are straight and even. If necessary, you can use a ruler or a straight edge to guide your scissors and achieve a clean cut.
- Double-check the length of the cut fabric against your wrist measurement to ensure it is a suitable size.
Keep in mind that the width of your slap bracelet can vary depending on personal preference. If you prefer a wider bracelet, you can cut a wider strip of fabric or ribbon. On the other hand, if you prefer a narrower bracelet, adjust the width accordingly.
Once you have cut the fabric or ribbon to the desired length, you’re ready to move on to the next step: rounding the edges of your slap bracelet. Let’s continue creating your custom slap bracelet without a measuring tape!
You can use a piece of string or ribbon to measure the circumference of your wrist, then use a ruler or straight edge to measure the length of the string to determine the size of the slap bracelet.
Step 4: Round the Edges
Now that you have cut the fabric or ribbon to the desired length, it’s time to give your slap bracelet a professional finish by rounding the edges. This step not only adds a touch of style but also ensures a more comfortable fit on your wrist.
To round the edges of your slap bracelet, follow these steps:
- Take your cut piece of fabric or ribbon and fold it in half, aligning the long edges.
- Using your scissors, carefully cut both corners of the folded edge. Start by trimming off a small portion and gradually round the corners. This will prevent sharp edges that could irritate your skin.
- Unfold the fabric or ribbon to reveal the rounded edges. You can use your fingers to smooth out any rough edges.
By rounding the edges of your slap bracelet, you not only improve the overall look but also ensure a more comfortable and safe wearing experience.
Once you have rounded the edges, it’s time to move on to the next step: attaching the fastening mechanism. Let’s continue creating your custom slap bracelet without a measuring tape!
Step 5: Attach the Fastening Mechanism
With the fabric or ribbon cut and the edges rounded, it’s time to attach the fastening mechanism to your slap bracelet. The fastening mechanism will allow you to easily put on and take off the bracelet while keeping it securely in place on your wrist.
There are several options for fastening mechanisms that you can choose from:
- Velcro: If you’re using Velcro, cut two small strips – one for each end of the bracelet. Sew or glue one side of the Velcro strip to one end of the fabric, and sew or glue the other side of the Velcro strip to the opposite end. Make sure the Velcro pieces align when the bracelet is wrapped around your wrist.
- Snaps: If you’re using snaps, mark the placement of the snaps on each end of the fabric. Use a hole punch or a small pair of scissors to create a small hole for each snap. Attach one side of the snap to one end of the fabric and the corresponding side of the snap to the opposite end.
- Adhesive hooks and loops: If you’re using adhesive hooks and loops, cut two small strips – one for each end of the bracelet. Attach one side of the hook to one end of the fabric and the corresponding side of the loop to the opposite end.
Depending on the fastening mechanism you choose, you may need to sew, glue, or stick it onto the fabric. Follow the instructions provided with the specific fastening mechanism to ensure proper attachment.
Once you have attached the fastening mechanism, test it by wrapping the bracelet around your wrist and securing it in place. Ensure that it is comfortable and secure without being too tight or too loose.
Now that you have successfully attached the fastening mechanism, it’s time to move on to the next step: testing and adjusting your slap bracelet. Let’s continue creating your custom slap bracelet without a measuring tape!
Step 6: Test and Adjust
After attaching the fastening mechanism to your slap bracelet, it’s important to test and adjust the fit to ensure optimal comfort and functionality. This step will help you make any necessary tweaks to the size or positioning of the fastening mechanism.
Follow these steps to test and adjust your slap bracelet:
- Wrap the bracelet around your wrist and fasten it using the chosen mechanism.
- Check the fit of the bracelet. It should be snug enough to stay in place but not too tight that it feels uncomfortable or restricts blood flow.
- Try moving your wrist and bending it to ensure the bracelet stays securely in place.
- Pay attention to any discomfort or irritation caused by the fastening mechanism. If needed, adjust the position or size of the mechanism. For example, you can reposition Velcro strips or reattach snaps to achieve a better fit.
- Make any necessary adjustments to the size, positioning, or tightness of the bracelet to ensure it fits comfortably and securely on your wrist.
Testing and adjusting your slap bracelet will help you achieve the perfect fit and comfort level. Remember, everyone’s wrist size and preferences may vary, so it’s important to customize the bracelet accordingly.
Once you are satisfied with the fit and comfort of your customized slap bracelet, it’s time to move on to the final step: adding a personal touch with customization. Let’s continue creating your custom slap bracelet without a measuring tape!
Step 7: Customize Your Bracelet
Now that you have completed the essential steps in making your slap bracelet without a measuring tape, it’s time to add a personal touch and make it truly unique. Customizing your bracelet allows you to express your creativity and style, making it a reflection of your personality.
Here are some fun ways to customize your slap bracelet:
- Decorative accessories: Add rhinestones, beads, or charms to your bracelet to give it some sparkle and flair. You can sew them onto the fabric or ribbon or use fabric glue to attach them.
- Fabric markers or paints: Use fabric markers or paints to create designs, patterns, or even write a message on your bracelet. Let your imagination run wild and unleash your artistic side.
- Embroidery: If you’re skilled in embroidery, you can stitch intricate designs onto your bracelet. This adds a touch of elegance and a handmade look to your creation.
- Fabric patches: Attach fabric patches with adhesive or by sewing them onto the bracelet. This can be a great way to incorporate patterns, logos, or symbols that hold personal meaning for you.
Feel free to experiment with different combinations of customization techniques to achieve the desired look for your slap bracelet. Whether you prefer a minimalist design or a bold and vibrant style, the options are endless.
Remember to let any added decorations or embellishments dry or set properly before wearing your bracelet. This will ensure they stay securely in place and retain their original look.
Once you have customized your slap bracelet to your liking, it’s time to proudly wear your creation or give it as a thoughtful handmade gift to someone special.
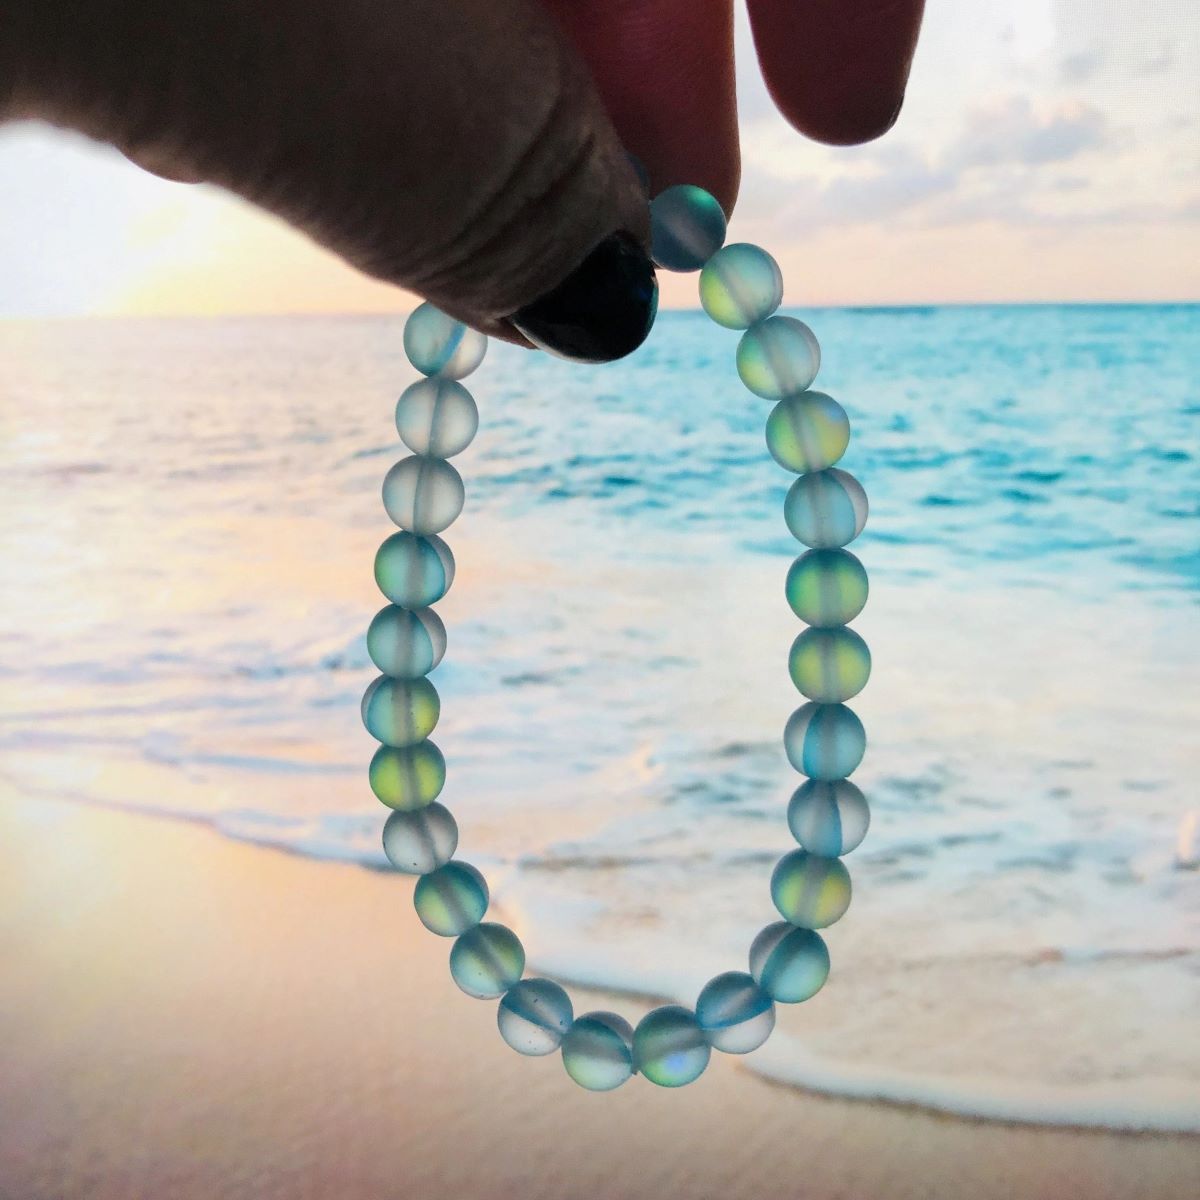
Congratulations! You have successfully made a slap bracelet without a measuring tape, tailored to your unique style and preferences. Enjoy the satisfaction of wearing a piece of jewelry that is not only fashionable but also a testament to your creativity and resourcefulness.
Thank you for following this step-by-step guide. We hope you had fun creating your very own slap bracelet!
Conclusion
Congratulations on successfully creating your own slap bracelet without a measuring tape! Through this DIY project, you have learned how to use alternative methods to measure your wrist length, cut the fabric or ribbon, round the edges, attach a fastening mechanism, test and adjust the fit, and even add your own personal touch through customization.
By making a slap bracelet from scratch, you’ve not only saved time and money but also unleashed your creativity and added a unique accessory to your wardrobe. Whether you wear it as a fashion statement or give it as a handmade gift, your custom slap bracelet is sure to be a conversation starter.
Remember, the possibilities for customization are endless. Experiment with different fabrics, colors, patterns, and embellishments to create slap bracelets that perfectly suit your style or match any occasion. Let your imagination run wild and have fun exploring your creativity.
Now that you’ve mastered the art of making a slap bracelet without a measuring tape, why stop there? Use your newfound skills to create more accessories or explore other DIY projects that spark your interest. There’s no limit to what you can create with a little imagination and some basic materials.
Thank you for joining us on this journey of crafting your very own slap bracelet. We hope you had an enjoyable and rewarding experience. Now go ahead, proudly wear your custom slap bracelet, and show off your handmade creation!
Frequently Asked Questions about How To Make A Slap Bracelet Without A Measuring Tape
Was this page helpful?
At Storables.com, we guarantee accurate and reliable information. Our content, validated by Expert Board Contributors, is crafted following stringent Editorial Policies. We're committed to providing you with well-researched, expert-backed insights for all your informational needs.


0 thoughts on “How To Make A Slap Bracelet Without A Measuring Tape”