Home>Articles>What Router Bits To Use To Make Picture Frames
Articles
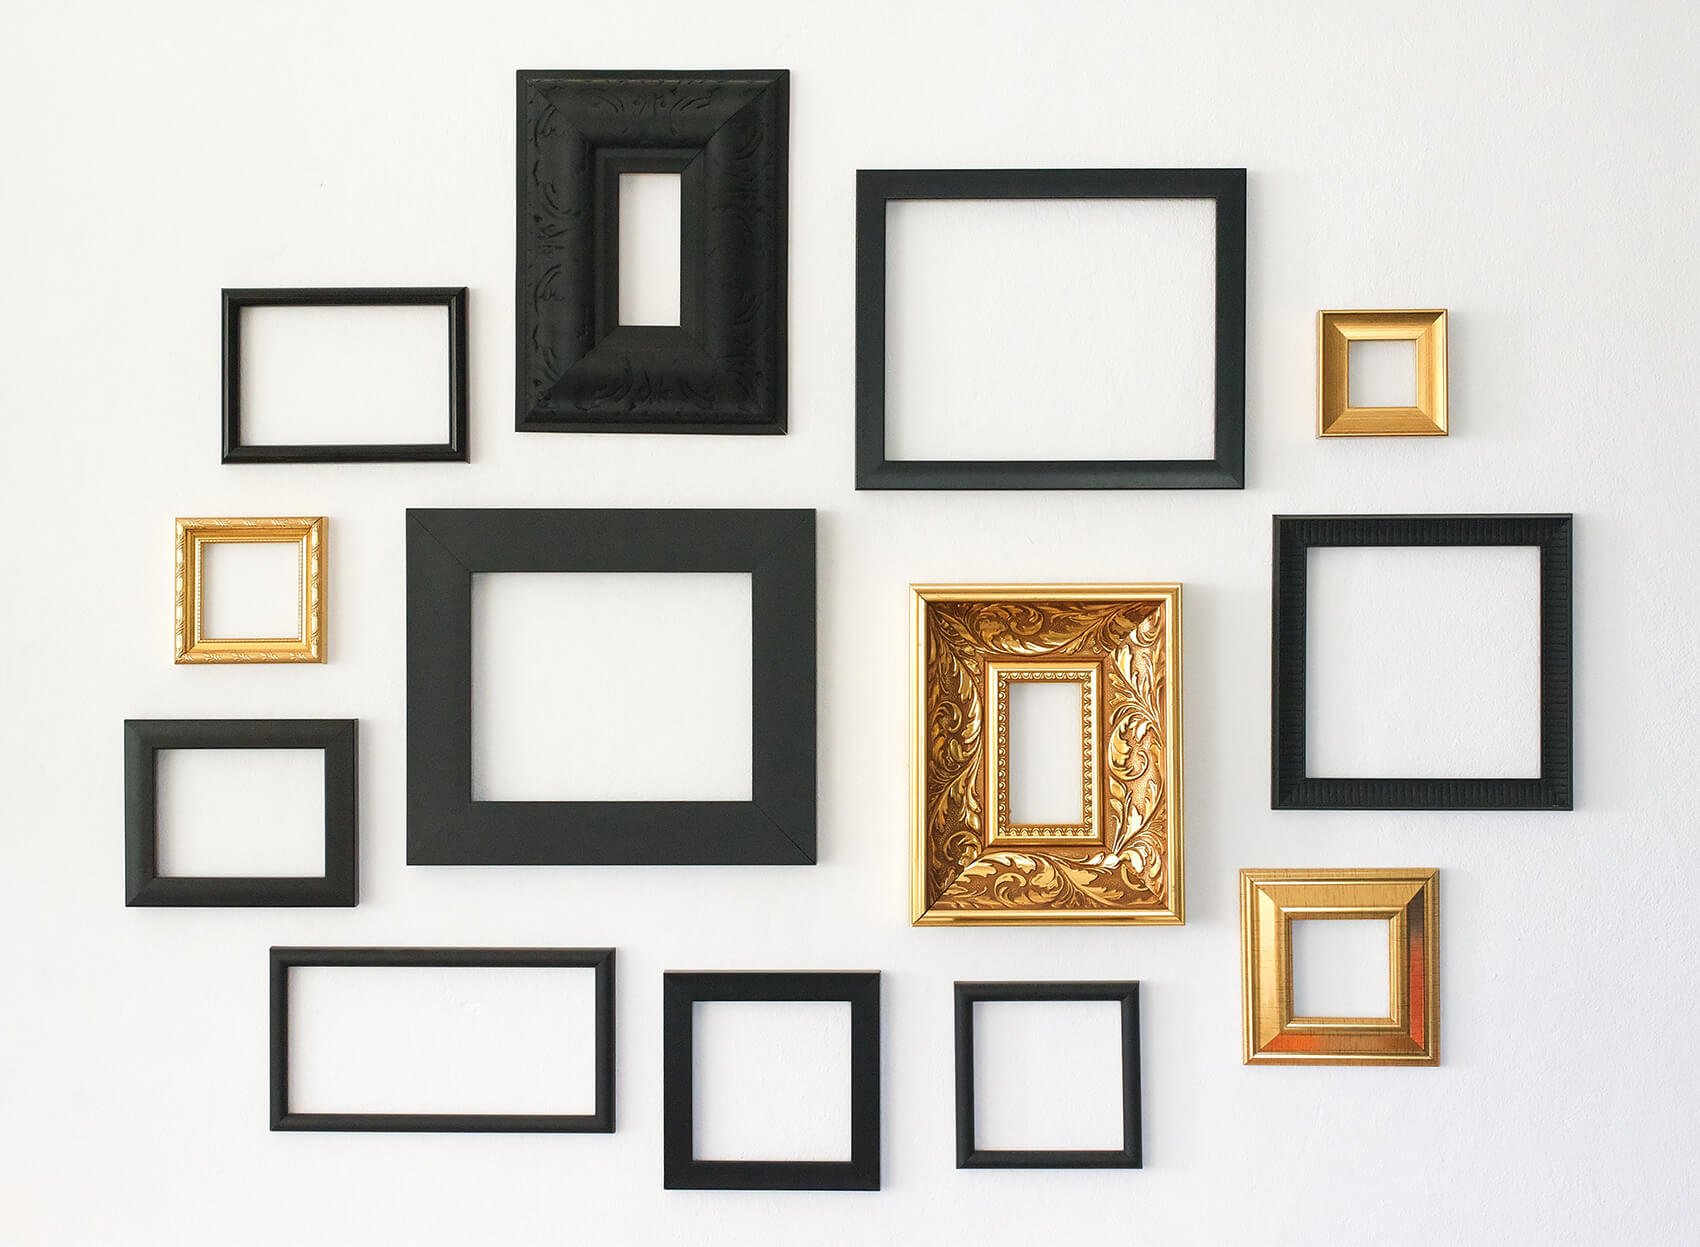
What Router Bits To Use To Make Picture Frames
Modified: August 28, 2024
Looking for articles about what router bits to use for making picture frames? Discover the essential router bits and techniques for creating beautiful and professional-looking picture frames.
(Many of the links in this article redirect to a specific reviewed product. Your purchase of these products through affiliate links helps to generate commission for Storables.com, at no extra cost. Learn more)
Introduction
When it comes to creating picture frames, using the right router bits is essential for achieving professional and polished results. Whether you are a seasoned woodworker or a DIY enthusiast, knowing which router bits to use can make all the difference in the final product.
Router bits are cutting tools that are designed to be attached to a router machine. They come in various shapes and sizes, each serving a specific purpose. Choosing the right router bits will not only help you achieve the desired design and finish for your picture frames but also ensure safety and efficiency during the routing process.
In this article, we will explore the different types of router bits that are commonly used when making picture frames. From rabbeting bits to round over bits, we will delve into each type’s features and advantages, providing you with the knowledge needed to create stunning picture frames that showcase your craftsmanship.
So, let’s dive in and discover the world of router bits that can help elevate your picture frame making skills to the next level!
Key Takeaways:
- Choose the right router bits for picture frame making to achieve professional results. From rabbeting bits for back slots to chamfer bits for decorative touches, each bit serves a specific purpose in enhancing the frame’s design and functionality.
- Investing in high-quality router bits is essential for longevity and precision in woodworking projects. By selecting the appropriate combination of router bits, you can unleash your creativity and produce stunning picture frames that beautifully showcase your artwork or cherished memories.
Read more: How To Make Picture Frames
Choosing the Right Router Bits
When it comes to selecting router bits for making picture frames, it’s important to consider both the desired design and the type of material you’ll be working with. Each router bit has its own unique features and advantages, making it suitable for specific tasks.
Here are six types of router bits that are commonly used in picture frame making and the roles they play:
- Rabbeting Bit: A rabbeting bit is designed to cut a groove along the edge of a piece of wood. This type of bit is commonly used when creating the back slot where the picture is inserted into the frame. It helps create a clean and precise groove that holds the picture securely in place.
- Round Over Bit: A round over bit is an excellent choice for adding a decorative edge or a smooth transition to the corners of the picture frame. It creates a rounded profile, giving the frame a softer and more finished appearance.
- Cove Bit: A cove bit is used to create concave profiles along the edges of the frame. This bit adds a touch of elegance to the design, giving the frame a more sophisticated look. It’s commonly used for creating decorative detailing on the outer edges of the frame.
- Straight Bit: As the name suggests, a straight bit is used for making straight cuts and grooves. It’s ideal for creating the channel where the glass or acrylic cover will be placed in the frame. This bit ensures clean and precise cuts that are crucial for achieving a professional finish.
- Chamfer Bit: A chamfer bit is used to create angled cuts along the edges of the frame. It can be used to add a decorative touch or to create a bevel on the frame’s outer edges. This bit adds depth and dimension to the frame, resulting in a more visually appealing finished product.
- Keyhole Bit: A keyhole bit is specifically designed to create keyhole-shaped slots on the back of the picture frame. These slots allow the frame to be easily hung on a wall using screws or nails. This bit is essential for ensuring convenience and stability when mounting your picture frames.
When choosing router bits for picture frame making, it’s essential to consider the quality of the bits as well. Investing in high-quality bits will ensure longevity and precision in your woodworking projects.
By selecting the right combination of router bits for your picture frame making, you can unleash your creativity and produce stunning frames that beautifully showcase your artwork or cherished memories. So, take the time to choose the appropriate router bits that will best bring your vision to life!
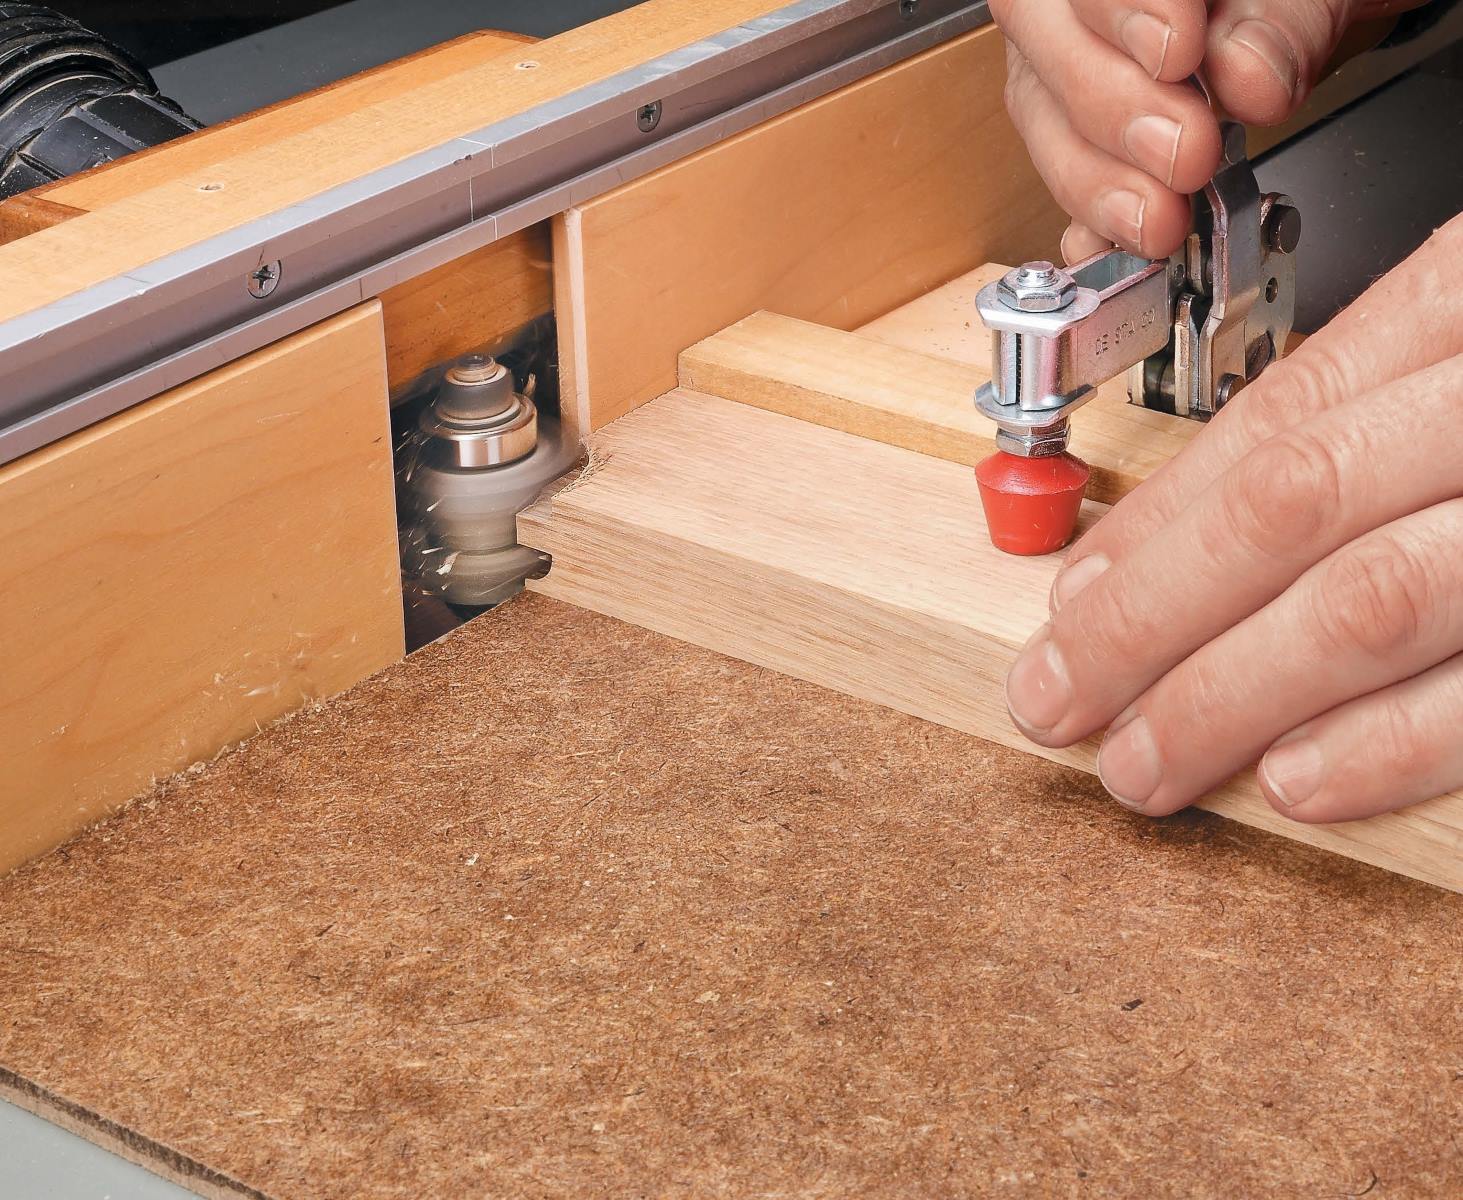
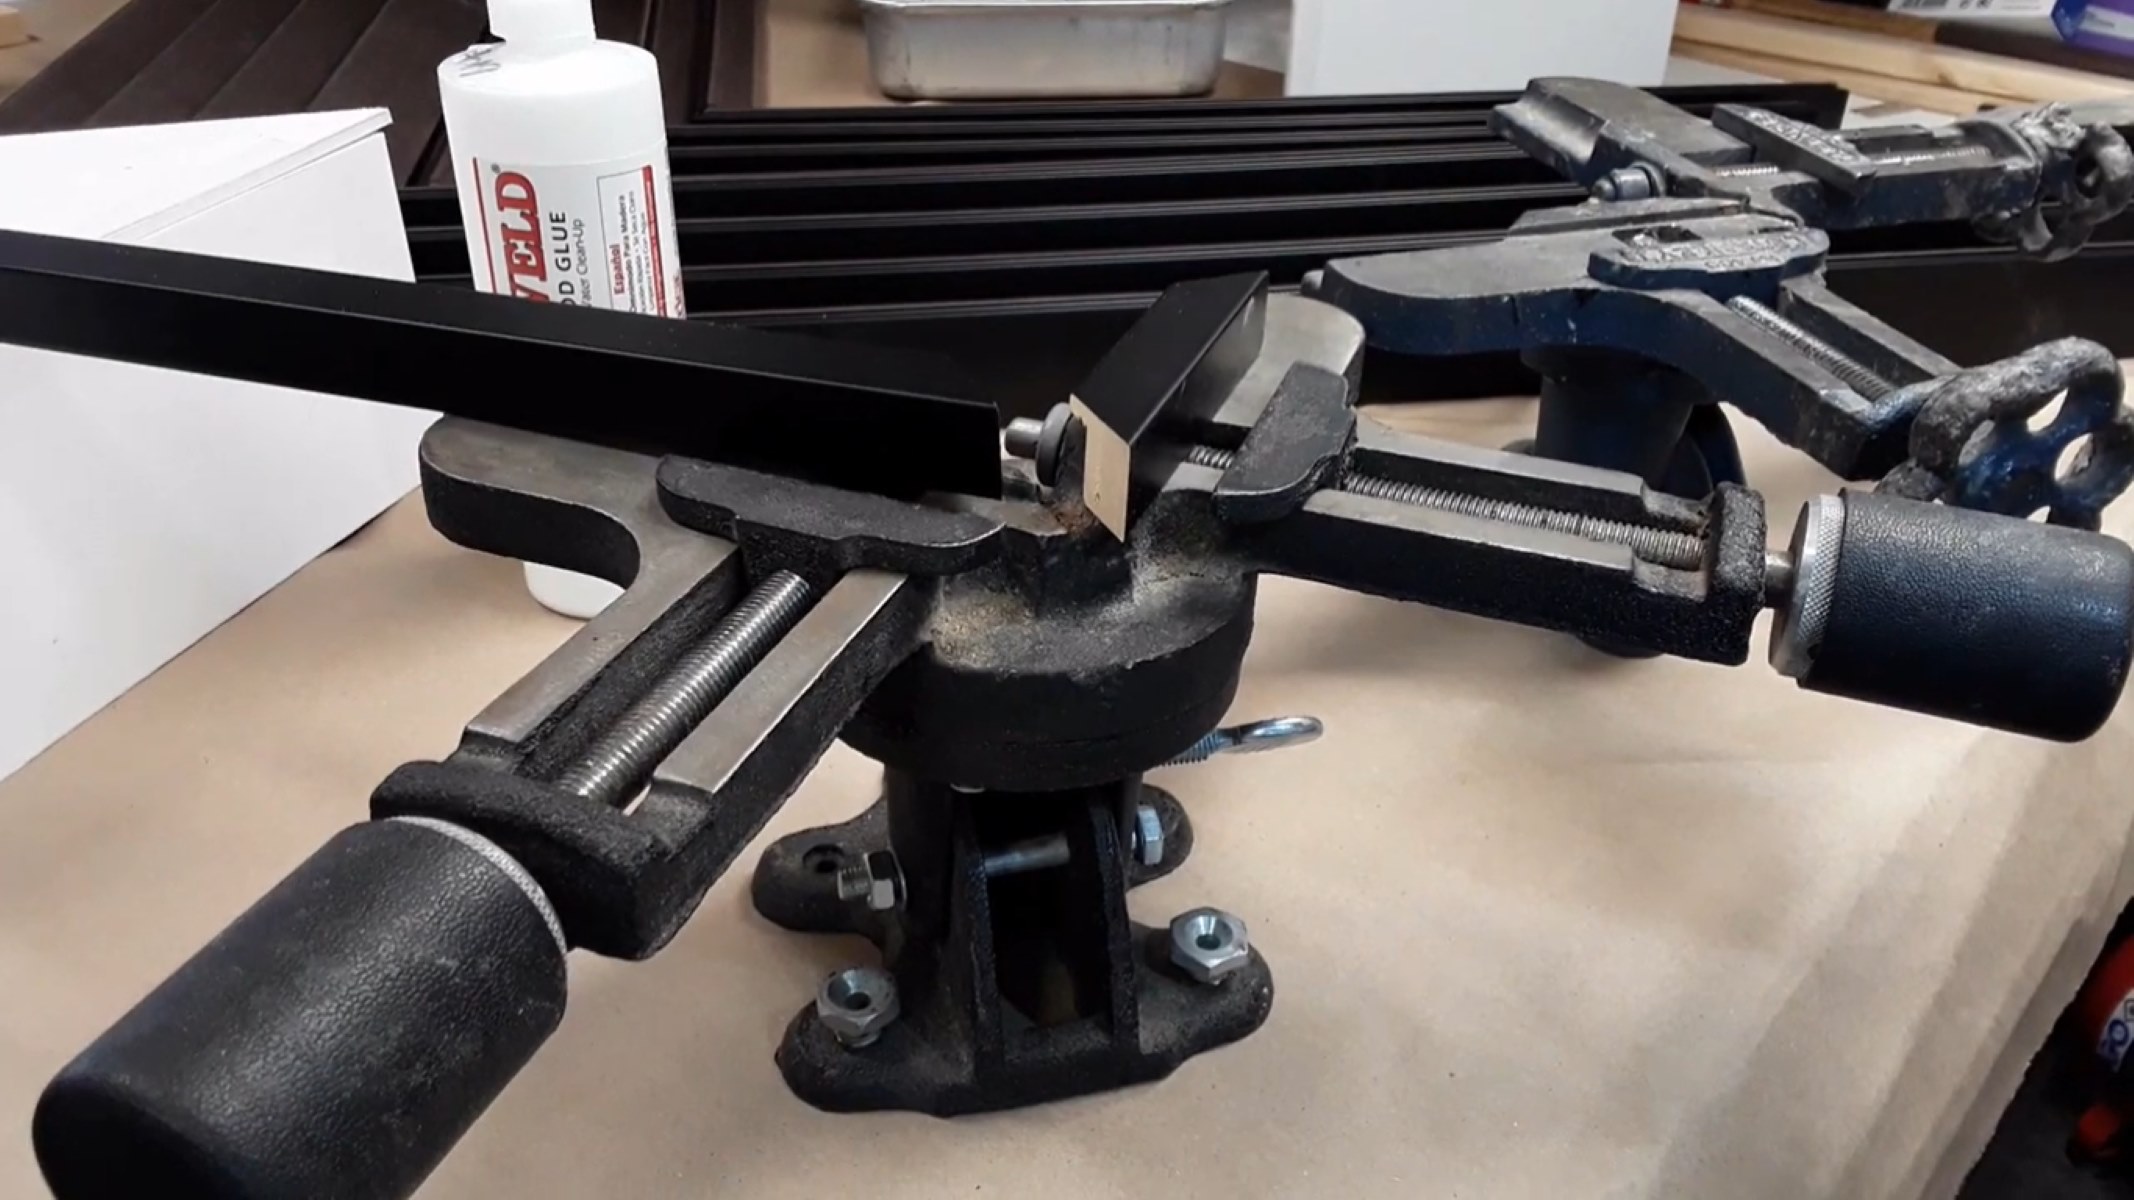
Rabbeting Bit
The rabbeting bit is a versatile and essential tool when it comes to making picture frames. This type of router bit is specifically designed to cut a groove or shoulder along the edge of a piece of wood.
When making picture frames, the rabbeting bit is commonly used to create the back slot where the picture is inserted into the frame. This groove allows the picture to sit securely and prevents it from shifting or falling out of the frame.
One of the key advantages of using a rabbeting bit is its ability to create clean and precise cuts. The bit’s design allows for a smooth, even finish, ensuring a professional look for the picture frame. Additionally, rabbeting bits are available in different sizes, allowing you to choose the depth and width of the groove based on your specific needs.
When using a rabbeting bit, it’s important to pay attention to the router’s speed and feed rate. A slow and steady feed rate will help prevent any tear-out or splintering along the wood’s edge, resulting in a cleaner and more polished groove.
In addition to creating the back slot, the rabbeting bit can also be used for other decorative purposes in picture frame making. For instance, you can use it to create a step or a shoulder along the frame’s inner edge to give it a more intricate and stylish look.
Choosing the right size of the rabbeting bit is crucial for achieving the desired result. It’s important to consider the thickness of the material you’re working with and the size of the picture you plan to frame. The bit should be selected to create a groove that is wide and deep enough to hold the picture securely.
Overall, the rabbeting bit is a valuable tool for creating picture frames, providing functionality and precision. Its ability to cut clean and accurate grooves makes it an essential part of any woodworking toolkit. So, make sure to have a rabbeting bit on hand when embarking on your next picture frame making project!
Round Over Bit
The round over bit is a versatile and popular router bit choice when it comes to making picture frames. This bit is specifically designed to create a rounded profile along the edges of the frame, adding a smooth and decorative touch.
One of the key advantages of using a round over bit is its ability to soften sharp corners and create a more visually appealing frame. By rounding over the edges, you create a finished look that enhances the overall aesthetics of the frame.
The round over bit is available in a variety of sizes, allowing you to choose the desired radius for the rounded profile. Smaller radius bits are ideal for creating a subtle curve, while larger radius bits can create a more pronounced round over effect.
Using a round over bit is straightforward. Simply attach the bit to your router and adjust the depth to achieve the desired round over profile. Then, run the bit along the edges of the frame, making sure to maintain a steady and smooth movement. The result will be a beautiful, rounded edge that enhances the frame’s appearance.
When selecting a round over bit, consider the thickness and width of the material you’re working with. A larger and thicker frame may require a bit with a larger radius to achieve the desired look. Additionally, the round over bit can be used on both hardwood and softwood, providing flexibility in your frame-making projects.
Not only does the round over bit add visual appeal to the frame, but it also provides a functional purpose. The rounded edge helps prevent any sharp and potentially dangerous edges, making the frame safer to handle.
Whether you’re looking to create a traditional or contemporary look for your picture frame, the round over bit is an excellent choice. Its ability to create smooth, rounded edges adds a touch of elegance and professionalism to your frame projects. So, don’t hesitate to incorporate the round over bit into your picture frame-making toolkit!
Cove Bit
The cove bit is a versatile and elegant router bit that can be used to create decorative profiles along the edges of picture frames. This bit is designed to cut a concave curve into the wood, adding a touch of sophistication and visual interest to the frame.
When using a cove bit, you can achieve various effects depending on the depth and width of the cut. A shallow cut will create a subtle, understated cove, while a deeper cut will produce a more pronounced and decorative effect.
The cove bit is often used to add detailing to the outer edges of the picture frame. It can be used alone to create a coved edge, or in combination with other router bits to achieve more intricate designs. For example, pairing the cove bit with a round over bit can create a beautiful stepped profile that adds depth and dimension to the frame.
One of the advantages of using a cove bit is its ability to create a smooth and consistent cut. The curved shape of the bit allows for a clean and even finish along the wood’s edge. However, it’s important to make multiple passes with the router to achieve the desired depth and avoid placing excessive strain on the bit.
When selecting a cove bit, consider the size and thickness of the frame material. A larger frame may require a bit with a larger radius to achieve the desired effect. It’s also important to maintain a steady and consistent speed throughout the routing process to ensure a uniform cove profile.
The cove bit can be used on a variety of wood types, including hardwoods and softwoods. Its versatility makes it a go-to choice for adding decorative elements to picture frames. Additionally, the cove profile adds a touch of sophistication and elegance, enhancing the overall visual appeal of the frame.
Whether you’re aiming for a classic or contemporary design, incorporating a cove bit into your picture frame-making toolkit allows you to explore creative possibilities and elevate your projects to the next level. So, don’t hesitate to experiment with the cove bit to add a touch of elegance and artistry to your picture frames!
When making picture frames, use a combination of router bits such as a rabbeting bit for creating the inset for the picture, a chamfer bit for decorative edges, and a round-over bit for a smooth finish.
Read more: How To Make Stands For Picture Frames
Straight Bit
The straight bit is a fundamental router bit that plays a crucial role in making picture frames. As the name suggests, this bit is used to make straight cuts and grooves in the wood, making it an essential tool for creating precise and accurate frame components.
One of the primary uses of the straight bit in picture frame making is to create the channel where the glass or acrylic cover will be placed. This channel needs to be cut with precision to ensure a proper fit and a professional finish.
The straight bit is also commonly used for creating joinery, such as making dado cuts for inserting the frame components together. Whether it’s creating mortise and tenon joints or grooves for splines, the straight bit is a reliable choice for achieving clean and accurate cuts.
When using the straight bit, it’s important to consider the router’s speed and feed rate. Running the router at a moderate speed and maintaining a consistent feed rate helps prevent any tear-out or splintering along the wood’s edge, resulting in a clean and polished cut.
Because the straight bit is mainly used for making straight cuts, it is available in various sizes to accommodate different thicknesses and widths of frame materials. Choosing the right size of the bit ensures that the cuts are neither too shallow nor too deep, resulting in a precise fit for the frame components.
The straight bit can be used on both hardwood and softwood, making it versatile for various frame-making projects. Its simplicity and efficiency make it a staple in any woodworking toolkit.
By utilizing the straight bit in your picture frame making, you can achieve the necessary precision and accuracy required for professional-looking frames. Whether it’s creating channels or making joinery cuts, the straight bit is a reliable and essential tool for any woodworking enthusiast or professional. So, be sure to have a straight bit on hand for your next picture frame-making project!
Chamfer Bit
The chamfer bit is a versatile and popular router bit choice when it comes to adding decorative touches to picture frames. This bit is specifically designed to create angled cuts along the edges of the frame, resulting in a beveled or chamfered profile.
The chamfer bit can be used to create a variety of chamfer styles, ranging from subtle and understated to bold and dramatic. The angle and depth of cut can be adjusted to achieve the desired effect, allowing for great flexibility in design.
One of the primary uses of the chamfer bit in picture frame making is to add visual interest and create a decorative look. By beveling the frame’s edges, you can add depth and dimension to the design, making it more visually appealing.
In addition to its decorative purposes, the chamfer bit also serves a functional role in preventing any sharp edges. The beveled edge created by the bit helps provide a smooth and comfortable finish, making the frame safer to handle.
When selecting a chamfer bit, consider the desired angle and the thickness of the frame material. Smaller angles are ideal for creating subtle chamfers, while larger angles create more pronounced bevels. It’s also important to adjust the router’s speed and feed rate to ensure a clean and precise cut.
The chamfer bit can be used on various types of wood, including hardwoods and softwoods. It allows for a range of design possibilities, making it a versatile option for picture frame making.
Whether you’re looking to add a touch of elegance to a traditional frame or to create a modern and sleek design, the chamfer bit is a valuable tool. Its ability to create beveled edges adds visual interest and a professional finish to your picture frames. So, don’t hesitate to incorporate the chamfer bit into your router bit collection for endless design possibilities!
Keyhole Bit
The keyhole bit is a specialized router bit that is essential for hanging picture frames on walls. This bit is specifically designed to create keyhole-shaped slots on the back of the frame, providing a secure and convenient method for mounting the frame.
Keyhole slots are a popular choice for hanging picture frames because they allow for easy and flexible installation. The slots accommodate screws or nails, enabling the frame to be hung securely on a wall without the need for additional hardware.
When using a keyhole bit, it’s important to position the slots correctly on the frame’s back. This ensures that the frame hangs level and securely on the wall. It’s recommended to measure and mark the desired location of the keyhole slots before routing them.
Incorporating keyhole slots in your picture frames is a straightforward process. Begin by attaching the keyhole bit to your router and adjusting the depth to match the thickness of the frame material. Then, carefully guide the router to create the keyhole slots along the intended markings, making sure to maintain a steady and controlled movement.
It’s important to note that the size of the keyhole bit and the slot it creates should be suitable for the hardware you plan to use for hanging the frame. Consider the diameter and length of the screws or nails to ensure a proper fit.
When choosing a keyhole bit, consider the thickness of the frame material and the desired size of the slots. Keyhole bits are available in different sizes, allowing you to customize the slots according to your specific needs.
The keyhole bit is suitable for use on various wood types, making it versatile for picture frame making. Its ability to create secure and convenient hanging options adds functionality to your frames.
Incorporating keyhole slots into your picture frames allows for easy and hassle-free installation, ensuring that your frames hang securely on the wall. So, be sure to include the keyhole bit in your toolkit for professional and user-friendly picture frame construction!
Conclusion
Choosing the right router bits is crucial for achieving professional and polished results when making picture frames. Each router bit serves a specific purpose and offers unique advantages that contribute to the overall design and functionality of the frame.
From the rabbeting bit for creating the back slot to the round over bit for adding decorative edges, and from the cove bit for elegant detailing to the straight bit for precise cuts, these router bits play a vital role in the picture frame making process. Additionally, the chamfer bit adds a touch of sophistication, while the keyhole bit provides a convenient hanging solution.
When selecting router bits, it’s important to consider the material you’ll be working with and the desired design outcome. The right choice of router bits can enhance the visual appeal of the frame, provide functionality, and create a professional finish.
Furthermore, paying attention to factors such as speed, feed rate, and bit size is key to achieving clean and precise cuts. High-quality router bits will ensure longevity and accuracy in your woodworking projects, making them a worthwhile investment.
By incorporating these various router bits into your woodworking arsenal, you can unleash your creativity and elevate your picture frame-making skills. With the right combination of router bits, you can create stunning picture frames that beautifully showcase your artwork or cherished memories.
So, whether you’re a seasoned woodworker or a DIY enthusiast, take the time to explore the versatility and benefits of these router bits. With a bit of practice and experimentation, you’ll be able to craft picture frames that are both visually appealing and structurally sound.
Remember, the journey of becoming a master frame maker takes time and effort, but with the right tools and knowledge, you can create picture frames that are truly works of art!
Frequently Asked Questions about What Router Bits To Use To Make Picture Frames
Was this page helpful?
At Storables.com, we guarantee accurate and reliable information. Our content, validated by Expert Board Contributors, is crafted following stringent Editorial Policies. We're committed to providing you with well-researched, expert-backed insights for all your informational needs.


0 thoughts on “What Router Bits To Use To Make Picture Frames”