Home>Renovation & DIY>Tools & Equipment>How To Shuck Oysters With A Screwdriver
Tools & Equipment
How To Shuck Oysters With A Screwdriver
Modified: January 18, 2024
Learn how to shuck oysters with a screwdriver and other tools and equipment. Discover the best techniques for safely and effectively opening oysters at home.
(Many of the links in this article redirect to a specific reviewed product. Your purchase of these products through affiliate links helps to generate commission for Storables.com, at no extra cost. Learn more)
**
Introduction
**
Are you a fan of fresh seafood? Do you enjoy the briny, delicate flavor of oysters? If so, you might be interested in learning how to shuck oysters at home. While this task may seem daunting at first, with the right tools and a bit of practice, you can become a pro at shucking oysters in no time. In this guide, we'll explore a unique method for shucking oysters using a simple and unexpected tool: a screwdriver.
Shucking oysters can be a rewarding experience, allowing you to savor the fruits of the sea in the comfort of your own home. By learning this skill, you'll gain a newfound appreciation for the culinary art of seafood preparation. So, grab your screwdriver and get ready to embark on a flavorful adventure as we delve into the art of shucking oysters with a twist!
**
Key Takeaways:
- Shucking oysters with a screwdriver is a unique and rewarding skill that allows you to enjoy fresh seafood at home. With the right tools and patience, you can master this culinary adventure and impress your guests.
- By following simple steps and safety precautions, you can confidently shuck oysters with a screwdriver. Embrace the art of seafood preparation, savor the fruits of your labor, and indulge in the pleasure of freshly shucked oysters.
Read more: How To Store Shucked Oysters
Materials Needed
**
Before you begin shucking oysters with a screwdriver, it’s essential to gather the necessary materials. Here’s what you’ll need:
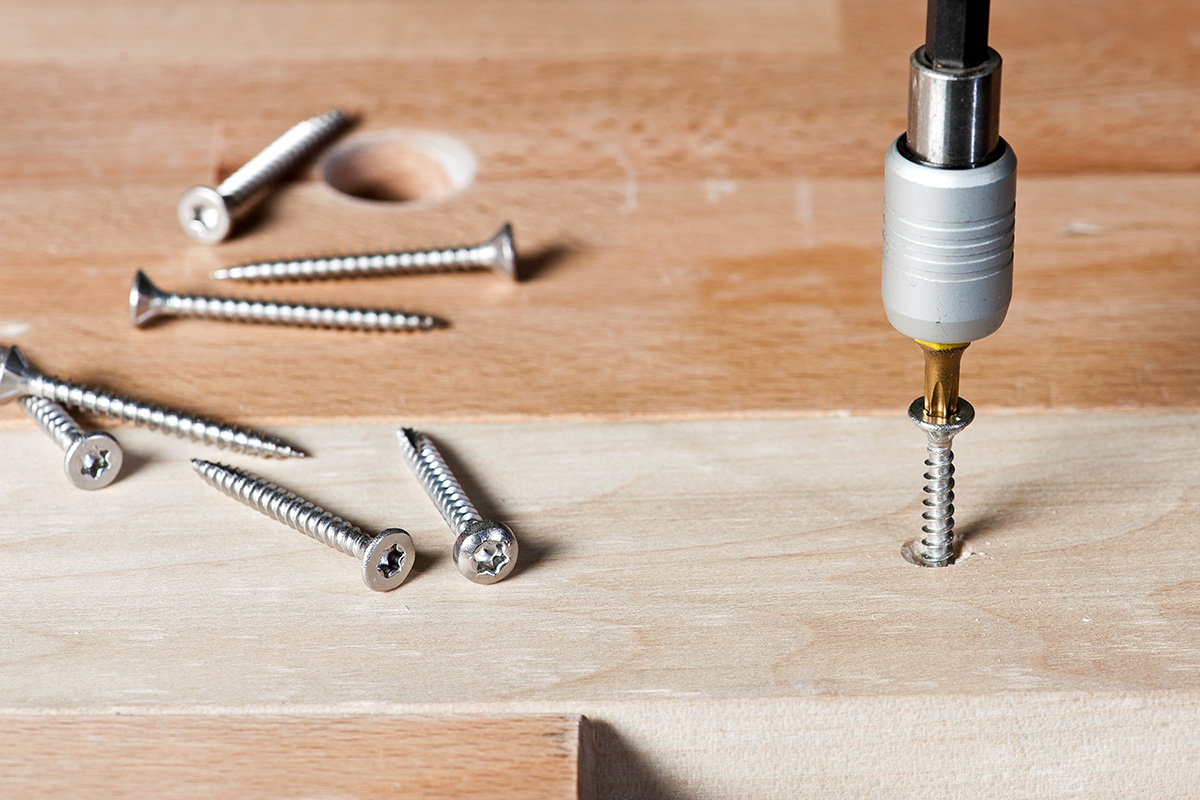
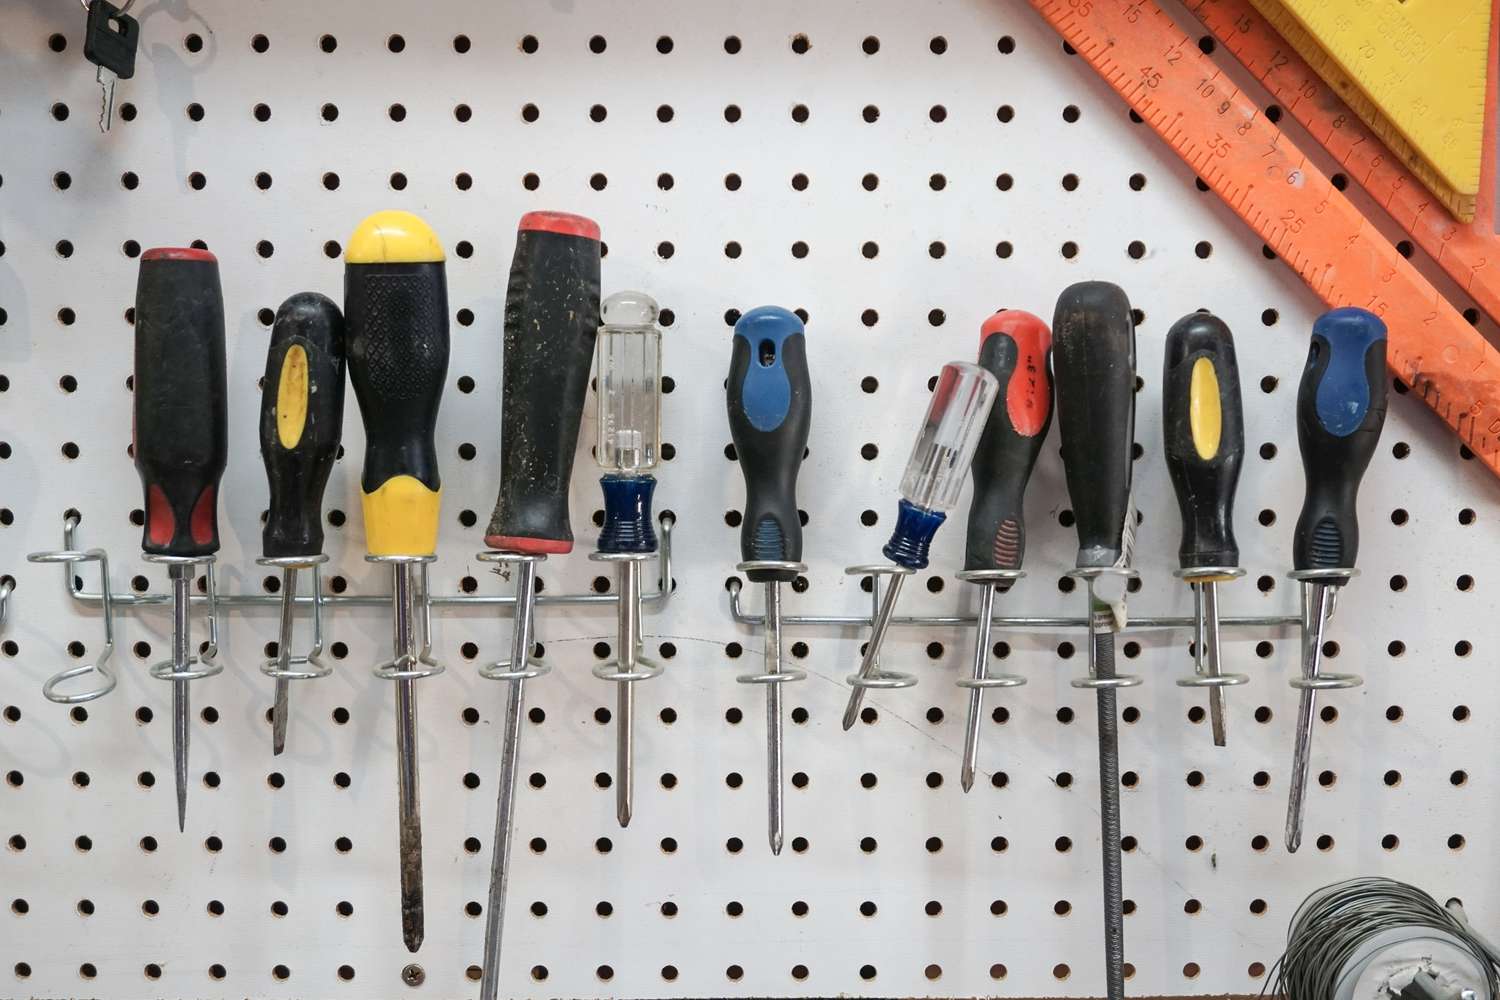
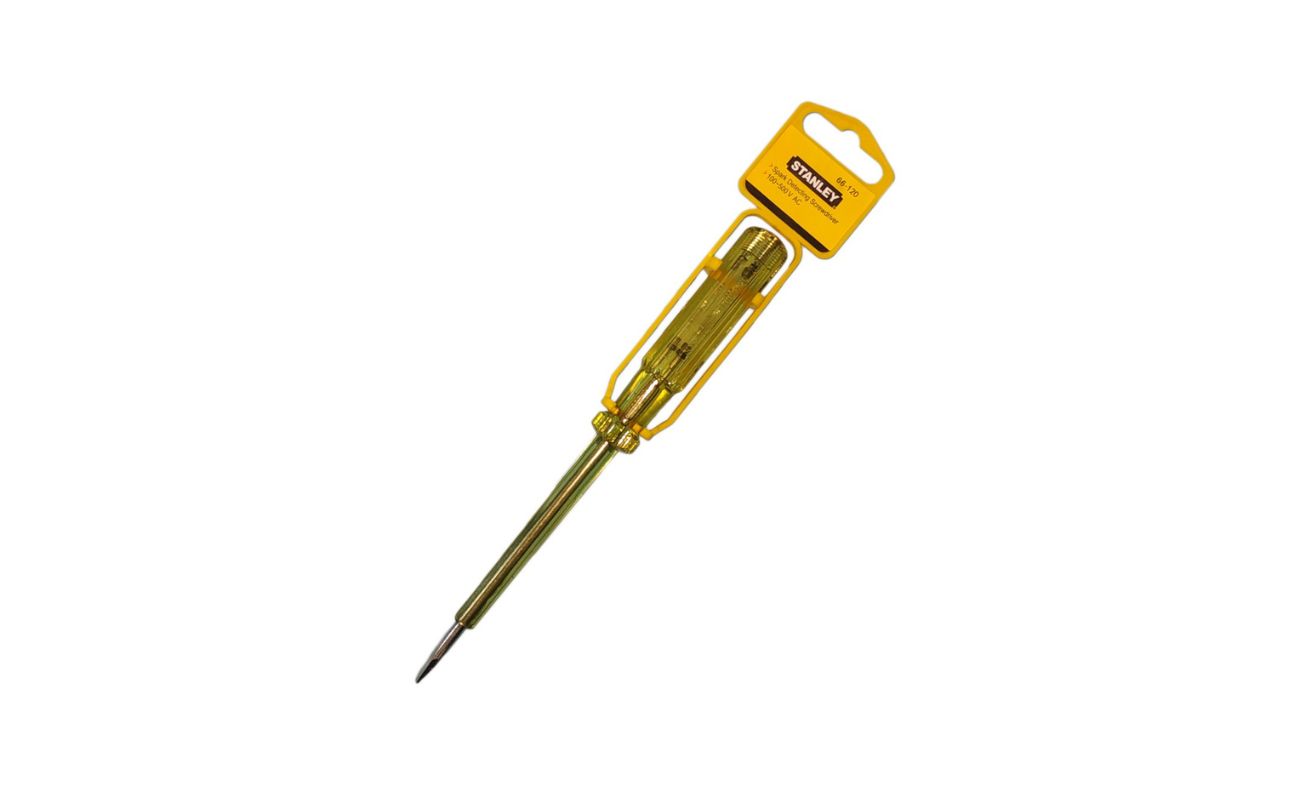
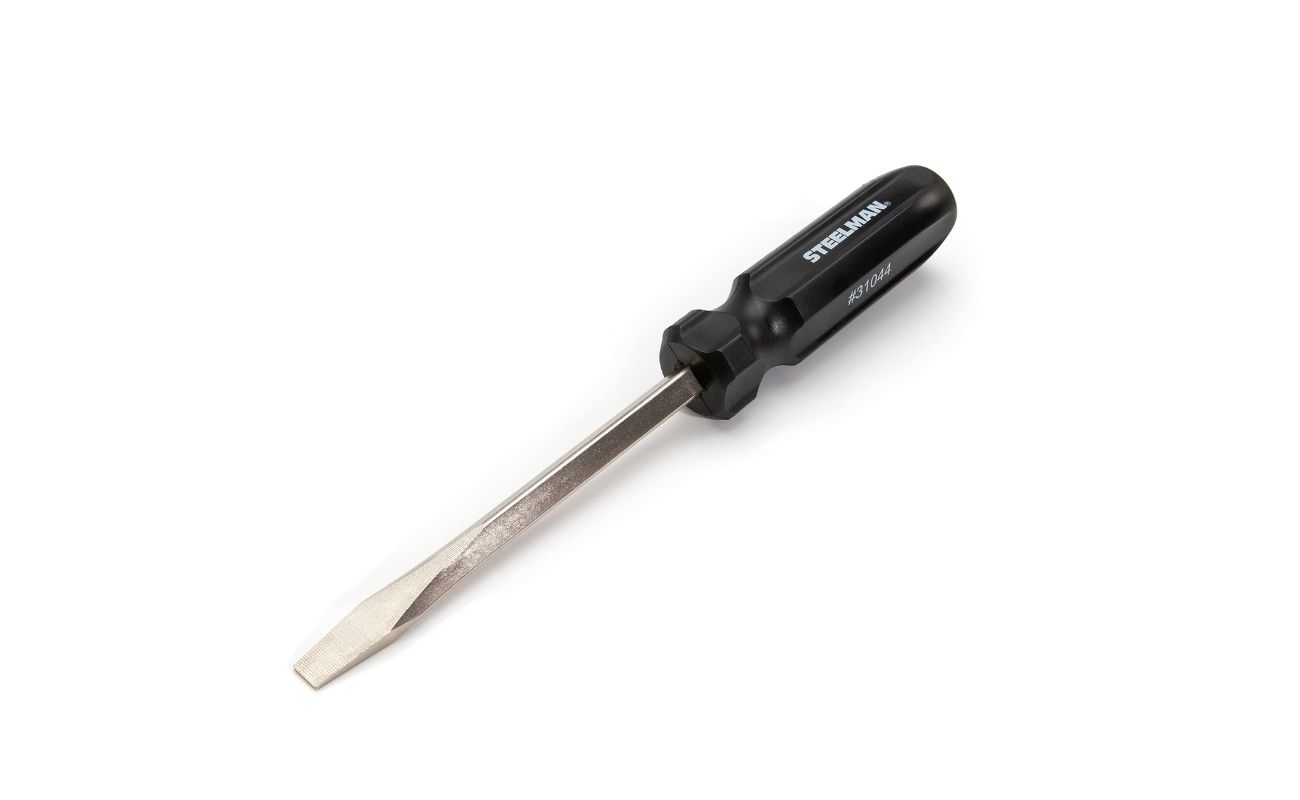
- A sturdy, flat-head screwdriver: Look for a screwdriver with a solid, non-slip handle and a flat, narrow tip. The tip should be thin enough to fit into the oyster’s hinge without damaging the delicate meat inside.
- Fresh oysters: Select high-quality, fresh oysters from a reputable seafood market or grocery store. Ensure that the oysters are tightly closed, indicating that they are still alive and safe to consume.
- Protective gloves: Oyster shells can be sharp, so it’s crucial to wear protective gloves to shield your hands from potential cuts or abrasions during the shucking process.
- A clean towel: Use a clean, absorbent towel to hold the oysters securely in place as you work, preventing any accidental slips or injuries.
- A bowl of ice: Keep a bowl of ice nearby to store the shucked oysters, maintaining their freshness and ensuring that they remain chilled until you’re ready to enjoy them.
- A sturdy work surface: Choose a stable, flat surface where you can comfortably and securely position the oysters for shucking. A sturdy cutting board or countertop works well for this purpose.
By gathering these materials, you’ll be well-prepared to embark on your oyster-shucking adventure with confidence and ease. With the right tools at your disposal, you can ensure a safe and successful shucking experience, leading to a delectable seafood feast.
**
Step 1: Preparing the Oysters
**
Before diving into the shucking process, it’s crucial to properly prepare the oysters to ensure a seamless and safe experience. Follow these steps to get the oysters ready for shucking:
- Inspect the oysters: Carefully examine each oyster, discarding any with cracked or damaged shells. Ensure that the oysters are tightly closed, indicating that they are still alive and fresh.
- Clean the oysters: Rinse the oysters under cold running water to remove any dirt or debris from the shells. Use a stiff brush to gently scrub the shells, if necessary, to achieve a clean surface for shucking.
- Secure the oysters: Place a clean, absorbent towel on your work surface to prevent the oysters from sliding. Arrange the oysters on the towel, ensuring that they are stable and won’t wobble during the shucking process.
- Chill the oysters: For easier shucking and to maintain the oysters’ freshness, consider placing them in the refrigerator for 10-15 minutes before beginning the shucking process. Chilled oysters are easier to handle and less likely to release excess liquid during shucking.
By following these preparatory steps, you’ll set the stage for a successful and enjoyable oyster-shucking experience. Properly inspecting, cleaning, and chilling the oysters will make the shucking process more manageable and enhance the overall quality of the shucked oysters.
**
Step 2: Shucking the Oysters
**
Now that the oysters are prepped and ready, it’s time to delve into the shucking process. Follow these steps to skillfully shuck the oysters using a screwdriver:
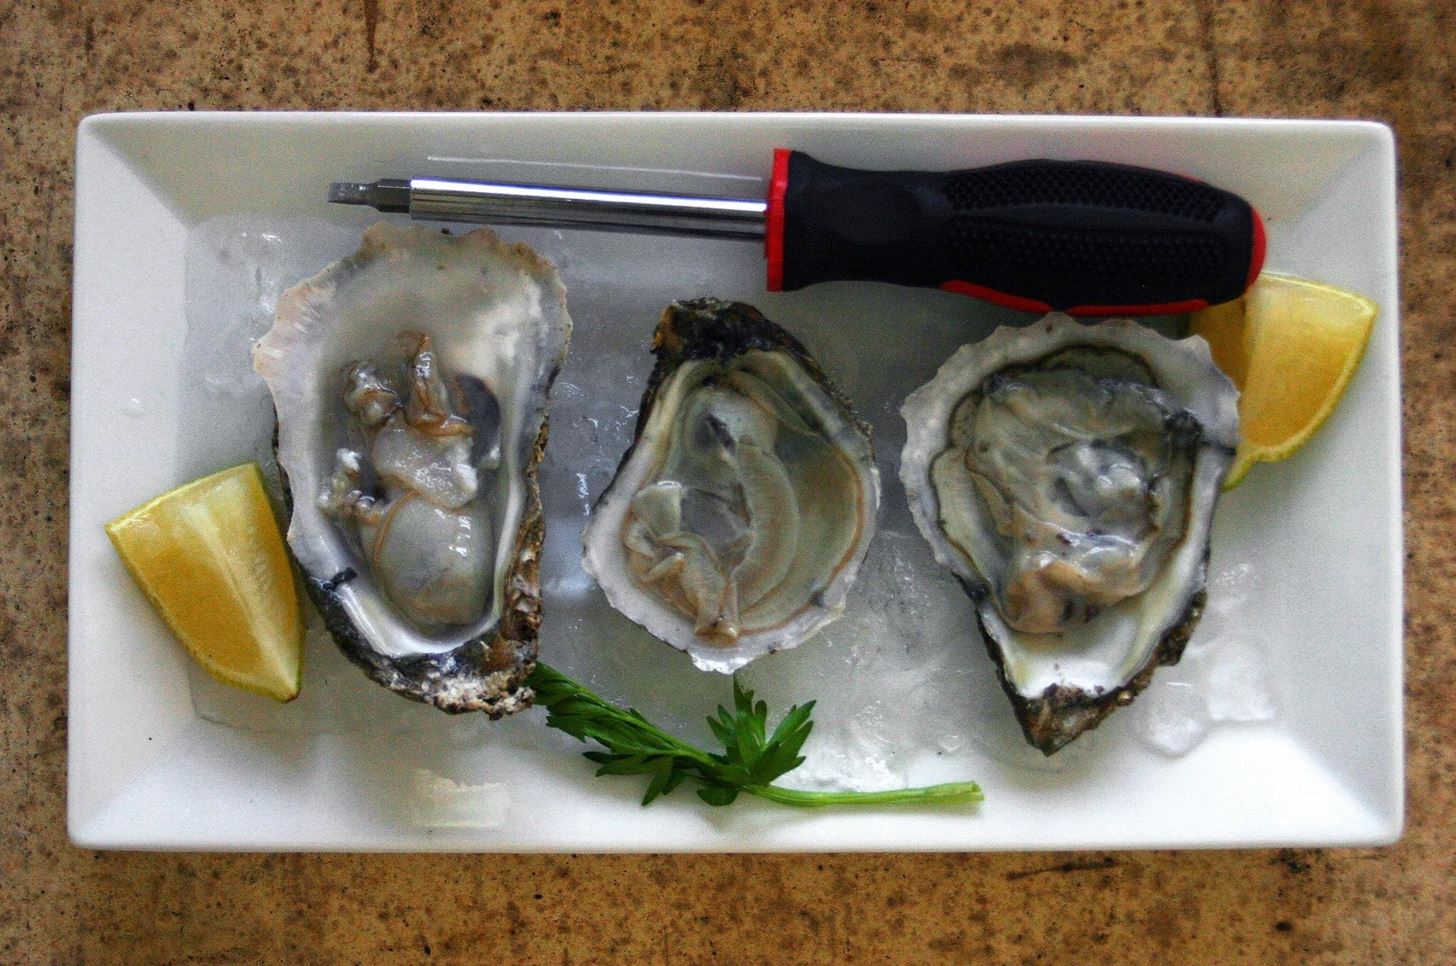
- Secure the oyster: Hold the oyster firmly with a towel-covered hand, ensuring that the hinge (the pointed end of the oyster) is facing towards you.
- Insert the screwdriver: Position the tip of the screwdriver at the base of the oyster’s hinge, applying gentle pressure to wiggle the tip into the hinge. Once the tip is inserted, carefully twist the screwdriver to pry the shell open slightly. Be patient and gentle to avoid damaging the oyster meat inside.
- Slide the screwdriver: After creating a small gap in the hinge, slide the screwdriver along the top shell to sever the muscle that connects the shells. This step may require some finesse and patience to separate the shells without spilling the oyster’s liquid.
- Remove the top shell: Once the muscle is detached, carefully lift and remove the top shell, exposing the oyster inside. Take care not to spill the flavorful brine contained within the shell.
- Inspect for shell fragments: Gently run the screwdriver along the inside of the top shell to check for any shell fragments that may have detached during the shucking process. Remove any stray shell pieces to ensure a smooth and enjoyable dining experience.
By following these steps, you’ll master the art of shucking oysters using a screwdriver, unlocking the delectable treasures hidden within the shells. With practice, you’ll develop the finesse and confidence needed to shuck oysters efficiently and safely, allowing you to enjoy the freshest seafood at home.
**
Be sure to use a sturdy screwdriver with a flat head to avoid damaging the oyster. Insert the tip of the screwdriver into the hinge of the oyster and twist gently to pry it open. Always use a towel to protect your hand.
Step 3: Removing the Oyster from the Shell
**
With the oysters expertly shucked, the final step involves removing the succulent oysters from their shells, ready to be savored. Follow these steps to extract the oysters from the shells with finesse:
- Loosen the oyster: Gently run the screwdriver underneath the oyster to detach it from the bottom shell, taking care not to damage the delicate meat. Ensure that the oyster is free from the shell’s grip, allowing for easy removal.
- Inspect for shell fragments: Before serving the oysters, carefully examine them for any remaining shell fragments or debris. Use the screwdriver to remove any stray pieces, ensuring that the oysters are pristine and ready to be enjoyed.
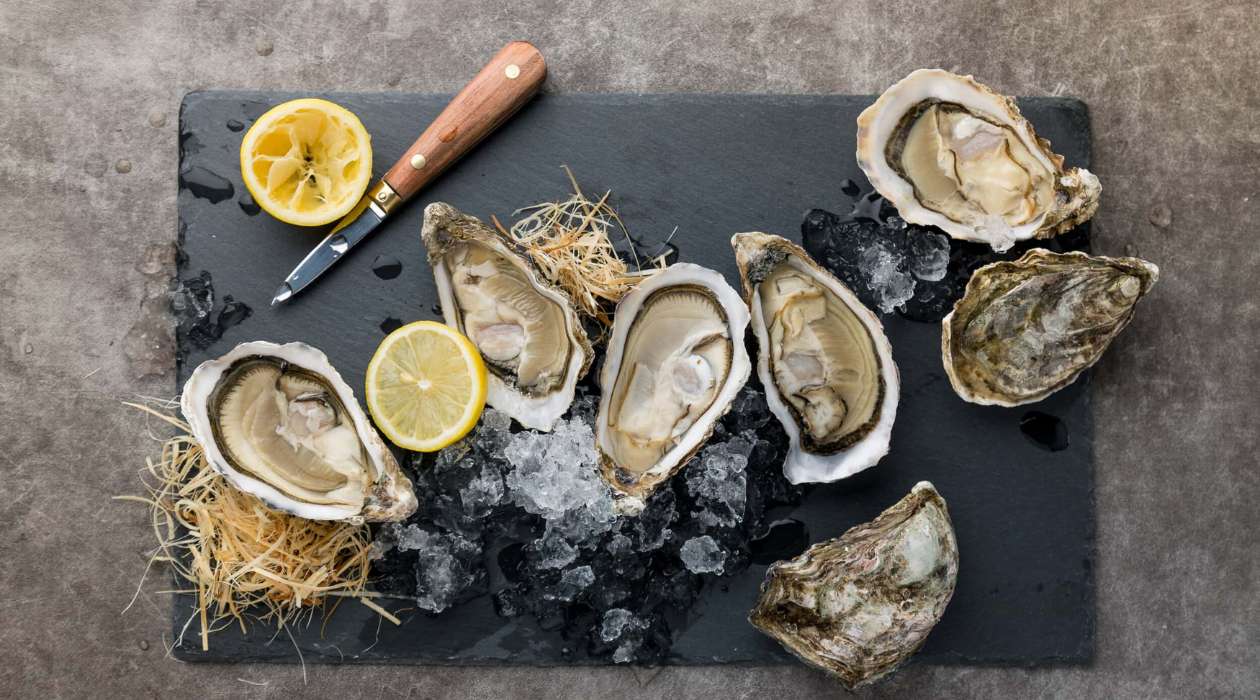
- Arrange the oysters: Once freed from the shells and inspected for quality, arrange the oysters on a bed of ice or a serving platter, ready to be garnished and enjoyed. Consider serving the oysters with traditional accompaniments such as lemon wedges, mignonette sauce, or hot sauce for a delightful flavor enhancement.
By following these steps, you’ll successfully extract the oysters from their shells, presenting them in all their briny, flavorful glory. With the oysters expertly shucked and ready for consumption, you’re now prepared to indulge in a seafood experience that’s both satisfying and rewarding.
**
Read more: How To Store Oysters
Tips and Safety Precautions
**
As you embark on your oyster-shucking journey, it’s essential to keep the following tips and safety precautions in mind to ensure a smooth and secure experience:
- Use caution and patience: Approach the shucking process with care and patience, taking your time to avoid any mishaps or injuries. Rushing through the shucking process can lead to accidents, so proceed methodically and attentively.
- Protect your hands: Wear protective gloves to shield your hands from potential cuts or abrasions caused by the sharp edges of the oyster shells. This simple precaution can prevent injuries and make the shucking process safer and more comfortable.
- Inspect the oysters: Before shucking, carefully inspect each oyster to ensure that it is tightly closed and free from damage. Discard any oysters with open shells or visible signs of spoilage to safeguard against consuming unsafe seafood.
- Store shucked oysters properly: Once shucked, store the oysters on a bed of ice to maintain their freshness and ensure that they remain chilled until they are served. Proper storage is crucial for preserving the quality and flavor of the shucked oysters.
- Practice makes perfect: Shucking oysters with a screwdriver may take some practice to master. Don’t be discouraged by initial challenges; with persistence, you’ll develop the skills and confidence needed to shuck oysters effortlessly and efficiently.
By adhering to these tips and safety measures, you’ll approach the oyster-shucking process with confidence and awareness, ensuring a safe and enjoyable experience from start to finish. With the right precautions in place, you’ll be well-equipped to savor the fruits of your labor with a delectable oyster feast.
**
Conclusion
**
Shucking oysters with a screwdriver is a unique and rewarding skill that allows you to enjoy the freshest seafood from the comfort of your own home. By following the steps outlined in this guide and incorporating the essential tips and safety precautions, you can confidently embark on your oyster-shucking journey with finesse and expertise.
From preparing the oysters to delicately shucking them and finally savoring the briny, succulent morsels, this process is a true culinary adventure. With the right tools, a bit of patience, and a touch of practice, you’ll master the art of shucking oysters, impressing your guests and delighting your taste buds with each perfectly shucked oyster.
Whether you’re hosting a gathering or simply craving a taste of the sea, the ability to shuck oysters with a screwdriver opens up a world of culinary possibilities. Embrace the art of seafood preparation, savor the fruits of your labor, and relish the delectable rewards of your newfound oyster-shucking expertise.
So, grab your screwdriver, gather your fresh oysters, and prepare to embark on a flavorful journey that celebrates the ocean’s bounty. With each shucked oyster, you’ll savor the satisfaction of mastering a timeless culinary skill and indulging in the unparalleled pleasure of freshly shucked oysters.
Frequently Asked Questions about How To Shuck Oysters With A Screwdriver
Was this page helpful?
At Storables.com, we guarantee accurate and reliable information. Our content, validated by Expert Board Contributors, is crafted following stringent Editorial Policies. We're committed to providing you with well-researched, expert-backed insights for all your informational needs.


0 thoughts on “How To Shuck Oysters With A Screwdriver”