
Articles
How To Fry Oysters In Electric Skillet
Modified: August 16, 2024
Learn how to easily fry oysters in an electric skillet with this informative article. Discover the best techniques and tips for deliciously crispy oysters.
(Many of the links in this article redirect to a specific reviewed product. Your purchase of these products through affiliate links helps to generate commission for Storables.com, at no extra cost. Learn more)
Introduction
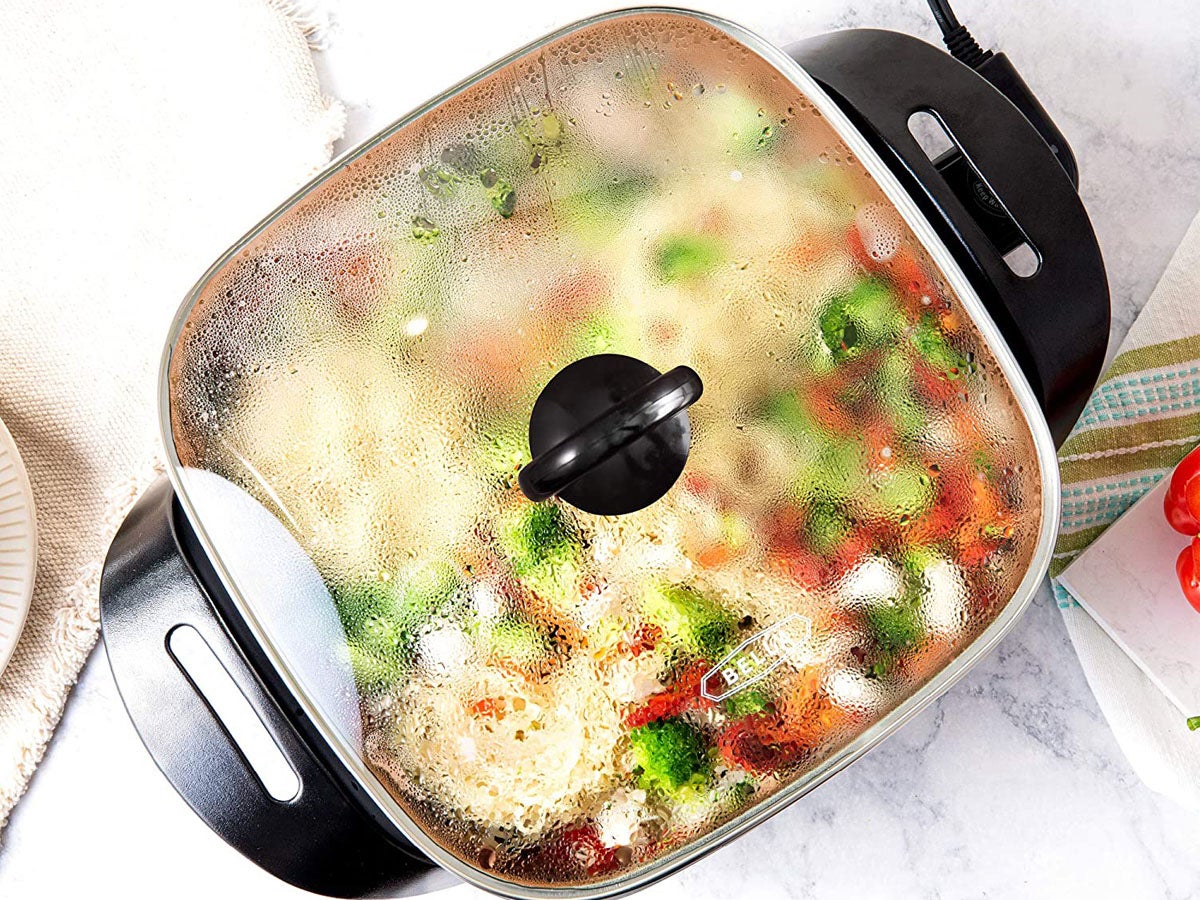
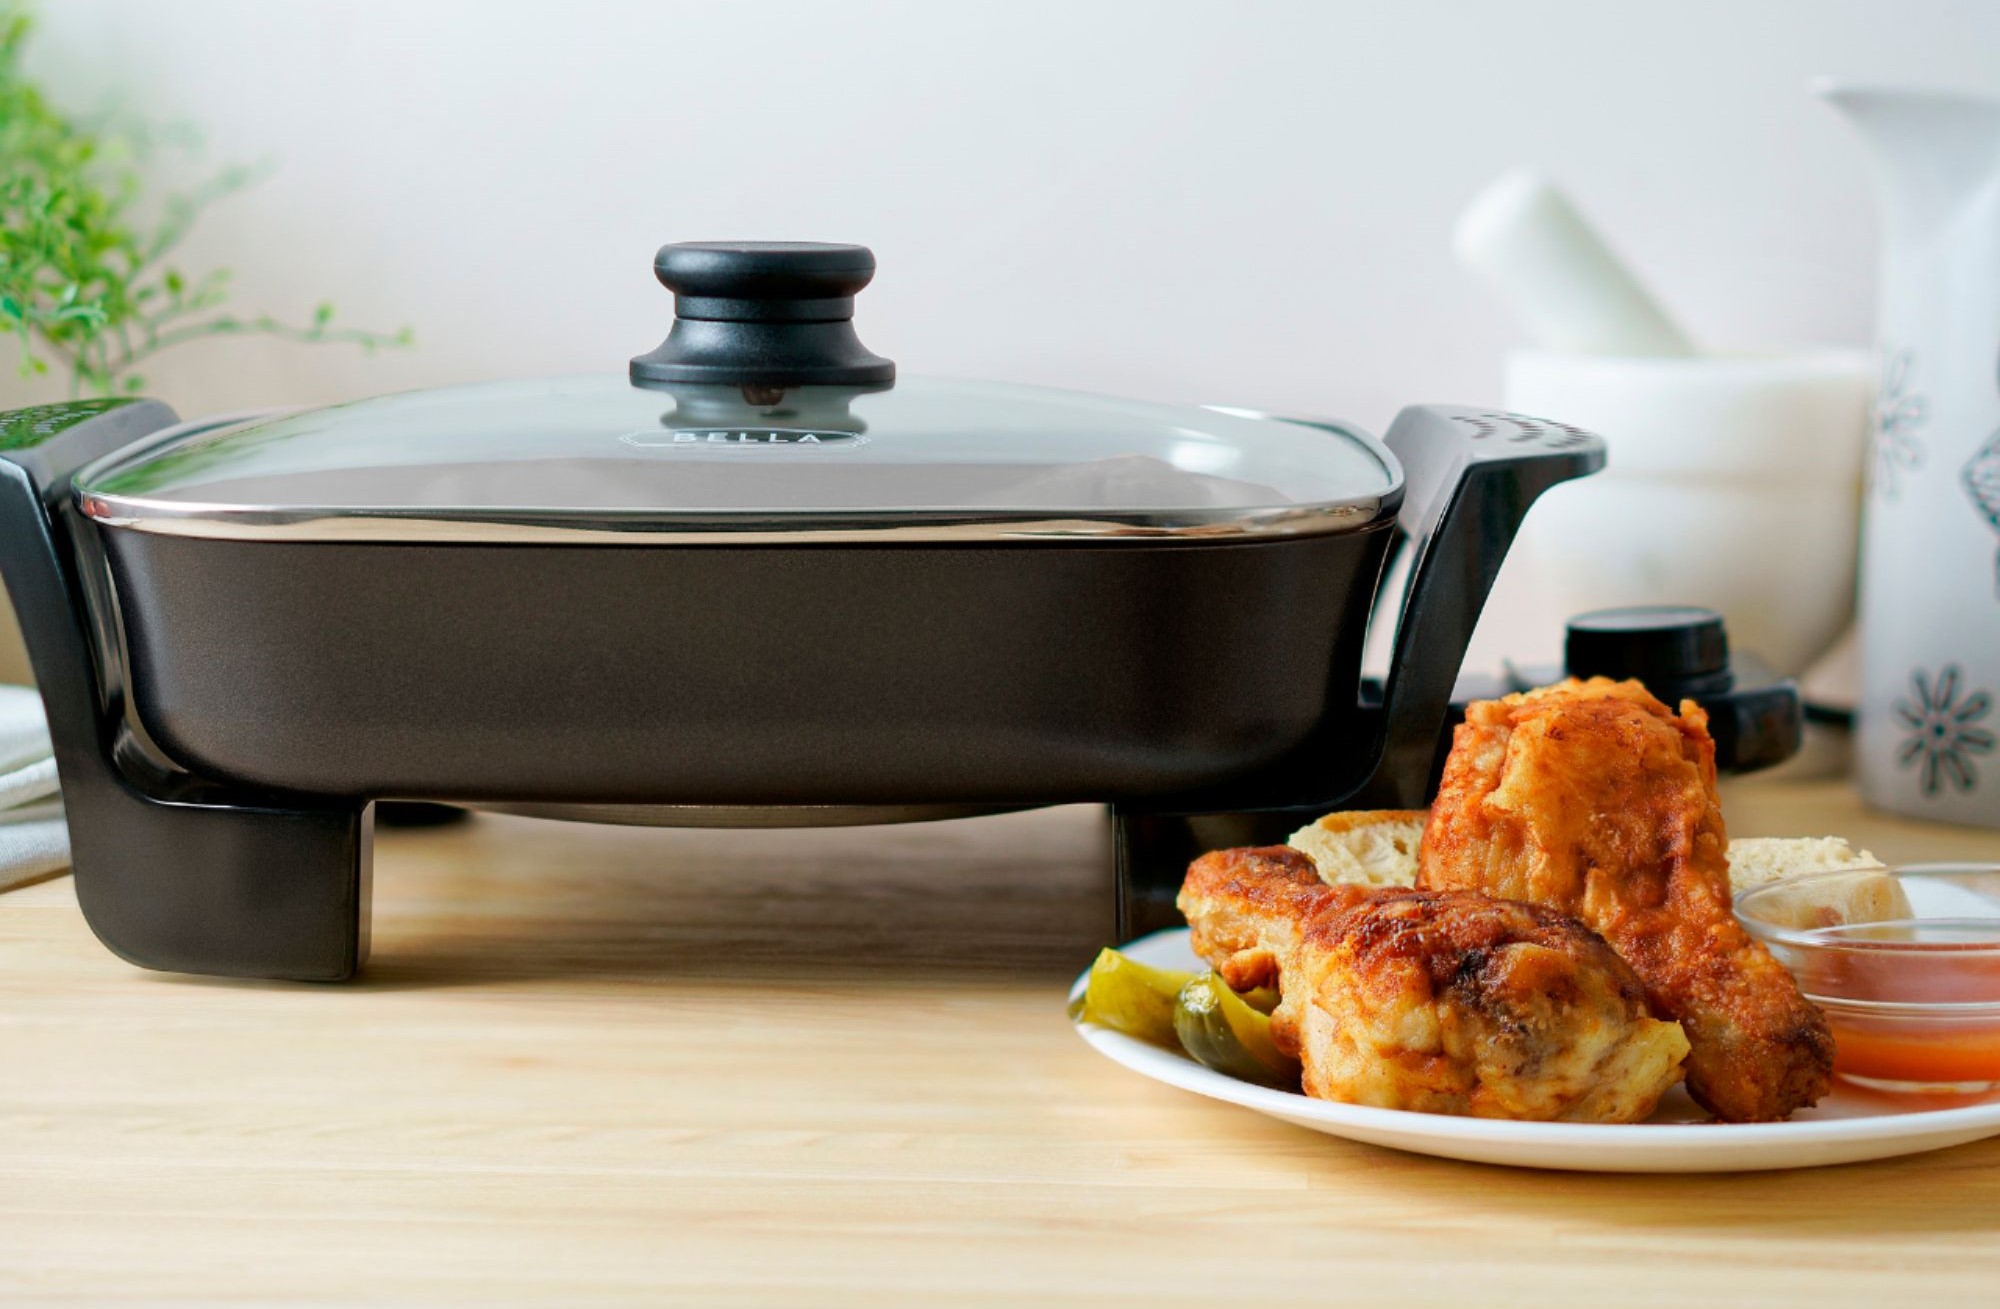
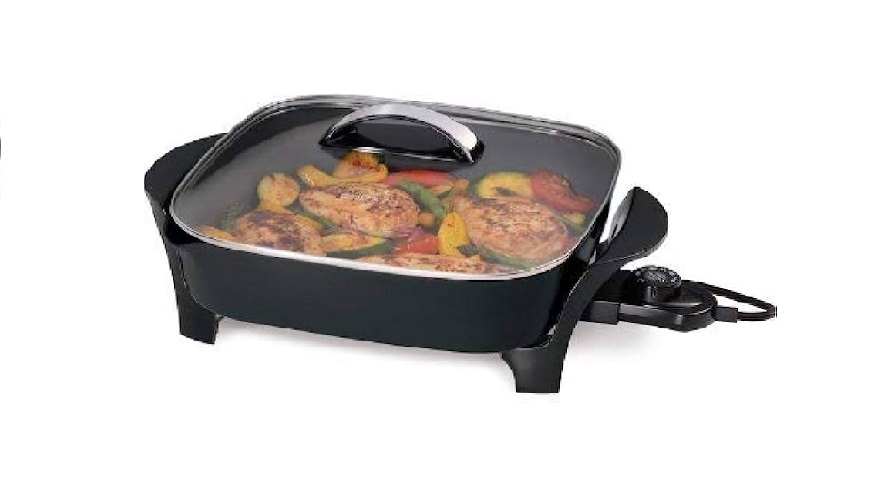
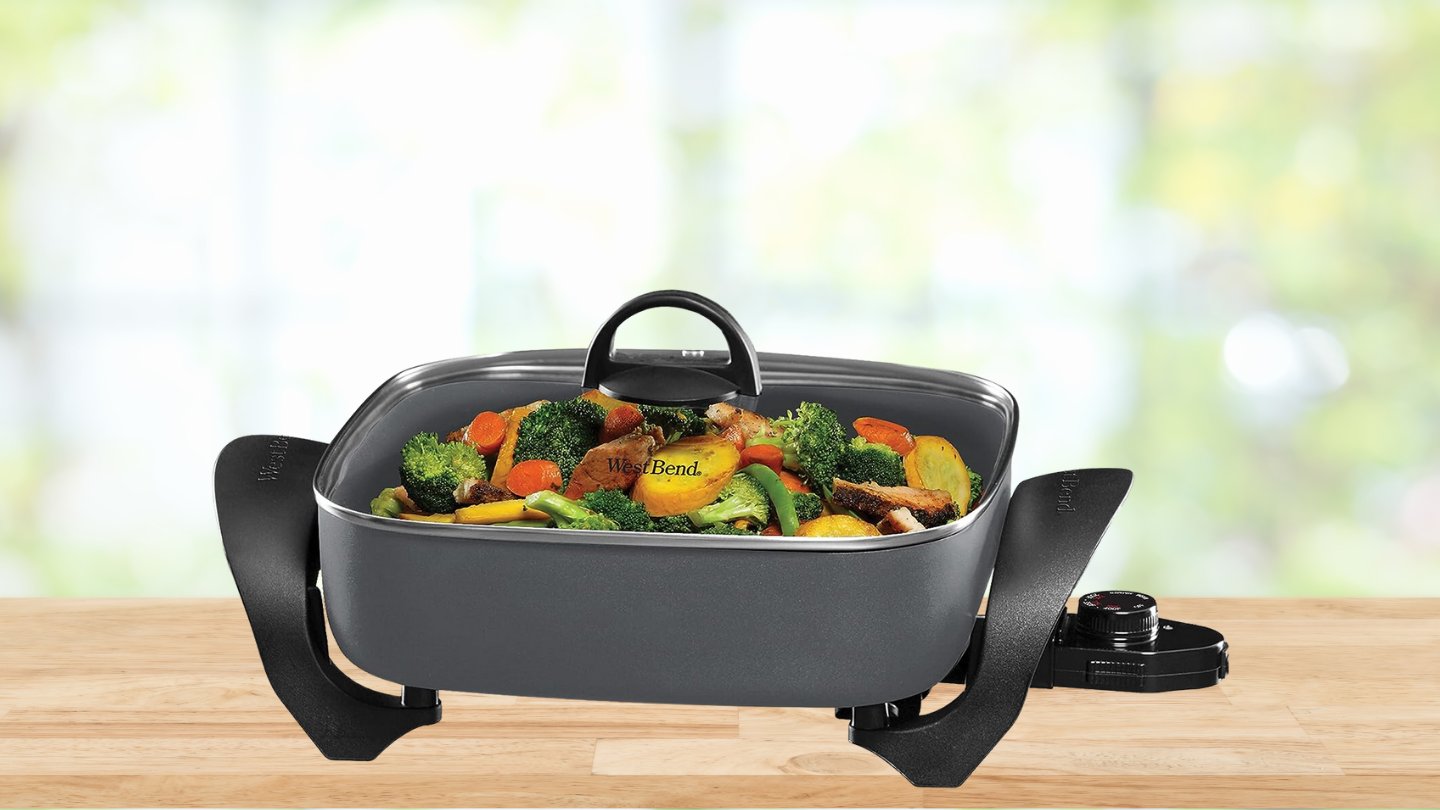
Welcome to our guide on how to fry oysters in an electric skillet! If you’re a seafood lover, you’re in for a treat. Fried oysters are a popular dish loved for their crispy exterior and tender, juicy center. Using an electric skillet provides even heat distribution, giving you perfect results every time.
Whether you’re hosting a dinner party, craving a seafood feast, or simply want to try something new in your kitchen, frying oysters in an electric skillet is a straightforward and satisfying process. In this article, we’ll take you through each step, from preparing the oysters to serving them up with a delicious accompaniment.
But before we dive into the details, let’s talk about oysters. These briny bivalves are a delicacy that has been enjoyed for centuries. They offer a unique flavor and texture that seafood enthusiasts can’t resist. When properly cooked, fried oysters deliver a delightful combination of flavors – a crisp, golden exterior giving way to a succulent and savory interior.
Now, let’s gather our ingredients, discover the best way to season the oysters, and learn how to fry them to perfection using an electric skillet.
Key Takeaways:
- Master the art of frying oysters in an electric skillet with fresh, high-quality ingredients, proper seasoning, and a well-set dredging station for crispy, flavorful results every time.
- Elevate your fried oyster game with tips and variations, from experimenting with different coatings and seasonings to exploring unique breading options and creative dipping sauces. Embrace the culinary adventure and savor the crispy, golden morsels!
Preparing the Oysters
Before we can start frying the oysters, we need to ensure they are properly prepared. Here are the steps to follow:
- Start by selecting fresh, high-quality oysters. Look for ones that are still alive and have tightly closed shells. Avoid any with cracked or damaged shells.
- Using an oyster shucking knife, carefully pry open the oyster shells. Be cautious not to spill any of the precious juices inside.
- Once the oyster is open, slide the knife along the top shell to cut the muscle that connects it to the oyster. Remove the top shell and discard it.
- Inspect the oyster to ensure there are no bits of shell or debris. Gently rinse the oyster under cold water to clean it.
- Use a clean kitchen towel or paper towel to pat the oysters dry. This step is essential to ensure a crisp coating and prevent oil splatters when frying.
It’s worth mentioning that fresh oysters are best enjoyed on the day of purchase. However, if you need to store them, keep them refrigerated at a temperature between 35°F and 45°F (1.7°C and 7.2°C). Place them in a bowl with a damp towel on top to maintain moisture.
Now that our oysters are prepared, let’s move on to the next step – seasoning!
Seasoning the Oysters
Seasoning the oysters is an essential step to enhance their flavor and make them even more delicious. Here’s how you can season your oysters:
- For a classic and simple flavor, sprinkle the oysters with salt and freshly ground black pepper. This allows the natural flavors of the oysters to shine.
- If you prefer a bit of heat, add some cayenne pepper or a pinch of chili powder to the oysters. This will give them a subtle kick.
- For a tangy and zesty taste, squeeze a bit of fresh lemon juice over the oysters. The acidity of the lemon adds brightness to the flavor.
- If you’re feeling adventurous, experiment with different herbs and spices. Some popular choices include paprika, garlic powder, dried thyme, or Old Bay seasoning. Feel free to customize the seasoning to match your taste preferences.
Remember to season the oysters just before frying to ensure the flavors are fresh and vibrant. Allow the seasoned oysters to sit for a few minutes, to let the flavors meld together, while you get the dredging station ready.
Now that our oysters are seasoned to perfection, let’s move on to the next step – preparing the dredging station.
Preparing the Dredging Station
Creating a proper dredging station is crucial for achieving a crispy and flavorful coating on your fried oysters. Follow these steps to set up your dredging station:
- First, you’ll need three shallow bowls or plates. Place them in a row on your countertop.
- In the first bowl, add all-purpose flour. This will be the initial coating for the oysters.
- In the second bowl, beat a couple of eggs until well-mixed. The eggs will serve as a binding agent to help the flour adhere to the oysters.
- In the third bowl, combine breadcrumbs and any additional seasonings you desire. This could include dried herbs, salt, pepper, or even grated Parmesan cheese. Mix well to evenly distribute the flavors.
Now that your dredging station is set up, it’s time to move on to the exciting part – frying the oysters!
Remember to dip each oyster into the flour first, followed by the beaten eggs, and finally, the breadcrumb mixture. This triple-coating method ensures a crispy and well-adhered crust on your oysters.
With your dredging station ready, let’s proceed to the next step – frying the oysters to perfection!
Frying the Oysters
Now comes the moment we’ve all been waiting for: frying the oysters to golden perfection! Follow these steps to achieve deliciously crispy fried oysters:
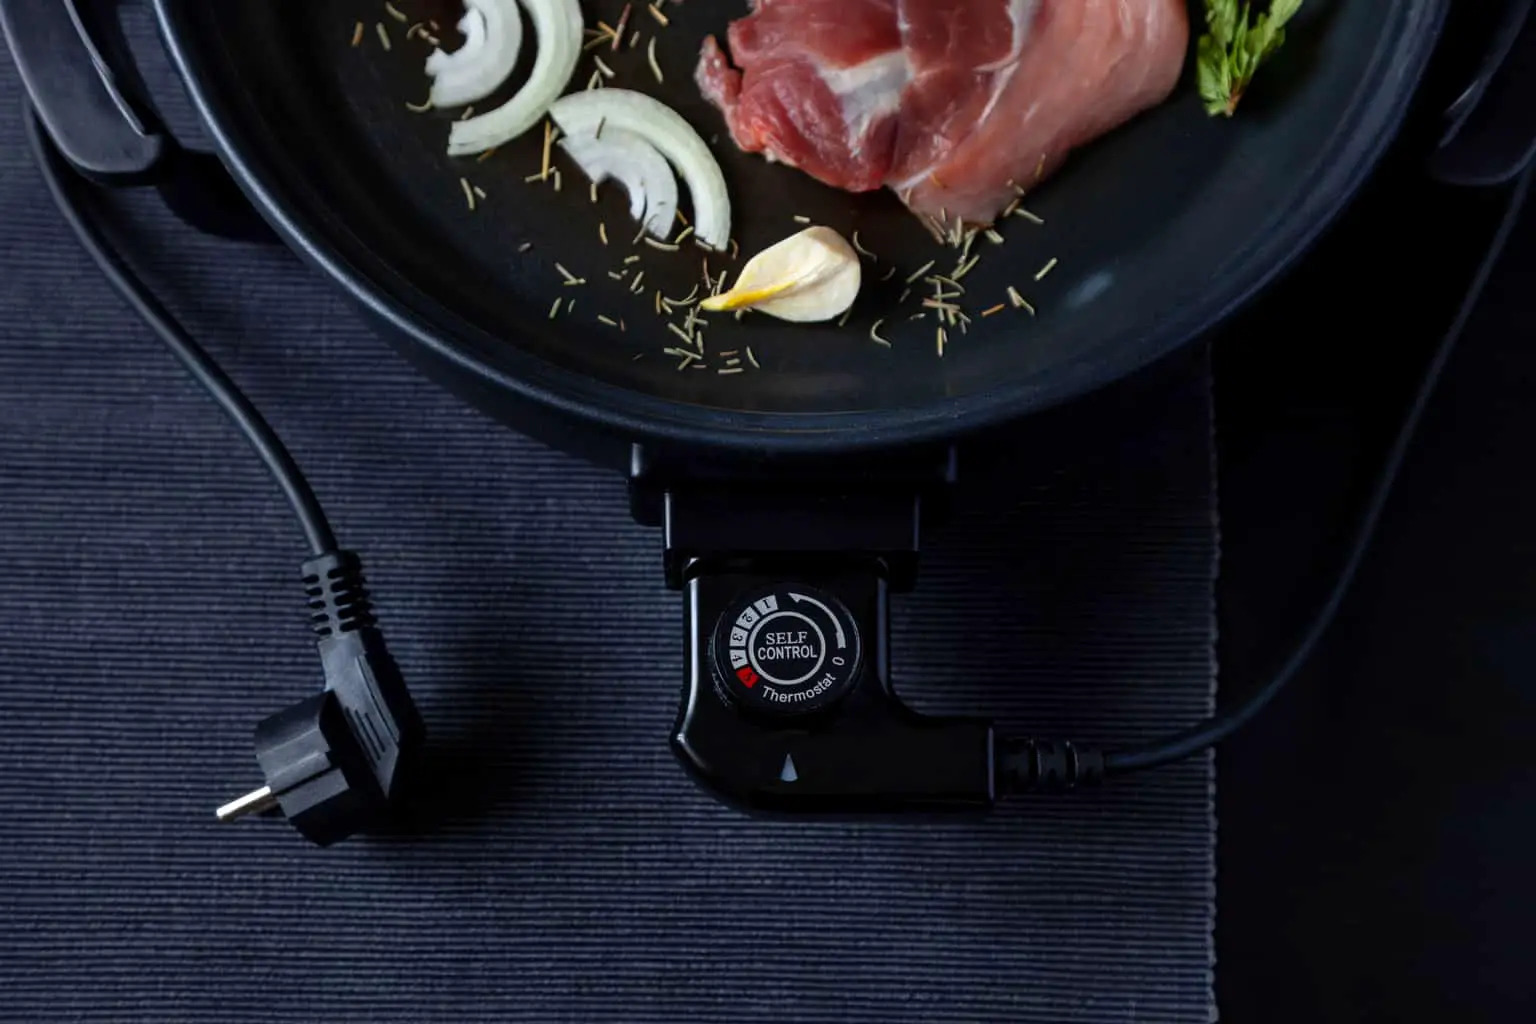
- Place your electric skillet on the stove and set the heat to medium-high. Add enough cooking oil to cover the bottom of the skillet by around half an inch.
- Allow the oil to heat up for a few minutes until it reaches a temperature of around 350°F (175°C). Use a candy or deep-fry thermometer to ensure accuracy.
- Take a prepared oyster and gently place it in the hot oil. Repeat with a few more oysters, being careful not to overcrowd the skillet.
- Cook the oysters for around 2-3 minutes on each side, or until they turn a beautiful golden brown color. Use tongs or a slotted spoon to carefully flip them over for even cooking.
- Once the oysters are fried to perfection, remove them from the skillet and place them on a plate lined with paper towels. This will help absorb any excess oil.
- Continue frying the remaining oysters in batches until they are all cooked. Remember to monitor the oil temperature and adjust the heat if necessary.
It’s important to maintain a consistent oil temperature throughout the frying process to ensure crispy results. If the oil gets too hot, adjust the heat accordingly. If it cools down too much, wait for it to heat up again before adding more oysters.
Now that we’ve successfully fried the oysters, it’s time to move on to the final step – draining and serving!
When frying oysters in an electric skillet, make sure the skillet is preheated to 375°F and use a neutral oil with a high smoke point, such as vegetable or peanut oil, to prevent the oysters from sticking and ensure a crispy texture.
Read more: How To Fry Hamburgers In A Electric Skillet
Draining and Serving the Fried Oysters
As your batch of perfectly fried oysters sits on the paper towels, it’s important to let them drain briefly before serving. Remember, we want to maintain their crispy exterior! Follow these steps to drain and serve your fried oysters:
- Using a slotted spoon or tongs, transfer the drained oysters to a clean platter or serving dish.
- Allow the oysters to cool for a minute or two, as they can be very hot straight out of the skillet.
- For an extra touch of flavor, squeeze a small amount of fresh lemon juice over the fried oysters to awaken their taste.
- Serve the fried oysters with your favorite dipping sauce or condiment. Tartar sauce, cocktail sauce, or a zesty aioli are excellent choices.
- Garnish the dish with a sprinkle of chopped parsley or thinly sliced green onions to add a pop of freshness and color.
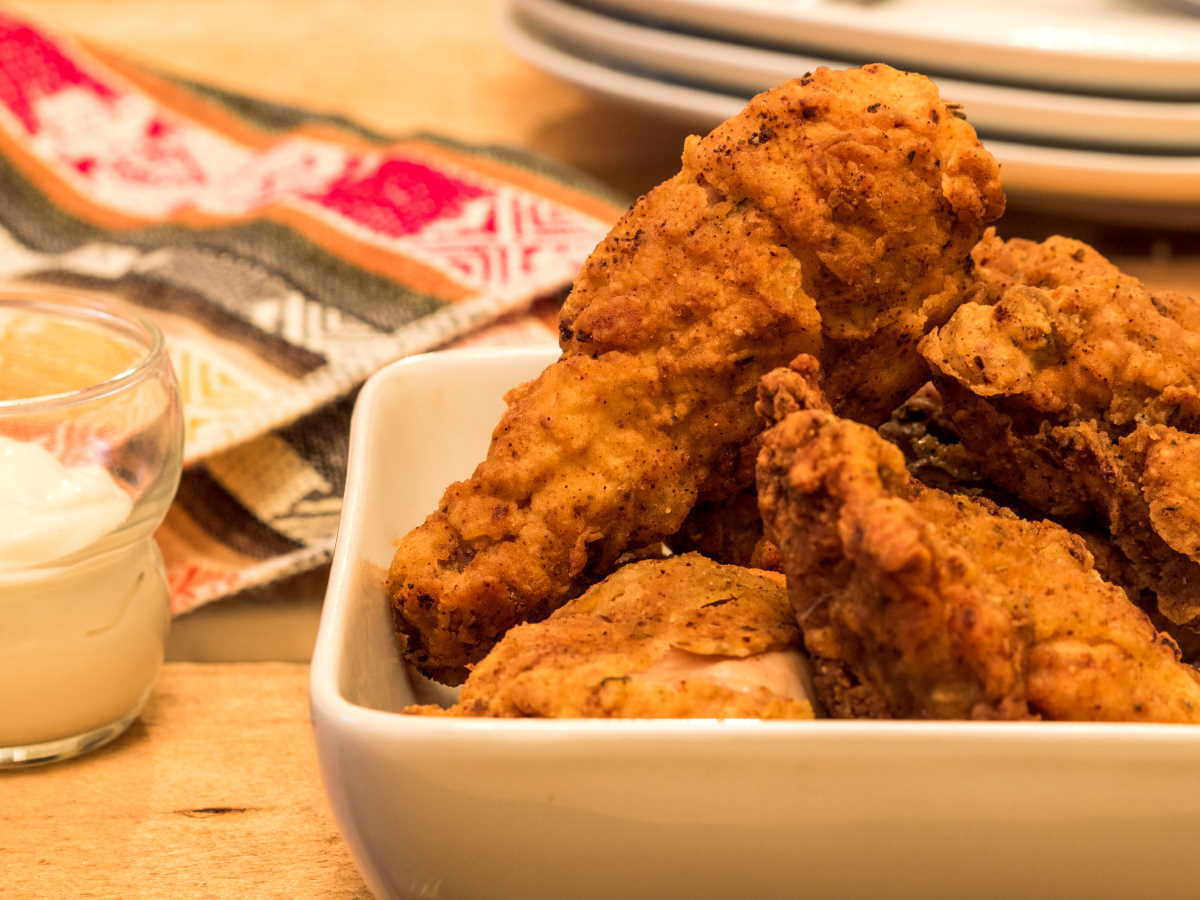
Now it’s time to enjoy the fruits of your labor! Bite into a crispy fried oyster and savor the explosion of flavors. The crunchy coating contrasts beautifully with the succulent and briny oyster inside.
These fried oysters make a fantastic appetizer, can be served in a po’ boy sandwich, or paired with a salad for a light and satisfying meal. Get creative and experiment with different serving options to suit your taste.
Remember, fried oysters are best enjoyed immediately while they are still warm and crispy. They may lose their crunchiness if stored for too long.
Now that you know how to drain and serve your fried oysters, let’s move on to some useful tips and variations to elevate your oyster frying game!
Tips and Variations
Now that you have mastered the basic technique of frying oysters in an electric skillet, let’s explore some tips and variations to enhance your cooking experience:
Tips:
- Always use fresh, high-quality oysters for the best flavor and texture.
- Ensure the oysters are properly drained and patted dry before dredging to prevent excess oil absorption and maintain a crispy crust.
- Monitor the oil temperature carefully throughout the frying process to achieve consistently crisp and golden results.
- Don’t overcrowd the skillet when frying the oysters. Fry them in batches to maintain proper heat distribution and prevent sticking.
- Experiment with different coatings and seasonings to customize the flavor of your fried oysters. Try adding spices like paprika, cayenne pepper, or garlic powder to the breadcrumb mixture for an extra kick.
Variations:
- Create a spicier version by adding hot sauce or cayenne pepper to the egg wash or incorporating a spicy seasoning blend into the breadcrumbs.
- Add a twist of freshness by coating the oysters in seasoned flour, followed by a dip in buttermilk instead of eggs, and then rolling them in cornmeal or crushed crackers.
- For a unique flavor experience, consider using different types of breading, such as panko breadcrumbs, crushed potato chips, or even crushed nuts like almonds or pecans.
- For a lighter alternative, try oven-frying the oysters by placing them on a wire rack set over a baking sheet. Bake at a high temperature until golden and crispy.
- Explore various dipping sauces to accompany your fried oysters. Classic options like tartar sauce, cocktail sauce, or remoulade are always crowd-pleasers, but don’t be afraid to get creative with flavors like sriracha mayo or garlic aioli.
Remember, cooking is all about experimentation and personalization. Feel free to tailor these tips and variations to your taste preferences and culinary creativity. With practice, you’ll become a master at frying oysters in your electric skillet!
Now that you have a repertoire of tips and variations, you’re ready to impress your family and friends with your crispy and delectable fried oysters. Enjoy the journey and savor every bite!
For more seafood delights and culinary inspiration, check out our other articles on cooking and seafood preparation.
Happy frying!
Read more: How To Fry Chicken In Electric Skillet
Conclusion
Congratulations! You have now learned how to fry oysters in an electric skillet like a pro. With the proper techniques and a few tricks up your sleeve, you can create a dish that is crispy, flavorful, and downright irresistible.
From carefully preparing the oysters to seasoning them to perfection, and then frying them in a well-set dredging station, every step contributes to the overall success of your fried oysters. The tips and variations we explored have given you the tools to get creative and customize this classic dish to suit your taste preferences.
Remember, frying oysters is not only about achieving a delicious meal; it’s also about the experience. The moments spent shucking the oysters, the anticipation as they sizzle in the skillet, and the joy of sharing the finished product with loved ones all contribute to the pleasure of cooking and enjoying this seafood delicacy.
So, gather your ingredients, fire up the electric skillet, and let the aroma of fried oysters fill your kitchen. Take pride in your newfound skills and enjoy the rewarding outcome as you bite into each crispy, golden morsel.
We hope this guide has inspired you to explore the world of fried oysters and experiment with different flavors and techniques. Remember to follow the safety guidelines, such as monitoring the oil temperature and practicing proper food handling and hygiene.
Now it’s time to step into the kitchen and embark on your own culinary adventure. Whether you’re cooking for a special occasion or simply indulging in a seafood feast, frying oysters in an electric skillet is sure to impress and satisfy.
So, what are you waiting for? Put on your apron, grab some oysters, and let the frying begin. Bon appétit!
Frequently Asked Questions about How To Fry Oysters In Electric Skillet
Was this page helpful?
At Storables.com, we guarantee accurate and reliable information. Our content, validated by Expert Board Contributors, is crafted following stringent Editorial Policies. We're committed to providing you with well-researched, expert-backed insights for all your informational needs.


0 thoughts on “How To Fry Oysters In Electric Skillet”