Home>Storage & Organization>Kitchen Organizing Tools>How To Make A Cat Litter Box Out Of A Tote
Kitchen Organizing Tools
How To Make A Cat Litter Box Out Of A Tote
Modified: March 2, 2024
Learn how to repurpose a tote into a DIY cat litter box with our kitchen organizing tools. Keep your space tidy and your furry friend happy!
(Many of the links in this article redirect to a specific reviewed product. Your purchase of these products through affiliate links helps to generate commission for Storables.com, at no extra cost. Learn more)
Introduction
Creating a cat litter box out of a tote is a practical and cost-effective solution for pet owners seeking an alternative to traditional litter boxes. This DIY project offers the flexibility to customize the size and design of the litter box, ensuring that it fits seamlessly into your home while providing a comfortable space for your feline friend. By repurposing a tote into a litter box, you can exercise your creativity and resourcefulness, all while catering to your cat's needs.
This innovative approach not only allows you to personalize the litter box to suit your cat's preferences but also enables you to integrate it harmoniously into your living space. Whether you have limited room in your home or simply want to conceal the litter box discreetly, repurposing a tote offers a practical and aesthetically pleasing solution.
In this comprehensive guide, we will walk you through the step-by-step process of transforming a tote into a functional and attractive cat litter box. By following these instructions, you can create a customized litter box that meets both your cat's needs and your design preferences. Let's embark on this creative endeavor and craft a litter box that seamlessly blends functionality and style.
Key Takeaways:
- Transform a simple tote into a customized cat litter box to create a comfortable and hygienic space for your feline friend. Prioritize safety, cleanliness, and your cat’s preferences to craft a personalized and inviting environment.
- Repurposing a tote into a litter box offers a practical and creative solution for pet owners. Exercise creativity and resourcefulness while prioritizing your cat’s comfort and well-being.
Read more: How To Make A Litter Box For Cats
Materials Needed
To embark on this DIY project of repurposing a tote into a cat litter box, you will need a few essential materials. Gathering these items beforehand will ensure a smooth and efficient transformation process. Here's a list of the materials required to create your customized litter box:
-
Tote: Select a sturdy and spacious tote that can accommodate your cat comfortably. The tote should be large enough to allow your cat to move around freely while containing the litter effectively.
-
Utility Knife or Box Cutter: A sharp utility knife or box cutter will be indispensable for cutting through the plastic material of the tote to create an entryway for your cat.
-
Litter Liner: Opt for a durable and waterproof litter liner that fits snugly inside the tote. The liner will help contain the litter and facilitate easy cleaning.
-
Cat Litter: Choose a high-quality cat litter that suits your cat's preferences and effectively absorbs odors. There are various types of cat litter available, including clumping, non-clumping, and natural options.
-
Measuring Tape: A measuring tape will come in handy for ensuring precise dimensions when cutting the entryway and fitting the litter liner.
-
Marker: Use a marker to outline the entryway on the tote before cutting. This will help you achieve a neat and accurate cut.
-
Protective Gloves: It's essential to prioritize safety while working with tools and plastic materials. Wear protective gloves to shield your hands during the cutting and assembly process.
-
Optional: Decorative Elements: If you wish to personalize the appearance of the litter box, consider incorporating decorative elements such as adhesive decals, paint, or fabric to enhance its visual appeal and seamlessly integrate it into your home decor.
By gathering these materials, you will be well-equipped to commence the transformation of the tote into a functional and aesthetically pleasing cat litter box. With these essentials at your disposal, you can proceed to the next steps of this engaging DIY project.
Step 1: Prepare the Tote
Before embarking on the transformation of the tote into a cat litter box, it's crucial to prepare the tote effectively to ensure a seamless and functional outcome. This initial step sets the foundation for the subsequent stages of the project, laying the groundwork for a customized and accommodating litter box for your feline companion.
To begin, select a suitable tote that aligns with the size and space requirements for your cat. The tote should offer ample room for your cat to move comfortably while containing the litter effectively. Additionally, opt for a sturdy and durable tote that can withstand the weight of the litter and the movements of your cat.
Once you have chosen the appropriate tote, thoroughly clean and sanitize the interior and exterior surfaces. This step is essential to remove any residual odors or contaminants that may affect the litter box's hygiene. Use a mild detergent and warm water to cleanse the tote, ensuring that it is completely free of any lingering odors or debris.
Next, inspect the tote for any sharp edges or protrusions that could pose a risk to your cat. Smooth out any rough areas using sandpaper or a file, prioritizing the safety and comfort of your feline companion. By addressing these potential hazards at the outset, you can create a secure and inviting environment within the litter box.
Additionally, consider the placement of the tote within your home. Choose a location that offers privacy for your cat while ensuring easy access for cleaning and maintenance. By strategically positioning the litter box, you can promote a sense of security for your cat while seamlessly integrating it into your living space.
By meticulously preparing the tote, you establish a solid foundation for the subsequent steps of this DIY project. This thoughtful and thorough approach sets the stage for creating a customized and accommodating litter box that prioritizes your cat's comfort and well-being. With the tote primed and ready, you are now prepared to proceed to the next phase of this engaging endeavor.
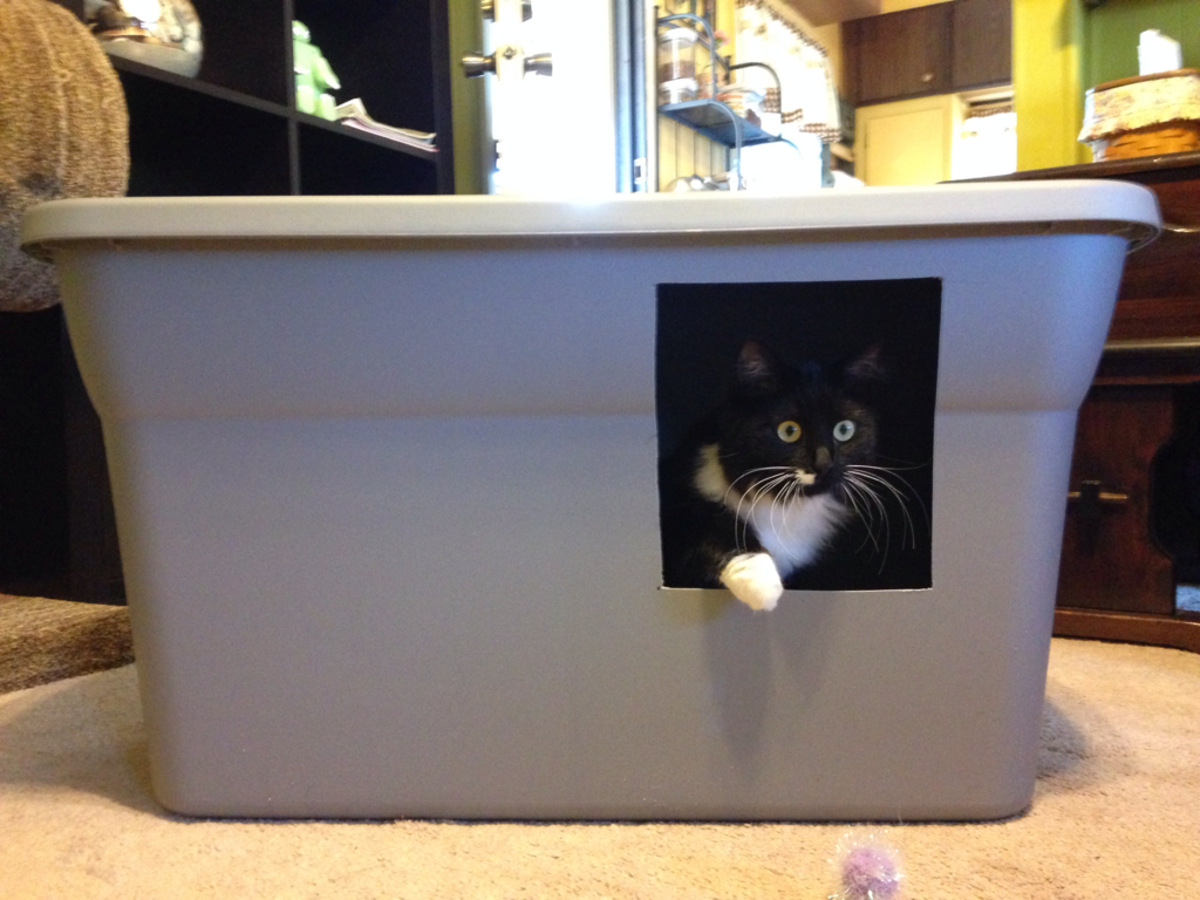
Step 2: Cut an Entryway
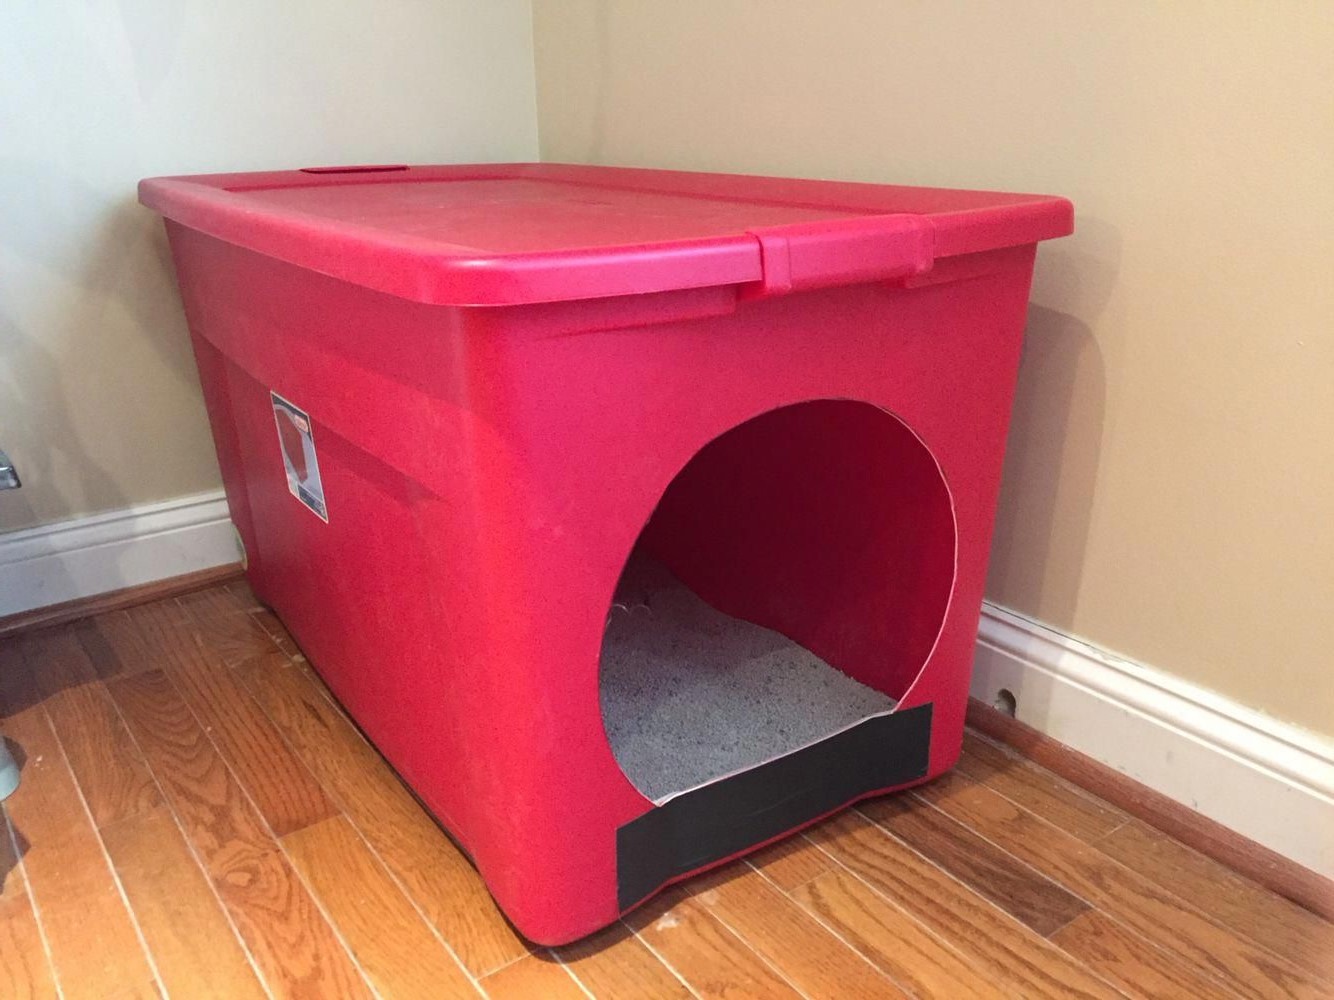
Carefully cutting an entryway into the tote is a pivotal step in transforming it into a functional cat litter box. This process requires precision and attention to detail to ensure that the entryway is appropriately sized and positioned to facilitate easy access for your cat. By following these detailed instructions, you can seamlessly integrate an entryway into the tote, creating a welcoming and accessible space for your feline companion.
Begin by determining the ideal location for the entryway. Consider your cat's size and mobility, aiming to position the entryway at a height that allows for effortless entry and exit. Using a measuring tape and a marker, outline the dimensions of the entryway on one of the longer sides of the tote. Ensure that the entryway is large enough to accommodate your cat comfortably while maintaining the structural integrity of the tote.
Once the entryway dimensions are marked, carefully use a sharp utility knife or box cutter to cut along the outlined area. Exercise caution and precision during this process to achieve a clean and even cut. It's advisable to wear protective gloves to safeguard your hands while handling the cutting tool and plastic material.
After cutting the entryway, inspect the edges to ensure they are smooth and free of any sharp protrusions. Use sandpaper or a file to refine the edges, prioritizing the safety and comfort of your cat. Smooth edges not only enhance the aesthetic appeal of the entryway but also prevent any potential injuries to your cat as they enter and exit the litter box.
Once the entryway is cut and refined, introduce your cat to the newly transformed litter box. Encourage and guide your cat to explore the entryway and become familiar with the modified tote. Providing positive reinforcement and reassurance can help your cat acclimate to the changes, ensuring a smooth transition to the repurposed litter box.
By meticulously cutting an entryway into the tote, you have taken a significant stride in creating a customized and accommodating cat litter box. This thoughtful modification prioritizes your cat's comfort and accessibility, fostering a positive and inviting environment for your feline companion. With the entryway seamlessly integrated, you are now prepared to proceed to the next phase of this engaging DIY project.
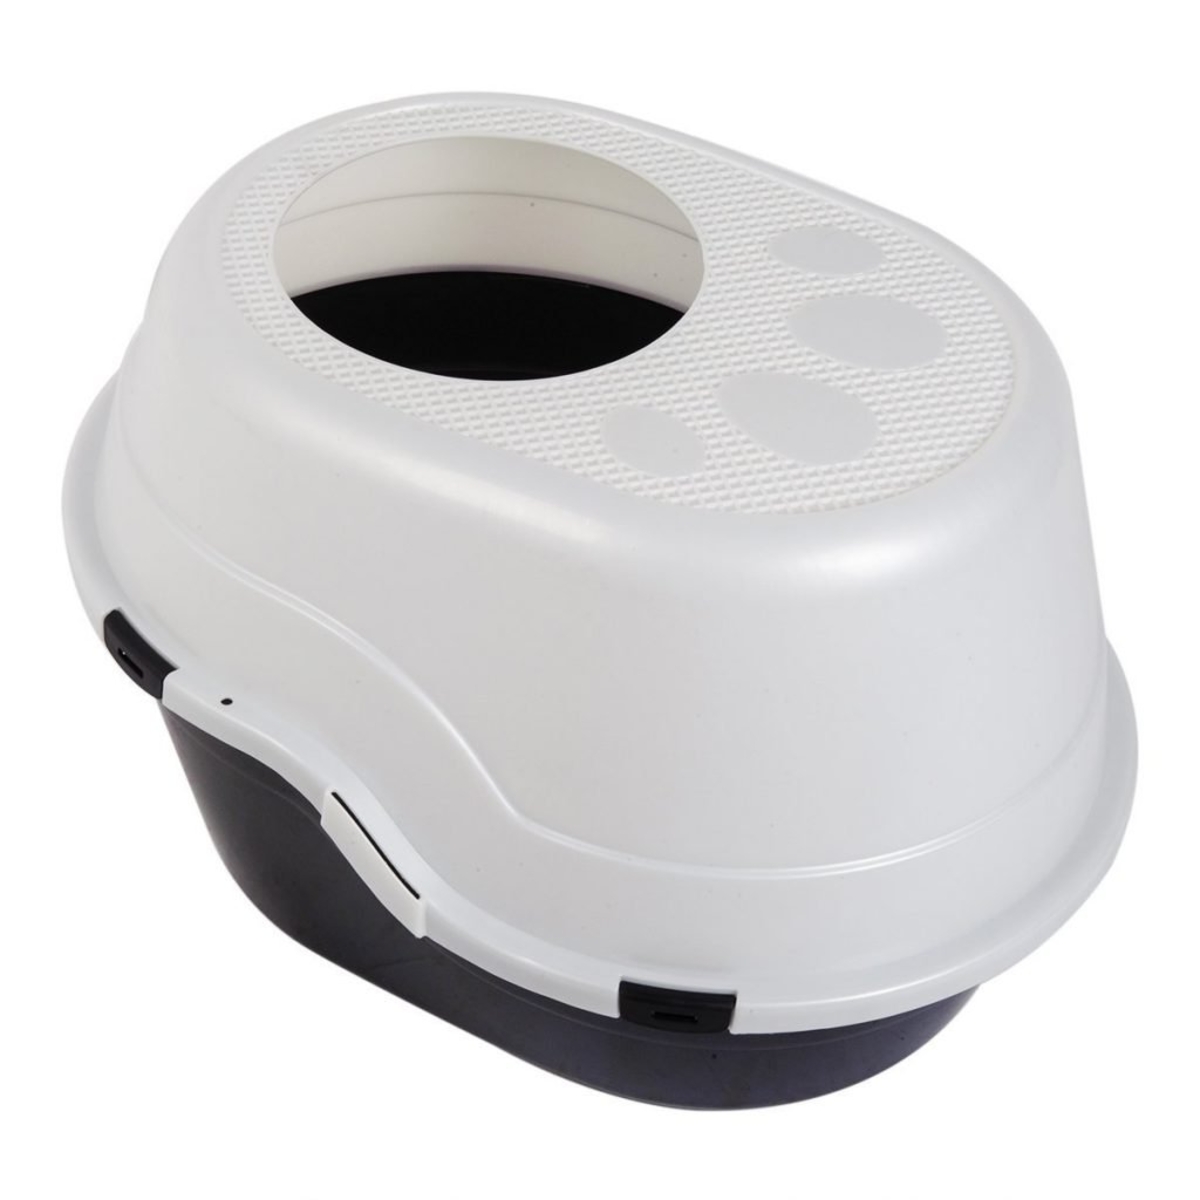
When making a cat litter box out of a tote, make sure to choose a tote that is large enough for your cat to comfortably move around in. Also, consider adding a lid to the tote to provide privacy for your cat.
Step 3: Add a Litter Liner
Adding a litter liner to the repurposed tote is a crucial step that enhances the functionality and maintenance of the cat litter box. A high-quality litter liner not only contains the litter effectively but also simplifies the cleaning process, contributing to a hygienic and convenient environment for both you and your cat. By following these detailed instructions, you can seamlessly incorporate a litter liner into the tote, optimizing the functionality and cleanliness of the repurposed litter box.
Begin by selecting a litter liner that aligns with the dimensions of the tote and offers a snug fit. Opt for a durable and waterproof liner that can withstand the moisture and weight of the cat litter. The liner should extend across the interior bottom of the tote, creating a seamless barrier that contains the litter and prevents leakage.
Carefully place the litter liner inside the tote, ensuring that it sits flat and smooth against the interior surface. Smooth out any wrinkles or folds to create a uniform and secure lining that effectively contains the cat litter. The liner should extend up the sides of the tote, providing comprehensive coverage that prevents litter from seeping through the edges.
Once the liner is positioned, trim any excess material that extends beyond the rim of the tote. Use scissors to achieve a neat and tailored fit, ensuring that the liner aligns precisely with the top edge of the tote. This meticulous adjustment not only enhances the aesthetic appeal of the litter box but also prevents the liner from protruding and becoming a potential hazard for your cat.
After securing the litter liner, pour the desired amount of cat litter into the tote, allowing it to spread evenly across the lined surface. The liner serves as a protective barrier, containing the litter and facilitating easy removal during cleaning. Additionally, the liner simplifies the process of replacing the litter, ensuring a seamless and efficient maintenance routine for the litter box.
By adding a litter liner to the repurposed tote, you have elevated the functionality and cleanliness of the cat litter box. This thoughtful addition not only contains the litter effectively but also streamlines the maintenance process, promoting a hygienic and inviting environment for your cat. With the litter liner seamlessly integrated, you are now prepared to proceed to the next phase of this engaging DIY project.
Read more: How To Make Your Cat Pee In The Litter Box
Step 4: Fill with Litter
Filling the repurposed tote with cat litter is a pivotal step that completes the transformation into a functional and inviting litter box for your feline companion. This process involves selecting the appropriate type of cat litter, determining the optimal quantity, and ensuring even distribution within the lined tote. By following these detailed instructions, you can effectively fill the litter box with cat litter, creating a comfortable and hygienic space for your cat.
When choosing cat litter, consider your cat's preferences and any specific requirements, such as odor control or dust-free options. There are various types of cat litter available, including clumping, non-clumping, natural, and silica gel varieties. Select a high-quality cat litter that aligns with your cat's needs and effectively absorbs moisture and odors.
Carefully pour the chosen cat litter into the lined tote, allowing it to spread evenly across the surface. Aim to achieve a consistent layer of litter that offers ample coverage and depth for your cat to engage in natural digging and burying behaviors. The depth of the litter layer should accommodate your cat's comfort while facilitating effective absorption and odor control.
Monitor the level of cat litter within the box, ensuring that it remains at an appropriate depth to meet your cat's needs. Regularly replenish the litter as needed to maintain the desired depth and cleanliness. Additionally, conduct routine scooping and waste removal to uphold the hygiene and freshness of the litter box.
By filling the repurposed tote with cat litter, you have completed the essential step of creating a comfortable and functional space for your cat's toileting needs. This thoughtful addition prioritizes your cat's comfort and hygiene, fostering a positive and inviting environment within the customized litter box. With the tote seamlessly filled with cat litter, you have successfully crafted a personalized and accommodating litter box that caters to both your cat's well-being and your design preferences.
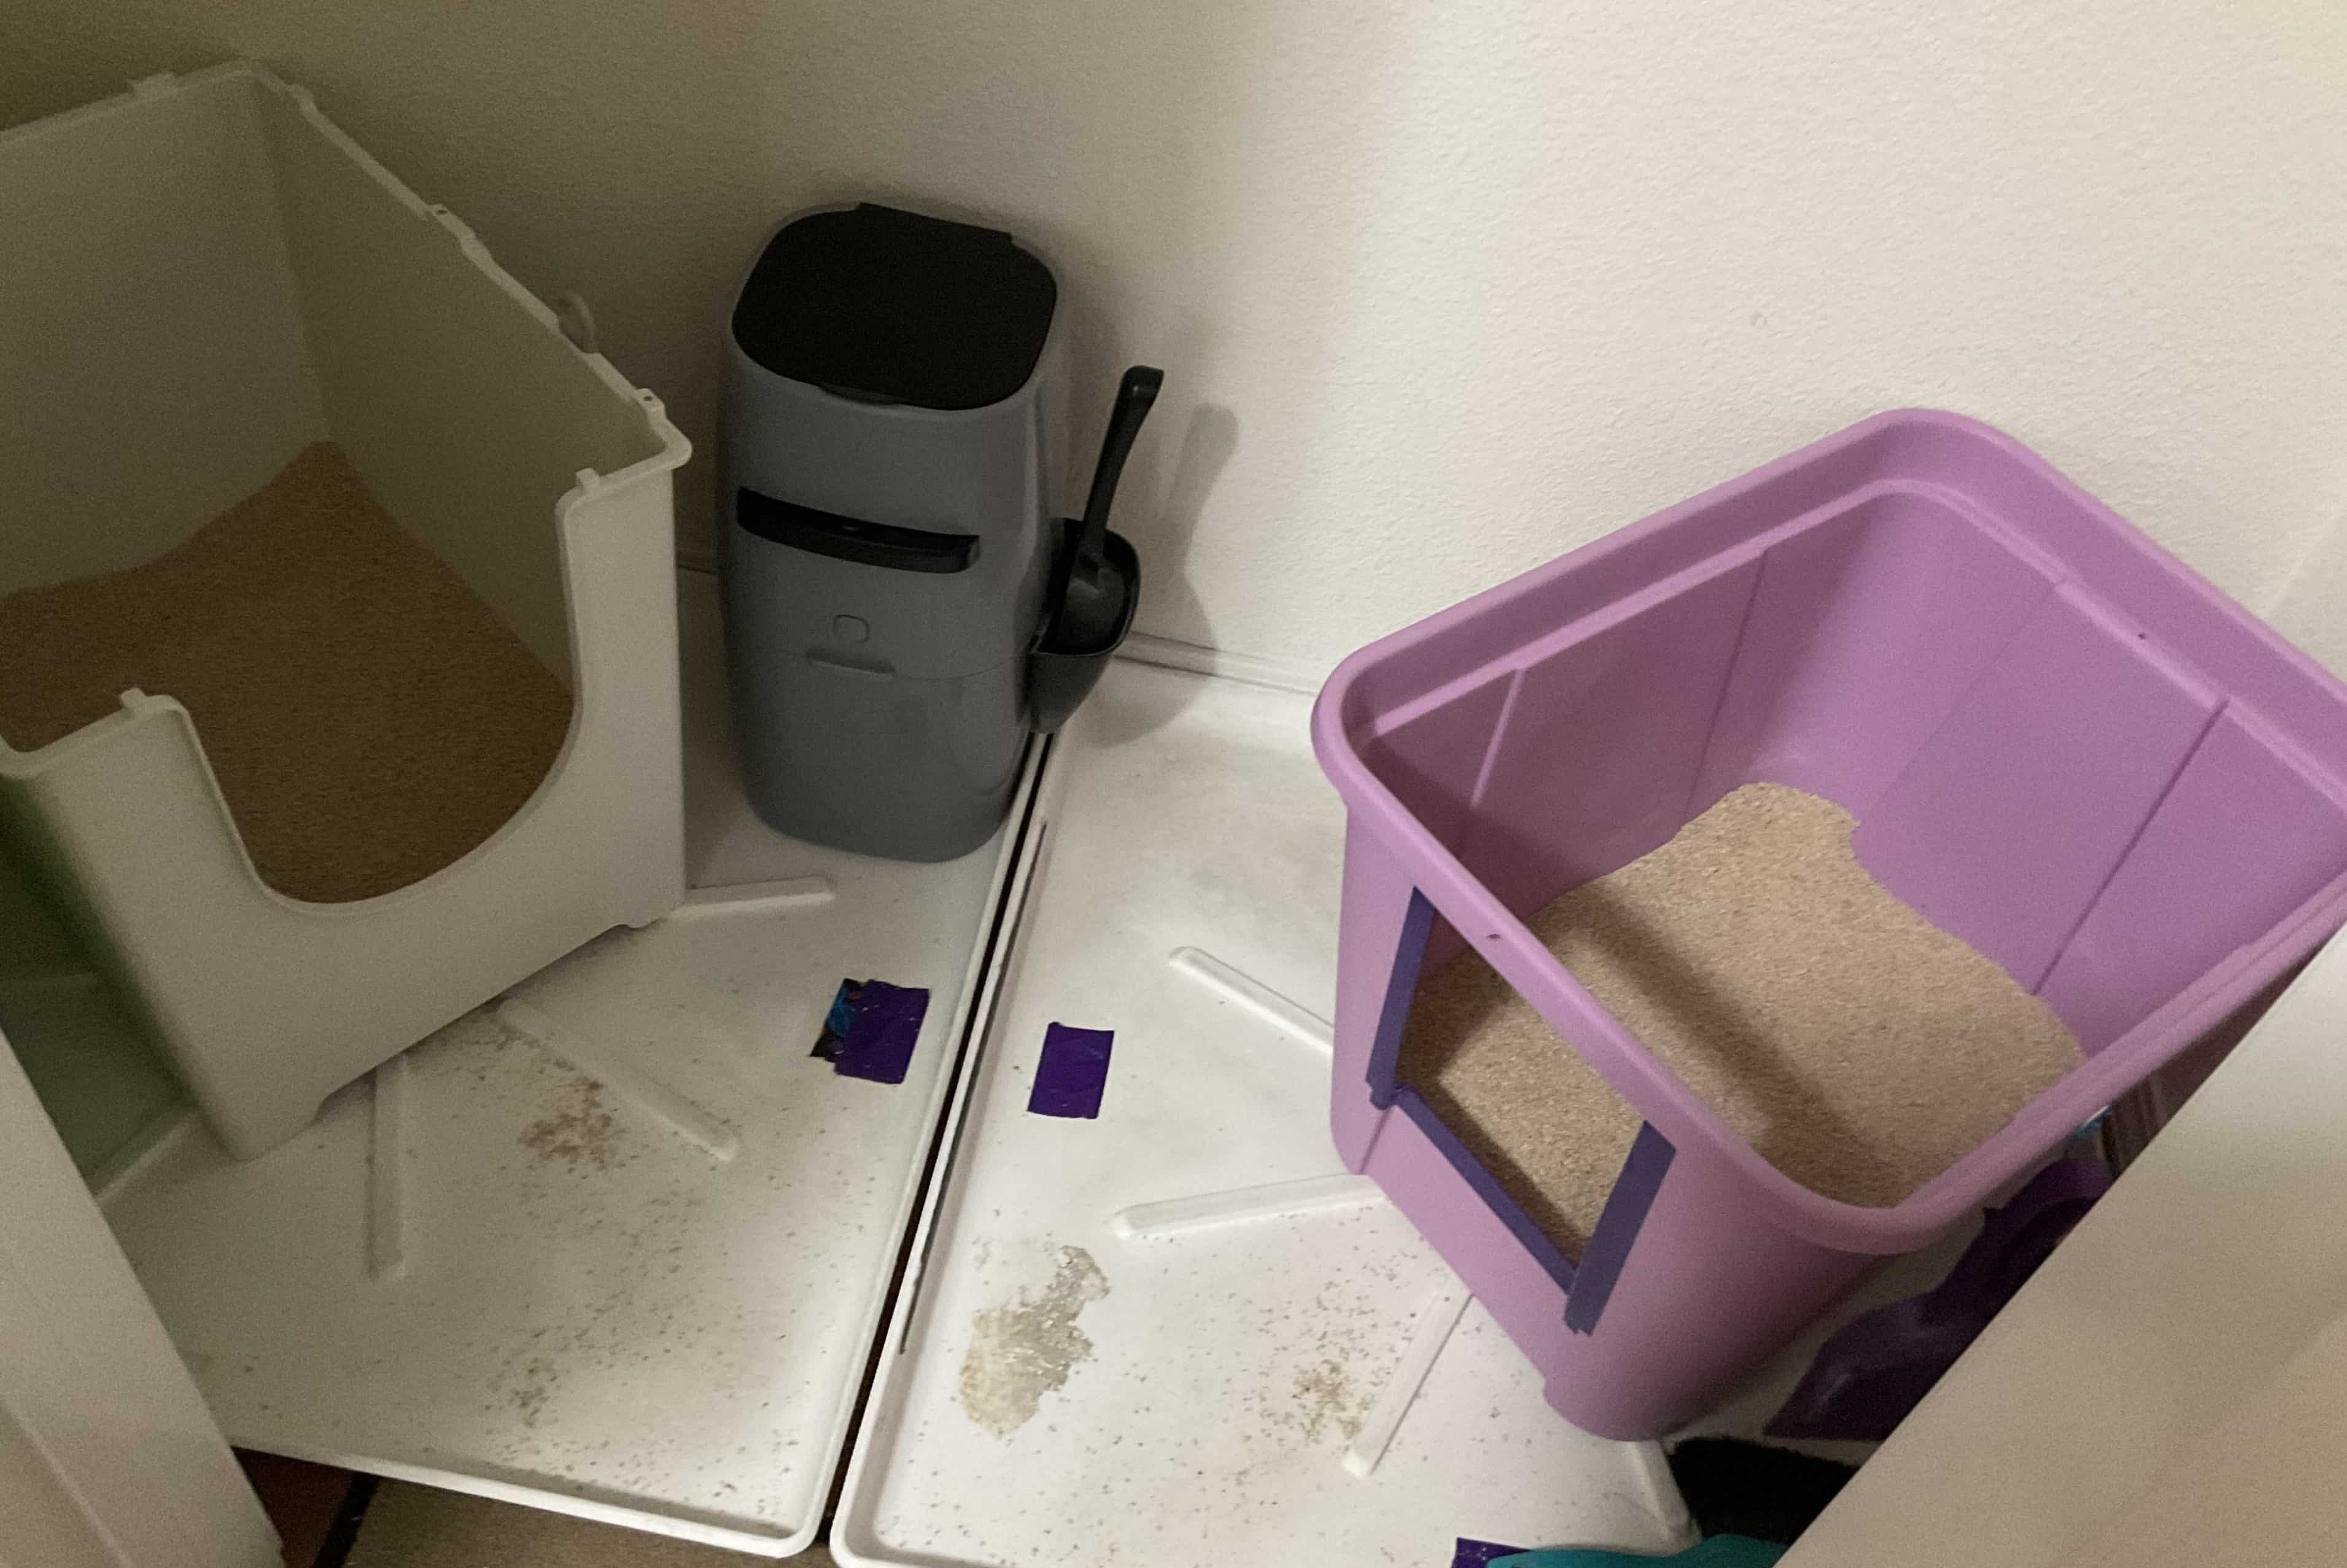
Step 5: Place in Desired Location
Once the repurposed tote has been transformed into a functional and customized cat litter box, the final step involves strategically placing it in a desired location within your home. This thoughtful placement not only ensures accessibility for your cat but also integrates the litter box seamlessly into your living space, promoting a harmonious and inviting environment for both you and your feline companion.
When selecting the ideal location for the cat litter box, consider your cat's preferences and behavior patterns. Cats often appreciate privacy and seclusion when using the litter box, so choose a relatively quiet and low-traffic area where your cat can feel at ease. Additionally, aim to position the litter box away from your cat's feeding and resting areas, as cats prefer to maintain a degree of separation between these spaces.
Strategically placing the litter box in a well-ventilated area with sufficient lighting contributes to a comfortable and inviting environment for your cat. Adequate ventilation helps minimize odors and moisture accumulation, while natural light can enhance the overall ambiance of the space. Additionally, consider the accessibility of the location for routine cleaning and maintenance, ensuring that the litter box remains a hygienic and convenient space for your cat.
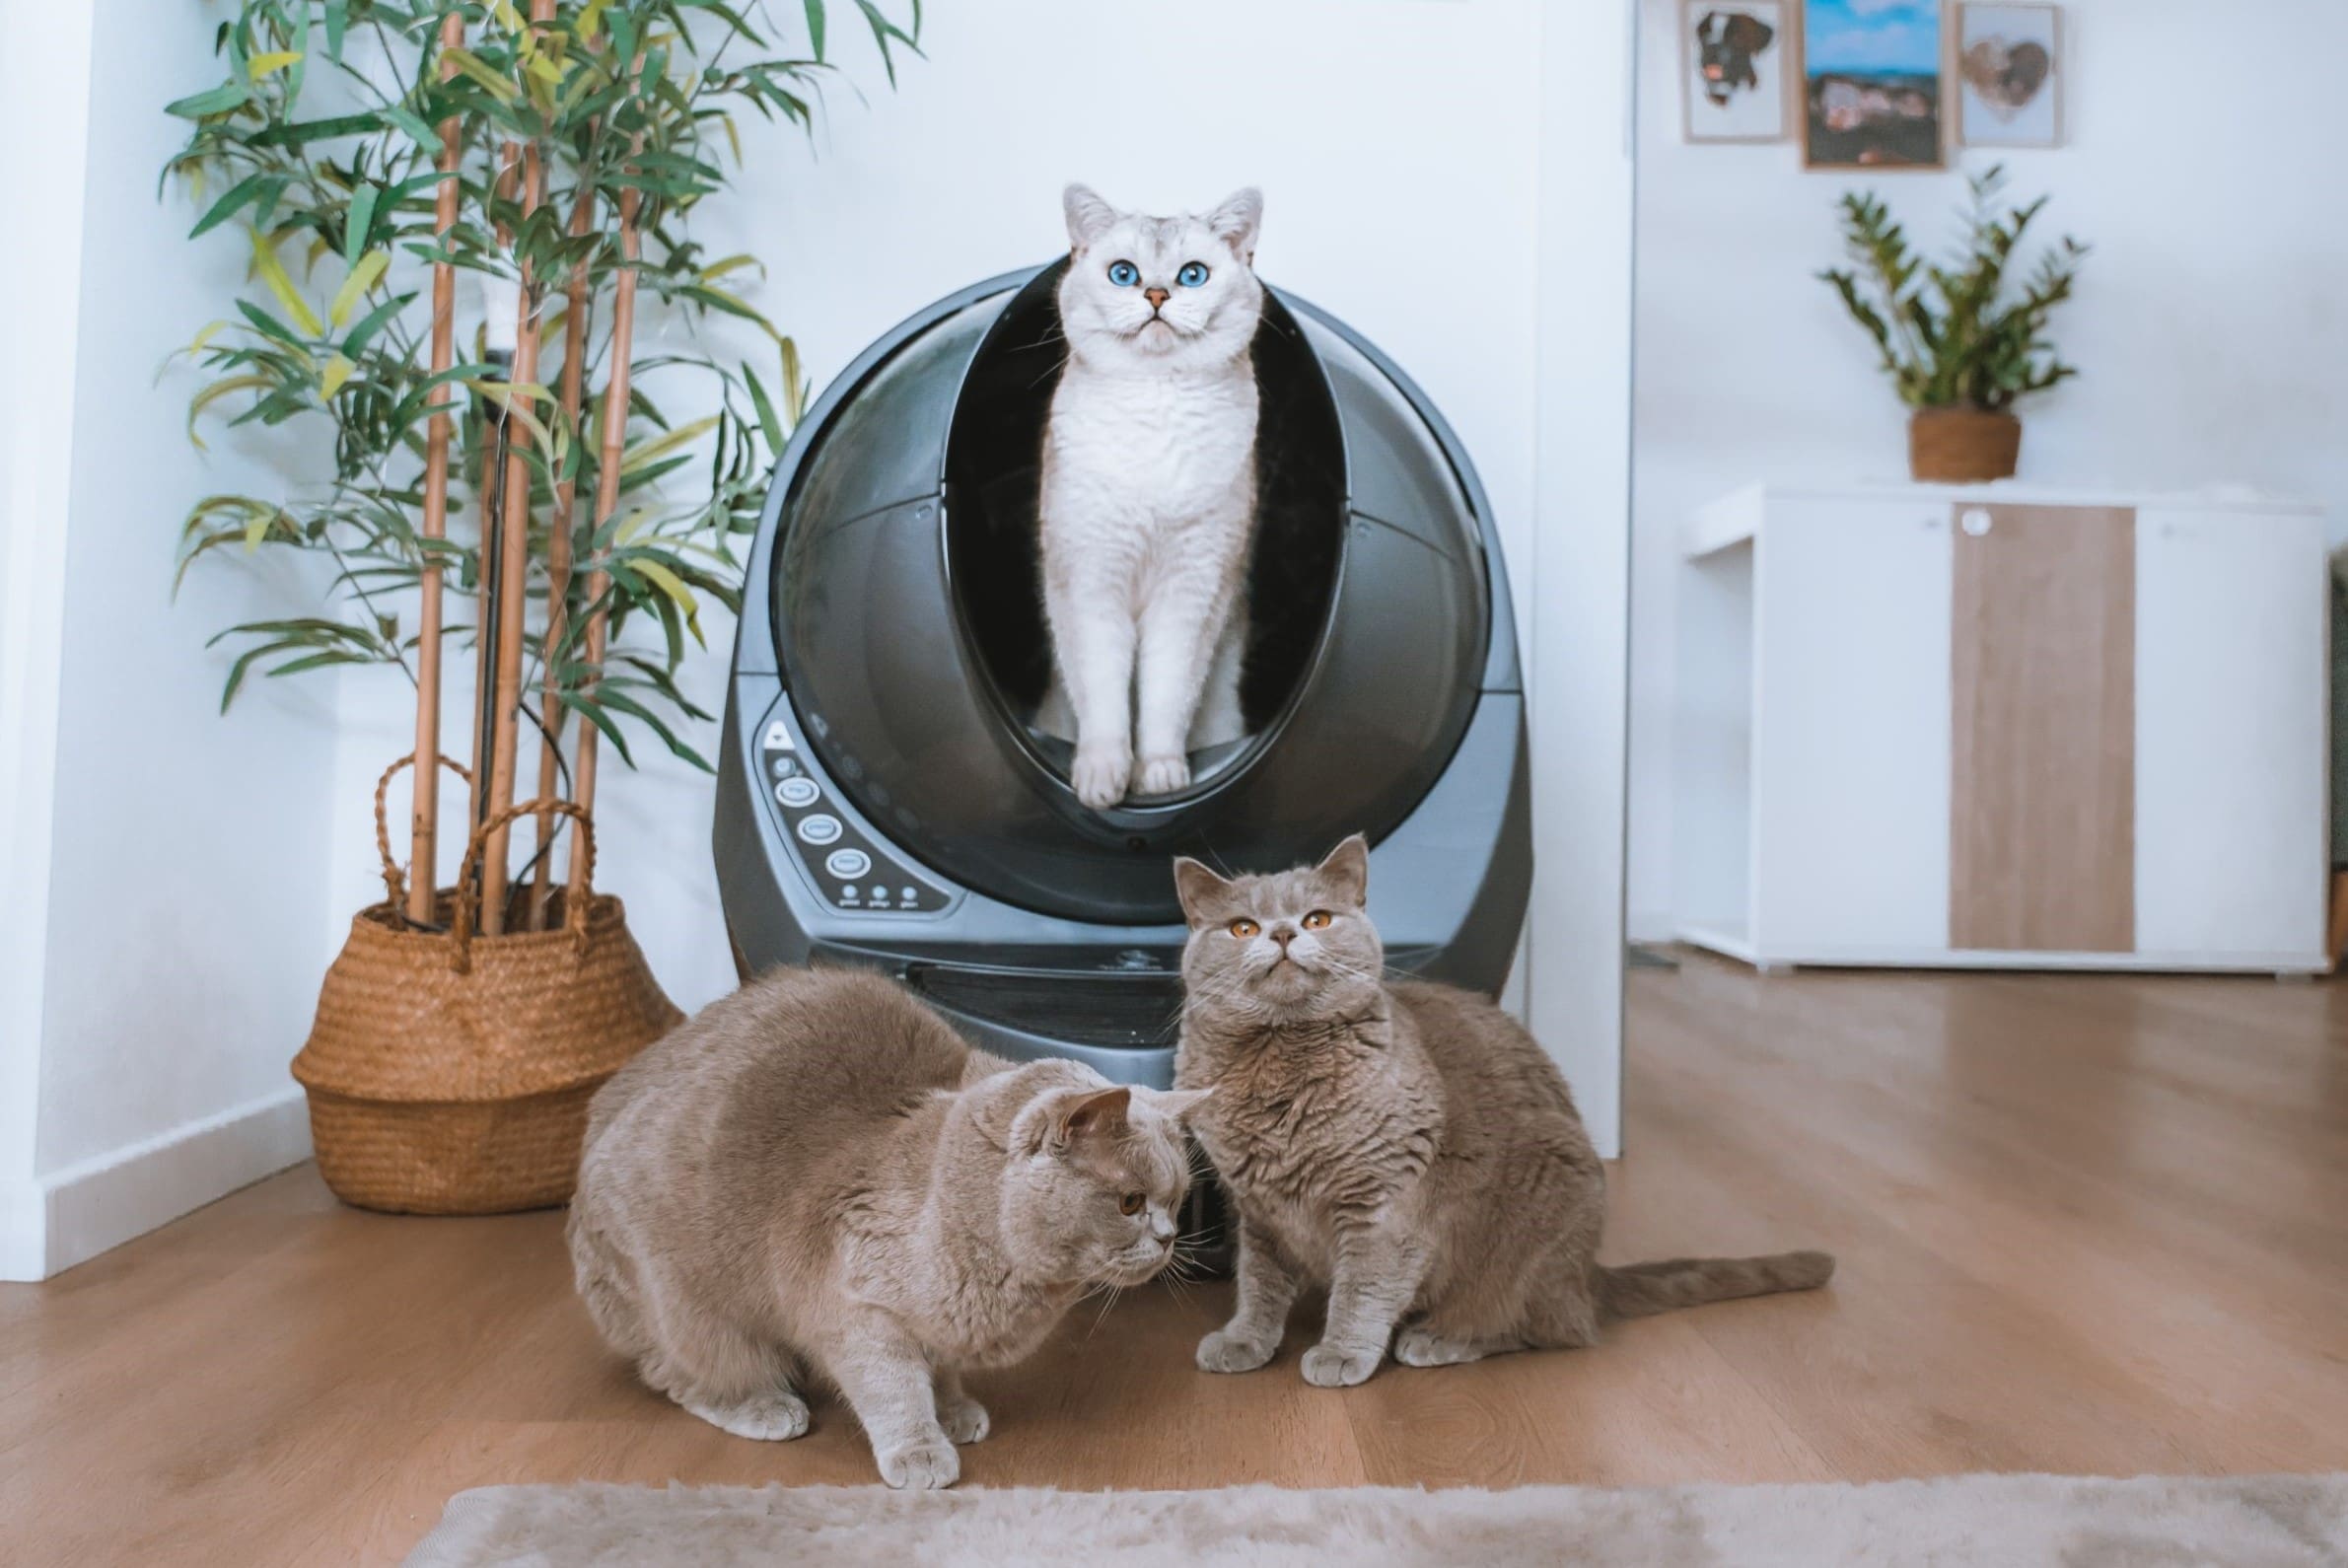
Furthermore, if you have multiple cats, it's advisable to provide separate litter boxes for each cat to prevent territorial disputes and promote individualized toileting experiences. By strategically situating the litter boxes in distinct areas of your home, you can accommodate the unique preferences and behaviors of each cat, fostering a harmonious and stress-free environment for all feline occupants.
As you place the repurposed tote in the desired location, observe your cat's initial reactions and behaviors. Encourage and guide your cat to explore the new litter box, offering reassurance and positive reinforcement to facilitate a smooth transition. By creating a welcoming and accessible space for your cat, you can promote a positive association with the litter box, encouraging consistent and comfortable toileting habits.
By thoughtfully placing the repurposed tote in the desired location, you have completed the transformation of the tote into a functional and accommodating cat litter box. This strategic placement not only prioritizes your cat's comfort and well-being but also contributes to a harmonious and inviting living environment. With the litter box seamlessly integrated into your home, you have successfully crafted a personalized and inviting space that caters to both your cat's needs and your design preferences.
Conclusion
In conclusion, repurposing a tote into a customized cat litter box offers a practical and creative solution for pet owners seeking to enhance their feline companion's living environment. By following the step-by-step process outlined in this comprehensive guide, you can transform a simple tote into a functional and aesthetically pleasing litter box that seamlessly integrates into your home. This DIY project not only allows you to exercise your creativity and resourcefulness but also prioritizes your cat's comfort and well-being.
The meticulous preparation of the tote, including thorough cleaning, safety inspections, and strategic placement, sets the stage for a successful transformation. By prioritizing the comfort and safety of your cat, you can create a secure and inviting environment within the repurposed litter box. Additionally, the careful addition of a litter liner enhances the functionality and maintenance of the litter box, simplifying the cleaning process and promoting a hygienic space for your cat.
Filling the repurposed tote with high-quality cat litter completes the transformation, providing a comfortable and accommodating space for your cat's toileting needs. By selecting the appropriate type of cat litter and maintaining an optimal depth, you can create an inviting and hygienic environment that aligns with your cat's preferences.
Strategically placing the repurposed tote in a desired location within your home ensures accessibility and privacy for your cat while seamlessly integrating the litter box into your living space. This thoughtful placement contributes to a harmonious and inviting environment, promoting positive toileting habits and a stress-free experience for your feline companion.
In essence, repurposing a tote into a cat litter box is a rewarding and practical endeavor that allows you to prioritize your cat's well-being while exercising your creativity. By following the detailed instructions and infusing the project with personalized touches, you can create a customized litter box that caters to both your cat's needs and your design preferences. This DIY approach not only fosters a positive and comfortable environment for your cat but also reflects your commitment to providing a nurturing and inviting space within your home.
Frequently Asked Questions about How To Make A Cat Litter Box Out Of A Tote
Was this page helpful?
At Storables.com, we guarantee accurate and reliable information. Our content, validated by Expert Board Contributors, is crafted following stringent Editorial Policies. We're committed to providing you with well-researched, expert-backed insights for all your informational needs.
0 thoughts on “How To Make A Cat Litter Box Out Of A Tote”