Home>Storage & Organization>Kitchen Organizing Tools>How To Clean A Robot Cat Litter Box

Kitchen Organizing Tools
How To Clean A Robot Cat Litter Box
Modified: February 26, 2024
Discover the best kitchen organizing tools to keep your space tidy and efficient. Find innovative solutions for decluttering and maximizing storage.
(Many of the links in this article redirect to a specific reviewed product. Your purchase of these products through affiliate links helps to generate commission for Storables.com, at no extra cost. Learn more)
Introduction
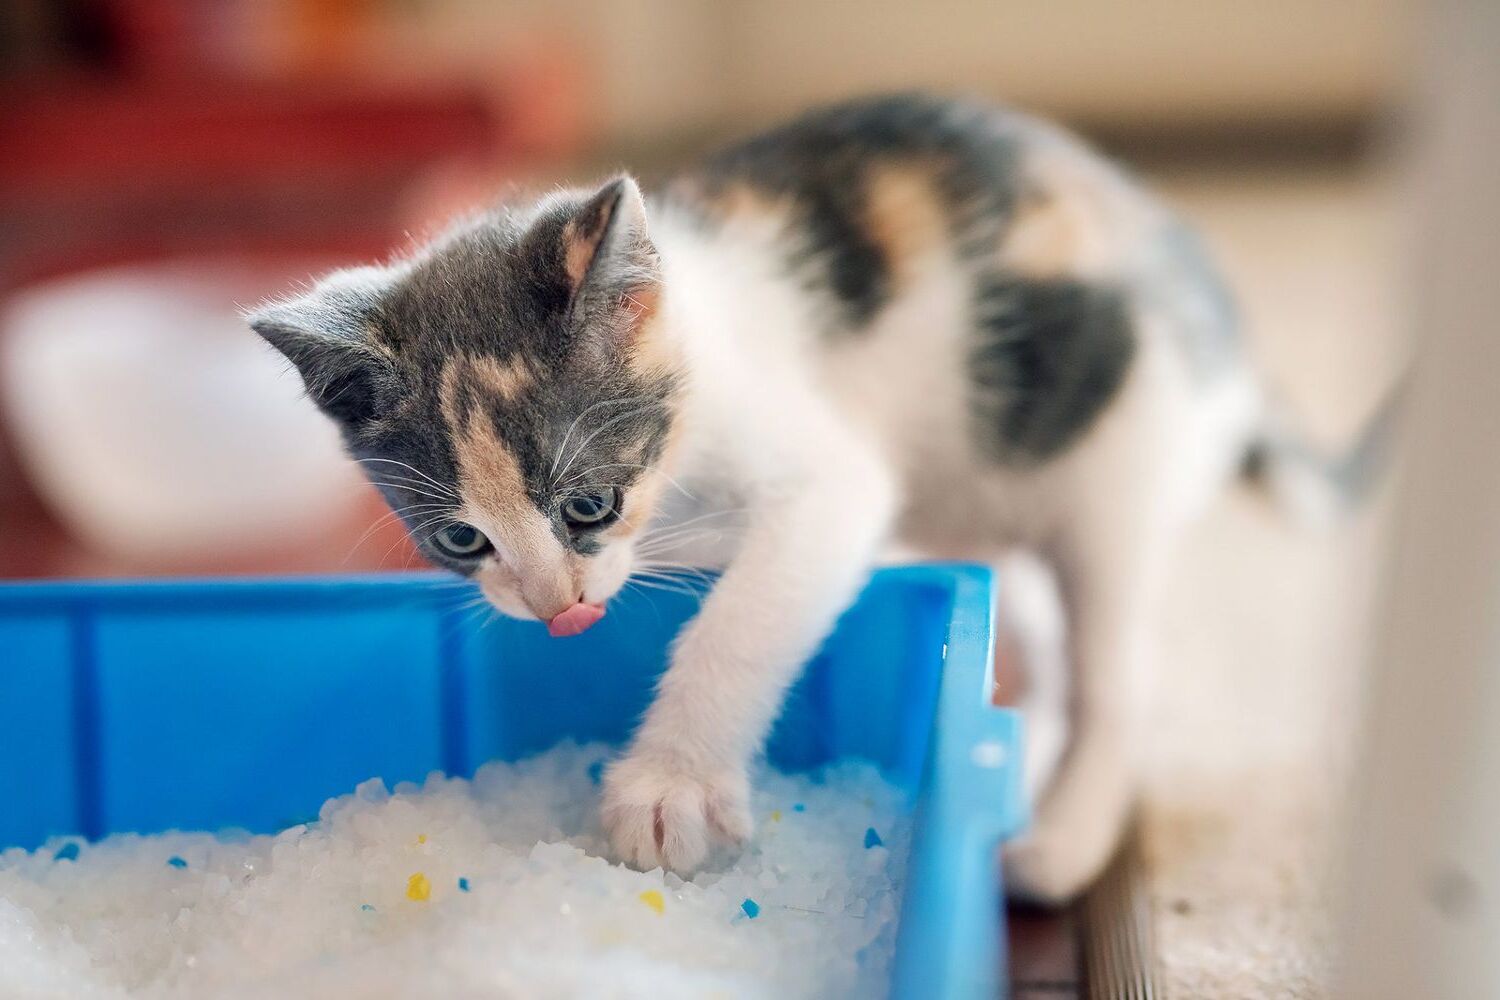
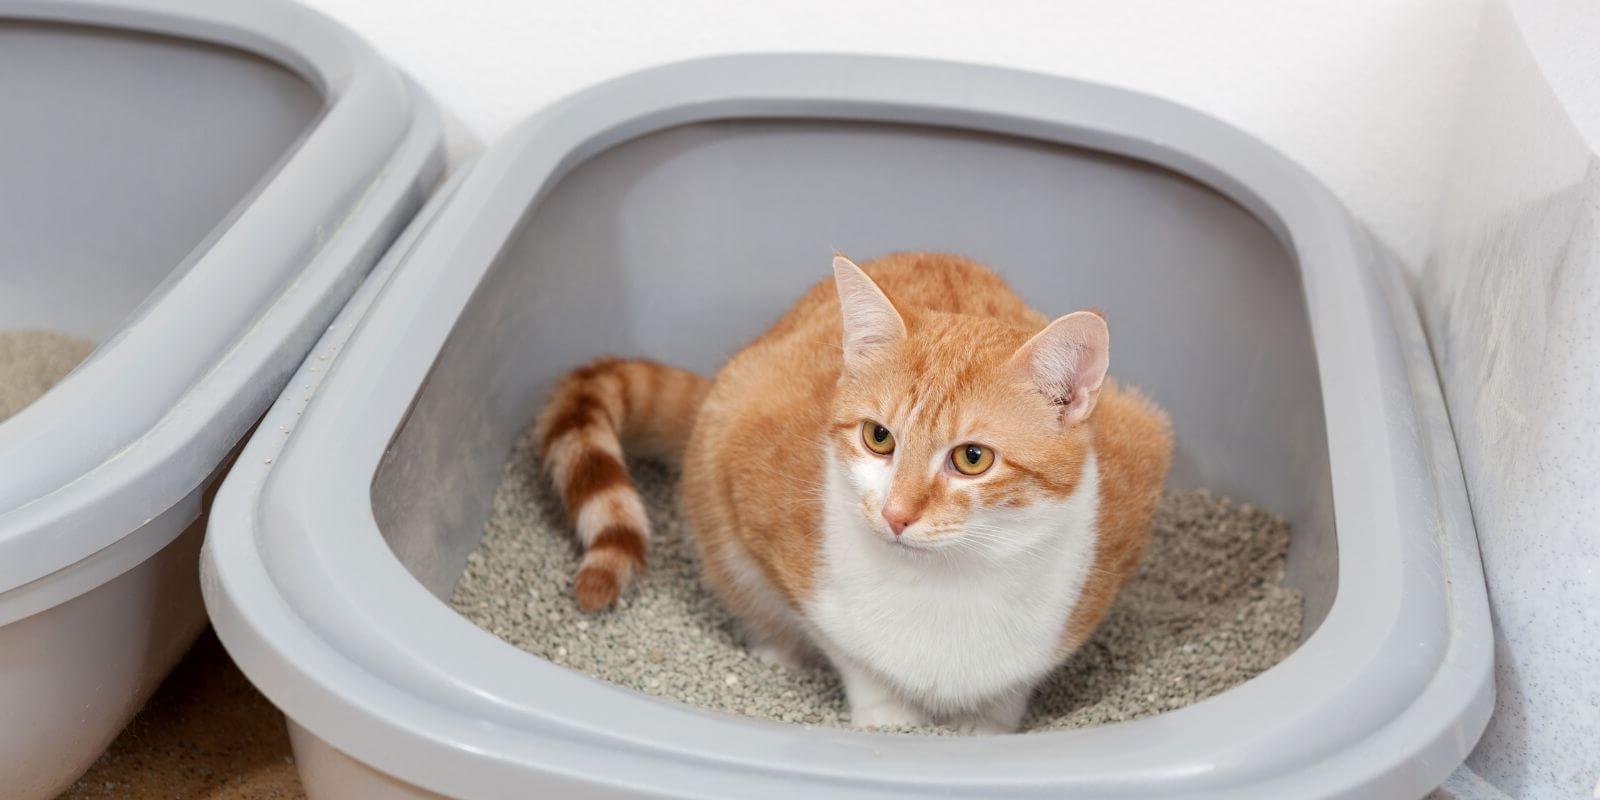
Keeping your robot cat litter box clean is essential for maintaining a hygienic environment for your feline friend. Regular cleaning not only ensures that your cat has a pleasant and odor-free space to do their business but also contributes to the longevity and efficiency of the litter box. By following a few simple steps, you can effectively clean your robot cat litter box and provide a comfortable and sanitary space for your beloved pet.
Cleaning a robot cat litter box may seem like a daunting task, but with the right approach and tools, it can be a straightforward and manageable process. Whether you're a seasoned pet owner or a first-time robot cat litter box user, understanding the proper cleaning techniques is crucial for the well-being of your cat and the overall cleanliness of your home.
In this comprehensive guide, we will walk you through the step-by-step process of cleaning your robot cat litter box, from gathering the necessary supplies to safely turning off and unplugging the device. We will delve into the intricacies of removing and cleaning the waste container, as well as thoroughly cleaning the interior of the litter box. Additionally, we will cover the essential steps for replacing the waste container and safely turning on the robot cat litter box, ensuring that it is ready for use by your feline companion.
By following these detailed instructions and incorporating them into your regular cleaning routine, you can maintain a fresh and inviting environment for your cat while maximizing the performance and longevity of your robot cat litter box. Let's embark on this cleaning journey together and ensure that your cat's litter box remains a clean and comfortable space for them to use.
Key Takeaways:
- Keep your robot cat litter box clean to provide a pleasant and odor-free space for your cat. Regular cleaning ensures a hygienic environment and maximizes the longevity of the litter box.
- Gather the necessary supplies, turn off and unplug the litter box, remove and clean the waste container, and clean the interior to maintain a fresh and inviting environment for your cat.
Read more: How To Travel With A Cat Litter Box
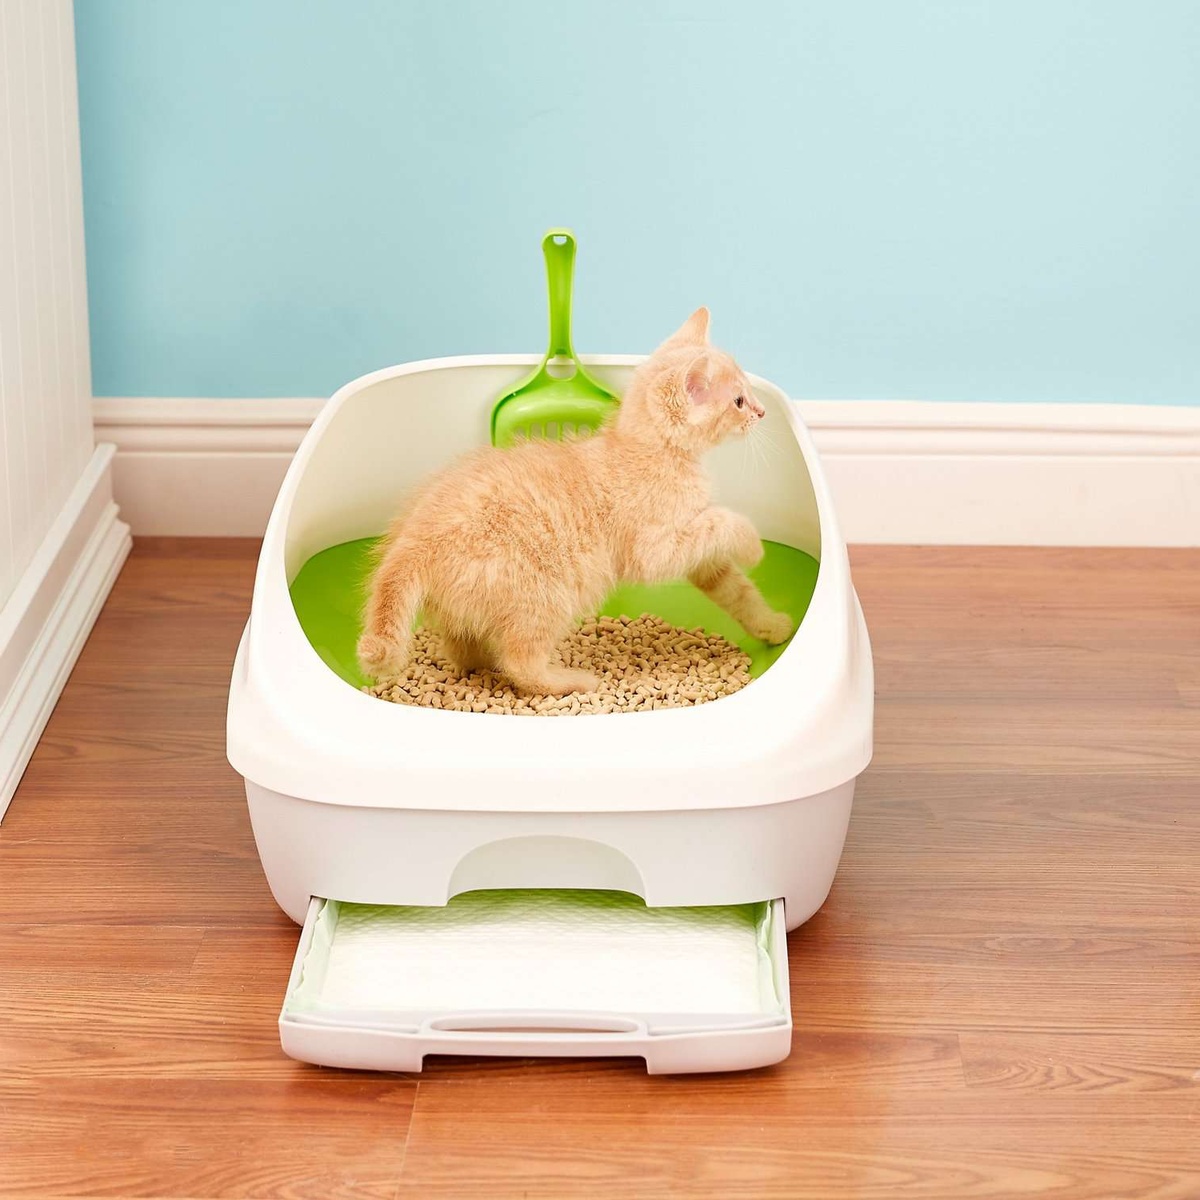
Step 1: Gather the necessary supplies
Before embarking on the cleaning process for your robot cat litter box, it's essential to gather the necessary supplies to ensure a thorough and efficient cleaning experience. Having the right tools at your disposal will not only streamline the cleaning process but also contribute to maintaining a hygienic environment for your cat. Here's a comprehensive list of supplies you'll need:
-
Rubber Gloves: Protect your hands from coming into direct contact with waste and cleaning solutions by wearing durable rubber gloves. This will help maintain cleanliness and minimize exposure to bacteria.
-
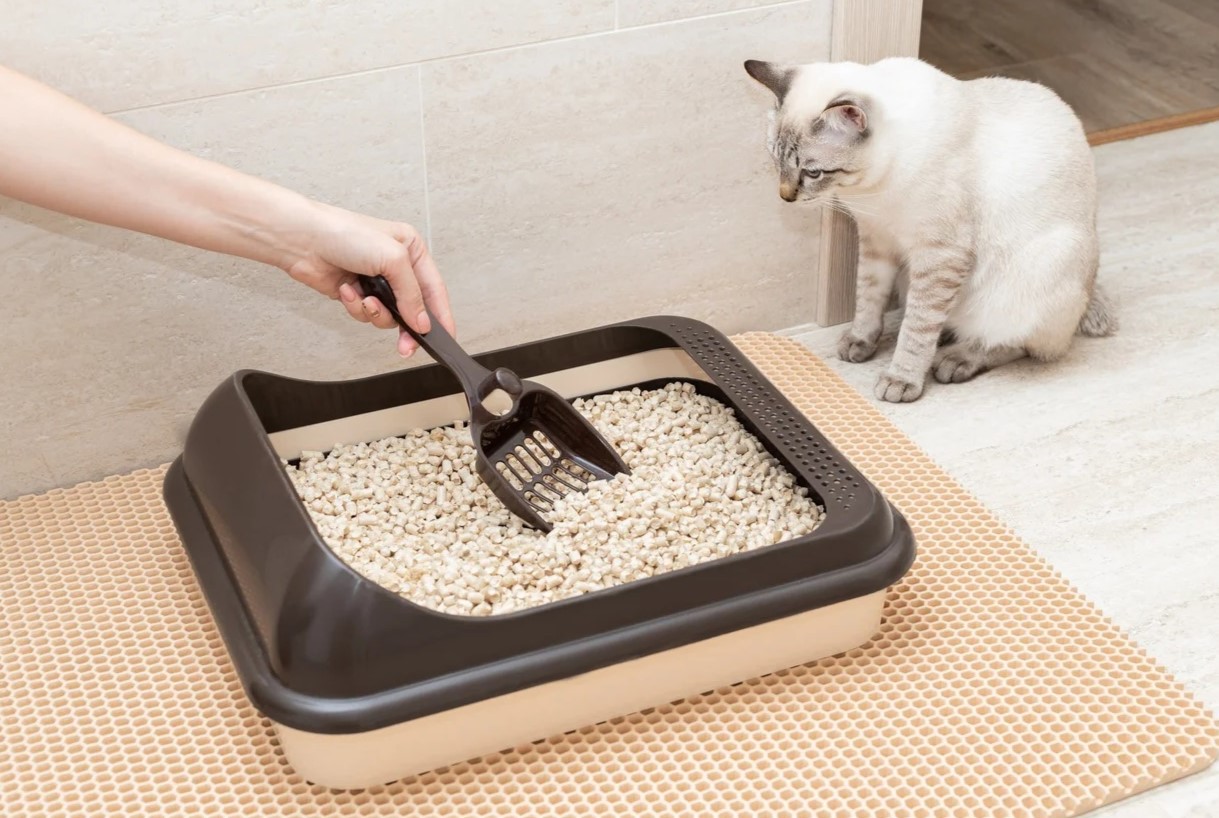
Scoop or Litter Scoop: A sturdy scoop or litter scoop is indispensable for removing solid waste from the litter box. Look for a scoop with a comfortable handle and a durable, easy-to-clean design.
-
Mild Detergent or Pet-Safe Cleaner: Choose a gentle detergent or pet-safe cleaner to effectively clean the waste container and interior of the litter box. Avoid harsh chemicals that may leave residue or pose a risk to your cat's health.
-
Disposable Trash Bags: Keep a supply of disposable trash bags on hand for easy disposal of soiled litter and waste. Opt for sturdy, leak-proof bags to contain odors and prevent messes.
-
Microfiber Cloth or Disposable Wipes: Use a microfiber cloth or disposable wipes to wipe down surfaces and remove any residual waste or cleaning solution. These materials are gentle on the litter box and provide effective cleaning without leaving lint or residue.
-
Replacement Litter: If necessary, have a fresh supply of cat litter on standby to replenish the litter box after cleaning. Ensure that the replacement litter is suitable for your robot cat litter box and meets your cat's preferences.
-
Safety Glasses (Optional): While not essential, safety glasses can provide an extra layer of protection, especially if you're sensitive to dust or prefer to shield your eyes during the cleaning process.
By gathering these essential supplies, you'll be well-equipped to tackle the cleaning process with confidence and efficiency. With the right tools at your disposal, you can maintain a clean and inviting space for your cat while ensuring that your robot cat litter box remains in optimal condition. Now that you have all the necessary supplies at hand, let's move on to the next step in the cleaning process.
Step 2: Turn off and unplug the robot cat litter box
Before initiating the cleaning process, it is crucial to prioritize safety by turning off and unplugging the robot cat litter box. This step is essential to prevent any potential accidents and ensure a secure environment for both you and your cat. Follow these detailed instructions to safely power down the litter box:
-
Locate the Power Button: Identify the power button or switch on the robot cat litter box. This is typically located on the side or rear of the device. If you're unsure about the location of the power button, refer to the user manual for guidance.
-
Turn Off the Litter Box: Press and hold the power button to turn off the robot cat litter box. Wait for any indicator lights or display screens to deactivate, indicating that the device is no longer powered.
-
Unplug the Power Cord: Once the litter box is turned off, carefully unplug the power cord from the electrical outlet. Ensure that the cord is fully disconnected to prevent any accidental activation during the cleaning process.
By following these steps, you can safely turn off and unplug the robot cat litter box, mitigating the risk of electrical hazards and ensuring a secure environment for cleaning. This precautionary measure sets the stage for a thorough and safe cleaning process, allowing you to focus on maintaining the hygiene and functionality of the litter box without any potential electrical interference.
With the robot cat litter box safely powered down and unplugged, you're now ready to proceed with the subsequent steps in the cleaning process, ensuring that your feline companion has a clean and inviting space for their litter needs.
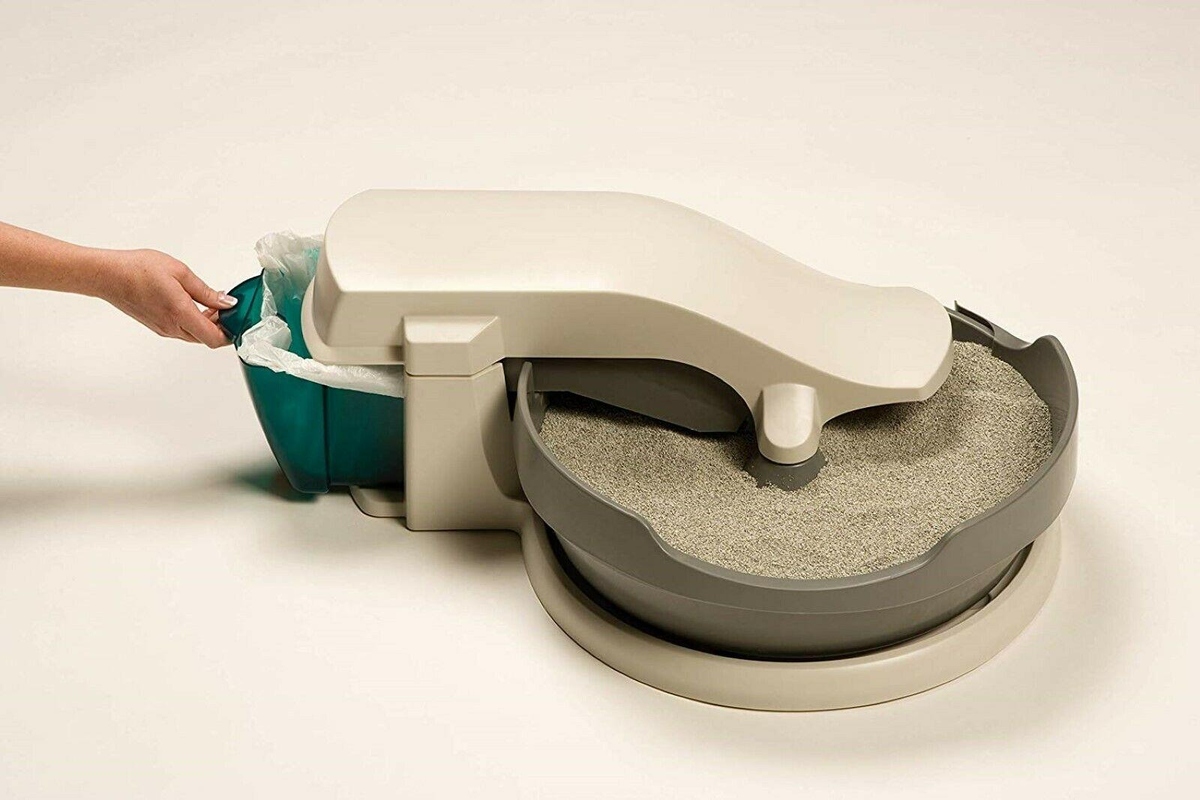
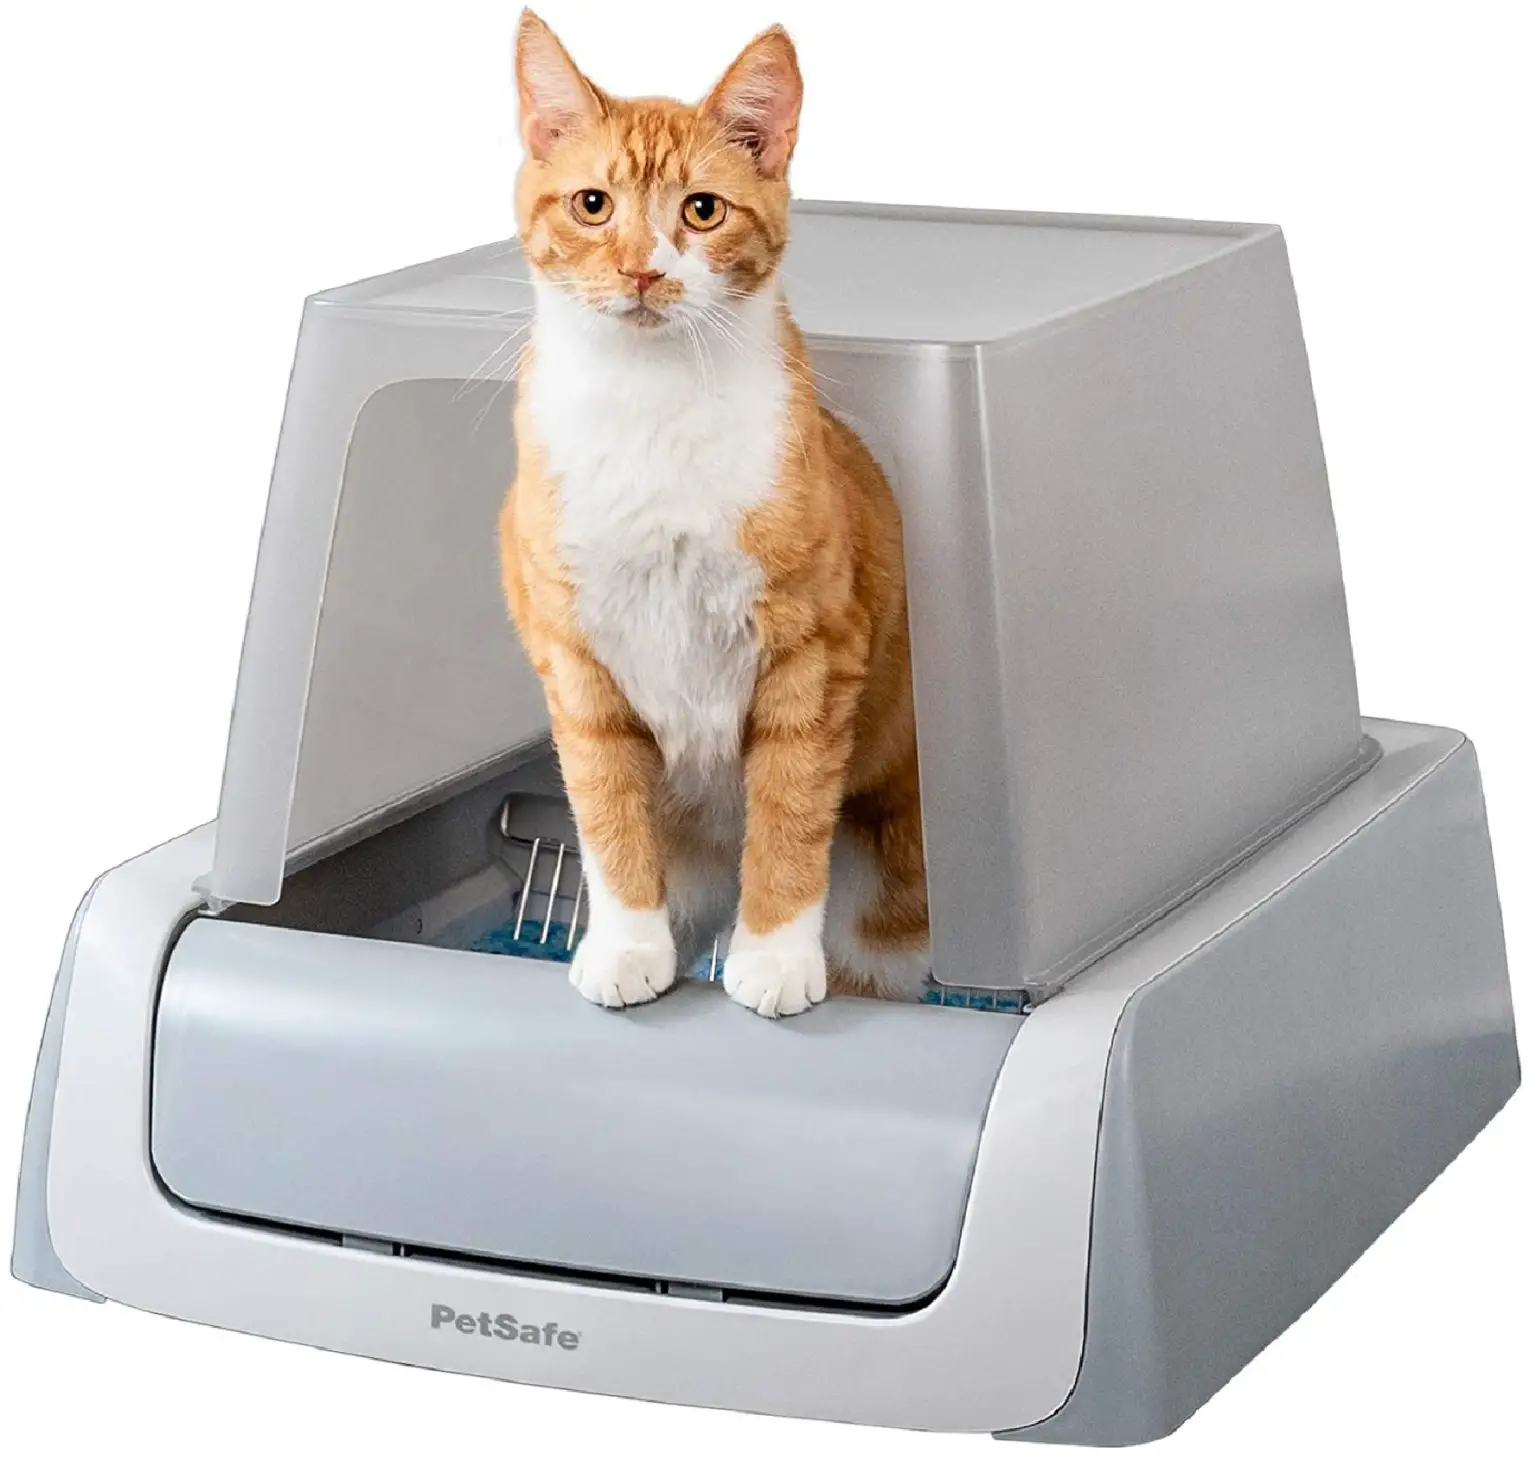
Step 3: Remove the waste container
With the robot cat litter box safely powered down and unplugged, the next crucial step in the cleaning process is to remove the waste container. This container holds the soiled litter and waste, and proper removal is essential for thorough cleaning and maintenance.
To remove the waste container, follow these detailed steps:
-
Locate the Waste Container: Depending on the design of your robot cat litter box, the waste container may be accessible from the top or rear of the device. Identify the specific location of the waste container to prepare for its removal.
-
Follow Manufacturer's Guidelines: Refer to the user manual or any provided instructions to ensure that you understand the correct method for removing the waste container. Different models may have varying mechanisms for securing the waste container in place, so it's essential to follow the manufacturer's guidelines for safe removal.
-
Open the Access Panel or Lid: If the waste container is enclosed within an access panel or lid, carefully open it to reveal the container. Take note of any latches, locks, or release buttons that may be present to facilitate the removal process.
-
Secure the Waste Container: Before removing the waste container, ensure that it is securely held in place to prevent accidental spills or messes. Some litter boxes may feature a locking mechanism or secure fastenings to keep the waste container in position.
-
Lift and Remove the Container: With caution, lift the waste container from its housing within the litter box. Use a steady and controlled motion to prevent any spillage or scattering of waste. If the container is heavy or cumbersome, consider using both hands for added stability.
-
Place the Container in a Designated Area: Once the waste container is removed, place it in a designated area where you can proceed with emptying and cleaning it. Choose a location that is convenient for disposal and cleaning, such as a well-ventilated area with easy access to cleaning supplies.
By following these detailed steps, you can safely and effectively remove the waste container from your robot cat litter box, setting the stage for thorough cleaning and maintenance. With the waste container successfully removed, you're ready to proceed to the next steps in the cleaning process, ensuring that your cat's litter box remains a clean and comfortable space for their use.
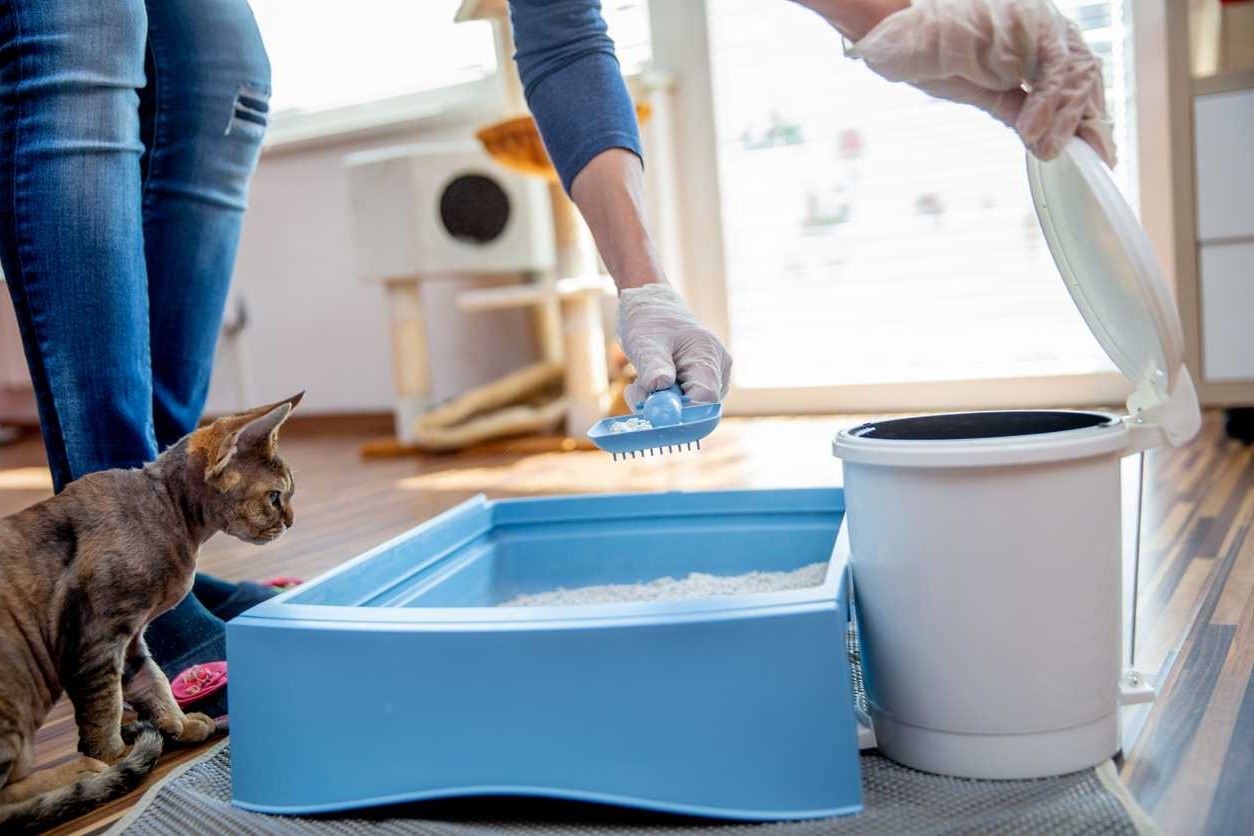
To clean a robot cat litter box, start by turning it off and unplugging it. Remove the waste drawer and empty it into a trash bag. Use a mild detergent and water to clean the litter box and let it dry completely before reassembling.
Step 4: Empty and clean the waste container
Once the waste container is safely removed from the robot cat litter box, the next critical step is to empty and clean it thoroughly. This process is essential for maintaining a hygienic environment for your cat and ensuring that the litter box functions optimally. Follow these detailed steps to effectively empty and clean the waste container:
-
Empty the Contents: Begin by emptying the contents of the waste container into a designated trash bag. Use a scoop or disposable gloves to carefully transfer the soiled litter and waste, ensuring that it is contained within the trash bag to prevent any spillage or mess.
-
Dispose of Waste: Seal the trash bag securely to contain the soiled litter and waste, minimizing odors and preventing any potential leakage. Properly dispose of the sealed bag in an outdoor trash receptacle or according to local waste disposal guidelines.
-
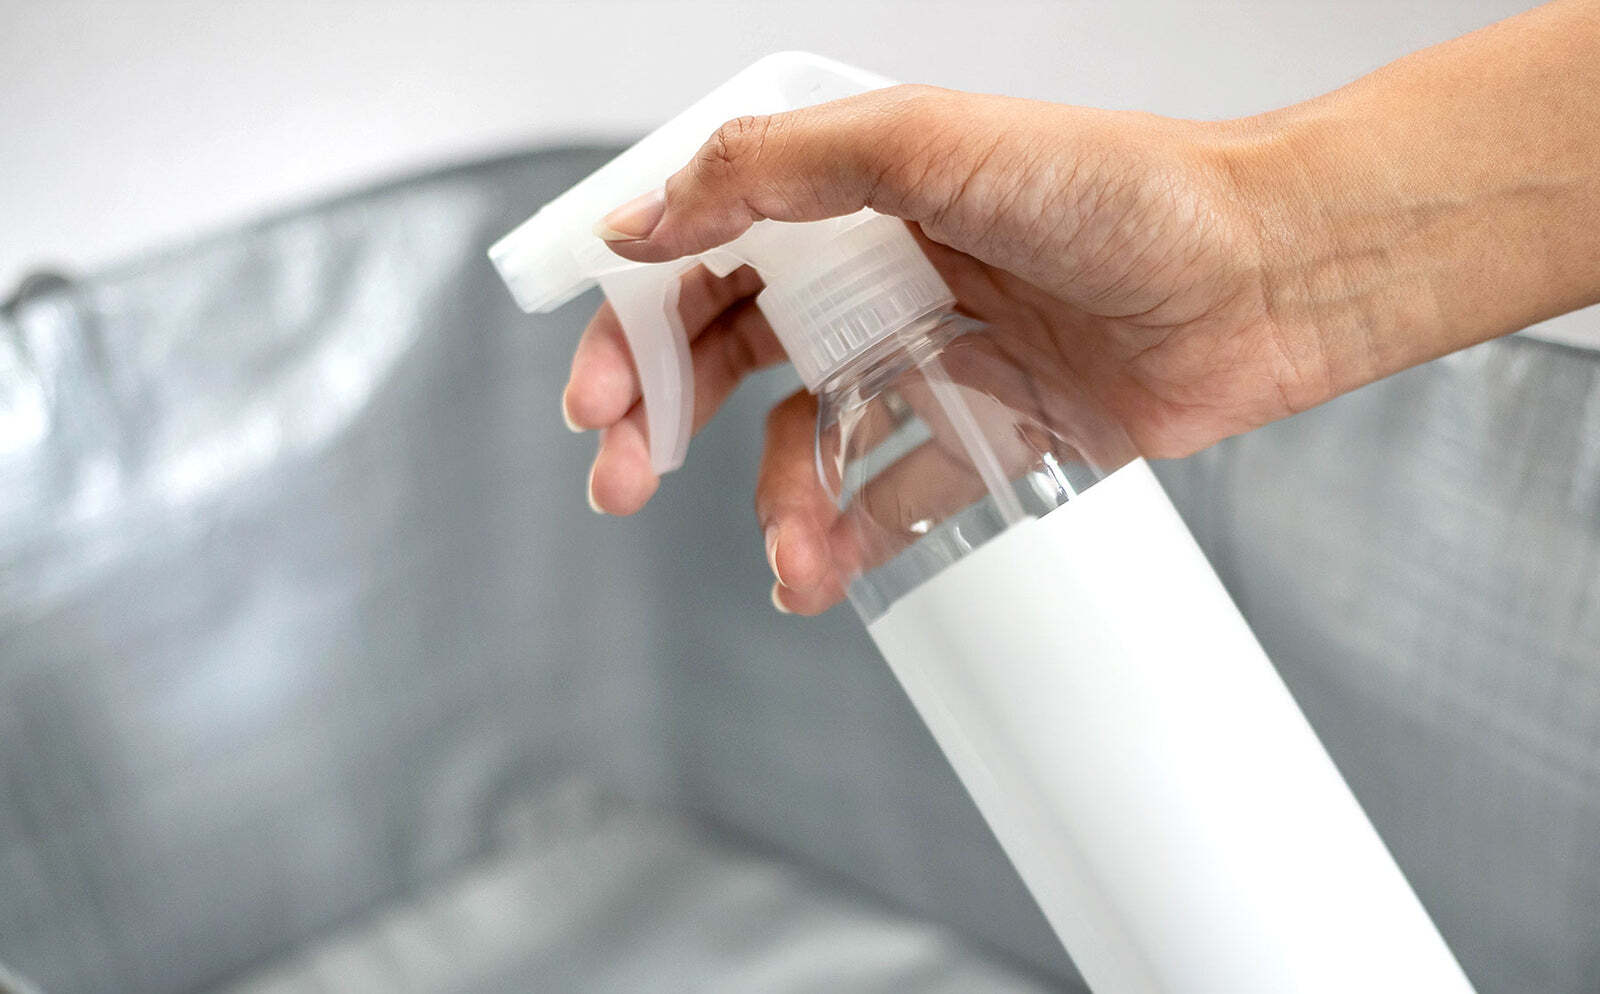
Rinse the Container: With the waste contents removed, rinse the waste container with warm water to remove any residual waste and debris. Use a gentle spray or a handheld showerhead to thoroughly rinse the interior and exterior of the container, ensuring that all traces of waste are effectively eliminated.
-
Use Mild Detergent: Apply a small amount of mild detergent or pet-safe cleaner to the interior of the waste container. Use a sponge or cloth to gently scrub the surfaces, targeting any stubborn stains or lingering odors. Ensure that the detergent is thoroughly rinsed off to prevent any residue that may be harmful to your cat.
-
Sanitize if Necessary: For an extra layer of cleanliness, consider sanitizing the waste container with a pet-safe disinfectant or a solution of water and white vinegar. This step can help eliminate bacteria and odors, further enhancing the hygiene of the container.
-
Thorough Drying: After cleaning and sanitizing, allow the waste container to air dry completely before returning it to the robot cat litter box. Ensure that there is no residual moisture, as a dry container is essential for preventing bacterial growth and maintaining a clean environment.
By meticulously following these steps, you can effectively empty and clean the waste container of your robot cat litter box, ensuring that it is free from waste, odors, and bacteria. This meticulous cleaning process contributes to a hygienic and inviting space for your cat, promoting their well-being and comfort. With the waste container now clean and ready for use, you're prepared to proceed to the subsequent steps in the cleaning process, ensuring that your robot cat litter box remains a clean and comfortable space for your feline companion.
Read more: What Is A Cat Litter Box
Step 5: Clean the interior of the litter box
Cleaning the interior of the litter box is a crucial step in maintaining a hygienic environment for your cat and ensuring the optimal functionality of the robot cat litter box. Follow these detailed steps to effectively clean the interior of the litter box:
-
Remove Any Remaining Litter: Prior to cleaning the interior, use a scoop or disposable gloves to remove any remaining litter or waste particles. Ensure that the interior of the litter box is free from debris before proceeding with the cleaning process.
-
Inspect for Residue and Stains: Take a close look at the interior surfaces of the litter box, paying attention to any residual waste, stains, or odors. Identify areas that may require targeted cleaning to ensure a thorough and hygienic result.
-
Use a Mild Detergent or Pet-Safe Cleaner: Apply a small amount of mild detergent or pet-safe cleaner to the interior surfaces of the litter box. Use a sponge or cloth to gently scrub the interior, focusing on areas with visible residue or stains. Ensure that the cleaning solution effectively eliminates any lingering odors and maintains a hygienic environment for your cat.
-
Rinse and Sanitize: After scrubbing the interior surfaces, rinse the litter box thoroughly with warm water to remove any traces of detergent or cleaning solution. Consider sanitizing the interior with a pet-safe disinfectant or a solution of water and white vinegar to further eliminate bacteria and odors, promoting a clean and hygienic environment for your cat.
-
Dry the Interior Thoroughly: Once cleaned and sanitized, allow the interior of the litter box to air dry completely. Ensure that there is no residual moisture, as a dry interior is essential for preventing bacterial growth and maintaining a clean and inviting space for your cat.
By meticulously following these steps, you can effectively clean the interior of the litter box, ensuring that it is free from residue, odors, and bacteria. This meticulous cleaning process contributes to a hygienic and comfortable environment for your cat, promoting their well-being and ensuring that the robot cat litter box remains in optimal condition.
With the interior of the litter box now clean and ready for use, you're prepared to proceed to the subsequent steps in the cleaning process, ensuring that your robot cat litter box remains a clean and inviting space for your feline companion.
Step 6: Replace the waste container and turn on the robot cat litter box
After thoroughly cleaning the waste container and the interior of the litter box, the final step involves replacing the waste container and safely turning on the robot cat litter box. This pivotal step ensures that the litter box is ready for use by your cat, providing a clean and inviting space for their litter needs.
To replace the waste container, carefully lift the clean and dry container and position it back into its designated housing within the litter box. Ensure that the container is securely placed, following any specific locking or fastening mechanisms as per the manufacturer's guidelines. A secure fit prevents any potential spills or disruptions during the operation of the litter box.
Once the waste container is in place, take a moment to inspect the overall cleanliness of the litter box, ensuring that all components are free from residue and odors. This visual check provides reassurance that the cleaning process has been thorough and that the litter box is primed for use.
With the waste container securely replaced, it's time to turn on the robot cat litter box. Reconnect the power cord to the electrical outlet and proceed to power up the device according to the manufacturer's instructions. Depending on the model, this may involve pressing the power button or activating the control panel to initiate the operation of the litter box.
As the robot cat litter box powers up, listen for any unusual sounds or indications of malfunction. Ensure that the device goes through its startup sequence smoothly, indicating that it is ready for use. Some models may feature indicator lights or display screens that provide valuable feedback on the operational status of the litter box.
Once the robot cat litter box is successfully powered on and operational, observe its performance for a brief period to confirm that it is functioning as expected. This includes monitoring the waste collection and disposal process, ensuring that the litter box operates efficiently and without any issues.
By meticulously following these steps, you can effectively replace the waste container and safely turn on the robot cat litter box, ensuring that it is ready for use by your feline companion. This final step marks the culmination of the cleaning process, providing a clean and functional space for your cat's litter needs.
With the robot cat litter box now cleaned, operational, and ready for use, you have successfully completed the comprehensive cleaning process, maintaining a hygienic and inviting environment for your cat while maximizing the performance and longevity of the litter box.
Conclusion
In conclusion, maintaining a clean and hygienic environment for your cat is paramount, and the proper cleaning of a robot cat litter box plays a pivotal role in achieving this goal. By following the step-by-step cleaning process outlined in this guide, you can ensure that your feline companion has a comfortable and odor-free space for their litter needs while maximizing the efficiency and longevity of the litter box.
Regular cleaning not only contributes to the well-being of your cat but also fosters a harmonious living environment for both you and your pet. The meticulous removal and cleaning of the waste container, coupled with the thorough cleaning of the interior surfaces, are essential steps in eliminating odors, bacteria, and residue, thus creating a welcoming space for your cat.
Furthermore, the careful selection of cleaning supplies, including mild detergents, pet-safe cleaners, and disposable trash bags, underscores the importance of maintaining a safe and hygienic environment for both you and your cat. The use of rubber gloves and safety glasses, while optional, provides an additional layer of protection and comfort during the cleaning process.
By incorporating these cleaning practices into your routine, you can ensure that your robot cat litter box remains in optimal condition, promoting the health and well-being of your cat. Additionally, the replacement of the waste container and the safe powering on of the litter box mark the successful completion of the cleaning process, culminating in a clean and functional space for your cat's litter needs.
Ultimately, the commitment to regular cleaning and maintenance of the robot cat litter box not only enhances the living environment for your cat but also strengthens the bond between you and your pet. The clean and inviting space provided by a well-maintained litter box fosters a sense of comfort and security for your cat, contributing to their overall happiness and well-being.
By following the guidelines outlined in this comprehensive guide, you can confidently navigate the cleaning process for your robot cat litter box, ensuring that it remains a clean, comfortable, and functional space for your beloved feline companion.
Frequently Asked Questions about How To Clean A Robot Cat Litter Box
Was this page helpful?
At Storables.com, we guarantee accurate and reliable information. Our content, validated by Expert Board Contributors, is crafted following stringent Editorial Policies. We're committed to providing you with well-researched, expert-backed insights for all your informational needs.
0 thoughts on “How To Clean A Robot Cat Litter Box”