Home>Storage & Organization>Kitchen Organizing Tools>How To Organize A Dishwasher

Kitchen Organizing Tools
How To Organize A Dishwasher
Modified: August 27, 2024
Learn how to efficiently organize your dishwasher with the right kitchen organizing tools. Maximize space and optimize cleaning with these expert tips. Ideal for a clutter-free kitchen.
(Many of the links in this article redirect to a specific reviewed product. Your purchase of these products through affiliate links helps to generate commission for Storables.com, at no extra cost. Learn more)
Introduction
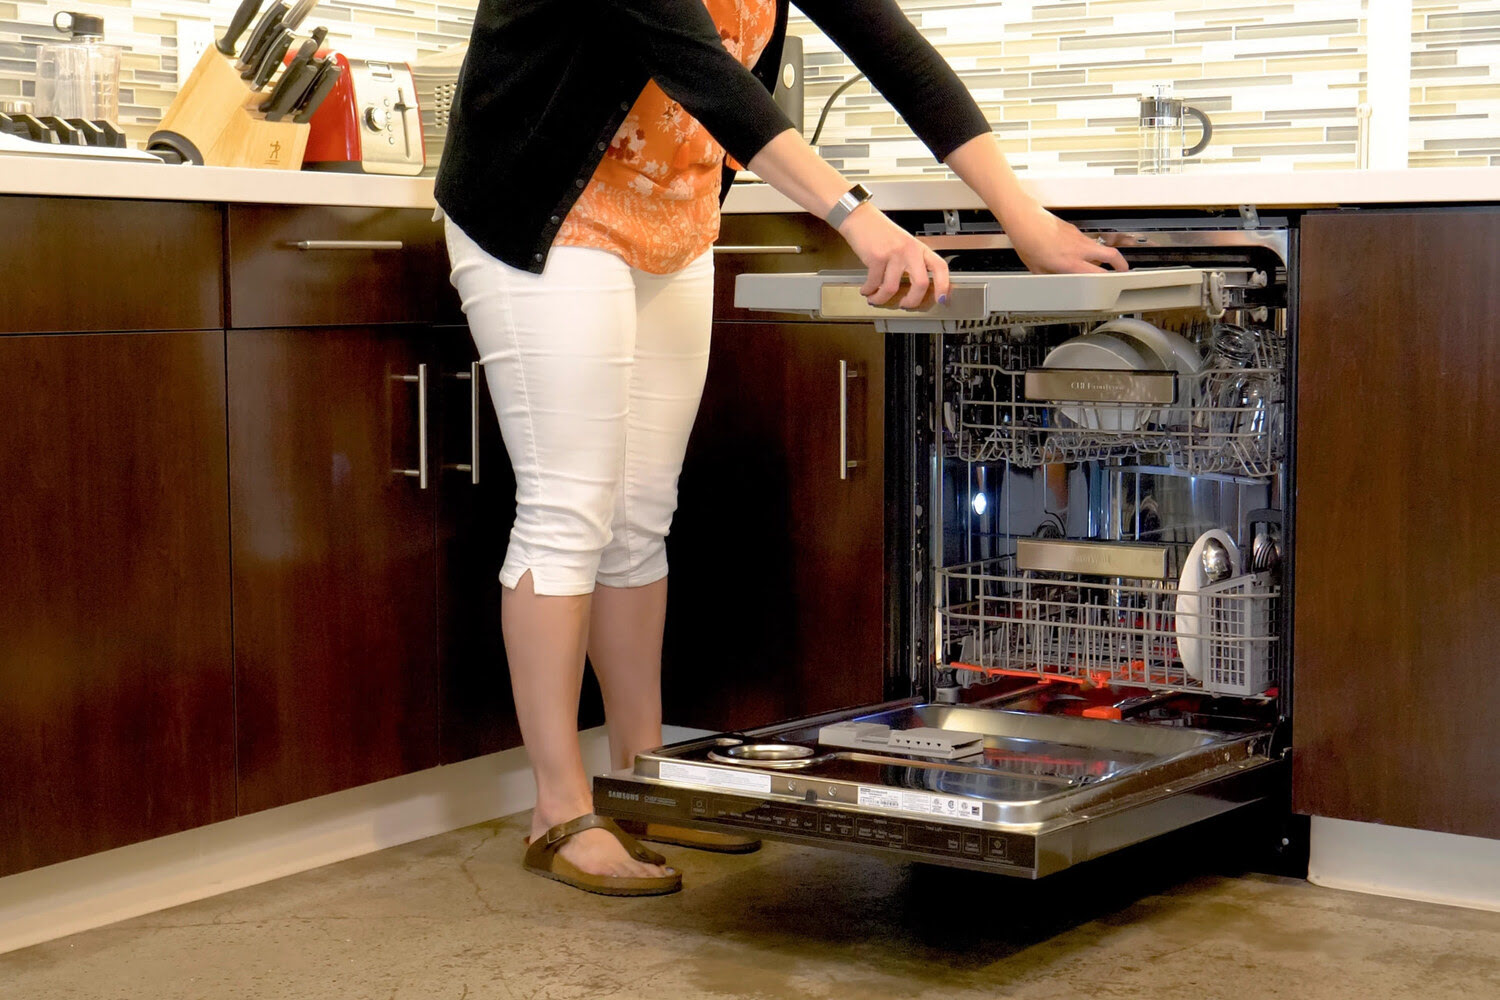
Are you tired of opening your dishwasher to find a jumbled mess of dishes and utensils? Organizing your dishwasher properly can save you time and ensure that your dishes come out sparkling clean. In this article, we will guide you through the process of organizing your dishwasher efficiently, from preparing it for use to unloading and storing your dishes. By following these steps, you can make the most of your dishwasher's capacity and achieve spotless results every time. Let's dive in and learn how to organize a dishwasher like a pro!
Key Takeaways:
- Preparing your dishwasher and loading it strategically can lead to spotless dishes and efficient cleaning. Scraping off food residues, checking sprayer arms, and organizing items by size and material are key steps.
- Choosing the right detergent and running the dishwasher effectively can ensure optimal cleaning results. Selecting the appropriate wash cycle, adjusting settings, and avoiding interruptions are essential for sparkling clean dishes.
Read also: 11 Amazing Bottle Dishwasher Basket for 2025
Preparing the Dishwasher
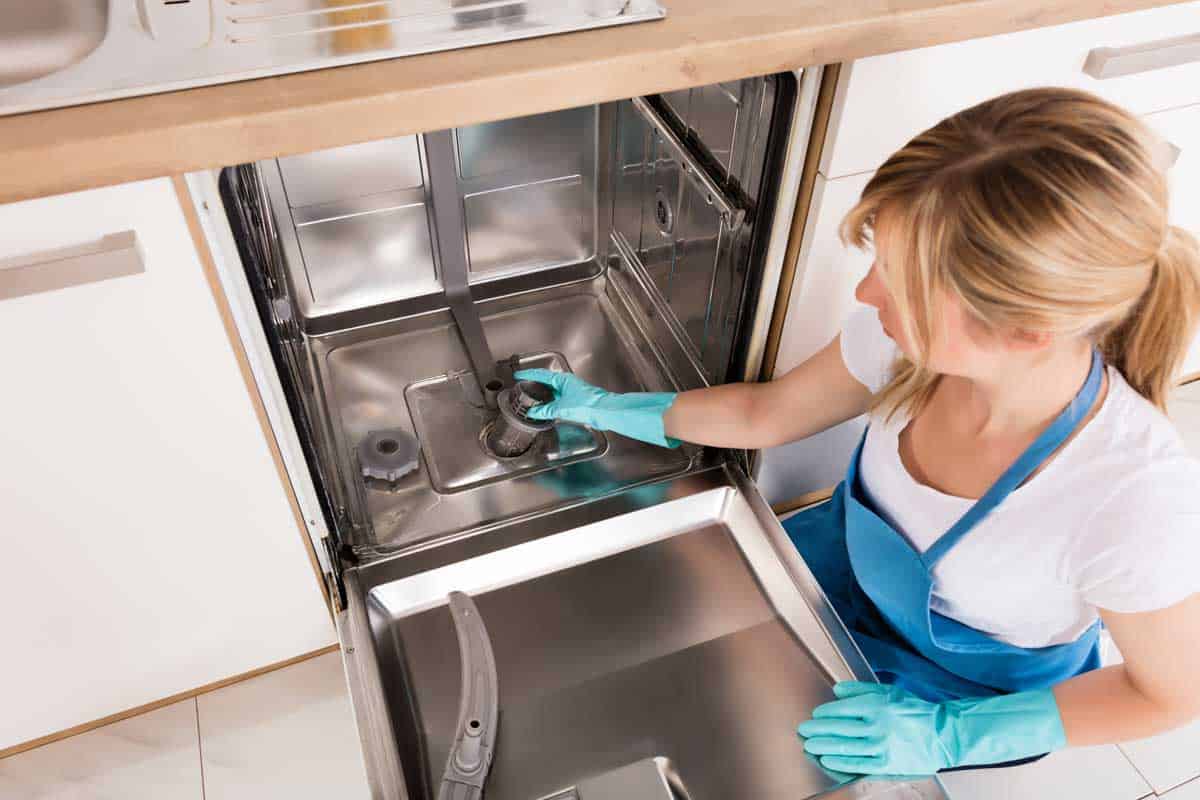
Before you start loading your dishes, it's essential to prepare the dishwasher for optimal cleaning. Here's how to get your dishwasher ready for the task:
-
Scrape Off Food Residues: Scrape off any large food particles from your dishes to prevent them from clogging the dishwasher's drain. This simple step can help maintain the cleanliness of your dishwasher and prevent potential blockages.
-
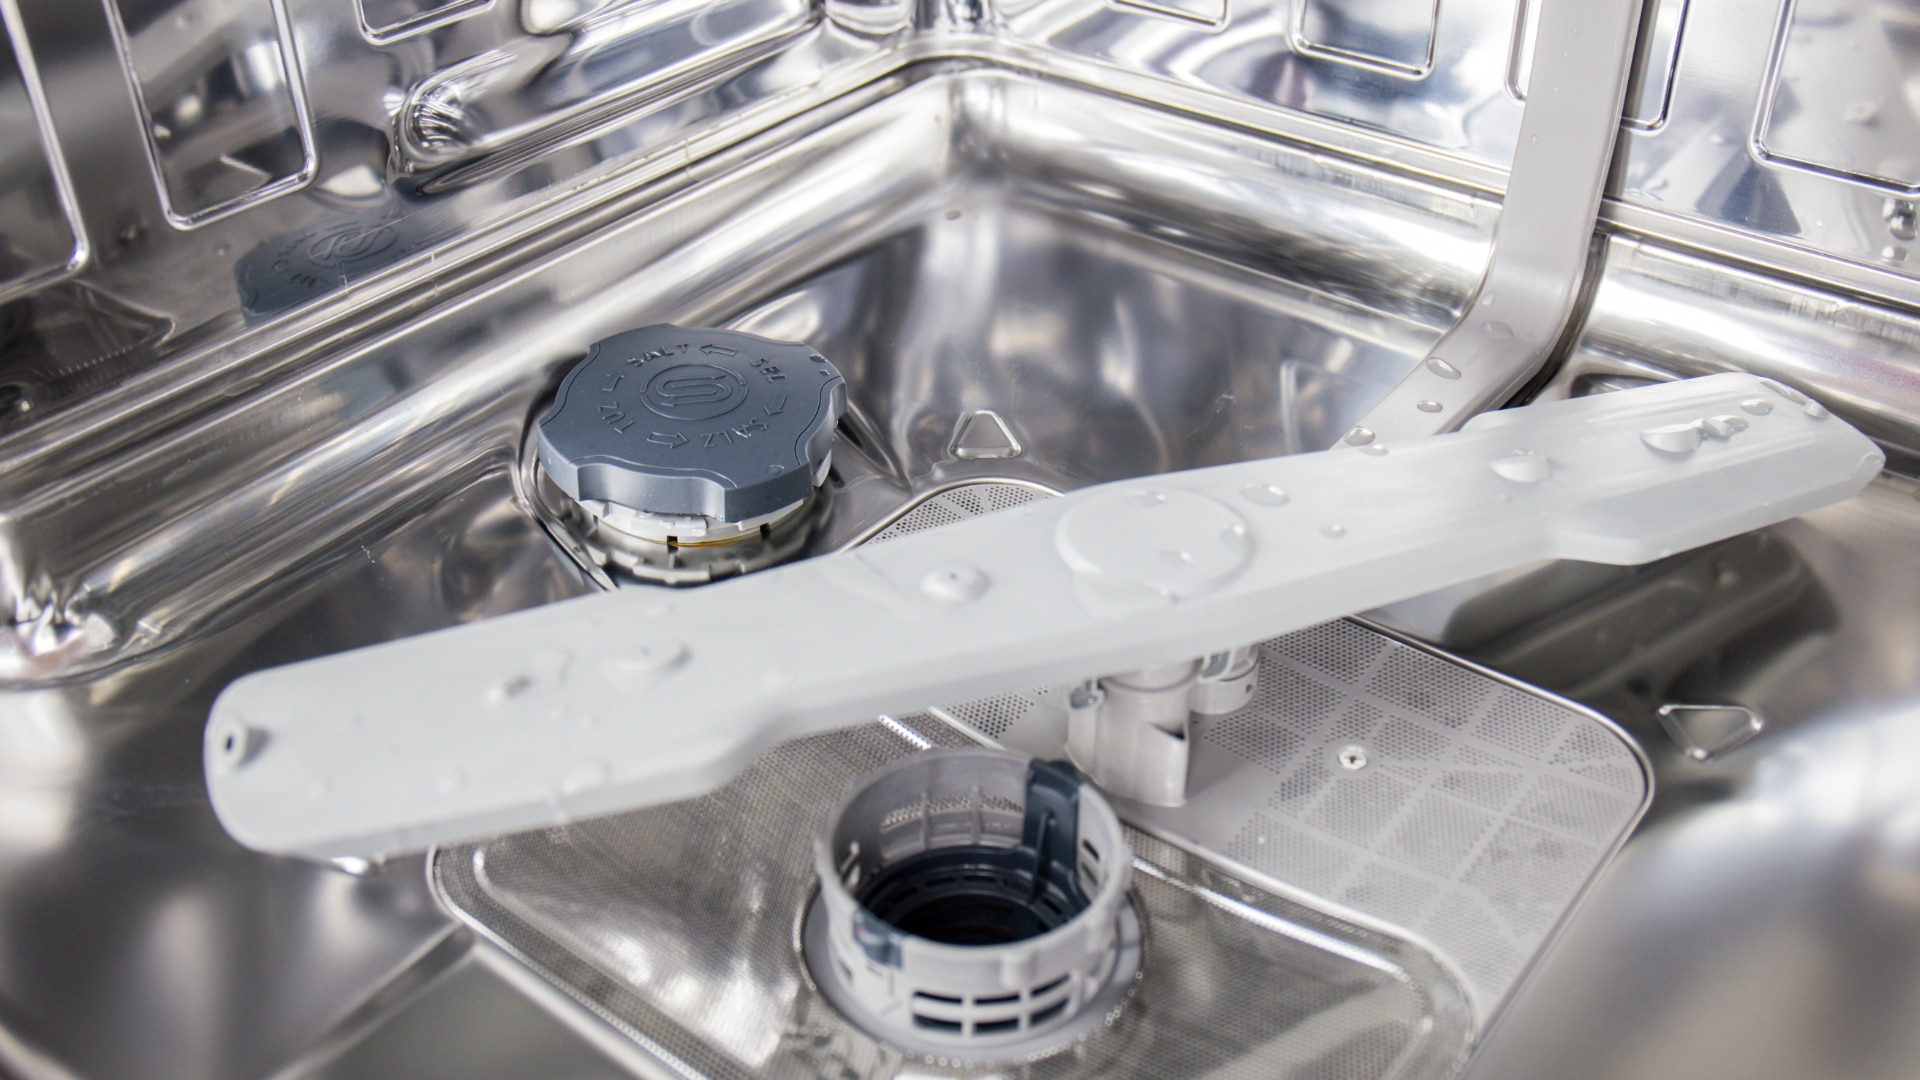
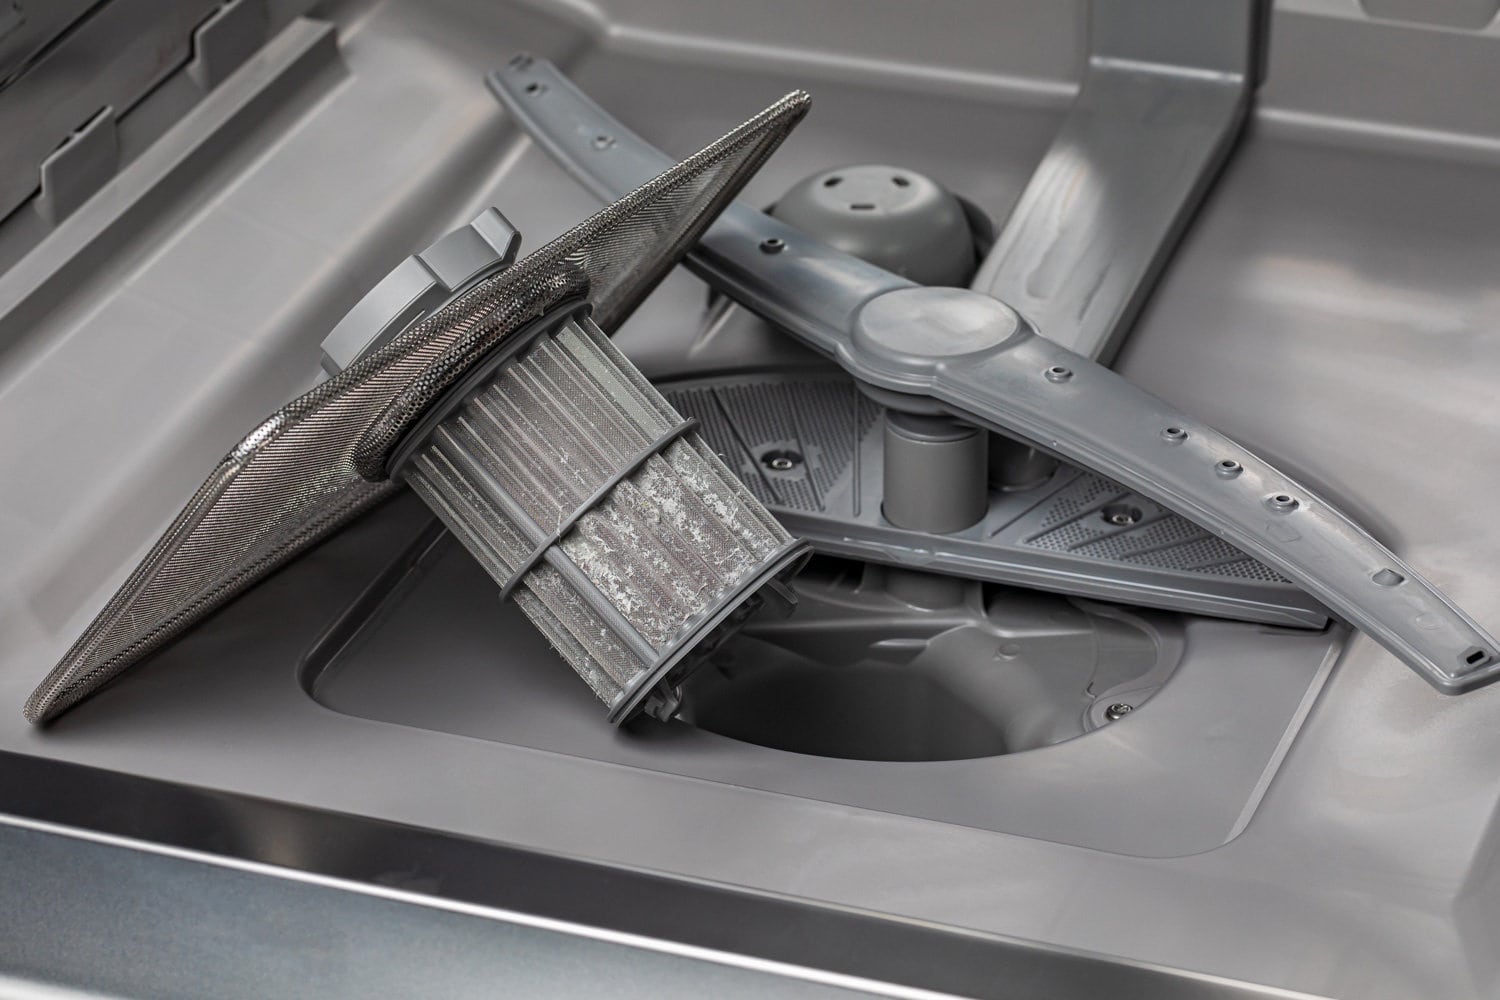
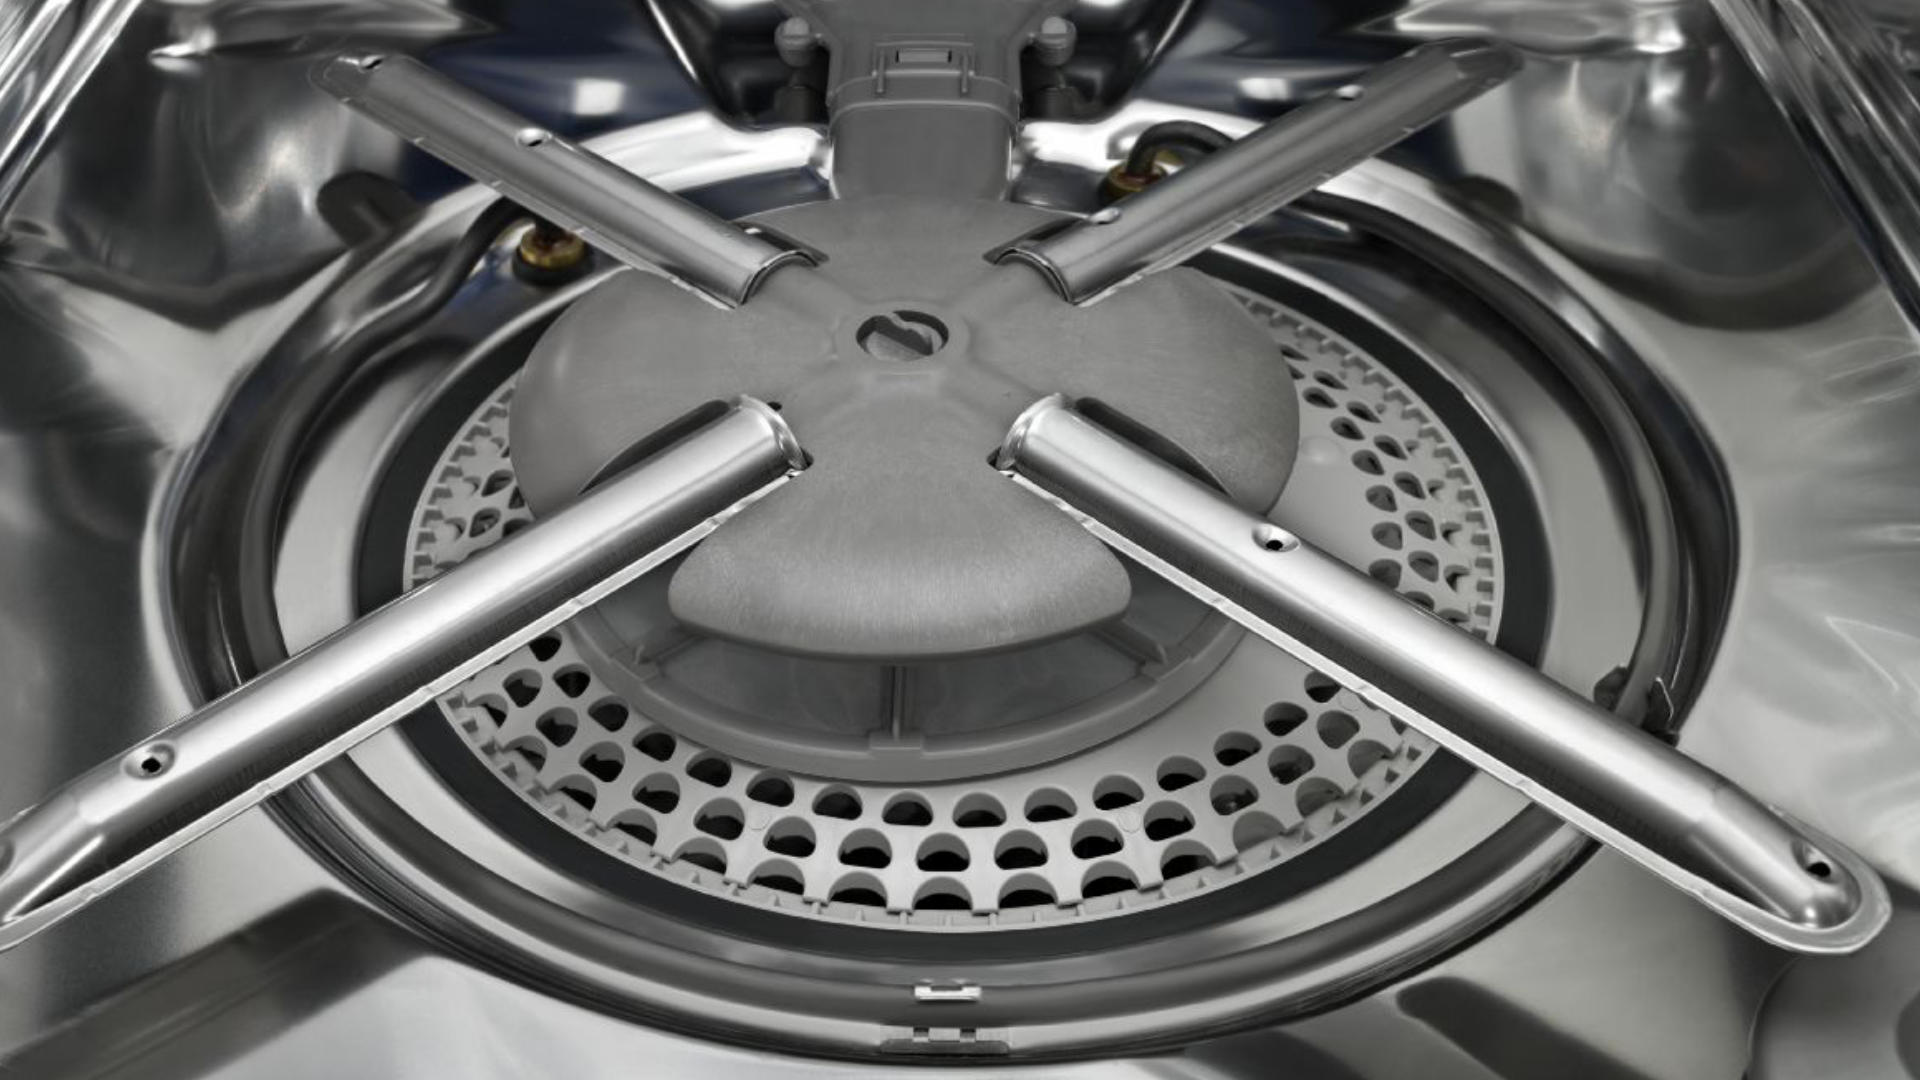
Check the Sprayer Arms: Ensure that the sprayer arms are free from any obstructions. These arms are responsible for distributing water throughout the dishwasher, so it's crucial to keep them clear for efficient cleaning.
-
Inspect the Dishwasher Racks: Take a quick look at the dishwasher racks to make sure they are in good condition and free from any damage. Properly functioning racks will provide a stable base for your dishes and prevent them from moving around during the wash cycle.
-
Add Rinse Aid: If your dishwasher has a rinse aid dispenser, make sure it's filled. Rinse aid helps to prevent water spots and ensures that your dishes dry effectively.
By taking these preparatory steps, you can set the stage for a successful dishwashing cycle and maintain the performance of your dishwasher over time.
Loading the Bottom Rack
Loading the bottom rack of your dishwasher requires a strategic approach to accommodate larger and heavier items. Here's how to make the most of this space:
-
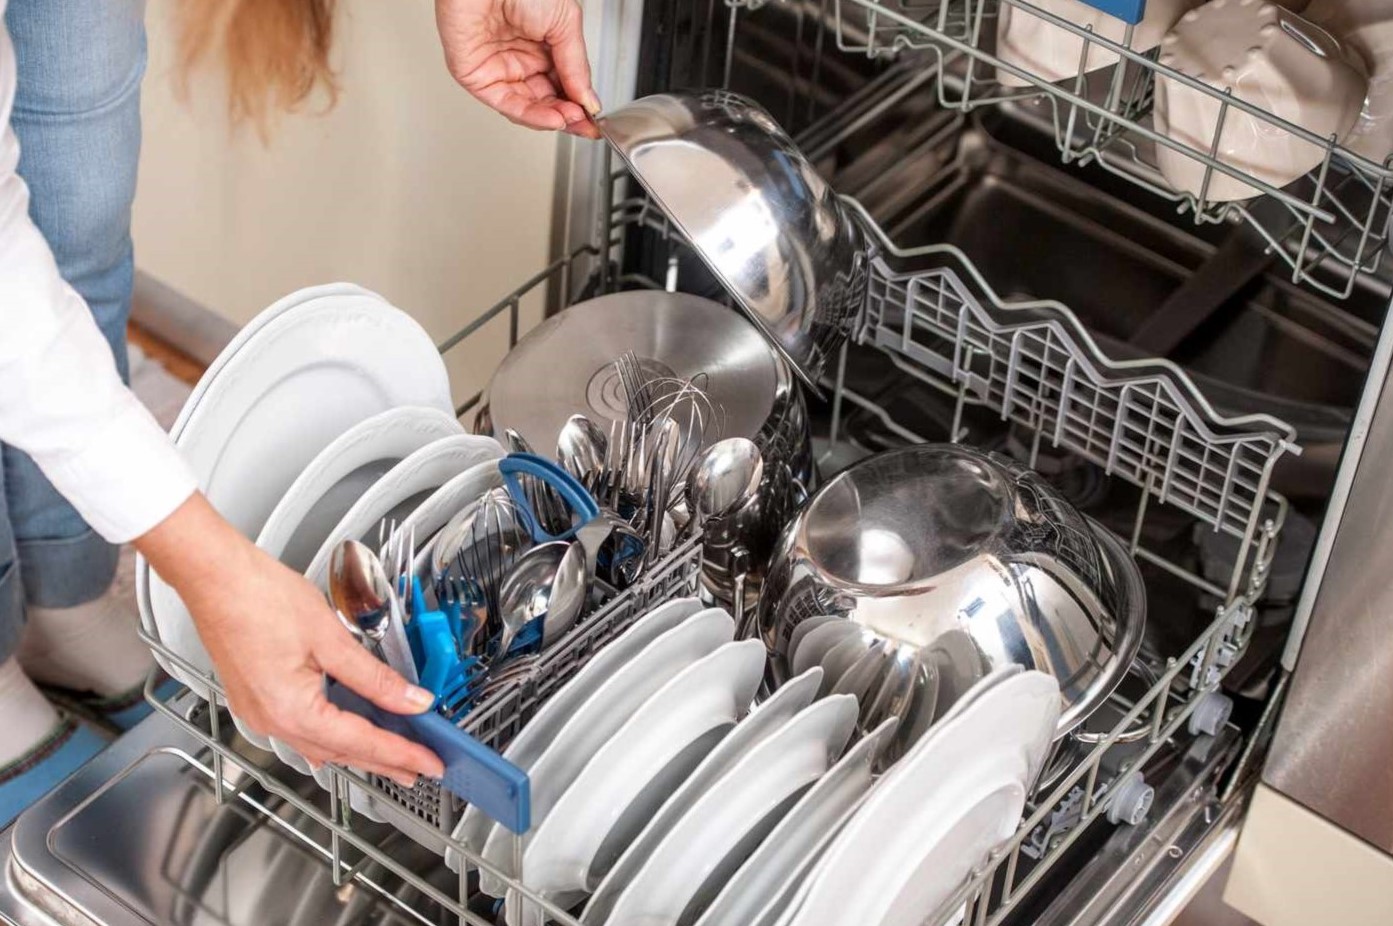
Plates and Bowls: Place plates and bowls in the designated slots, ensuring that they are positioned facing the center of the rack. This allows the water spray to reach them effectively, resulting in thorough cleaning.
-
Pots and Pans: Arrange pots and pans along the sides of the bottom rack, ensuring that they do not block the sprayer arms. Tilt larger items to allow water to reach all surfaces, promoting a comprehensive wash.
-
Cooking Utensils: Utensils such as spatulas and large spoons can be positioned between the plate slots, maximizing the use of available space. Ensure that these items do not obstruct the rotation of the spray arms.
-
Casserole Dishes: Place casserole dishes and baking pans towards the back of the bottom rack, taking care not to overcrowd the area. This allows for efficient water circulation and ensures that all items receive adequate cleaning.
-
Avoid Overlapping: To facilitate thorough cleaning, avoid overlapping items as much as possible. Overlapping can create pockets where water and detergent may not reach, leading to incomplete cleaning.
By following these guidelines, you can optimize the loading of the bottom rack, ensuring that your larger and heavier items are cleaned effectively during the dishwashing cycle.
Loading the Top Rack
Loading the top rack of your dishwasher is crucial for accommodating smaller items and ensuring they receive thorough cleaning. Here's how to make the most of this space:
-
Glasses and Cups: Position glasses and cups between the tines on the top rack, ensuring that they are secure and do not tip over during the wash cycle. Placing them upside down can help prevent water from collecting inside, promoting efficient drying.
-
Small Plates and Bowls: Utilize the spaces between the tines to place smaller plates and bowls. Ensure that these items are not nested too closely together, allowing water and detergent to reach all surfaces for effective cleaning.
-
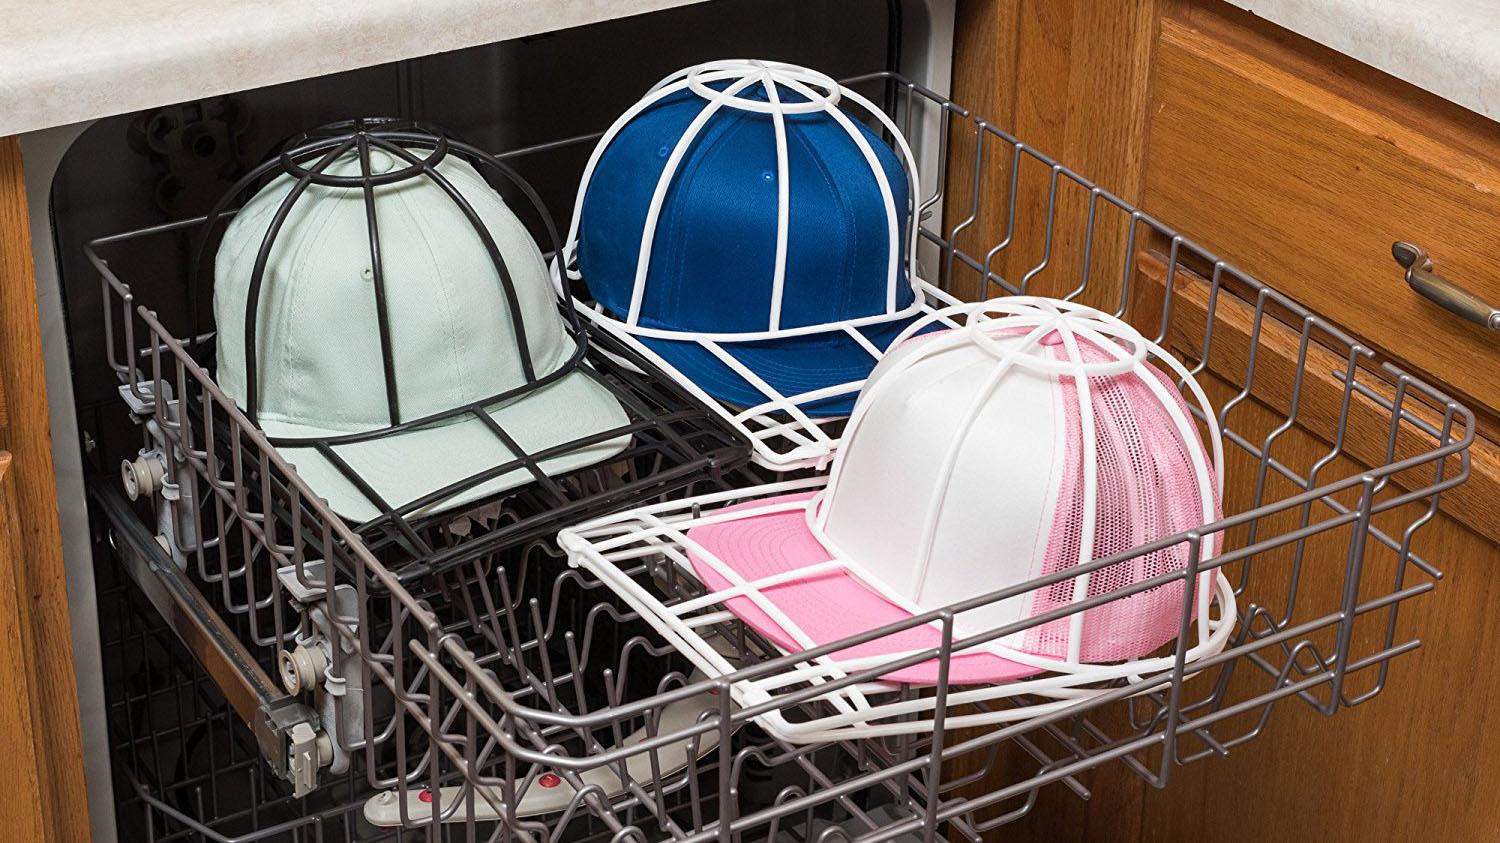
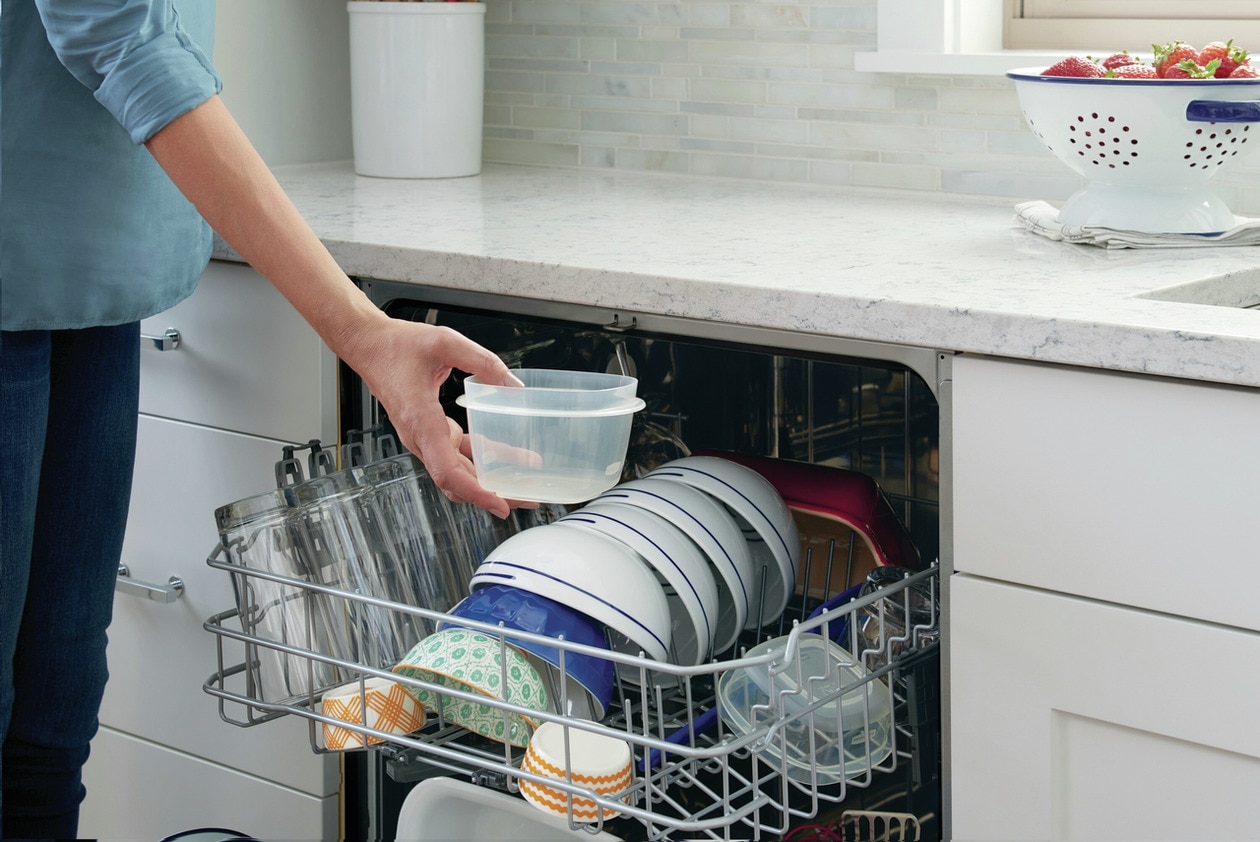
Plastic Items: Place lightweight plastic items, such as storage containers and lids, on the top rack to prevent them from warping or becoming damaged by the dishwasher's heating element. Secure these items between the tines to prevent them from moving around during the cycle.
-
Utensils and Cutlery: Utilize the designated cutlery basket or tray to organize utensils such as forks, knives, and spoons. Group similar items together to facilitate easy unloading and storage after the wash cycle.
-
Avoid Overcrowding: While it may be tempting to maximize the space on the top rack, avoid overcrowding to allow for proper water circulation. Overcrowding can lead to items blocking the spray arms, resulting in inadequate cleaning.
By following these guidelines, you can efficiently load the top rack of your dishwasher, ensuring that smaller items and delicate pieces are cleaned and dried effectively.
To organize a dishwasher effectively, group similar items together, place larger items on the sides and bottom, and ensure that water can reach all surfaces for a thorough clean.
Adding Additional Items
In addition to dishes and utensils, your dishwasher can accommodate various additional items to make the most of its cleaning capabilities. Here are some additional items you can include in your dishwasher load:
-
Microwave Turntable Plate: If your microwave turntable plate is dishwasher-safe, consider placing it in the dishwasher for thorough cleaning. Ensure that it fits securely in the bottom rack to prevent movement during the wash cycle.
-
Range Hood Filters: Grease and grime can accumulate on range hood filters over time. These filters can often be cleaned in the dishwasher, providing a convenient and effective way to maintain their cleanliness.
-
Ventilation Grates: Removable ventilation grates from stovetops or ovens can often be cleaned in the dishwasher. Check the manufacturer's instructions to ensure that these items are dishwasher-safe before including them in your load.
-
Refrigerator Shelves and Bins: Some refrigerator shelves and bins are dishwasher-safe, allowing you to easily clean and sanitize these often-overlooked components. Ensure that they fit securely in the dishwasher to prevent damage during the wash cycle.
-
Sink Strainer: Dishwasher-safe sink strainers can be included in your dishwasher load to remove food particles and debris, keeping them clean and odor-free.
-
Pet Bowls: Pet food and water bowls can be effectively cleaned in the dishwasher, providing a convenient way to maintain your pet's feeding accessories.
By including these additional items in your dishwasher load, you can maximize its capacity and ensure that a variety of household items receive thorough cleaning and sanitization. Always refer to the manufacturer's instructions to confirm the dishwasher compatibility of these additional items.
Read also: 5 Amazing Dishwasher Bottle Basket for 2025
Using the Proper Detergent
Selecting the appropriate detergent for your dishwasher is essential to achieve optimal cleaning results. Here's how to ensure you are using the proper detergent for your dishwashing needs:
-
Detergent Type: Choose a high-quality detergent specifically formulated for automatic dishwashers. Look for options that effectively target grease, food residues, and stains while being suitable for your dishwasher model.
-
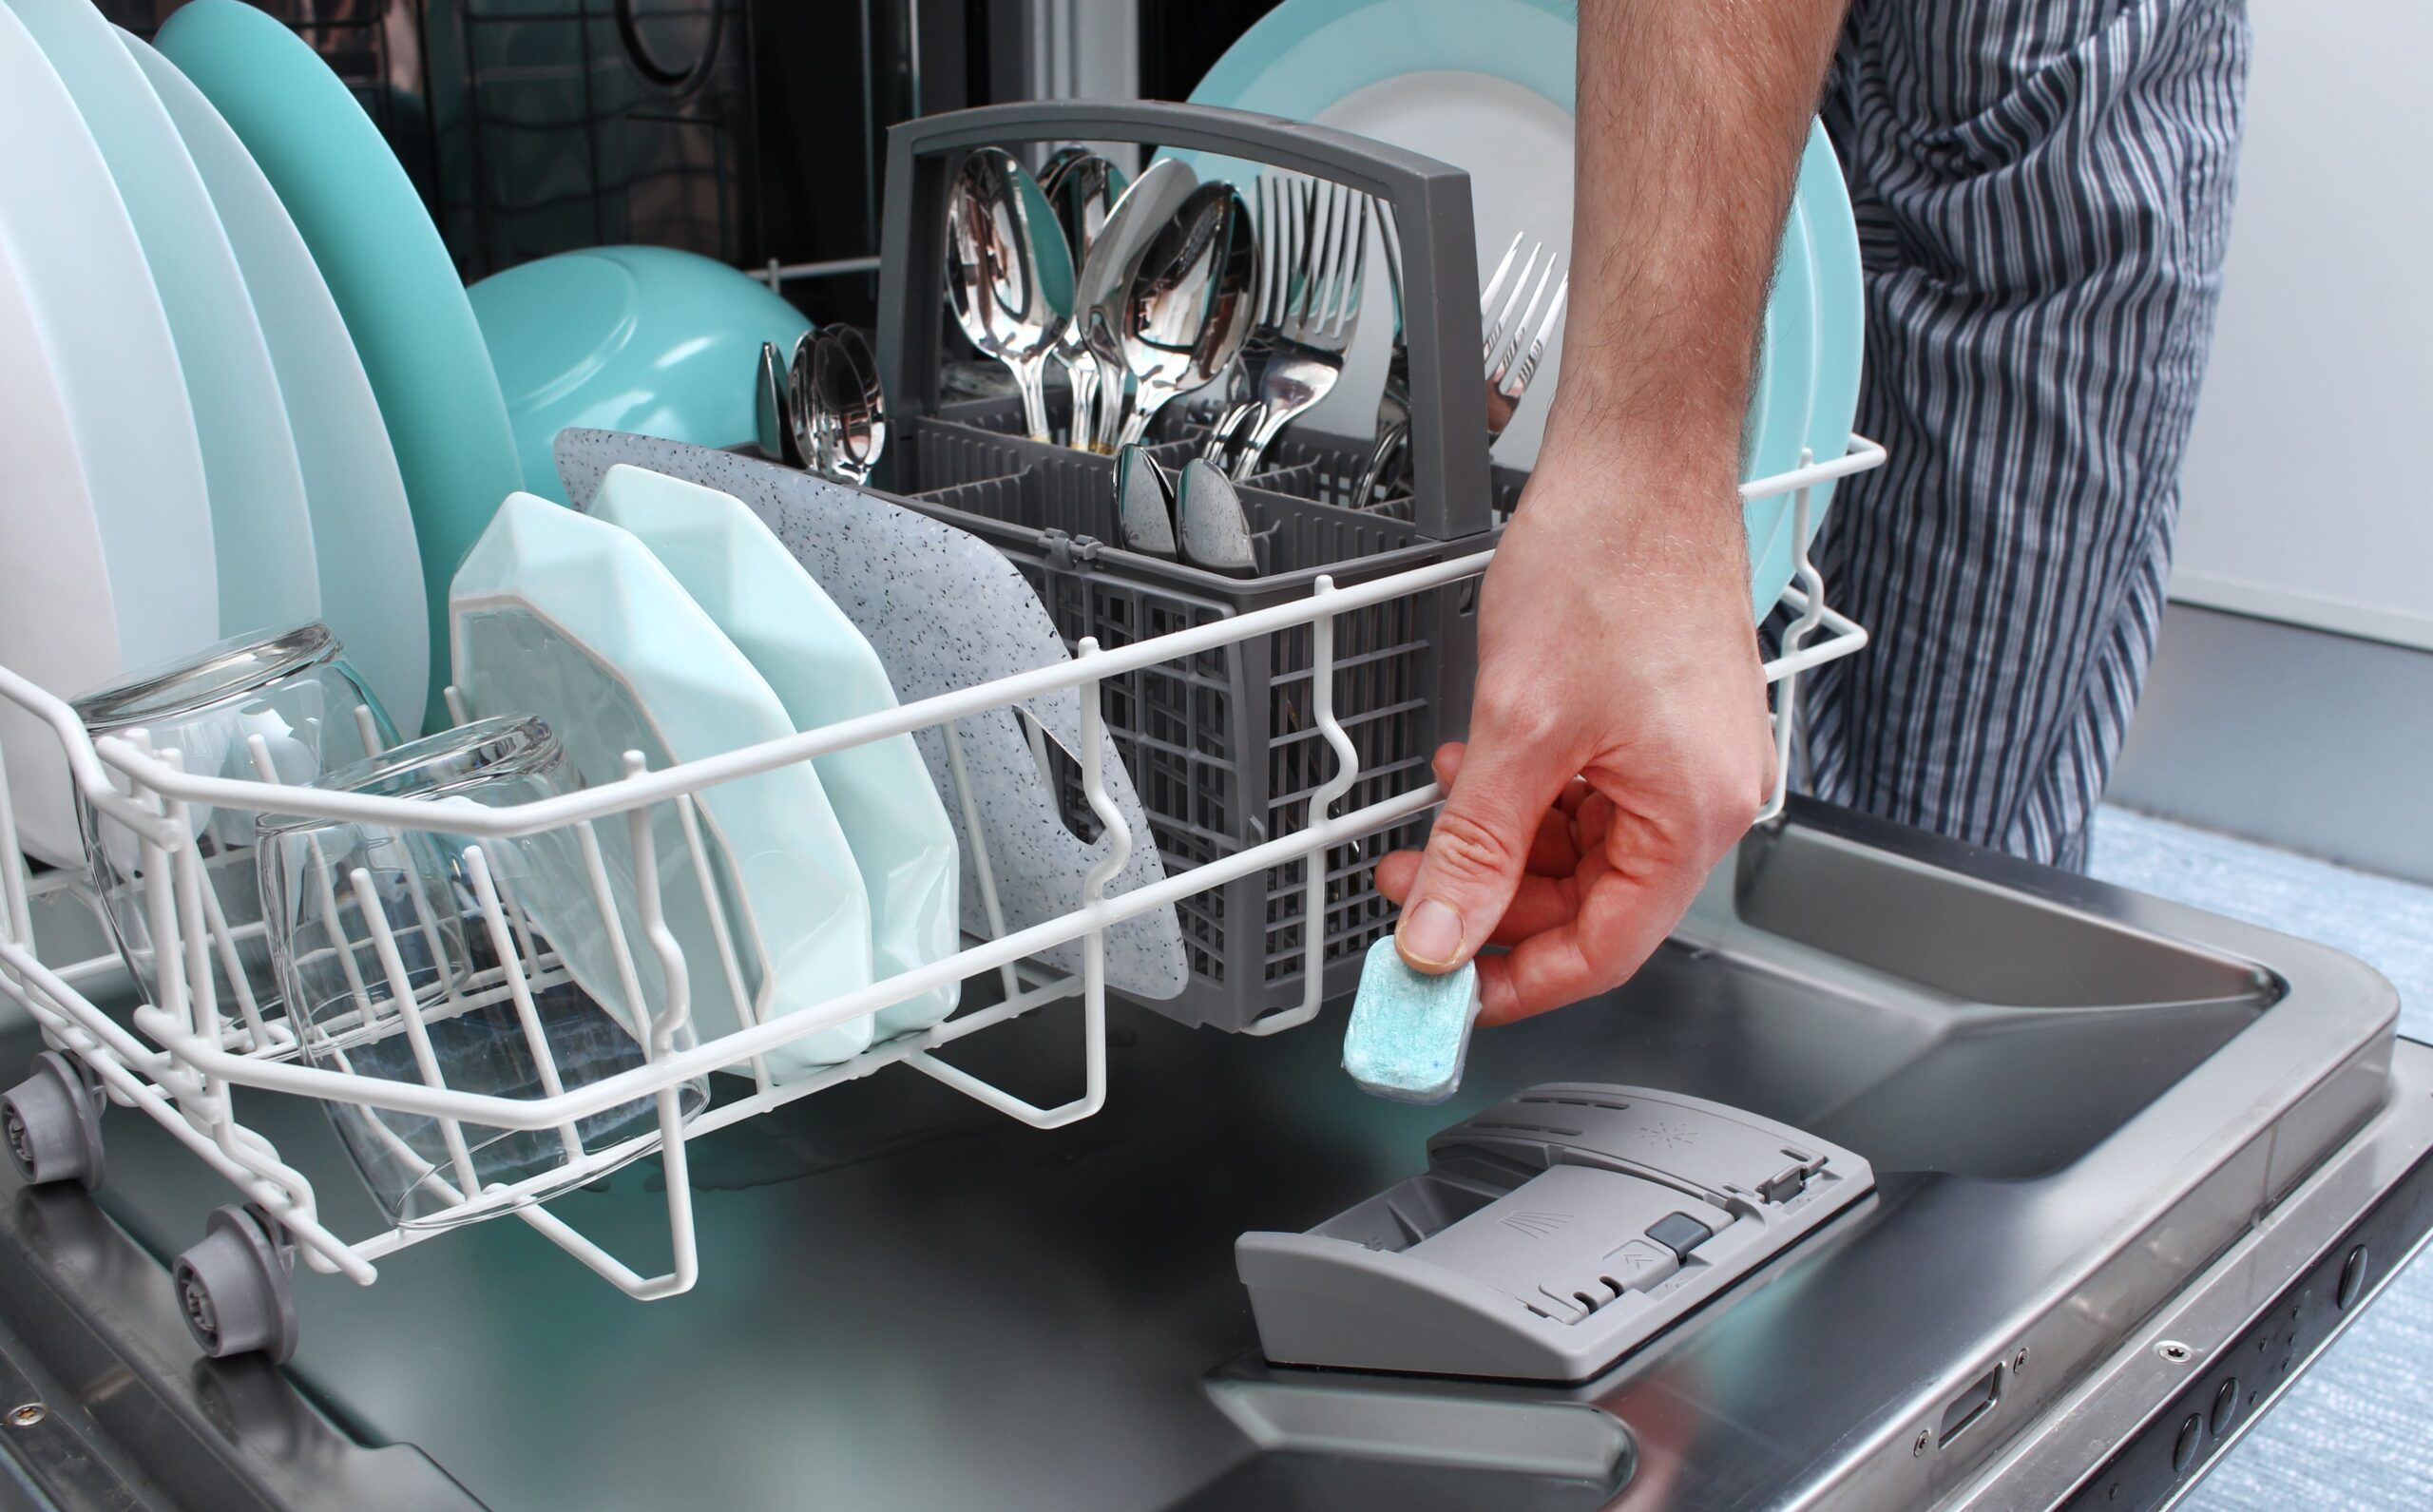
Detergent Form: Dishwasher detergents are available in various forms, including powder, gel, and tabs. Select a form that aligns with your preferences and dishwasher requirements. Powder detergents are versatile and can be adjusted based on the load size, while gel detergents offer convenience and pre-measured doses. Tabs or pods provide a convenient all-in-one solution.
-
Water Hardness: Consider the hardness of your water when selecting a detergent. Hard water requires detergents with added water softeners to prevent mineral deposits and soap scum on dishes. If you have hard water, opt for a detergent specifically designed for hard water conditions.
-
Eco-Friendly Options: For environmentally conscious consumers, eco-friendly dishwasher detergents are available. These detergents are formulated to minimize environmental impact while delivering effective cleaning performance. Look for eco-friendly certifications and labels to ensure the product meets your sustainability criteria.
-
Follow Manufacturer's Recommendations: Always refer to the manufacturer's instructions and guidelines for your dishwasher model. Some dishwashers may have specific detergent recommendations or dosage instructions based on their design and features. Adhering to these recommendations can optimize cleaning performance and prevent potential issues.
By choosing the proper detergent and following these guidelines, you can ensure that your dishwasher operates at its best, delivering spotless and hygienically clean dishes with every wash cycle.
Running the Dishwasher
Once you have loaded the dishwasher with your dishes, utensils, and the appropriate detergent, it's time to set the wash cycle in motion. Here's how to run your dishwasher effectively for optimal cleaning:
-
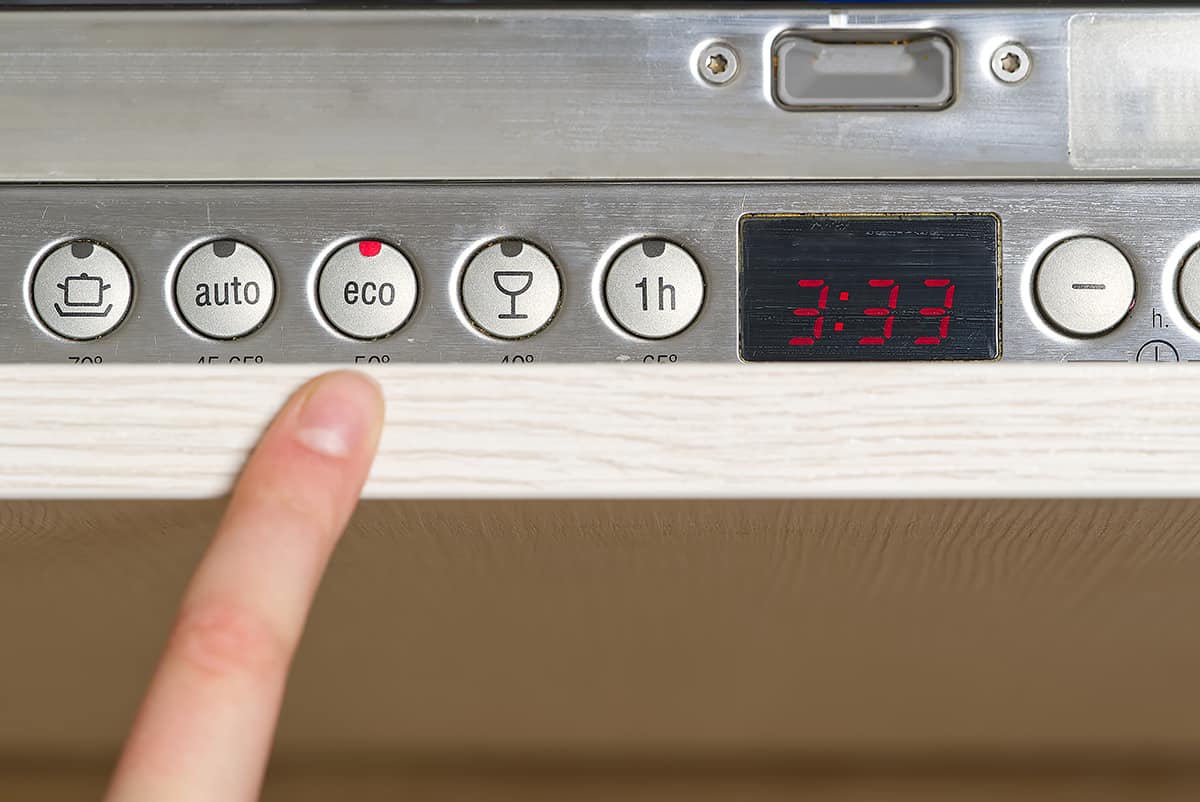
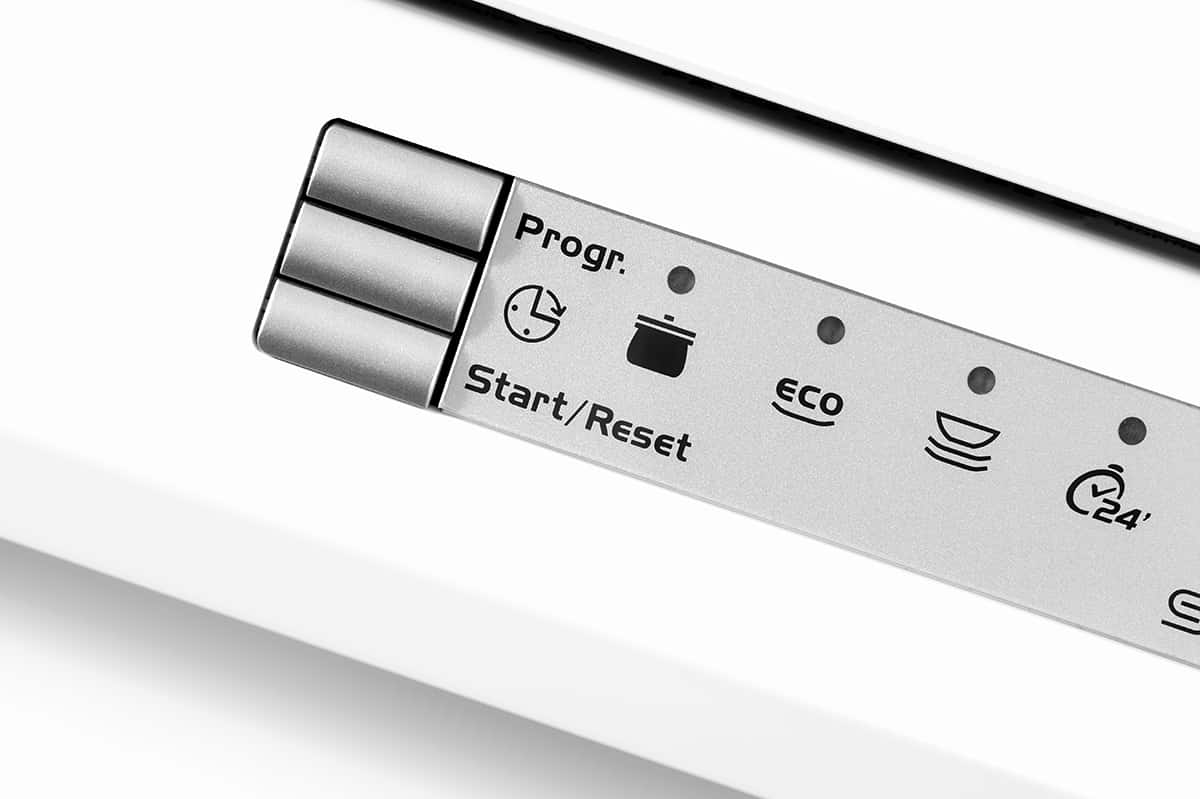
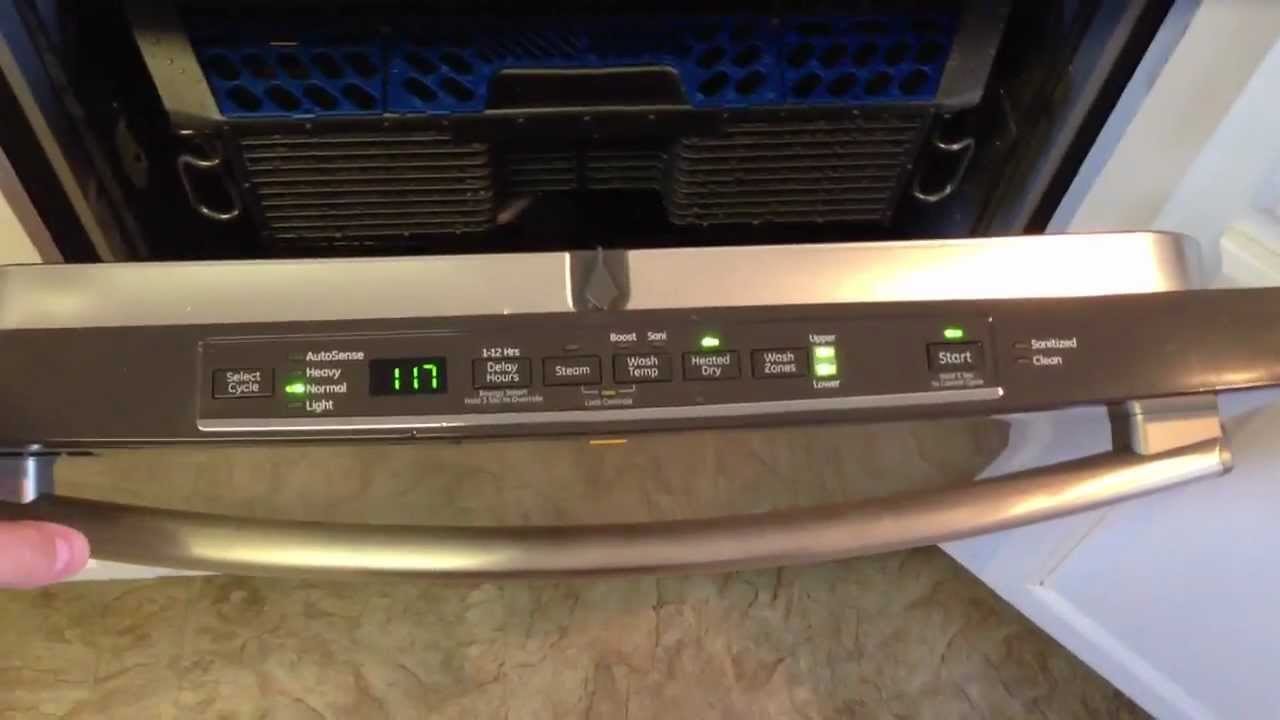
Select the Wash Cycle: Depending on your dishwasher model and the level of cleaning required, choose the appropriate wash cycle. Common options include "Normal Wash," "Heavy-Duty," "Quick Wash," and "Eco-Friendly" cycles. Selecting the right cycle ensures that your dishes receive the ideal combination of water pressure, temperature, and duration for thorough cleaning.
-
Adjust Additional Settings: Some dishwashers offer additional settings such as "Sanitize," "Rinse Only," or "Delay Start." If your dishwasher provides these options, consider adjusting them based on your specific cleaning needs. The "Sanitize" option, for example, can help eliminate bacteria and germs, while a "Delay Start" feature allows you to schedule the wash cycle for a later time.
-
Energy-Saving Considerations: If energy efficiency is a priority, consider running the dishwasher during off-peak hours to take advantage of lower energy costs. Additionally, fully load the dishwasher before running a cycle to maximize its efficiency and reduce water and energy consumption.
-
Start the Cycle: Once you have selected the desired settings, close the dishwasher door securely and initiate the wash cycle. Depending on the cycle you've chosen, the dishwasher will begin the process of filling with water, heating it to the appropriate temperature, and circulating it for cleaning.
-
Monitor the Cycle: While the dishwasher is running, you can monitor its progress through the cycle indicator lights or display panel. Some dishwashers also feature a time remaining display, allowing you to track the duration of the wash cycle.
-
Avoid Interruptions: To ensure consistent cleaning performance, avoid opening the dishwasher door during the wash cycle, especially when it's in the heating or drying phase. Opening the door can disrupt the cycle and affect the overall cleaning results.
-
Post-Cycle Considerations: Once the wash cycle is complete, allow the dishes to cool before unloading them. If your dishwasher has a "Heated Dry" option, consider using it to aid in the drying process, or open the dishwasher door slightly to allow the dishes to air dry.
By following these steps, you can effectively run your dishwasher, taking advantage of its features to achieve sparkling clean dishes with minimal effort.
Unloading and Storing the Dishes
After the dishwasher cycle is complete, it's time to unload the clean dishes and utensils and store them appropriately. Here's how to efficiently handle the unloading and storing process:
-
Safety First: Before unloading the dishwasher, allow the dishes to cool down, especially if you have used a heated dry cycle. Some items may retain heat, so use caution to avoid burns or discomfort.
-
Top-Down Approach: Start by unloading the top rack first, as it prevents any water droplets or residual moisture from the top rack items from falling onto the dishes below.
-
Inspect for Cleanliness: As you remove each item, quickly inspect it to ensure that it's clean and free from any food particles or residue. If you notice any items that require additional cleaning, set them aside for hand washing.
-
Proper Storage: As you unload the dishes, consider storing them in their designated locations. Plates, bowls, and utensils can be placed directly in their respective storage areas, making it easier to access them when needed.
-
Allow for Air Circulation: When storing items in cabinets or drawers, ensure that there is adequate space between each item to allow for air circulation. This helps prevent any moisture buildup and ensures that the dishes remain dry and ready for use.
-
Organize Utensils: If your dishwasher has a designated cutlery basket or tray, organize the utensils by type as you unload them. This makes it easier to locate specific utensils when needed and maintains an organized storage system.
-
Check for Residue: After unloading the dishwasher, take a moment to check the interior for any leftover food particles or debris. Wipe down the interior if necessary to maintain a clean and hygienic environment for future use.
By following these steps, you can efficiently unload and store your clean dishes, ensuring that they remain in pristine condition and ready for your next meal or gathering.
Frequently Asked Questions about How To Organize A Dishwasher
Was this page helpful?
At Storables.com, we guarantee accurate and reliable information. Our content, validated by Expert Board Contributors, is crafted following stringent Editorial Policies. We're committed to providing you with well-researched, expert-backed insights for all your informational needs.



0 thoughts on “How To Organize A Dishwasher”