Articles
How To Unlock A Ge Dishwasher
Modified: August 28, 2024
Learn the step-by-step process of unlocking a GE dishwasher with this informative article. Discover helpful tips and tricks to get your dishwasher running smoothly again.
(Many of the links in this article redirect to a specific reviewed product. Your purchase of these products through affiliate links helps to generate commission for Storables.com, at no extra cost. Learn more)
Introduction:
Unlocking a GE dishwasher is a common problem that many homeowners encounter. Whether the dishwasher door is stuck or the electronic controls are not responding, it can be frustrating to deal with a dishwasher that won’t open. However, with the right knowledge and tools, you can easily unlock your GE dishwasher and get it back up and running in no time.
In this article, we will walk you through the step-by-step process of unlocking a GE dishwasher. We will also provide you with some important safety precautions to follow before attempting any repairs. So, let’s get started and bring that stubborn dishwasher back to life!
Key Takeaways:
- Ensure safety by unplugging the dishwasher, wearing protective gear, and following the owner’s manual. Take necessary precautions to prevent injuries or damage during the unlocking process.
- Successfully unlock your GE dishwasher by releasing the door latch assembly, installing a replacement if needed, and resuming normal operation. Prioritize safety and seek professional assistance if unsure.
Read more: How To Unlock Frigidaire Dishwasher
Safety Precautions:
Before you begin unlocking your GE dishwasher, it’s crucial to prioritize your safety. Follow these important safety precautions to minimize the risk of injury or damage:
- Turn off the power: Before doing any work on the dishwasher, make sure to unplug it from the power outlet to avoid the risk of electric shock.
- Wear protective gear: To protect yourself from sharp edges and chemicals, wear gloves and safety goggles throughout the process.
- Work in a well-ventilated area: If you need to use any cleaning solutions or chemicals, ensure that the area is properly ventilated to prevent inhaling harmful fumes.
- Read the owner’s manual: Familiarize yourself with the dishwasher’s manual and troubleshooting guide before attempting any repairs. This will help you understand the specific instructions for your model.
- Take pictures: Before disassembling any parts, take pictures or make notes of the current configuration. This will help you when it comes time to reassemble the dishwasher.
- Use proper tools: Make sure you have the necessary tools and materials for the task. Using the wrong tools can lead to damage or injury.
- Ask for help if needed: If you are unsure about any step or encounter difficulties, it’s wise to seek assistance from a professional technician.
By following these safety precautions, you can ensure a safe and smooth unlocking process for your GE dishwasher. Remember, your safety should always come first!
Tools and Materials Needed:
Before you begin unlocking your GE dishwasher, gather the following tools and materials:
- Flathead screwdriver: This tool will be useful for prying and manipulating certain components of the dishwasher.
- Phillips screwdriver: You may need this type of screwdriver to remove screws that hold parts in place.
- Adjustable pliers: These pliers will help you grip and manipulate components that may be difficult to handle by hand.
- Replacement door latch assembly: If the door latch is the issue, you may need to replace it. Make sure to have the correct replacement part for your specific model of GE dishwasher.
- Work gloves: It’s essential to protect your hands from sharp edges and potential hazards during the unlocking process. Use work gloves that offer a good grip and dexterity.
- Safety goggles: Protect your eyes from debris or cleaning solutions by wearing safety goggles throughout the process.
- Cleaning solution: Depending on the issue you’re facing with your dishwasher, you may need a cleaning solution to remove any buildup or debris. Select a cleaning solution that is safe for the dishwasher’s interior components.
- Clean cloth or sponge: You will need a clean cloth or sponge to wipe down the interior of the dishwasher and remove any dirt, grime, or residue.
Having these tools and materials ready before you start unlocking your GE dishwasher will ensure a smoother process and help you address the issue more efficiently.
Step 1: Unplug the Dishwasher:
The first step in unlocking your GE dishwasher is to ensure that it is completely disconnected from the power source. Follow these steps to unplug the dishwasher:
- Locate the power cord: The power cord is usually located at the back of the dishwasher near the bottom. It may be plugged into a wall outlet or directly into the electrical panel.
- Turn off the power: If your dishwasher is plugged into an outlet, simply unplug it. If it is hardwired, locate the circuit breaker or fuse that controls the dishwasher’s power and turn it off.
- Verify power disconnection: Once you have unplugged the dishwasher or turned off the circuit breaker, double-check that there is no power flowing to the appliance. You can do this by trying to turn the dishwasher on or by checking if any lights are illuminated on the control panel.
Unplugging the dishwasher is an essential safety step that will protect you from electrical shocks while working on the appliance. Make sure to keep the dishwasher unplugged throughout the unlocking process.
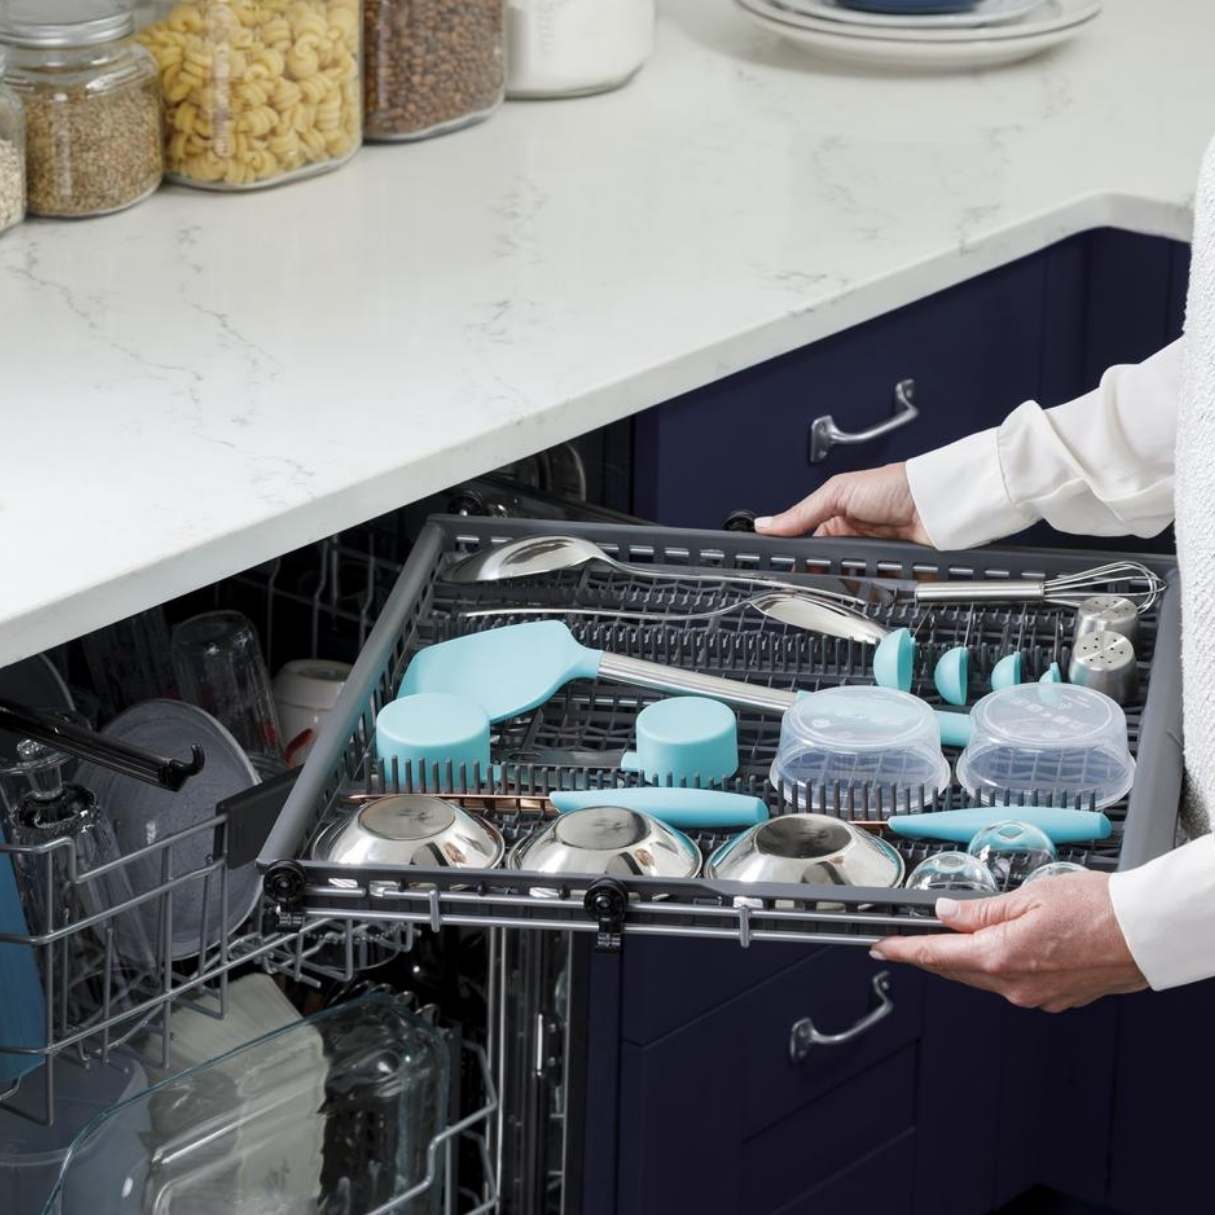
Step 2: Remove the Lower Dish Rack:
Once the dishwasher is safely unplugged, you can proceed to remove the lower dish rack. Follow these steps:
- Pull out the lower dish rack: Gently pull the lower dish rack towards you until it reaches the fully extended position.
- Remove any utensils or debris: Clear the lower dish rack of any utensils, dishes, or debris that may be present. Set them aside for later cleaning.
- Check for any obstructions: Look for any obstructions that may be preventing the lower dish rack from sliding out completely. If you notice any, carefully remove them to ensure smooth removal of the rack.
- Lift the rack off the tracks: Grasp the lower dish rack on both sides and lift it off the tracks. Slowly slide the rack out of the dishwasher cavity, ensuring that it doesn’t snag on any parts or components.
- Set the lower dish rack aside: Place the lower dish rack in a safe location, away from your workspace. You can clean it later or inspect it for any damages or issues.
Removing the lower dish rack provides better access to the components inside the dishwasher, making it easier to unlock and repair. Take care not to force or damage the rack during removal.
Read more: How To Unlock A Kenmore Elite Dishwasher
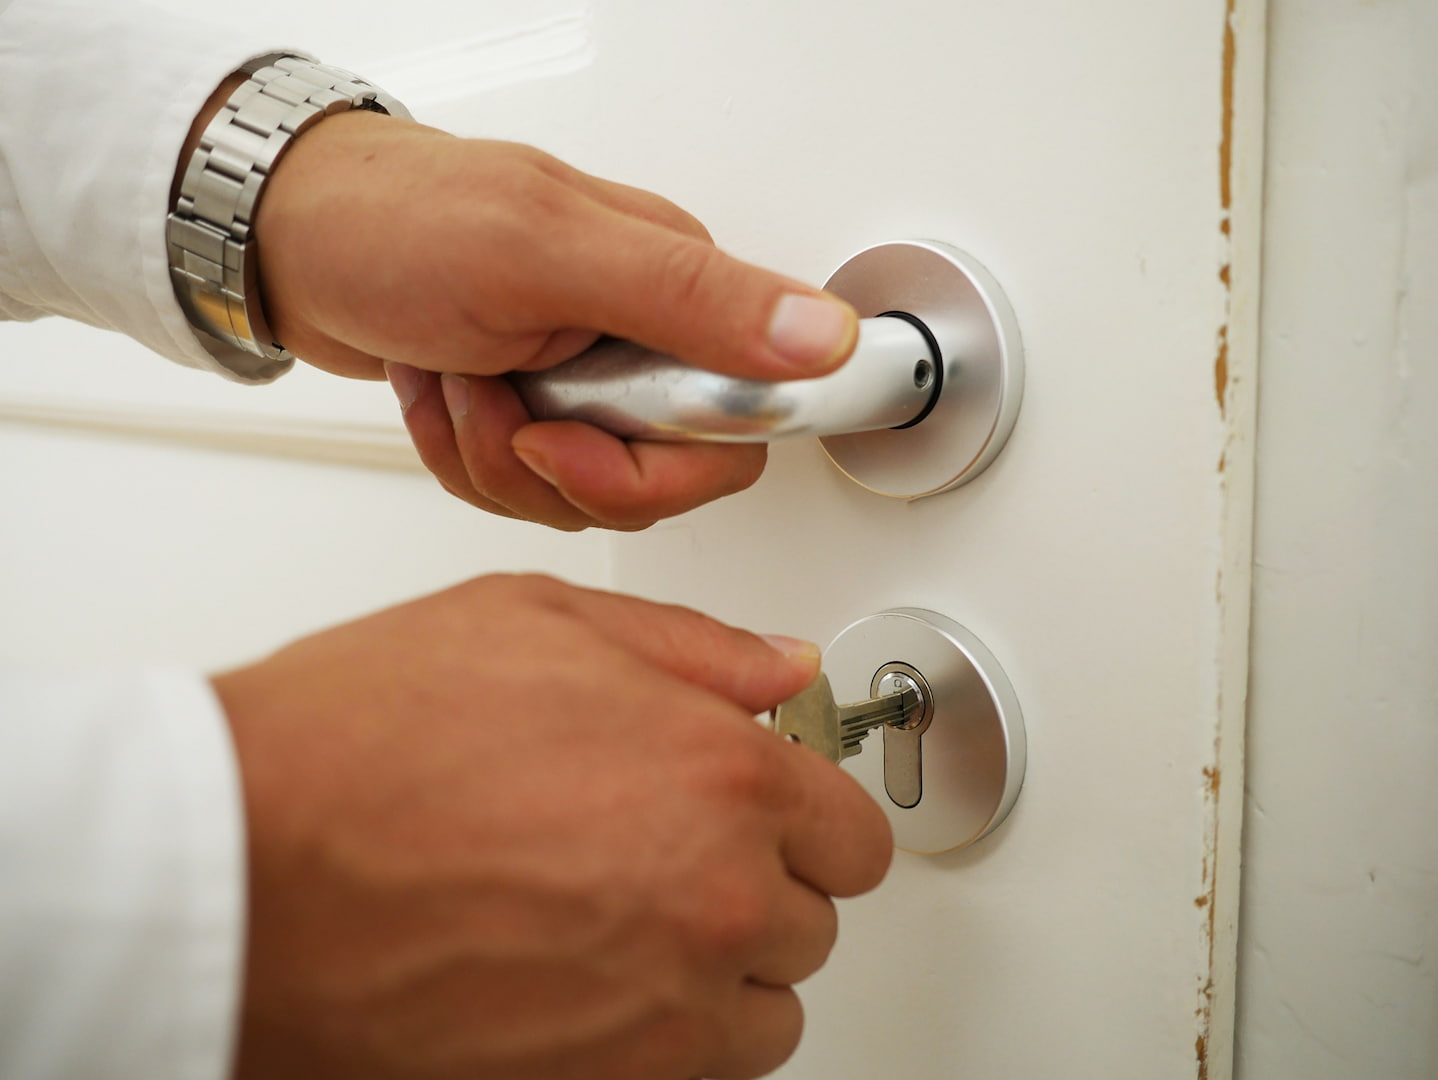
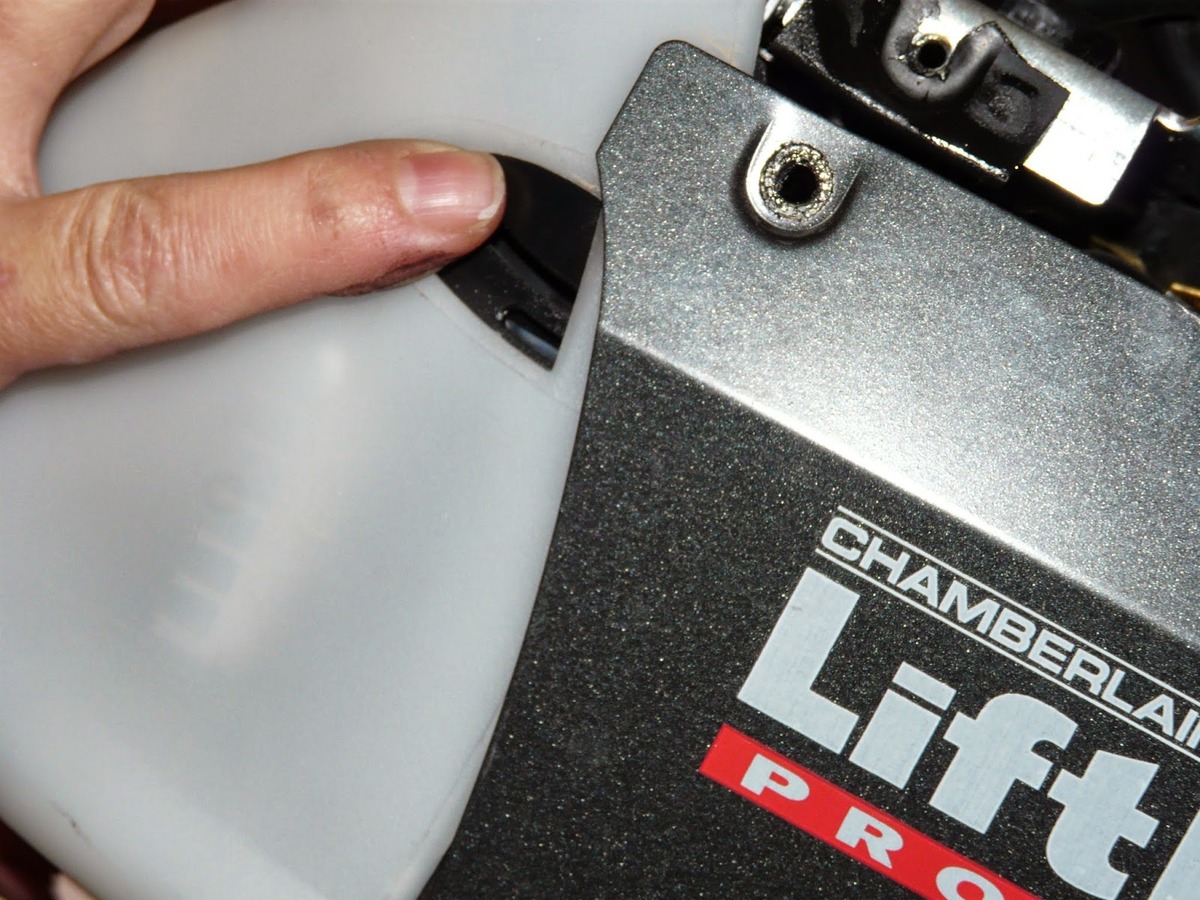
Step 3: Locate the Door Latch Assembly:
Now that you have removed the lower dish rack, it’s time to locate the door latch assembly. Follow these steps to find it:
- Inspect the dishwasher door: Open the dishwasher door and examine the area where the door latches when closed. This is where the door latch assembly is typically located.
- Identify the door latch assembly: Look for a small mechanism or hook-shaped component near the top or sides of the dishwasher door. This is the door latch assembly.
- Take note of any visible damage: While inspecting the door latch assembly, check for any visible signs of damage or wear. Cracks, breakages, or misalignments could be causing the door to remain locked.
- Refer to the owner’s manual: If you’re having difficulty locating the door latch assembly, refer to the dishwasher’s owner’s manual or the manufacturer’s website for a diagram or specific instructions.
By locating the door latch assembly, you will have a better understanding of the mechanism responsible for keeping the dishwasher door locked. This will help you in the next steps of unlocking and resolving any issues with the door latch.
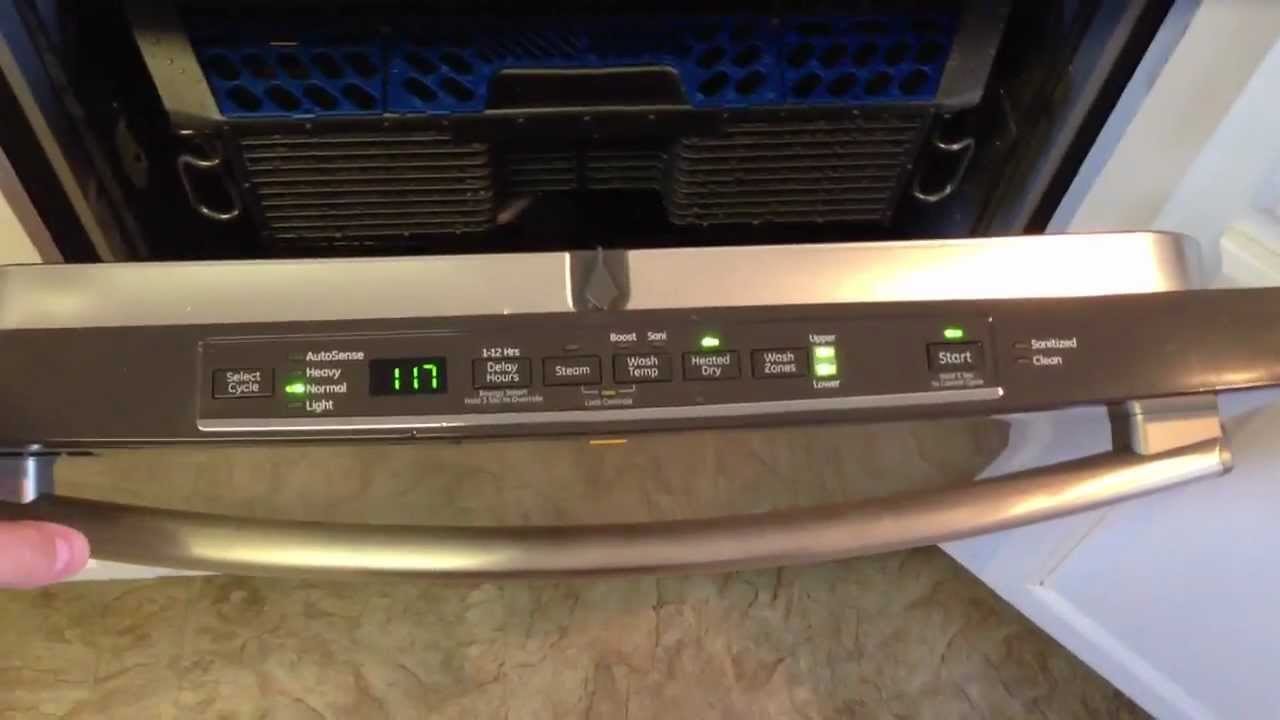
To unlock a GE dishwasher, press and hold the “Heated Dry” button for 3 seconds. This will deactivate the control lock feature and allow you to use the dishwasher normally.
Step 4: Release the Door Latch Assembly:
Now that you have located the door latch assembly, it’s time to release it in order to unlock the dishwasher door. Follow these steps:
- Inspect the door latch: Take a close look at the door latch assembly. Check if there are any obvious obstructions or damaged components that may be preventing it from releasing.
- Manually release the latch: Using a flathead screwdriver or your fingers, carefully push or manipulate the latch to release it. Apply gentle pressure and try different angles until the latch disengages.
- Test the door: With the latch released, attempt to open the dishwasher door. Gently pull on the door handle and see if it opens freely. If it does, you have successfully unlocked the dishwasher door.
- Inspect the latch mechanism: Once the dishwasher door is open, inspect the latch mechanism further. Look for any signs of damage, misalignment, or debris that may have caused the latch to become stuck or malfunction.
- Clean or replace the latch assembly if necessary: If the latch assembly appears dirty or damaged, clean it thoroughly or consider replacing it with a new latch assembly to ensure proper functioning.
By following these steps and releasing the door latch assembly, you should be able to unlock your GE dishwasher and regain access to its interior for further inspection or repairs.
Step 5: Install the New Door Latch Assembly:
If you have determined that the door latch assembly needs to be replaced, follow these steps to install the new one:
- Purchase the correct replacement: Make sure you have the correct replacement door latch assembly for your specific model of GE dishwasher. You can find this information in the dishwasher’s owner’s manual or by contacting the manufacturer.
- Unplug the dishwasher: Before starting any replacement work, unplug the dishwasher from the power source to ensure your safety.
- Access the door latch assembly: Open the dishwasher door and locate the screws or fasteners that secure the door latch assembly in place. Use a screwdriver to remove these screws and detach the old assembly.
- Install the new door latch assembly: Take the new door latch assembly and align it with the screw holes in the dishwasher door. Secure it in place by reinstalling and tightening the screws or fasteners.
- Test the new assembly: Close the dishwasher door and test the newly installed door latch assembly. Ensure that it latches and unlatches smoothly and securely.
- Plug in the dishwasher: Once you have confirmed that the new door latch assembly is working properly, plug the dishwasher back into the power outlet.
Installing a new door latch assembly can help resolve issues with a malfunctioning or stuck latch. It is important to follow the specific instructions for your dishwasher model and take your time during the installation process to ensure proper functioning.
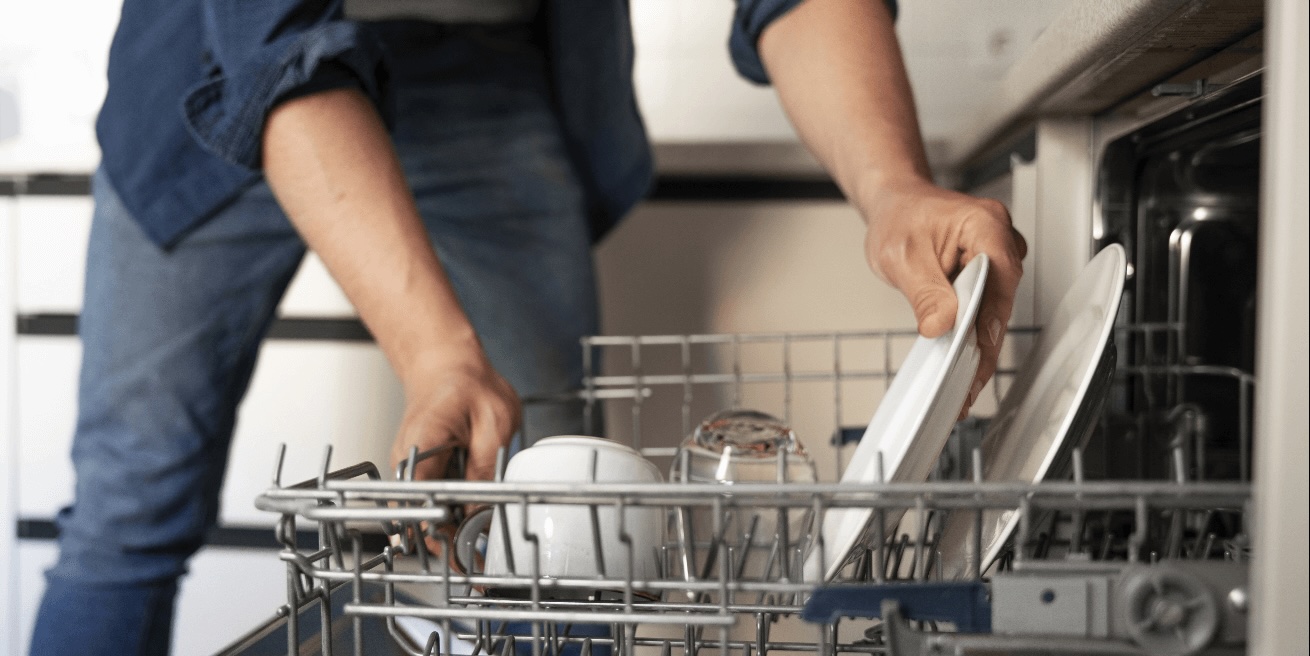
Step 6: Replace the Lower Dish Rack:
With the door latch assembly issue resolved, you can now proceed to replace the lower dish rack. Follow these steps:
- Inspect the lower dish rack: Before placing it back into the dishwasher, check the lower dish rack for any damage or debris. Clean it if necessary, ensuring that it is free from any food particles or obstructions.
- Align the lower dish rack: Position the lower dish rack back into the dishwasher cavity, ensuring that it sits properly on the tracks. Align the rack with the grooves on either side of the dishwasher.
- Slide the rack in: Slowly push the lower dish rack back into the dishwasher until it is fully inserted and rests in its original position. Double-check that it moves smoothly along the tracks without any resistance.
- Verify stability: Give the lower dish rack a gentle shake to ensure it is stable and secure. It should not wobble or come off the tracks.
- Replace utensils and dishes: Once the lower dish rack is in place, you can put back any utensils, dishes, or other items that were originally stored in the rack.
Replacing the lower dish rack correctly allows you to resume normal use of your dishwasher. Take care to align it properly and verify its stability to prevent any issues during operation.
Read more: How To Unlock Kitchenaid Dishwasher
Step 7: Plug in the Dishwasher:
Now that you have completed the necessary repairs and replaced the lower dish rack, it’s time to plug in the dishwasher and bring it back to life. Follow these steps:
- Ensure the dishwasher is in the “Off” position: Before plugging in the dishwasher, make sure the control panel is set to the “Off” position to prevent any accidental starts.
- Locate the power cord: Locate the power cord at the back of the dishwasher. It is usually near the bottom, either directly plugged into a wall outlet or linked to the electrical panel.
- Insert the power plug: Take the power plug and insert it into the appropriate electrical outlet or reconnect it to the electrical panel, depending on how your dishwasher is connected.
- Verify power supply: Once the dishwasher is plugged in, double-check that the power supply is functioning properly. Look for any indicator lights on the control panel or listen for any sounds that indicate power is flowing to the appliance.
- Set the desired cycle: If the power supply is confirmed, select the desired cycle or settings on the dishwasher’s control panel, taking into account the type and amount of dishes you are washing.
- Start the dishwasher: Close the dishwasher door firmly and press the appropriate button to start the dishwasher. Observe if the dishwasher begins its cycle and runs without any issues.
By following these steps and plugging in the dishwasher correctly, you should be able to resume its normal operation. Monitor the dishwasher’s performance to ensure that it functions properly and completes the selected cycle without any problems.
Conclusion:
Unlocking a GE dishwasher doesn’t have to be a complicated or frustrating task. By following the proper steps and taking necessary precautions, you can successfully unlock the dishwasher and resolve any issues with the door latch assembly. Here’s a quick recap of the steps involved:
- Start by unplugging the dishwasher for safety.
- Remove the lower dish rack to gain better access.
- Locate the door latch assembly and inspect it for any damage or obstructions.
- Release the door latch assembly to unlock the dishwasher door.
- If necessary, install a replacement door latch assembly.
- Place the lower dish rack back into the dishwasher.
- Finally, plug in the dishwasher and start it up.
Remember, it is essential to prioritize safety throughout the unlocking process. Unplug the dishwasher, wear appropriate protective gear, and take necessary precautions to prevent injuries or damage.
If you encounter any difficulties or are unsure about the repairs, it’s always a good idea to seek professional assistance from a qualified technician. They can provide expert guidance and ensure that your dishwasher is unlocked and functioning properly.
By following the steps outlined in this article and exercising caution, you can successfully unlock your GE dishwasher and enjoy all the benefits of a fully operational appliance. Say goodbye to the frustration of a locked dishwasher and get ready to enjoy clean and sparkling dishes once again!
Frequently Asked Questions about How To Unlock A Ge Dishwasher
Was this page helpful?
At Storables.com, we guarantee accurate and reliable information. Our content, validated by Expert Board Contributors, is crafted following stringent Editorial Policies. We're committed to providing you with well-researched, expert-backed insights for all your informational needs.


0 thoughts on “How To Unlock A Ge Dishwasher”