
Articles
How To Load The Dishwasher
Modified: May 6, 2024
Discover the best techniques for loading the dishwasher efficiently and effectively with our informative articles. Streamline your dishwashing routine for maximum convenience and cleanliness.
(Many of the links in this article redirect to a specific reviewed product. Your purchase of these products through affiliate links helps to generate commission for Storables.com, at no extra cost. Learn more)
Introduction
Is there anything more frustrating than opening your dishwasher after a cycle only to find that some dishes are still dirty or that items are not properly cleaned? Loading the dishwasher may seem like a simple task, but doing it correctly can make a significant difference in the cleanliness and efficiency of your dishwasher. In this article, we will guide you through the step-by-step process of how to load the dishwasher to ensure sparkling clean dishes every time.
By following the right techniques and organization, you can optimize the dishwasher space, prevent damage to delicate items, and ensure thorough cleaning. So, let’s dive in and learn how to load your dishwasher like a pro!
Key Takeaways:
- Properly loading the dishwasher is essential for achieving spotless dishes. Follow step-by-step guidelines to optimize cleaning, conserve energy, and ensure sparkling results with every wash.
- Say goodbye to handwashing and embrace the convenience of your dishwasher. With the knowledge from this article, you can confidently load and operate your dishwasher like a pro, enjoying clean and hygienic dishes every time!
Read more: How To Load A Bosch Dishwasher
Step 1: Scrape and Pre-rinse
Before loading your dishes into the dishwasher, it is important to scrape off any large food particles or debris. This prevents clogging the dishwasher’s filter and ensures a more effective cleaning process. Simply use a spatula or a soft brush to remove any excess food from plates, bowls, and utensils.
Additionally, it is a good practice to give your dishes a quick pre-rinse to remove any stubborn stains or sticky residue. This helps to remove any excess food particles that are difficult to remove during the dishwasher cycle.
However, be mindful not to over rinse the dishes, as this can result in a waste of water and energy. A quick rinse to remove the majority of the food particles is sufficient.
Remember, modern dishwashers are designed to handle dirty dishes, so you don’t need to completely scrub them clean before loading. Just ensure that you remove any large food particles and give them a light rinse to help the dishwasher do its job effectively.
Step 2: Load Plates and Bowls
When it comes to loading plates and bowls in the dishwasher, it’s important to place them in the designated slots in a vertical position. This allows water to reach all the surfaces and ensures proper cleaning. Avoid overcrowding the plates and bowls, as this can block the water spray and prevent thorough cleaning.
If your dishwasher has adjustable racks, make sure to position them properly to accommodate different sizes of plates and bowls. Larger plates should be placed in the back of the lower rack, while smaller plates and bowls should go towards the front.
It is also a good idea to alternate the direction of larger plates to prevent them from nesting together, which can hinder proper cleaning. Avoid stacking bowls on top of each other, as this can restrict the water flow and result in partially cleaned dishes. Instead, place bowls in their designated holders or arrange them in a way that allows water to reach all surfaces.
Take care not to overload the dishwasher with plates and bowls, as this can obstruct the rotation of the spray arm and hinder proper cleaning. Leave enough space between items to allow water and detergent to flow freely.
Finally, make sure that any delicate or fragile dishes are secured properly to prevent them from moving around during the washing cycle. This will help to prevent breakage and ensure that your dishes come out in pristine condition.
Step 3: Load Glasses and Cups
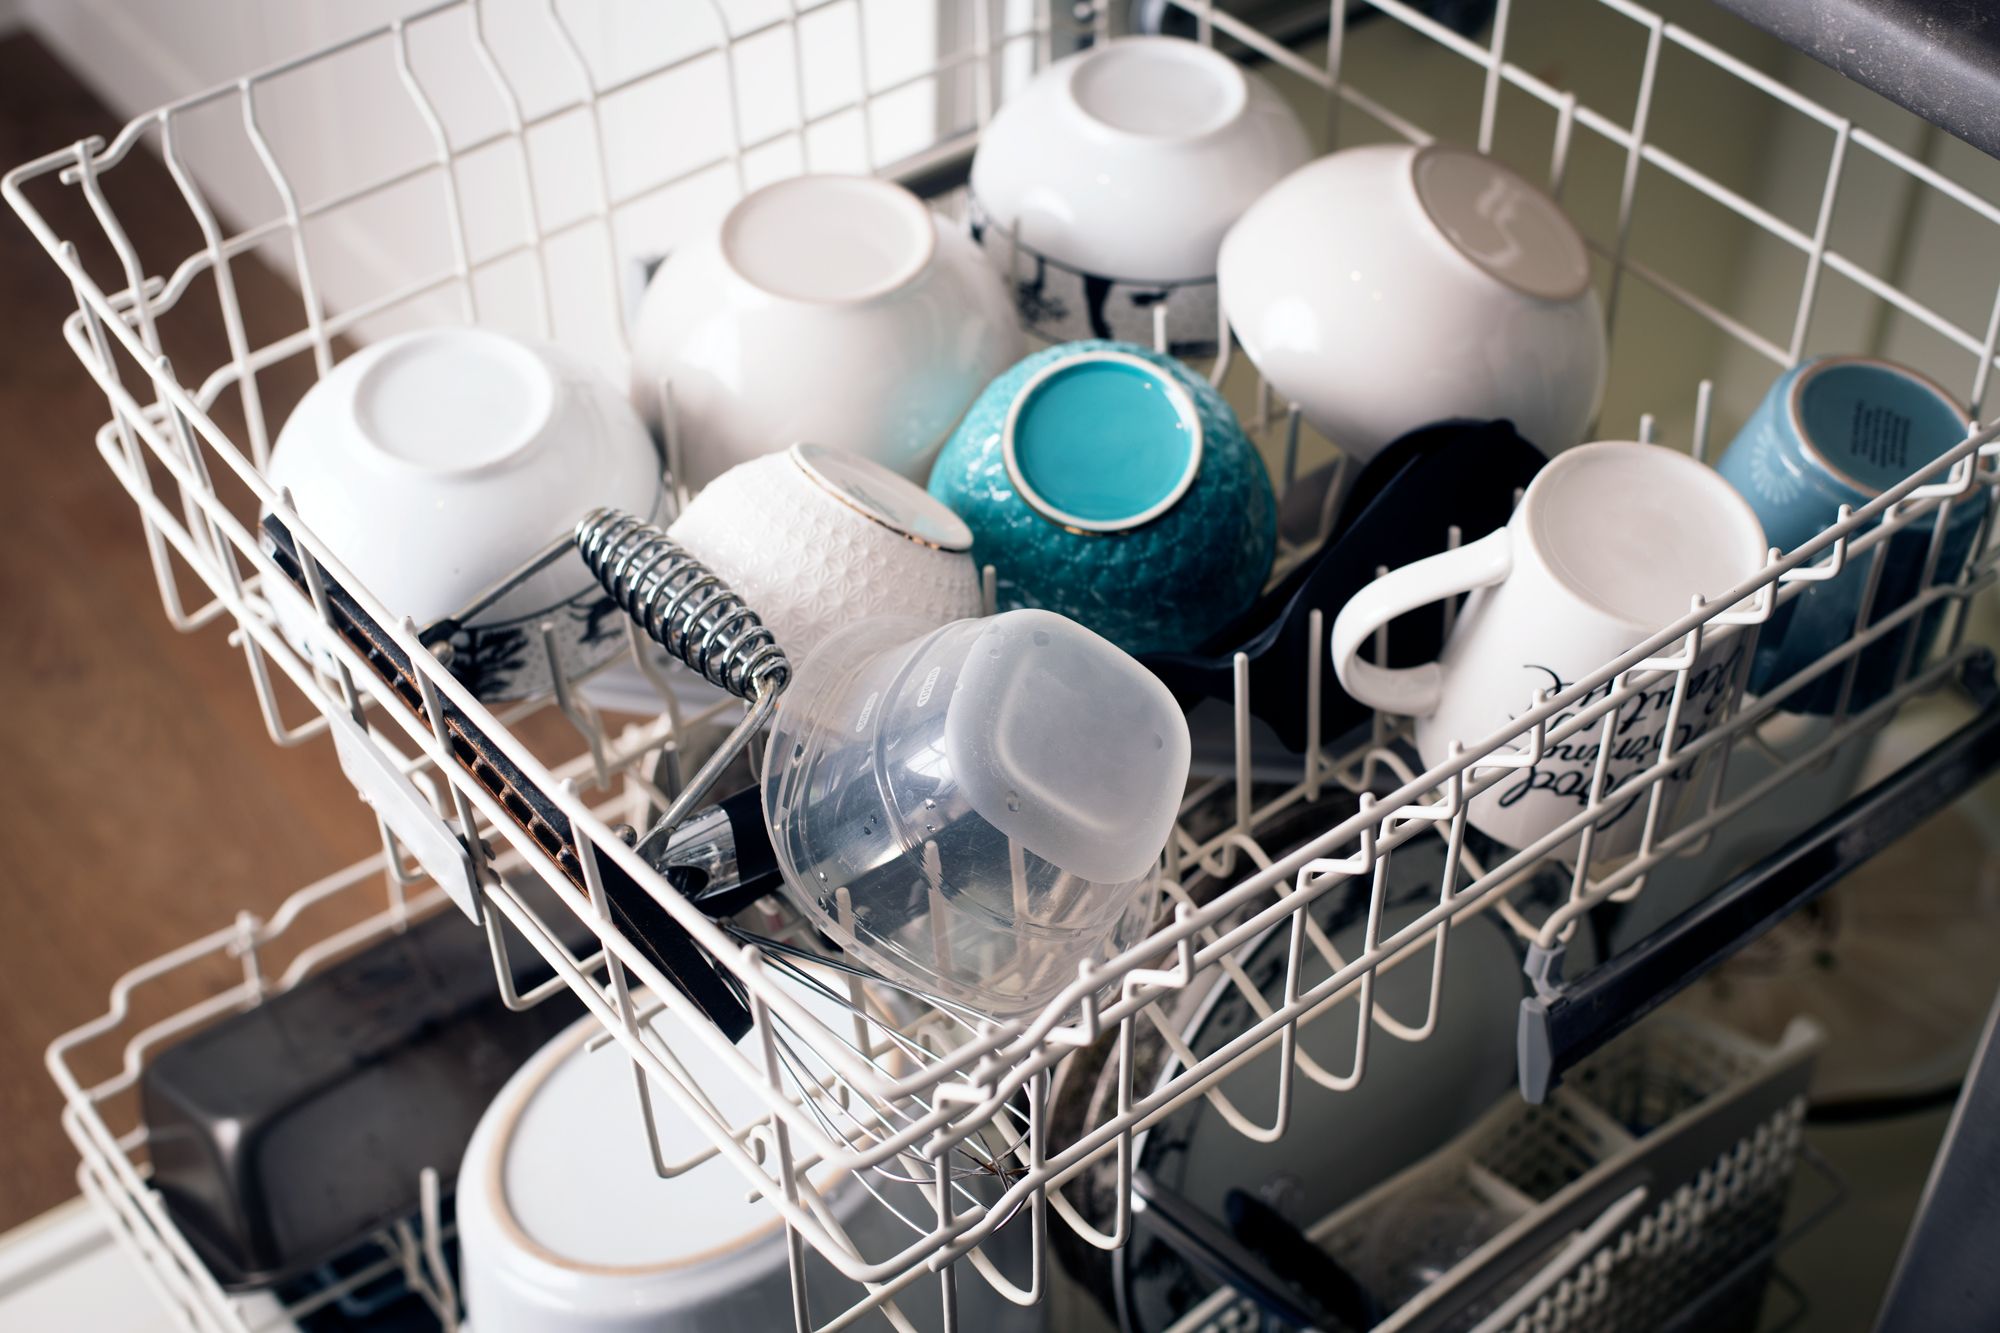
Properly loading glasses and cups in the dishwasher is essential to avoid breakage and ensure a spotless clean. Begin by placing the glasses and cups upside down in the designated holders or on the top rack of the dishwasher.
When loading glasses, be mindful of the material they are made of. Avoid placing delicate or crystal glasses in close proximity to each other to prevent them from chipping or breaking during the wash cycle. If you have stemware, make use of the dishwasher’s stemware holders to securely hold them in place.
For cups, place them securely in the designated holders or on the top rack. If your cups have handles, make sure they don’t overlap, as this can hinder proper cleaning.
It is important to note that dishwasher-safe plastic cups should be placed on the top rack to avoid warping or melting caused by the heating element at the bottom of the dishwasher.
Ensure that glasses and cups are spaced apart adequately to allow water and detergent to reach all surfaces. Avoid overcrowding, as this can result in poor cleaning and potential damage to the items.
Lastly, double-check that there are no dishes or utensils protruding from the bottom rack that could interfere with the rotation of the spray arm or cause damage to the glasses and cups on the top rack.
By following these guidelines, you can load glasses and cups in your dishwasher with confidence, knowing that they will come out clean and intact.
Step 4: Load Cutlery
Properly loading cutlery in the dishwasher is not only important for efficient cleaning but also for safety. Here are some guidelines to follow when loading cutlery:
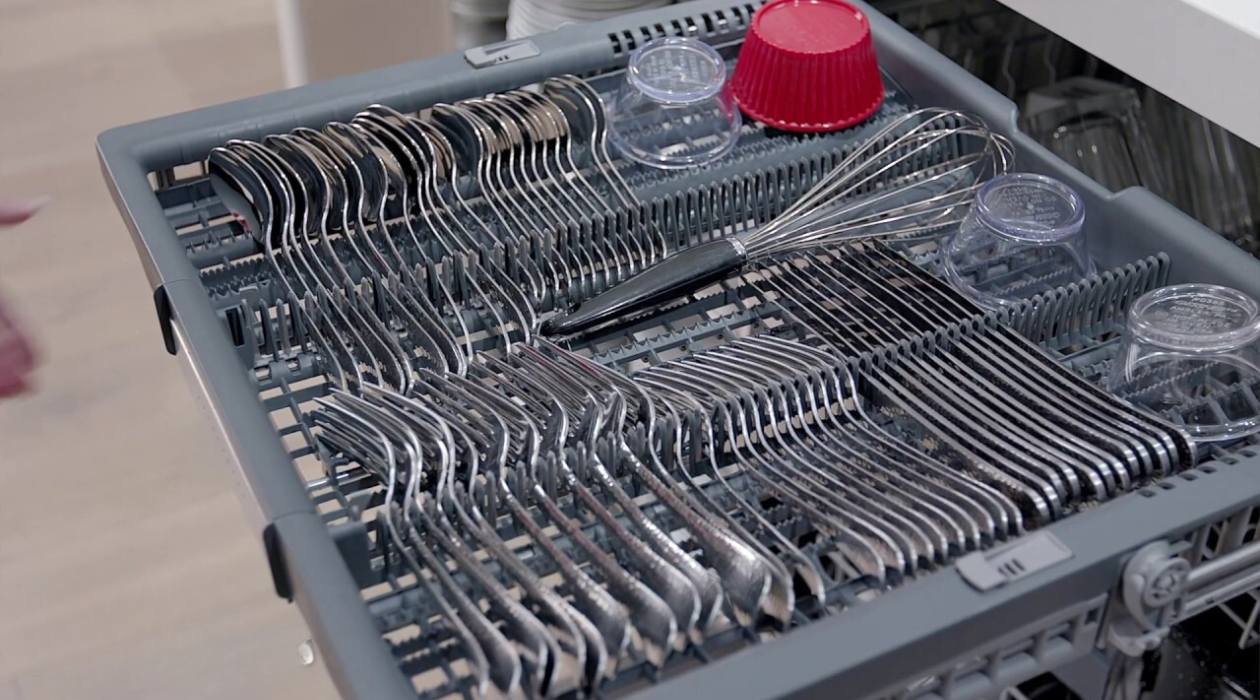
1. Sort Cutlery: Before loading the cutlery, sort them into separate groups such as knives, forks, spoons, and other utensils. This makes it easier to unload them later.
2. Avoid Nesting: To ensure proper cleaning, avoid nesting utensils together. Place them in the cutlery basket or separate them with the handle facing up or down to allow water and detergent to reach all surfaces.
3. Mix up the Cutlery: Avoid placing all the spoons, forks, or knives in one compartment. Mix them up to prevent utensils from sticking together during the wash cycle.
4. Sharp Objects: Place sharp knives or utensils with sharp ends in the utensil compartment facing down. This helps to protect your hands from accidental cuts when unloading the dishwasher.
5. Avoid Overcrowding: Avoid overloading the cutlery basket as it can prevent proper water circulation and impede cleaning. Leave enough space between utensils for water and detergent to flow freely.
6. Ensure Handles Face Down: For safety purposes, make sure the handles of cutlery face down to prevent injury when unloading the dishwasher. This also allows water to reach all parts of the utensils.
7. Separate Stainless Steel and Silver Cutlery: Avoid placing stainless steel and silver cutlery together in the dishwasher. The two types of metal can react with each other, causing surface damage or tarnishing.
By following these simple steps, you can ensure that your cutlery comes out of the dishwasher clean, shiny, and ready to use.
Read more: How To Load A Whirlpool Dishwasher
Step 5: Load Pots and Pans
When it comes to loading pots and pans in the dishwasher, it’s important to consider their size and material to ensure optimal cleaning and prevent damage. Here’s how you can load them efficiently:
1. Check Manufacturer’s Instructions: Before loading any pots or pans, check the manufacturer’s guidelines to ensure they are dishwasher safe. Some cookware may require hand washing to maintain their quality.
2. Pre-rinse if Necessary: If your pots and pans have baked-on or stubborn food residue, give them a quick pre-rinse to remove any excess debris. This will help prevent food particles from clogging the dishwasher and ensure a thorough clean.
3. Place Larger Items on the Bottom Rack: Larger pots and pans should be placed on the bottom rack of the dishwasher. Position them at an angle or diagonally to allow water to reach all surfaces and promote efficient cleaning.
4. Stack Smaller Pots and Pans: If you have smaller pots or pans, you can stack them inside one another to save space. However, ensure there is enough space between each item to allow for proper water circulation.
5. Arrange Handles and Lids: Make sure all handles and lids are facing down to prevent them from trapping water and hindering proper cleaning. This also prevents the risk of the handles being damaged or damaged by the spray arm.
6. Avoid Overcrowding: It’s important not to overcrowd the dishwasher when loading pots and pans. Leave enough space between each item to allow water and detergent to reach all surfaces. Overcrowding can result in poor cleaning performance and potentially damaging the cookware.
7. Avoid Non-stick Cookware: Non-stick pots and pans typically have a special coating that can be damaged in the dishwasher. It’s best to hand wash these items to preserve their non-stick properties and avoid potential damage.
By following these guidelines, you can safely and efficiently load your pots and pans into the dishwasher, ensuring they come out clean and ready to use again.
Step 6: Load Plastic Containers and Utensils
When it comes to loading plastic containers and utensils in the dishwasher, there are a few key considerations to keep in mind. Proper loading techniques can help prevent warping, melting, or damage to these items. Here’s what you need to know:
1. Check for Dishwasher-Safe Label: Before loading any plastic containers or utensils, check for the dishwasher-safe label. Some plastics are not suitable for dishwasher use and can warp or melt under high temperatures.
2. Place Plastic Containers on the Top Rack: Plastic containers, such as food storage containers or Tupperware, should be placed on the top rack of the dishwasher. This helps to minimize the exposure to the dishwasher’s heating element at the bottom, reducing the risk of warping or melting.
3. Avoid Overcrowding: Leave enough space between plastic containers to ensure proper water flow and avoid contact with other items. Overcrowding can result in poor cleaning and potential damage to the containers.
4. Secure Lightweight Utensils: Lightweight plastic utensils, such as spatulas or cooking spoons, can be placed in the utensil compartment or in between the dishwasher tines. If they tend to move around during the wash cycle, consider using a utensil holder or placing them at an angle to prevent them from falling onto the heating element.
5. Avoid High Heat Options: Choose the gentle or low-heat settings on your dishwasher to minimize heat exposure to plastic items. High heat can cause warping or melting, potentially rendering them unusable.
6. Double-check Containers: Before unloading the dishwasher, make sure that all plastic containers are completely dry. This helps to prevent any moisture or condensation from collecting inside, which can lead to unpleasant odors or mold.
By following these guidelines, you can safely load plastic containers and utensils in the dishwasher, ensuring they come out clean and ready for use.
Make sure to scrape off excess food from dishes before loading them into the dishwasher to prevent clogging and ensure a thorough clean.
Step 7: Arrange Dishwasher-Safe Cookware
When it comes to loading dishwasher-safe cookware, such as baking sheets, oven racks, or stove grates, proper arrangement is key to ensure efficient cleaning and prevent damage. Here’s how you can arrange your dishwasher-safe cookware:
1. Remove Excess Debris: Before loading cookware into the dishwasher, remove any excess food particles or debris. This can be done by wiping or rinsing off the cookware using a soft brush or sponge.
2. Place Cookware Flat or Vertically: Depending on the space and size of your dishwasher, you can either place the cookware flat on the bottom rack or vertically on the sides. If placing vertically, position them towards the sides to allow water and detergent to reach the other dishes and utensils.
3. Avoid Overlapping: To ensure proper cleaning, avoid overlapping or stacking cookware on top of each other. This can inhibit water and detergent from reaching all surfaces, resulting in incomplete cleaning.
4. Secure Loose Parts: If your dishwasher-safe cookware has removable parts such as handles or racks, make sure to secure them properly to prevent them from moving around during the wash cycle. This will help prevent damage to both the cookware and the dishwasher itself.
5. Check for Clearance: Before closing the dishwasher, ensure that there is enough clearance for the spray arms to rotate freely. Make sure the cookware doesn’t obstruct the path of the spray arms, as this can hinder proper cleaning.
6. Consider Dishwasher Space: Depending on the size and capacity of your dishwasher, you may need to load larger cookware items, such as baking sheets or oven racks, on an angle to fit within the available space. This will allow other dishes and utensils to be loaded as well.
By following these guidelines, you can properly arrange your dishwasher-safe cookware to ensure thorough cleaning and prevent any damage during the wash cycle.
Step 8: Load the Dishwasher Rack
Properly loading the dishwasher rack is crucial for maximizing space and ensuring effective cleaning. Here are some tips for loading the dishwasher rack:
1. Lower Rack: The lower rack of the dishwasher is designed to hold larger and heavier items such as pots, pans, and plates. Place larger items like pots and pans towards the back of the rack, leaving space in the front for plates and bowls.
2. Upper Rack: The upper rack is designed for smaller and more delicate items such as glasses, cups, and flatware. Glasses and cups should be placed upside down on the tines or in the designated holders to ensure proper cleaning.
3. Don’t Overcrowd: It’s important to avoid overcrowding the dishwasher rack. Overcrowding can impede water flow and prevent dishes from getting properly cleaned. Leave enough space between items to allow water and detergent to reach all surfaces.
4. Face Items Towards the Spray Arms: When loading the dishwasher rack, make sure that dishes and utensils are facing towards the spray arms. This ensures that water reaches all areas and facilitates thorough cleaning.
5. Secure Loose Items: It’s important to secure any loose items or utensils, such as lids or lightweight utensils, to prevent them from moving around during the wash cycle. This helps to avoid potential damage and ensures that everything gets cleaned properly.
6. Utilize Adjustable Racks: If your dishwasher has adjustable racks, make use of them to fit different sizes of dishes, pans, and utensils. Adjust the racks to accommodate larger items and create a more organized loading system.
7. Consider Dishwasher-Safe Labels: Ensure that all items you load into the dishwasher are labeled as dishwasher safe. Some delicate or non-dishwasher-safe items can be damaged or ruined in the dishwasher, so it’s important to check for these labels before loading.
By following these guidelines and arranging items strategically, you can load the dishwasher rack efficiently and ensure that all items come out clean and spotless after the wash cycle.
Read more: How To Load A Samsung Dishwasher
Step 9: Add Dishwasher Detergent
Adding the correct dishwasher detergent is essential for achieving clean and sparkling dishes. Here’s how to properly add dishwasher detergent:
1. Choose the Right Detergent: Select a dishwasher detergent that is specifically formulated for use in automatic dishwashers. There are various types available, including powder, gel, and tablets. Choose a detergent that suits your dishwasher and meets your cleaning needs.
2. Follow Manufacturer’s Instructions: Read the manufacturer’s instructions on the detergent packaging to determine the recommended amount of detergent to use for each wash cycle. The instructions will also provide additional guidance on dosing for your specific dishwasher model.
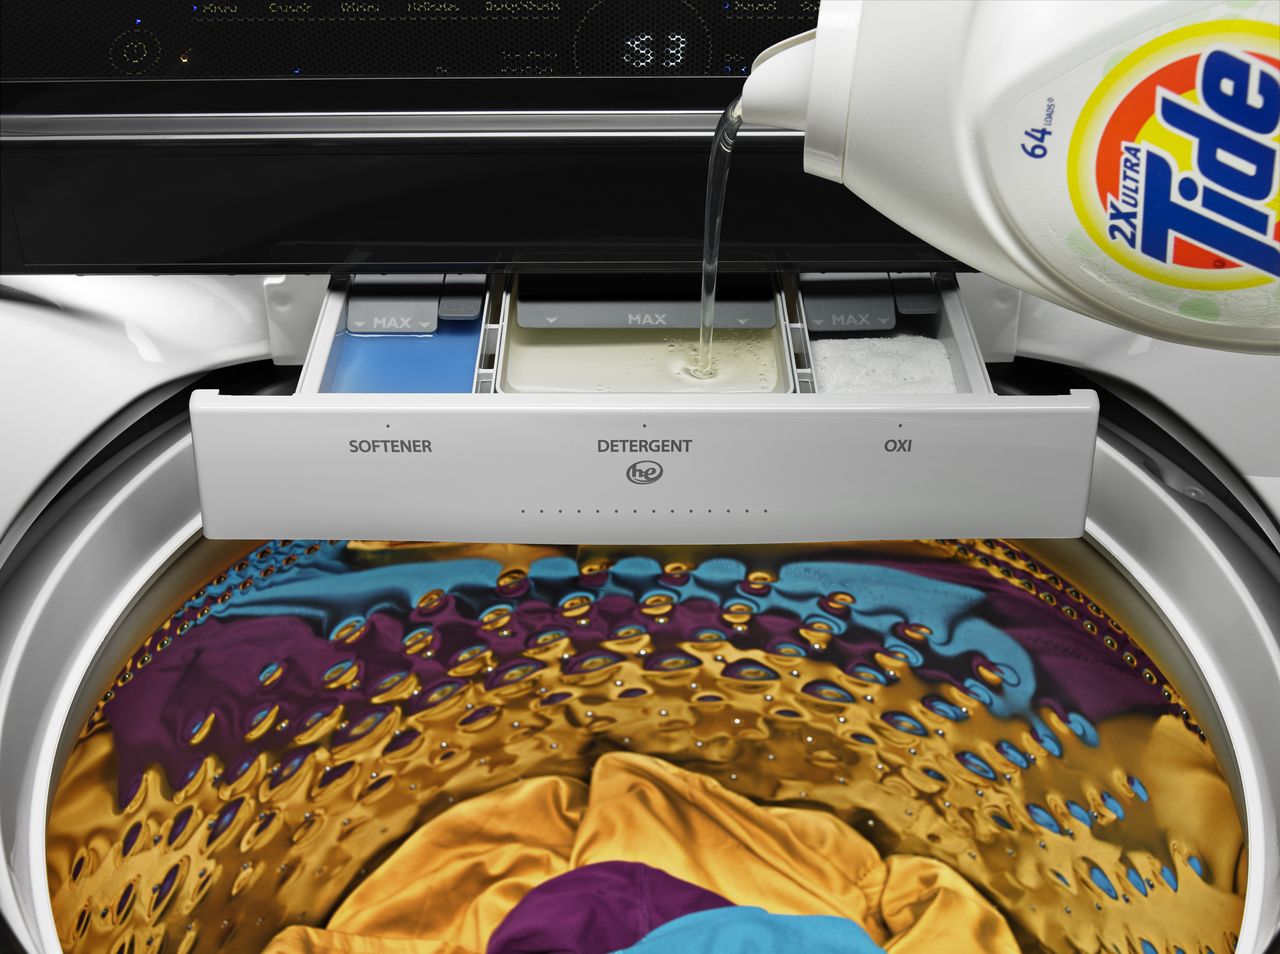
3. Load Detergent Dispenser: Locate the detergent dispenser in your dishwasher. It is usually found in the main wash compartment of the dishwasher door or at the bottom of the dishwasher. Open the dispenser lid or chamber to access the detergent compartment.
4. Measure the Detergent: Measure the appropriate amount of dishwasher detergent according to the manufacturer’s instructions. Use a dishwasher detergent measuring cup or follow the markings on the detergent packaging for accurate measurement. Be careful not to overload the detergent compartment to avoid excessive suds or residue on your dishes.
5. Add Rinse Aid, if Desired: If your dishwasher has a rinse aid dispenser, you can add a rinse aid product to enhance drying and reduce water spots on your dishes. Follow the manufacturer’s instructions for adding rinse aid and adjust the setting if needed.
6. Close the Dispenser: Close the detergent dispenser lid or chamber securely, ensuring it is properly closed and latched. This will prevent the detergent from spilling out during the wash cycle.
7. Select the Wash Cycle: Choose the appropriate wash cycle on your dishwasher control panel based on the level of cleaning required for your dishes. Common options include normal, heavy-duty, quick wash, and eco-friendly cycles. Consult the dishwasher user manual for specific cycle recommendations.
By carefully following these steps, you can add the right amount of dishwasher detergent to ensure effective cleaning and achieve excellent results with every wash cycle.
Step 10: Select the Appropriate Wash Cycle
Choosing the right wash cycle for your dishwasher is crucial for obtaining optimal cleaning results while conserving energy and water. Here’s how to select the appropriate wash cycle:
1. Check Your Dishwasher’s Options: Familiarize yourself with the available wash cycles on your dishwasher. Common options include normal, heavy-duty, quick wash, eco-friendly, and sanitize cycles. Each cycle is designed for specific cleaning needs and varying levels of soil and grease removal.
2. Assess the Level of Soiling: Consider the level of soiling on your dishes and the types of items you are washing. If your dishes have heavy food residue or tough stains, opt for a heavier-duty cycle. For lightly soiled items or a smaller load, a quick or eco-friendly cycle may suffice.
3. Energy and Water Efficiency: Keep in mind that certain cycles may use more energy and water compared to others. Eco-friendly or energy-saving cycles are designed to minimize resource consumption, making them ideal for everyday use when cleaning moderately soiled dishes.
4. Delicate Items: If you have delicate or fragile items such as fine china or glassware, look for a gentle or delicate cycle. This cycle uses lower water pressure and shorter wash times to protect more sensitive materials.
5. Sanitize Option: Consider using the sanitize cycle for items that require extra hygiene. This cycle uses higher temperatures to kill bacteria, ensuring a thorough and hygienic clean.
6. Customizable Options: Some dishwashers offer customizable options within each cycle. These may include options for half-load washing, delayed start, or specific temperature settings. Take advantage of these features to tailor the wash cycle to your specific needs.
7. Follow Manufacturer’s Instructions: Refer to the dishwasher’s user manual for specific recommendations on cycle selection. The manufacturer may provide guidance on which cycle to use for different load types and cleaning requirements.
By carefully selecting the appropriate wash cycle for your dishes, you can ensure efficient cleaning, conserve resources, and achieve sparkling results with every load in your dishwasher.
Step 11: Start the Dishwasher
After loading the dishwasher, selecting the appropriate wash cycle, and adding the detergent, it’s time to start the dishwasher. Here’s how to begin the washing process:
1. Check Water Supply and Drainage: Before starting the dishwasher, ensure that water supply and drainage connections are properly set up. Verify that the dishwasher’s water inlet valve is turned on and that the drain hose is securely connected to the sink or disposal.
2. Close the Dishwasher Door: Ensure that the dishwasher door is firmly closed and securely latched. This ensures that the dishwasher can function properly and that no water or steam escapes during the wash cycle.
3. Select Additional Options (If Necessary): If your dishwasher offers additional options such as heated dry, extra rinse, or delay start, make any desired selections before starting the dishwasher. Refer to your dishwasher’s user manual for specific instructions on using these additional options.
4. Press Start or Power Button: Locate the start or power button on your dishwasher’s control panel. Press the button to initiate the wash cycle. Some dishwashers may require you to press and hold the button for a few seconds to start the cycle.
5. Monitor the Progress: Once the dishwasher has started, you can monitor the progress through the control panel or by listening for the sound of water and the spray arm rotating. Some dishwashers also have a display that indicates the remaining time for the wash cycle.
6. Avoid Opening the Door During the Cycle: It is generally recommended not to open the dishwasher door during the cycle, as this can disrupt the cleaning process and release hot steam. Opening the door can also extend the total duration of the wash cycle.
7. Unload the Dishwasher When Complete: Once the dishwasher completes the wash cycle, it will typically signal its completion through an audible beep or indicator light. Once it’s safe to do so, open the dishwasher door and carefully unload the clean dishes.
By following these steps, you can effectively start your dishwasher and ensure that your dishes are thoroughly cleaned and ready to be used again!
Conclusion
Properly loading and operating your dishwasher is key to achieving clean and spotless dishes with minimal effort. By following the step-by-step guide outlined in this article, you can optimize the cleaning process and ensure the best possible results. Here’s a quick recap of the steps:
1. Scrape and Pre-rinse: Remove excess food particles and lightly rinse dishes before loading them into the dishwasher.
2. Load Plates and Bowls: Place plates and bowls vertically, avoiding overcrowding.
3. Load Glasses and Cups: Place glasses and cups upside down to allow water to reach all surfaces.
4. Load Cutlery: Sort and place cutlery in designated compartments, avoiding nesting.
5. Load Pots and Pans: Place larger items on the bottom rack, ensuring they don’t obstruct water flow.
6. Load Plastic Containers and Utensils: Place plastic items on the top rack, preventing warping or melting.
7. Arrange Dishwasher-Safe Cookware: Properly position cookware to allow proper cleaning and avoid damage.
8. Load the Dishwasher Rack: Place items strategically, utilizing the available space efficiently.
9. Add Dishwasher Detergent: Follow the manufacturer’s instructions, measuring the detergent carefully.
10. Select the Appropriate Wash Cycle: Choose the cycle that suits the level of soiling and type of items being washed.
11. Start the Dishwasher: Close the dishwasher door, select additional options if necessary, and press the start button to begin the wash cycle.
By following these steps, you can optimize the cleaning process, conserve energy and water, and ensure sparkling clean dishes with every wash. Remember to consult your dishwasher’s user manual for specific instructions and recommendations.
So, say goodbye to handwashing and embrace the convenience and efficiency of your dishwasher. With the knowledge and techniques presented in this article, you can confidently load and operate your dishwasher like a pro, saving time and effort while enjoying clean and hygienic dishes every time!
Now that you've mastered loading your dishwasher, why not give your refrigerator a deep clean or reorganize your kitchen for better functionality? If your fridge could use some sprucing up, our article on cleaning tips will show you how to get every nook and cranny sparkling. For those dealing with a cramped cooking space, our guide on kitchen organization offers ten creative ways to make the most out of every inch. Both guides are packed with practical advice to keep your home tidy and efficient.
Frequently Asked Questions about How To Load The Dishwasher
Was this page helpful?
At Storables.com, we guarantee accurate and reliable information. Our content, validated by Expert Board Contributors, is crafted following stringent Editorial Policies. We're committed to providing you with well-researched, expert-backed insights for all your informational needs.






0 thoughts on “How To Load The Dishwasher”