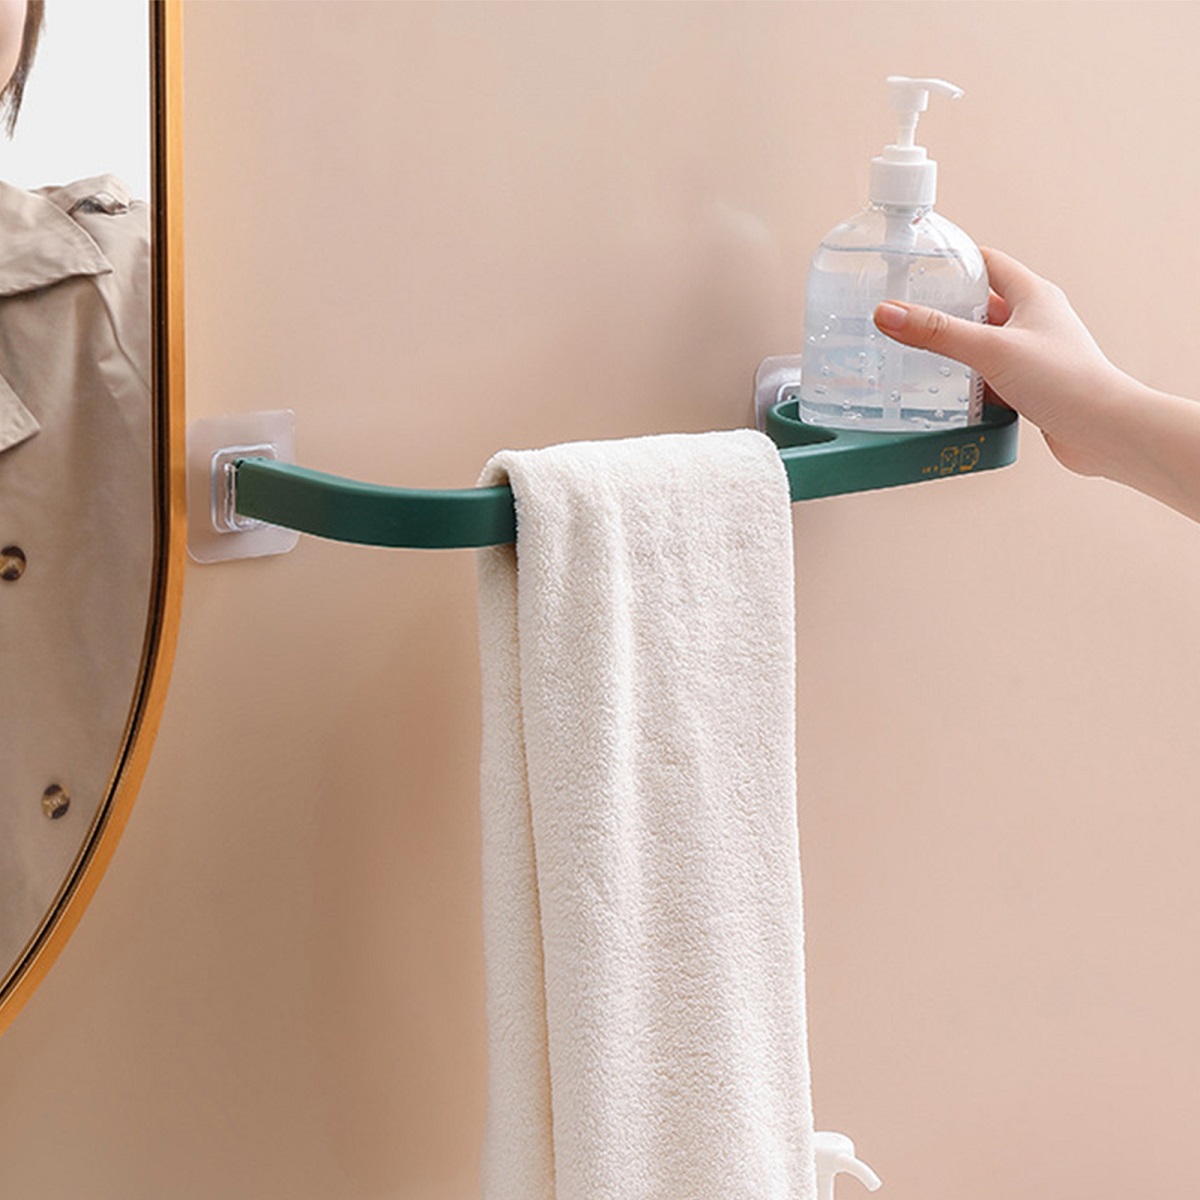
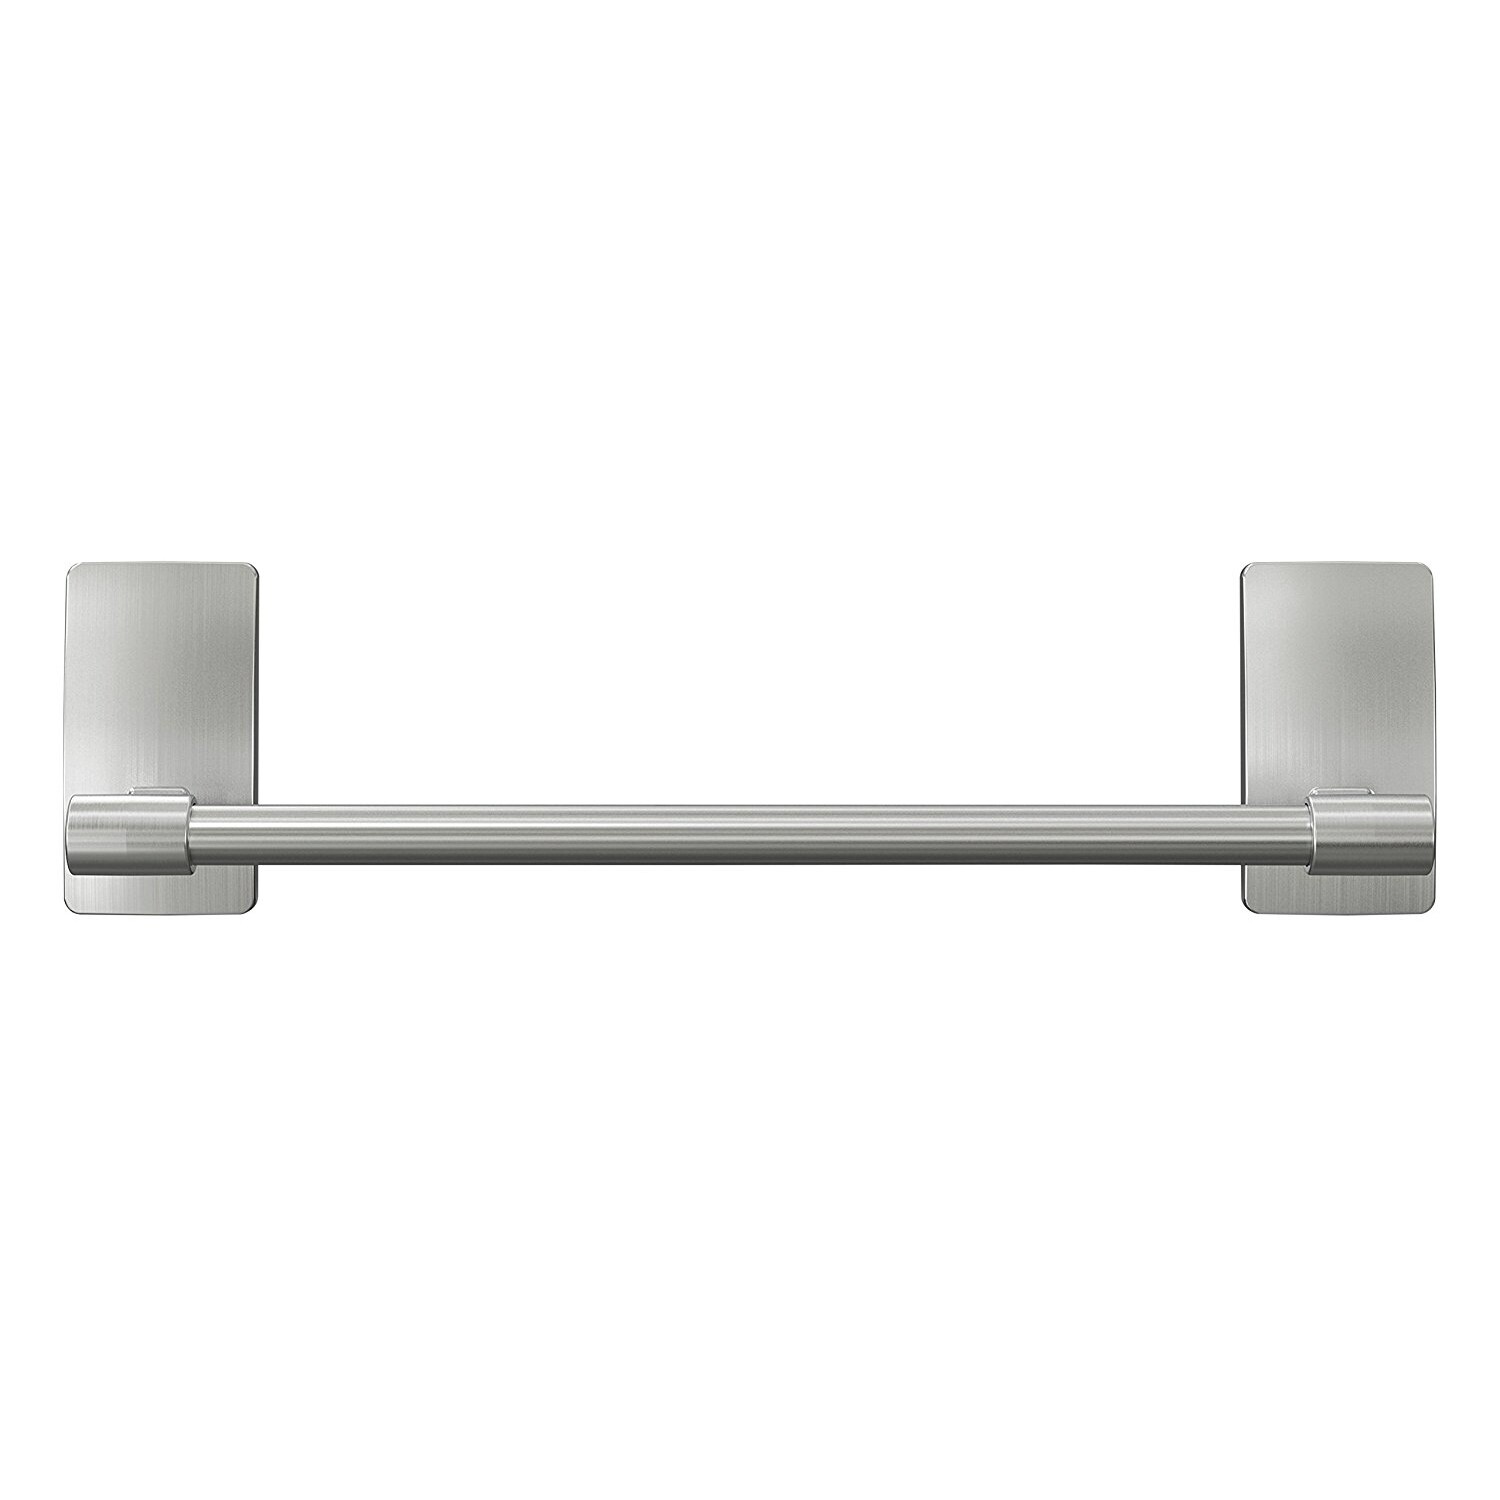
Home> DIY Towel Bar Installation

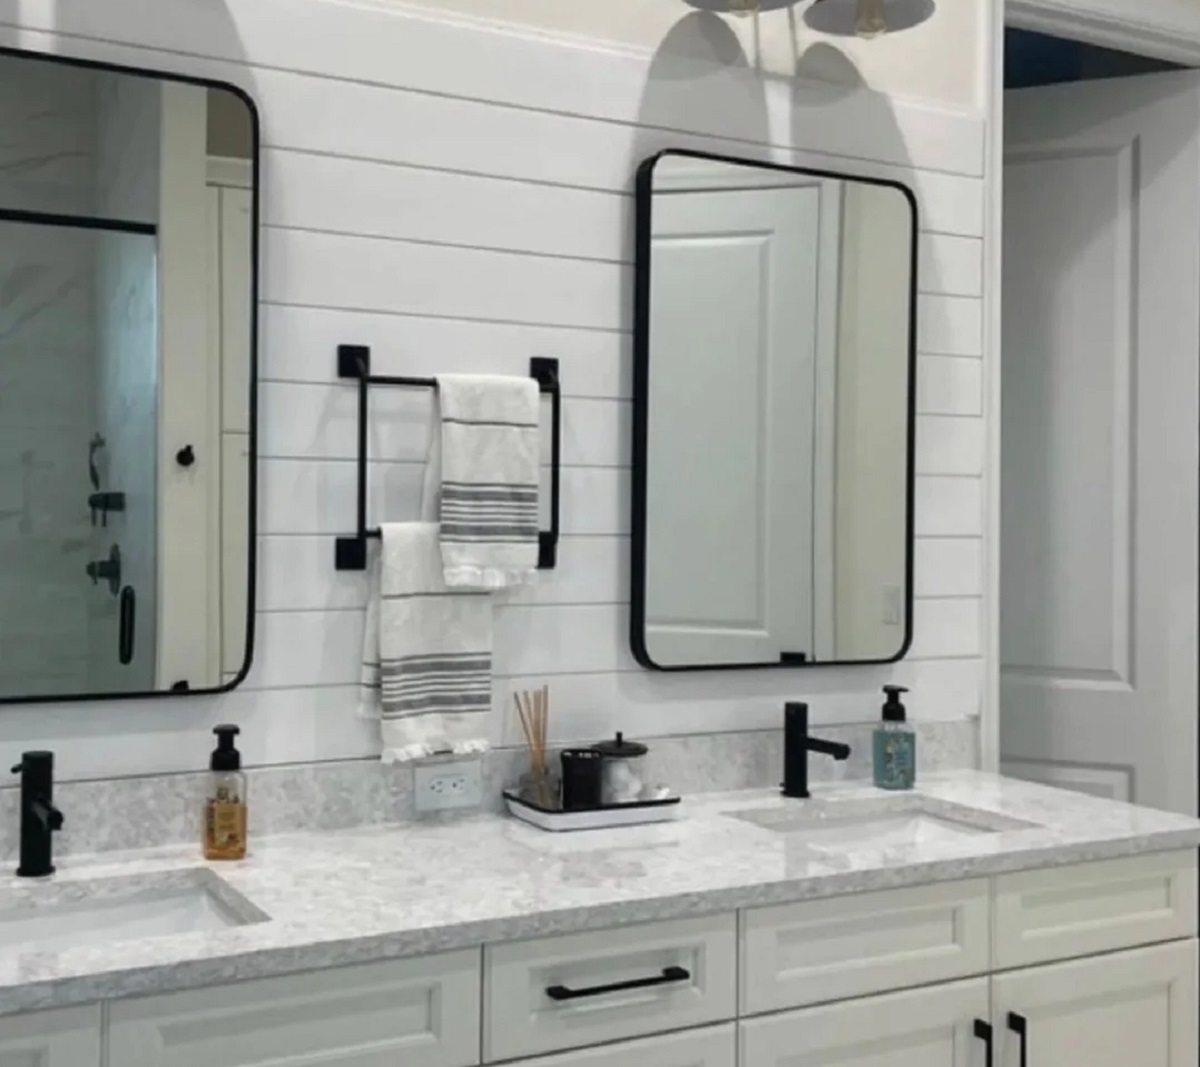
DIY Towel Bar Installation: Step-by-Step Guide to Perfect Setup

November 9, 2023

Explore our easy DIY Towel Bar Installation guide. Transform your bathroom with a new towel bar in no time using our simple steps. Try it now, it’s easier than you think!
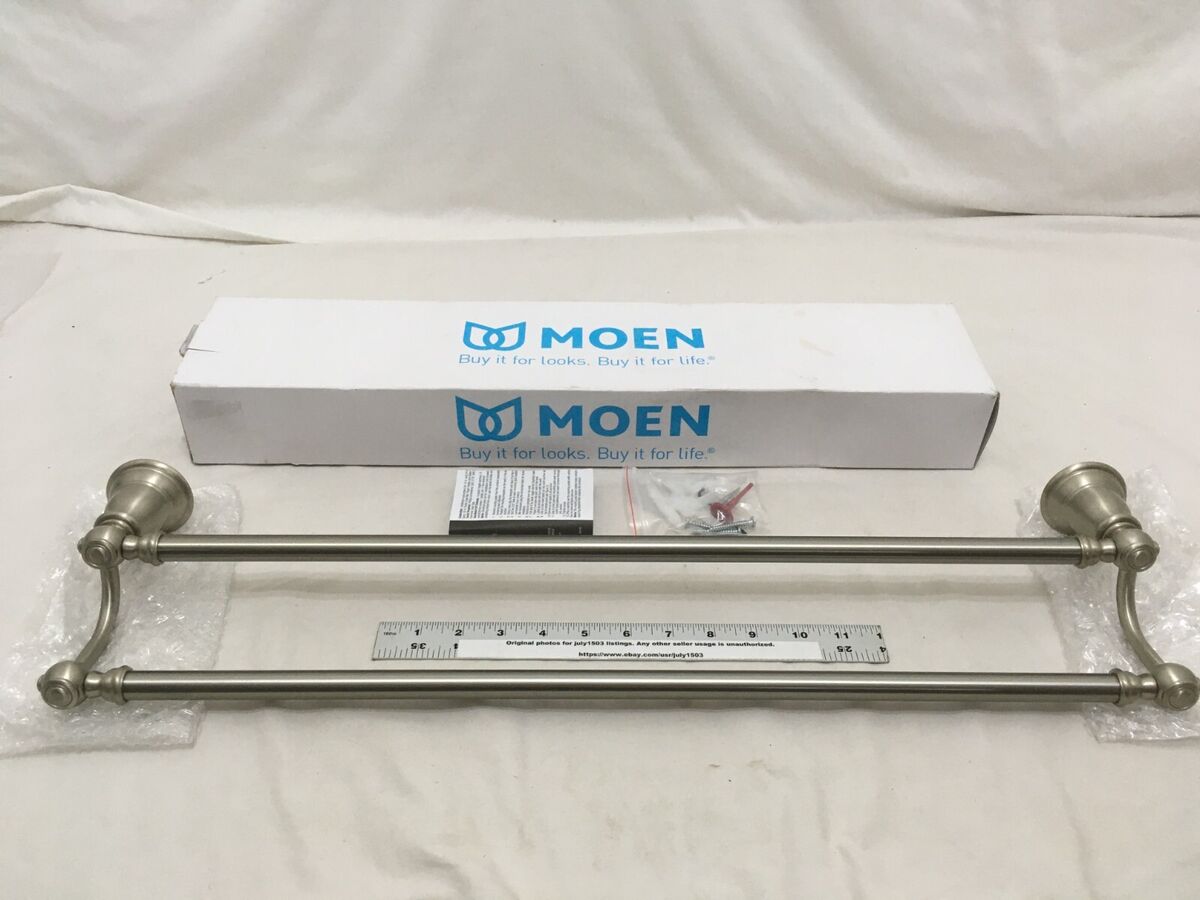
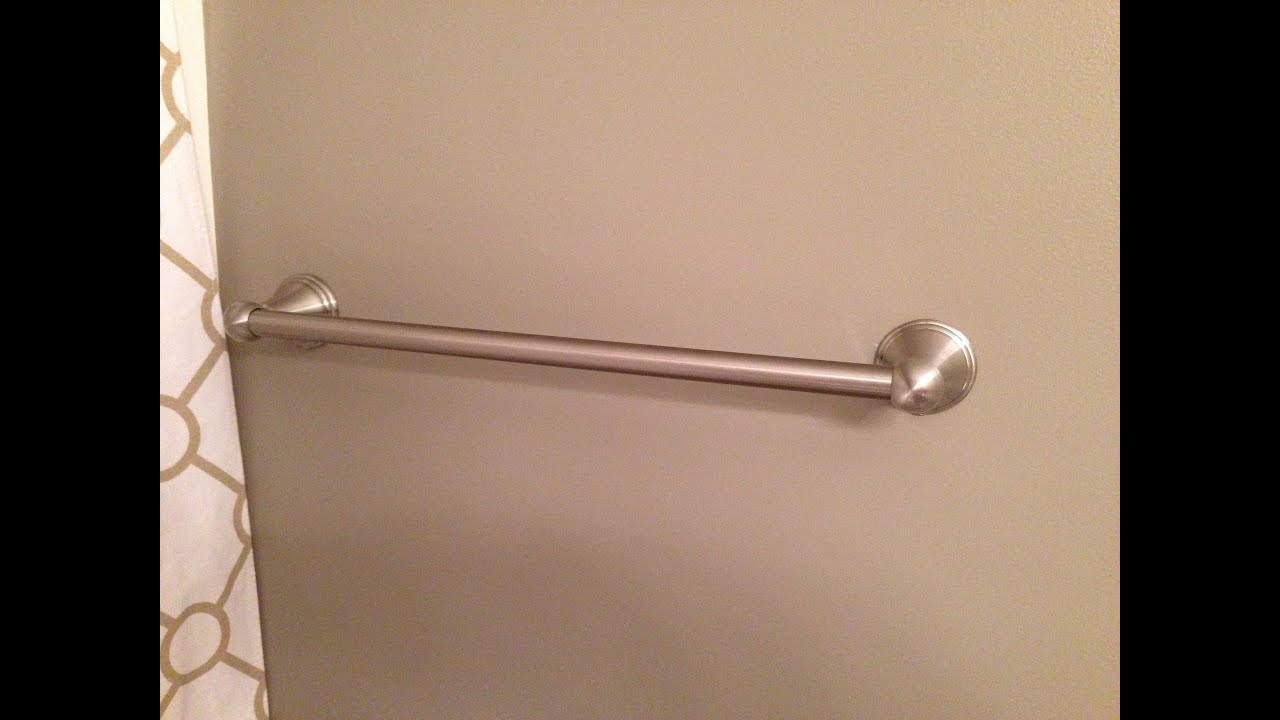
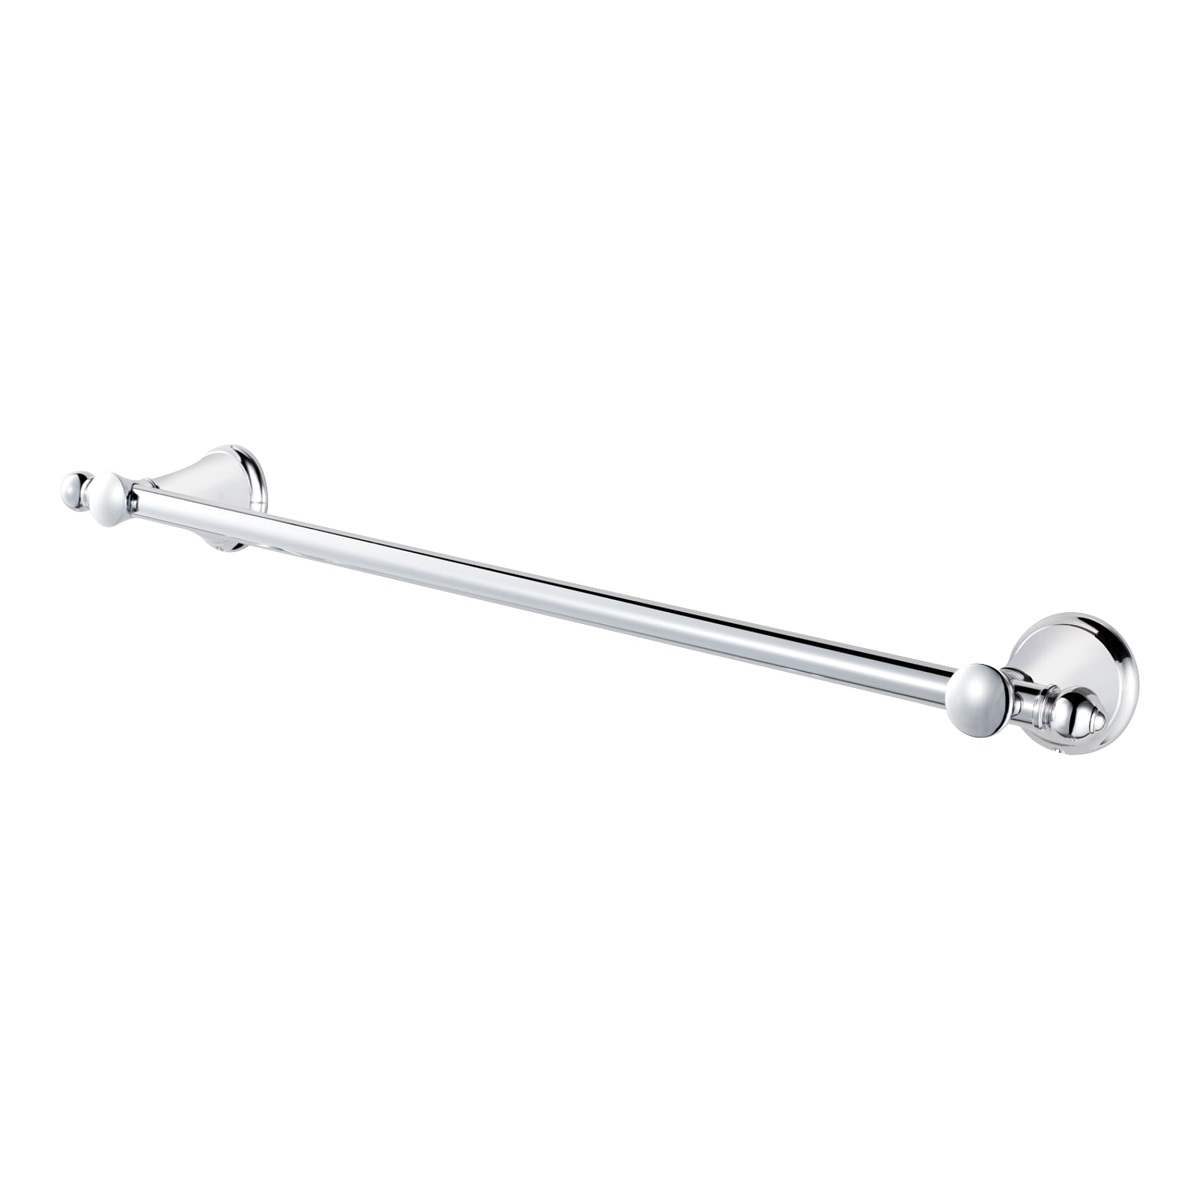
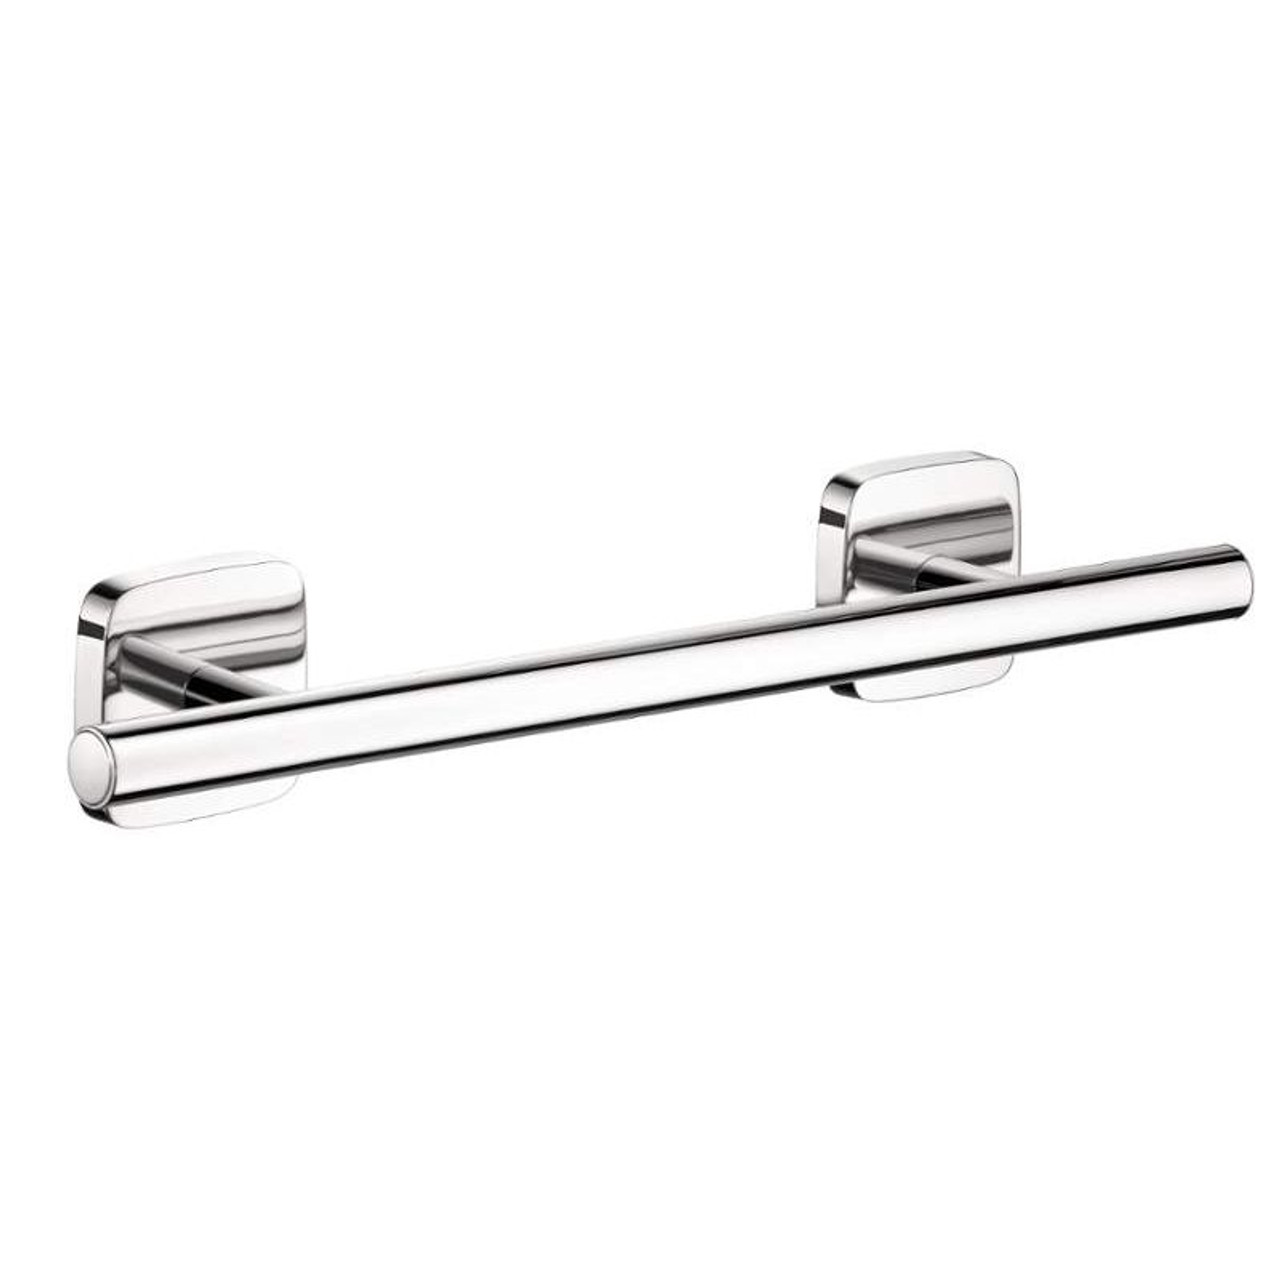
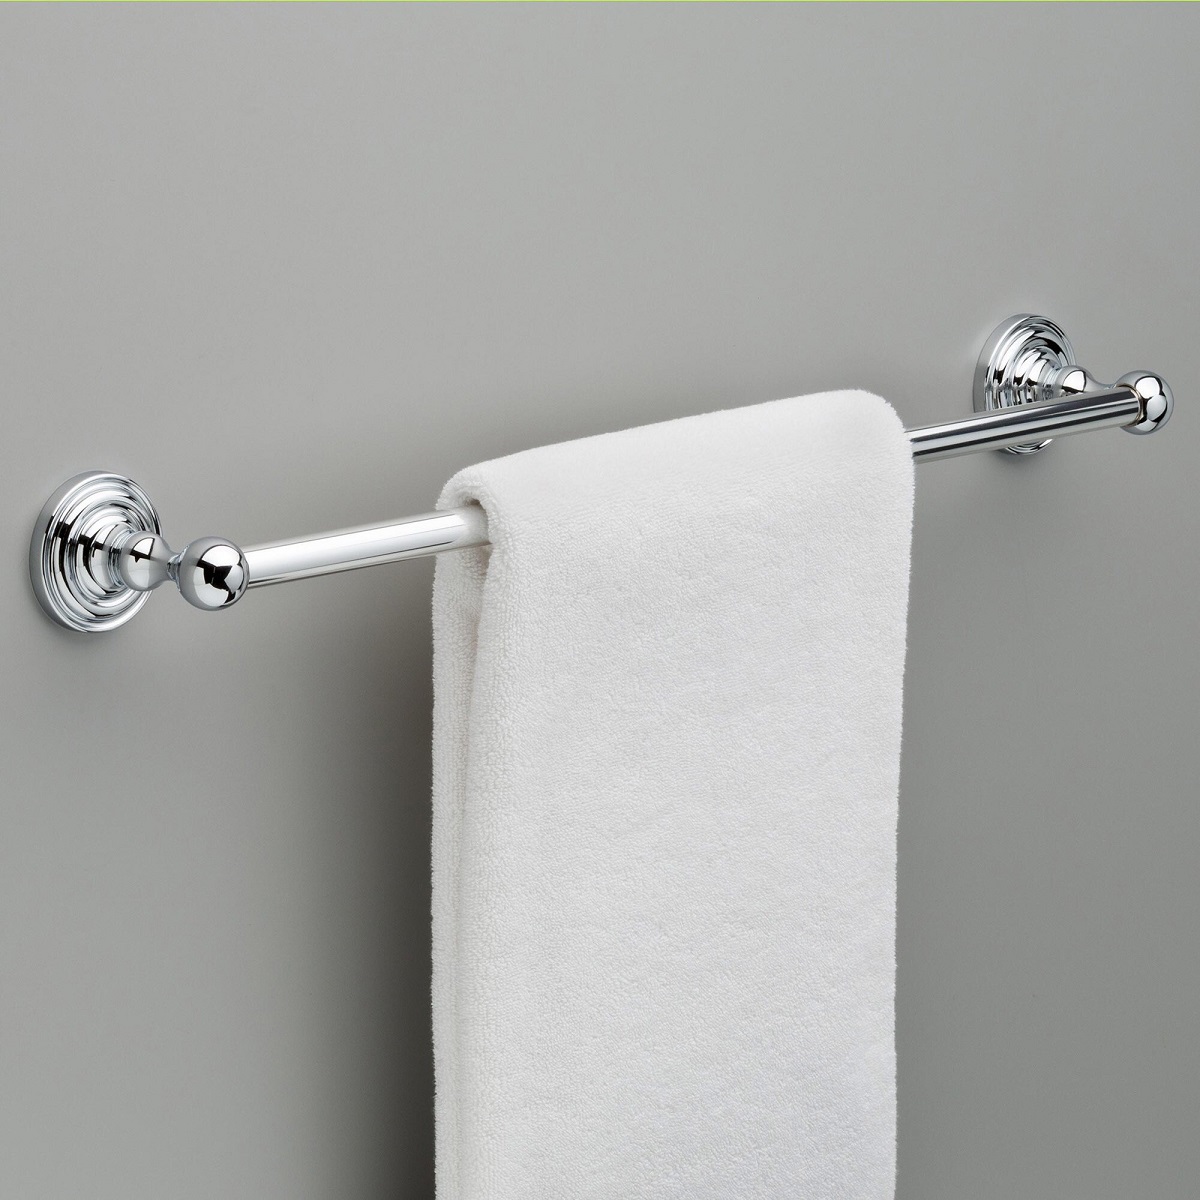
Introduction To DIY Towel Bar Installation

Installing a towel bar might seem like a simple task, but it needs careful planning and precision. Whether you’re setting up a new home or upgrading an existing one, DIY towel bar installation is a highly practical and affordable task. You don’t need to be an interior design expert or a proficient handyman to install a towel bar. With the right tools, clear instructions, and a little patience, you will be able to install the perfect towel bar that efficiently serves its purpose and also contributes to your bathroom décor.

DIY towel bar installation involves multiple steps, including choosing the right towel bar, selecting the best spot for installation, marking measurements, drilling holes, setting the bracket, mounting the bar, and finishing touches. Furthermore, it’s crucial to avoid certain common mistakes in towel bar installation.

Key Takeaways:

  • Find the perfect balance: Mount your towel bar 48 to 52 inches from the floor for easy access and visual harmony. Customize the height based on user needs, towel size, and personal preference for a truly personalized bathroom experience.
  • Installation made easy: Follow precise steps to install your towel bar securely and levelly above the sink. Consider factors like accessibility, visual balance, and stability to enjoy a functional and stylish addition to your bathroom.

Essential Tools

The number one rule of DIY tasks is to have the necessary tools ready beforehand to ensure a smooth and efficient process. For DIY towel bar installation, you will require certain essential tools, including a drill, screws, anchors, a level, and of course, your chosen towel bar with its hardware.

A drill is used for drilling holes in the wall. The screws and anchors help to secure the towel bar in place, and a level ensures the accurate installation of the towel bar. These tools are indispensable for effective installation. Make sure to have all these tools at your disposal before starting the project to avoid frequent interruptions and maintain the flow of work.

Selecting the Right Drill Bits

It’s also necessary to use the right drill bits for the material of your wall. If you’re drilling into drywall, regular drill bits will do. However, for tile, concrete, or brick, you need to use masonry bits. This selection is crucial for the successful installation of the towel bar.

Choosing the Right Towel Bar

Before you dive into the installation process, it is vital to pick the right towel bar for your specific needs. The right towel bar is not only about looks; it’s also about function, durability, and how well it fits in with your bathroom décor.

There are several factors that affect the choice of towel bar. Size is a crucial factor. Depending on the available space and the number of towels you intend to hang, you can choose from single or double bars. The material of the bar is another vital factor. Choose a material that is durable and resistant to moisture to ensure longevity. Lastly, the design of the towel bar should complement your bathroom’s aesthetics.

In addition to these factors, installing a towel bar in a wall with a pocket door or a rope base towel bar will require different install methods. You can find more information on how to install these kinds of towel bars here and here.

Selecting the Best Location

Choosing the right location for your towel bar is an important aspect of the installation process. Ideally, the towel bar should be within arm’s reach from the sink, shower, or bathtub. It is also vital to ensure that the bar’s location doesn’t interfere with other bathroom fixtures or the door.

Another factor to consider is the height of the towel bar. Standard height for a towel bar is between 42 and 48 inches off the floor. However, customization allows for personal variations. If there are children in the household, you might want to install the bar a bit lower, for easier access.

If you have limited space or a unique bathroom layout, you might have to opt for unconventional spots, such as the back of the door, beside the vanity, or even inside the shower space. The best location for the towel bar is the one that offers convenience and functionality.

Marking your Measurements

Once you’ve decided on the location, it’s time to mark your measurements. First, decide on the desired height of the towel bar. Once chosen, use a measuring tape to measure from the floor to the height on the wall and mark this spot. Then hold up your towel bar to this spot and mark the spot for each installation hole.

Make sure to double-check your measurements for precision. Accuracy in measurements is crucial to ensure the level installation of the towel bar and its stability once installed. Marking the spots for drilling will also give you a visual guide that will help you align your towel bar correctly during installation.

Drilling the Holes

Drilling the holes into your wall depends on the type of wall you have – whether it’s drywall, tile, or brick. For each type, the process will be different. For drywall, you’ll need to use drywall anchors. If drilling into tile, use a ceramic bit, and if drilling into brick, a masonry bit will be necessary.

When you start to drill, start slow to ensure the drill bit doesn’t slip and scratch the wall. Once you’ve started the hole, you can increase your drill speed. Repeat this process for each marked spot.

Drilling the holes correctly is important because these will hold the screws that anchor your towel bar to the wall. Proper alignment and size of these holes are essential to make sure the towel bar is securely fastened and level. It’s always a good idea to consult the instructions on your towel bar packaging to ensure you’re using the correct drilling method and drill bit size.

Wall Anchors

Wall anchors are crucial components in towel bar installation. They provide secure support to your towel bar, ensuring it stays firmly attached to the wall, even under the weight of heavy, damp towels. This is especially important when installing towel bars on hollow or drywall surfaces which can’t support much weight on their own.

Wall anchors come in various types, including toggle bolts, plastic expansion anchors, and metal hollow wall anchors. The choice of anchor type will depend on the specific requirements of your installation. For example, if you’re dealing with a heavy towel bar or foresee the bar bearing a significant load, toggle bolt anchors would be most suitable due to their superior weight-bearing capacity.

To install wall anchors, you’ll need to drill holes in the wall according to the size of the chosen anchors. After drilling the holes, the anchors can be inserted. Depending on the type, you may need to tap them gently into place with a hammer until they’re flush with the wall. Remember always to double-check the recommended hole size before drilling as it varies by anchor type.

Setting the Bracket

After inserting the wall anchors, you are now ready to set the brackets. These brackets are what holds your towel bar securely to the wall, serving as a durable and reliable intermediary between the wall and the bar itself.

Lay each of your brackets over the corresponding wall anchor, aligning them such that their screw holes line up perfectly. Once aligned, insert the screws through the bracket into the wall anchors and use your screwdriver to screw them in place. Ensure they are firmly fastened but be careful not to over-tighten and strip the screw.

Each bracket must be mounted at the correct height and distance apart to allow the towel bar to sit securely. A useful tip when installing brackets is to make use of the level to ensure that they sit parallel to the floor before and after screwing them in.

Mounting the Towel Bar

Mounting the towel bar onto the installed brackets is relatively straightforward. The mounting process entails positioning the bar between the slots of the two brackets and securing it with the provided set screws, using a screwdriver or Allen wrench.

While installing the bar with the set screw, ensure that it is tight enough to hold the bar in position but not so tight that it damages the bar or brackets. It’s crucial to affirm that the bar is mounted straight and level, as a disheveled installation can take away from the beauty of your newly installed towel bar and affect its functionality.

If installed correctly, your towel bar should feel secure to the touch with no wiggle room. If it does wiggle or feel unsteady, you may need to go back and tighten the set screws or examine your brackets and wall anchors. Remember, a securely installed towel bar is a safe and convenient addition to your bathroom.

Adjustments and Leveling

After mounting the towel bar, it’s important to check for any necessary adjustment. Use a level to ensure the bar is not tilting on one side. An uneven towel bar will not only affect its aesthetics but may also impact the bar’s functionality, causing your towels to slide off.

If your towel bar is found to be unlevel, you may need to readjust the brackets. To do this, loosen the bracket screws slightly and adjust the bracket until the level tool indicates the bar is straight. Once it is level, securely tighten your bracket screws back into place.

Securing the Towel Bar

Securing the towel bar firmly should be your final step of the installation. Make sure that the set screws are tightened properly using an Allen wrench or screwdriver. The bar should feel solid and immovable when a force is applied. It should also be securely attached to the brackets without any visible gaps.

If you find your towel bar is not secure or it wiggles when you touch it, you may need to tighten the screws further. Note that over-tightening the screws could strip them, making it difficult to remove or adjust the screw in the future. So be sure to tighten until it is secure but not beyond that point.

Mount the towel bar 48-52 inches above the floor, and 10-12 inches above the sink. This ensures the towels are easily accessible and not in the way of the faucet or countertop.

Finishing Touches

Once your towel bar is installed and secured, clean up any debris or dust from the installation process. Wipe down the towel bar and brackets with a clean damp cloth to remove any fingerprints or smudges. After that, you can hang your towels on the newly installed towel bar.

Finishing touches may also include touch up painting around the bracket areas if there have been any scratches to the wall during installation. Some may even choose to add decorative elements around the towel bar to help integrate it with the rest of the room’s décor.

Considering the towel bar is now a new addition to the room, it’s worth taking the time to make sure it blends seamlessly with your existing bathroom fixtures, tiling, wall color, and overall theme. This will enhance the entire look of your bathroom space and showcase your successful self-installed towel bar.

Safety Tips

Before you dig into your DIY towel bar installation project, it’s crucial to familiarize yourself with some basic safety tips. First, always use appropriate safety gear. This includes safety glasses to protect your eyes from flying debris when drilling, and gloves to protect your hands.

Adding a towel bar often involves drilling into walls. Always double-check to ensure you are not drilling into any electrical wires or plumbing pipes. Using a stud finder can help identify electrical wires and pipes hidden behind drywall. Checking blueprints or other home layout documentation may also be beneficial.

Finally, ensure you use the correct type of drill bit for your wall material. Whether you install the towel bar on ceramic or drywall, using the right drill bit can prevent damage to your wall or the equipment itself.

Common Mistakes in Towel Bar Installation

When installing a towel bar, there are several common mistakes you should avoid. The first is failing to properly measure or level. An improperly positioned towel bar may look out of place and cause functionality issues. Use a level and double-check all measurements to ensure accuracy.

Another pitfall is skipping the use of wall anchors. If you are not screwing your brackets directly into a stud, you should use wall anchors to provide the necessary support. Overlooking this step could lead to instability or a fallen towel bar.

Additonally, ignoring the weight limit specified by the manufacturer is another common mistake. If you overload the towel bar, it could snap or pull from the wall. Be sure to check the weight limit and adhere to it.

DIY Towel Bar Installation Cost

The cost for DIY towel bar installation can vary greatly depending on the style and material of the towel bar, the tools needed, and whether you need to purchase any additional hardware. However, the overall cost of self-installation is typically less expensive than hiring a professional.

The purchase price for a towel bar can range from $10 to over $100. Tool costs will vary based on what you already own. In most cases, you will need a drill, screwdriver, level, stud finder, and possibly wall anchors. If you do not already have these tools, you may be able to borrow or rent them, which will be more cost-effective than purchasing new tools outright.

Wall anchor costs will also vary based on the type and size needed, with prices ranging from a few dollars to around $20.
Remember, cost considerations should not bypass the importance of a correctly installed, leveled, and safe towel bar.

The Time Commitment

DIY towel bar installation is not an overly time-consuming project, but it does require dedicated attention and accuracy. It may take between 1 to 3 hours, depending on your experience and familiarity with the process. Also, factor in the time to gather necessary materials and potentially make a trip to the hardware store for any last-minute supplies. The more prepared you are, the more effectively you can utilize your time.

If you’re new to DIY projects, you may want to install a more straightforward model first, such as arope base towel bar or perhaps a Glacier Bay towel bar.

Troubleshooting Towel Bar Installation Problems

There are a few common problems you may encounter while installing a towel bar, but most have simple solutions. If the bar doesn’t fit snugly between the brackets, it could be due to incorrect measurements. In that case, you may need to adjust the position of your brackets to fit the towel bar.

If you’re having trouble securing the towel bar to the wall, consider the type of wall anchors you’re using. They may not be sturdy enough to support the weight of the towel bar, especially if you’re installing on a wall with a pocket door. A guide may help you navigate the process more smoothly.

If one end of the towel bar is sagging, it’s likely that the towel bar isn’t level. Use a level to adjust the bar until it’s straight.

Benefit of DIY vs. Hiring a Professional

The choice between DIY and hiring a professional largely depends on your confidence in handling home projects, your budget, and your time constraints. Doing it yourself can be more cost-effective and offers a sense of accomplishment once the job is done. Yet, it requires time, the correct tools, and the confidence to tackle the job.

Hiring a professional can be more expensive, but it could save you time and energy. Professionals also have the experience and skills to handle unexpected issues that may crop up during the installation. However, scheduling can be an issue, and there is always the possibility of additional costs should complications arise.

Whether you opt to take on a Kohler towel bar installation yourself, or hire a pro, the decision should be based on what makes the most sense for your situation.

FAQs

1. How high should I install my towel bar?

Typically, the height to install a towel bar is between 48 and 50 inches from the floor to the bar where you hang your towels. This height may vary based on the personal preference or habits of the users.

2. What tools do I need to install a towel bar?

Common tools include a level, pencil, electric drill, screwdriver, tape measure, and wall anchors. The specific tools required may vary slightly depending on the model of your towel bar.

3. Can I install a towel bar on a door or a ceramic tile?

Yes, it’s possible to install a towel bar on a door or on ceramic tile. Each of these surfaces will have specific methods or precautions to consider. You can check this guide for installing a towel bar on ceramic tile.

4. What should I do if my towel bar keeps falling off?

If your towel bar keeps falling off, you might need to check the installation process again. You might also need to use stronger wall anchors, or the screws might not be tight enough.

Conclusion: Wrap-up on DIY Towel Bar Installation

Installing a towel bar is not as daunting as it seems. With the right tools, accurate measurements, and a bit of patience, this can be an opportunity to put your DIY skills to practice. The varying complexities of different towel bars, such as those that come with set screws, provide unique challenges and learning experiences.

Remember to follow safety precautions and prepare for potential troubleshooting scenarios. The satisfaction of successfully accomplishing a DIY task like this is rewarding. Nevertheless, if you feel uncomfortable or uncertain at any stage of the process, don’t hesitate to bring in a professional to ensure the job is done right.