Articles
How To Install A Plastic Towel Bar
Modified: August 27, 2024
Discover articles on how to install and maintain a plastic towel bar with practical tips and step-by-step instructions. Prepare your bathroom for ultimate organization and convenience.
(Many of the links in this article redirect to a specific reviewed product. Your purchase of these products through affiliate links helps to generate commission for Storables.com, at no extra cost. Learn more)
Introduction
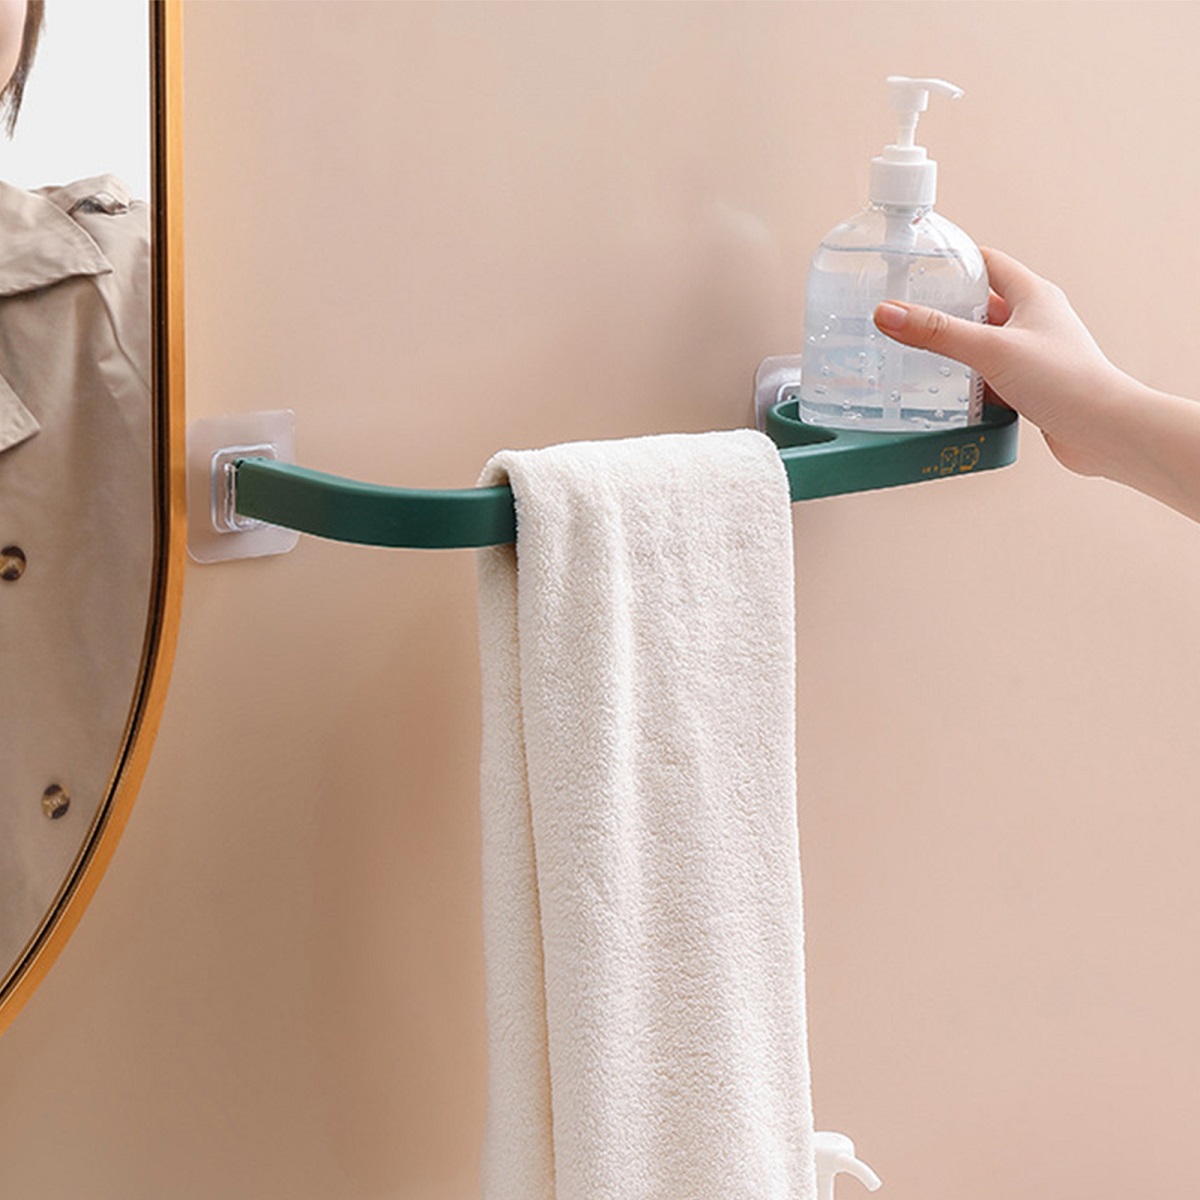
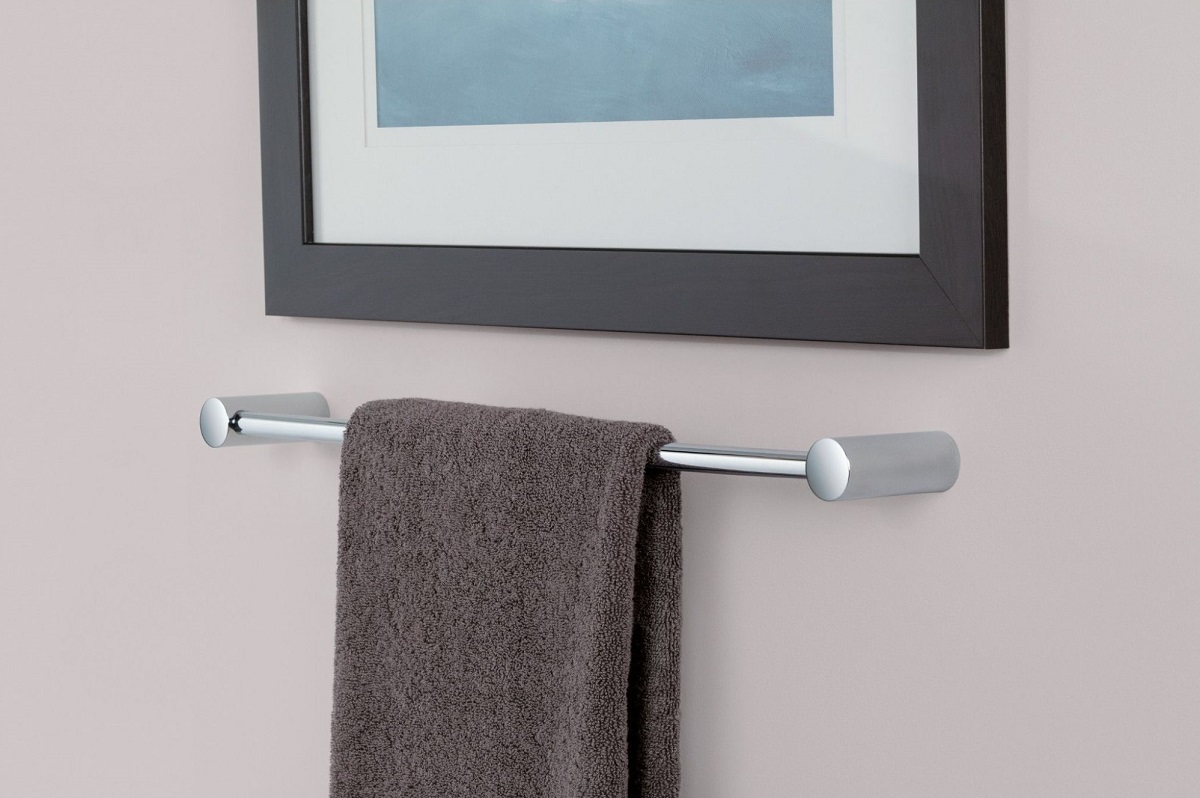
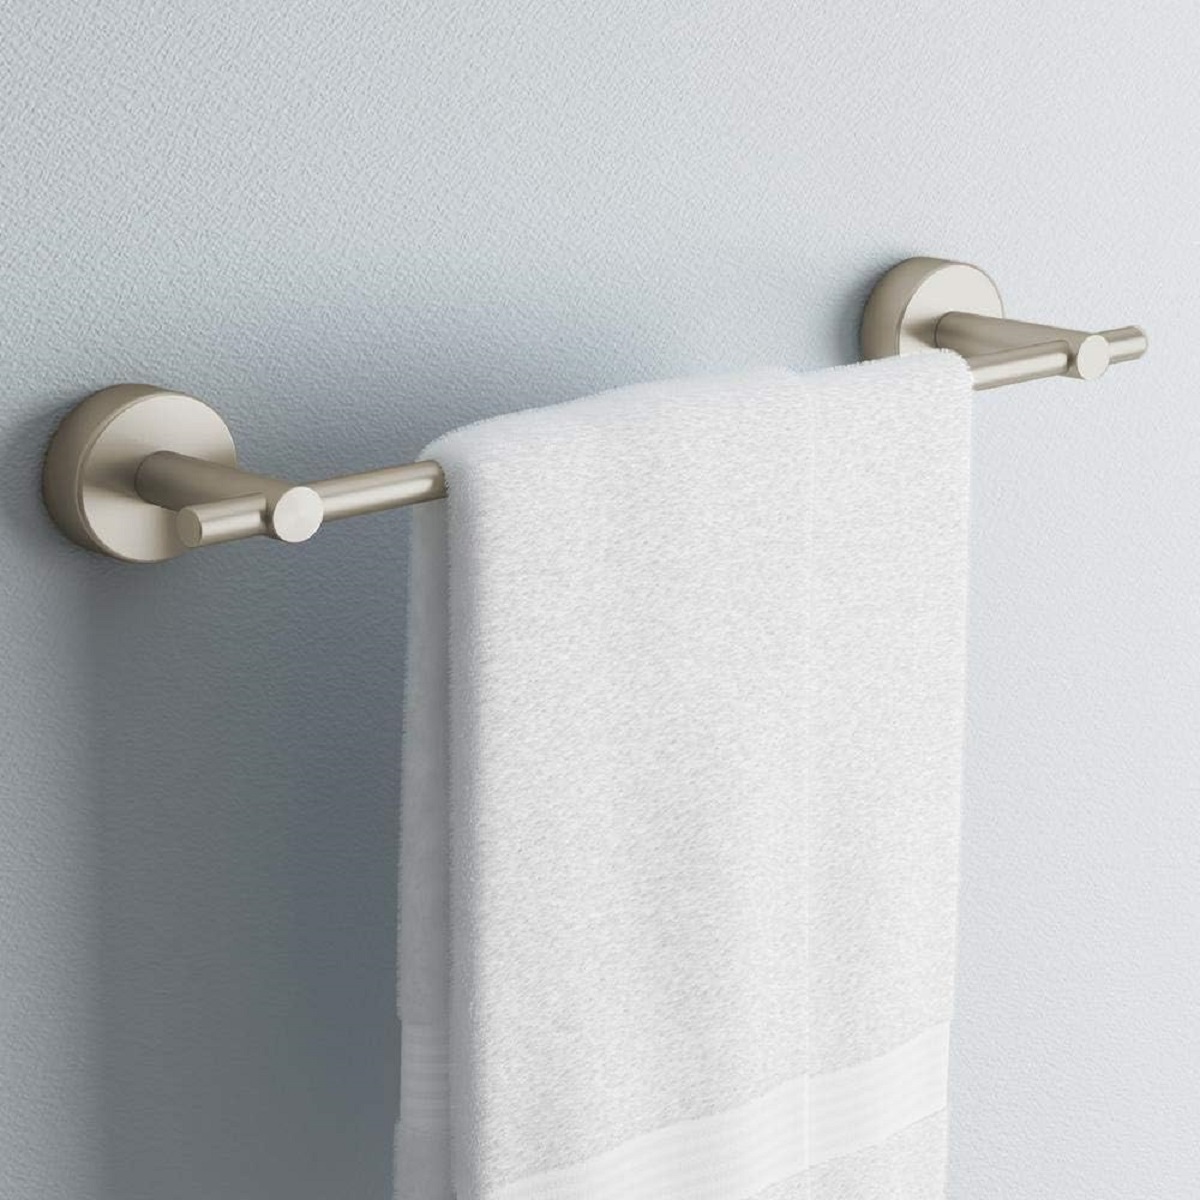
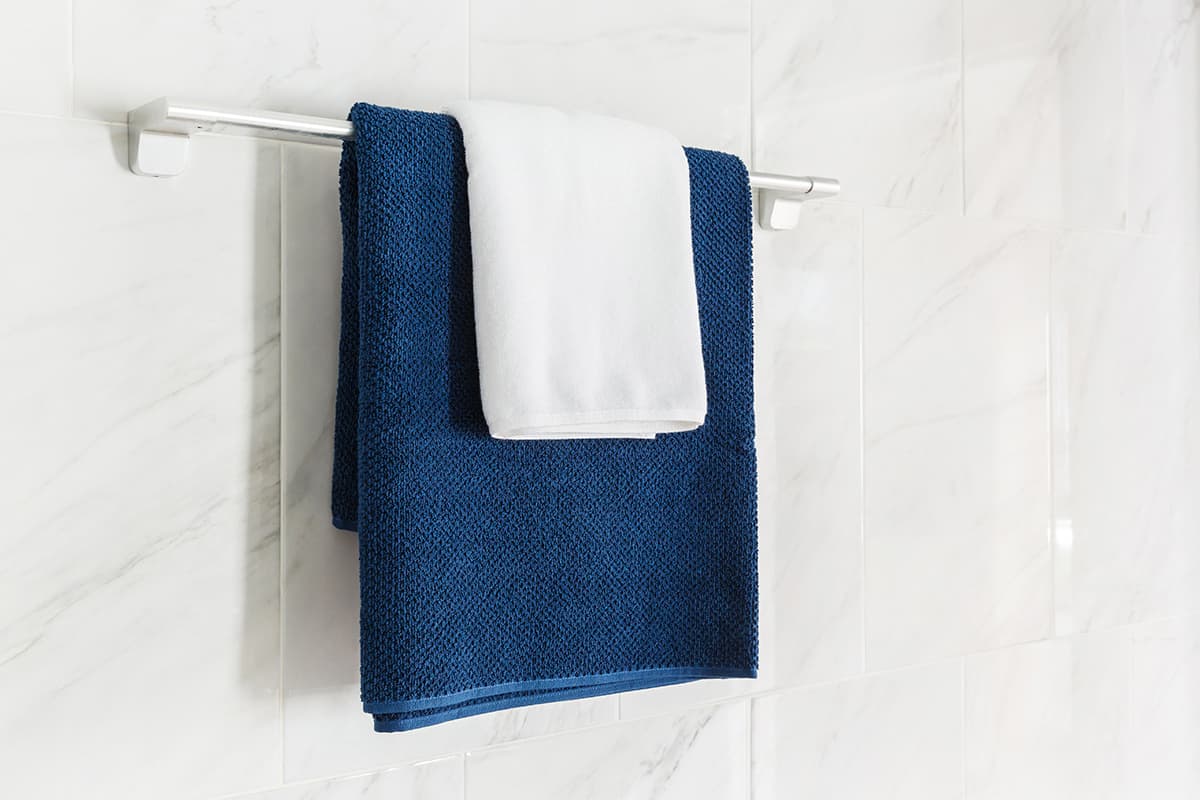
Installing a plastic towel bar can be a simple and cost-effective way to add storage and functionality to your bathroom. Whether you’re looking to hang towels, robes, or other bathroom essentials, a towel bar can help keep your space organized and clutter-free.
In this article, we will guide you through the step-by-step process of installing a plastic towel bar. From measuring and marking the location to securely attaching the bar, we’ve got you covered. So, grab your tools and let’s get started!
Before we begin, it’s important to gather all the necessary materials and tools. This will ensure a smooth installation process and help you avoid any last-minute trips to the hardware store. Here’s what you’ll need:
Key Takeaways:
- Proper measurement and marking are crucial for a successful plastic towel bar installation. Take your time to ensure accurate placement, levelness, and alignment to achieve a visually appealing and secure result.
- Securing the towel bar with firm screws and periodic checks ensures stability and functionality. Test the towel bar’s weight-bearing capacity and make aesthetic adjustments for a visually pleasing outcome.
Read more: How To Replace Plastic Towel Bar
Materials Needed
Before you start installing a plastic towel bar, make sure you have the following materials and tools handy:
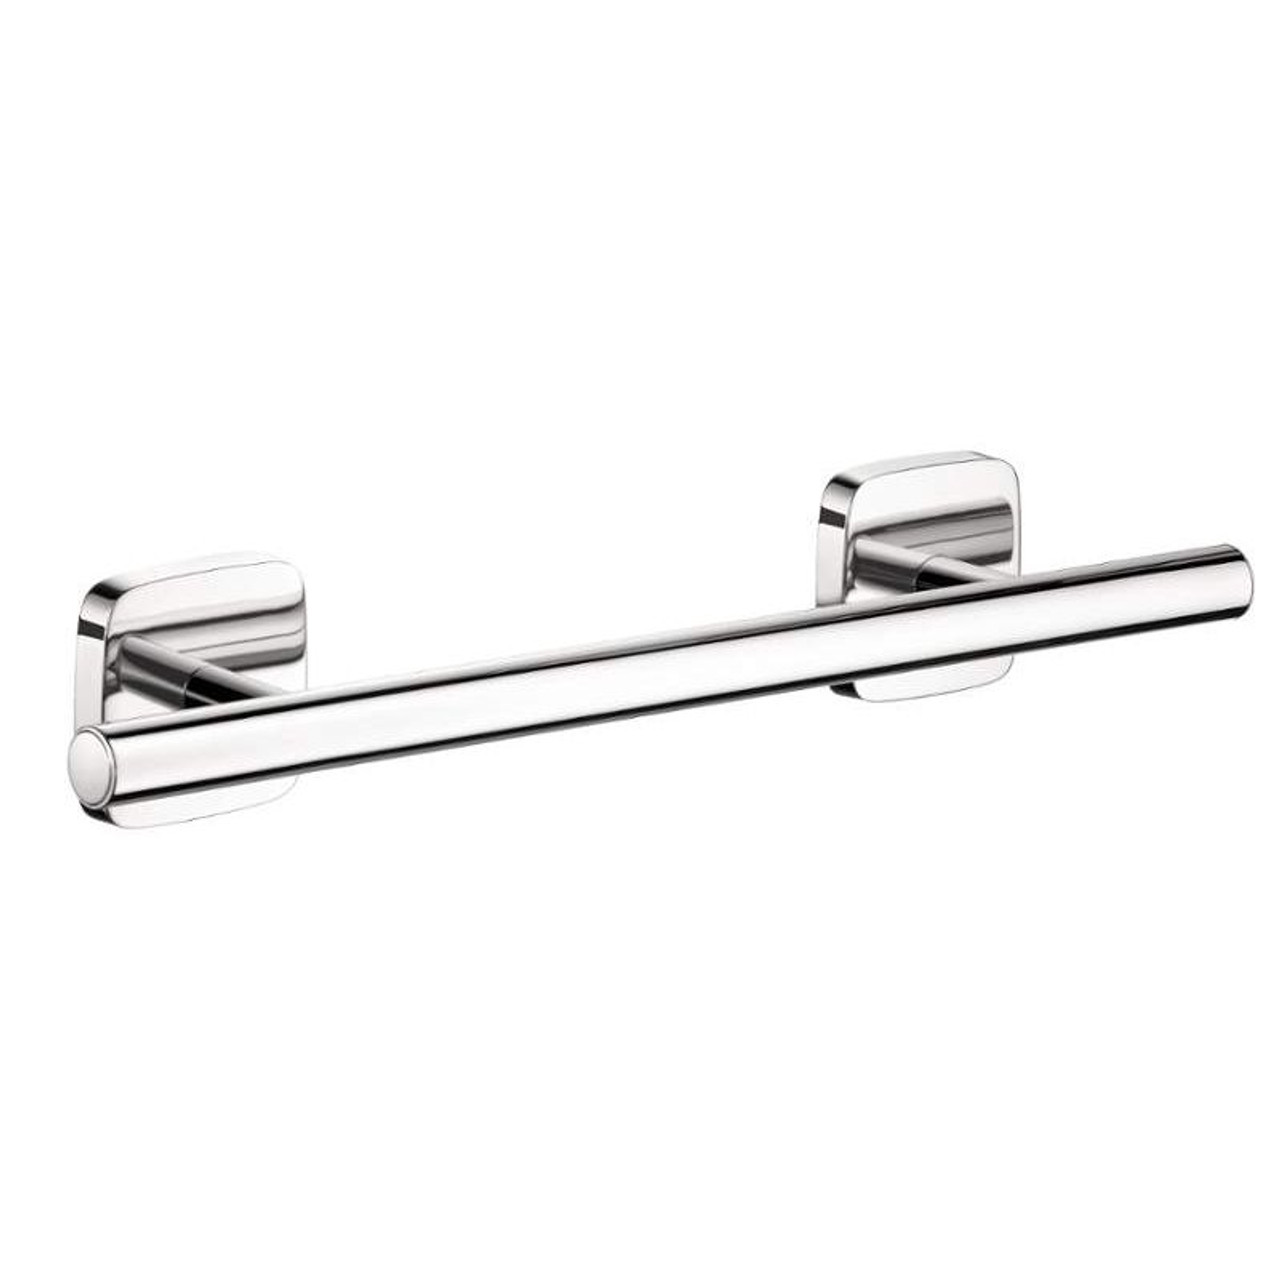
- Plastic towel bar set: This includes the towel bar itself, mounting brackets, screws, and any additional hardware that may be included.
- Measuring tape: A measuring tape will be essential for accurately determining the placement of the towel bar.
- Pencil or marker: You’ll need a pencil or marker to mark the locations for drilling holes and attaching the mounting brackets.
- Drill: A power drill with the appropriate drill bit will be necessary for drilling holes in the wall or other surface where you plan to install the towel bar.
- Screwdriver: Depending on the type of screws provided with the towel bar, you may need a screwdriver to secure the mounting brackets and towel bar in place.
- Level: A level will help ensure that the towel bar is installed straight and level.
- Wall anchors (if necessary): If you are not able to drill into a wall stud, you may need wall anchors to provide additional support for the towel bar.
- Clean cloth or sponge: It’s always a good idea to have a clean cloth or sponge handy to wipe away any dust or debris after drilling holes.
Having these materials and tools ready will save you time and frustration during the installation process.
Step 1: Measure and Mark
The first step in installing a plastic towel bar is to measure and mark the desired location for the towel bar on the wall. This step is crucial in determining the proper height and positioning of the towel bar.
Start by identifying the ideal height for your towel bar. Generally, towel bars are installed at a height of around 48 inches (122 cm) from the floor. However, you can adjust this height based on your personal preference and the height of your family members.
Using a measuring tape, measure and mark the desired height on the wall. Make sure to use a level to ensure that the marks are straight and level. This will help prevent any crooked installation and keep the towel bar visually appealing.
Next, you’ll need to determine the proper width or length for your towel bar. The width will depend on the available space and the size of the towel bar itself. Measure the length of the towel bar and mark the positions for the mounting brackets on the wall accordingly.
Using the measuring tape and level, place the mounting brackets at the marked positions. Double-check the alignment and make any necessary adjustments before moving forward with the installation.
Properly measuring and marking the location for the towel bar is essential for a successful installation. Taking the time to ensure accurate measurements and alignment will result in a secure and visually pleasing towel bar in your bathroom.
Step 2: Drill Holes
Once you have measured and marked the location for your plastic towel bar, the next step is to drill holes in the wall to accommodate the mounting brackets. The size of the holes will depend on the specific mounting brackets and screws provided with your towel bar set.
Before drilling, it’s important to check the type of wall surface you are working with. If you have drywall, it’s recommended to use wall anchors to provide additional support. For solid walls, such as concrete or tile, you may need to use a masonry drill bit.
Start by attaching the appropriate drill bit to your power drill. Make sure the drill bit is securely tightened to prevent any accidents. Place the drill bit on one of the marked positions and hold it at a 90-degree angle to the wall.
Gently apply pressure and begin drilling. Be sure to start slowly to ensure accuracy and prevent any damage to the wall surface. Use a steady motion and continue drilling until you reach the desired depth for the mounting bracket.
Repeat the drilling process for the remaining marked positions. If you are using wall anchors, insert them into the drilled holes at this stage, following the manufacturer’s instructions.
After all the holes have been drilled, it’s important to remove any dust or debris from the holes. You can use a clean cloth or sponge to wipe away any excess material.
Drilling holes may sound intimidating, but with the proper tools and technique, it can be a relatively straightforward process. Take your time, be mindful of safety precautions, and ensure that the holes are properly aligned and the correct size to accommodate the mounting brackets of your plastic towel bar.
When installing a plastic towel bar, make sure to use the proper anchors and screws to secure it to the wall. Be sure to follow the manufacturer’s instructions for the best results.
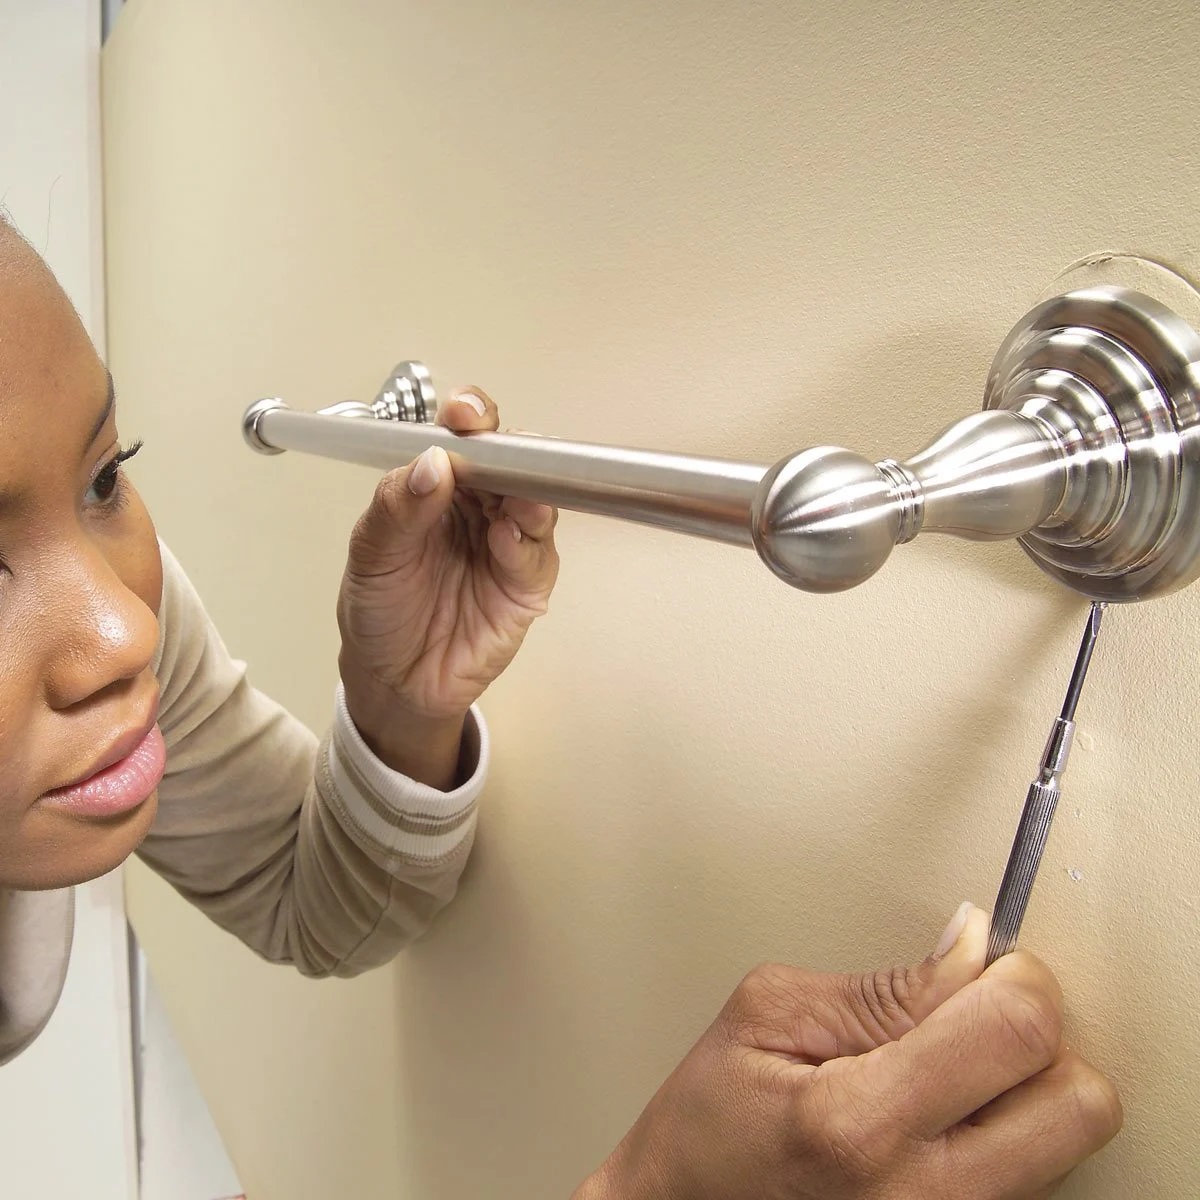
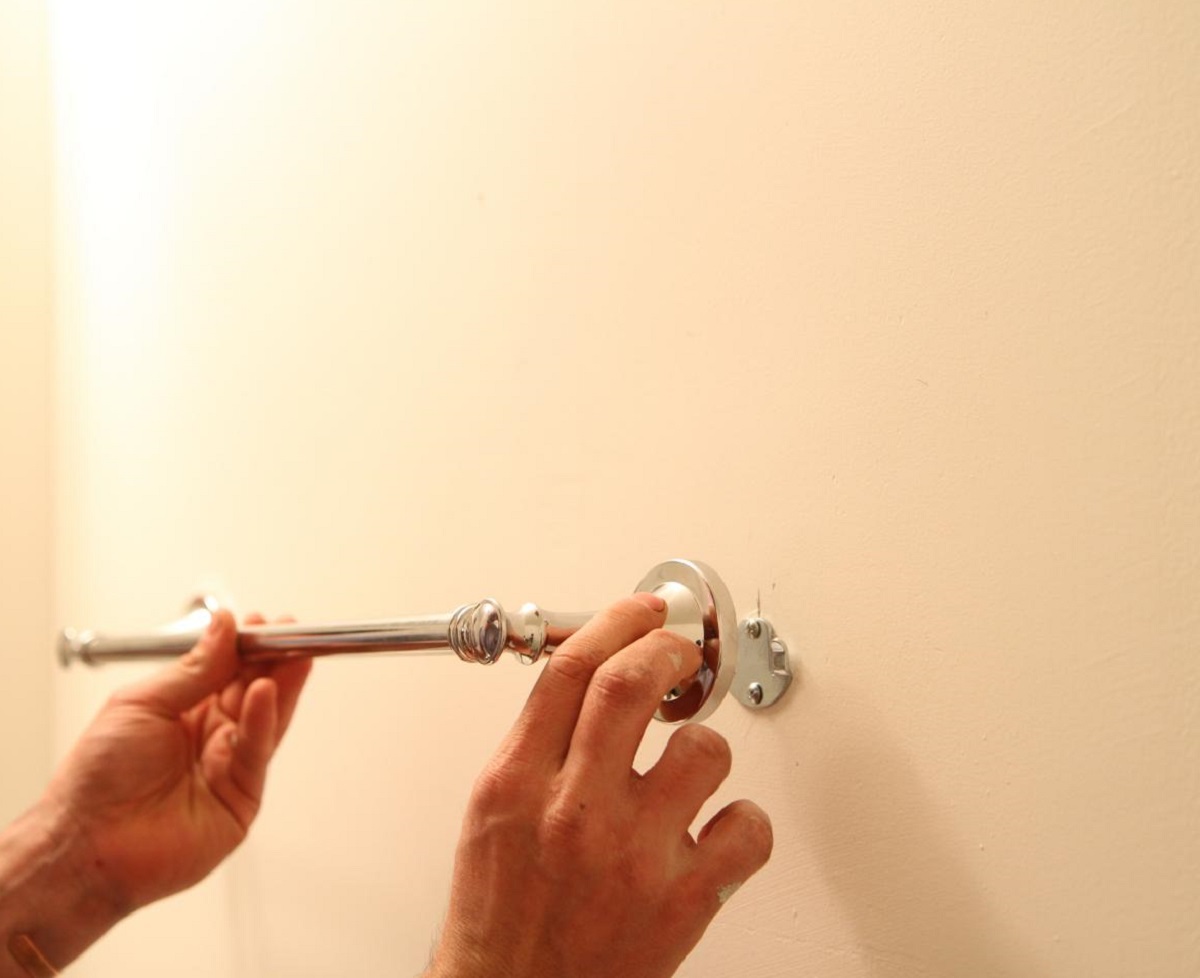
Step 3: Attach Mounting Brackets
With the holes drilled, you are now ready to attach the mounting brackets for your plastic towel bar. The mounting brackets provide the necessary support and stability for the towel bar.
Begin by inserting the screws through the holes in the mounting brackets. Align the brackets with the drilled holes on the wall and start screwing them in. Use a screwdriver or drill to tighten the screws, ensuring that the brackets are securely attached to the wall.
Make sure the brackets are level and parallel to each other. You can use a level to double-check their alignment. Adjust as necessary before fully tightening the screws.
If you are using wall anchors, insert them into the drilled holes before attaching the mounting brackets. Follow the manufacturer’s instructions to ensure proper installation and support.
Once the mounting brackets are securely attached, give them a gentle tug to test their stability. They should feel firm and not wobble or move when pressure is applied.
Before moving on to the next step, take a moment to visually inspect the brackets. Ensure that they are aligned, level, and properly attached to the wall. Any adjustments should be made at this stage to ensure a seamless installation.
Attaching the mounting brackets is a critical step as they provide the foundation for the towel bar. Take your time to ensure they are securely fastened and correctly aligned, as this will ensure the stability and durability of your plastic towel bar.
Read more: How To Install A Double Towel Bar
Step 4: Install Towel Bar
Now that the mounting brackets are securely attached to the wall, it’s time to install the plastic towel bar itself. Follow these steps to properly install the towel bar:
- Align the towel bar with the mounting brackets: Take the plastic towel bar and align it with the mounting brackets. Ensure that the screw holes on the towel bar align with the screws on the brackets.
- Insert the screws through the towel bar: Insert the screws supplied with the towel bar through the screw holes on the towel bar and into the mounting brackets. Make sure the screws are aligned properly and fully inserted.
- Tighten the screws: Use a screwdriver or drill to tighten the screws. Start by loosely tightening them and then gradually increase the pressure until the towel bar feels secure. Avoid over-tightening, as it can potentially damage the plastic or the mounting brackets.
Once the towel bar is installed, give it a gentle tug to test its stability. It should feel firmly attached to the wall and not wobble or move.
During the installation process, it’s important to maintain the levelness of the towel bar. Use a level to check that the bar is straight and aligned with the mounting brackets. Adjust if necessary before fully tightening the screws.
It’s also recommended to refer to the manufacturer’s instructions for any specific guidelines or recommendations regarding the installation of your specific plastic towel bar model.
With the towel bar now installed, you’re one step closer to enjoying the added convenience and functionality in your bathroom.
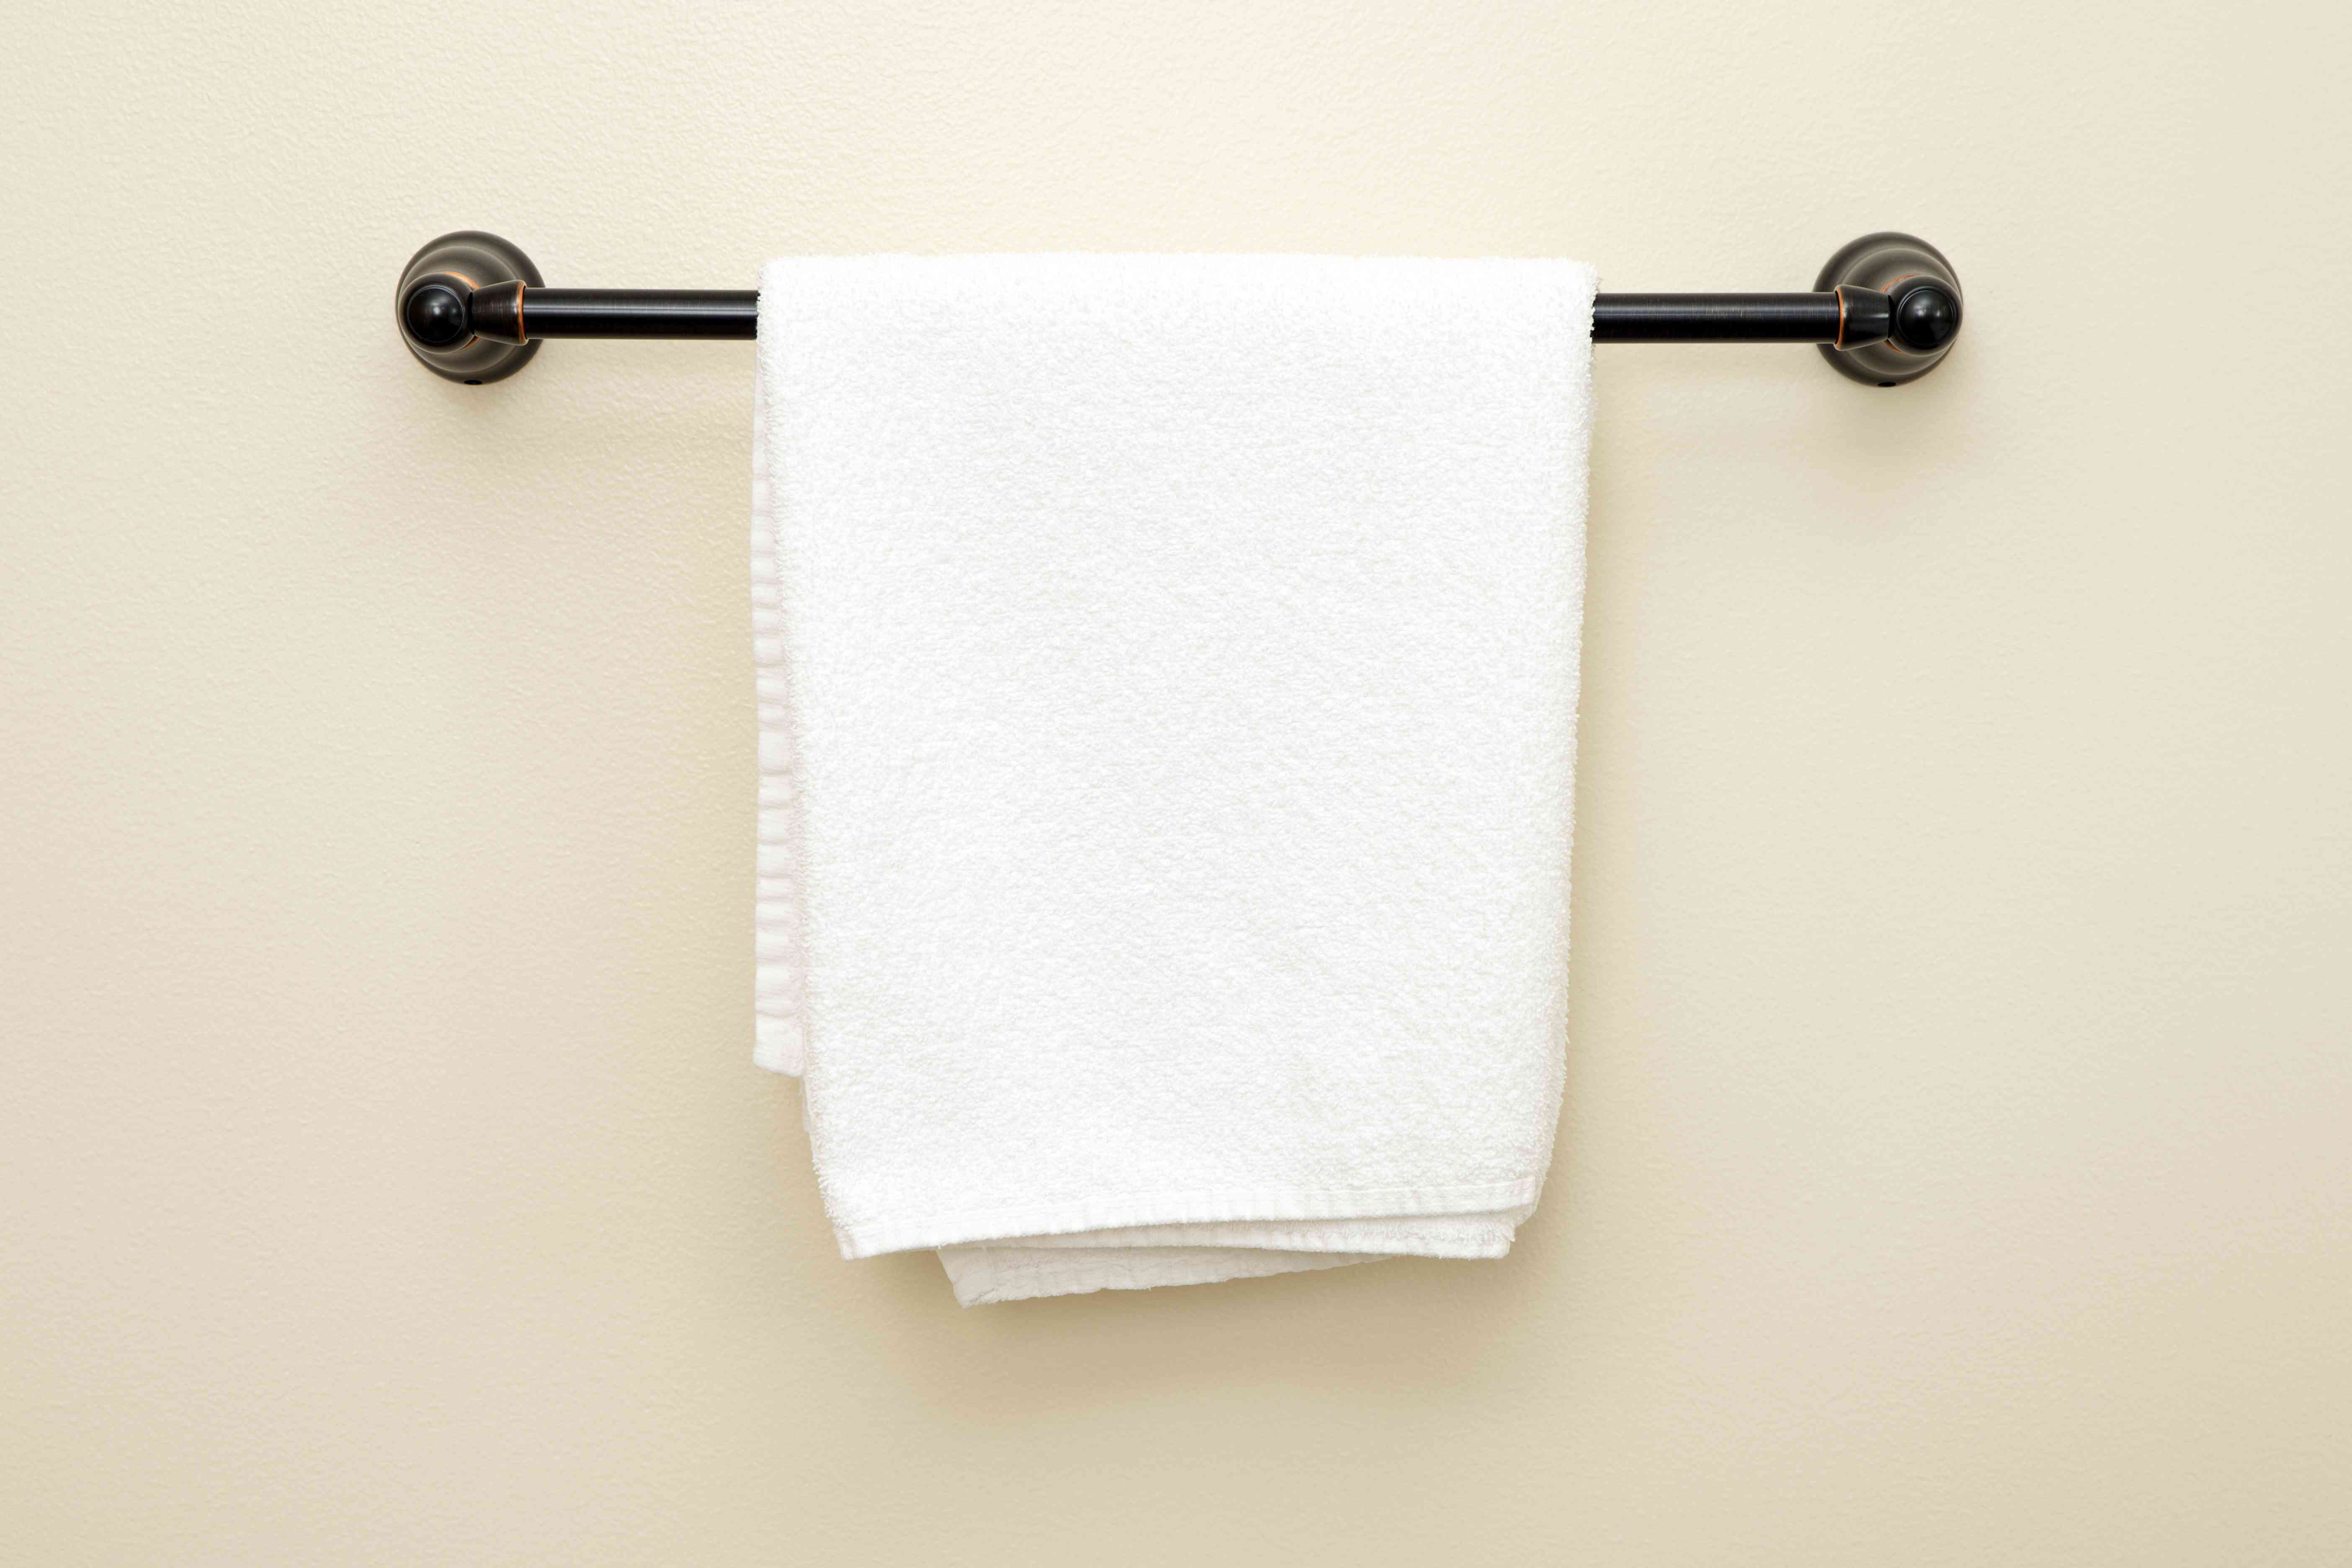
Step 5: Secure Towel Bar
Securing the towel bar is an essential step to ensure its stability and prevent it from coming loose or falling off the wall. Follow these steps to properly secure your plastic towel bar:
- Check the tightness of the screws: After the towel bar is installed, check the tightness of the screws that connect the towel bar to the mounting brackets. Ensure they are firmly tightened but be careful not to overtighten and risk damaging the plastic or the brackets.
- Test the towel bar’s stability: Give the towel bar a gentle tug and ensure that it feels secure and stable. It should not wobble or move when pressure is applied. If there is any movement, adjust the screws to achieve a firmer connection with the mounting brackets.
- Consider using adhesive: For added security, you may choose to use adhesive to reinforce the connection between the towel bar and the wall. Apply a small amount of adhesive to the backside of the towel bar and press it firmly against the wall. Follow the adhesive manufacturer’s instructions for the appropriate drying time.
It’s important to periodically check the tightness of the screws and the overall stability of the towel bar. Over time, the screws may loosen due to regular use or vibrations. If you notice any movement or looseness, simply tighten the screws to secure the towel bar once again.
By ensuring that the towel bar is securely attached and tightly fastened, you can enjoy the convenience and functionality of the towel bar without any worries of it coming loose or falling off the wall.
Step 6: Test and Adjust
The final step in installing a plastic towel bar is to test its functionality and make any necessary adjustments. Follow these steps to ensure that your towel bar is properly installed and ready for use:
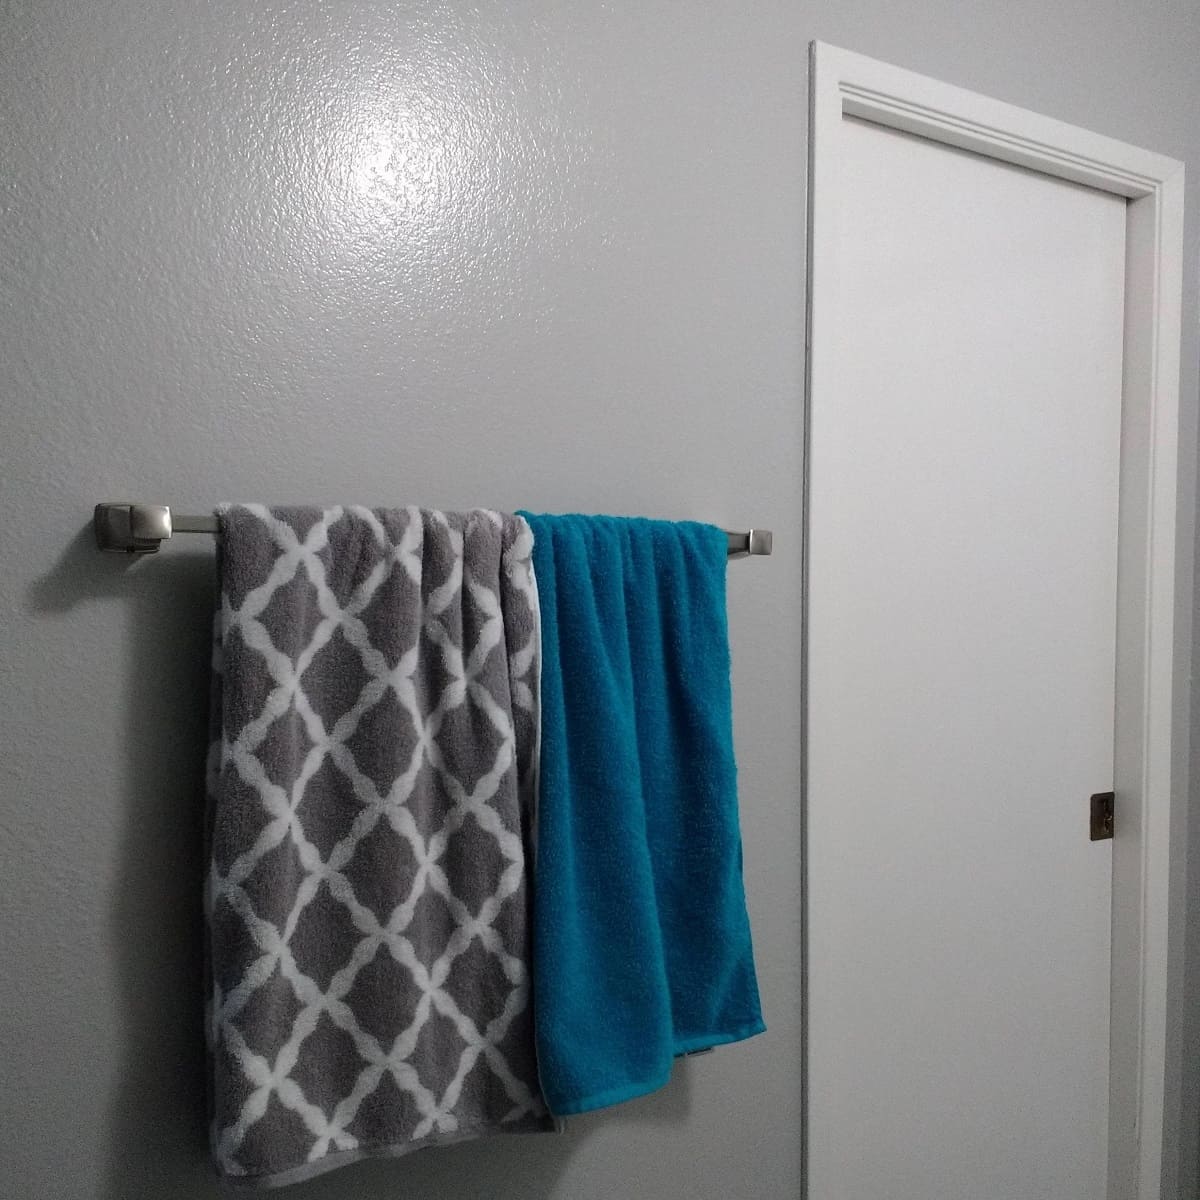
- Hang towels and other items: Hang towels or other items on the towel bar to test its weight-bearing capacity. Make sure the bar can comfortably hold the desired items without sagging or bending. If necessary, reinforce the towel bar by adjusting the screws or adding additional support.
- Check for levelness: Use a level to check the levelness of the towel bar. Make sure it is straight and aligned with the mounting brackets. If adjustments are needed, loosen the screws slightly and reposition the towel bar until it is perfectly level. Then, tighten the screws to secure it in place.
- Ensure proper clearance: Check if there is enough clearance between the towel bar and any nearby obstacles, such as walls or countertops. The towels should hang freely without touching any surfaces that could hinder their drying or cause them to become dirty.
- Make aesthetic adjustments: Step back and examine the overall appearance of the towel bar. Ensure that it complements the bathroom’s decor and does not obstruct any other fixtures or accessories. If needed, adjust the positioning or height of the towel bar to achieve a visually pleasing result.
Testing and adjusting the towel bar is important to ensure its functionality and aesthetic appeal. By hanging towels and checking for levelness and clearance, you can make sure that the towel bar is ready for regular use.
Remember, it’s normal to make minor adjustments during the installation process, as every bathroom is unique and may require slight modifications. Take the time to fine-tune the position and appearance of the towel bar to achieve the best possible outcome.
Once you’re satisfied with the functionality and appearance, sit back and enjoy your newly installed plastic towel bar!
Frequently Asked Questions about How To Install A Plastic Towel Bar
Was this page helpful?
At Storables.com, we guarantee accurate and reliable information. Our content, validated by Expert Board Contributors, is crafted following stringent Editorial Policies. We're committed to providing you with well-researched, expert-backed insights for all your informational needs.


0 thoughts on “How To Install A Plastic Towel Bar”