Home> DIY Toilet Paper Holder Installation
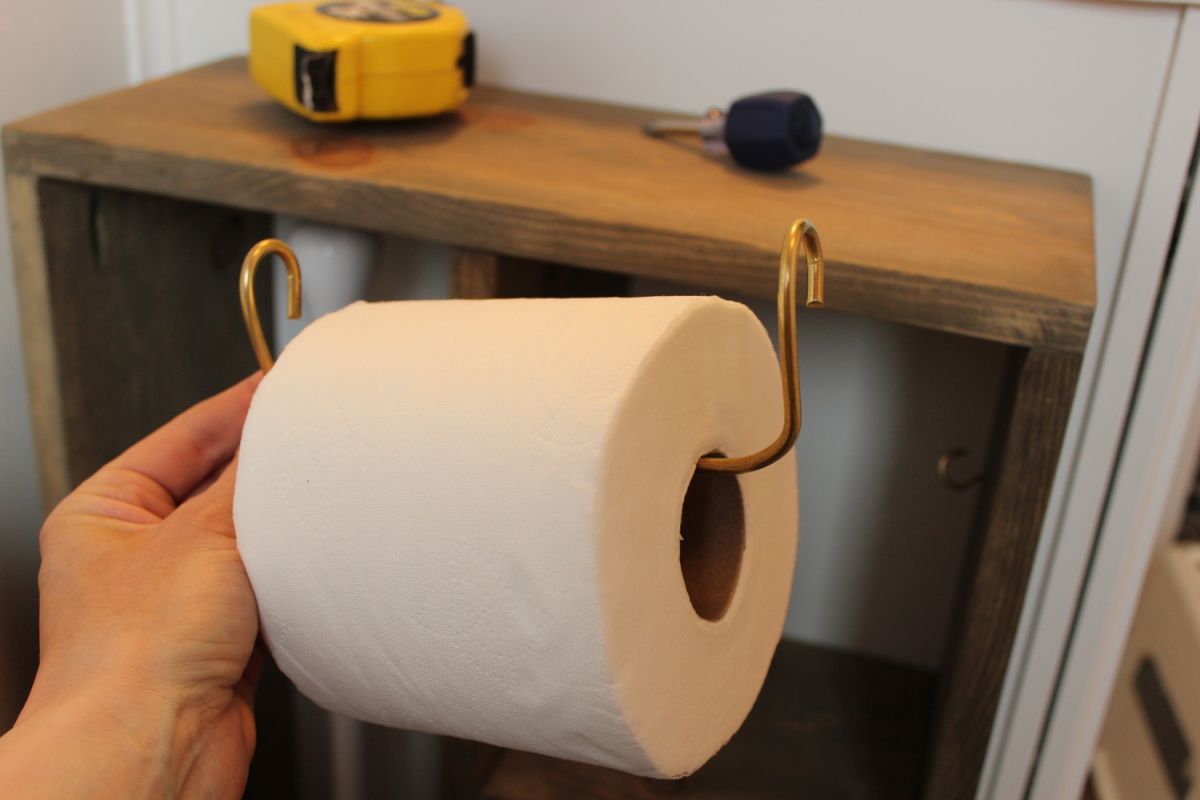
DIY Toilet Paper Holder Installation: Simple Steps to Success
Discover the effortless guide to DIY Toilet Paper Holder Installation. Step-by-step guidance to transform your bathroom in no time.
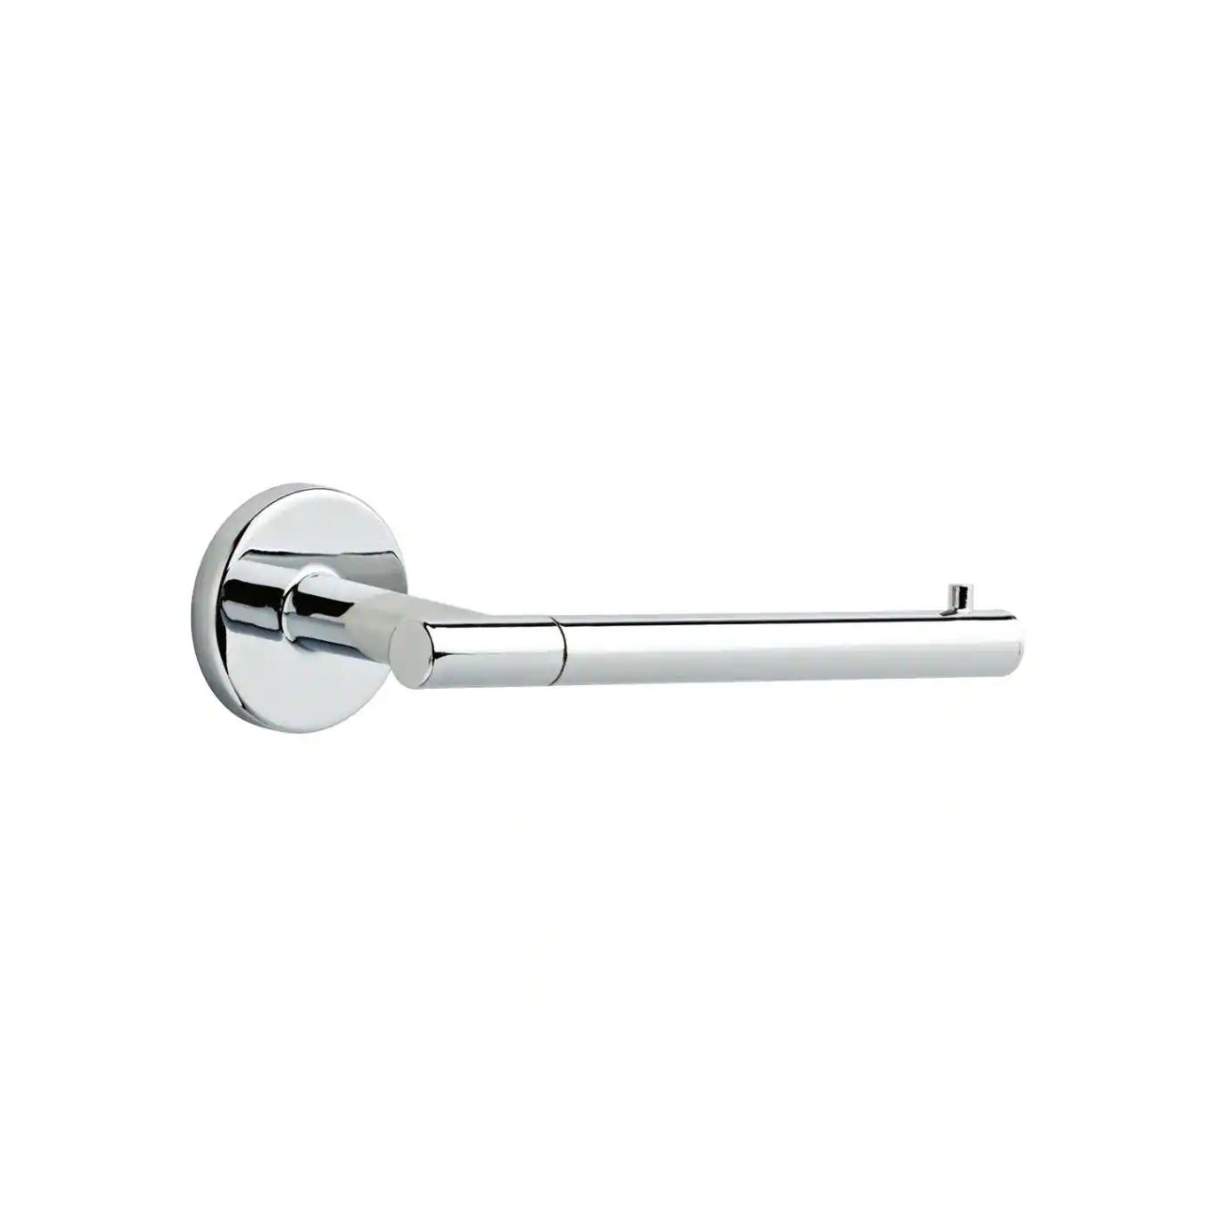
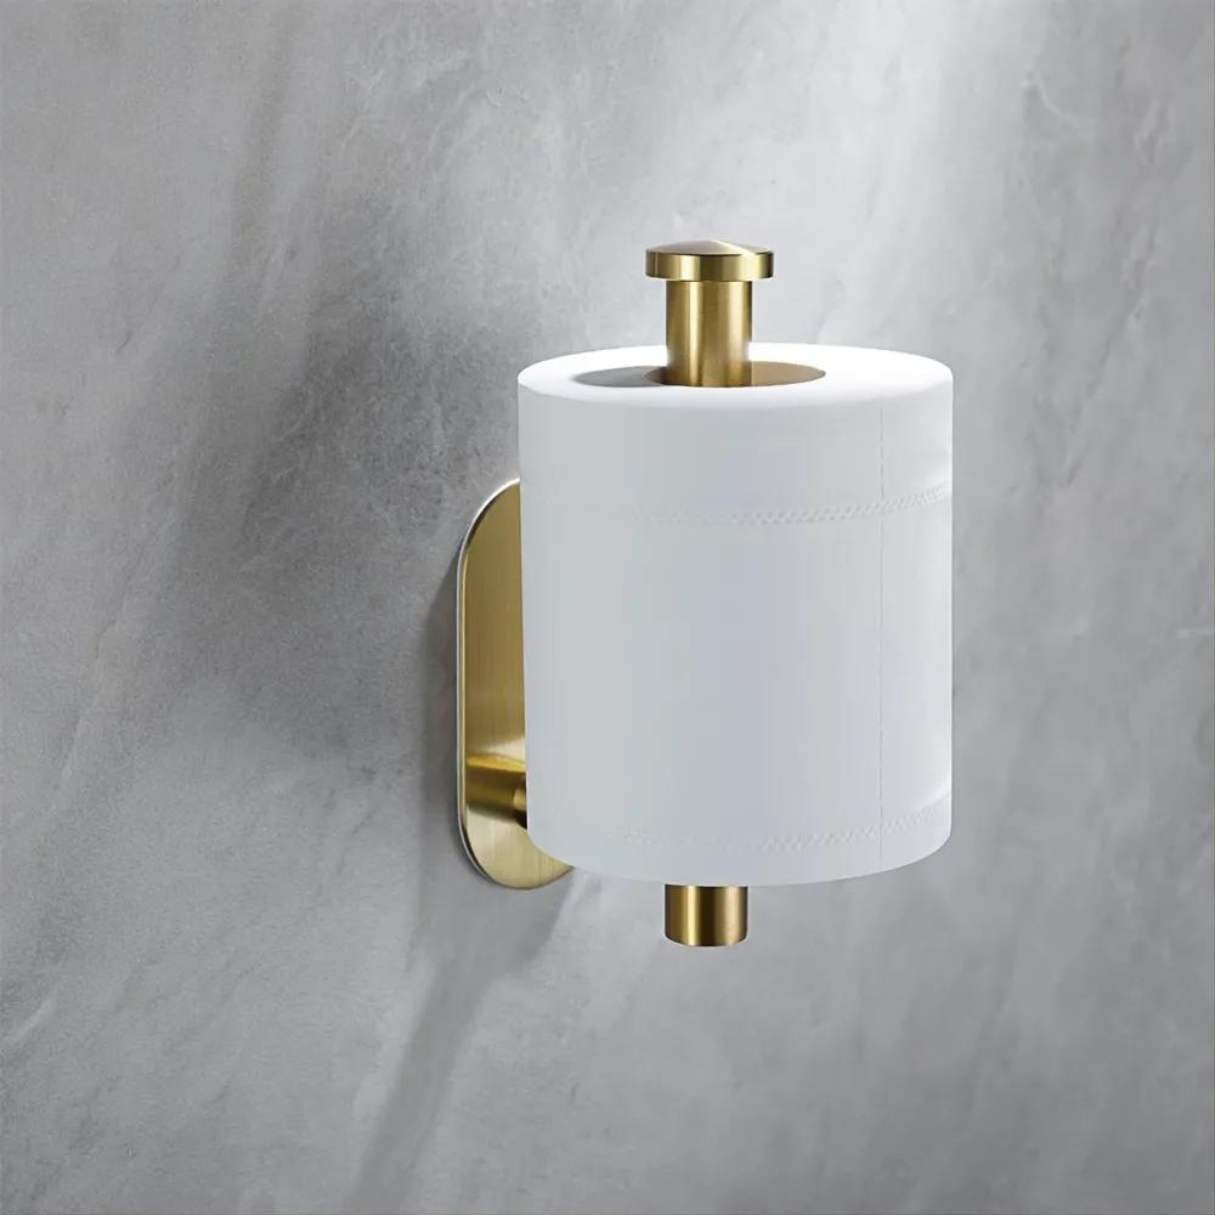
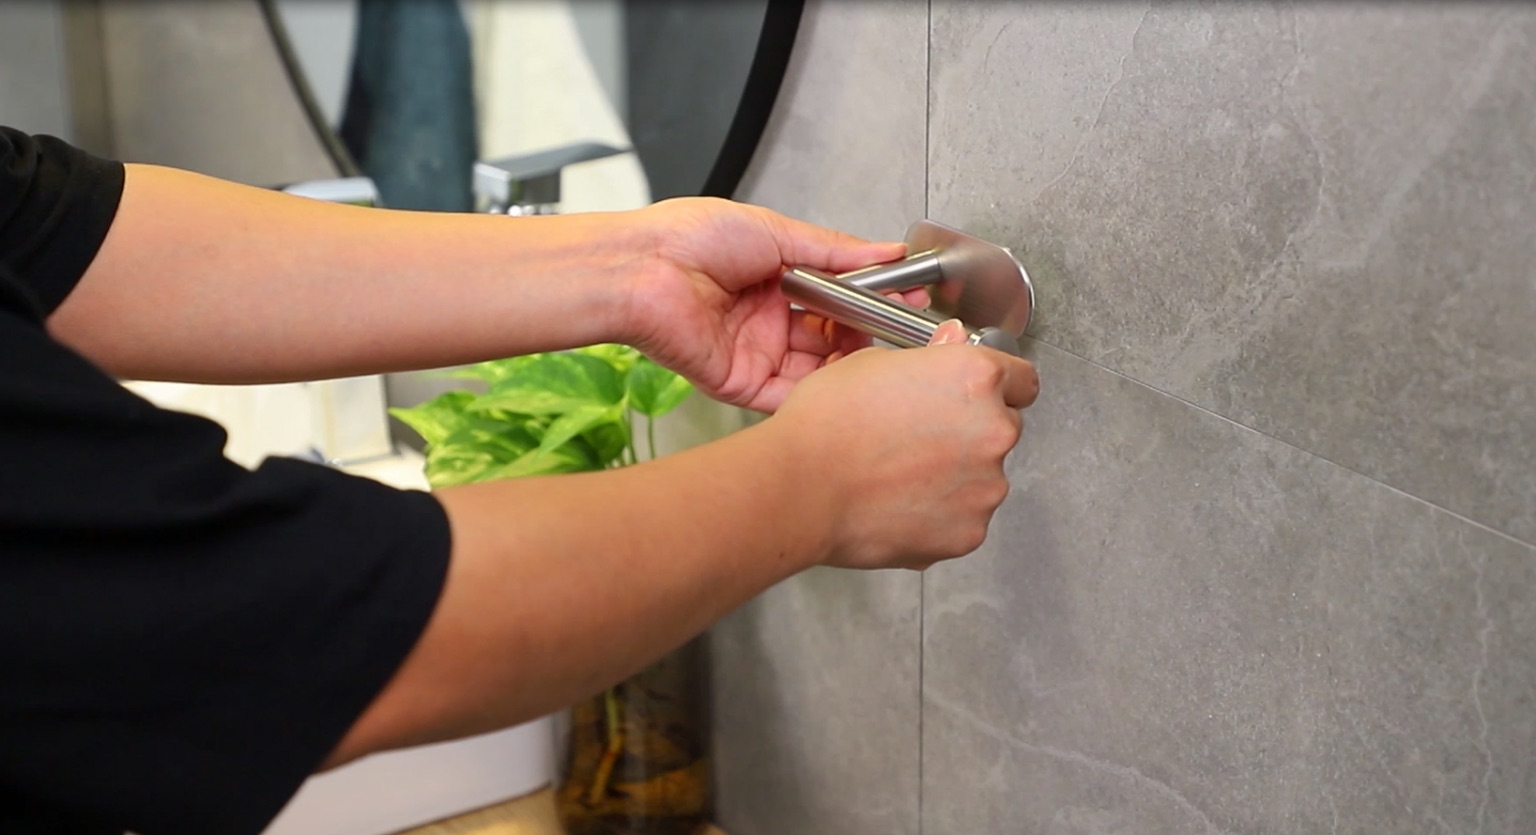
How To Install A Trinsic Single Post Toilet Paper Holder In Chrome
By: William Harrison • Articles
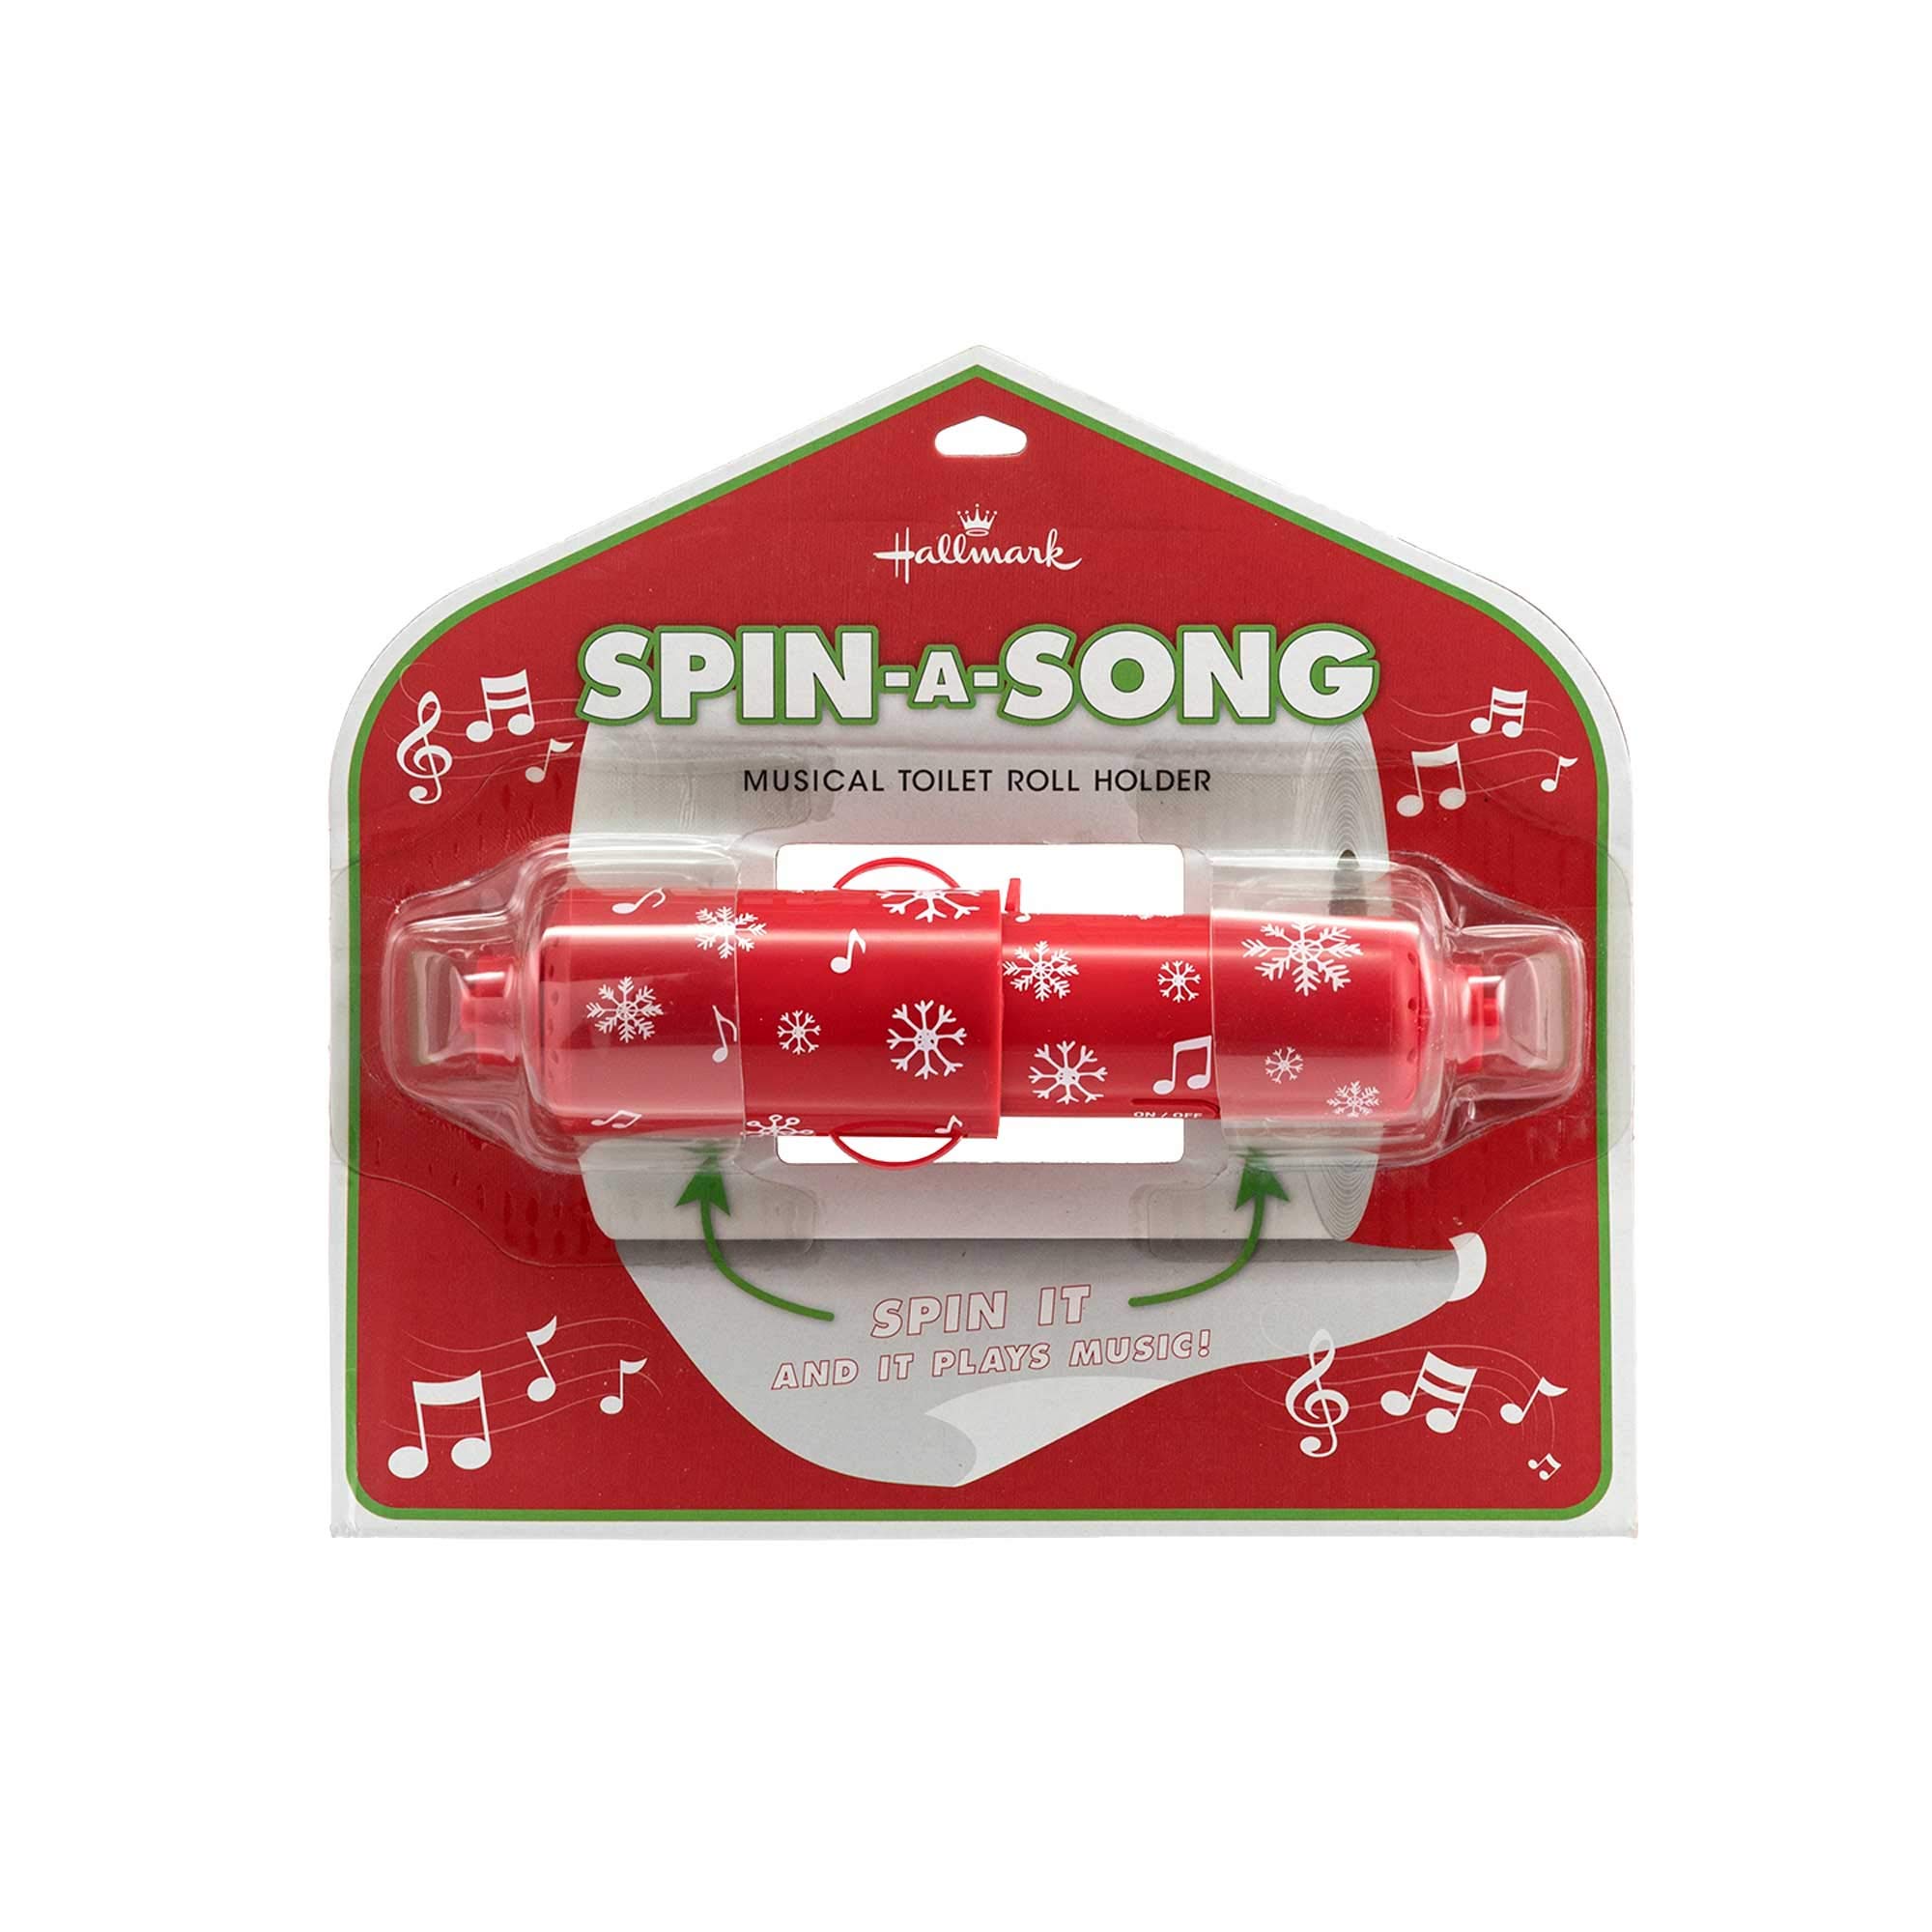
How To Take Batteries Out Of Hallmark Spin-A-Song Toilet Paper Holder
By: Sophia Turner • Articles
Introduction
Home improvement tasks, such as installing a toilet paper (TP) holder, can be easily accomplished with a little know-how and the right tools. With do-it-yourself (DIY) skills, you can add both convenience and aesthetics to your bathroom set-up. A well-placed and secure TP holder can make a toilet encounter both pleasant and functional. This guide aims to provide in-depth advice and a step-by-step process on how to embark on a DIY toilet paper holder installation – helping you ensure this everyday essential is fitted correctly and securely.
While it may at first seem like a trivial job, the overall process involves selecting a proper TP holder type, deciding its optimal location, using tools safely and effectively, and finally installing the holder, with all these dependent on your specific home setup. To ensure you get the best results, we’ll walk you through the entire process from start to finish.
Key Takeaways:
- Installing the Trinsic Single Post Toilet Paper Holder in Chrome is a straightforward process that can be completed with just a few tools and materials, making it an accessible DIY home improvement project for anyone.
- Proper preparation, precise installation location determination, and thorough testing of stability are crucial steps in ensuring a successful and functional installation of the Trinsic Single Post Toilet Paper Holder in Chrome.
Recognizing Different Types of Toilet Paper Holders
There are various types of TP holders to consider, each varying in style, installation procedure and space suitability. The prominent ones include wall-mounted toilet paper holders, freestanding ones, and storage types. Wall-mounted holders, as the name suggests, are fixed directly to the wall or sometimes on the side of a cabinet. This type requires a drilling process for installation.
On the other hand, freestanding holders can be placed anywhere in the bathroom without a need for drilling, offering more flexibility but needing more space. Storage toilet paper holders come with an additional compartment to store extra toilet paper rolls, making them convenient yet slightly bulkier. Each type has its benefits so your choice should depend on your bathroom layout and personal preferences.
Importance of Proper Toilet Paper Holder Installation
Correct installation of a TP holder is crucial for both functional and aesthetic reasons. From a functional perspective, a poorly installed toilet paper holder may not be sturdy enough to allow easy roll changes or use, and could even potentially cause inconvenience if it detaches from the wall. Well-installed TP holders add much-needed convenience in your bathroom set up.
From an aesthetic viewpoint, an appropriately placed holder adds to the overall décor and neatness of your bathroom. It helps maintain visual balance and can either act as a subtle accessory or a standout feature, depending on your interior design theme. Therefore, while installing a TP holder might seem a simple task, correctly doing so can dramatically enhance your toilet surroundings both in appearance and functionality.
Required Tools for DIY TP Holder Installation
Before getting started, it’s important to gather all the necessary tools to ensure the installation process runs smoothly. The essential tools usually include a drill (and appropriate drill bit for your wall type), a screwdriver, a level, a measuring tape, and a pencil or chalk for marking. Wearing safety glasses while drilling to protect your eyes from dust particles and sharp fragments is also highly advised.
Each tool plays a specific role in installation; the drill and screws are key to securing the holder to the wall, while the level will ensure that your installation is straight and visually appealing. A measuring tape alongside pencil or chalk will help in marking the correct spots for drilling. For a screw-on variety of TP holders, make sure the screwdriver matches the screws provided.
Materials Needed for the Installation
After securing the requisite tools, you need to gather the materials for the installation. This includes your chosen toilet paper holder – which should come with all the required mounting screws and wall plugs needed for assembly – and potentially some wall anchors, depending on your wall finish and type.
Wall anchors or plugs are used to ensure the screws firmly grip into the wall material, thus providing a secure mount for your holder. Your materials will slightly vary based on the type of TP holder you’re using; a single-post toilet paper holder installation requires different materials compared to a freestanding or a storage toilet paper holder.
Choosing the Right Location for TP Holder Installation
Before starting the installation, it is important to select the right location for your toilet paper holder. The typical height and distance from the toilet for most comfortable usage is about 26 inches from the floor and around 8 to 12 inches forward of the front edge of the toilet seat. However, these numbers aren’t one-size-fits-all and should be adapted based on your personal preferences and comfort.
Besides functional aspects, aesthetics also come into play in the location decision. Putting some thought into how the holder fits into the bathroom’s layout and design theme can enhance the overall look of the space. Make certain that the holder does not block movement or other fixtures, and that it fits well visually in the decided position. Choosing the spatial location wisely can add to the bathroom’s usability and visual appeal, thus making a difference in the overall experience.
Step-by-Step Process: Marking the Location
After choosing the right location for installation, the next step involves marking the location where the holder will be placed. Take your time to measure and re-measure to ensure accuracy and precision, keeping in mind the appropriate height and distance from the toilet. Use a pencil or chalk for marking out the points where the screws will go into the wall, based on the screw placements on your TP holder. Since holder designs vary, refer to the product’s guide for accurate measurements between screw points.
Once you have marked the screw points, it’s essential to verify the levelness to ensure the holder won’t be tilted after installation. Use your level tool by placing it on the points marking the screw holes. tweak until they are horizontally aligned. Correct marking saves you from starting everything from scratch in the event of mistake, so spend adequate time on this step. It also prevents holes from being drilled incorrectly and messing up your walls especially when installing on the side of a cabinet.
Step-by-Step Process: Drilling Holes
Once the spot is marked and you’ve ensured that it’s level, you are now ready to drill the holes. Start by selecting the correct drill bit for the type of wall you have. Then, hold the drill bit to the wall at the marked spots, keeping it perpendicular to ensure straight holes. Apply steady pressure while drilling and go slow to avoid mistakes. Make sure you drill deep enough so that the wall anchors will be flush with the wall surface. But remember not to drill too far — use a piece of painter’s tape around your drill bit as a depth guide. This process can be slightly different if you’re installing the holder in the wall.
Step-by-Step Process: Inserting Wall Anchors
After drilling the holes, the next step is to insert the wall anchors. These are often plastic plugs that ensure the screws hold securely in place. This is especially important if you’re installing the holder on a drywall, as a screw inserted without an anchor might strip the hole, causing the holder to be insecure or fall out. Simply press the anchor into the hole and gently hammer it in until it’s flush with the wall. If you’re having trouble, you can enlarge the hole slightly.
During this process, some issues that might occur include a loose or tight fit. If it’s too loose, consider using a larger-sized anchor. If it’s too tight, make sure you have drilled accurately and consider redrilling with a slightly larger drill bit if necessary. Here is a guide on how to fix the toilet paper holder on the wall in case of any issues during this step.
Step-by-Step Process: Securing the Holder
After the anchors are firmly embedded in your wall, you’re now ready to secure the TP holder to the wall. Start by lining up the screw holes of your holder with the anchors that are now inserted into the wall. Next, insert the screws through the holder, tighten them just enough to hold the holder against the wall. Use a screwdriver or power drill to tighten the screws, but be careful not to over-tighten as it could strip the anchors or damage the holder. For a single post toilet paper holder, the process is similar, but you may need to affix each post separately.
If you’re having trouble securing the holder to the wall, you might need to determine if there is something blocking the screws or if the holders are stapled. Depending on the type of holder you have, you may find this guide on installing single post toilet paper holder helpful.
Safety Measures while DIY TP Holder Installation
While the task of TP holder installation is relatively easy, it’s important to remember safety measures to avoid any potential injuries. Firstly, use proper safety gear such as protective goggles and gloves to keep your eyes and hands safe from dust or any sharp objects. When using power tools, do it cautiously and turn them off when not in use. Avoid wearing loose clothing and jewelry which can get caught in drills or saws. Furthermore, maintain a clean workspace to prevent tripping or mishaps.
If you’re working in a finished bathroom, be careful about water and electrical lines. Drilling into these could cause severe problems so it would be wise to turn off electricity and water supply during the installation. Lastly, always follow the manufacturer’s instructions and if some steps seem confusing, it’s better to consult a professional.
Before installing the Trinsic Single Post Toilet Paper Holder in Chrome, make sure to measure and mark the desired location on the wall. Use a level to ensure it is straight before drilling the holes for the screws.
Do’s and Don’ts in DIY TP Holder Installation
Successful DIY projects are a result of careful planning, patience, and adherence to a few Do’s and Don’ts.
Do’s:
Do measure twice: Always double-check measurements before cutting, drilling or fitting parts. Incorrect measurements could lead to crooked installations or worse, unnecessary damage to walls. It’s a simple step but non-compliance could lead to a lot of hassle and waste of resources.
Do consider everyone using the bathroom: The TP holder should be within easy reach for everyone in the household. This means considering the height and distance for kids and elderly family members too.
Do securely install your TP holder: Ensure that the holder is tightly secured to avoid wobbling or falling off with use. Use appropriate screws and anchors for a sturdy install.
Don’ts:
Don’t rush through the job: Taking your time to measure, level, and secure your TP holder properly is worth it. Rushing could lead to mistakes and an insecure install.
Don’t ignore aesthetics: While functionality is key, don’t ignore the aesthetics when choosing and positioning your TP holder. Choose a style and color that matches your bathroom decor theme.
Don’t skip reading the instructions: Even if you’ve installed a TP holder before, don’t skip reading the instructions as the process may vary with different designs and styles.
For more detailed guidelines, check out this resource on where to install the toilet paper holder.
Troubleshooting Common Problems
If your toilet paper holder is not functioning as it should, don’t panic. Many common problems can be easily fixed with a few simple adjustments.
For instance, if your holder is crooked, it might be due to an improperly installed anchor or a loose screw. Adjustable anchors can easily resolve this issue. You can also remeasure, level, and reinstall the holder if required. This may require patching existing holes depending on how big a shift in the position is needed. If the holder’s roll holding mechanism is not operating smoothly, ensure that the roller is secured properly and not damaged.
In cases where the holder becomes loose, it’s best to remove it from the wall and inspect the screws and anchors. It may be a matter of tightening a loose screw or replacing a worn-out anchor. Reading more about how to screw on a toilet paper holder might help you understand and alleviate this issue.
Maintaining your Toilet Paper Holder
Maintenance is key to ensuring longevity and continuous efficiency of your toilet paper holder. Regular cleaning is important – use a damp cloth to clean the holder and dry it afterward to avoid water-caused damages. Avoid using abrasive cleaners as they can damage the finish and color of the holder.
Inspect your toilet paper holder periodically for any signs of loosening. If it becomes wobbly, you may need to tighten the screws or fix the anchors. If the holder is metal, check for signs of rust or corrosion. Depending on the degree of rust, you might be able to clean it using mild cleaning solutions or might have to replace it completely.
Guide to Replacing an Old Toilet Paper Holder
Replacing an old, worn-out toilet paper holder is much like installing a new one. Start by unfastening the current holder from the wall, this is usually done by loosening the screws. Once removed, take out any debris or dust in the holes and fill them with wall filler if they won’t be reused for the new holder.
Next, identify the location for your new holder and follow the outlined installation steps, much like in this guide on installing a toilet paper holder in the wall. If the new holder is not similar to the old one, you might need new screws or anchors, so be sure to check this before beginning the installation.
Finally, make certain that the new holder is securely fastened and level. Load a roll of toilet paper to ensure that everything is working right. Frequent check of the holder’s stability and strength is vital to anticipate needed fixes or replacement.
Enhancements and Accessories for TP Holders
There are numerous enhancements and accessories that you can add to your toilet paper holder to increase its functionality or enhance its aesthetics. For instance, you could add a shelf or basket above the toilet paper holder to store additional rolls or other small items like cell phones or books. These additions not only offer extra storage but also provides a handy place to keep items away from water splashes.
Another popular accessory is a toilet paper extender, a useful tool to accommodate mega rolls that do not typically fit the standard holders. For those seeking a minimalistic or contemporary look, you might consider a hidden toilet paper holder that conceals the roll or even a black or matte-finished holder. Combining aesthetics and functionality, you can explore various toilet paper holder ideas and designs to suit your needs.
DIY Toilet Paper Holder Ideas
If you are keen on adding some unique touch to your bathroom, consider constructing your own DIY toilet paper holder. There are numerous creative and easy-to-make designs that can lend a unique character to your bathroom decor.
For instance, you can create a rustic-looking holder by using reclaimed wood and a metal pipe. Not only is this design stylish, but it is also robust and easy to install. Another innovative idea is using a vintage bucket as the base of the holder, providing space for storing extra rolls. A sisal or jute rope can also be used to fashion a nautical-themed toilet paper holder.
Consider repurposing items like old picture frames, baskets, or even a bicycle gear to hold your toilet paper. This sort of creativity not only refreshes your bathroom look but is also a great way of recycling unused items. Remember, the key to a successful DIY project is patience, creativity, and a precise guide to installing your DIY holder.
FAQs on DIY Toilet Paper Holder Installation
One common query is about the right height to install a toilet paper holder. While personal preference plays a part, the standard height is normally 26 inches from the floor. As a rule of thumb, the holder should be installed at a height that is convenient and easily accessible to the user. For more such queries and their answers have a look at this comprehensive set of FAQs on toilet paper holder installation.
Another frequently asked question is what kind of tools are needed for installation. In general, you would need a drill, level, screwdriver, and a pencil for marking. Some installations might call for specific tools, so it’s a good idea to carefully read the instructions that come with your toilet paper holder kit.
Lastly, many question how to maintain their toilet paper holder. Cleaning with a mild soap solution periodically and ensuring the screws or anchors stay tight can help extend your holder’s lifespan. Replacements are typically required when rust or corrosion is noticed or when the holder becomes loose and cannot be securely tightened.
Importance of DIY Home Improvement Projects
Home improvement projects might seem challenging to some, but with basic know-how, they can lead to numerous benefits. Firstly, DIY projects are a great way to save money. Paying for professional services can often be expensive and isn’t always required for simple tasks, like installing a toilet paper holder, where a little bit of effort can lead to significant savings.
Secondly, DIY projects offer the opportunity to acquire new skills and knowledge. Every project is a chance to learn something new and improve your understanding of different tools or techniques. Over time, this could lead to increased confidence in tackling more complex tasks, making you more self-reliant and resourceful.
Another significant aspect of DIY is customization. When you’re doing it yourself, you have complete control over all elements, from design to materials, ensuring that the final output is to your exact specifications and liking. This allows for a unique and personalized touch that would be hard to achieve otherwise. You can also derive immense satisfaction from creating or fixing something with your own hands and witnessing your bathroom transforms thanks to your efforts.
Finally, DIY home improvement projects also have environmental benefits as they often involve repurposing or recycling materials that might otherwise be discarded, contributing to sustainable practices.
Conclusion
In conclusion, installing a toilet paper holder might seem like a simple task, but there is more to it than meets the eye. Choosing the right type of holder, the proper location, and installing it securely requires careful consideration.
By learning to do this task yourself, you are not only saving money but also equipping yourself with valuable DIY skills. Remember that the key resources are readily available – right from detailed guides to required tools and materials. All that’s needed is your willingness to learn and invest a bit of your time.
Once installed, regular maintenance can ensure longevity, and in case of wear and tear, you now possess the know-how to effectively replace it. It’s important to remember that every DIY project, including this one, contributes to your home improvement skills and leads to a more personalized and well-maintained home. So, take out your tool kit and embrace the DIY spirit to get started with installing your toilet paper holder!